
Are you planning to build a flat roof but feeling overwhelmed by the process?
You’re not alone in this concern. Many homeowners and builders face challenges when starting flat roof projects.
Flat roofs offer practical benefits for modern buildings. They provide extra usable space and cost-effective solutions compared to traditional sloped roofs. However, proper construction techniques are vital for long-term success.
This guide covers everything you need to know about flat roof construction.
You’ll learn about different roofing systems and their unique features. We’ll walk through the preparation steps and complete the installation process.
By the end, you’ll have a clear roadmap for flat roof construction from planning to completion.
Basics of Flat Roof Construction
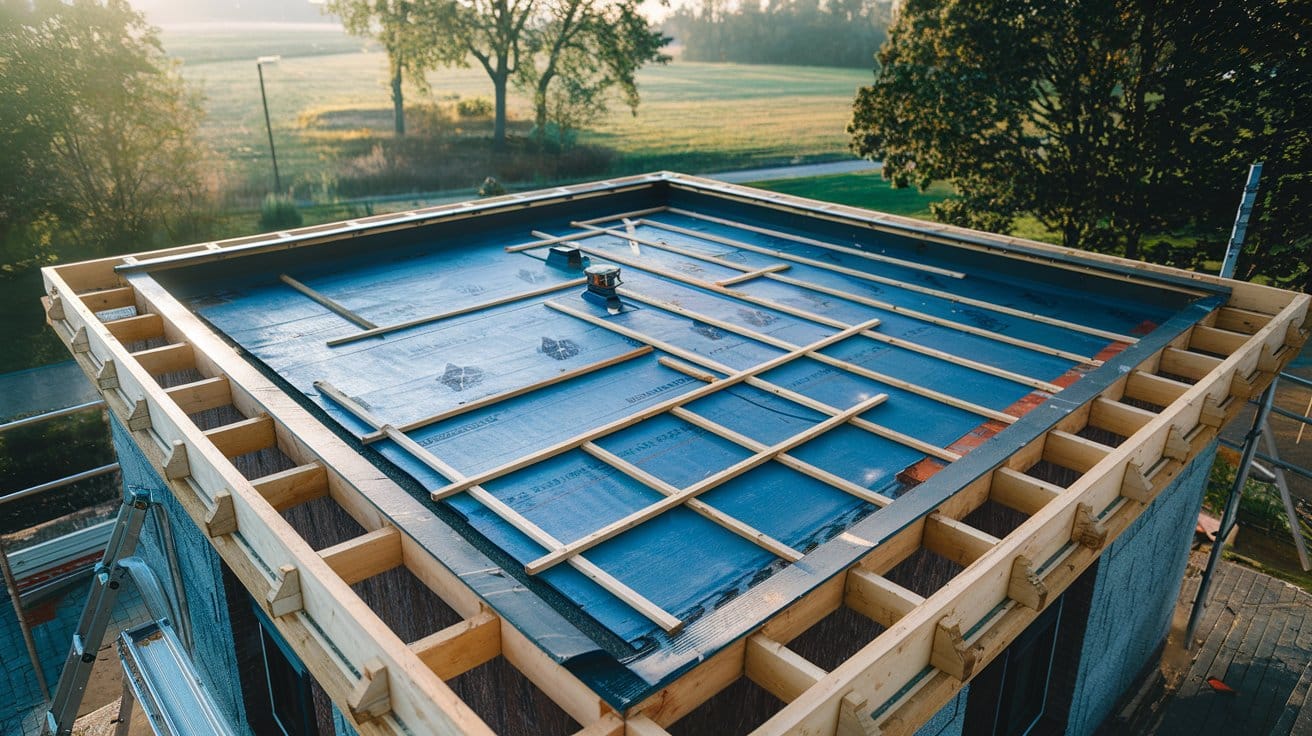
Flat roofs are not entirely flat despite their name. They have a slight slope of 1/4 inch per foot to allow water drainage. This minimal pitch prevents water from pooling on the surface.
The basic structure consists of a deck, an insulation layer, and a waterproof membrane. The deck provides the foundation and structural support. Insulation helps with energy efficiency and temperature control.
Effective water removal is essential for flat roof integrity. Insufficient runoff can lead to costly structural issues. Position outlets and channels with precision to avoid pooling.
Flat roof coverings require different materials than sloped roofs. Membrane systems like EPDM, TPO, or modified bitumen work best. These materials create a continuous waterproof barrier.
Ongoing upkeep is vital for a flat roof’s durability. Minor defects can escalate without attention. Quality installation and timely inspections safeguard long-term performance.”
Top 5 Popular Flat Roof Types
Several roofing systems work well for flat roof construction. Each system has unique benefits and installation requirements that suit different building needs.
1. EPDM Rubber Roofing
EPDM stands for ethylene propylene diene monomer rubber membrane. This single-ply material comes in large sheets that minimize seams. It’s a popular choice for both residential and commercial flat roofs.
The rubber material is highly flexible and weather-resistant. EPDM can withstand extreme temperatures from -40°F to 300°F. Installation involves either fully adhered, mechanically attached, or ballasted systems.
- Key Features: Lasts 20-30 years with proper maintenance and is available in large sheets to minimize seams.
- Pros: Lower installation and material costs with a simple patching process for minor damage.
- Cons: Adhesive seams can fail over time, and sharp objects can easily damage the membrane.
2. TPO Membrane Systems
TPO (thermoplastic polyolefin) is a single-ply roofing membrane. It combines the benefits of rubber and plastic materials. TPO membranes are heat-welded at seams for watertight connections.
This roofing system offers excellent chemical and puncture resistance. TPO comes in white, gray, and tan colors to match building requirements. The material is recyclable and environmentally friendly.
- Key Features: Excellent performance in hot climates with heat-welded seams stronger than adhesive bonds.
- Pros: Reflective surface reduces cooling costs and is made of recyclable material with a low environmental impact.
- Cons: More expensive than EPDM systems and requires specialized welding equipment for installation.
3. Modified Bitumen Roofing
Modified bitumen combines asphalt with polymer modifiers for better flexibility. This creates a durable material that handles temperature changes well. The system uses multiple layers for extra protection.
Installation methods include torch-applied, cold-applied, and self-adhering systems. Torch application provides the strongest bond but requires skilled installers. Cold-applied systems are safer and easier to install.
- Key Features: Multi-layer protection with base sheet and cap sheet, plus multiple application methods available.
- Pros: Handles freeze-thaw cycles effectively with decades of successful performance history.
- Cons: Torch application requires safety precautions and is heavier than single-ply membrane systems.
4. Built-Up Roofing (BUR)
Built-up roofing uses multiple layers of bitumen and reinforcing fabrics. This traditional system has been used for over 100 years on flat roofs. The layers create a thick, durable membrane that provides excellent waterproofing.
Hot asphalt or coal tar pitch bonds the layers together during installation. A gravel or mineral surface protects the top layer from UV rays. This system requires skilled installers due to the hot application process.
- Key Features: Multiple redundant layers provide excellent waterproofing with proven long-term performance.
- Pros: Cost-effective system with excellent fire resistance and ability to handle foot traffic.
- Cons: Heavy weight requires strong structural support, and installation involves hazardous hot materials.
5. PVC Roofing Membranes
PVC (polyvinyl chloride) membranes offer superior chemical resistance and durability. This single-ply system works well in industrial environments with heat-welded seams.
The material comes in various colors and thicknesses for different needs. Installation requires specialized equipment and trained technicians for proper application.
- Key Features: Superior chemical resistance with excellent puncture and tear strength for industrial applications.
- Pros: Long lifespan of 20-30 years with excellent resistance to chemicals and fire.
- Cons: Higher material costs compared to other systems, and requires specialized installation expertise.
Preparing the Structure Before Installation
Proper structural preparation is the foundation of any successful flat roof project. The building structure must be ready to support the roofing system and provide adequate drainage before installation begins.
Structural Assessment: The existing structure needs a thorough evaluation to determine its load capacity. Calculate dead loads (roof weight plus equipment) and live loads (snow, wind, maintenance access).
Deck Preparation and Surface Cleaning: The roof deck must be clean, dry, and structurally sound before installation. Remove all debris, old materials, and loose fasteners, then fill gaps for a smooth surface.
Drainage System Planning: A well-planned drainage layout stops water from collecting and prolongs the roof’s service life. Ensure the deck has the required slope and that drainage fixtures are installed correctly.
Insulation Installation Requirements: Insulation provides energy efficiency and protects the membrane from temperature changes. Install with proper fasteners and stagger joints to prevent thermal bridging issues.
Step-By-Step Process for Building a Flat Roof
Building a flat roof requires following specific steps in the correct order. Each phase must be completed properly before moving to the next stage for successful installation.
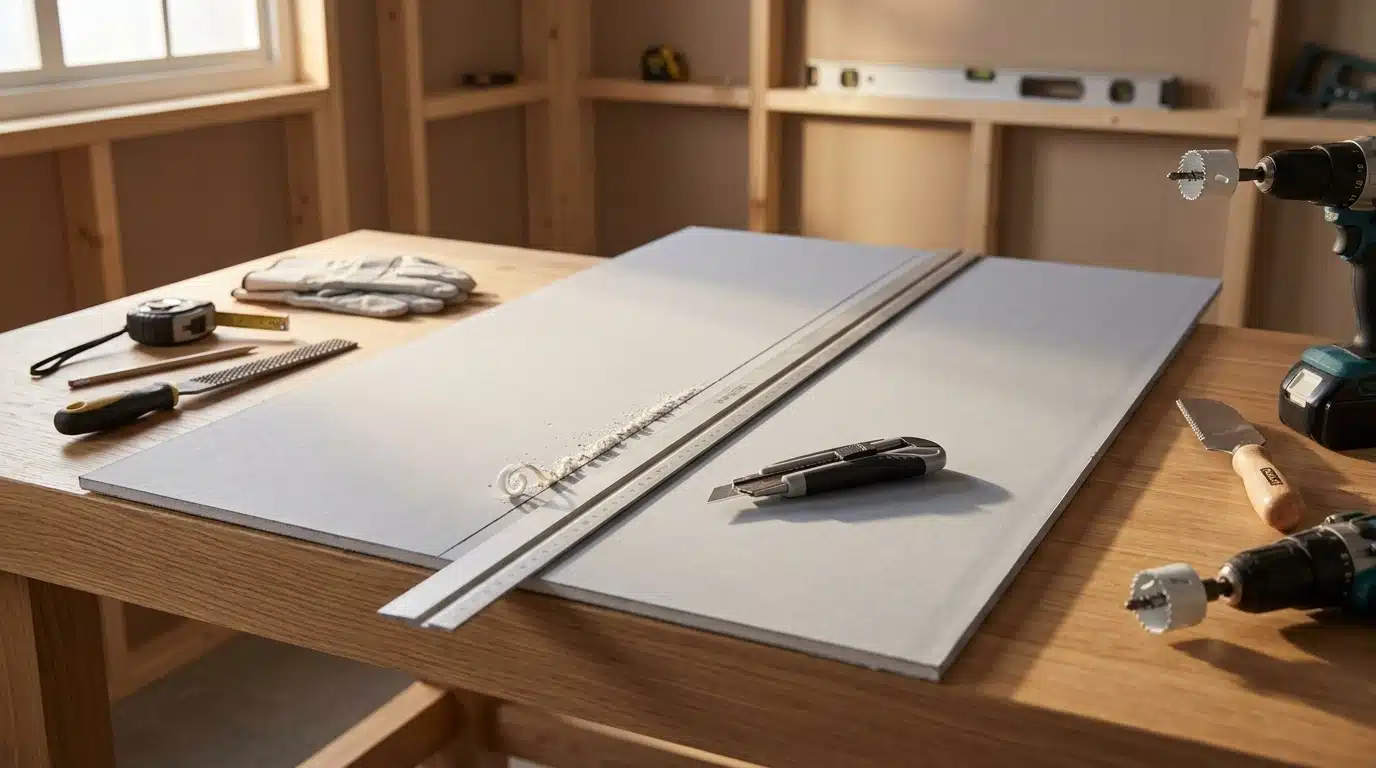
Essential Tools and Materials Needed
Successful flat roof construction requires specific tools and quality materials for proper installation. Having the right equipment ensures efficient work and professional results that meet industry standards.
| Category | Items | Purpose |
|---|---|---|
| Hand Tools | Utility knives, measuring tapes, and hammers | Cutting, measuring, and fastening |
| Power Tools | Hot air guns, compressors, nail guns | Seam welding, fastening |
| Safety Gear | Harnesses, hard hats, and non-slip boots | Worker protection |
| Membrane | Synthetic rubber, thermoplastic, or vinyl rolls | Primary waterproofing barrier |
| Insulation | Foam boards (polyiso / EPS / XPS) | Energy efficiency |
| Fasteners | Screws, nails, plates | Securing components |
| Flashing | Metal flashing, termination bars | Edge sealing |
| Drainage | Drains/scuppers/gutters | Water removal |
Step 1: Installing a Roof Deck
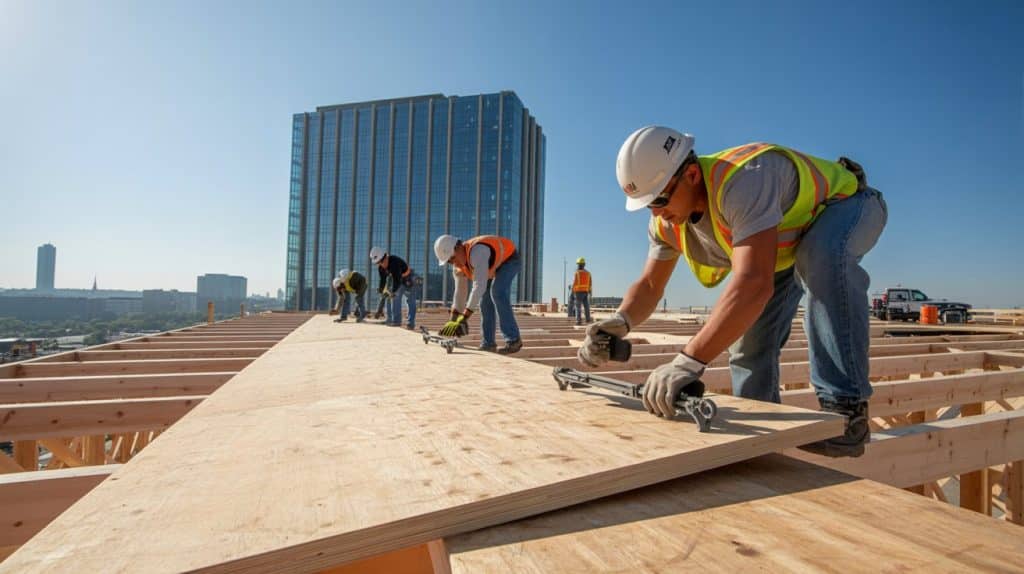
Start by installing the structural roof deck over the building frame. Use plywood, OSB, or concrete depending on the building design and load requirements.
Ensure proper spacing between deck boards and secure with appropriate fasteners. Check for a level surface and make adjustments as needed for adequate drainage.
Step 2: Adding Vapor Barrier and Insulation
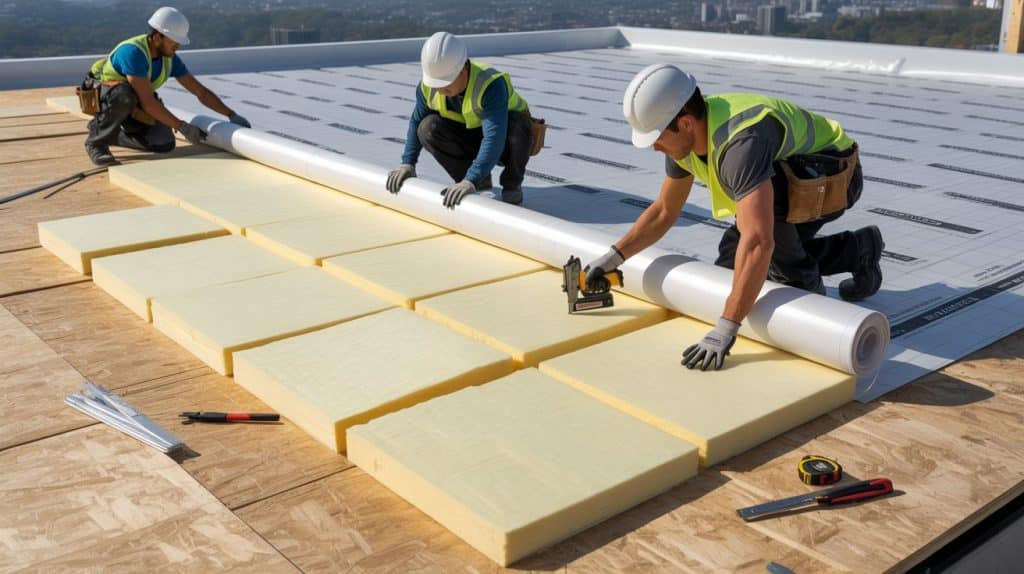
Install a vapor barrier directly over the roof deck to prevent moisture problems. This layer stops water vapor from entering the roofing system from below.
Place insulation boards over the vapor barrier for energy efficiency. Secure insulation with mechanical fasteners and stagger joints to eliminate thermal bridging.
Step 3: Laying the Chosen Waterproof Membrane
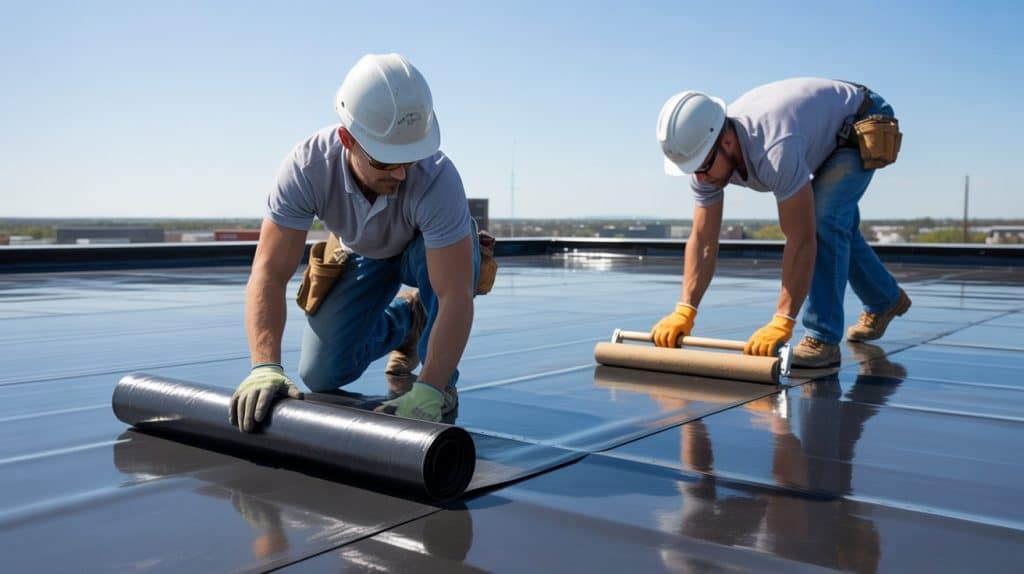
Apply the main waterproofing membrane using the specified installation method. This could be a fully adhered, mechanically attached, or ballasted system, depending on material choice.
Work systematically across the roof, maintaining proper overlap at seams. Use appropriate tools and techniques for the chosen membrane type to ensure a watertight installation.
Step 4: Flashing and Detailing Around Edges and Penetrations
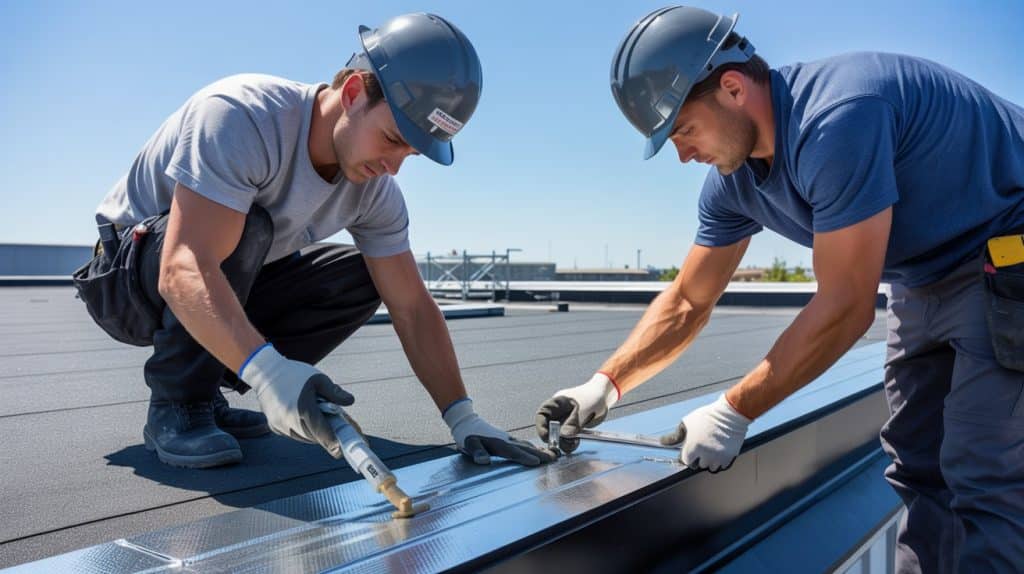
Properly seal around all roof penetrations, including vents, drains, and equipment. Use compatible sealants and flashing materials for watertight connections at critical areas.
Install cant strips at wall intersections and equipment bases. Apply additional membrane layers at these areas for extra protection against water infiltration.
Step 5: Installing Drains, Scuppers, or Gutters
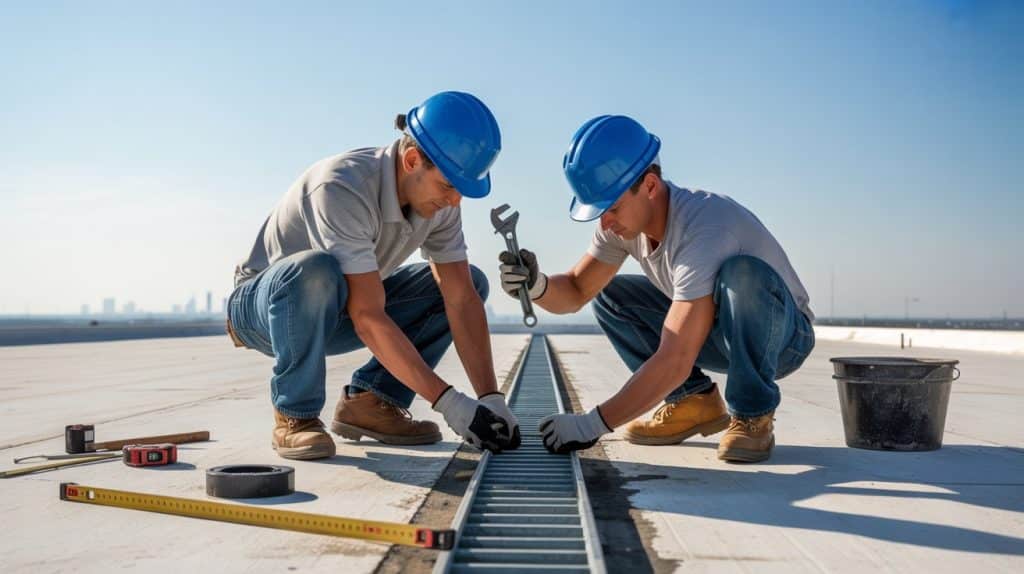
Connect all drains, scuppers, and overflow systems to the roofing membrane properly. Verify that the roof’s inclined channels rainwater efficiently toward drains, guaranteeing full and uninterrupted runoff.
Test the water flow to verify that drainage works correctly throughout the system. Make adjustments if water pools in any areas of the roof surface.
Step 6: Final Sealing and Inspection
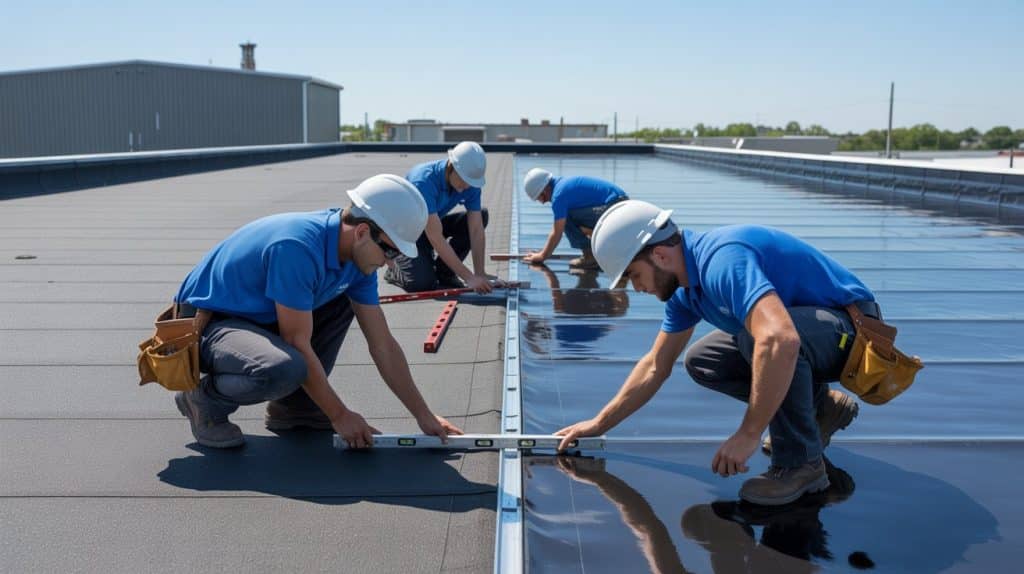
Conduct a thorough inspection of all seams, penetrations, and drainage areas carefully. Check for any defects or areas needing repair before project completion and warranty activation.
Test the roof system with water to verify no leaks exist anywhere. Document the installation process and provide warranty information to the building owner for future reference.
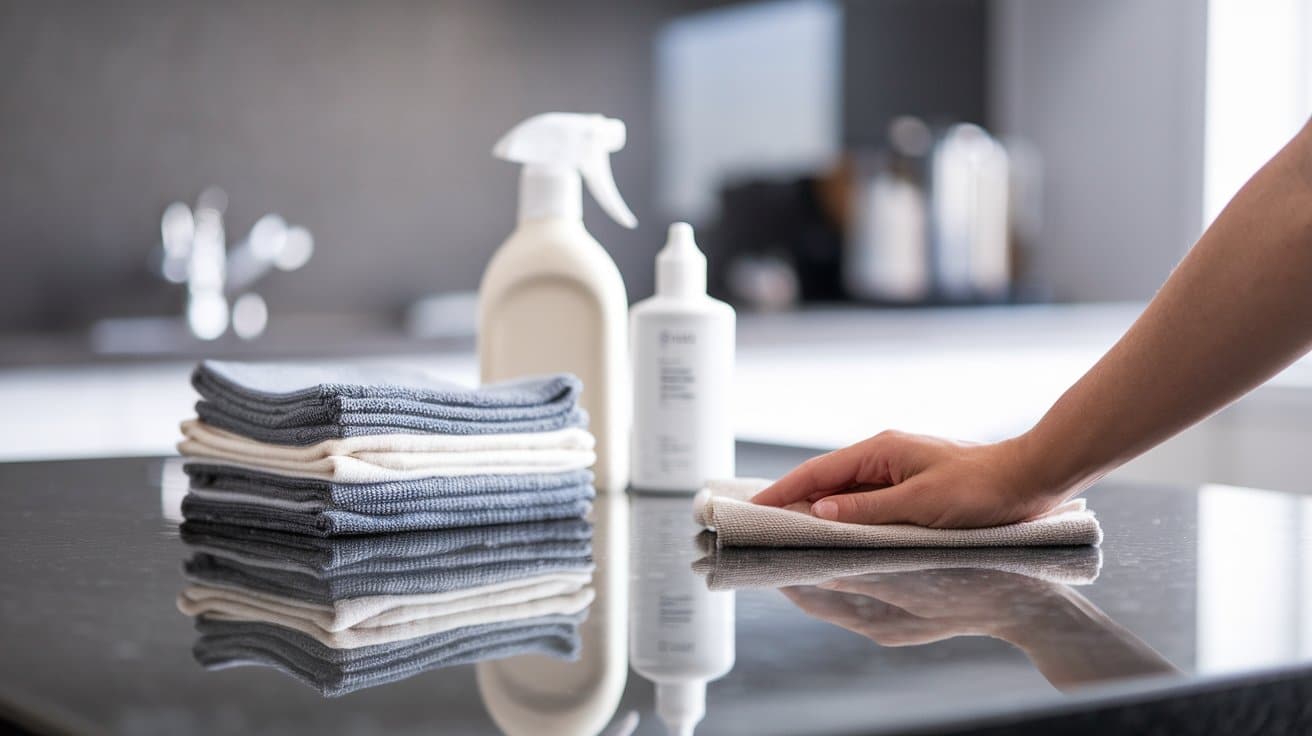
Routine Maintenance for Flat Roof Longevity
Consistent attention helps stop minor defects from turning into costly repairs, preserves the roof’s strength, and ensures year-round efficiency.
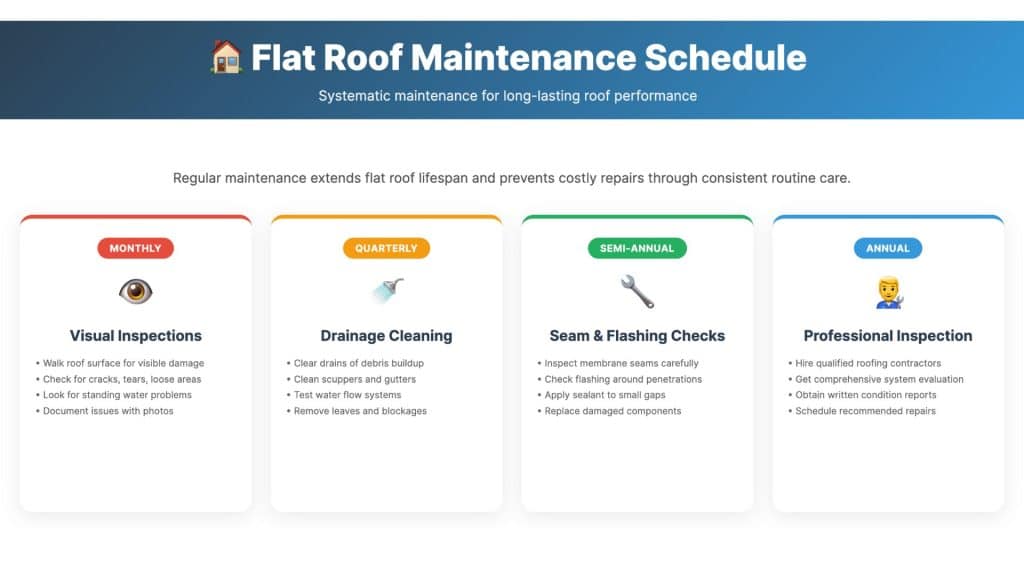
Following this maintenance schedule helps identify problems early before they become expensive repairs. Consistent care ensures your flat roof performs reliably for decades with minimal major issues.
Professional contractors recommend keeping maintenance logs to track completed tasks and identify patterns. This documentation proves valuable for warranty claims and helps plan future roof system replacements.
Preventive Measures to Avoid Major Repairs
Early intervention keeps minor issues from escalating into high-cost repairs. Straightforward precautionary measures preserve your flat roof investment and reduce emergency expenses.
- Limit roof access to essential maintenance personnel only.
- Create designated walkways using protective pads for weight distribution.
- Remove leaves, branches, and debris regularly before accumulation occurs.
- Trim overhanging tree branches that drop debris onto the roof surface.
- Address any areas where water stands longer than 48 hours.
- Add tapered insulation or modify drainage to eliminate the low spot.
Final Thoughts
Successful flat roof construction depends on choosing the right system and proper installation techniques.
Whether you select EPDM, TPO, or modified bitumen, each requires specific methods for optimal performance. Following step-by-step processes ensures your flat roof provides reliable protection.
Routine upkeep determines whether you face simple fixes or costly full-scale replacements.
Monthly inspections, quarterly cleaning, and preventive measures protect your investment. Quality flat roof coverings last longer with consistent care and attention.
Professional installation combined with routine maintenance creates a durable roofing system that serves your building needs effectively.
What questions do you have about flat roof construction? Share your thoughts in the comments below.
Frequently Asked Questions
Is It Cheaper to Build a House with A Flat Roof?
Flat roof houses can cost less than pitched roofs due to fewer materials and simpler construction methods required.
What Is the Correct Slope for A Flat Roof?
The recommended minimum slope is 2 percent or 1/4 inch per foot for proper water drainage and ventilation.
What Is the Best Wood for A Flat Roof?
Plywood, OSB, or timber boards work best as moisture-resistant materials. Avoid ordinary chipboard for structural integrity.