Looking to finish your walls quickly without the mess and long drying times of traditional plastering?
Most homeowners face the choice between expensive professional plastering and living with damaged walls for weeks while wet plaster cures.
Dry lining walls solves both problems with a faster, cleaner approach.
This approach fixes plasterboard directly to existing surfaces using simple adhesive or frame methods. You get professional results without the disruption of traditional wet plastering.
This complete article reveals everything you need to know about dry lining walls.
You’ll learn the best techniques, understand all costs involved, and get step-by-step instructions. You’ll see exactly when to choose this method and how to avoid common mistakes that could cost you time and money.
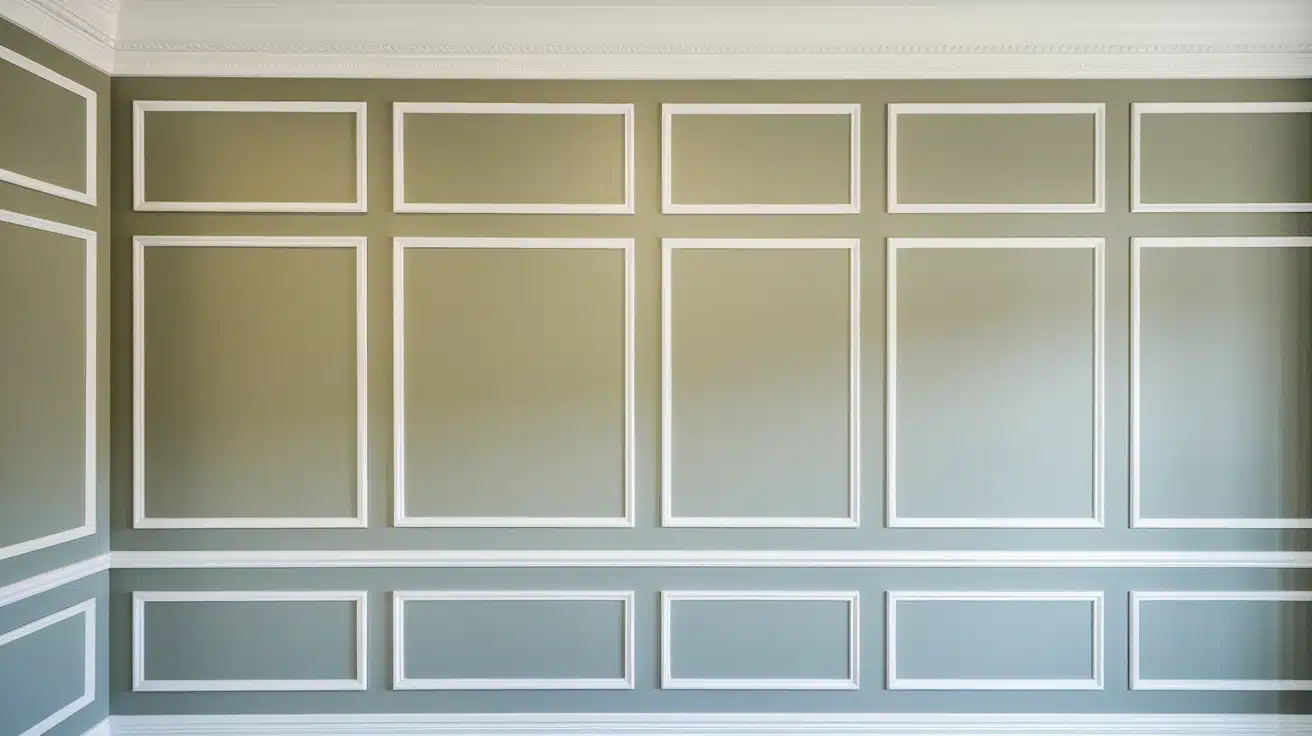
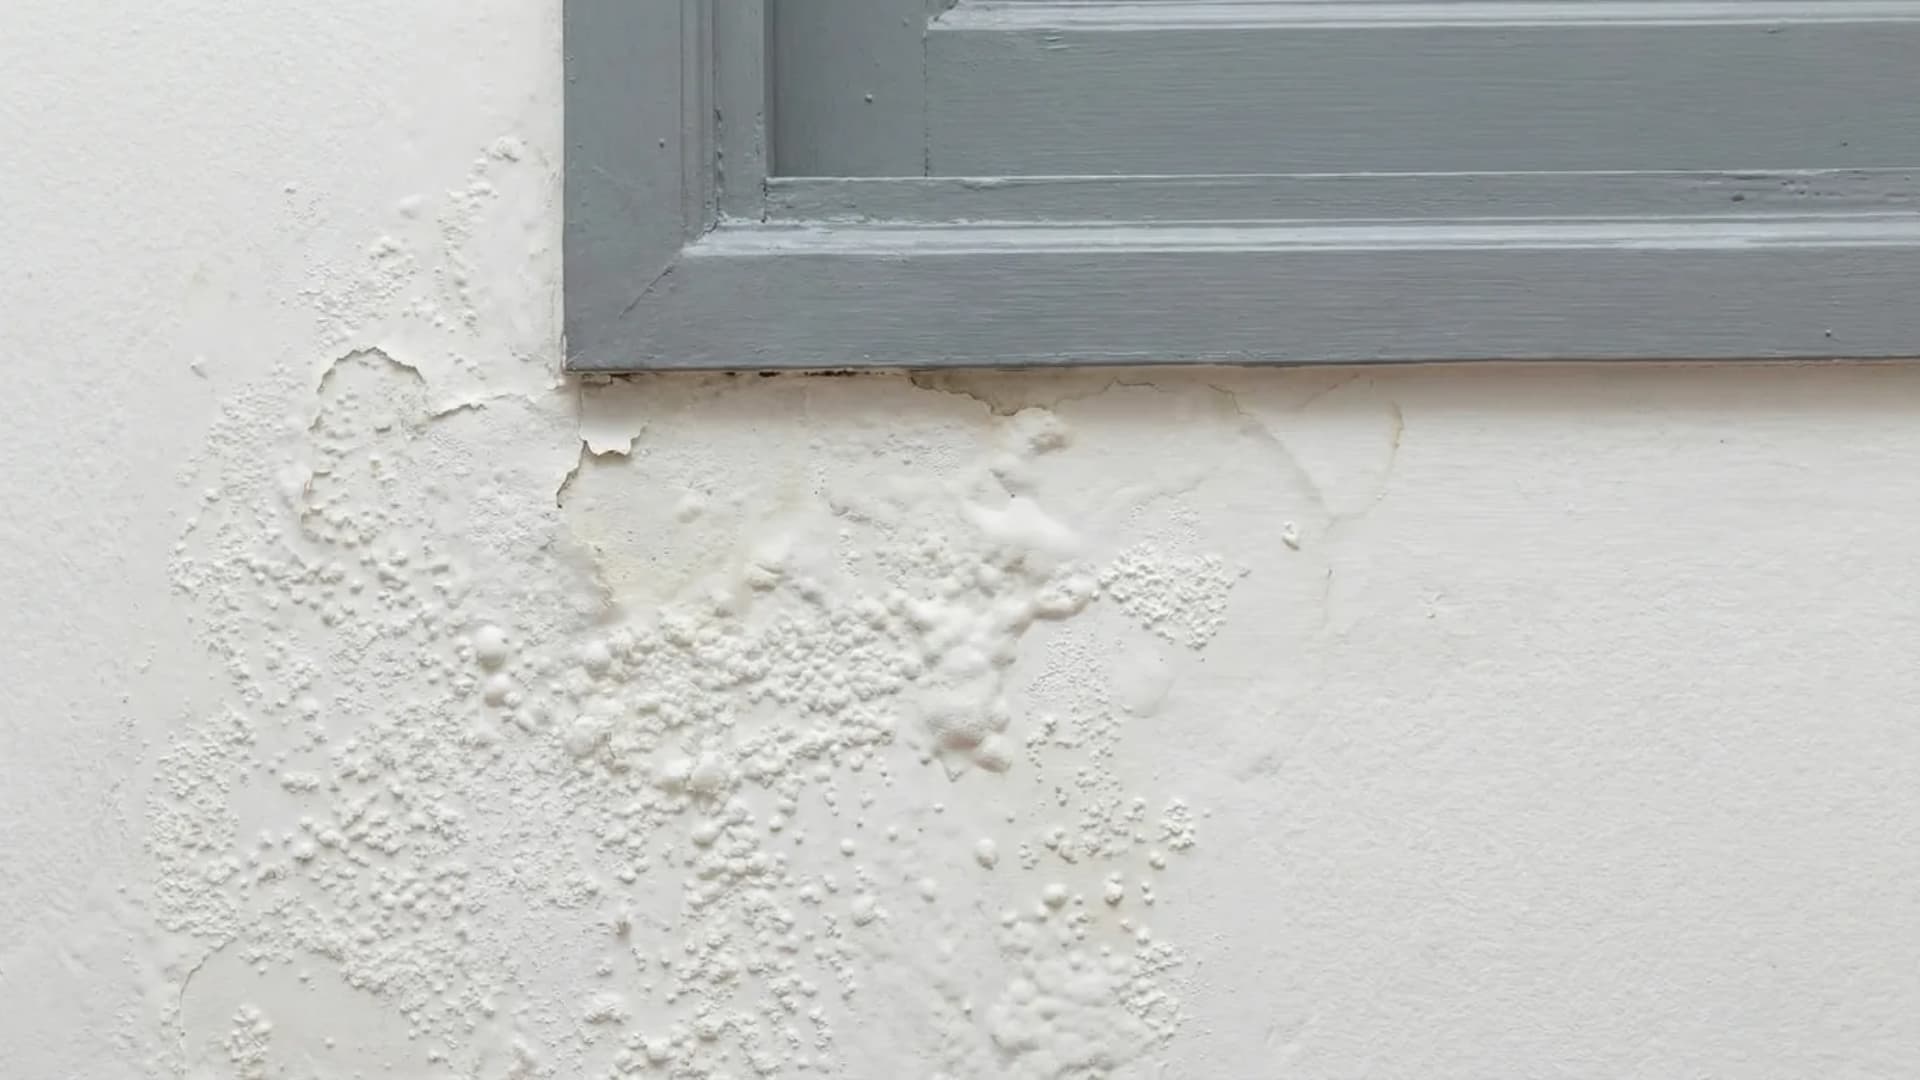
What is Dry Lining?
Dry lining walls involves attaching plasterboard directly to existing surfaces using adhesive dots or timber frames.
This modern technique creates smooth, paintable walls without the mess and long drying times of traditional wet plaster.
The process takes hours rather than days to complete.
You can decorate your walls within 24 hours instead of waiting weeks for wet plaster to fully cure and dry.
There are two main methods for dry lining walls:
- Dot-and-Dab Method: This popular technique uses adhesive blobs placed on the wall at regular intervals. The plasterboard presses against these dots to create a firm bond. Most contractors choose this method for speed and simplicity.
- Studwork Method: Here, you build a timber frame against the wall first. Then you screw the plasterboard to this framework. This method works better for very uneven walls or when you need extra insulation space.
Both methods create walls ready for decoration on the same day. The choice depends on your wall condition and specific needs.
Advantages and Disadvantages of Dry Lining Walls
Dry lining walls offers several benefits but also comes with some limitations. Knowing both sides helps you make the right choice for your project.
The speed and cleanliness of dry lining make it popular for home renovations. Yet, the disadvantages of dry lining can affect your project and its quality.
| Advantages | Disadvantages |
|---|---|
| Fast Installation: Complete a room in one day vs 3-4 days for wet plaster | Lower Load-Bearing: Cannot support heavy items without special fixings |
| Clean Process: Minimal dust and debris, easy cleanup in minutes | Sound Issues: Less noise insulation may amplify sounds in air gaps |
| Quick Decoration: Ready to paint within 24 hours vs weeks for plaster | Durability Problems: Dents and damages more easily than solid plaster |
| Insulation Benefits: Can include thermal boards, air gaps, which reduce heat loss | Moisture Limits: Needs special boards for bathrooms and wet areas |
| Crack Resistant: Flexible boards prevent hairline cracks from building up due to movement | Planning Required: Need to locate studs and use proper fixings for hanging items |
| Cost Effective: 30-40% lower labor costs, competitive material prices | Surface Quality: May not achieve the premium finish quality of wet plaster |
The comparison above shows dry lining walls suits most home renovation projects. The quick installation and lower costs make it attractive for standard room updates.
Think about your room’s specific requirements before deciding. Wet areas, rooms requiring heavy wall mountings, and high-end finishes may necessitate the use of wet plaster instead.
How to Dry Line Walls Using the Studwork Method?
The studwork method is particularly effective for uneven walls or when extra insulation space is required. This approach fixes plasterboard to a timber frame rather than directly to the wall surface.
Before starting your project, gather these essential materials and tools.
What You’ll Need
- Plasterboard sheets and drywall screws
- Spirit level and sharp utility knife
- A pad saw and a measuring tape
- Impact driver and pencil
- Surf form and ladder
With your materials ready, you can start the installation process.
The key to success is taking time with measurements and ensuring every board finishes on a stud for proper support.
Step 1: Preparation and Planning
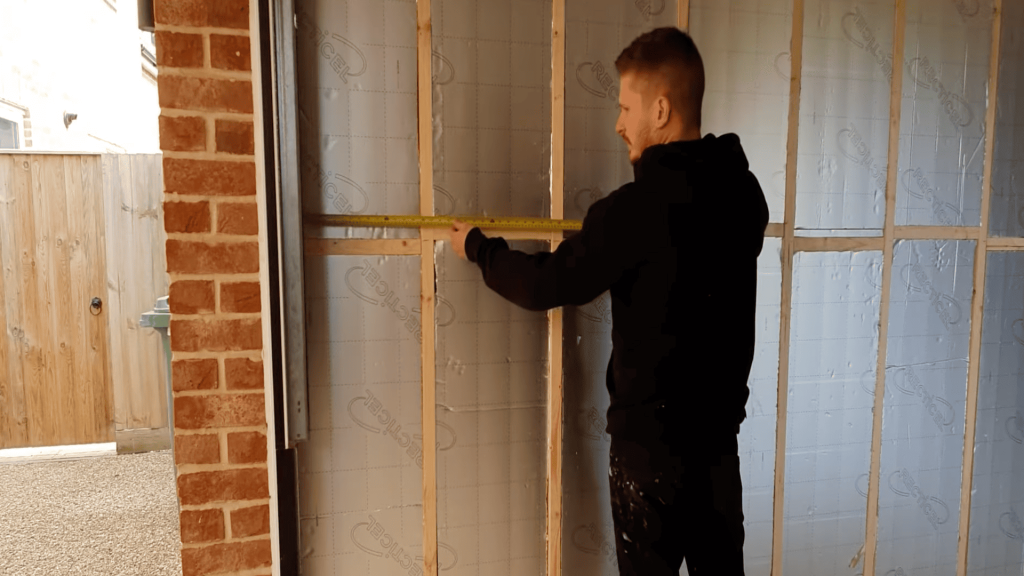
Mark where all studs are located before starting. Each plasterboard sheet must finish on a stud for proper support.
Check for any cables running through studs to avoid hitting them with screws. Cut packers from spare plasterboard to keep boards off the floor.
Step 2: Measuring and Cutting Boards
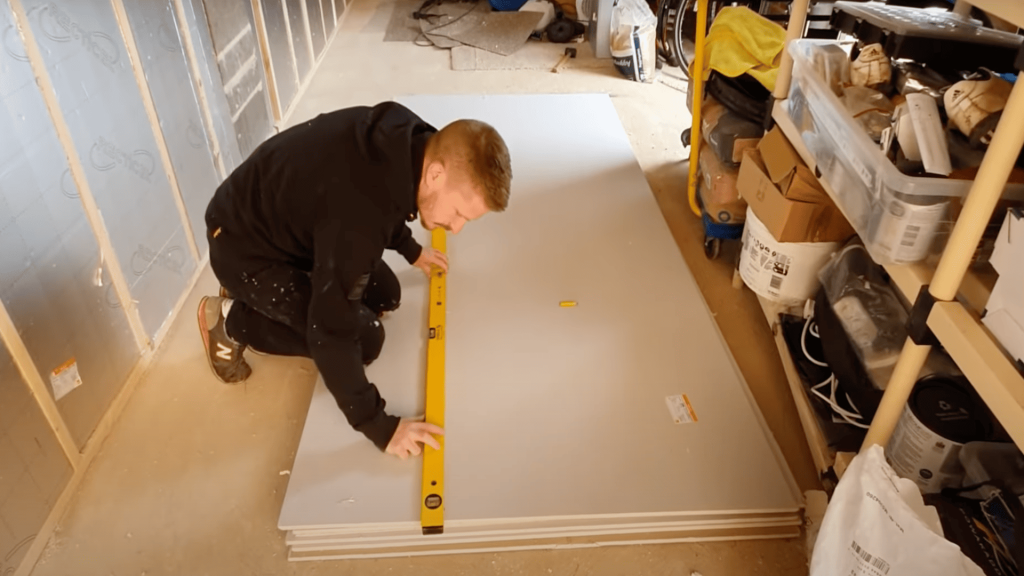
Measure your first board to ensure it finishes on a stud.
Most standard boards need cutting to fit properly. Make marks at the required width, then use a straight edge and sharp knife to score deeply through the front paper and board core.
Step 3: Breaking and Finishing Edges
Break the scored board over your knee, then cut through the back paper with your knife. Use a surf form to smooth any rough edges where boards will join together.
This creates clean, tight joints between adjacent sheets.
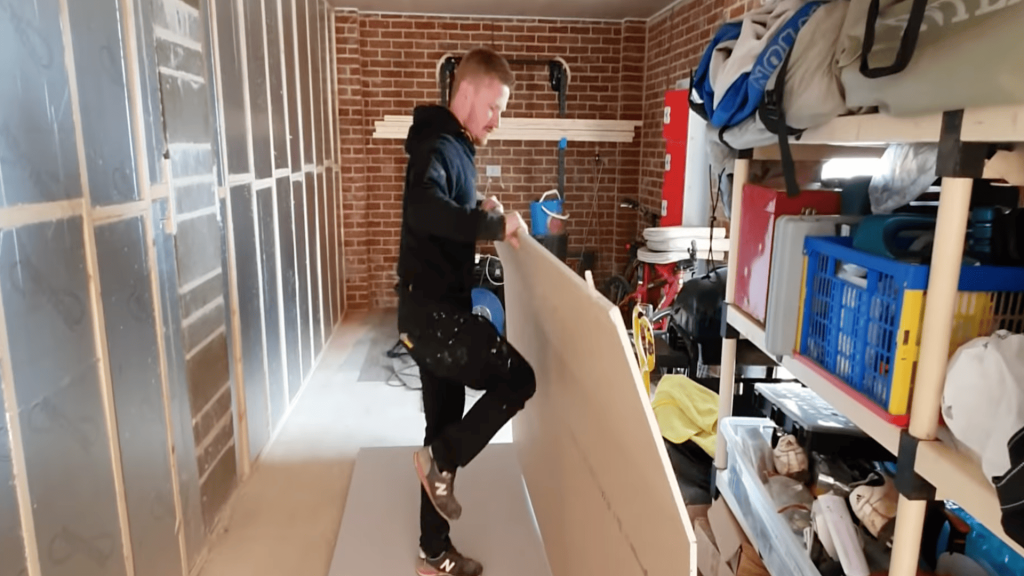
Step 4: Positioning and Initial Fixing
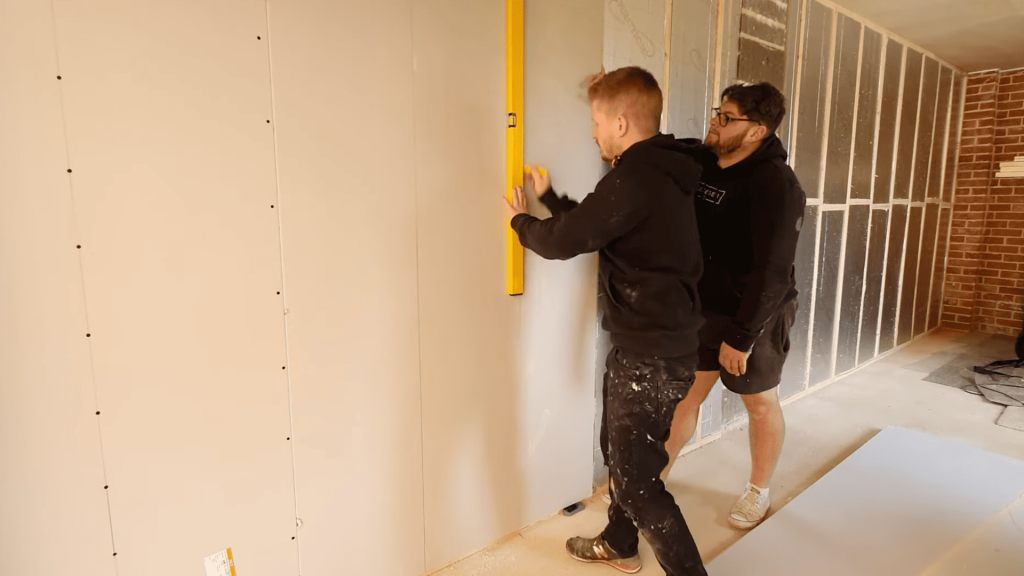
Place boards on packers and butt them tightly against existing boards. Mark the stud positions on the board face using your level as a straight edge.
Put a few screws in your pocket before lifting boards into position, especially when working alone.
Step 5: Screwing to Studs
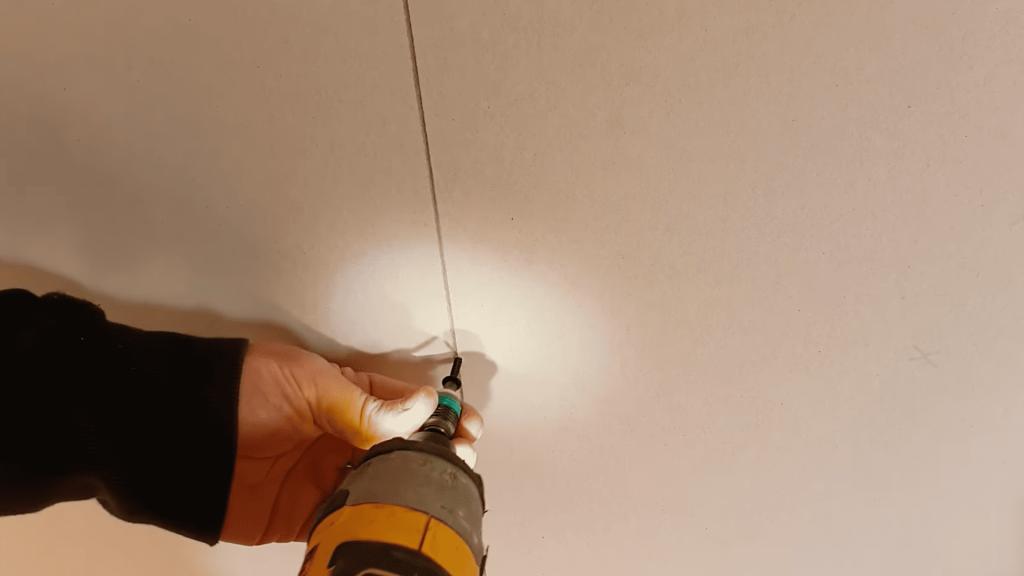
Fix boards with drywall screws every 200 to 300mm along each stud. Screw heads should sit just below the board surface without going too deep.
If screws go through the board, place another screw next to it. Always ensure that the screws catch the stud properly.
Video Tutorial
I’d like to give credit to The DIY Guy for their informative video, as a reference for this guide.
Costs and Timeframes
The cost and time differences between dry lining walls and wet plastering are significant. This comparison helps you plan your budget and schedule effectively.
| Aspect | Dry Lining | Wet Plastering |
|---|---|---|
| Professional Cost | £15-25 per square meter | £20-35 per square meter |
| DIY Material Cost | £8-12 per square meter | £5-8 per square meter |
| Room Cost (4m x 3m) | £400-600 total | £600-900 total |
| Installation Time | 1 day | 2 days + drying |
| Ready to Decorate | 24 hours | 3-4 weeks |
| Total Project Time | 1-2 days | 3-4 weeks |
Premium insulated boards add £3-5 per square meter to dry lining costs. The speed advantage of dry lining walls makes it popular for quick renovations.
Professional installation costs more upfront but guarantees quality results.
DIY dry lining walls saves 60-70% on total costs but requires tool investment and skill development.
Consider your available time against potential savings. Professional work typically offers better long-term value for money.
Common Problems and How to Avoid Them?
Dry lining walls can face several issues if not done properly. Here are the main problems and simple ways to prevent them:
- Use 8-10 golf-ball-sized adhesive dots per board, and clean the wall surfaces first.
- Apply joint tape while the compound is wet and use three thin coats, not one thick coat.
- Use moisture-resistant boards in wet areas and ensure proper ventilation.
- Mark the stud positions during installation and use proper fixings for heavy items.
- Avoid working in extreme temperatures, and ensure each coat dries completely.
When to Choose Wet Plaster Instead?
Wet plaster works better than dry lining walls in certain situations where the extra time and cost provide clear benefits. Consider wet plaster when your project has specific requirements that standard plasterboard cannot meet.
The main scenarios where wet plaster proves more effective include:
- Severely Uneven Walls – Deep holes and major damage often cost less to repair with wet plaster since it fills voids naturally during application
- High-End Finishes – Specialist paint effects and premium wallpapers need the harder, more solid surface that wet plaster provides
- Period Property Restoration – Traditional materials maintain authentic character and match original construction methods
- Superior Sound Control – Recording studios, home cinemas, and noise-sensitive areas benefit from the dense material’s acoustic properties that block sound transmission more effectively than plasterboard
When these factors apply to your project, wet plaster often proves more effective than standard dry lining wall solutions.
The Bottom Line
Dry lining walls provides a practical alternative to traditional wet plastering for most home renovation projects.
The speed and cleanliness make it ideal for busy households who want professional results without weeks of disruption.
The method works well for standard rooms, but think about your specific needs carefully.
High moisture areas, premium finishes, and severe wall damage might need different approaches. Professional installation or DIY approaches both offer significant time savings over conventional methods.
Your walls can be ready for decoration within hours rather than weeks, making this technique perfect for modern renovation schedules.
Have you tried dry lining walls in your home? Share your experience and tips in the comments below to help other readers with their renovation projects.
Frequently Asked Questions
Do You Need to Mist Coat Dry Lining?
Yes, apply a mist coat of diluted emulsion paint before your final coats. This seals the plasterboard surface and prevents patchy paint coverage.
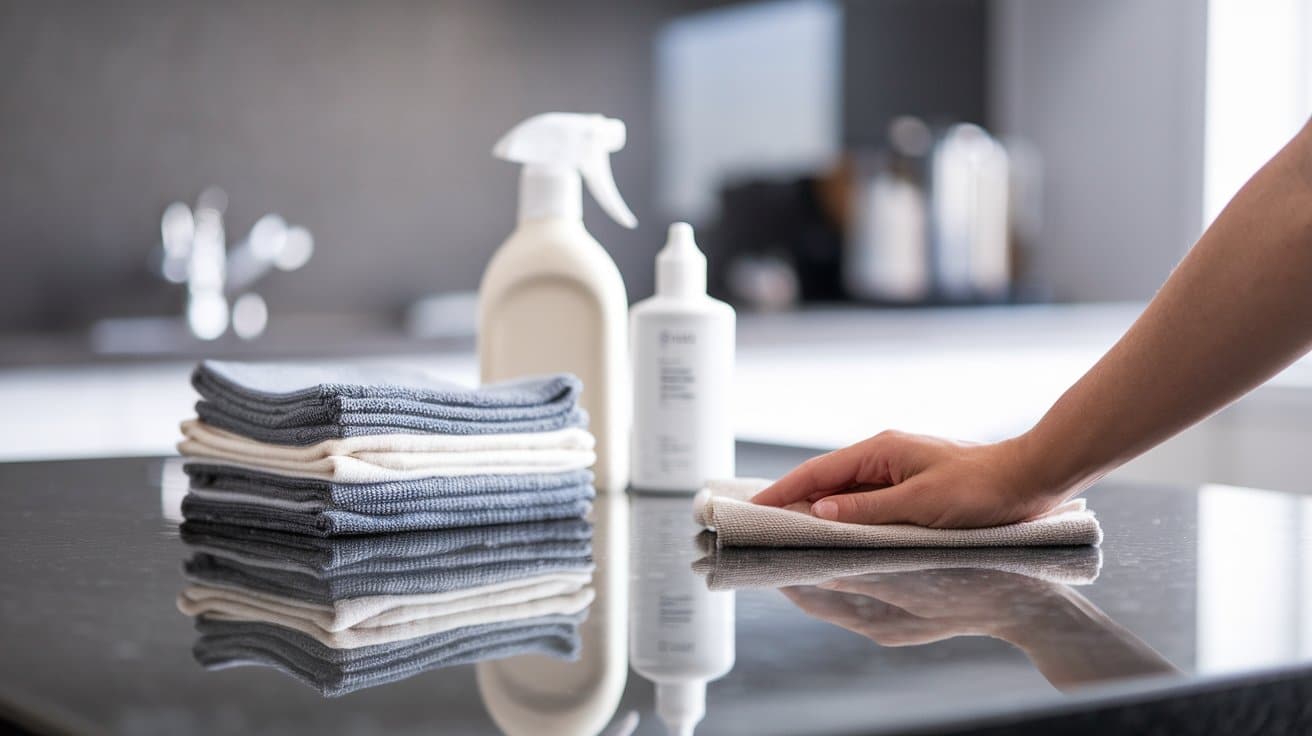
How to Prepare Dry-Lined Walls for Painting?
Fill and sand all joints smooth, apply PVA sealer or mist coat to bare plasterboard, then use quality primer before your topcoat.
Can You Paint Straight onto Drywall?
No, always apply a mist coat or sealer first. Painting directly onto bare plasterboard causes uneven absorption and a patchy finish.