
The Loft Height Rule Most UK Homeowners Miss (and it’s a wallet eater)
If you’ve just crawled into your loft with a tape measure and a dream, I’m about to save you from a very specific kind of heartbreak: the kind where you spend thousands on drawings, start mentally arranging your “new guest room,” and then Building Control casually ruins your week with, “Yeah… the stairs won’t pass.”
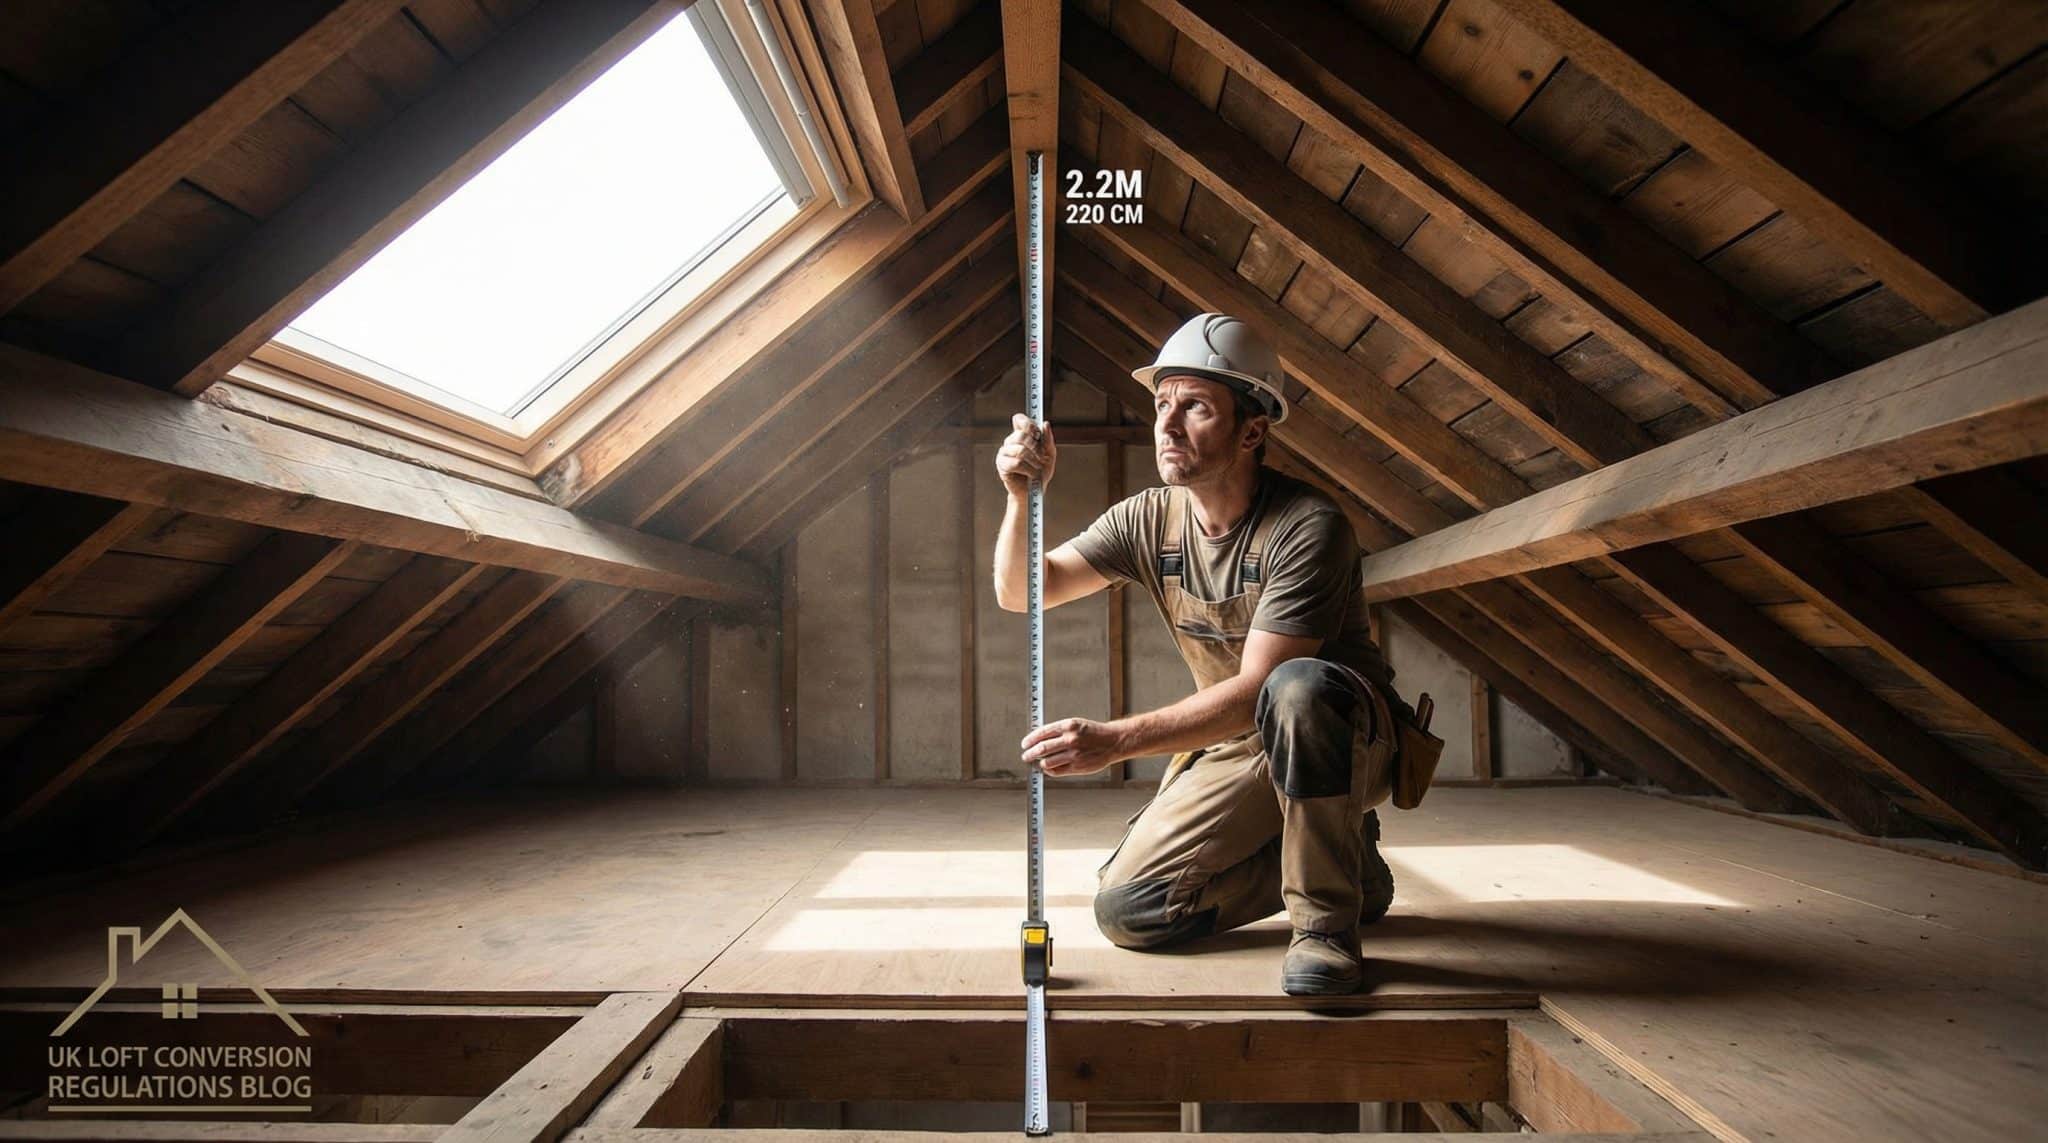
Also, that “2.2m loft” you measured? Cute. Once you add insulation, flooring, plasterboard, and all the other bits that magically appear during a conversion, your lovely height can shrink to more like 1.9m in the real world. (Ask me how I know. Actually don’t. I’m still annoyed.)
So let’s do this properly with the numbers that actually matter, the checks that stop you wasting money, and what to do if your loft is basically a glorified hat shelf.
The only loft height check that matters (before you pay anyone)
Here’s my “don’t fall in love too soon” process:
- Measure the raw ridge height the right way
- Check stair headroom early (stairs are the serial killers of loft plans)
- Work out what your number means (aka: is this a dormer situation or a “walk away” situation?)
- Then start thinking about solutions and costs
- Only then worry about planning + Building Regs details
Let’s start with the tape measure bit.
Step 1: Measure your loft height correctly (not “vibes based”)
Most people measure from some random dusty board to “the highest point-ish” and then wonder why the architect later looks stressed.
You want this measurement:
Top of the existing ceiling joists (the bits your ceiling is attached to)
➡️ straight up to
the underside of the ridge beam (the timber right at the top)
Not the plaster ceiling below. Not the loose boards someone threw down in 1997. Not the insulation mound that looks like a sleeping bag graveyard.
Measure in more than one spot (because old houses are chaotic)
Check at least four places:
- dead centre
- near each side (close to the external walls)
- directly under the ridge
It’s really normal to see 50mm variation across the loft. And 50mm is the difference between “okay, we can make this work” and “why is my forehead bleeding?”
Quick reality check: your loft height will shrink
Even if your raw ridge height looks decent, you’ll lose height to:
- new floor structure
- insulation
- plasterboard + finishes
That’s why people get caught out. They measure 2.2m, do a little happy dance… and end up with a finished space that feels like it’s wearing a low baseball cap.
Step 2: The stairs check (aka: the moment dreams go to die)
I don’t care how tall your ridge is if the stairs can’t be made compliant, the whole plan starts wobbling.
Building Regulations headroom for stairs:
- 1.9m at the centre of the flight
- 1.8m at the edges where it slopes
- top landing needs 750mm depth before the ceiling can slope down
Also: a compliant staircase usually eats around 2.3-3.0m² of floor area. That doesn’t sound like much until you’re trying to carve it out of a landing that already has four doors and a radiator doing its best.
My best advice (that saves the most money)
Before you pay for beautiful drawings, sketch where the stairs would go and measure headroom along that run.
If the only possible stair position takes you through a low spot (or dumps you into a weird corner), you may be looking at:
- moving the stair opening
- reworking the layout below
- or admitting defeat and pivoting to a storage loft
There are compact stair options (spirals, alternating treads), but they can be awkward day to day and can put buyers off. Personally, I’m fine with a spiral stair to a hobby space. For a “proper bedroom”? I want normal stairs that don’t feel like I’m boarding a pirate ship.
Step 3: The “minimum loft height” thing everyone misunderstands
Here’s the spicy truth: there isn’t one single UK wide “minimum loft height” rule that says “must be X metres.” Building Regs care about a bunch of things structure, fire safety, energy performance, safe access so height is part of the story, not the whole plot.
That said, in the real world, people use practical benchmarks:
- ~2.2m raw height (joists to underside of ridge) is often the minimum-ish starting point where conversions start being feasible
- some designers will tell you 2.25m raw is a safer filter
- builders love 2.4m raw because it gives breathing room after build up
- and yes, you’ll hear 2.5m mentioned in certain contexts (like new build standards in places)
It’s not just the ridge height pitch matters
A shallow roof can technically have a decent ridge but still leave you with loads of floor area under a low slope. What you really want is useful standing space across a good chunk of the room, not one tall point in the middle like a sad cathedral.
A lot of people use a “rule of thumb” like around 2.3m across roughly 75% of the floor area as a sanity check. Not a strict written rule everywhere more like what tends to keep everyone happy and the room feeling normal.
Okay, so what does your measurement mean?
Here’s the simple version I wish someone had handed me years ago:
Raw ridge height:
- Below 2.0m: you’re in “this will be expensive or not habitable” territory
- 2.0m-2.2m: possible, but you’ll likely need a dormer/hip to gable/floor tweaks
- 2.2m-2.4m: often workable (but stairs + pitch still matter)
- Above 2.4m: you’ve got options and a much lower stress level
If you’re sitting at 1.8m-2.0m, don’t immediately despair but do not, and I mean do not, start shopping for skylights until you’ve looked at structural options and costs. That’s how people end up with a half started project and an empty bank account.
Roof type: the other thing that quietly ruins plans
Quick and non-nerdy version:
- Cut roof (older/traditional, rafters built on site): usually easier to adapt
- Trussed roof (common post-1964, factory trusses crisscrossing everywhere): still convertible, but you can’t just chop things out usually needs more strengthening and smarter engineering
Also watch for loft clutter you didn’t invite:
- water tanks
- chimney breasts
- chunky ridge beams
- weird 1980s DIY “supports” that do absolutely nothing except frighten you
If you’re short on height: the fixes (from least dramatic to most dramatic)
1) Thinner insulation (the millimetre saver)
If you’re just shy, swapping to high performance rigid boards (like PIR) can claw back 40-80mm compared to thicker mineral wool setups, while still meeting thermal performance.
It’s not glamorous, but neither is smacking your head every morning.
2) Rear dormer (the classic)
This is the “make the loft feel like a real room” move. A rear dormer can give you proper headroom over a big portion of the floor and make dormer bathroom feasibility less of a guessing game.
Often space-creating dormer loft design can fall under permitted development (depending on size, placement, and your area), but don’t assume always check.
3) Hip to gable (the space stealer in a good way)
If you’ve got a hipped roof (sloping down at the end), turning that into a gable wall can seriously increase usable space often the difference between “meh” and “oh wow.”
This is common on end terraces and semis where it makes architectural sense.
4) Lowering the ceiling below (the “how much do you love this idea?” option)
Sometimes you can gain up to ~300mm by changing the floor/ceiling structure BUT you’re stealing height from the room below. If that room is already a bit low, you may just be moving the problem downstairs.
Also, it adds complexity, engineering, mess, and cost.
5) Raising the roof / Mansard (the big guns)
Raising the ridge or going Mansard can create amazing space straight-ish walls, lots of headroom, the whole “proper additional floor” vibe.
But it’s expensive, disruptive, and almost always triggers planning permission. On terraces or in sensitive areas, it may not be allowed at all. This is the point where you really need to weigh “loft conversion” versus “maybe we just extend.”
Planning permission vs Building Regulations (they’re not the same, and both matter)
Permitted development basics (very simplified)
You may not need full planning permission if you stay within permitted development rules. Common headline limits people quote are:
- Terraced houses: up to 40m³ additional volume
- Detached/semi detached: up to 50m³
- you generally can’t go higher than the existing roof on the main elevation
- rooflights that project up to 150mm are usually okay
But you’ll likely need planning if:
- you’re in a conservation area
- it’s a listed building
- you exceed the volume limits
- you’re raising the roofline
- the dormer is visible from the street (front facing changes are where councils get twitchy)
Building Regulations are not optional
Even if planning is straightforward (or not needed), Building Regs still apply for a conversion. Expect Building Control to care about:
Fire safety (examples you’ll see a lot):
- escape windows (often minimum 0.33m² clear opening, at least 450mm x 450mm)
- FD30 fire doors on the escape route (commonly required in many setups)
- mains powered, interlinked smoke alarms on each floor
Insulation / energy performance
- often equivalent to around 270mm mineral wool or achieving the required U-value (commonly around 0.18 W/m²K but your designer will spec this)
Structure (especially floors)
Old ceiling joists are basically not impressed by your plan to add a bedroom and furniture. They usually need upgrading.
Typical numbers you’ll see:
- old loft/ceiling joists might have been designed for around 50kg/m²
- habitable floors need around 153kg/m²
Translation: yes, you’ll likely need new floor structure and engineering input.
Money talk: what loft conversions cost (roughly, painfully)
Costs vary wildly by region, access, finish level, and how many surprises your house is hiding. But as ballparks:
- Velux/rooflight style conversion: ~£15,000-£30,000
- Rear dormer: ~£50,000-£90,000
- Hip to gable: ~£90,000-£120,000
- Mansard: ~£60,000-£80,000+ (and it can go up fast depending on scope)
And don’t forget professional fees on top, like:
- architect/designer: £1,500-£3,500
- structural engineer/survey: £400-£1,500
- building control: £300-£800
- party wall surveyor (terraces/semi): often £1,000-£3,000
Also: London and the South East can be a whole different universe price-wise. (If you’re in London, I’m lighting a candle for your budget.)
When I’d tell you to walk away (lovingly, with snacks)
Sometimes the smartest home improvement is the one you don’t do.
I’d seriously pause (or pivot) if:
- you’re below ~1.8m at the ridge and you don’t have “major structural work” money
- you’re around 2.0m-ish but the only way to make it work destroys the room below (or makes the stairs impossible)
- you’ve got a listed building / strict conservation constraints and you’d need external roof changes
- you’ve got a trussed roof that needs so much steel/engineering it starts costing like a ground floor extension
Also, please don’t “just crack on” without approvals. A loft without proper Building Regs sign off can be a nightmare to insure/mortgage, and when you sell you may end up paying for remedial work or taking a hit on price. Future you deserves better.
If your loft can’t be a bedroom, it can still be useful
A low ceiling loft isn’t useless it’s just not a legal bedroom (and it shouldn’t be marketed as one, either).
Ideas that genuinely improve day to day life:
- Boarded storage loft (lighting + proper access makes it actually usable)
- Hobby / studio space (crafts, music, sewing anything you can do without standing at attention)
- Workout zone (hello yoga, goodbye overhead press)
- Walk in wardrobe tucked into the eaves (slopes are perfect for drawers and rails)
Will it add “new bedroom” value? No. Will it make your house feel less like it’s bursting at the seams? Absolutely.
My final “don’t waste money” loft checklist
Before you pay for drawings or book a builder, do this:
- Measure properly (top of joists to underside of ridge)
- Measure in multiple spots (lofts aren’t level because houses are rude)
- Subtract for build up (your 2.2m won’t stay 2.2m)
- Plan the stairs first and check headroom along the run (1.9m centre / 1.8m sides)
- Clock your roof type (cut vs trussed) and any obstructions (chimney, tanks, etc.)
- If you’re borderline, pay for a structural survey/engineer early it’s cheaper than dead end design fees
- Check planning limits for your property type/area and remember Building Regs apply either way
If you do nothing else: do the stairs check early. It’s the single most expensive “oops” I see people make.
And if your loft height is sitting right on the edge? Tell me your raw ridge height, roof type (cut/trussed), and house style (terrace/semi/detached), and I’ll tell you which options are most realistic before you start emotionally moving into your imaginary new loft suite.