
Ready to upgrade your bedroom for the price of a dinner date?
Most store-bought headboards cost between $200 and $800 for basic designs that might not even fit your bed properly.
You end up settling for something that almost works but never quite matches your vision. Building your own headboard changes everything.
You control the size, fabric, and style while spending just thirty to fifty dollars on materials.
This complete blog teaches you professional upholstery techniques using simple tools. Learn to choose materials, avoid common mistakes, and create a custom piece that looks store-bought.
Start your weekend project today and wake up Monday with a bedroom that finally reflects your style.
Why Choose a DIY Headboard?
Skip the expensive furniture store and create something better yourself.
Most store-bought headboards cost $200 to $800 or more. When you make your own headboard, you spend just $30 to $150 on materials.
Building your own headboard gives you full control over style and size. You pick the fabric, wood finish, and exact measurements. No more settling for “close enough” from furniture stores.
The best part? Most DIY headboard projects take just one weekend to complete. You don’t need years of woodworking experience to create something beautiful.
DIY headboards beat store-bought options for several reasons:
- Complete personalization: You choose every detail from size and shape to fabric color and wood stain. Your headboard fits your exact bed size and room style.
- Major cost savings: A basic upholstered headboard kit costs $150 to $300. The same project with your own materials costs $40 to $80. You save 60% to 75% on the final price.
- Beginner-friendly projects: Many headboard styles need just basic tools and simple cuts. Most people finish their first headboard in 6 to 8 hours over a weekend.
Types of DIY Headboards & Materials
Your DIY headboard style depends on your skill level, budget, and room design. From simple fabric-wrapped boards to complex wood patterns, each type offers different benefits and material requirements.
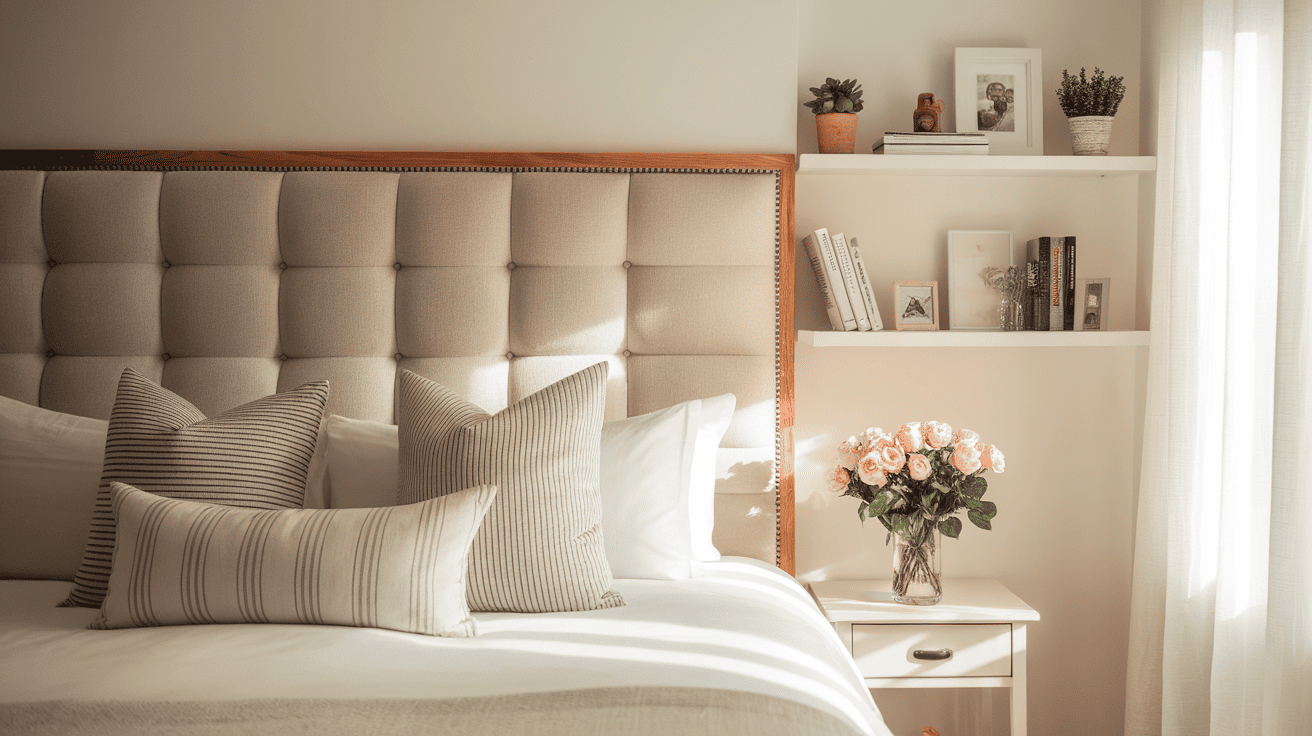
1. Upholstered Headboards
Upholstered headboards feature a wood base covered with padding and fabric.
They offer the softest feel and the most comfort when leaning back in bed. The fabric choice lets you match any bedroom color scheme or style.
These headboards work well in master bedrooms where comfort matters most. You can use any fabric from cotton to velvet for different textures and looks.
2. Plywood or Wood-Framed Headboards
Wood headboards provide a sturdy, classic look with natural wood grain showing through.
They accept stain or paint to match your bedroom furniture. These headboards last for years and work well in both modern and traditional bedrooms.
The wood frame gives a solid feel that won’t wobble or shift over time. They pair well with wooden bed frames and nightstands.
3. Creative Wood Styles
Creative wood headboards use patterns like chevron, geometric shapes, or slat designs for visual interest. Reclaimed wood adds rustic charm and unique character to any bedroom.
Geometric patterns create modern appeal with clean lines and shapes. Slat designs let you play with spacing and wood tones for custom looks.
These styles work as focal points that draw attention to the bed area.
4. Alternate Options
Alternative headboards include fabric panels, painted wall designs, or hanging curtain styles for unique bedroom looks.
Fabric panels stretch over frames for a soft texture without full upholstery work. Painted headboards go directly on the wall and work well for renters.
Curtain headboards hang from rods and move easily when you rearrange furniture. These options cost less than traditional headboards while still adding style.
Planning & Sizing
Standard headboard sizes follow bed dimensions with some extra width for visual balance:
| Bed Size | Headboard Width | Typical Height Above Mattress |
|---|---|---|
| Twin | 40-42 inches | 24-36 inches |
| Full | 56-58 inches | 24-36 inches |
| Queen | 62-64 inches | 24-48 inches |
| King | 78-80 inches | 24-48 inches |
Use painter’s tape to mark your planned headboard size on the wall before building.
Consider pillow height – standard pillows add 6 to 8 inches, king pillows add 10 to 12 inches above the mattress.
How to Build Your Own Headboard?
Building your own headboard takes just one weekend with the right materials and techniques. Gather these supplies before you start.
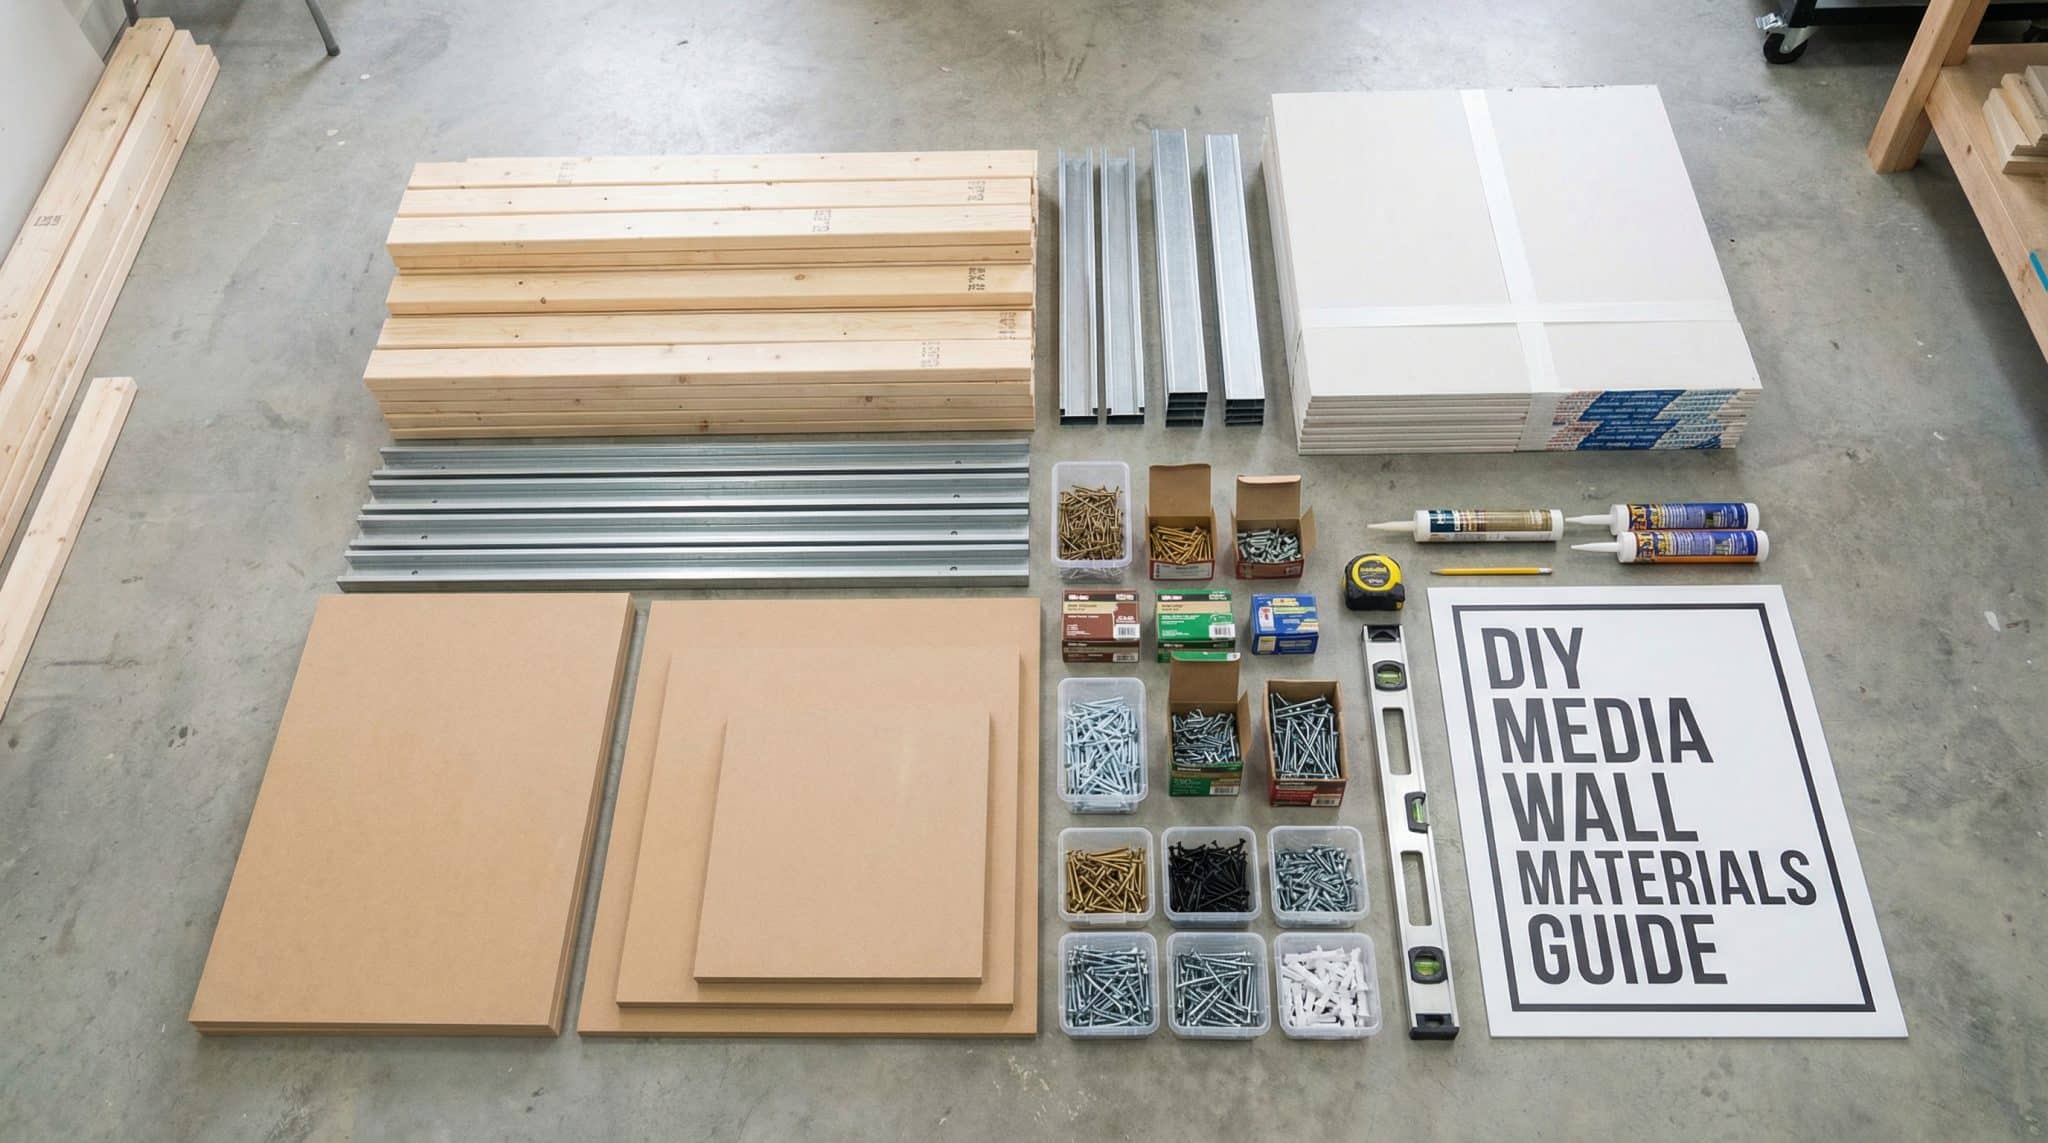
Materials Needed
- 11mm OSB board with wood battens for the frame
- 2-inch foam, polyester wadding, and main fabric
- Heavy-duty staples, wood glue, screws, and spray adhesive
- Headboard struts with M8 T-nuts and calico backing fabric
With supplies in hand, you can create a headboard that rivals expensive store options. Follow each step carefully for the best results.
Step 1: Build the Frame and Prepare the Board
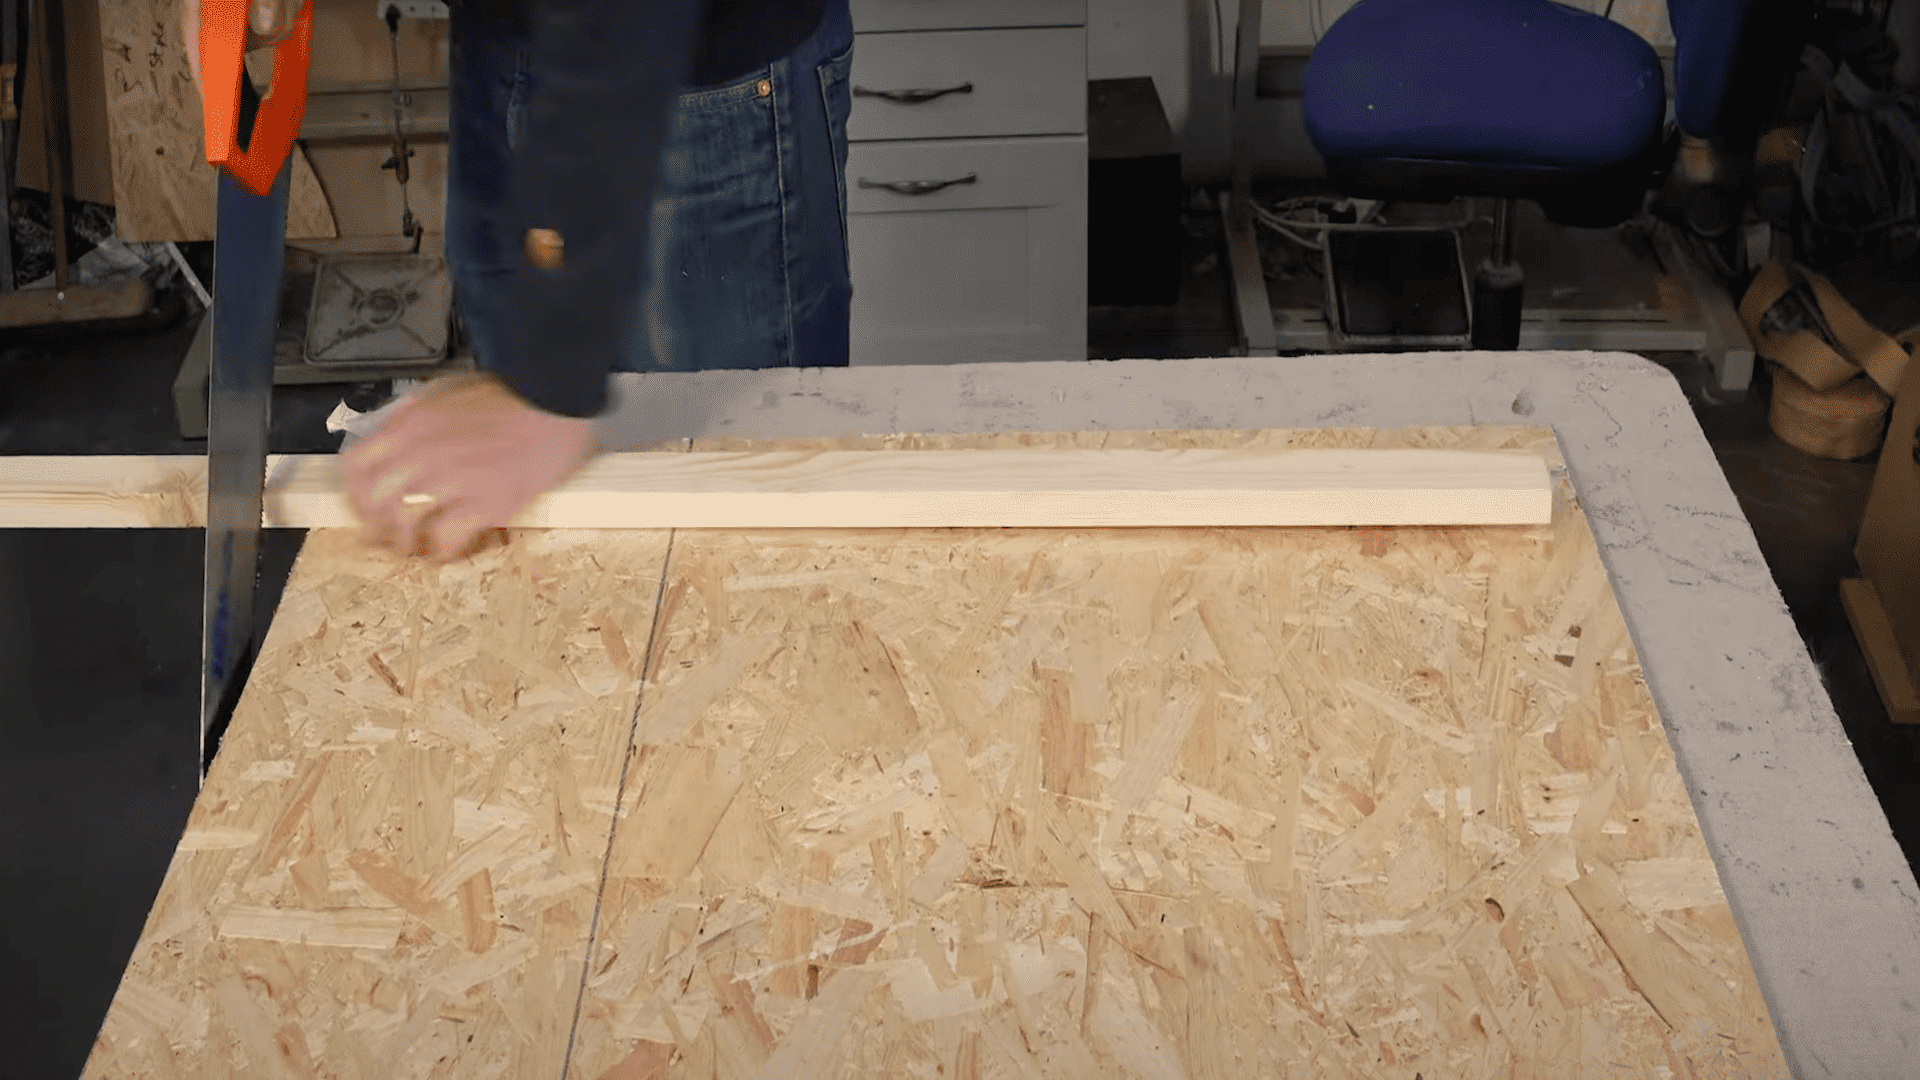
Cut your OSB board to size with a 25cm mattress slip at the bottom. Attach wood battens to the two sides and top using wood glue and screws.
Leave the bottom edge free for headboard struts. Drill four holes 6 inches from each side and hammer M8 T-nuts into the holes from the back.
Step 2: Add Foam and Wadding
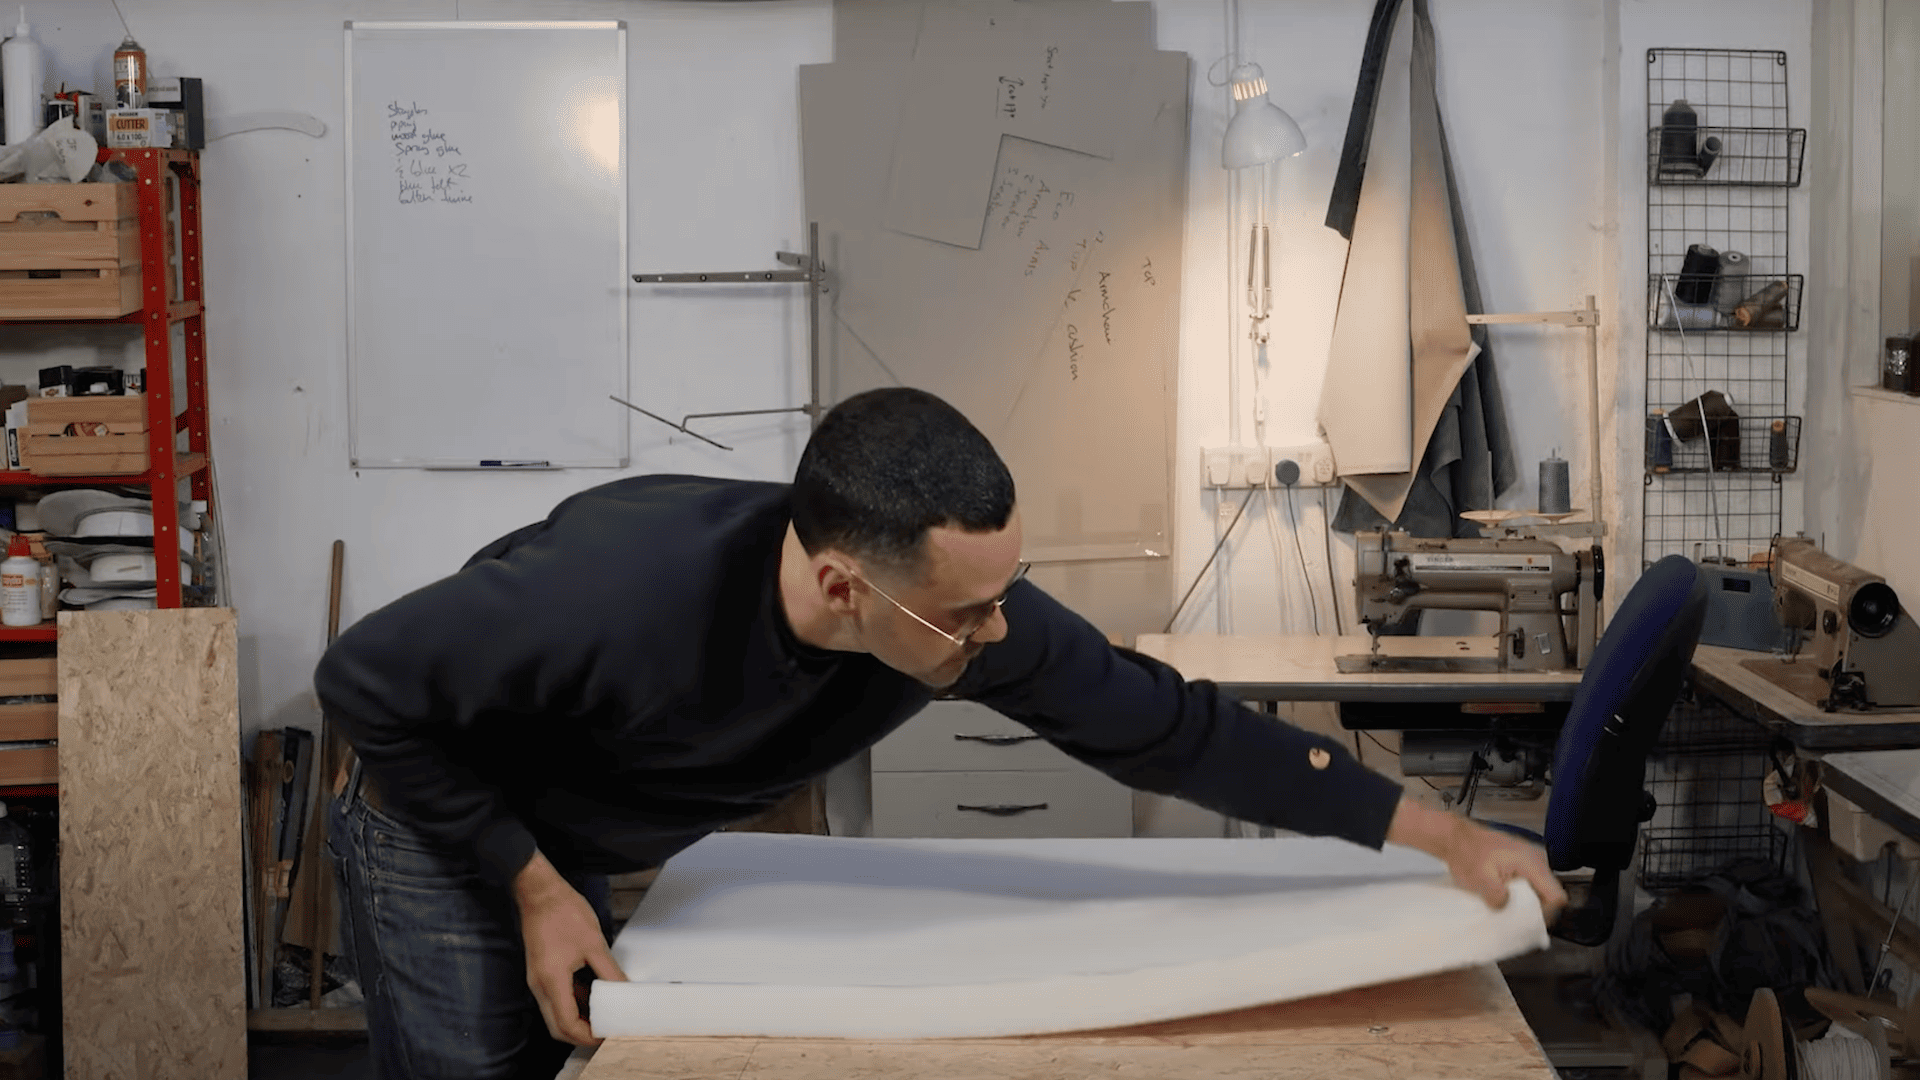
Cut 2-inch foam to overhang the board by 1cm on the sides and top. Spray adhesive on both the board and foam.
Position the foam and staple around the edges. Cover the entire foam surface with polyester wadding.
Step 3: Mark Guidelines and Attach Main Fabric
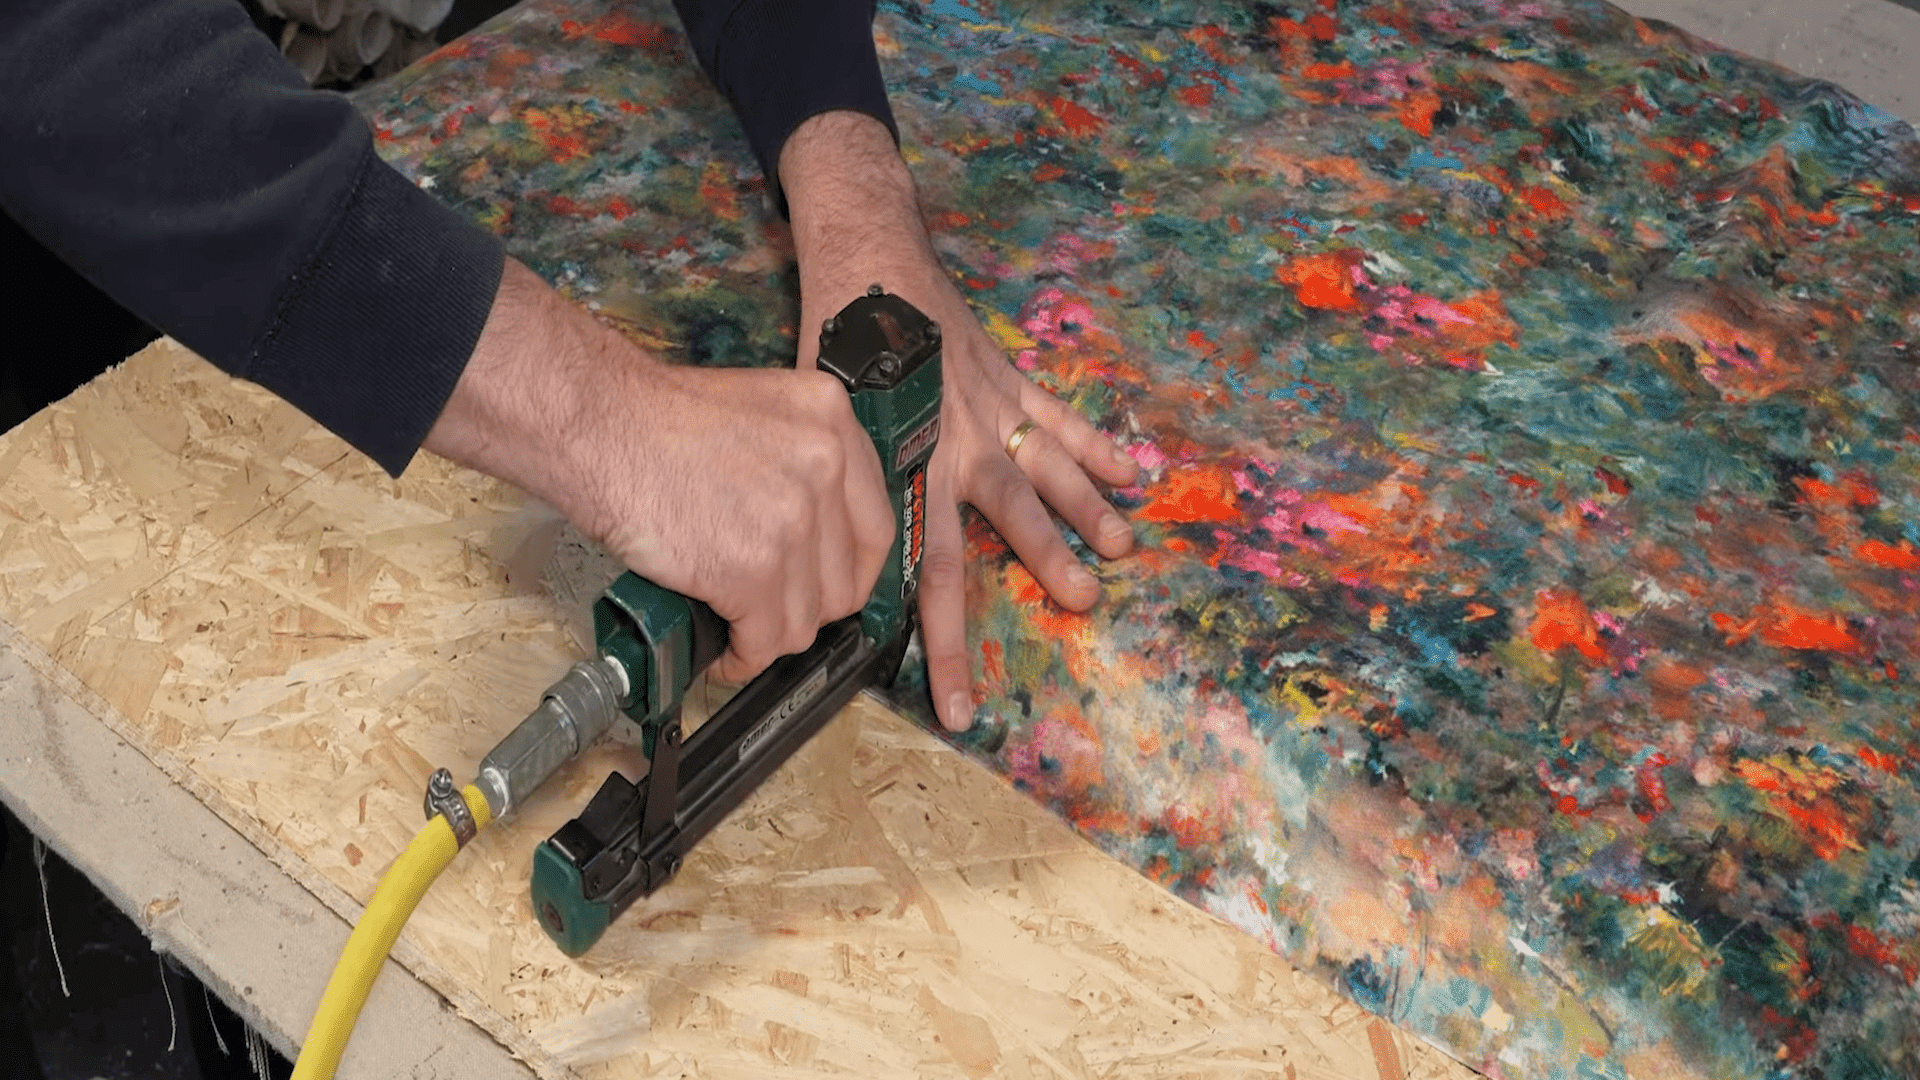
Draw a guideline 1 inch below the bottom edge. Start at the bottom edge with a temporary staple in the middle, then work outward.
Move to the top edge, pull the fabric tight, and use temporary staples. Replace temporary staples with permanent ones, working from the center outward on each edge.
Step 4: Create Corner Pleats and Finish Edges
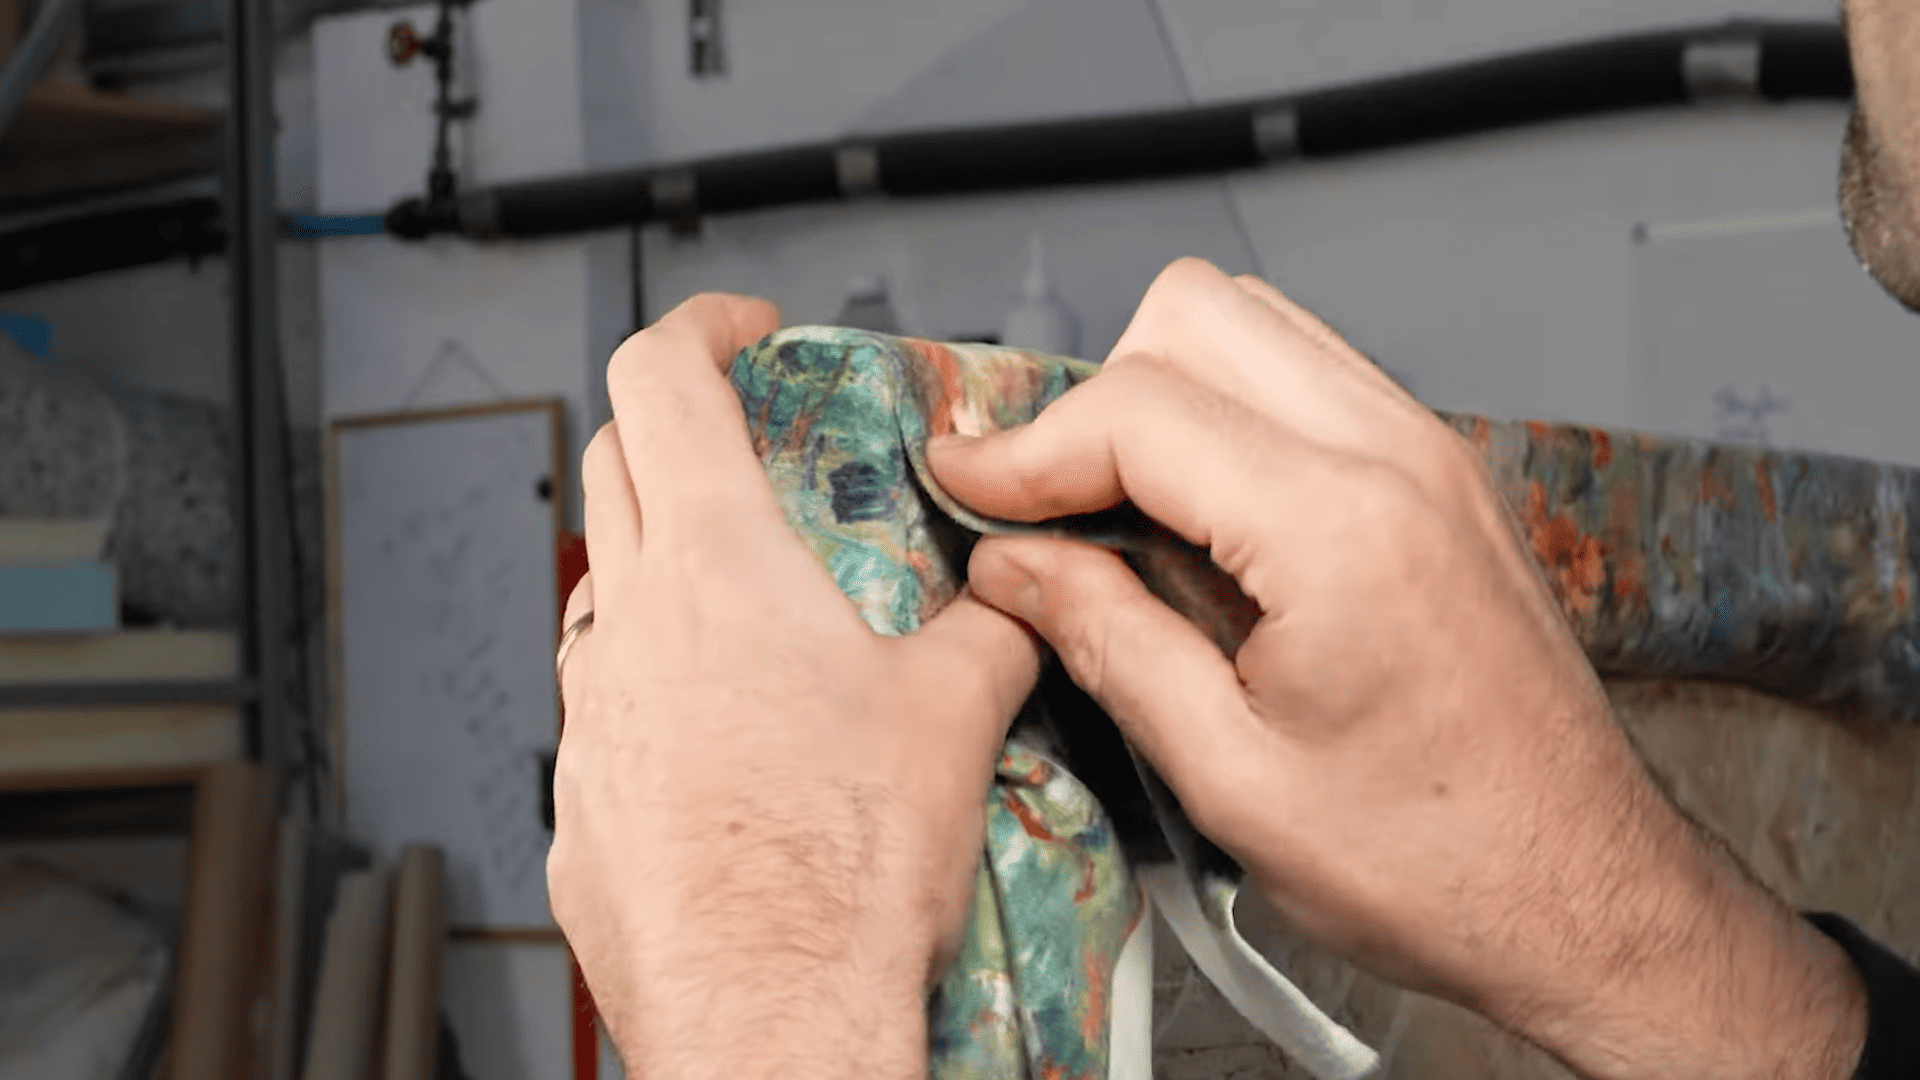
Remove excess wadding near the corners.
Roll the fabric under and create neat pleats at each corner. Pull the fabric tight and staple securely for clean, professional corners.
Step 5: Attach Mattress Slip Fabric
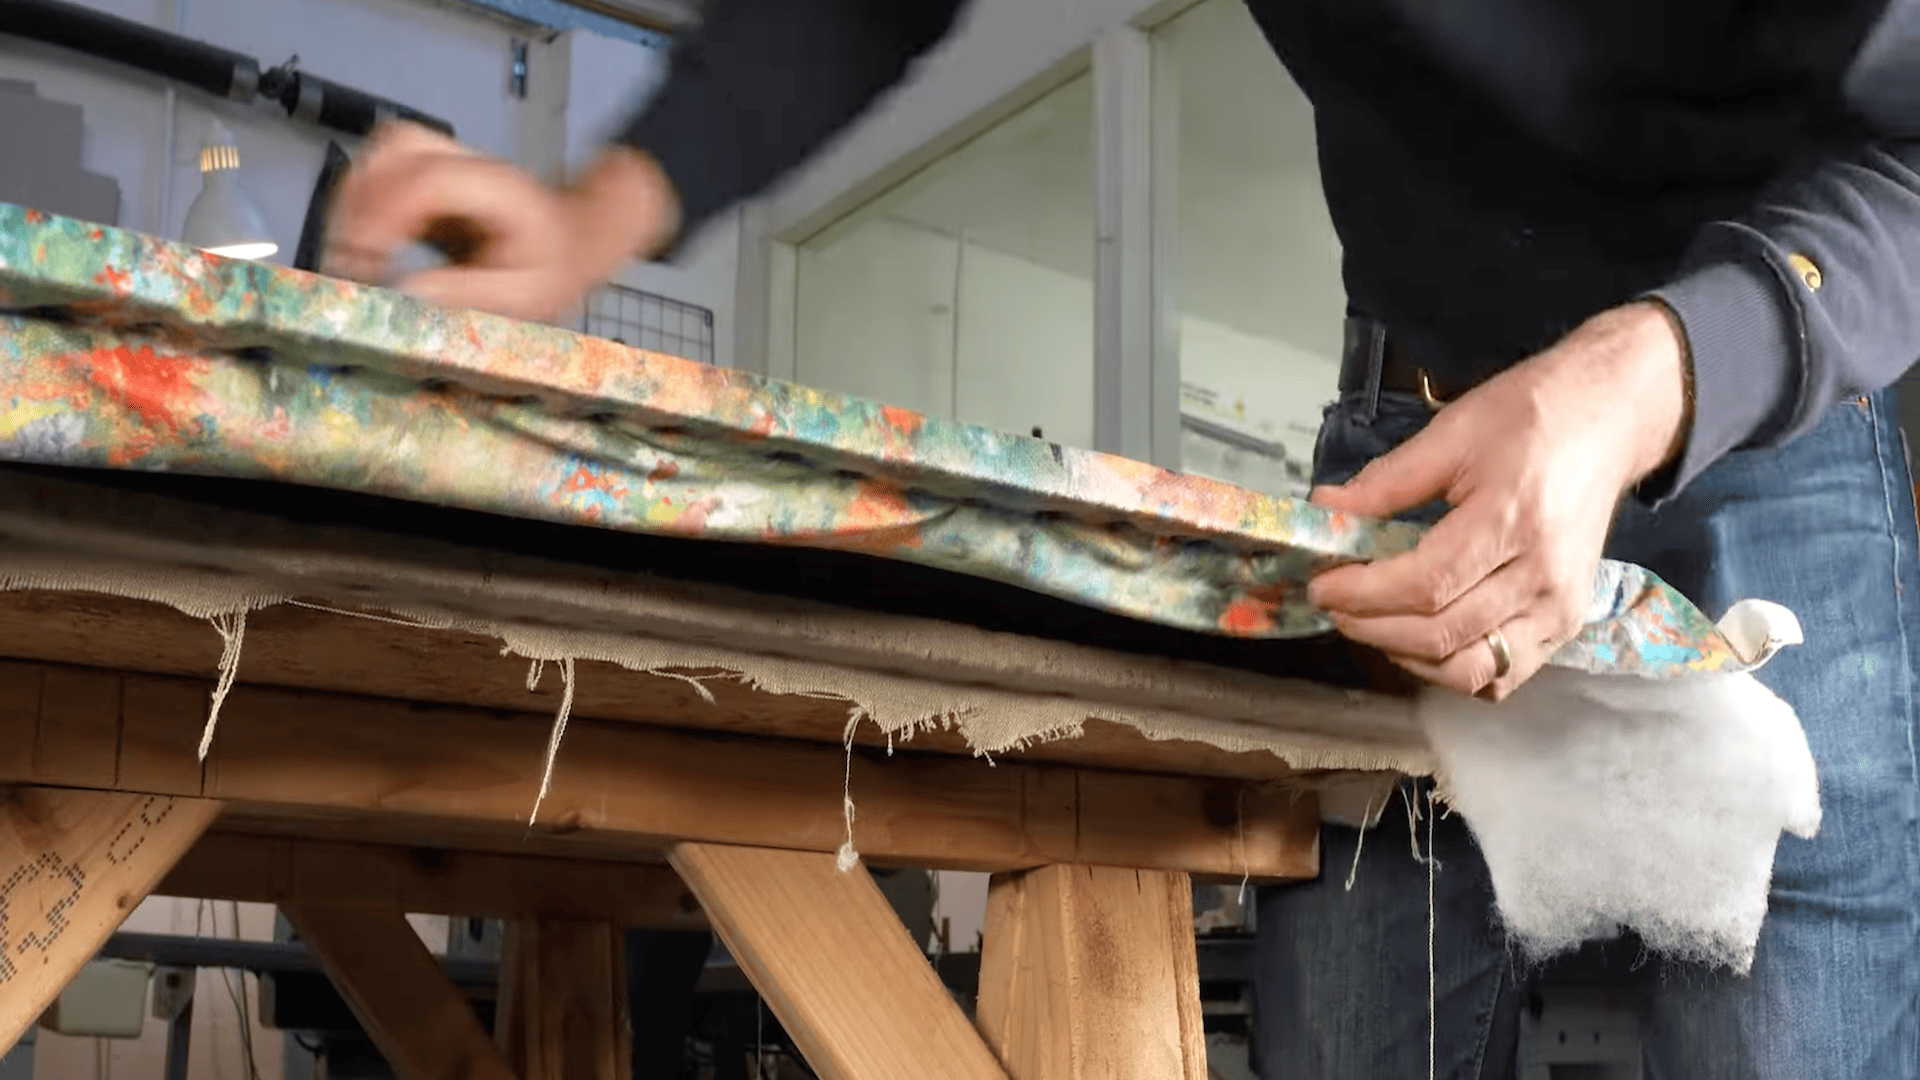
Measure fabric to go from the original line and wrap underneath the board.
Position and attach along the guideline from the center outward. Install a fiber back-tack strip at the 25cm line. Pull fabric over the strip with tension and create small pleats at the ends.
Step 6: Apply Backing and Final Assembly
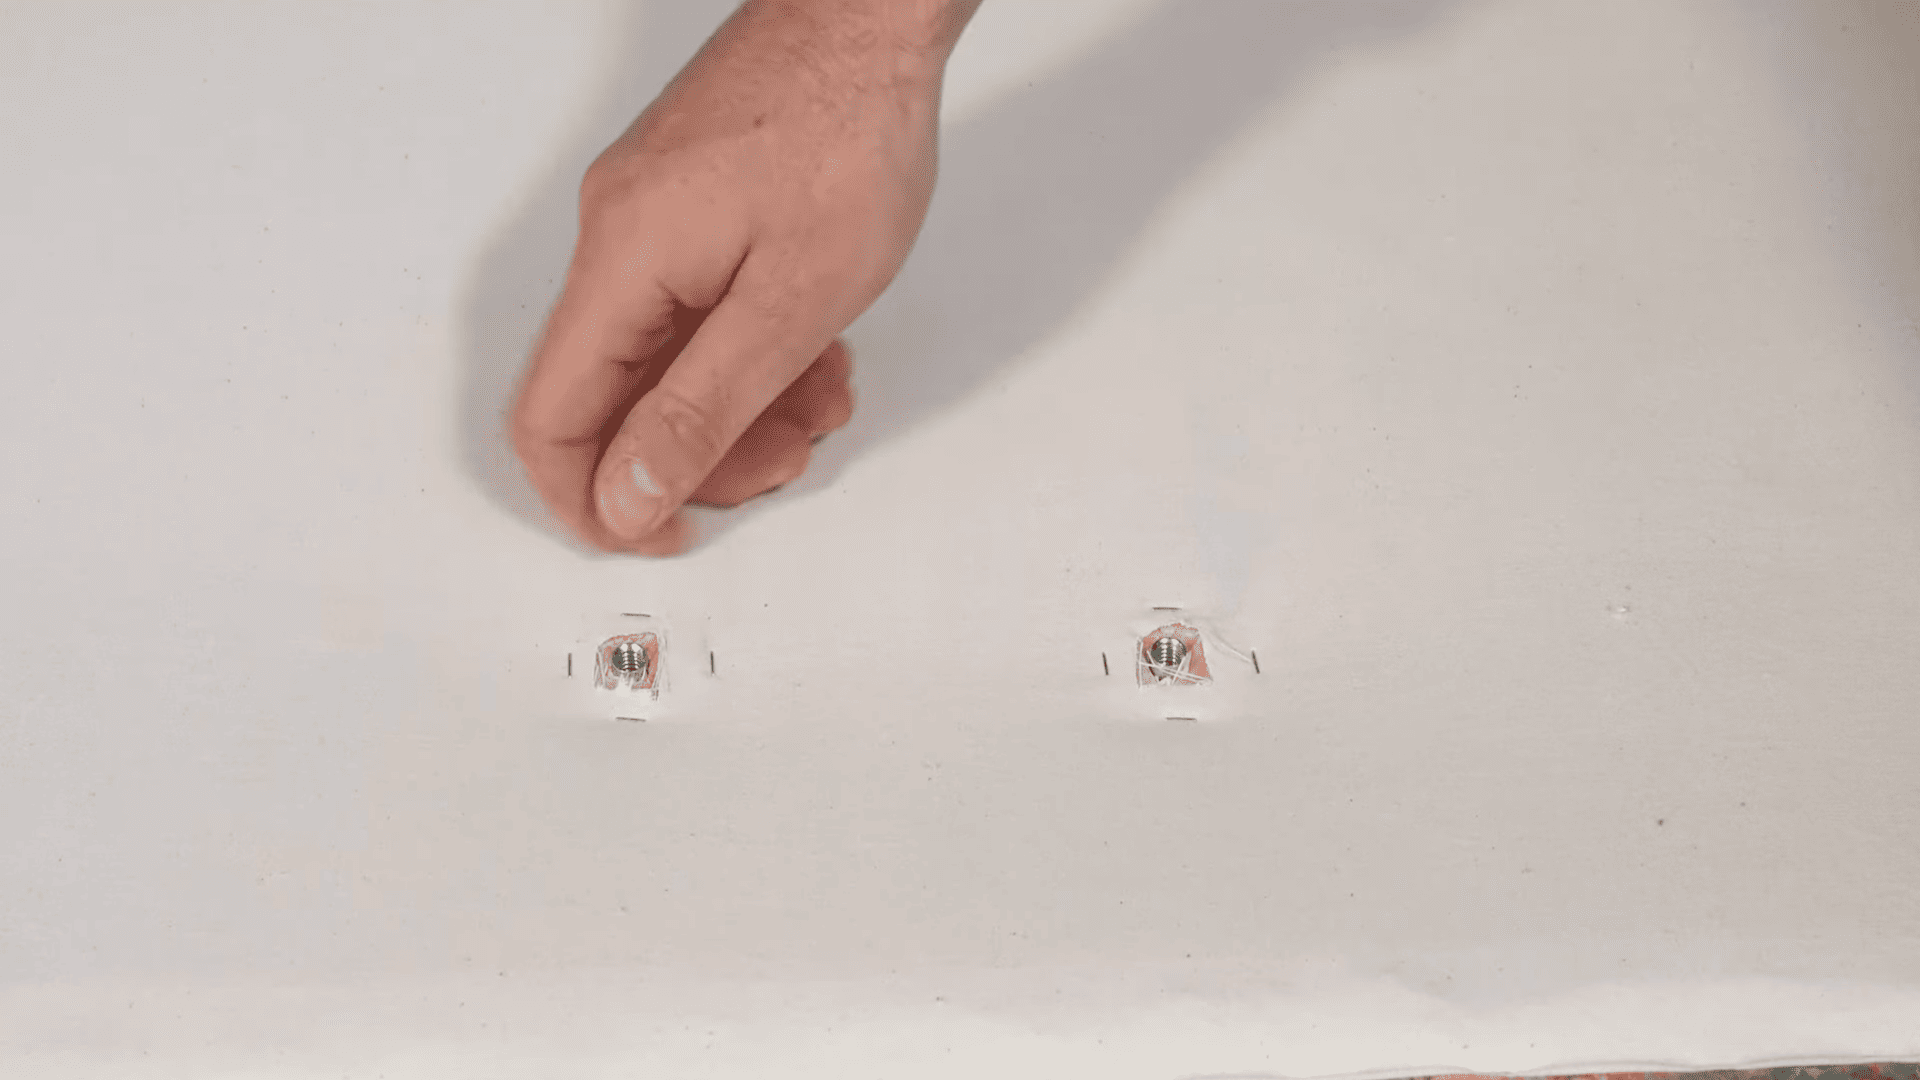
Cut calico backing 2 inches larger than the board. Staple to the back starting from the center of each side and working outward.
Cut away calico around the T-nuts. Install headboard struts through T-nuts with bolts to complete your headboard.
Video Tutorial
I’d like to give credit to Just Fabrics for their informative video, as a reference for this guide.
Common DIY Mistakes to Avoid
Small mistakes can turn your DIY headboard project into a frustrating experience. Avoid these common errors to ensure your headboard looks professional and lasts for years.
- Pull the fabric tight while stapling and work from the center outward on each side. Check for wrinkles before adding each staple to avoid wrinkled fabric that ruins the finished look.
- Measure your bed frame, not just the mattress. Double-check all cuts before making them to prevent wrong measurements that waste time and materials.
- Let the stain dry completely between coats and don’t skip the sanding steps. Rushing leads to blotchy color and rough texture that shows in the final product.
- Use heavy-duty staples rated for upholstery work. Sharp saw blades give clean cuts that fit together properly instead of cheap supplies that cause problems later.
The Bottom Line
Building a DIY headboard proves that custom furniture doesn’t require professional training or expensive tools.
The upholstery techniques demonstrated here work for beginners and experienced builders alike. Material costs stay low while results match or exceed store-bought quality.
The key to success lies in patience during fabric application and attention to corner details.
These steps determine whether the finished headboard looks homemade or professionally crafted. Taking time with measurements and fabric tension prevents common mistakes that affect appearance.
This project opens doors to other furniture-making possibilities.
The same basic skills apply to reupholstering chairs, making cushions, or creating other fabric-covered pieces. Many people who learn how to make a headboard continue with additional DIY furniture projects.
Share your biggest headboard design challenge in the comments.
Find more simple DIYs and home repair ideas.