Build a Stunning DIY Media Wall (Without Paying Someone Else’s Vacation Fund)
A professionally installed media wall can run $2,500 to $6,000. Which is… a lot of money for “a fancy rectangle you stare at nightly while eating chips.”
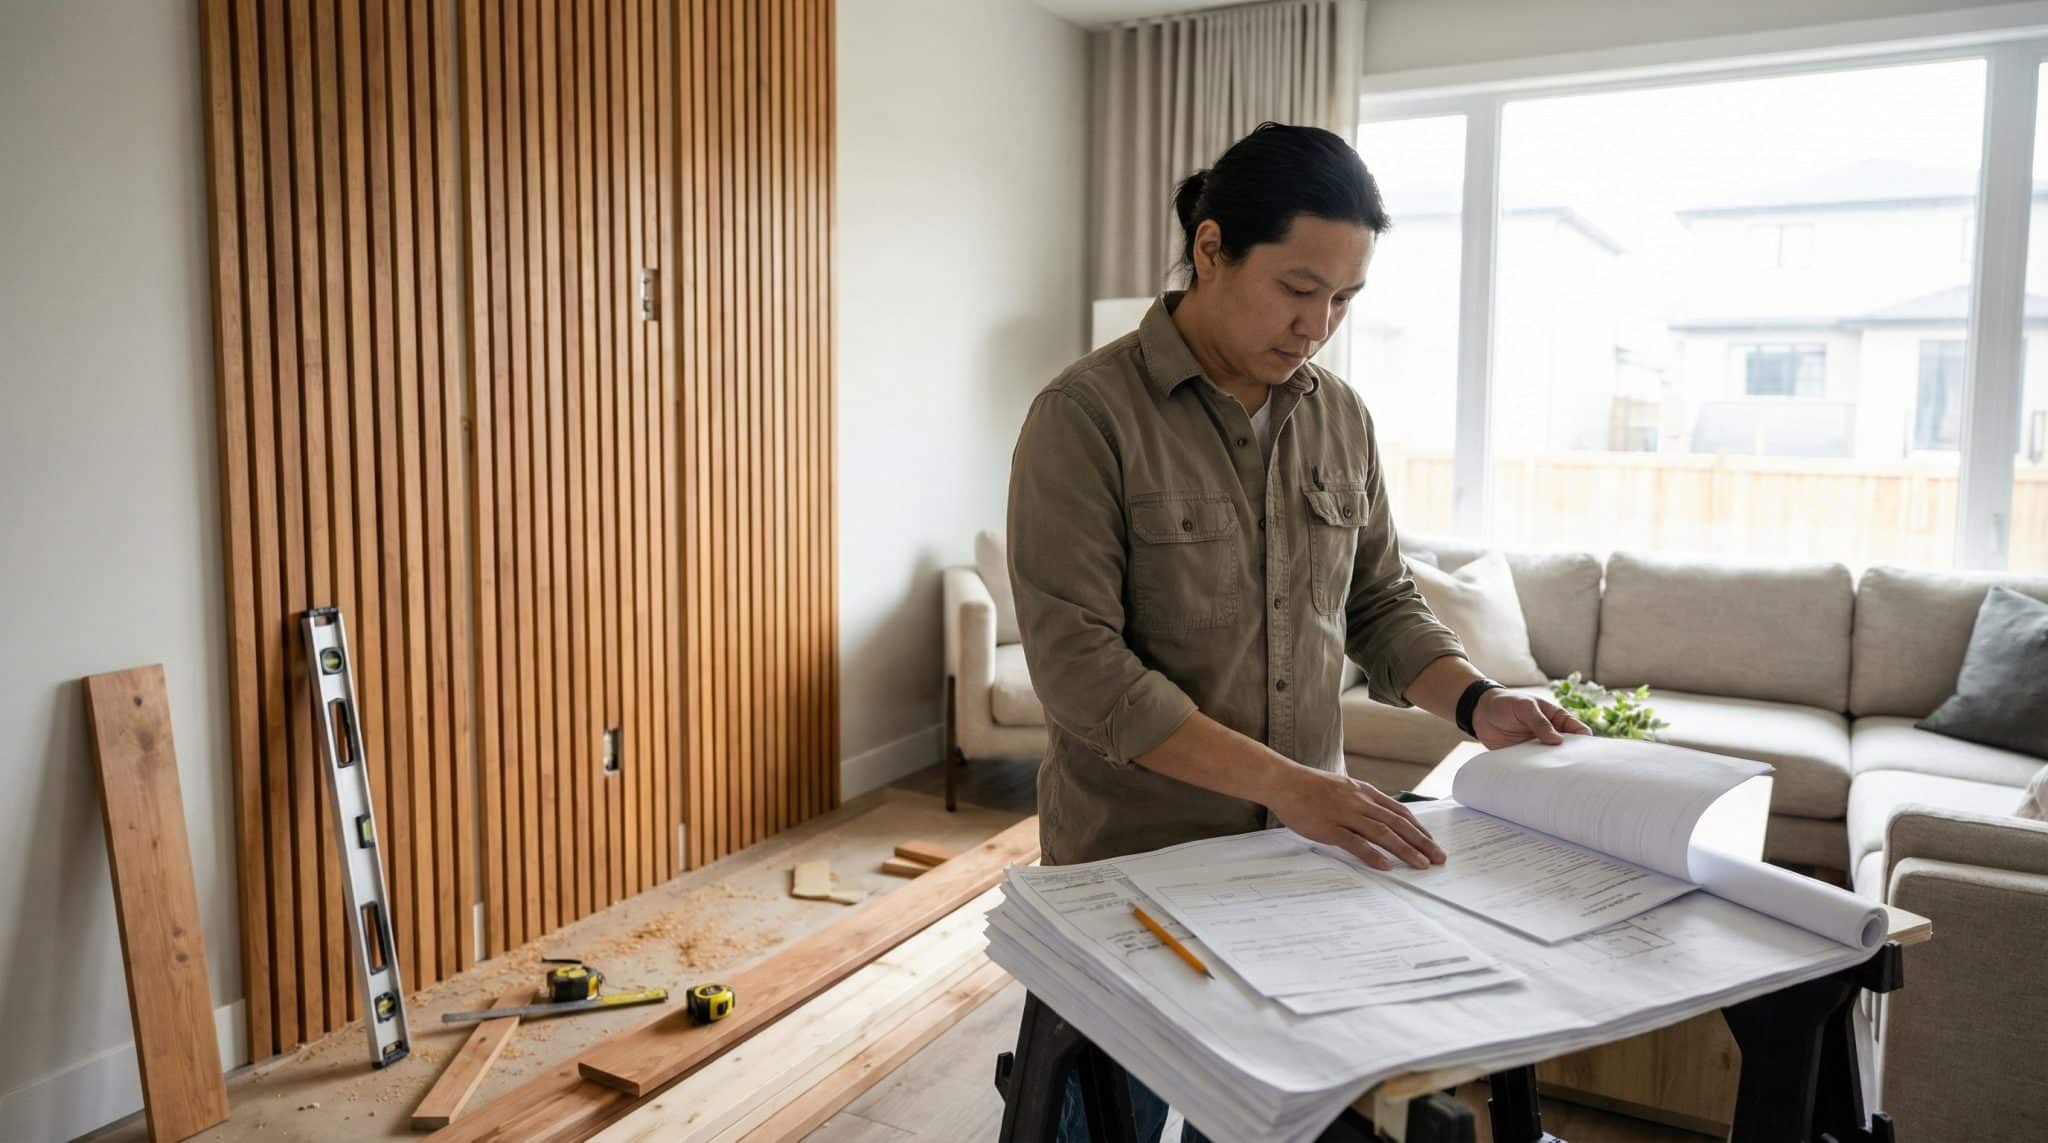
Doing it yourself usually saves 40-60% (aka $1,500+ stays in your pocket), but I’m not going to lie to you: the framing is the fun part. The part that makes grown adults whisper-swear into a bucket of joint compound is the finishing.
So here’s my honest take: you can absolutely DIY a gorgeous media wall—especially if you’re willing to do a smart “hybrid” (DIY the build, hire out the mud work, paint it yourself like the capable legend you are).
Let’s figure out if this is your kind of chaos.
First: Is This Project Actually “You,” or Will It Make You Hate Everyone?
DIY media walls are a great idea if:
- You’ve framed anything before (yes, a closet counts—don’t be humble)
- You can borrow/rent a few power tools
- You have a helper for the awkward stuff (drywall sheets + TV mounting = two person job unless you’re secretly The Hulk)
- You’re doing TV-only or using a plug in fireplace that doesn’t require electrical gymnastics
DIY media walls go off the rails when:
- You underestimate drywall finishing (everyone does at least once)
- You expect seams to disappear in one coat (they will not)
- You rush drying time, then wonder why your wall looks like a lumpy pancake under lamp light
My favorite realistic plan: Frame it yourself in a day, hire a drywall finisher for $400-$800, then you paint and do the pretty stuff. This keeps most of the savings and skips the phase that humbles first timers.
The Planning Part (AKA Measure Like You Mean It)
Quick note: pick one measurement system and stick with it. Don’t mix inches and centimeters in the same measurement chain unless you enjoy re-buying lumber.
Choose your TV + fireplace before you build anything
I know it’s tempting to frame first and “pick a fireplace later,” but that’s how you end up with an opening that fits exactly one model from 2009 that’s now discontinued.
Before you finalize your layout, confirm:
- Exact TV dimensions (width/height/depth)
- Fireplace dimensions + clearance requirements (read the manual, yes really)
- Plug in vs hardwired (hardwired usually means electrician + possibly permits)
- Whether the fireplace needs a dedicated circuit (many do)
Start with constraints, not vibes
Here’s the order that saves your sanity:
- Figure out what your existing wall can accommodate (stud locations, power options, depth)
- Pick the TV/fireplace models that fit those constraints
- Finalize the exact positions and wall depth
If your studs don’t land exactly where your “perfect centered TV moment” lives—don’t panic. That’s what backing and blocking are for.
How deep does a media wall usually get?
Once you stack up framing + drywall + TV depth + cable space, most media walls end up about 12-14 inches out from the existing wall.
Rough math (because you don’t need a spreadsheet to suffer):
- Standard 2×4 depth: 3.5″
- Drywall: 1/2″ to 5/8″
- TV depth: 3-5″
- Cable clearance: 2-3″
- Fireplace depth: varies wildly (4-14″ depending on model)
My advice: stage it. Put the TV bracket, TV (if you have it), and fireplace box near the wall and eyeball the “real life bulk.” It’s way easier to adjust now than after drywall.
TV height: don’t mount it like a dentist office
A good starting point is TV center around 42-48 inches from the floor (typical seated eye level). Adjust for your couch, your room, and whether you’re tall or built like a sleepy raccoon (no judgment) but keep TV heat and height safety in mind.
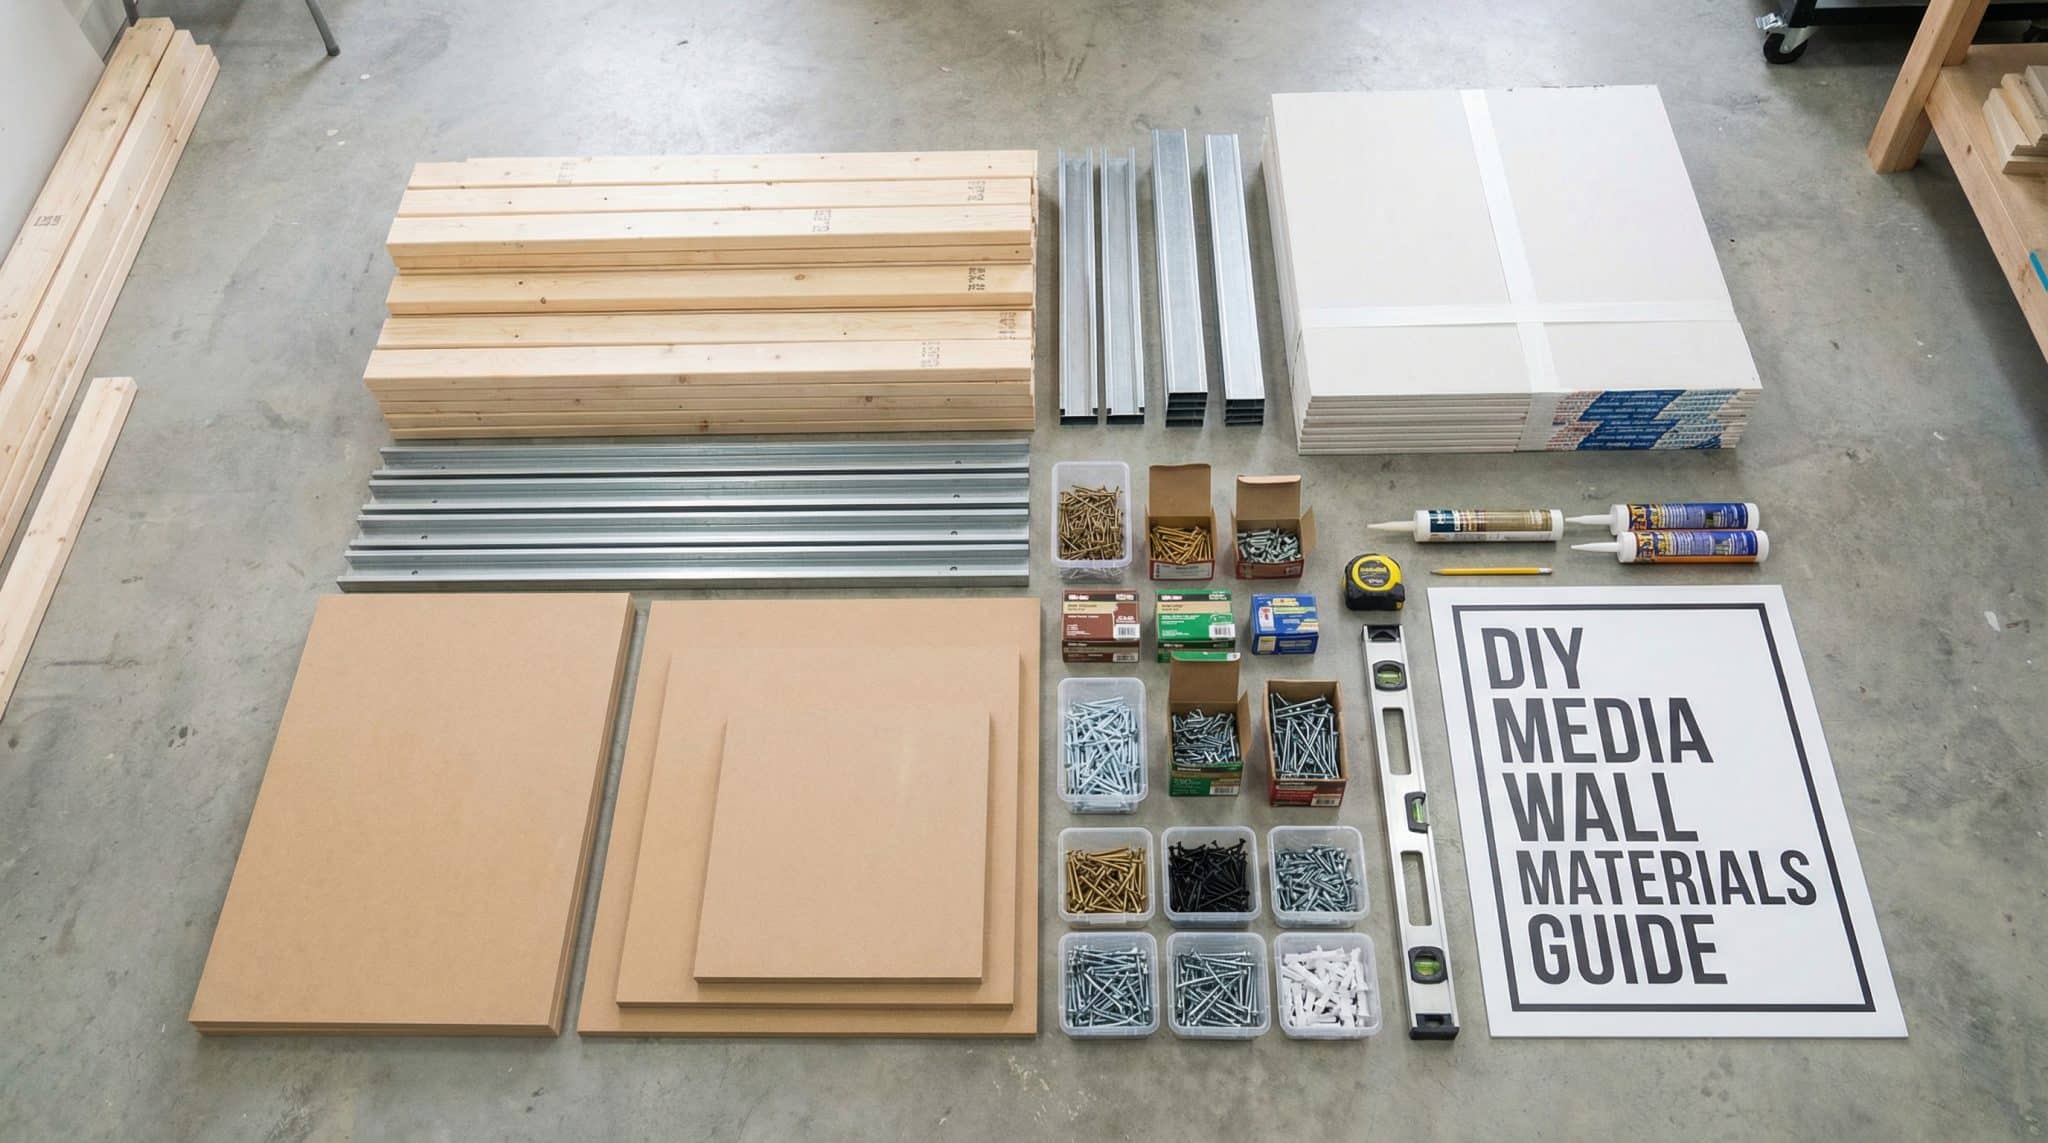
Tools + Materials (Not Every Last Thing, Just What Matters)
For a typical 8-10 foot media wall, you’re generally looking at:
Materials:
- 2x4s (kiln dried studs): plan on 40-60 linear feet
- Drywall: 3-4 sheets
- Drywall screws (1 5/8″): around 200
- Joint compound: about two 5 gallon buckets if you’re finishing yourself
- Paper tape (yes, paper—more on that later)
- Wood backing for the TV mount (plywood or a sturdy board)
Tools (buy/borrow/rent):
- Cordless drill/driver
- 4 foot level (this is not optional unless you like crooked TVs)
- Stud finder
- Miter saw (rent is totally fine)
- Drywall lift (rent if you’re solo—it’s like having an extra set of arms that doesn’t complain)
If you’re renting, you can usually get away with $100-$150 for a 3 day tool rental depending on your area.
The Build: The Simple Version (With the Important Details)
1) Prep + mark everything
- Clear the area and remove baseboards as needed
- If there’s carpet/vinyl where the wall will sit, pull it back so your framing anchors to subfloor, not “squishy mystery padding”
- Mark your:
- TV center height
- Fireplace opening (with clearance allowances)
- Outlets/cable pathways
Do this one thing for Future You: run a 1 inch PVC conduit inside the wall for cables. It costs like $15 and saves you from cutting drywall later when you inevitably upgrade something (or when HDMI standards change again, because of course they will).
2) Frame it like you want it to last
Your framing should tie into real structure. Not “drywall anchors and hope.”
- Secure floor/ceiling plates properly (wood screws into wood. Concrete anchors into slab)
- Typical stud spacing is 16″ on center
- Around the TV/fireplace area, I like to add extra support (think 12″ spacing or additional blocking)
Blocking/backing is the whole secret sauce. Behind where the TV mount will go, install solid wood backing between studs so your mount bolts into something that can actually hold weight.
And please—begging you—use a level constantly. A media wall that’s off by even a little will look “fine” until you mount the TV and suddenly it’s all you can see. Forever. Even in your dreams.
3) Electrical: this is where you stop being a hero
You can plan outlet locations and run conduit, but anything involving new circuits, outlets, permits, or hardwiring should be handled by a licensed electrician.
- Budget: $300-$800 (varies a lot by location and how complicated it is)
- Schedule: sometimes you’re waiting 3-7 days to get them in
Also:
- Use CL2/CL3 rated low voltage cables for in wall runs (HDMI, ethernet, etc.)
- Keep low voltage cables at least 2 inches away from power lines
- Leave 6-12 inches of slack at each end (your future self will send you a fruit basket)
4) Drywall: yes, it’s dusty. yes, it’s worth it.
Hang drywall with a small gap at edges (about 1/4″ top and bottom). Screw it off properly:
- Screws every 8″ on edges
- Every 12″ in the field
- Sink them flush—don’t rip the paper
Cut your TV/fireplace openings carefully. (Cutting too big is annoying. Cutting too small is… fixable, but you won’t be joyful about it.)
5) The finishing phase (aka the part I outsource when I’m being honest with myself)
If you’re DIY-ing the finish: plan for three coats, minimum, with drying time between coats. Not “I touched it and it seems fine.” Real drying.
- Use paper tape (mesh is more crack prone in a lot of situations)
- Multiple thin coats > one thick sloppy coat
- Sand lightly between coats
- Shine a flashlight along the wall at an angle to spot ridges (this is both helpful and emotionally devastating)
Also: humidity and temperature matter. Joint compound takes longer to cure if it’s damp or cold. So if you’re doing this in a chilly basement in February, add time and patience (and maybe snacks).
6) Prime + paint
New drywall needs primer. Use a PVA primer made for fresh drywall.
Finish paint: I prefer eggshell or satin for media walls because they hide little imperfections better than anything shiny. Gloss is basically a spotlight for your drywall sins.
7) Mount the TV + install the fireplace (the fun part again!)
For the TV:
- Use lag bolts into studs/backing (not drywall anchors—never drywall anchors)
- Get a helper for mounting (unless you love risk)
- Level it, then level it again, then step back and squint like a dad
For the fireplace and modern log burner surrounds:
- Follow the manufacturer’s clearance specs exactly
- Before you “close everything in,” run it on high for a few minutes and make sure it doesn’t overheat/shut off (if it does, airflow is blocked and you need to fix that now, not after you’ve caulked and painted and posted your reveal photos)
Mistakes That Get People (So You Don’t Have to Learn the Hard Way)
- TV mount pulls loose: it’s almost always mounted into drywall instead of studs/backing. Fix: reinstall properly with lag bolts into solid wood.
- Fireplace overheats: clearances too tight or vents blocked. Fix: open it up and correct airflow/clearance. (Yes, it hurts.)
- Your openings are the wrong size: measuring without accounting for brackets/trim/depth. Fix: you can usually cut bigger. Making it smaller means patching and re-cutting.
- No cable access: you finished the wall and now you can’t add/change anything. Fix: ideally prevented with conduit. After the fact usually means cutting drywall (rude).
- Visible seams in certain lighting: your wall looks fine… until evening лamplight exposes every ridge. Fix: skim coat + patience. Thin coats win.
What It’ll Cost (Realistic Ranges)
For an 8-10 foot media wall, you’re generally looking at:
- Budget build: $740-$1,530
- Mid-range: $1,430-$2,570
Common line items:
- Framing lumber: $150-$400
- Drywall + finishing supplies: $150-$400
- Electrical parts: $50-$150
- TV bracket: $50-$300
- Paint: $40-$120
- Electric fireplace (if you’re adding one): $300-$1,200
And again—if you hire out just the drywall finishing ($400-$800) you can still come out way ahead while saving yourself two weeks of sanding dust in places sanding dust should never be.
How Long It Takes (Because This Is Where Dreams Go to Die)
If you DIY everything including finishing, expect about 30-50 hours of work spread across 3-4 weeks.
Not because you’re slow—because drying time is a diva.
If you hire out drywall finishing, you’re more in the range of 15-25 hours over 1.5-2 weeks, depending on scheduling.
My personal experience: framing feels like instant gratification, drywall finishing feels like watching paint dry (because you are), and then suddenly you’re painting and mounting the TV and you’re like “WAIT…I MADE THIS?”
My Final Pep Talk (and One Tiny Threat)
If you want the biggest impact for the least money, a DIY media wall is kind of unbeatable. It turns a plain room into a “yes, I have my life together” room—even if the rest of your house still has a chair robe situation (mine does).
Just remember:
- Plan around your actual studs and power realities
- Overbuild the backing where the TV mounts
- Don’t rush drywall drying time
- Hire out electrical (and finishing, if you want to stay married to your sanity)
If you build one, take progress pics. Not just for Instagram—also for the moment you’re sitting on the floor covered in drywall dust and need proof that you’re making progress.
And if you mount your TV with drywall anchors… I will find you. With a wet noodle.