Ever walked away from a house viewing feeling like you missed something important?
You’re not alone. Buyers often forget to check crucial details when excitement takes over.
That’s where a proper viewing checklist becomes your best friend. It keeps you focused on what matters most, from structural basics to hidden costs.
This guide breaks down everything you need to inspect, both inside and out. You’ll learn which systems need checking, what warning signs to spot, and how to assess general maintenance.
By the end, you’ll know exactly what to ask when viewing a house and feel confident making informed decisions. Let’s make sure your subsequent viewing covers all the bases.
Why Should You Never View a House Without A Checklist?
You know that feeling when you walk into a beautiful home and everything else fades away? That’s precisely when you need a checklist most.
Your brain gets distracted by pretty features while missing expensive problems. Think about this like spotting a small leak now saves thousands in water damage later.
A quick checklist reminds you to check behind furniture and look up at ceilings where issues often hide.
House viewings feel rushed because they are. You get maybe 30 minutes to make one of life’s most significant decisions, like:
- Prevents emotional buying: Keeps you focused on facts over feelings.
- Saves money long-term: Spots expensive problems before you buy.
- Maximizes viewing time: Covers all important areas in 30 minutes.
- Creates bargaining power: Real issues give you negotiation leverage.
- Improves decision making: Clear notes help you compare properties later.
- Avoid confusion: Remembering which house had which problems.
- Builds inspection mindset: Treats viewing like a professional assessment.
Smart buyers treat viewings like inspections. They bring lists, take notes, and check everything methodically. This approach gives them real bargaining power when negotiating prices.
Essential Things to Bring on Your Viewing
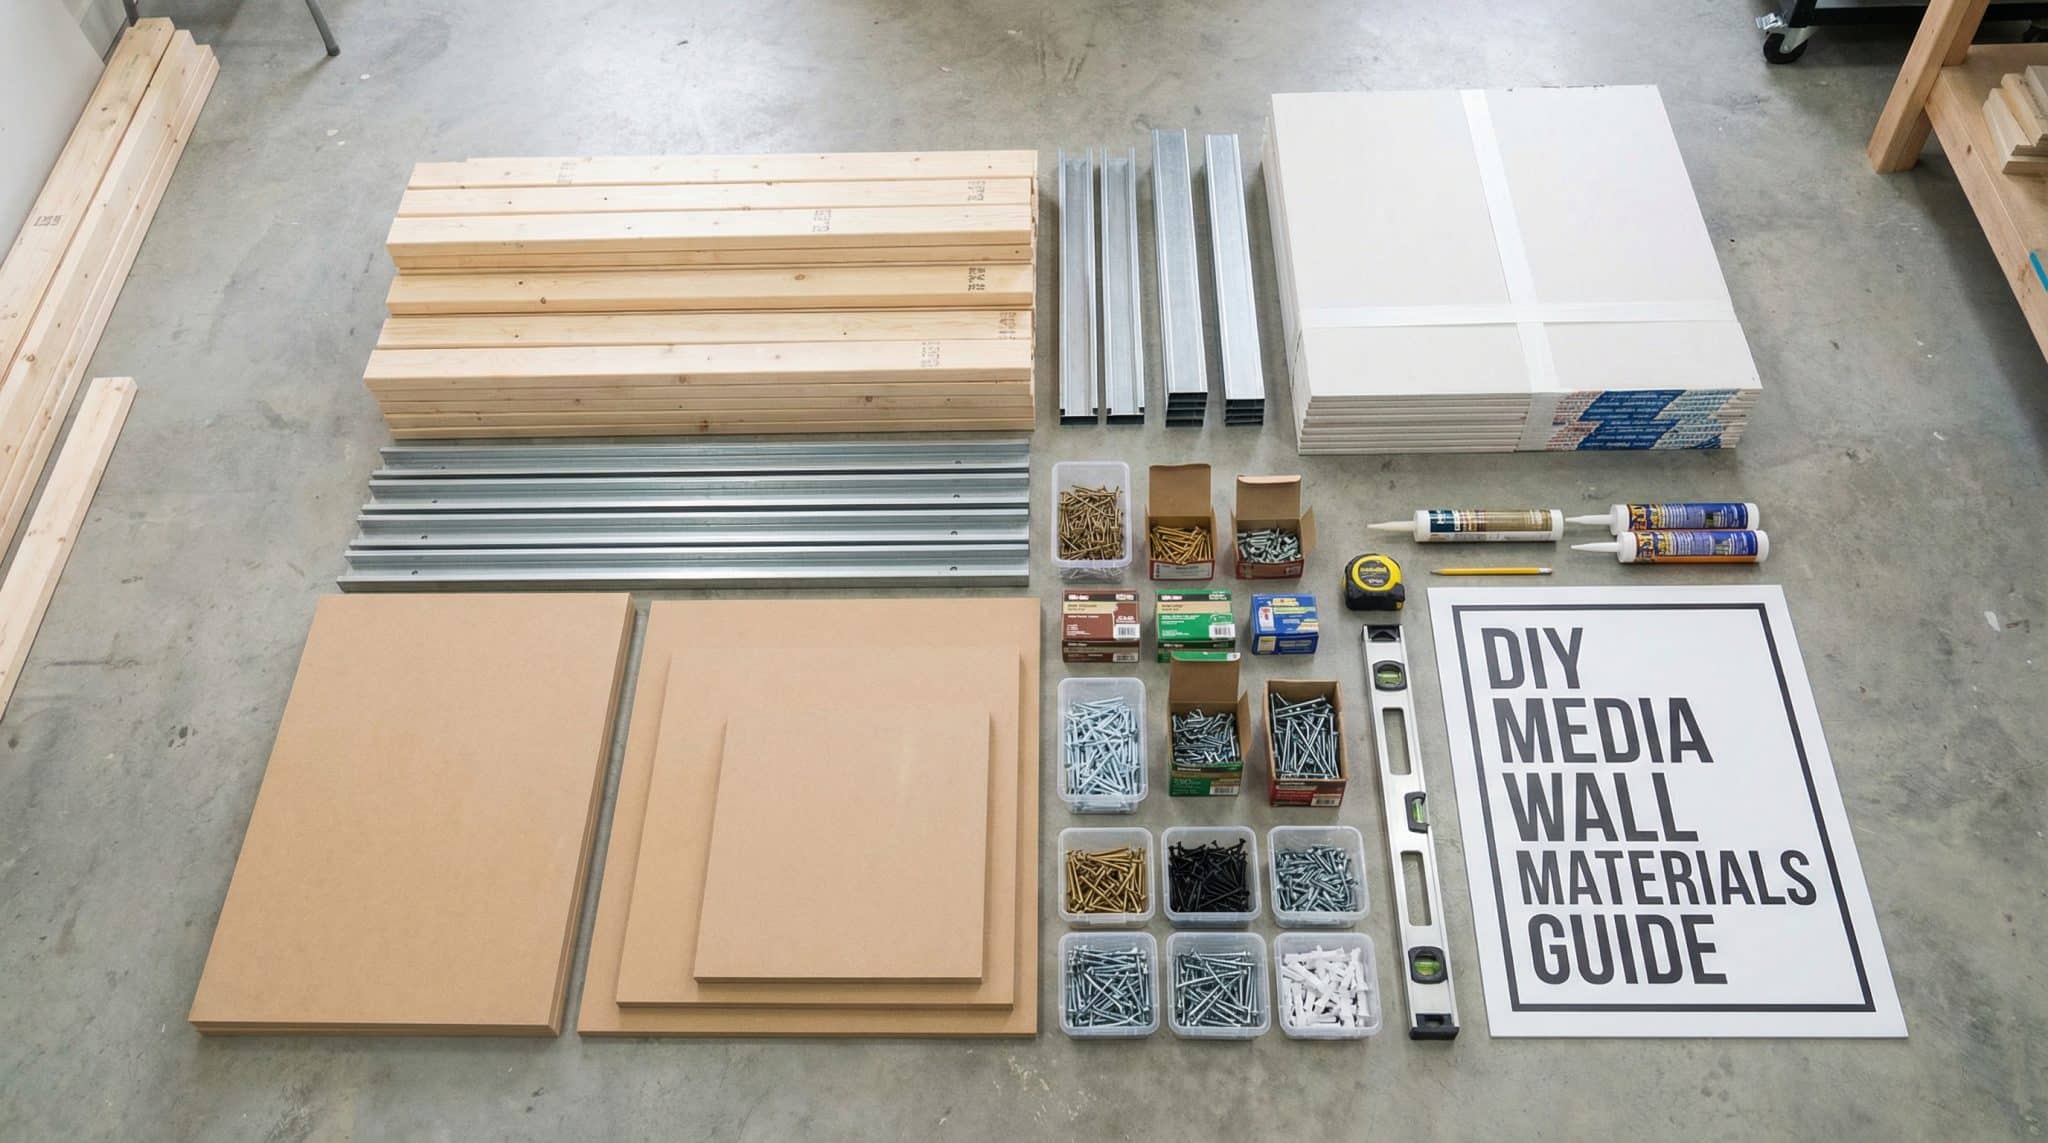
The right tools help you spot issues others miss. From measuring spaces to checking dark corners, each item serves a specific purpose during your inspection.
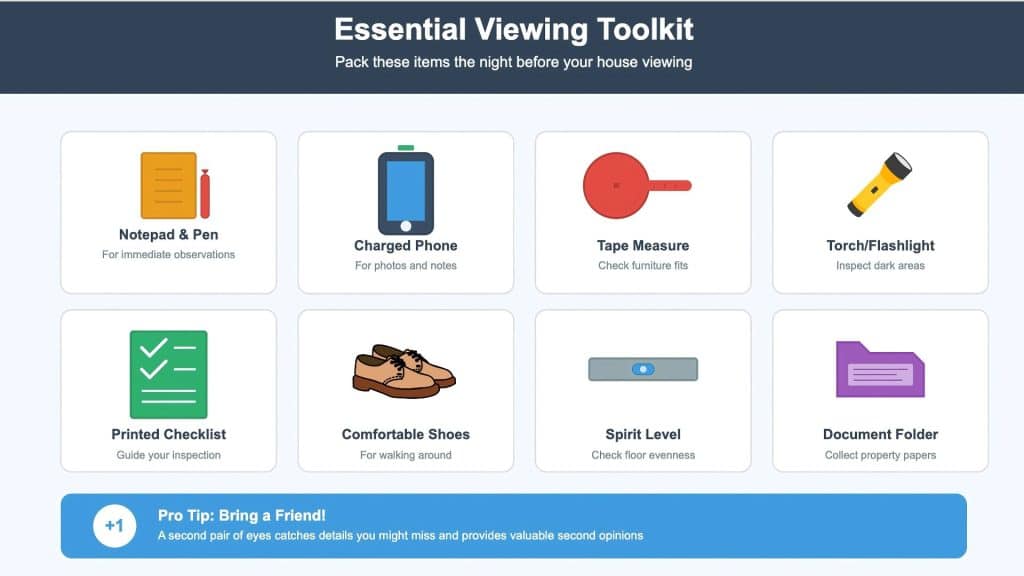
Now that you know what to bring, focus on how you’ll use each tool to make the most of your visit. Plan your route through the property, note key areas to inspect, and be ready to capture anything unusual.
After the viewing, review your notes, measurements, and photos while the details are fresh. This will make comparing properties easier and help you decide with clarity and confidence.
Exterior Checklist: What to Check Outside?
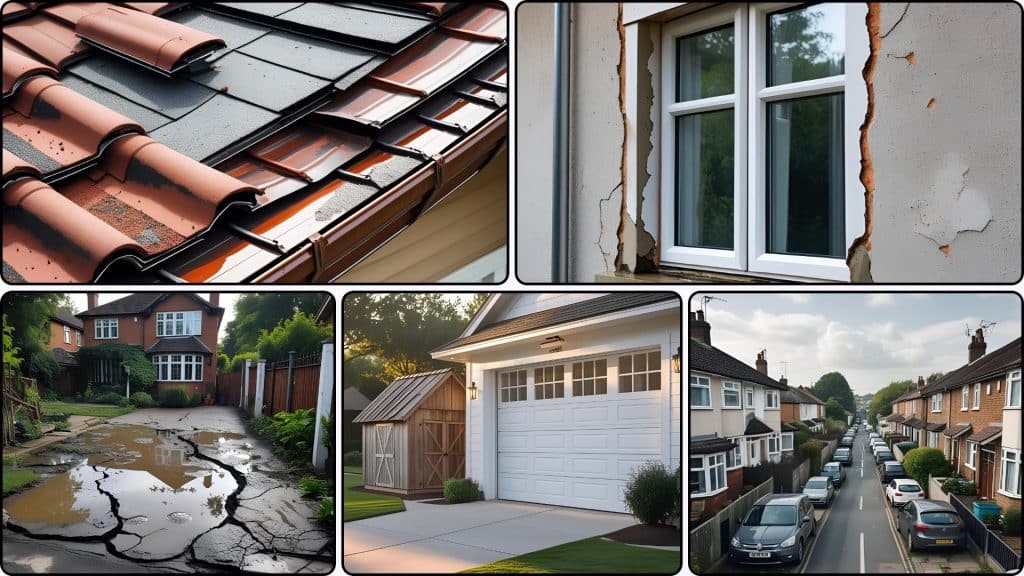
Start your viewing from the street. The home’s exterior reveals maintenance standards and potential repair costs immediately. Walk around the entire property slowly to catch issues on all sides.
1. Roof and Gutters
Check the roof for missing tiles, sagging sections, or heavy moss growth that signals water damage risk.
Gutters need attention too; rust, blockages, or sections pulling away mean expensive repairs ahead. These problems often cause hidden damage inside walls and ceilings.
2. Walls and Windows
Scan exterior walls for cracks wider than a coin, bulging bricks, or damp patches that suggest structural issues.
Windows should open smoothly without gaps around frames, and double-glazed units shouldn’t show condensation between panes. Failed window seals mean heat loss and higher energy bills.
3. Driveway and Garden
The driveway needs checking for cracks, adequate parking space, and proper drainage to avoid puddles.
Gardens reveal maintenance attitudes, overgrown plants, unstable fences, and large trees near buildings, all of which cost money to fix. Poor outdoor drainage often leads to indoor damp problems.
4. External Features
Test garage doors, gates, outdoor lights, and any security features to ensure they work correctly.
Sheds and outbuildings often hide rot, leaks, or pest problems that become your responsibility after purchase. Don’t forget to check bin storage areas and access paths too.
5. Neighborhood Factors
Spend time observing traffic patterns, parking availability, and general neighbor upkeep standards.
Visit at different times to catch school runs, commuter traffic, and evening noise levels. The surrounding area affects both your daily life and future resale value significantly.
Interior Checklist: What to Check Inside?
Step inside and pause to notice your first impressions. Strange smells, temperature changes, or unusual layouts often signal hidden problems worth investigating further.
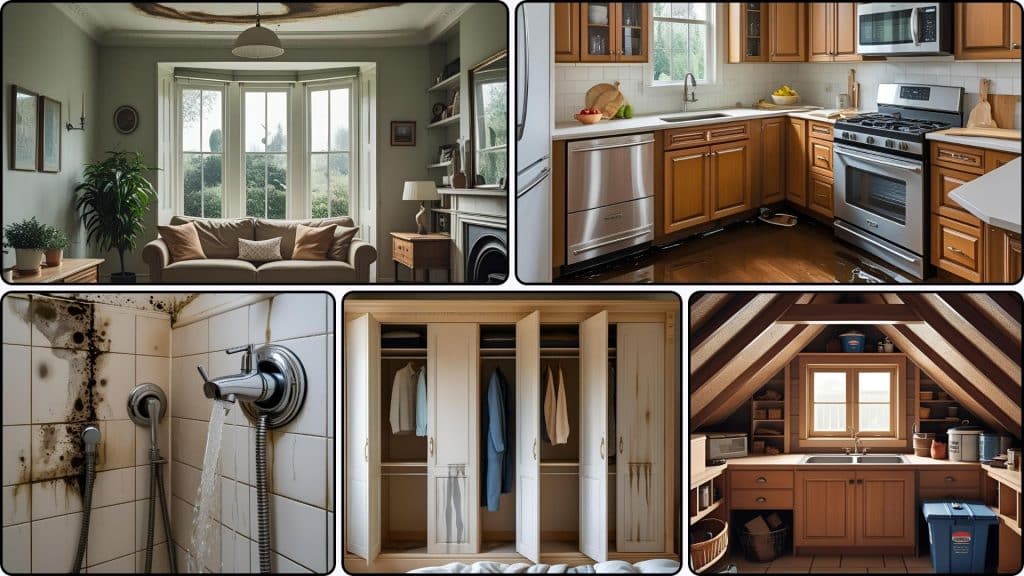
Having questions to ask when viewing a house ready helps you move through each room systematically and catch essential details.
1. Living Spaces
Check floors for uneven surfaces, creaky boards, or lifting edges that suggest structural movement or water damage.
Walls and ceilings need scanning for cracks, stains, or fresh paint patches covering problem areas. Test every light switch and power outlet to ensure the electrical system works properly throughout.
2. Kitchen Area
Open every cabinet and drawer to check functionality and look for signs of pests or water damage underneath sinks.
Test all appliances to ensure they’re working correctly, including the oven, hob, and extractor fan. The kitchen reveals daily practicality storage space, counter room, and whether the layout suits your cooking style.
3. Bathroom
Inspect window frames, shower edges, and ceiling corners for black spots or mold growth in these moisture-prone areas.
Run all taps to test water flow, flush toilets to check drainage, and verify that glass screens create watertight seals. Without proper air circulation, bathroom dampness spreads to nearby rooms and causes costly damage.
4. Bedroom
Take measurements to confirm your bed and furniture fit comfortably, including doorway widths for moving day logistics.
Check inside fitted wardrobes for hidden water stains or cracks that sellers might overlook during viewings. Room orientation and window placement determine natural brightness and fresh air flow throughout the day.
5. Storage Areas
Make the effort to inspect attics, cellars, and utility cupboards even when access seems difficult or uncomfortable.
These overlooked spaces expose the property’s real condition through visible pipework, structural supports, and insulation quality. Adequate storage prevents future clutter buildup that makes homes feel cramped and chaotic.
Check the Systems & Safety Features
Home systems work quietly until they fail catastrophically. Testing everything during your viewing prevents nasty surprises after moving in.
- Electrical: Test all switches and sockets with your phone charger, and check if the fuse box looks modern or needs upgrading.
- Heating/Cooling: Turn the heating on regardless of the weather. Ask about the boiler’s age and when it was last serviced.
- Safety Alarms: Test smoke detectors on every floor and carbon monoxide alarms near boilers, and check installation dates.
- Insulation: Pop into the loft to check coverage depth, look for gaps around windows where heat escapes.
- Double Glazing: Watch for condensation between window panes, and test how easily windows open and lock.
Missing safety features or outdated systems mean immediate costs. Ask for certificates and service records to verify everything works legally and safely.
Watch for Warning Signs & Red Alerts
Some problems scream expensive repairs, while others whisper future troubles. Recognizing these danger signals saves you from costly mistakes.
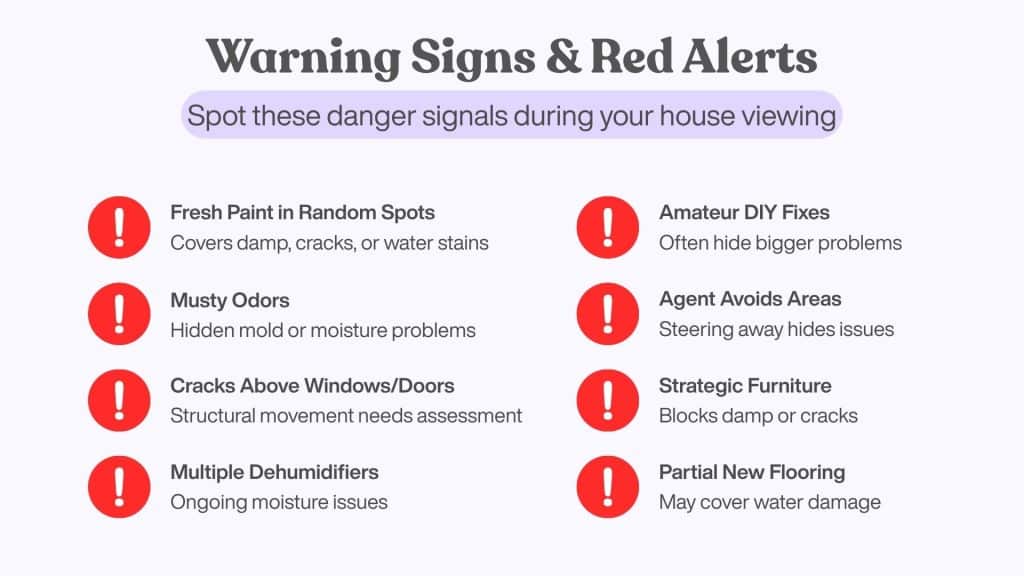
Your nose often detects problems first. Musty odors reveal moisture issues that fresh paint can’t mask. Trust these sensory warnings over visual appearances.
Physical clues tell honest stories. Watch how agents behave around specific areas and notice what they avoid showing. Sellers rarely highlight their property’s weak spots.
Be aware of subtle signs that something’s being hidden, like suspiciously placed furniture, fresh paint in just one area, or incomplete repairs. Real professionals provide certificates; always request proof of qualified work.
Protection Tips for House Buyers
Smart buyers protect themselves before signing anything. Taking precautions during viewings saves money and stress later when problems surface unexpectedly.
- Book professional surveys even when properties look perfect at first glance.
- Research the area thoroughly, including flood risks and future development plans.
- Get written quotes for any repairs you spot during the viewing.
- Check building regulations compliance for any extensions or significant alterations visible.
- Request energy performance certificates to understand running costs before buying.
- Verify parking permits and restrictions that might affect daily life.
Final Thoughts
House hunting feels overwhelming, but a solid checklist turns chaos into clarity.
You’ve learned to inspect everything from roofs to radiators, spot warning signs, and protect yourself through proper checks. Remember, rushing leads to regrets while thorough viewings reveal the truth.
Every property hides secrets. Some are harmless quirks, while others drain bank accounts.
A thorough, methodical check often uncovers issues that casual viewers overlook, giving you a truer picture of the property.
Take your time during viewings. Use this guide, bring your toolkit, and document everything.
The right home exists, you just need patience to find it without falling for pretty staging over solid structure.
What experiences have you had earlier during house viewings? Share your tips or questions below to help fellow buyers.
Explore more real estate insights and advice.
Frequently Asked Questions
What Is the Etiquette for Viewing a House?
Remove shoes when asked, avoid using bathrooms, and don’t open personal storage spaces. Skip eating or drinking during visits to show respect.
What Is the Best Time for A House Viewing?
Morning slots between 10 am and 2 pm work best for property viewings. Afternoon appointments create energy and make homes appear more sought after.
Is It Okay to Talk to Multiple Realtors?
Speaking with several agents before signing agreements is standard practice. Compare their experience and communication styles to find your ideal match.


