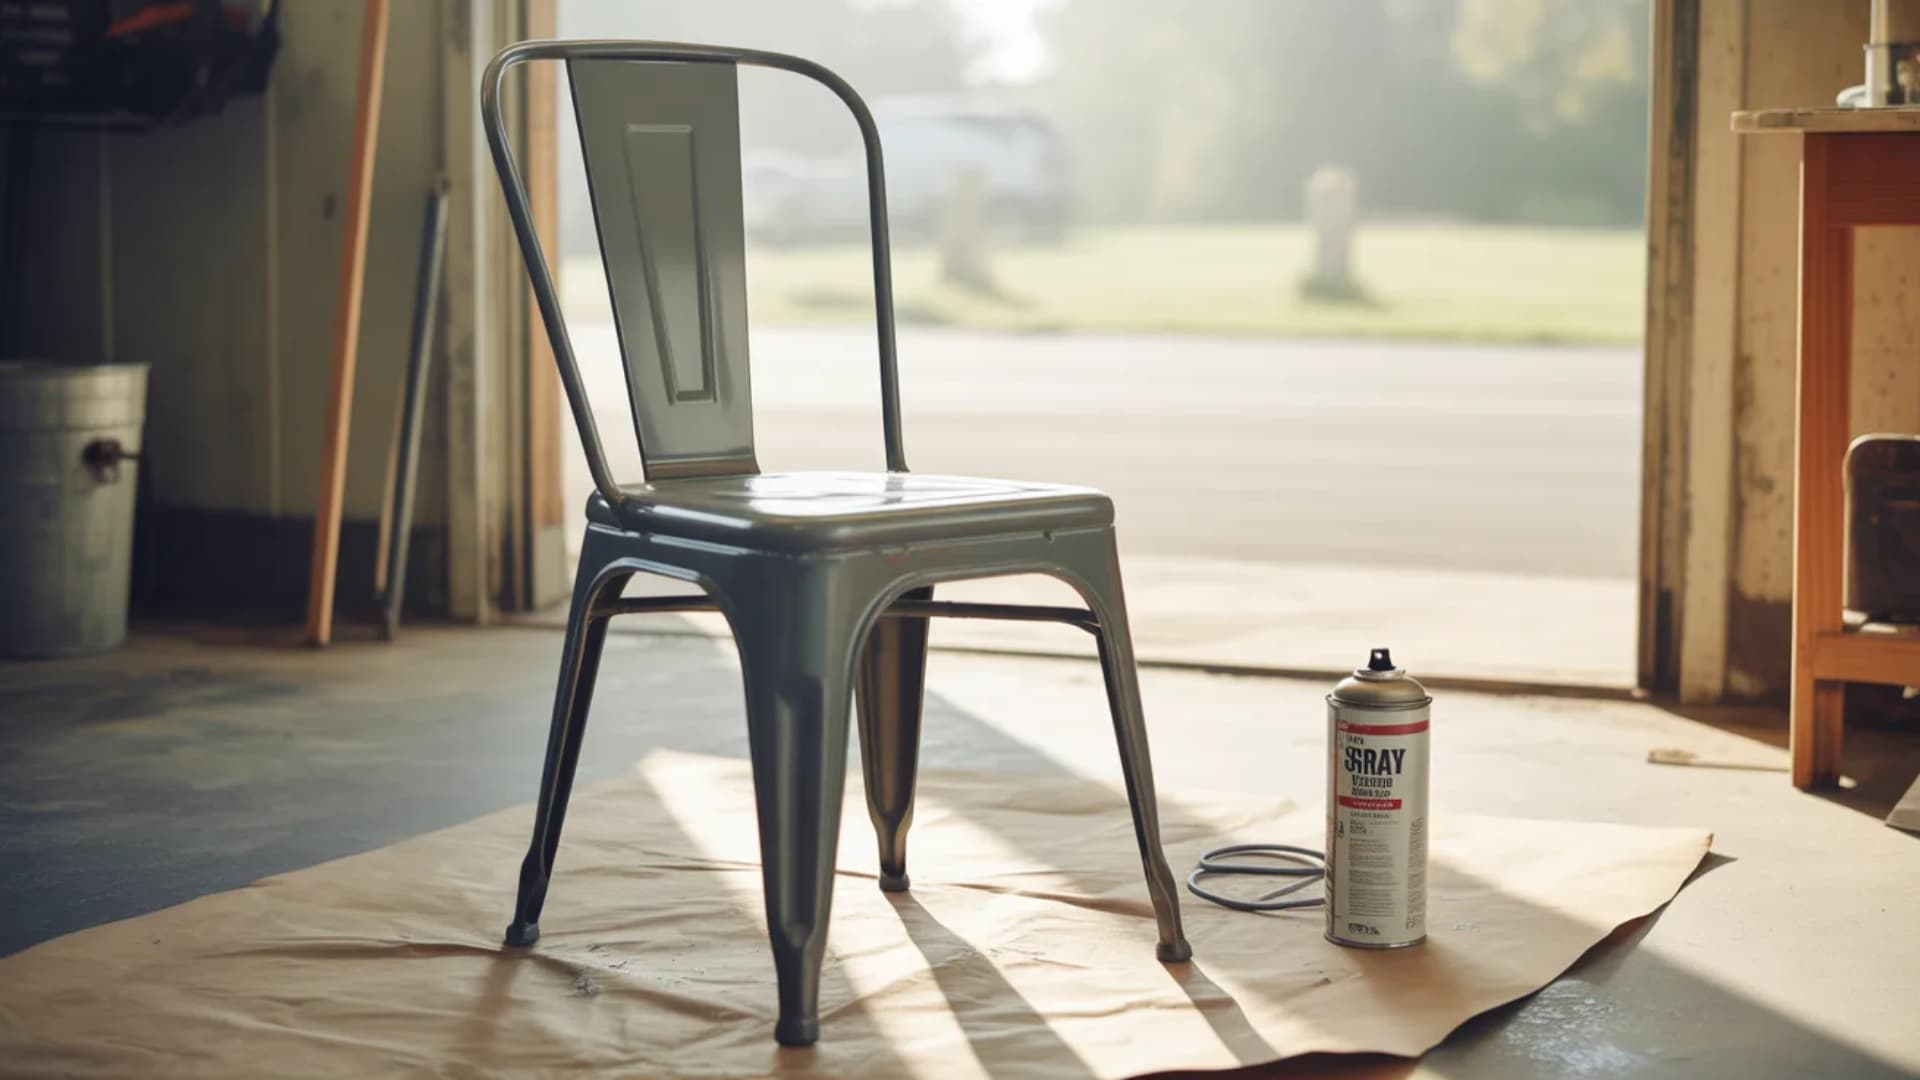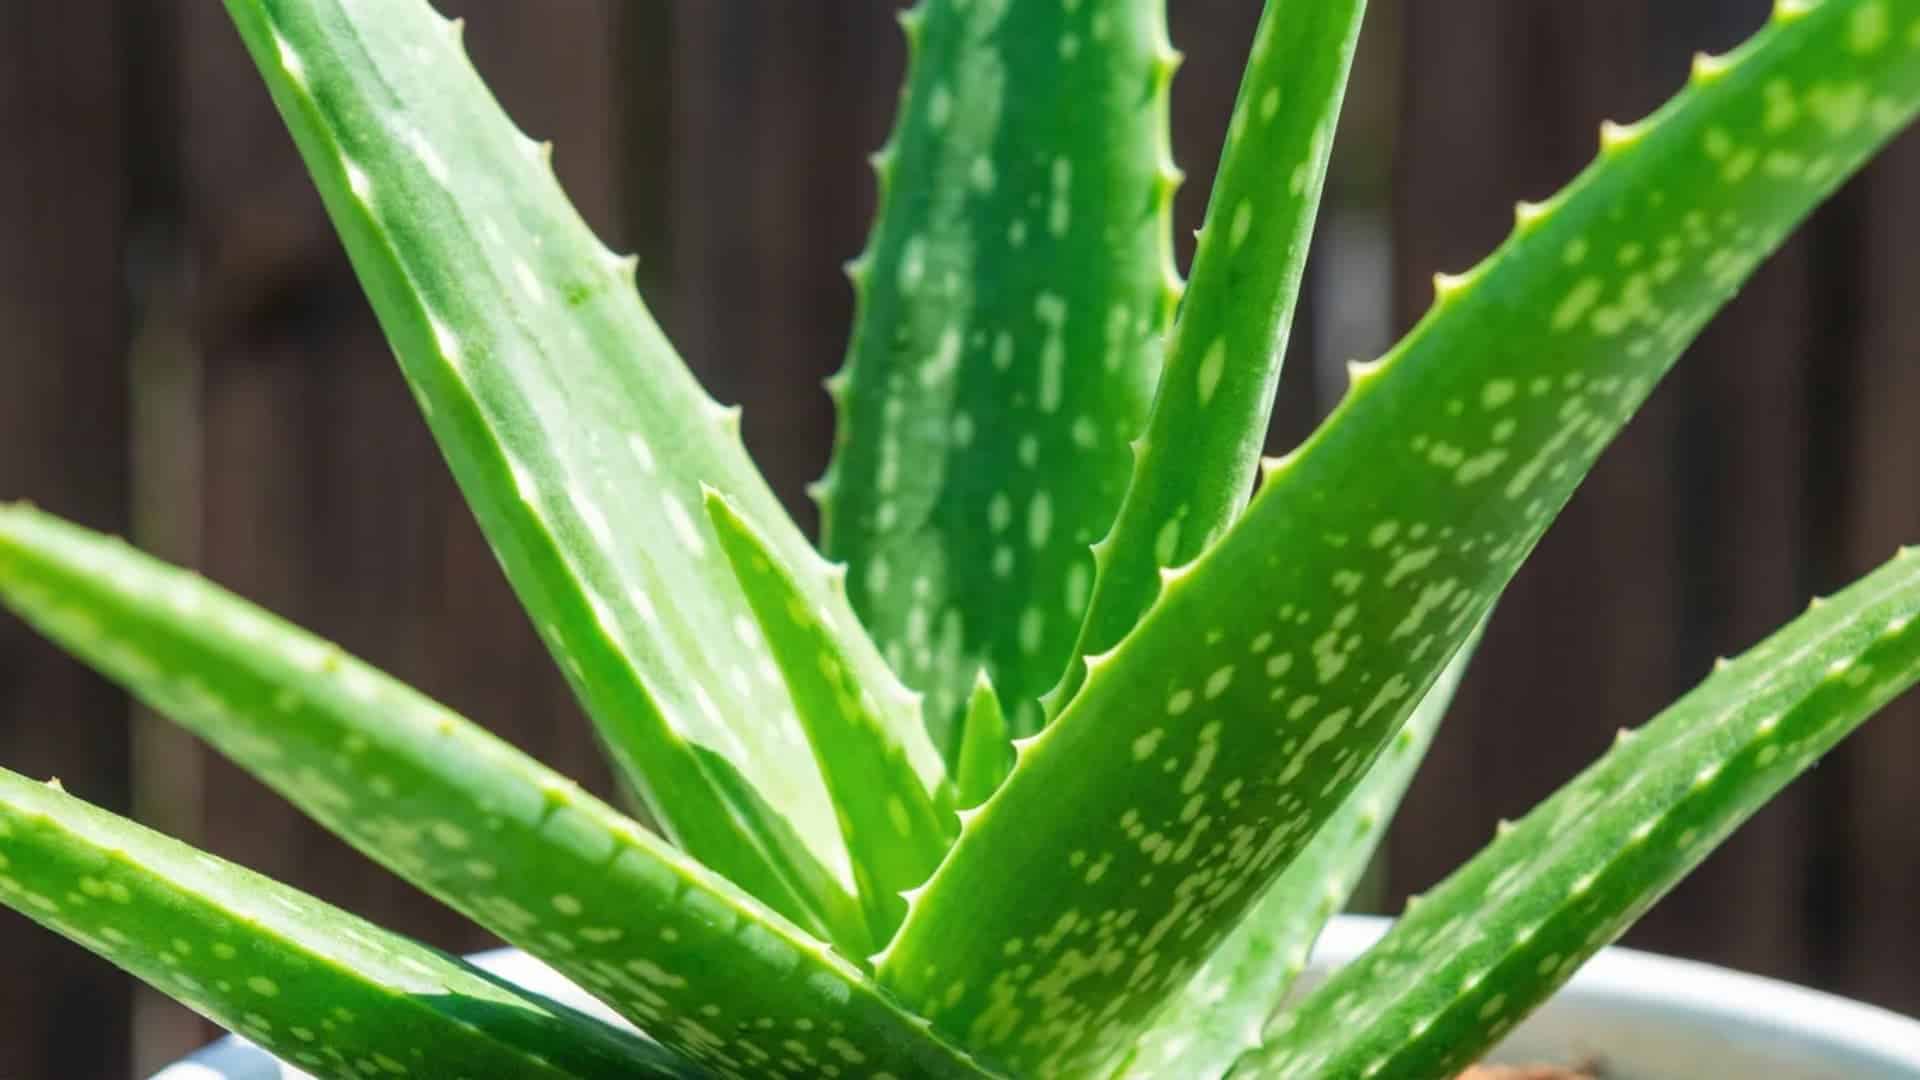

You bought an aloe vera plant. A few weeks later, it looked worse than when you got it. Sound familiar?
Here is the truth. Aloe vera is one of the toughest plants on earth. It survives desert heat, poor soil, and weeks without rain.
But in a home, one simple mistake kills it fast. Most beginners water it too much, too often.
This guide will fix that. You will learn exactly how to care for an aloe vera plant, from choosing the right pot and soil to watering it correctly.
You will also learn how to spot problems early, grow new plants for free from pups, and safely use the gel at home.
No guesswork. Just clear, simple steps that work.
Why Aloe Vera Is the Perfect Plant for Beginners
Aloe vera has survived for thousands of years in some of the driest places on earth. It grows naturally across Africa, the Arabian Peninsula, and parts of Asia, where rain is rare and soil is poor. That background is exactly why it thrives on low attention.
The secret is in the leaves. Aloe vera stores water inside its thick, fleshy tissue. This means it can feed itself during dry spells. It also closes its pores during the day to hold onto moisture, only exchanging air at night.
This process is called Crassulacean Acid Metabolism, or CAM. It is the same reason aloe grows slowly and does not need frequent watering.
For a beginner, this is good news. You do not need to check on it daily. You do not need special equipment. You just need to understand a few basic rules and stay consistent.
Aloe Vera Care at a Glance
|
Now that you know what aloe vera needs at a basic level, the next step is getting the foundation right. The pot and soil you choose will affect everything else, including how often you need to water and how fast the roots grow.
Choosing the Right Pot and Soil for Aloe Vera
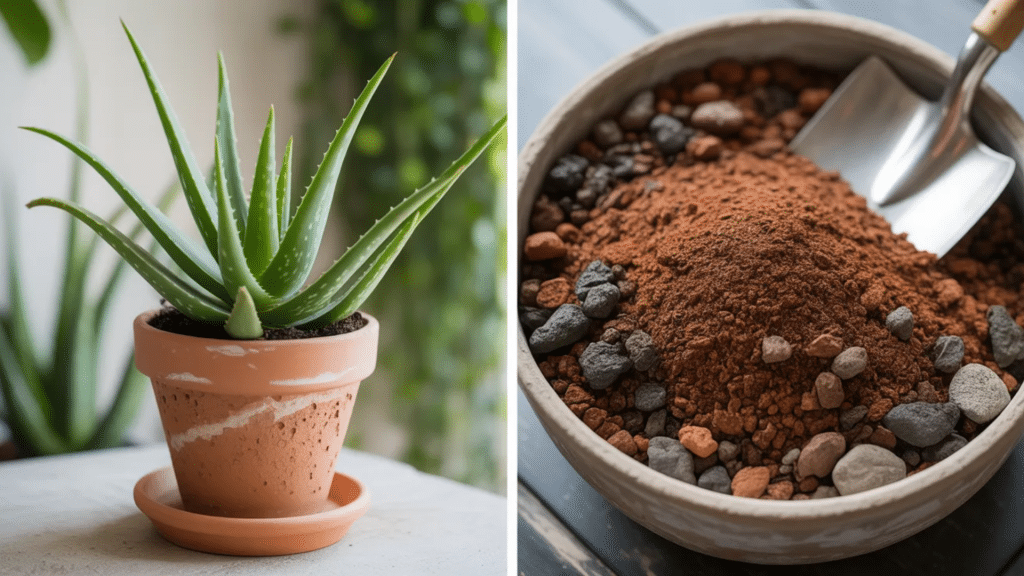
Before you plant your aloe vera, get two things right. The pot and the soil. Get these wrong, and the plant will struggle no matter what you do.
The Right Pot
Terra cotta is the best choice. It is porous, so moisture escapes through the walls, and the soil dries out faster between waterings. Plastic and glazed pots work too, but they hold moisture longer, so you will need to water even less.
Whatever pot you use, it must have at least one drainage hole. Without it, water sits at the roots and causes rot.
Keep the pot size close to the plant. Leave just 1 to 2 inches of space around the roots. A pot that is too large holds more soil than the roots can dry out, which leads to the same problem as overwatering. Always go up one pot size at a time.
The Right Soil
Use a pre-mixed cactus or succulent potting mix. It contains perlite, coarse sand, or lava rock, all of which allow water to pass through quickly. Do not use regular potting soil alone. It stays wet too long and will rot the roots over time.
To mix your own, combine one part regular potting soil with one part perlite or coarse sand.
With the right pot and soil sorted, the next thing to get right is light. Where you place your aloe vera makes a bigger difference than most beginners think.
How Much Light Does Aloe Vera Need?
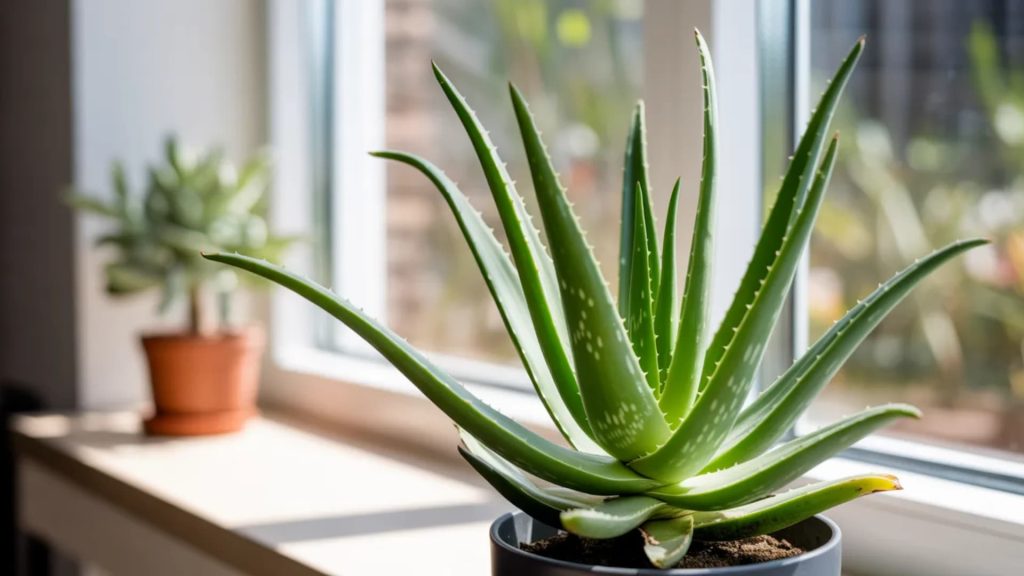
Aloe vera needs bright, indirect light for most of the day. Indoors, a south or west-facing window is the best spot. Keep the plant near the window but not pressed against the glass. Glass intensifies heat and can burn the leaves on hot days.
A north-facing window will keep the plant alive, but expect slow growth and leaves that droop or stretch toward the light.
Moving Your Plant Outdoors
Aloe vera can go outside during warmer months. Do not move it from indoors directly into full sun, though. The sudden change stresses the plant and turns the leaves brown or orange.
Introduce it to outdoor light gradually over two to three weeks, starting in a shaded spot.
Bring it back inside before temperatures drop below 50°F (10°C). Aloe vera cannot survive frost.
Signs Your Plant Is Not Getting the Right Light
- Pale, yellow, or flat leaves: not enough light
- Brown or orange leaf tips: too much direct sun
- Leaves drooping or leaning to one side: the plant is reaching for more light
Rotate the pot a quarter turn every few weeks so the plant grows straight.
Light sets the pace for how your aloe vera grows. But water is what keeps it alive or kills it. Here is exactly how and when to water your plant.
How to Water Aloe Vera the Right Way
Overwatering is the number one reason aloe vera plants die at home. The plant stores water in its leaves and can go weeks without a drink. What it cannot survive is sitting in wet soil for too long.
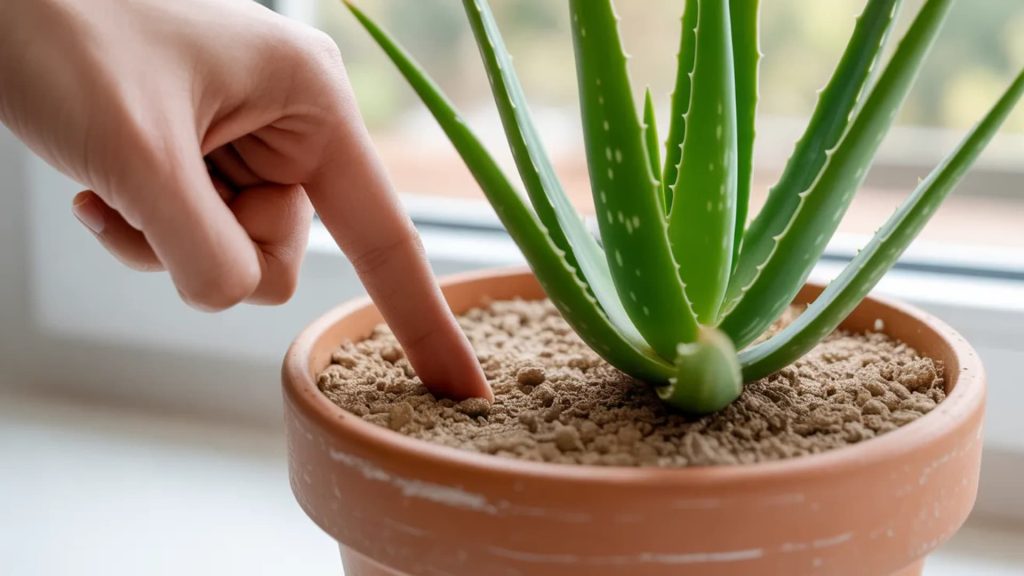
The simplest way to know when to water is the finger test.
- Push your finger about 2 inches into the soil
- If it feels dry all the way down, it is time to water
- If it feels even slightly damp, wait a few more days and check again
- When you water, soak the soil fully and let the excess drain out completely
- Never let the pot sit in a tray of standing water
This one habit alone will keep your aloe vera alive and healthy.
How Often to Water by Season?
In spring and summer, aloe vera is actively growing and uses more water. Watering every two to three weeks is usually enough. In autumn and winter, the plant slows down and needs far less.
Once a month is plenty, sometimes less, depending on how dry or cool your home is.
When in doubt, underwater. Aloe recovers from drought much faster than it recovers from root rot.
| What You See | What It Means |
|---|---|
| Thin, curling, or wrinkled leaves | The plant needs water |
| Soft, mushy, or yellowing leaves | You are watering too much |
| Brown tips with firm leaves | A light or humidity issue, not watering |
Once you have watering under control, the remaining care needs are straightforward. Temperature, humidity, and feeding require very little effort with aloe vera.
Other Care Basics: Temperature, Humidity, and Feeding
Aloe vera is not demanding. Once the pot, soil, light, and watering are right, the rest takes care of itself.
Aloe vera is comfortable between 55°F and 85°F (13°C to 29°C), which covers most indoor environments. Avoid placing it near cold drafts, air conditioning vents, or heating units. Sudden temperature swings stress the plant more than a consistently cool or warm room.
Normal indoor humidity levels are fine. Do not mist the leaves. Moisture sitting on the leaves or around the base encourages rot.
Aloe vera grows naturally in nutrient-poor soil, so it does not need much fertilizer. If you want to give it a boost, feed it once in spring and once in early summer with a diluted cactus fertilizer at half strength.
Caution: Do not fertilize in autumn or winter when the plant is not actively growing.
With the basics covered, you can take things one step further. If your aloe vera is healthy, it will eventually grow small plants around its base. Those can be separated and grown into entirely new plants for free.
How to Grow New Plants from Aloe Vera Pups?
A healthy aloe vera will eventually grow small offshoots around its base. These are called pups. They are genetically identical to the parent plant and can be separated and grown into full plants on their own.
It costs nothing and is one of the easiest ways to propagate any houseplant.
Wait until the pups are at least 2 to 3 inches tall before removing them. At this size, they have developed enough of their own roots to survive on their own.
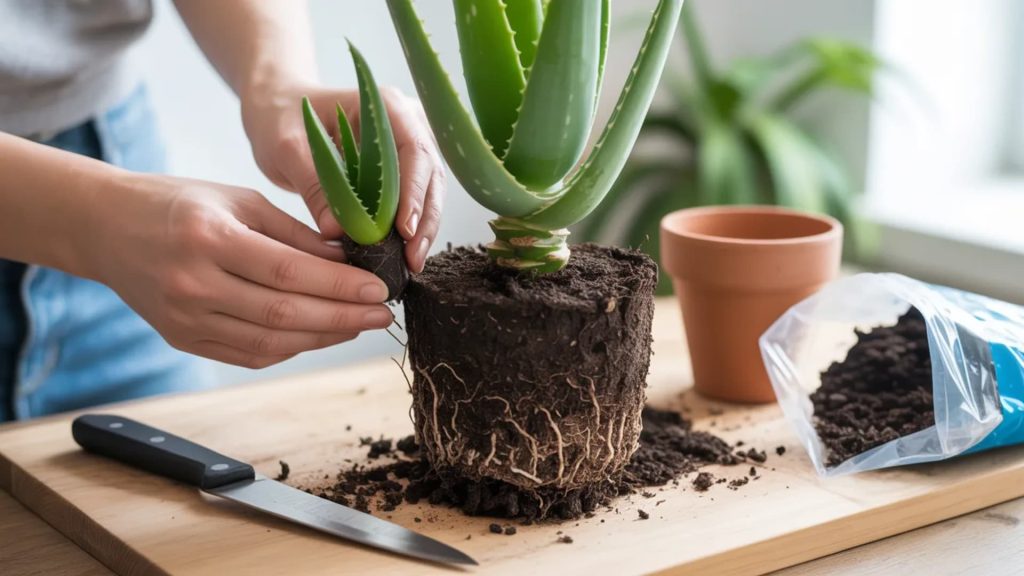
How to Remove and Repot a Pup?
- Take the parent plant out of its pot and brush away excess soil from the roots
- Find where the pup connects to the parent and trace it down to the root
- Use a clean, sharp knife to cut the pup free. Make sure it has some roots attached
- Leave both the parent plant and the pup in a warm, dry spot for two to three days. This allows the cut ends to dry and form a protective layer before planting
- Pot the pup in a small terra cotta pot with fresh cactus mix
- Wait a week before watering for the first time. This gives the roots time to settle
Common Mistakes to Avoid
- Removing pups too early, before they have roots of their own
- Skipping the drying step, which leaves the cut open to rot
- Planting the pup in a pot that is too large
- Watering immediately after pottin,g before the roots have settled
If the pup looks limp or slightly soft in the first two weeks, do not panic. This is normal while it adjusts. Hold off on watering and give it bright indirect light. It will firm up on its own.
Even with the best care, aloe vera can run into problems. The next section helps you identify exactly what is wrong with your plant and how to fix it quickly.
Common Aloe Vera Problems and How to Fix Them
Aloe vera is forgiving, but it does show signs when something is off. The sooner you catch the problem, the easier it is to fix. Here is what to look for and what to do.
| Problem | Likely Cause | Fix |
|---|---|---|
| Leaves turning orange or red | Sudden shift to direct outdoor sun | Move to a shadier spot and reintroduce sun gradually |
| Flat, drooping leaves | Not enough light | Move to a south or west-facing window |
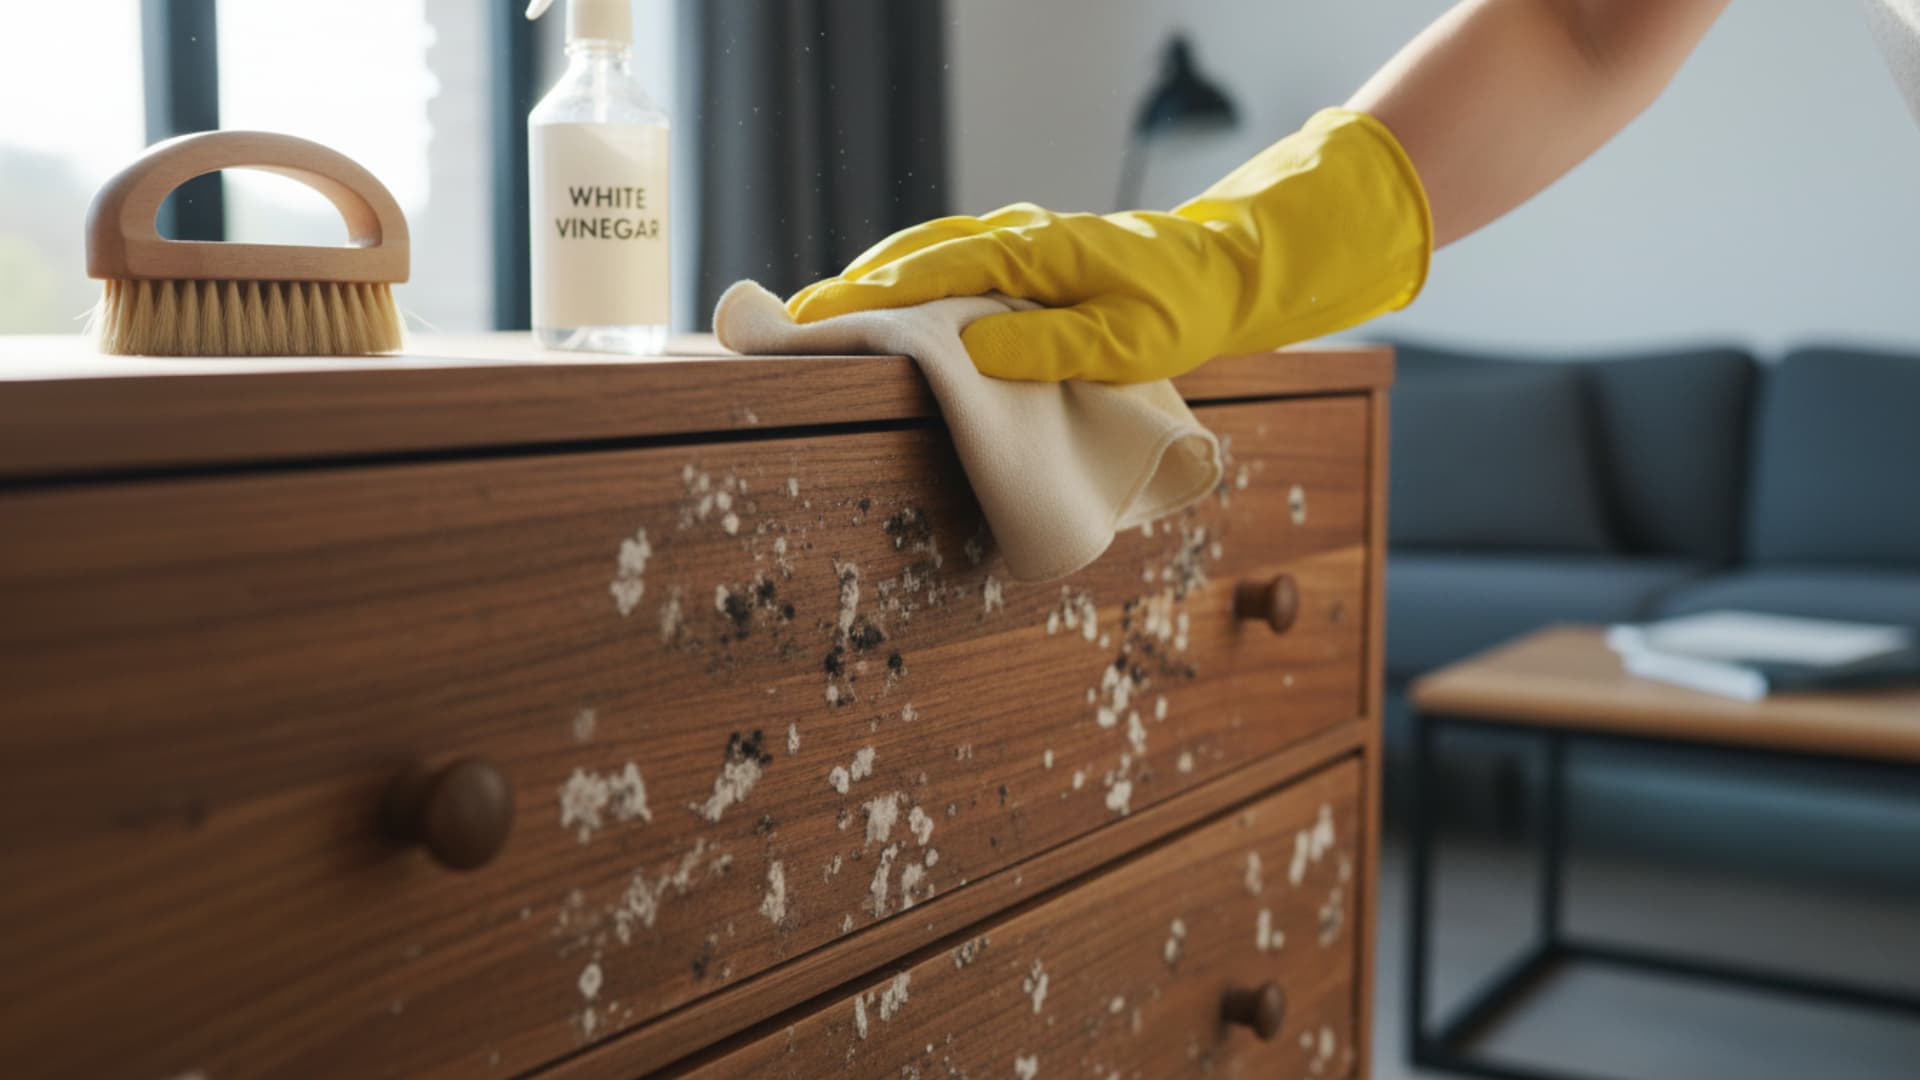
| Brown soft spots on leaves | Early-stage overwatering | Reduce watering immediately and improve drainage |
| Leggy, stretched growth | Insufficient light | Gradually move the plant to a brighter location |
| White crusty residue on the soil | Mineral buildup from tap water | Flush the soil with filtered water or switch to rainwater |
| Mealybugs at the base | Pest infestation | Wipe off with a cotton swab dipped in rubbing alcohol. Repeat weekly until clear |
If your plant has root rot and the main stem feels soft all the way through, the plant may not be recoverable. Start fresh with a new plant and a clean pot.
Most of these problems are easy to prevent with consistent care. But there is one more thing worth knowing before you place your aloe vera anywhere in your home.
How to Harvest and Use Aloe Vera Gel at Home
One of the best things about growing aloe vera at home is having fresh gel within reach. It soothes minor burns, sunburns, insect bites, and skin irritation. Here is how to harvest it without harming the plant.
Choose a thick outer leaf that sits close to the base. Outer leaves are the most mature and contain the most gel.
Use a clean, sharp knife and cut the leaf as close to the base as possible. Never cut more than one or two leaves at a time. The plant needs its remaining leaves to keep growing.
After cutting, stand the leaf upright in a cup for ten to fifteen minutes. This lets the yellow latex drain out from the cut end.
Once drained, lay the leaf flat, slice off the serrated edges on both sides, cut through the top layer of skin, and scoop the clear gel out with a spoon. Apply it directly to the skin or store it in a clean, airtight container in the fridge for up to one week.
Caution: Keep harvested leaves and cut plants away from pets. The yellow latex is toxic to cats, dogs, and horses if ingested. Do not eat the gel directly from the plant without consulting a doctor first. Raw aloe gel contains traces of latex and other compounds that can cause digestive discomfort when consumed.
You now have everything you need to grow and care for a healthy aloe vera plant at home. Let us bring it all together.
Conclusion
Aloe vera does not ask for much. Give it the right pot, well-draining soil, and bright light. Water it only when the soil is dry. Leave it alone the rest of the time.
That is genuinely all it takes to grow a healthy plant that lasts for years.
The biggest shift for most beginners is learning to do less, not more. Less water, less fuss, less worrying. Once you trust the process, aloe vera practically looks after itself. And when it does, you will have a plant that heals minor burns, grows new plants on its own, and asks for almost nothing in return.
Not many things in life offer that kind of deal.
Now it is your turn. Put what you have learned into practice and watch your plant thrive. Have a question about your aloe vera or a tip of your own? Drop it in the comments below.
Frequently Asked Questions
How Long Does an Aloe Vera Plant Live?
With the right care, an indoor aloe vera can live between five and twenty-five years. Proper drainage, adequate light, and careful watering are the main factors that determine its lifespan.
Should I Remove Dead Leaves from My Aloe Vera Plant?
Yes. Remove dead or fully brown leaves by cutting them at the base with a clean knife. This keeps the plant tidy and directs energy toward healthy new growth.
Can Aloe Vera Grow in Water Alone?
No. Aloe vera is not suited to growing in water. Its roots need air pockets in the soil to function properly. Sitting in water causes the roots to rot quickly.