
Are you tired of buying expensive, bland chillies that lack the heat and freshness your cooking deserves?
Most home cooks miss out on the incredible variety and intense flavors that only fresh, homegrown peppers can provide.
Store-bought chillies simply cannot match the taste and potency of home-grown ones.
You can easily grow your own supply of fresh, hot chillies at home using simple methods that work in any space.
Learning how to grow chillies gives you access to amazing varieties bursting with authentic flavor.
This article shows you every step from seed to harvest. Start growing today and change your cooking with fresh, homegrown peppers.
Why Grow Your Own Chillies?
Home-grown chillies cost much less than store-bought peppers while giving you better quality.
A single plant produces dozens of peppers throughout the growing season, making it one of the most productive vegetables you can grow.
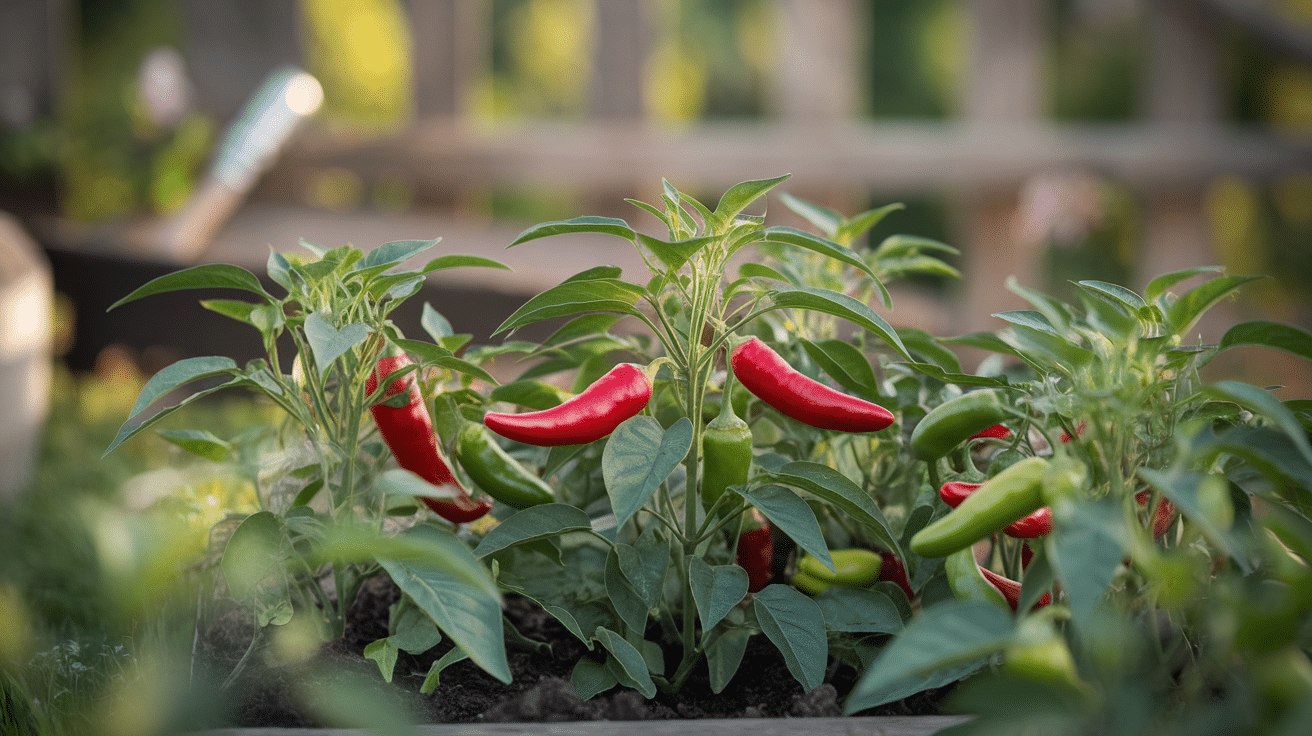
Fresh-picked chillies have stronger heat and more complex flavors. Store-bought peppers often lose their potency during shipping and storage.
When you pick your own peppers at peak ripeness, you get maximum heat and taste.
Chilli plants adapt well to containers and small spaces.
You can grow them on balconies, patios, or windowsills. Most varieties require minimal care once established and keep producing peppers for months.
The variety selection available for home growers far exceeds what grocery stores carry.
You can choose from hundreds of types, ranging from sweet bell peppers to super hot varieties that reach over two million Scoville units.
Picking the Right Chilli Varieties
Heat levels vary greatly between chilli types.
The Scoville scale measures heat from 0 to over 2 million units. Bell peppers have zero heat. Carolina Reapers can reach 2.2 million units.
| Heat Level | Scoville Units | Varieties | Growing Season |
|---|---|---|---|
| Mild | 0-2,500 | Bell peppers, banana peppers, and poblanos | 60-80 days |
| Medium | 2,500-50,000 | Jalapeños, serranos, cayennes | 70-90 days |
| Hot | 100,000-350,000 | Habaneros, Thai chillies | 90-110 days |
| Super-hot | 1,000,000+ | Ghost peppers, scorpions, and reapers | 100-120 days |
Consider your climate when picking varieties. Short-season areas work best with mild to medium heat peppers.
Long-season areas can grow any variety, including the hottest types. Match variety to your available space.
Container growing works best with compact varieties like dwarf or patio types that stay under 2 feet tall.
Garden beds can handle larger varieties that reach 3-4 feet tall and wide, producing more peppers per plant.
Chilli Plant Care Requirements
These essential conditions determine whether your chilli plants will thrive or struggle throughout the growing season.
Ensure you can consistently meet these basic requirements before starting your chilli growing process.
- Temperature: Wait until the soil stays above 60°F and nights stay above 50°F
- Sunlight: Choose a spot with 6-8 hours of direct sun daily
- Soil pH: Test soil and aim for a 6.0-7.0 range (slightly acidic to neutral)
- Drainage: Water should drain away within a few hours after rain
- Wind protection: Shield plants from strong winds that can break branches
Meeting these basic conditions sets the foundation for successful chilli growing and prevents the most common growing problems.
Once you can provide these requirements consistently, your chilli plants will thrive and produce abundant harvests throughout the season.
How to Grow Chillies?
Now that you know the basic conditions your chillies need, let’s prepare everything required for the growing process.
Having all your supplies ready before starting makes the entire process smoother and more successful.
Tools and Materials Needed
- Small seedling pots and larger containers (12+ inches deep)
- Garden soil and compost, or aged manure
- Organic fertilizer or cow manure for feeding
- Clean scissors or pruning shears
With all your supplies gathered and growing conditions ready, you can now begin the actual growing process.
Follow these step-by-step instructions to grow your own fresh chillies from seed to harvest.
Step 1: Prepare Seeds
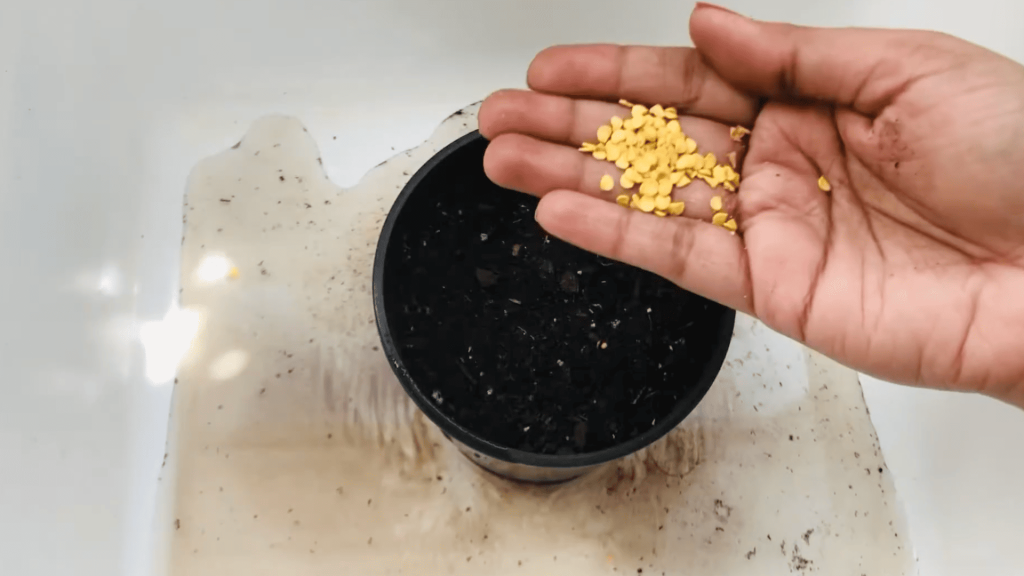
Take fresh chilies from your kitchen and split them in half.
Remove all seeds carefully. Choose the plumpest, healthiest-looking seeds for best germination results.
Success indicators: Seeds should be plump, firm, and light colored. Avoid dark, shriveled, or damaged seeds.
Step 2: Plant Seeds and Wait for Growth
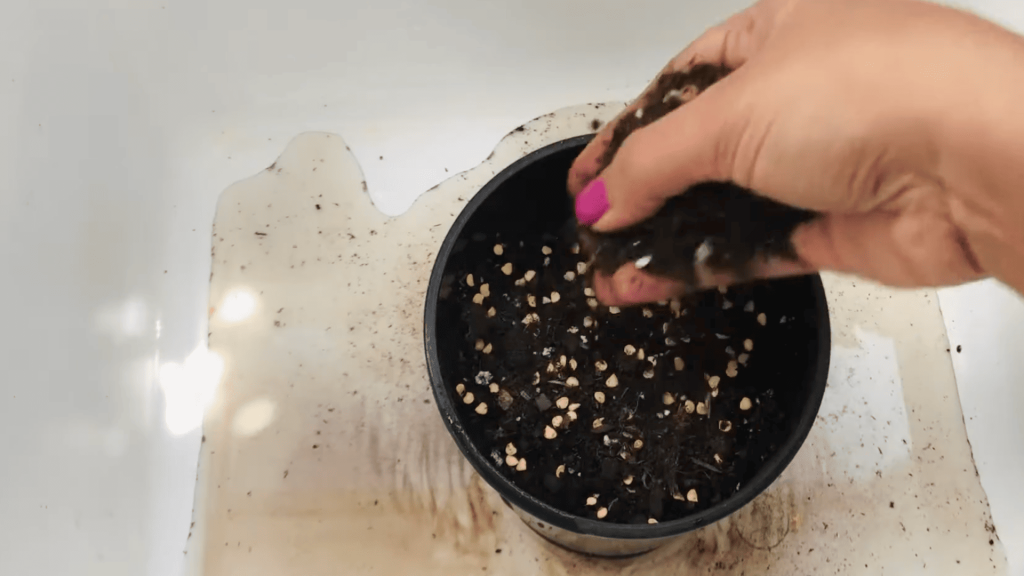
Use a seedling pot with potting mix made from 70% garden soil and 30% compost. Dampen the soil, place seeds on top, and cover with a thin layer of the same mix.
Press gently and water lightly. Seeds will sprout in 2-3 weeks, though some may take longer to germinate.
Success indicators: Small green shoots will emerge from the soil. First true leaves appear after initial seed leaves unfold.
Step 3: Transplant to Larger Containers

Once seedlings reach 6-7 inches tall, move them to larger containers using the same soil mix.
Space plants properly; one plant per container works best if you have room.
Success indicators: Plants show no wilting after transplant. New growth appears within a week of moving to larger containers.
Step 4: Pinch for Bushier Growth
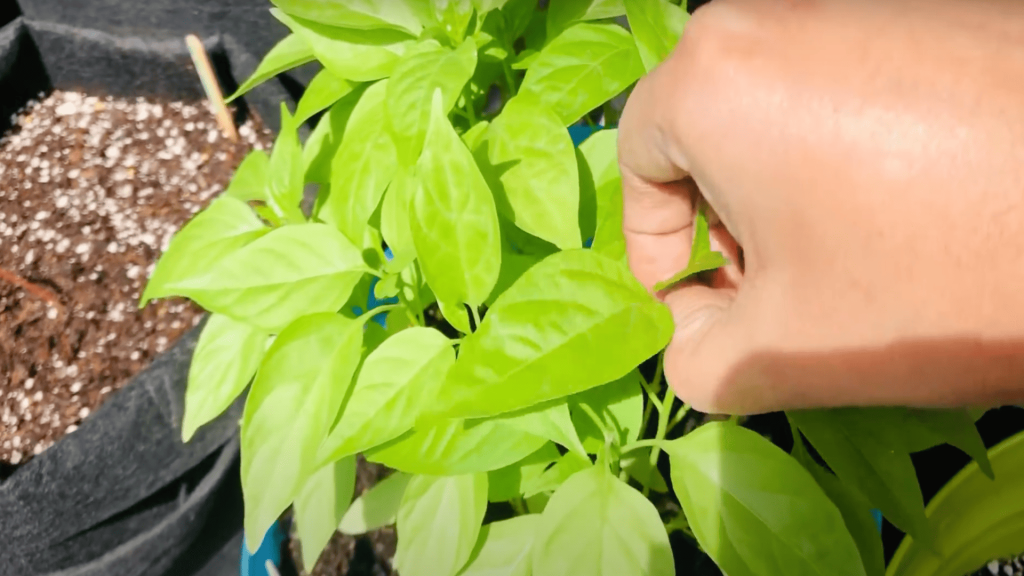
When plants reach 8-10 inches tall, pinch off the very top portion of each plant. Leave the larger bottom leaves alone.
This encourages bushier growth with more branches instead of just growing tall.
Success indicators: New side shoots develop from leaf joints within 2-3 weeks of pinching. Plant becomes wider rather than taller.
Step 5: Fertilize and Maintain Regular Care
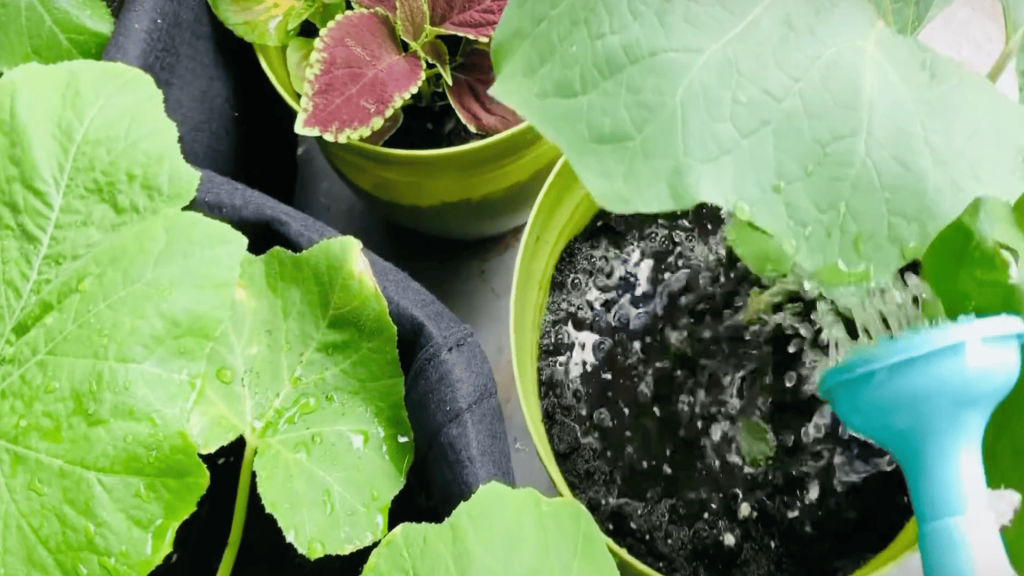
Apply organic compost or cow manure right after pinching. Use about two handfuls per container and spread evenly.
Water thoroughly after fertilizing. Continue fertilizing every 15 days and remove any weak or unhealthy plants.
Success indicators: Leaves remain deep green and healthy. Plant shows steady growth with strong stems and branches.
Step 6: Harvest Your Chillies
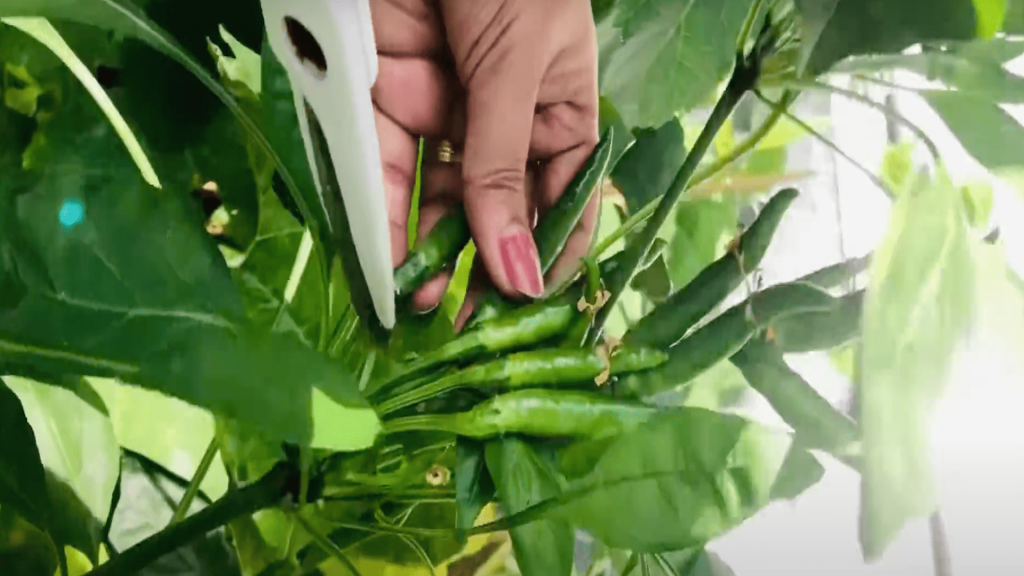
After 1 month of pruning, you will see new branches forming. After 1.5 months, flower buds will appear. By 2.5 months, you will have chilies growing in clusters.
Pick them when they reach the desired size and color.
Success indicators: Flowers develop into small peppers that grow larger each week. Peppers feel firm and reach expected size for your variety.
Video Tutorial
I’d like to give credit to Chitra Singh Sengar for their informative video, as a reference for this guide.
Harvesting Your Growing Chillies
Knowing when to pick chillies takes practice. Most varieties change color as they ripen. Green peppers can be picked early or left to turn red, yellow, or purple.
| Method | Signs to Look For | Storage Duration | Best For |
|---|---|---|---|
| Fresh Picking | Firm peppers, desired size reached, color change (optional) | 1-2 weeks in the fridge | Immediate cooking, fresh use |
| Refrigeration | Store unwashed in a plastic bag with holes | 1-2 weeks | Short-term fresh storage |
| Freezing | Wash and dry completely, remove stems/seeds if desired | 6-12 months | Hot peppers, for cooking use |
| Air Drying | String up in a dry, airy place until papery and brittle | Several years | Making powder, long-term storage |
| Powder Making | Grind dried peppers, remove seeds for less heat | 2-3 years | Spice blends, cooking |
Pick peppers regularly to keep plants producing. Use clean scissors or pruning shears. Cut the stem about 1/4 inch above the pepper.
Size matters for some varieties – bell peppers should reach full size before picking, while hot peppers can be picked small for milder heat or large for maximum fire.
Common Chilli Plant Care Problems
Pests and diseases can damage your chilli plants if left unchecked. Early detection helps you solve problems quickly. Check plants weekly for signs of trouble.
- Aphids are small green or black bugs that cluster on leaves. They suck plant juices and spread diseases. Spray them off with water or use insecticidal soap.
- Spider mites cause tiny yellow spots on leaves with fine webbing. Increase humidity around plants and use neem oil spray.
- Whiteflies look like tiny white moths that fly up when disturbed. Use yellow sticky traps and spray with insecticidal soap.
- Blight causes dark spots on leaves that spread quickly. Remove affected leaves immediately and improve air circulation.
- Root rot occurs when the soil remains too wet, causing plants to wilt. Improve drainage and water less often.
Prevention remains the best approach for most chilli growing issues through proper watering, good air circulation, and regular plant inspection.
Most problems can be solved quickly when caught early, keeping your chilli plants healthy and productive throughout the growing season.
The Bottom Line
Learning how to grow chillies opens up a world of fresh flavors you cannot find in stores. The simple steps work whether you have a large garden or just a small balcony.
Your homegrown peppers will taste better and pack more heat than anything you can buy. From mild varieties to super hot peppers, you control exactly what goes into your cooking.
The pinching technique gives you clusters of peppers instead of single fruits. With regular care, your plants will keep producing for months.
Stop settling for expensive, bland store peppers. Start growing chillies today and enjoy harvesting your own fresh, hot peppers.
What variety of chilli are you planning to grow first? Share your plans in the comments below.
Check out more posts on plant care and growing tips.