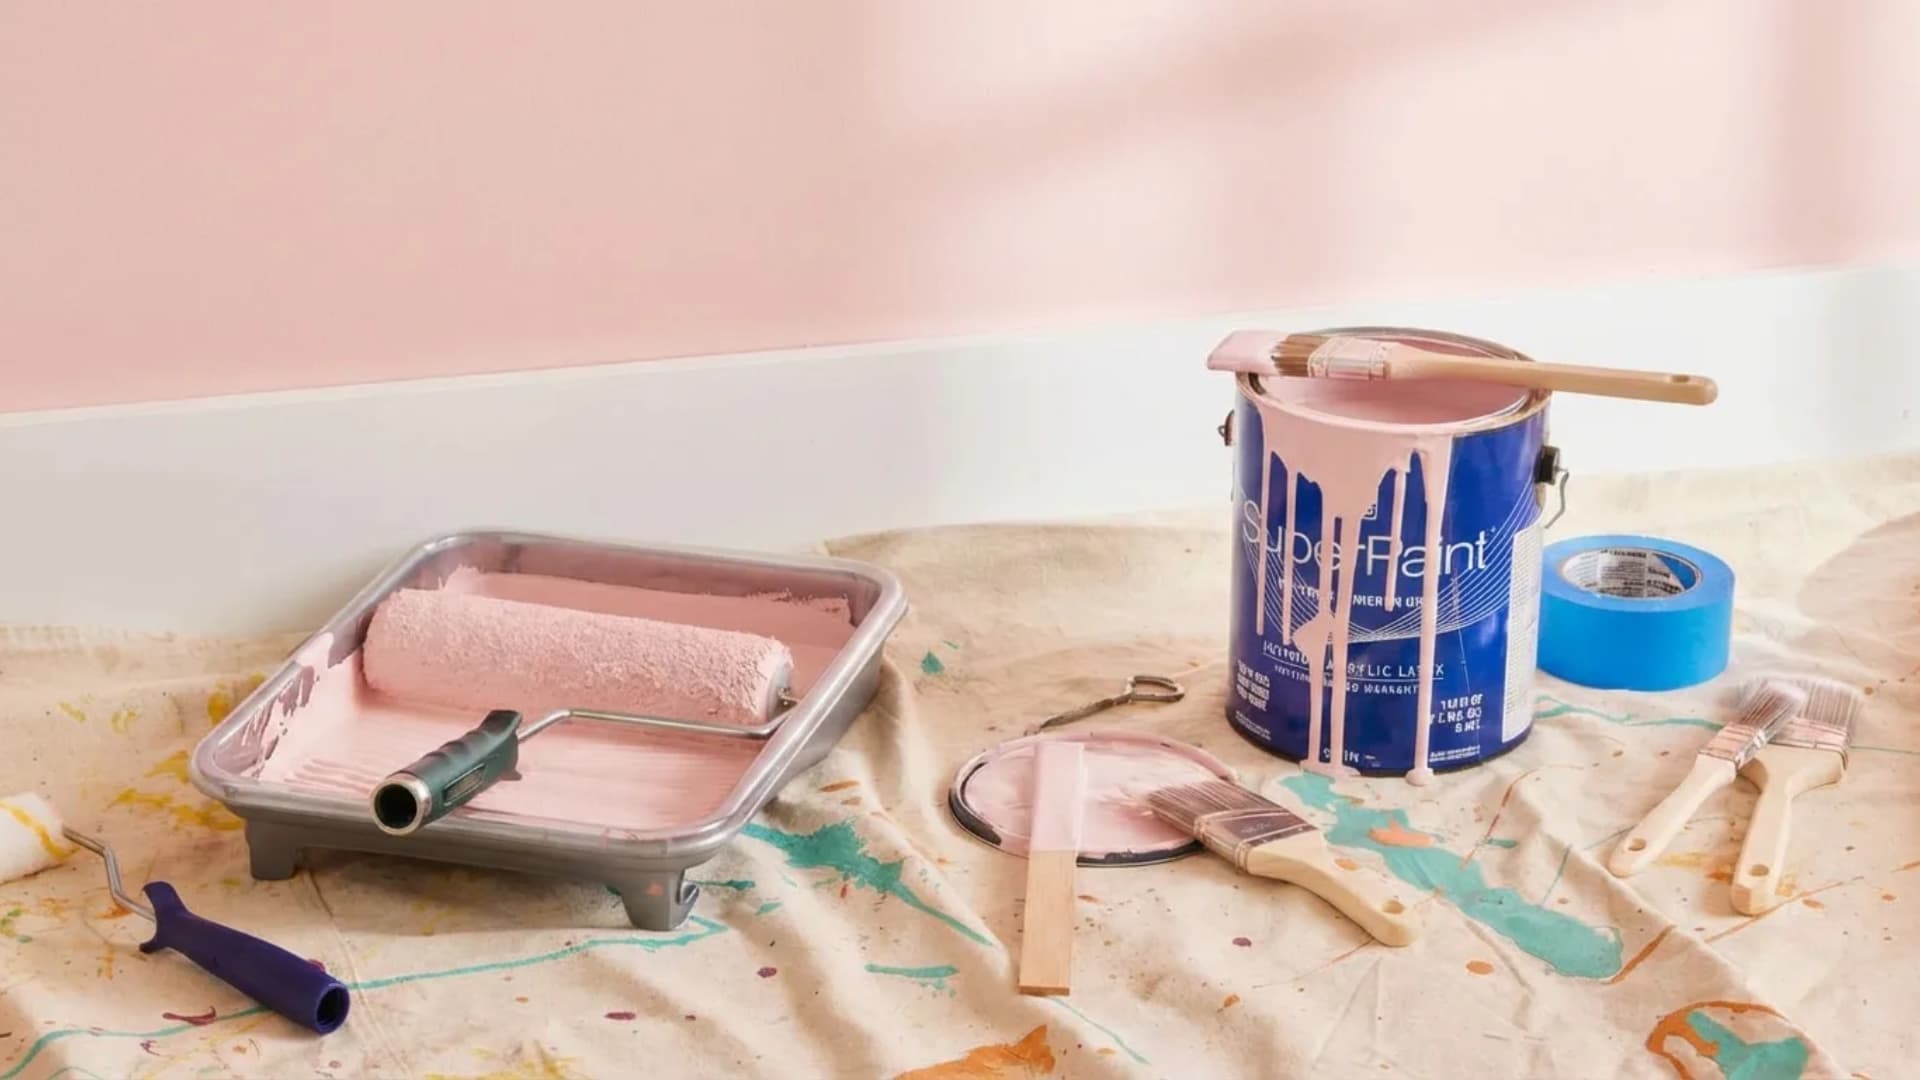
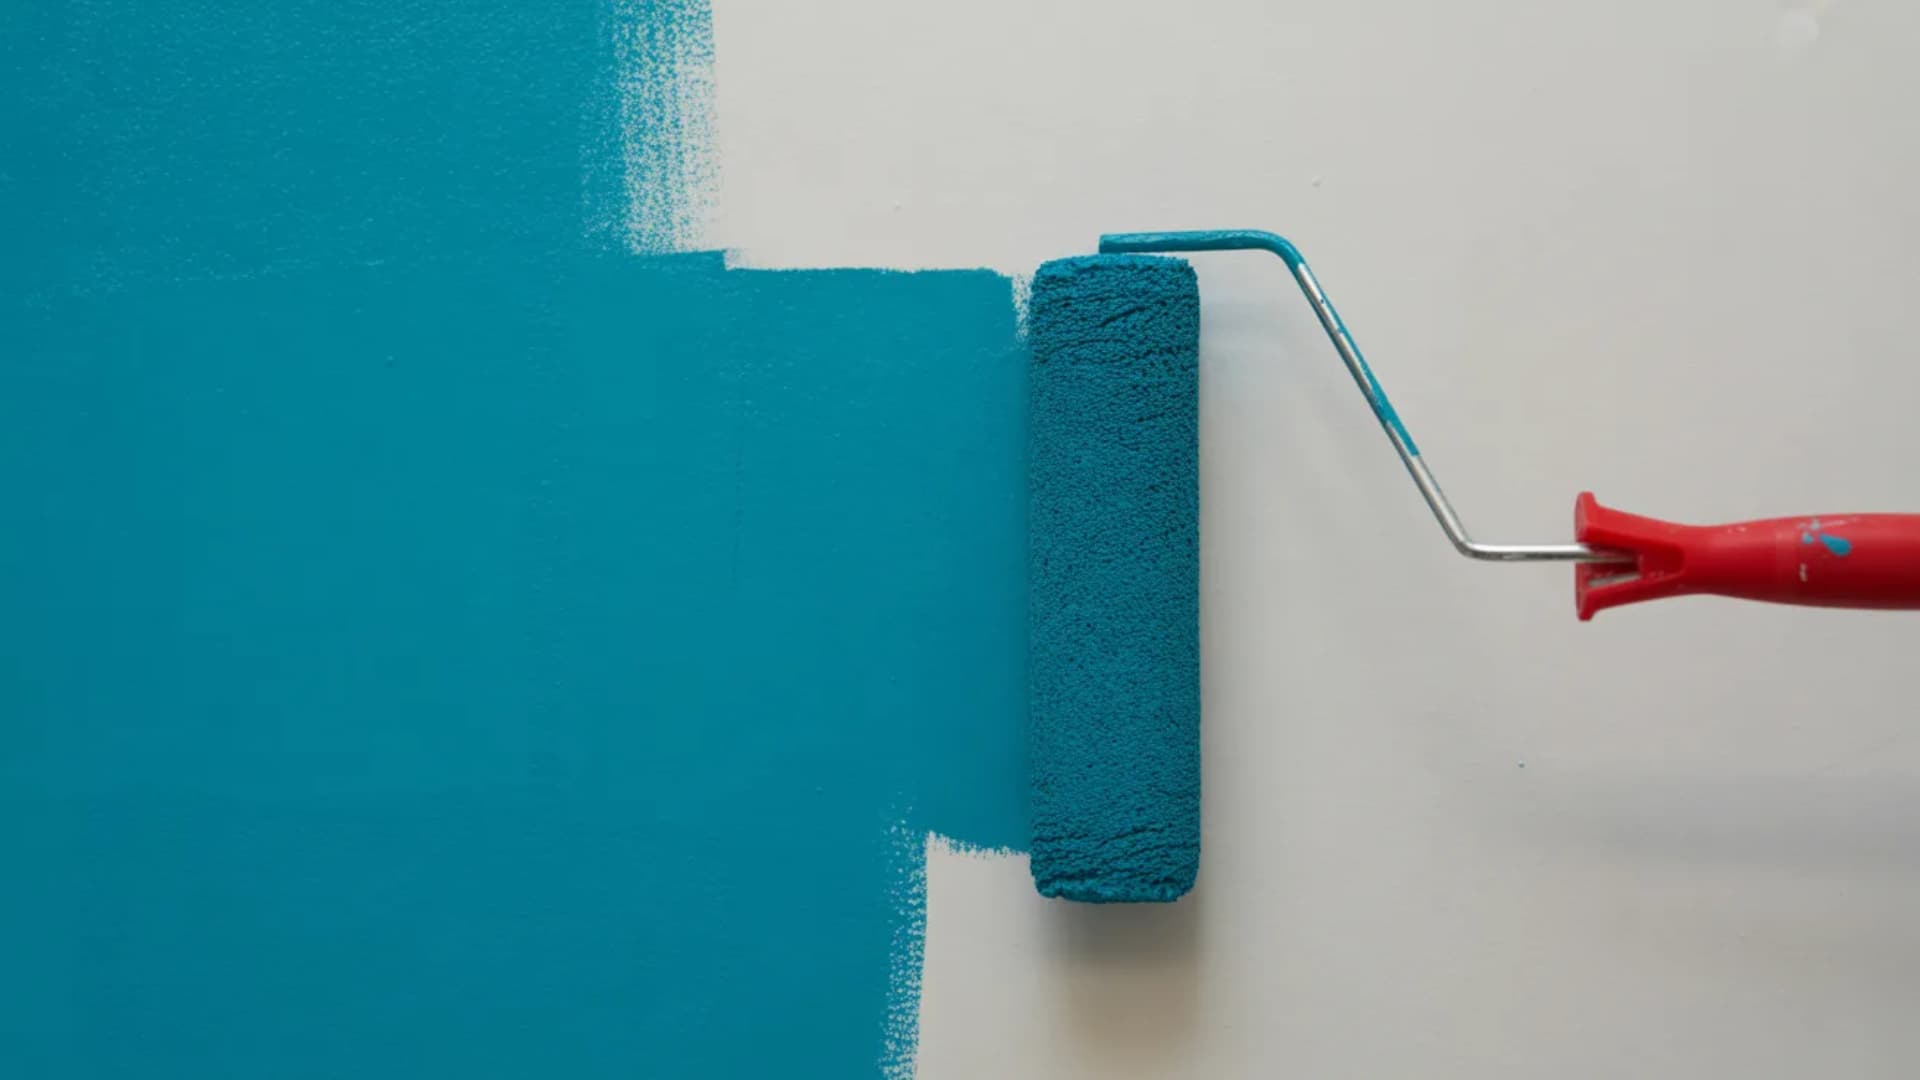
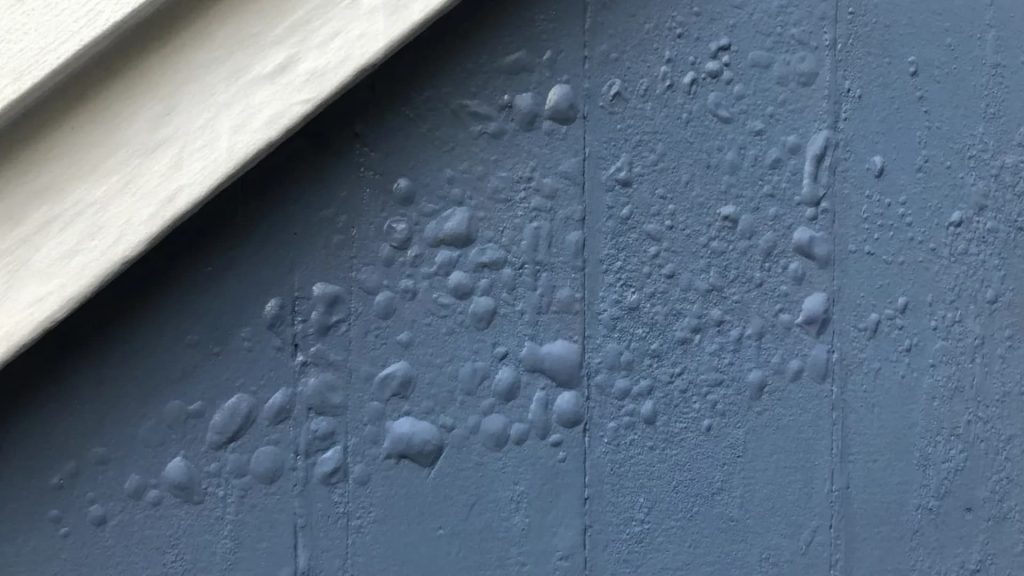
Paint bubbles. Right on your freshly painted wall.
You spent hours getting it right. You chose the color. You prepped as best you could. You painted carefully. And now it looks like the wall is breathing.
It’s not just frustrating. It feels like a waste of your time and effort. This happens to first-time painters and seasoned DIYers alike. You are not alone in this.
But here’s what most people don’t know. Paint bubbling is never random. There is always a clear reason behind it. And that reason is almost always fixable.
This guide will show you exactly why paint bubbles. You will also learn how to find your specific cause. And you will get the right steps to fix it for good.
What Is Paint Bubbling?
Paint bubbling happens when paint loses its grip on the surface below it.
When paint pulls away, small pockets form underneath the film. These pockets fill with air or water. That’s what creates the raised bumps you see.
The surface on which paint sits is called the substrate. This could be drywall, plaster, wood, or a previous coat of paint.
Some bubbles pop as the paint dries, but never fully reattach to the wall. They stay loose and eventually start to peel. Others harden in place as permanent raised bumps.
Paint bubbling and paint blistering are the same thing. Both terms describe the same problem. You will see them used interchangeably.
Now that you know what’s happening, let’s get into exactly what’s causing it.
Why Does Paint Bubble?
Paint bubbles for one core reason. Something got between the paint and the surface. That “something” could be moisture, dirt, heat, or a simple preparation mistake.
Here are the most common causes.
1. Moisture in the Surface
Moisture is the number one cause of paint bubbling. When water gets trapped under paint, the paint lifts and forms bubbles.
This happens when you paint over a damp wall, a surface hit by rain, or wood that hasn’t dried out fully. Bathrooms, kitchens, and basements are the most common spots where this occurs. High humidity alone can cause bubbling, even without a visible water source.
2. A Dirty or Greasy Surface
Paint needs a clean surface to stick properly. Dust, grease, and old grime sit on walls without you always noticing them.
When paint goes over a dirty surface, it can’t grip. As it dries and shrinks slightly, it pulls away from those contaminated spots. That’s exactly where bubbles form first.
3. Heat and Direct Sunlight
Painting in hot conditions forces the outer layer of paint to dry too fast. The surface seals before the layers underneath can release moisture properly.
That trapped moisture then pushes upward, creating bubbles. This is especially common on exterior walls that get direct sunlight. The safest temperature range for painting is between 50°F and 85°F.
4. Painting Over Incompatible Paint
Not all paints bond with each other. Applying latex paint over oil-based paint is one of the most common mistakes homeowners make.
The two formulas can’t bond, so the new coat lifts almost immediately. If you want to use latex over an oil-based surface, the surface needs to be sanded, cleaned, and properly primed first. Skipping those steps will cause bubbling every single time.
5. Skipping the Primer
Bare drywall, raw wood, and plaster are porous surfaces. They absorb paint unevenly without first priming them.
This uneven absorption creates weak spots where the paint can’t bond well. Those weak spots eventually bubble up. A good primer creates a stable base that gives the paint something solid to grip onto.
6. Using the Wrong Roller
The roller you use matters more than most people think. Using a roller with the wrong nap length leads to poor paint contact with the surface.
On smooth surfaces, a foam or short-nap roller works best. Medium-nap rollers suit slightly rough surfaces. Long-nap rollers are for very rough surfaces like brick or stucco. The wrong choice leaves gaps in coverage that bubble over time.
7. Applying Paint Too Thick or Too Fast
Thick coats of paint trap air and moisture inside as they dry. Adding a second coat before the first is fully dry makes this problem significantly worse.
The paint on the outside dries and seals, but the wet paint underneath has nowhere to go. It pushes outward and forms bubbles. Always apply thin, even coats and follow the drying time on the paint can before adding the next.
Now that you know all the causes, the next step is figuring out which one is affecting your wall.
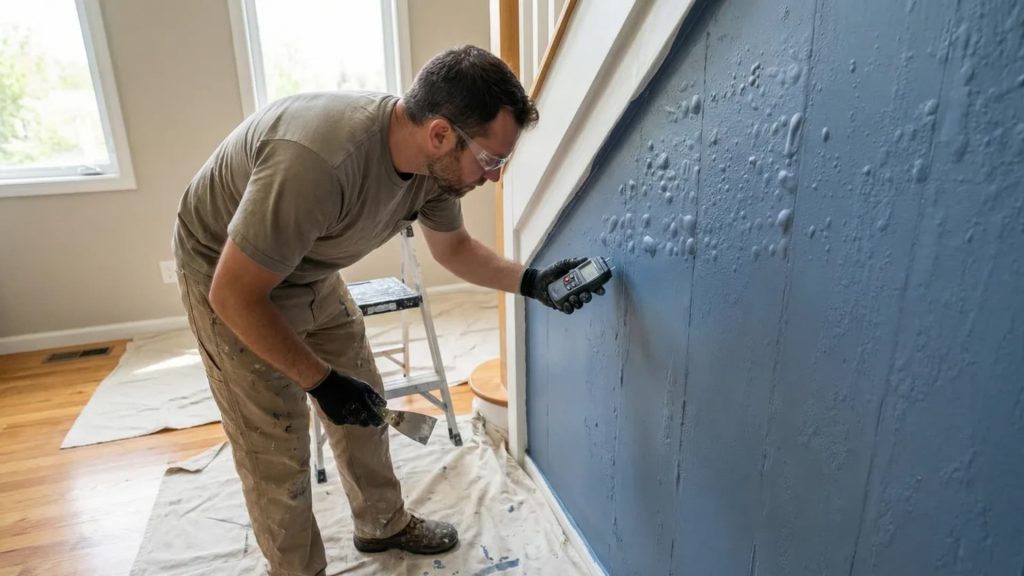
How to Diagnose Which Cause Is Yours?
Don’t start fixing anything yet. First, look closely at what you’re actually dealing with.
Start with the Symptoms.
Look at where the bubbles are sitting. Bubbles near the ceiling or along baseboards often point to a water leak behind the wall. Bubbles in the bathroom or kitchen usually mean humidity is the problem.
Bubbles spread across the whole wall suggest a dirty surface or that the wrong paint type was used. Bubbles on an exterior wall after rain point to moisture getting in before the paint fully cured.
Next, scrape one bubble open gently with a putty knife. If it only affects the top layer of paint, surface contamination or the wrong roller is likely the cause. If the bubble goes all the way down to the bare wall, moisture is almost certainly behind it.
Now Ask Yourself These Three Questions.
- When did the bubbles appear? Bubbles showing up within hours or days point to moisture, heat, or a dirty surface. Bubbles appearing weeks or months later suggest a water leak or incompatible paint layers.
- Did you skip any prep steps? No cleaning, no primer, or painting in high heat are the most common mistakes in fresh paint jobs.
- Did it rain shortly after painting outside? If yes, moisture crept under the paint before it had a chance to cure.
Your answers will point you directly to the right fix. Now that you’ve identified your cause, here’s exactly how to fix it.
How to Fix Paint Bubbling: Step by Step
Painting over bubbles will not solve anything. The same problem will come back in the same spot. Follow these steps in order for a fix that actually lasts.
| Step | What To Do | Why It Matters |
|---|---|---|
| 1. Fix the root cause first | Repair any leaks, improve ventilation, or identify the incompatible paint layer before touching the wall | Skipping this step means the bubbles will return no matter how well you repair the surface |
| 2. Remove the bubbled paint | Use a putty knife to scrape away all loose and bubbled paint until you reach a solid, well-bonded surface | Loose edges left behind will lift again and ruin your new coat |
| 3. Sand the area smooth | Use fine-grit sandpaper to smooth the scraped edges and blend the patch into the surrounding wall | A smooth surface ensures the new paint goes on evenly without visible lines |
| 4. Clean the surface | Wash the area with warm, soapy water and dry it completely with a clean rag | Any remaining dust or grease will stop the new paint from bonding properly |
| 5. Apply the right primer | Use a stain-blocking primer for water damage, a standard primer for drywall, or an outdoor primer for exterior surfaces | Primer seals the surface and gives the new paint a strong base to grip onto |
| 6. Repaint in the right conditions | Apply thin, even coats between 50°F and 85°F and wait for each coat to fully dry before adding the next | Painting in the wrong conditions is what caused the bubbling in the first place |
With the fix done, the last thing you want is to go through this again. Here’s how to make sure you never have to.
How to Prevent Paint From Bubbling Again?
The good news is that prevention is far simpler than fixing. Most of it comes down to slowing down before you paint.
- Clean the wall properly. Warm soapy water, a good scrub, and a completely dry surface before anything else.
- Always use a primer. Especially on bare drywall, raw wood, or any previously water-damaged surface.
- Check the temperature. Paint only when conditions are between 50°F and 85°F.
- Stir paint slowly. Stirring too fast adds air into the paint before it even hits the wall.
- Use the right roller. Match your nap length to your surface type every single time.
- Apply thin coats. Two thin coats will always outperform one thick coat.
- Wait between coats. Read the label and give each coat the full drying time it needs.
- Ventilate properly. Keep kitchens and bathrooms well aired out while painting and during drying.
Even with the best preparation, some situations need a professional eye.
When to Call a Professional?
If the bubbles keep coming back in the same spot after multiple fixes, something deeper is going on. A professional can find what you can’t see.
If the affected area is large, covering entire walls or multiple rooms, a DIY fix will cost you more time and money in the long run.
If you are unsure what type of paint is already on the wall, getting it wrong again will only make things worse. A professional will know exactly what to use.
If the surface you are working with is plaster, brick, or masonry, these materials need specialist knowledge and the right products to get a lasting result.
A licensed painting contractor will also spot hidden moisture problems behind walls before they cause serious structural damage. That alone can save you a significant amount of money down the line.
Conclusion
Paint bubbling always has a reason behind it. And that reason is almost always something that happened before the brush ever touched the wall.
Moisture, a dirty surface, the wrong paint type, or skipped prep steps. These are the real culprits. Fix the root cause first, follow the right steps, and your walls will stay smooth for years.
The biggest lesson here is simple. Good prep work matters more than the paint itself. Slow down before you start, and you will rarely have to fix anything after.
Have you dealt with paint bubbling before? What caused it on your wall?
Drop your experience in the comments below. Your story might help someone else figure out exactly the same problem.
Frequently Asked Questions
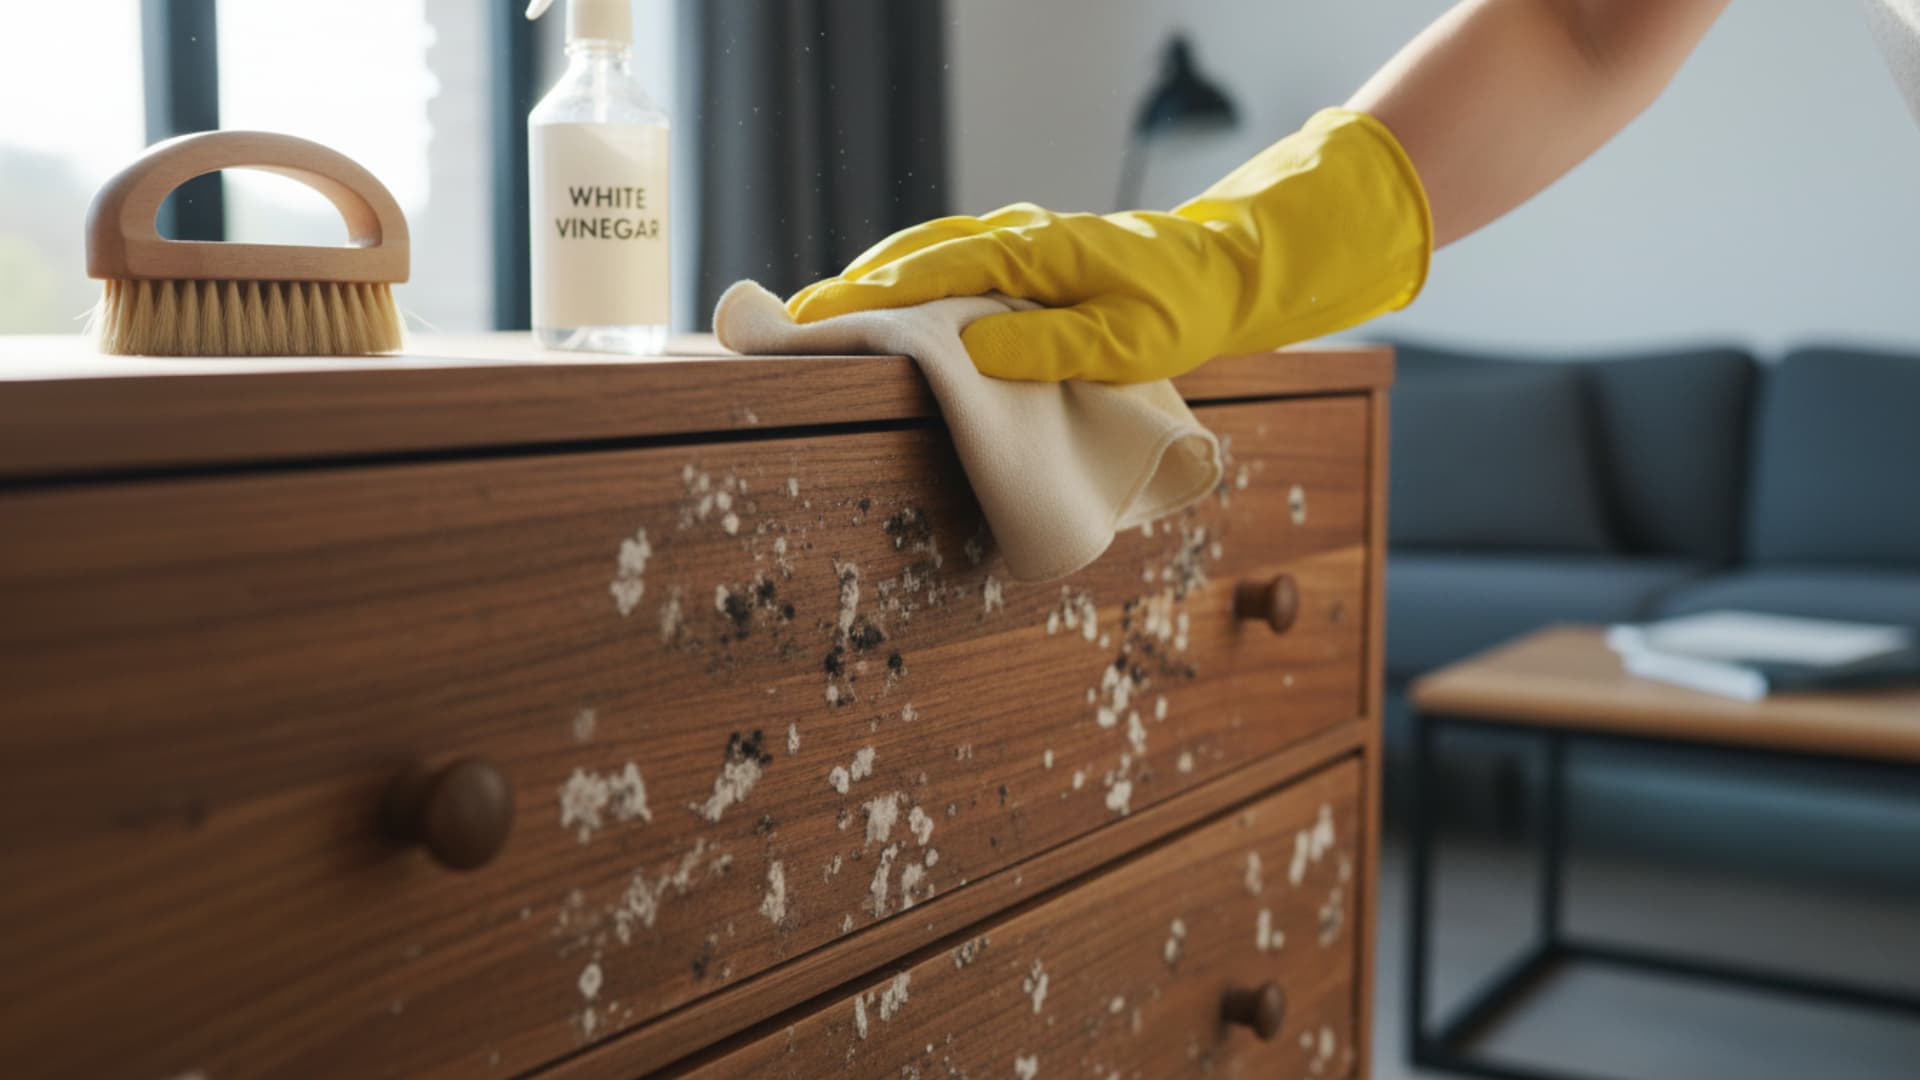
Is Bubbling Paint a Sign of Mold?
It can be. If moisture has been sitting behind the wall for a long time, mold can grow in that space. Check for a musty smell or discoloration on the wall surface as early warning signs.
Does Bubbling Paint Affect the Value of My Home?
Yes. Bubbling paint signals poor maintenance to potential buyers and home inspectors. It can raise concerns about hidden water damage, which may affect your property’s overall valuation during a sale.
Can Wallpaper Cause Paint to Bubble?
Yes. Painting directly over wallpaper traps moisture and adhesive underneath. As the paint dries, it reacts with the wallpaper glue and lifts. Always remove wallpaper completely before painting for a lasting result.