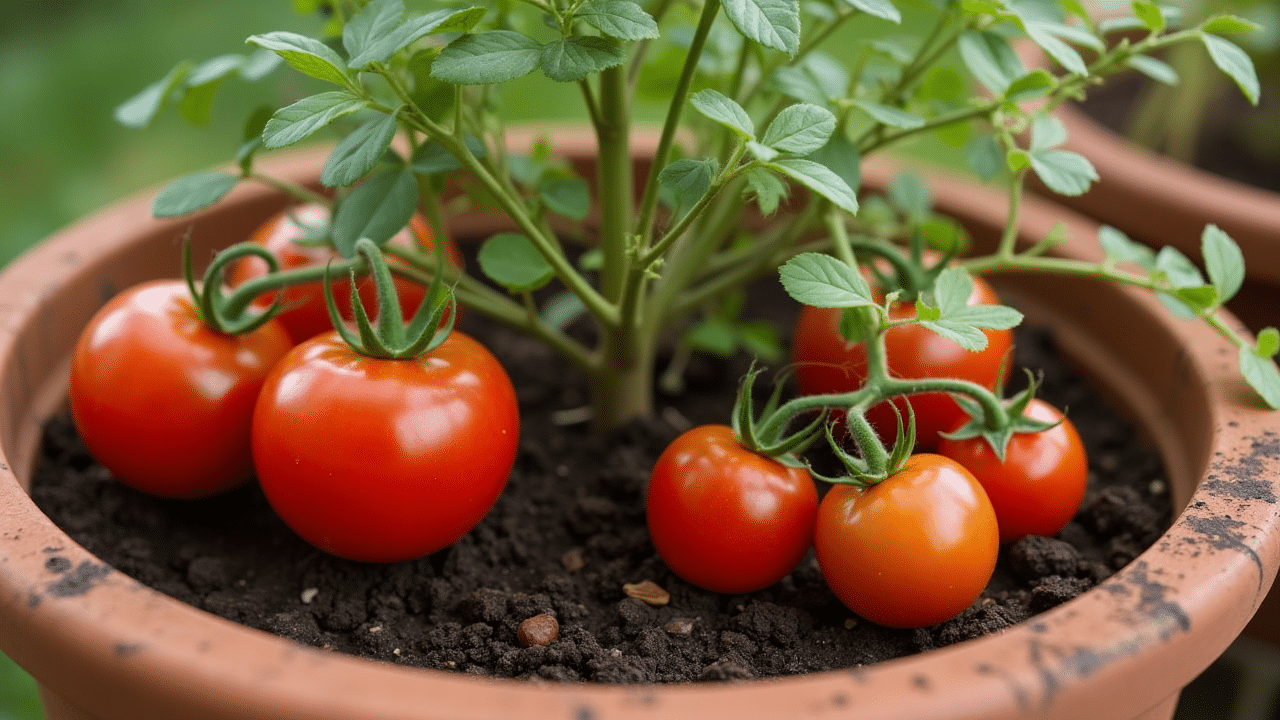

I used to watch my tomato plants grow wild and bushy, thinking more growth meant better harvests. Boy, was I wrong! My plants looked healthy, but produced tiny, flavorless tomatoes that barely filled a salad bowl.
Then I learned about side shoots, those sneaky little branches that steal energy from your fruit. Most gardeners make the same mistake I did, letting these energy thieves run wild on their plants.
But here’s what changed everything: removing side shoots can double your tomato harvest while improving fruit quality. I went from disappointing crops to baskets full of juicy, full-sized tomatoes.
In this guide, I’ll show you exactly how to spot these troublemakers, remove them safely, and time everything perfectly. Your plants will thank you with the best tomato harvest you’ve ever grown.
What Are Tomato Side Shoots?
Think of tomato side shoots as the plant’s “unwanted children” that pop up where you least expect them. These sneaky little growths appear right at the spot where your tomato’s main stem meets a branch like a fork in the road.
Why do they matter?
Every side shoot that grows is stealing energy from your future tomatoes. The plant invests its energy in growing more leaves and stems rather than flowers and fruit. Remove them, and suddenly your plant becomes a tomato-making machine.
What do they look like?
Picture a tiny green shoot growing from the “armpit” of your tomato plant. They start small, maybe just a few leaves, but left alone, they’ll grow into full branches. Some gardeners refer to them as “suckers” because they drain energy away from fruit production.
Side shoots are nature’s way of making your tomato plant bushier. But you want tall and productive, not wide and leafy. That’s why smart gardeners remove them regularly throughout the growing season.
Step-by-Step Tomato Growing Guide
A simple, six-step guide to identifying, removing, and managing tomato side shoots plus feeding, transplanting, and supporting your plants for a healthy, high-yield harvest.
Tools and Materials
- Pruners/secateurs
- Fingers (for small shoots)
- Large individual pots
- Grow bags
- Large troughs
- Tomato fertilizer
- Greenhouse
- Canes/stakes
- Ties/clips
- Watering equipment
Step 1: Identify Side Shoots
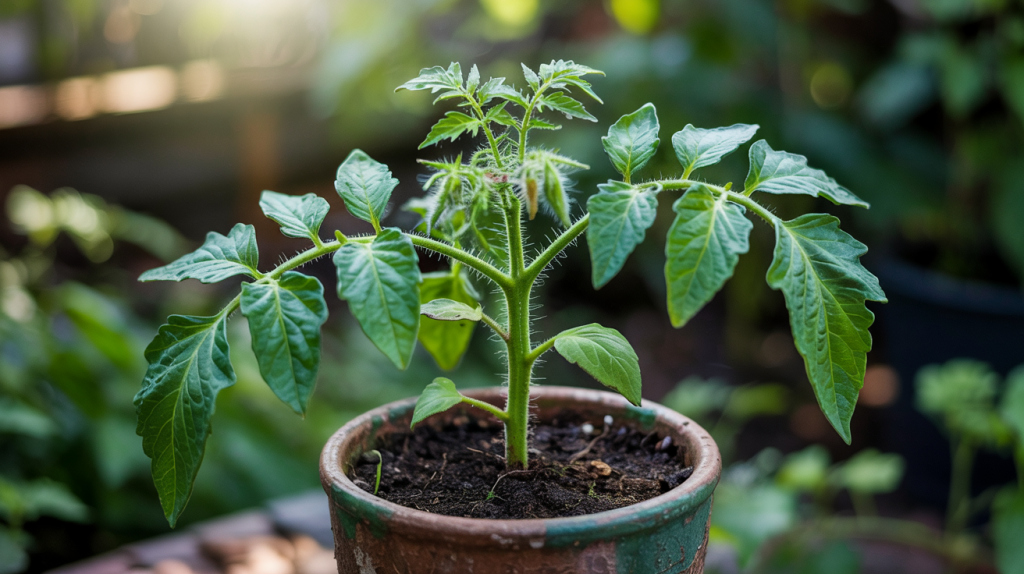
Look for small shoots growing where the main stem meets a branch. These side shoots appear regularly throughout the growing season and need constant monitoring.
They’re easy to spot as they emerge from the junction points. If left unchecked, these shoots will divert energy from fruit production into unnecessary plant growth, reducing your overall tomato harvest.
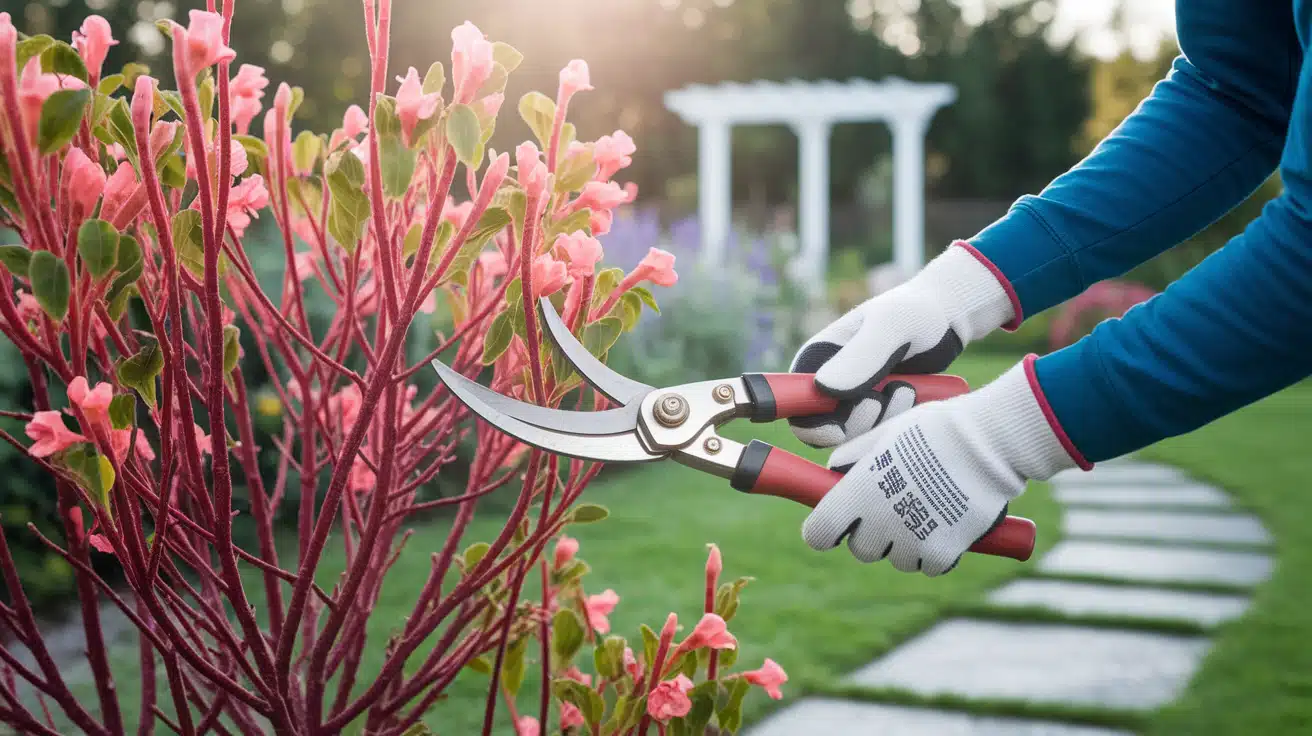
Step 2: Remove Side Shoots
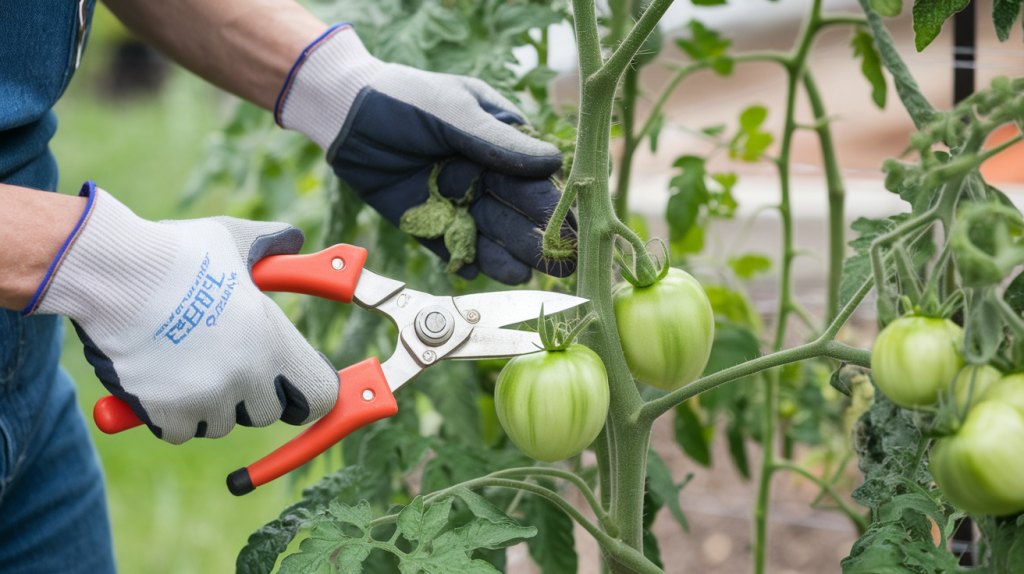
Use pruners or secateurs to snip off all side shoots cleanly. While you can pinch small ones with your fingers, pruners prevent green staining and ensure clean cuts.
This process needs to be repeated weekly throughout summer as new shoots constantly appear. Removing these shoots forces the plant to focus energy on developing flowers and fruit rather than extra foliage.
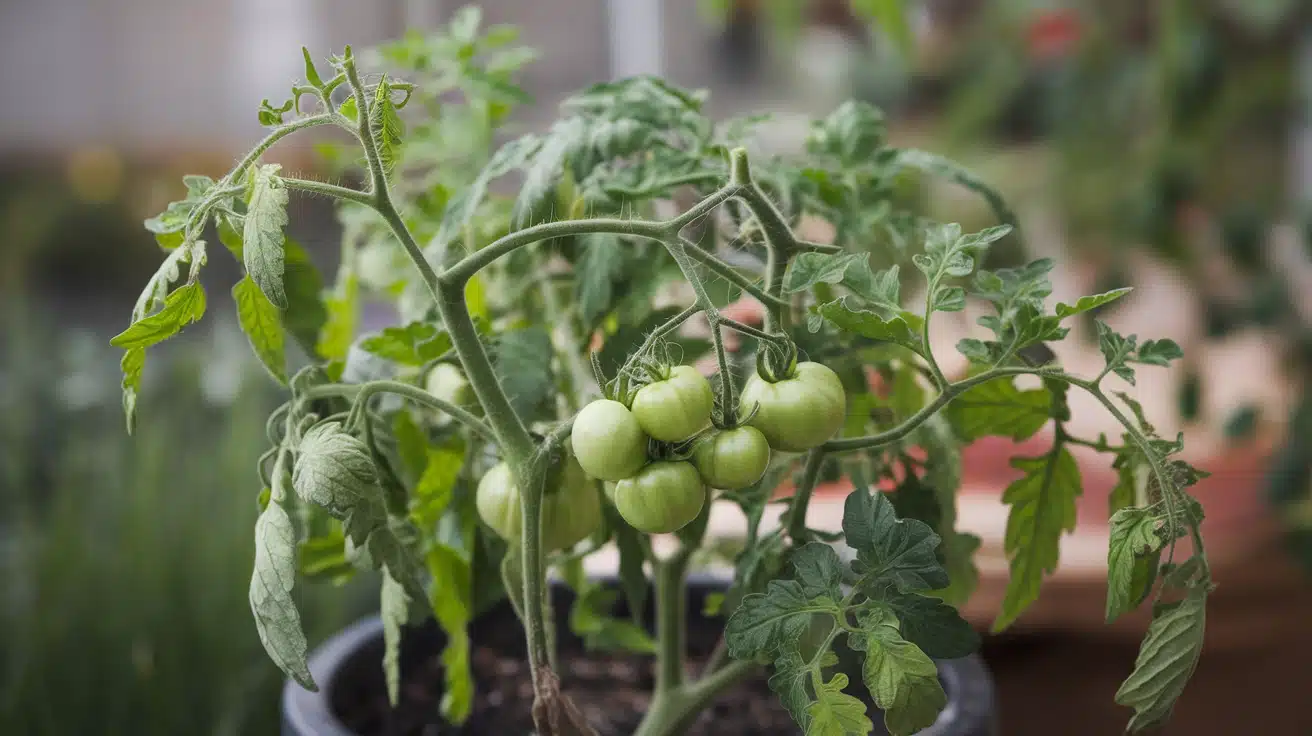
Step 3: Monitor for First Flowers
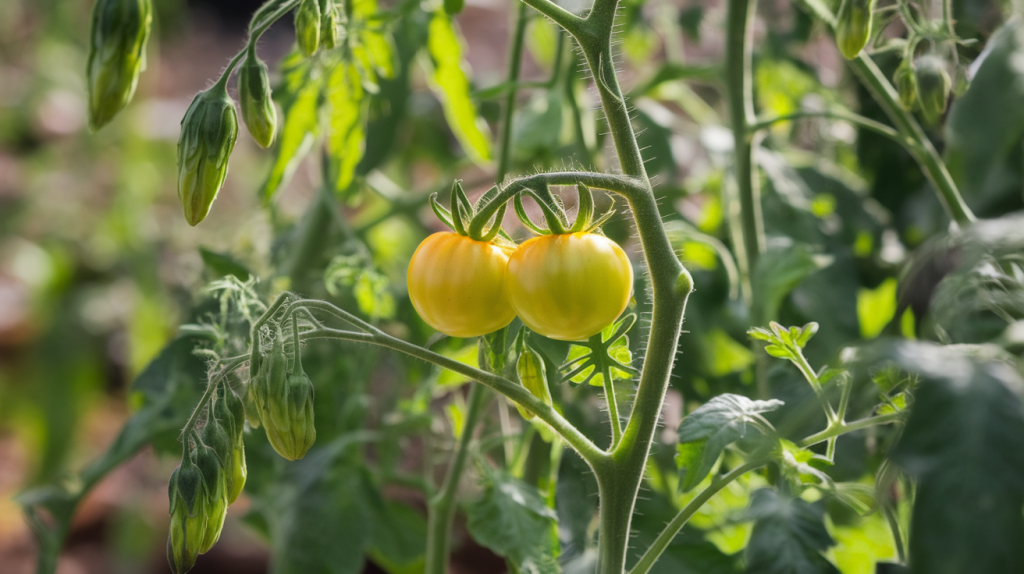
Watch for the plant’s first flower clusters to appear, which signals the tomato is ready for regular feeding. This is a crucial milestone indicating the plant is transitioning from the growth phase to the production phase.
The appearance of flowers means your side shoot removal is working effectively, and the plant is channeling energy into reproductive growth rather than vegetative growth.
Step 4: Begin Weekly Feeding
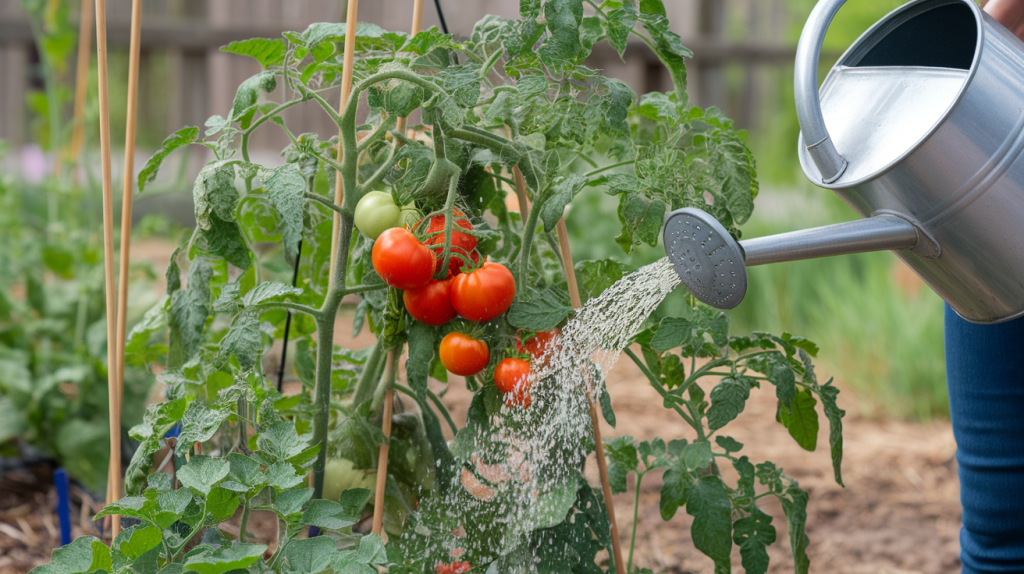
Start feeding once a week when flowers appear, using an appropriate tomato fertilizer. Avoid overfeeding in the early stages, as this can promote excessive leaf growth instead of fruit development.
Gradually increase feeding frequency as more flower clusters develop. Proper nutrition timing ensures strong flower development and better fruit set, leading to higher yields throughout the growing season.
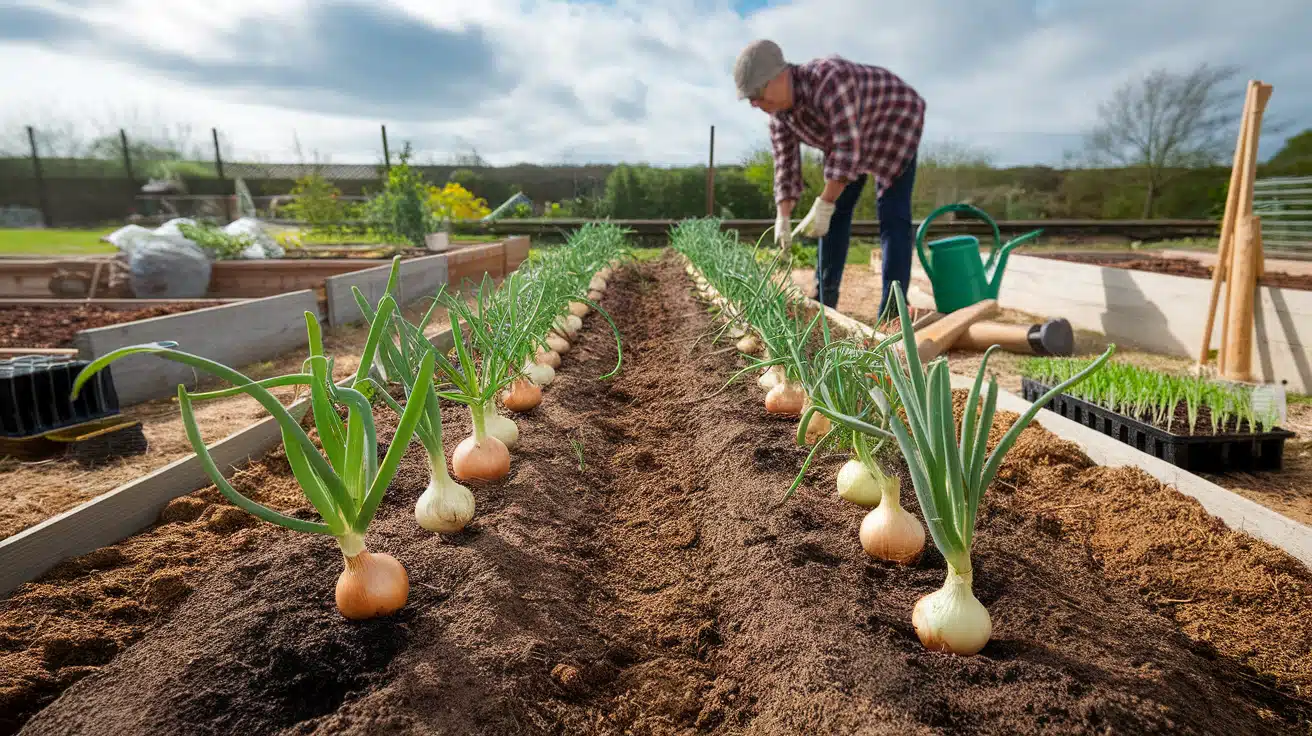
Step 5: Transplant to a Larger Container
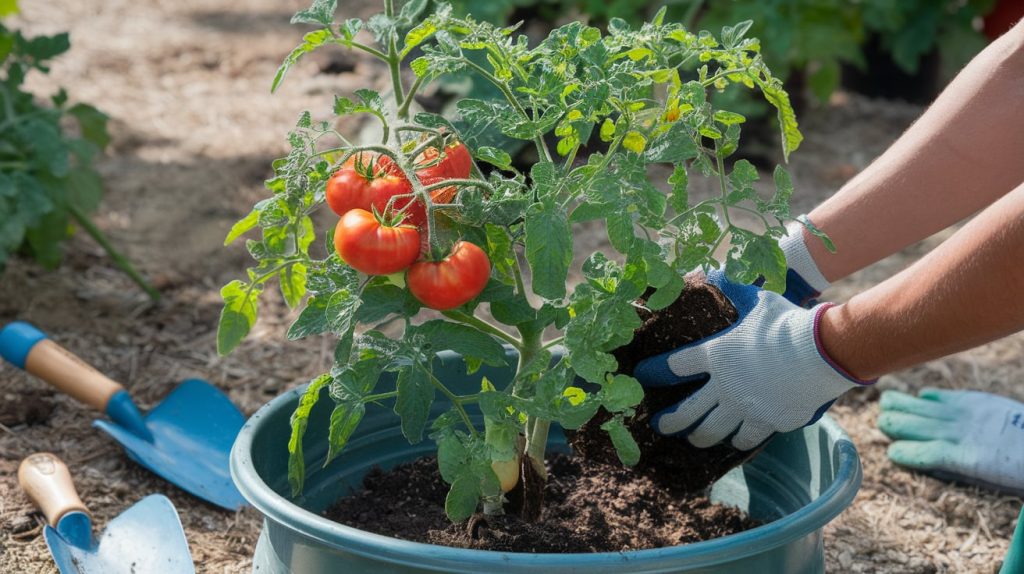
Move the plant to a large individual pot, grow bag, or trough when it outgrows its current container. This typically happens when flowers first appear.
The larger container provides adequate root space for the growing season ahead. Choose containers based on available space: greenhouse pots for controlled conditions or outdoor containers for warm, sheltered locations.
Step 6: Provide Support Structure
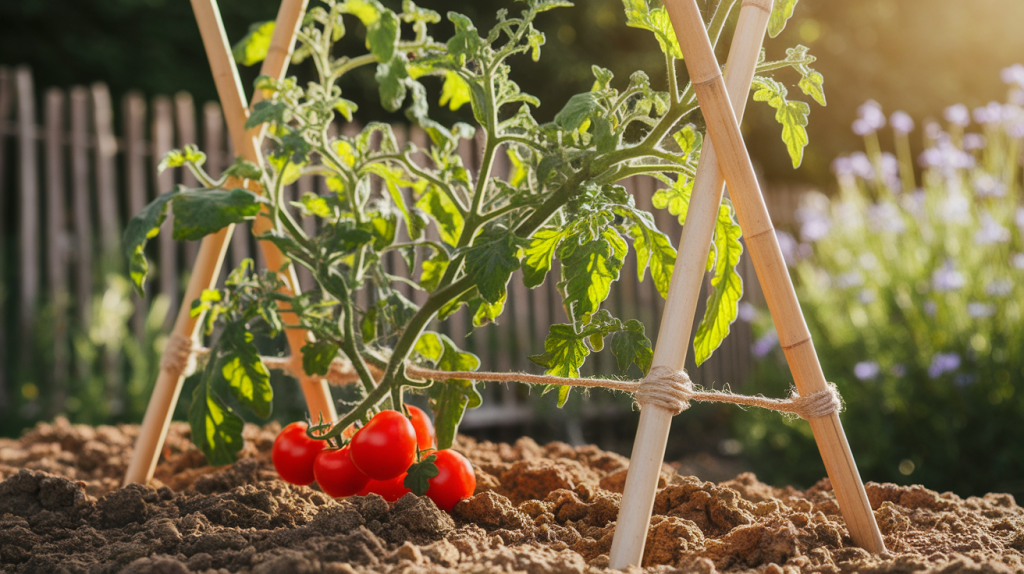
Install canes or stakes to maintain single upright stem growth throughout the season. Secure the plant with ties or clips as it grows taller.
This support system prevents the plant from sprawling and makes it easier to remove side shoots. Proper support also enhances air circulation around the plant, making harvesting more convenient as the fruits develop.
Video Tutorial
Special thanks to TheTsundaygardener for providing valuable insights in their video, which I referenced while creating this guide.
Tomato Side Shoots & Plant Health
Tomato plant health depends on good air flow and sunlight, just like how people feel better in a clean, bright room versus a stuffy closet. When side shoots crowd the plant, they create a jungle of leaves that block air and light from reaching the inner parts. This creates ideal conditions for diseases to take hold.
Think of it this way: bacteria and fungi love dark, damp places with no air movement. A crowded tomato plant with lots of side shoots becomes their favorite hangout spot. However, when these extra shoots get removed, it essentially opens windows and allows fresh air to flow through the plant.
Key Health Benefits of Removing Side Shoots
- Better Air Flow – Fewer leaves mean air can move freely around all parts of the plant, preventing moisture buildup that leads to fungal problems.
- More Sunlight Reaches Inner Leaves – Sun acts like a natural disinfectant, killing harmful bacteria and keeping leaves dry and healthy.
- Easier Pest Spotting – With less foliage, you can quickly see and deal with aphids, caterpillars, or other troublemakers before they multiply.
- Reduced Disease Spread – Fewer touching leaves means diseases can’t jump from branch to branch as easily.
- Stronger Main Stem – Energy goes into building a sturdy main trunk that can better resist wind damage and support heavy fruit clusters.
Avoid These Tomato Side Shoot Mistakes
Even experienced gardeners make errors when dealing with side shoots. These mistakes can stress your plants, reduce yields, or even kill your tomatoes. Here are the biggest traps to avoid and how to fix them.
Mistake 1: Pruning at the Wrong Time
The Problem: Many gardeners prune when it’s convenient for them, often during wet mornings or late evenings when plants are stressed.
The Solution: Prune during dry, sunny mornings when plants are well-hydrated but leaves are dry. This timing helps wounds heal quickly and prevents the entry of disease through wet cuts.
Mistake 2: Removing Too Many Shoots at Once
The Problem: Getting excited and stripping away multiple large side shoots in one session can shock the plant and slow growth.
The Solution: Remove just 2-3 side shoots per week, maximum. Let your plant recover between pruning sessions. Small, frequent removals are more effective than major surgery.
Mistake 3: Ignoring Plant Stress Signals
The Problem: Continuing to prune when plants show wilting, yellowing leaves, or slow growth compounds their stress.
The Solution: Stop all pruning if your plant looks unhappy. Please wait until it recovers with proper watering, feeding, or weather improvements before resuming side shoot removal.
Mistake 4: Using Dull or Dirty Tools
The Problem: Blunt pruners crush stems instead of cutting cleanly, while dirty tools spread diseases between plants.
The Solution: Keep pruners sharp and clean them with rubbing alcohol between plants. Clean cuts heal faster and resist infection better than ragged, torn wounds.
Conclusion
Managing tomato side shoots isn’t just about better harvests; it’s about working smarter, not harder in your garden. When you master this simple technique, you’ll see stronger plants, healthier growth, and tomatoes that actually taste like tomatoes should.
Remember the key points: spot those energy-stealing shoots early, remove them during dry mornings, and never rush the process. Your plants will reward consistent care with fruit that makes store-bought tomatoes seem like cardboard.
Start checking your plants twice weekly from now on. Mark your calendar if you need to – consistency beats perfection every time.
Have you tried removing side shoots yet? Share your results in the comments below and help fellow gardeners learn from your experience.