
The problem with most log burner advice is that it either lives in a showroom or it’s so vague it could apply to a gas fire from 1987.
I’ve spent enough time in real homes to know the gap between those two worlds is where most people actually live.
A log burner is one of the few fixtures in a house that you’ll look at every single day, and the decisions around it- surround material, hearth proportion, what goes either side- will outlast the stove itself by decades.
So before anything else gets decided, those decisions deserve more than a Pinterest board and a wish list.
What Your Log Burner Fireplace Actually Needs to Get Right
Most living room log burner ideas that hold up over time share one thing: the stove and the wall around it were planned as a single decision, not two separate ones made at different stages of a renovation.
The surround sets the register for the entire wall, and the wall sets the register for the room. Get the surround wrong, and you can have a beautiful stove in an arrangement that never quite resolves.
The hearth is the other thing that gets undersized all the time.
Building regulations set a minimum, and most people build to that minimum, which leaves a hearth that looks too small for the stove sitting on it.
A hearth should extend at least 12 inches either side of the stove opening and 18 inches in front, but in most rooms with a standard-sized stove, going larger than that minimum reads better and costs relatively little extra.
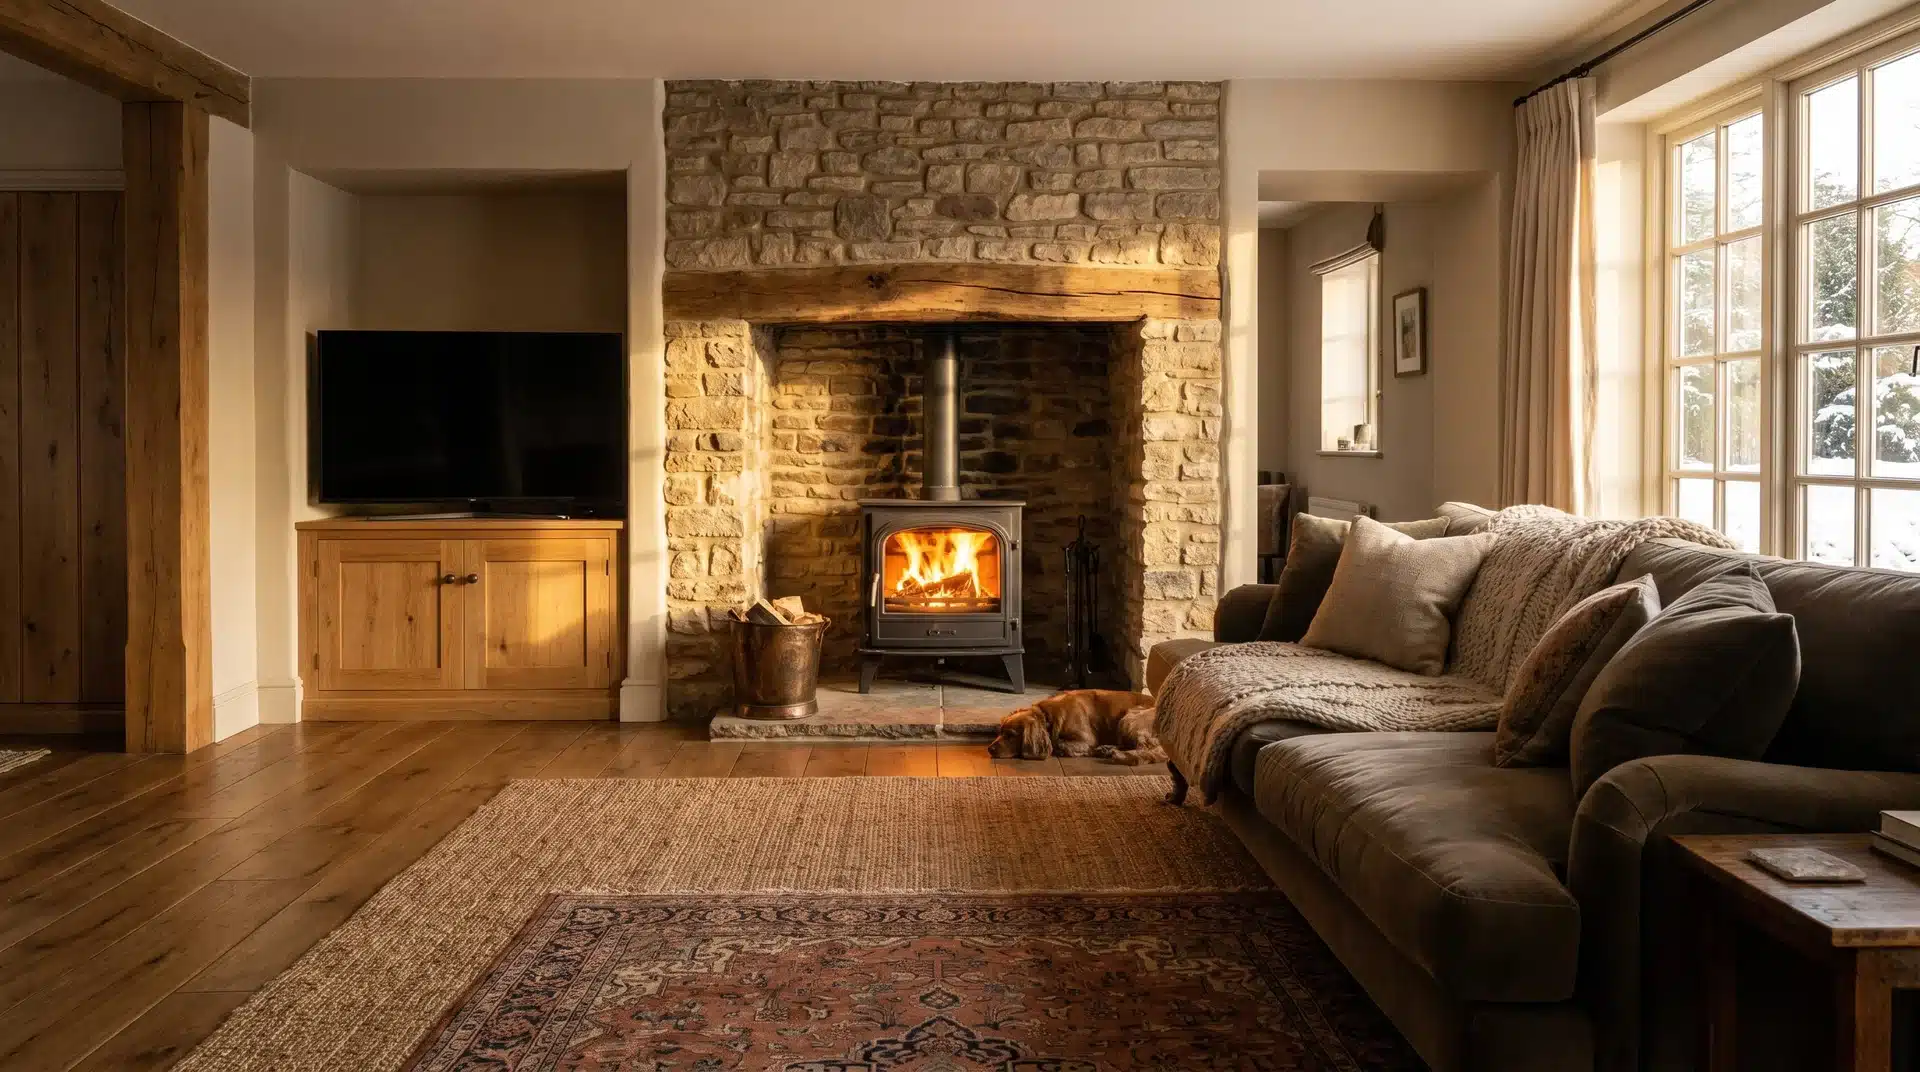
The third thing to sort out before anything else is the clearance of combustible material. This matters for alcove builds, built-in shelving, and especially for anyone considering a TV above the fireplace.
Your stove’s installation manual will give specific clearance figures for that model. Those figures are not suggestions.
13 Log Burner Fireplace Ideas Worth Building Around
A log burner is only as good as what’s built around it. These thirteen ideas cover the full range, from the simplest surround decision to the most involved media wall configuration.
1. White Painted Surround with a Black Cast Iron Stove
This is probably the most resolved visual combination available for a log burner, and I don’t think that’s an accident.
The contrast between a white or cream surround and a black stove body works in period rooms and modern ones because it’s not trying to do anything complicated.
The stove reads clearly against the surround; the surround reads clearly against the wall. When it works, it works completely.
The practical note is on the paint. Standard emulsion will discolor near the firebox opening from radiant heat.
Use heat-resistant paint rated for the surround material, and if the surround is wood, check the clearance before assuming it’s safe to paint rather than face.
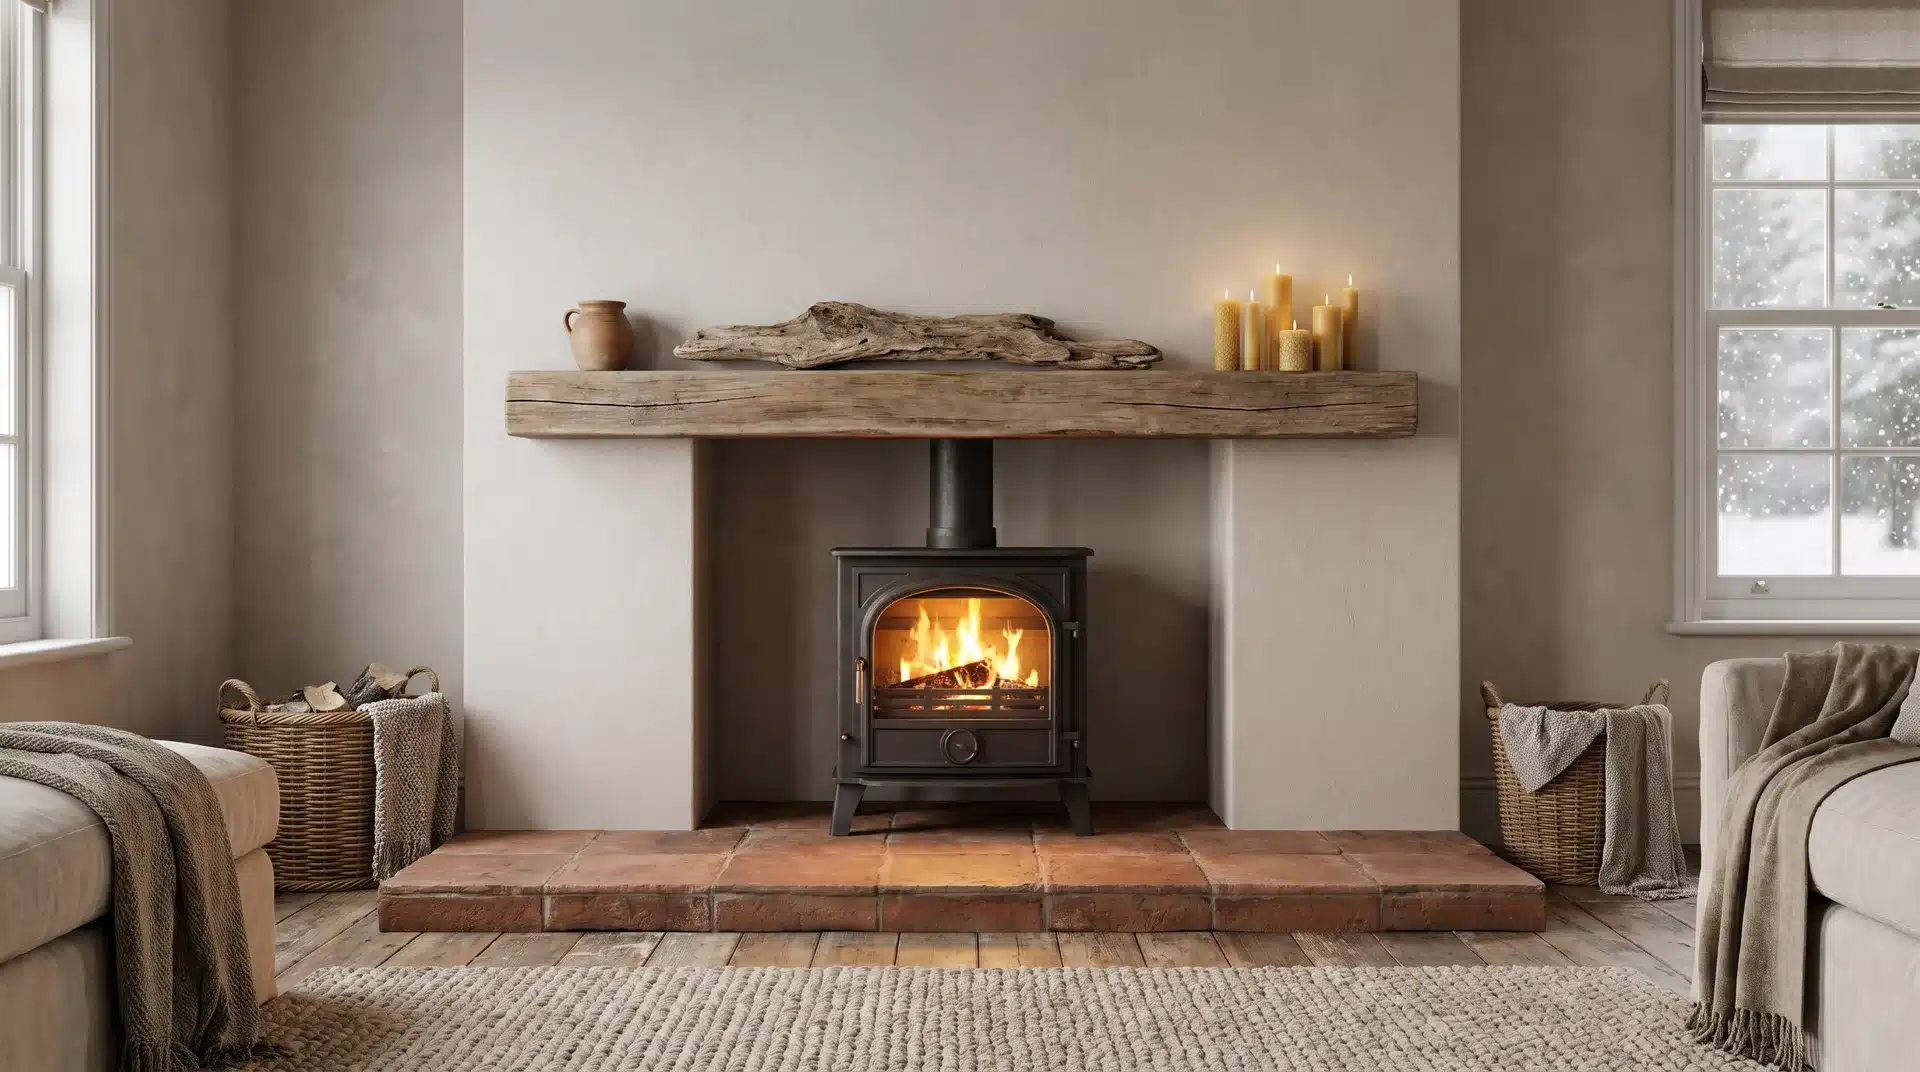
2. Natural Stone Surround with a Chunky Oak Beam Mantel

Stone and oak together age well in a way that most material combinations don’t. The stone, whether limestone, sandstone, or slate, brings texture and mass; the oak beam adds warmth without softening the arrangement into something too rustic.
The beam needs to be proportionally deep to earn its place. A thin shelf above a stone surround looks like an afterthought.
A chunky beam reads as structural, and the whole thing settles into the room rather than sitting on top of it.
If you’re sourcing reclaimed oak, check the beam for old bolt holes and splits before it goes up. They’re not necessarily a problem, but they’re easier to assess before installation than after.
3. Exposed Brick Alcove with Plastered Chimney Breast
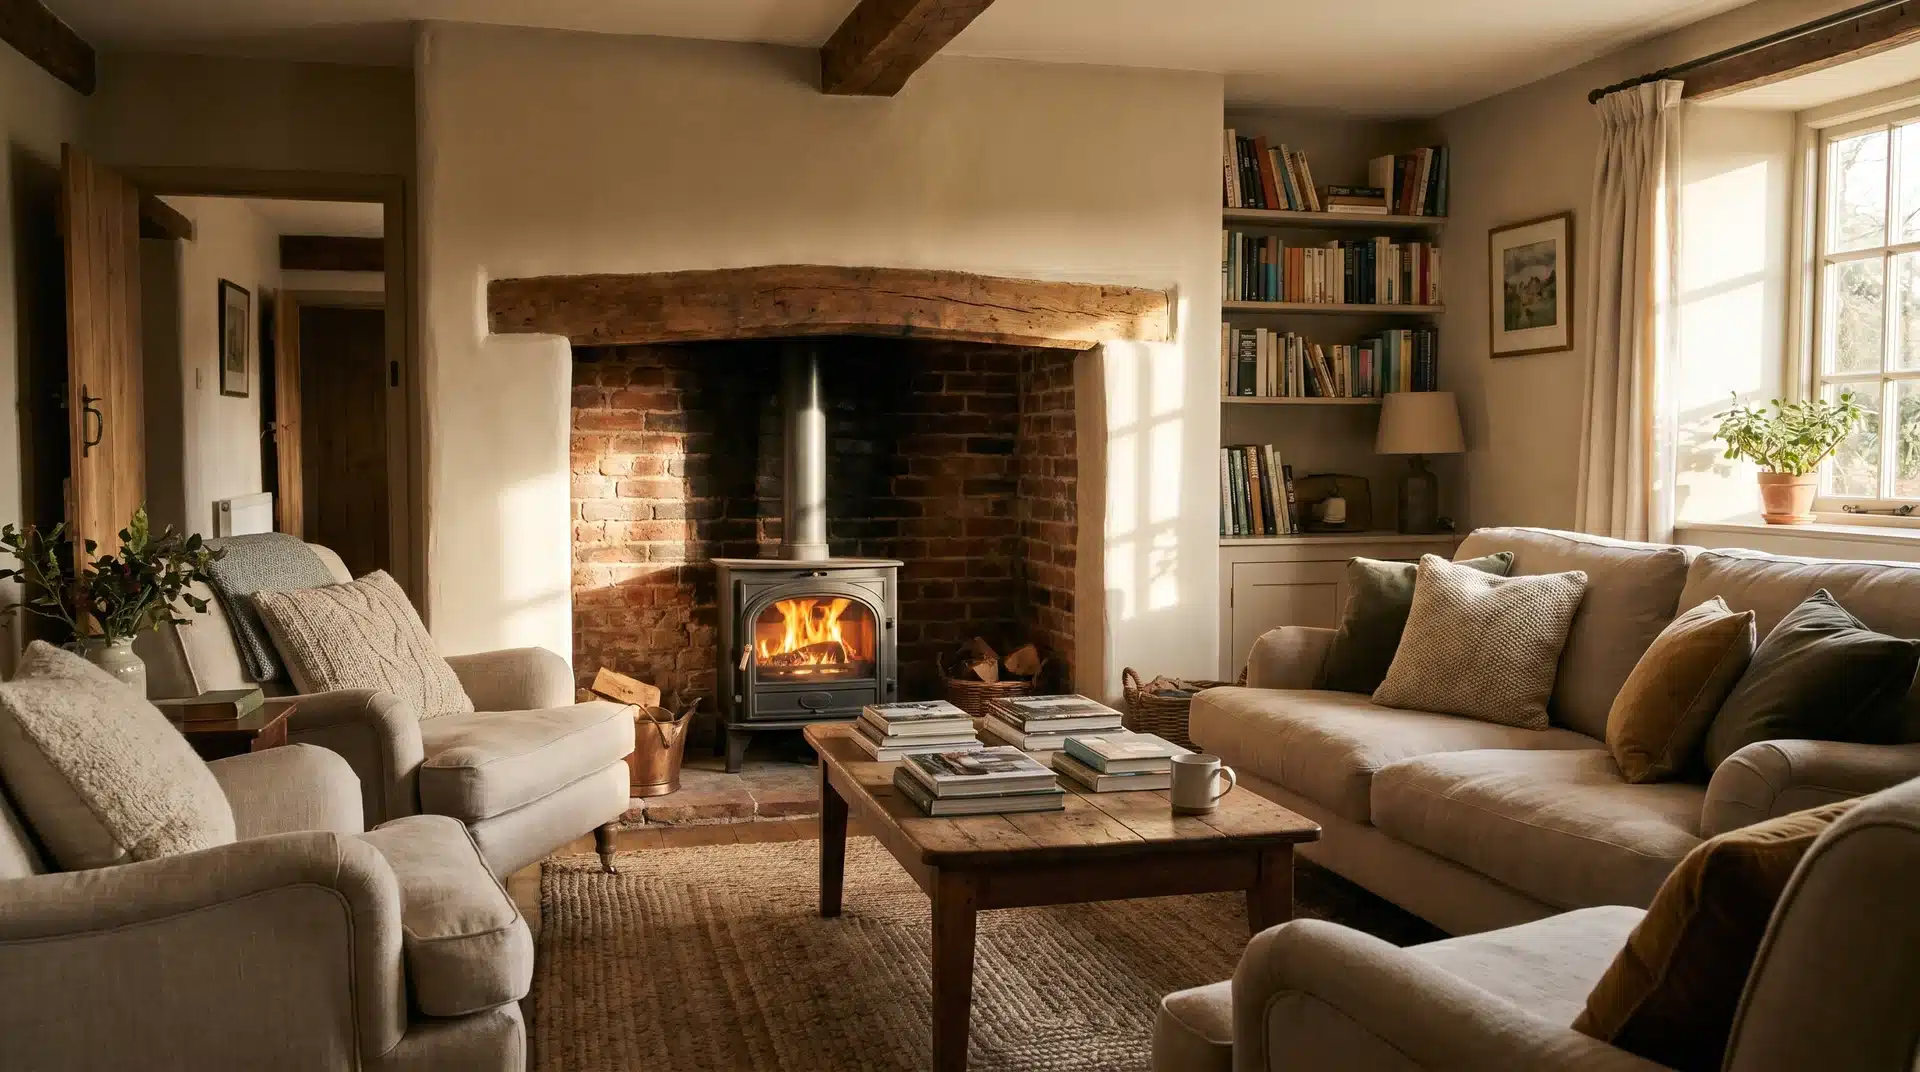
This is one of the more considered combinations in traditional log burner design: original brick left exposed inside the Alcove, with the chimney breast plastered on either side.
The brick absorbs heat and gets better with use; the plaster gives the room clean lines without losing the material warmth of the firebox recess. You get the best of both registers without committing entirely to either.
The proportion rule here is that the plaster and brick should feel like a deliberate choice rather than an unfinished one.
The transition line needs to be clean and consistent, typically achieved with a small metal or timber trim piece at the edge of the alcove opening.
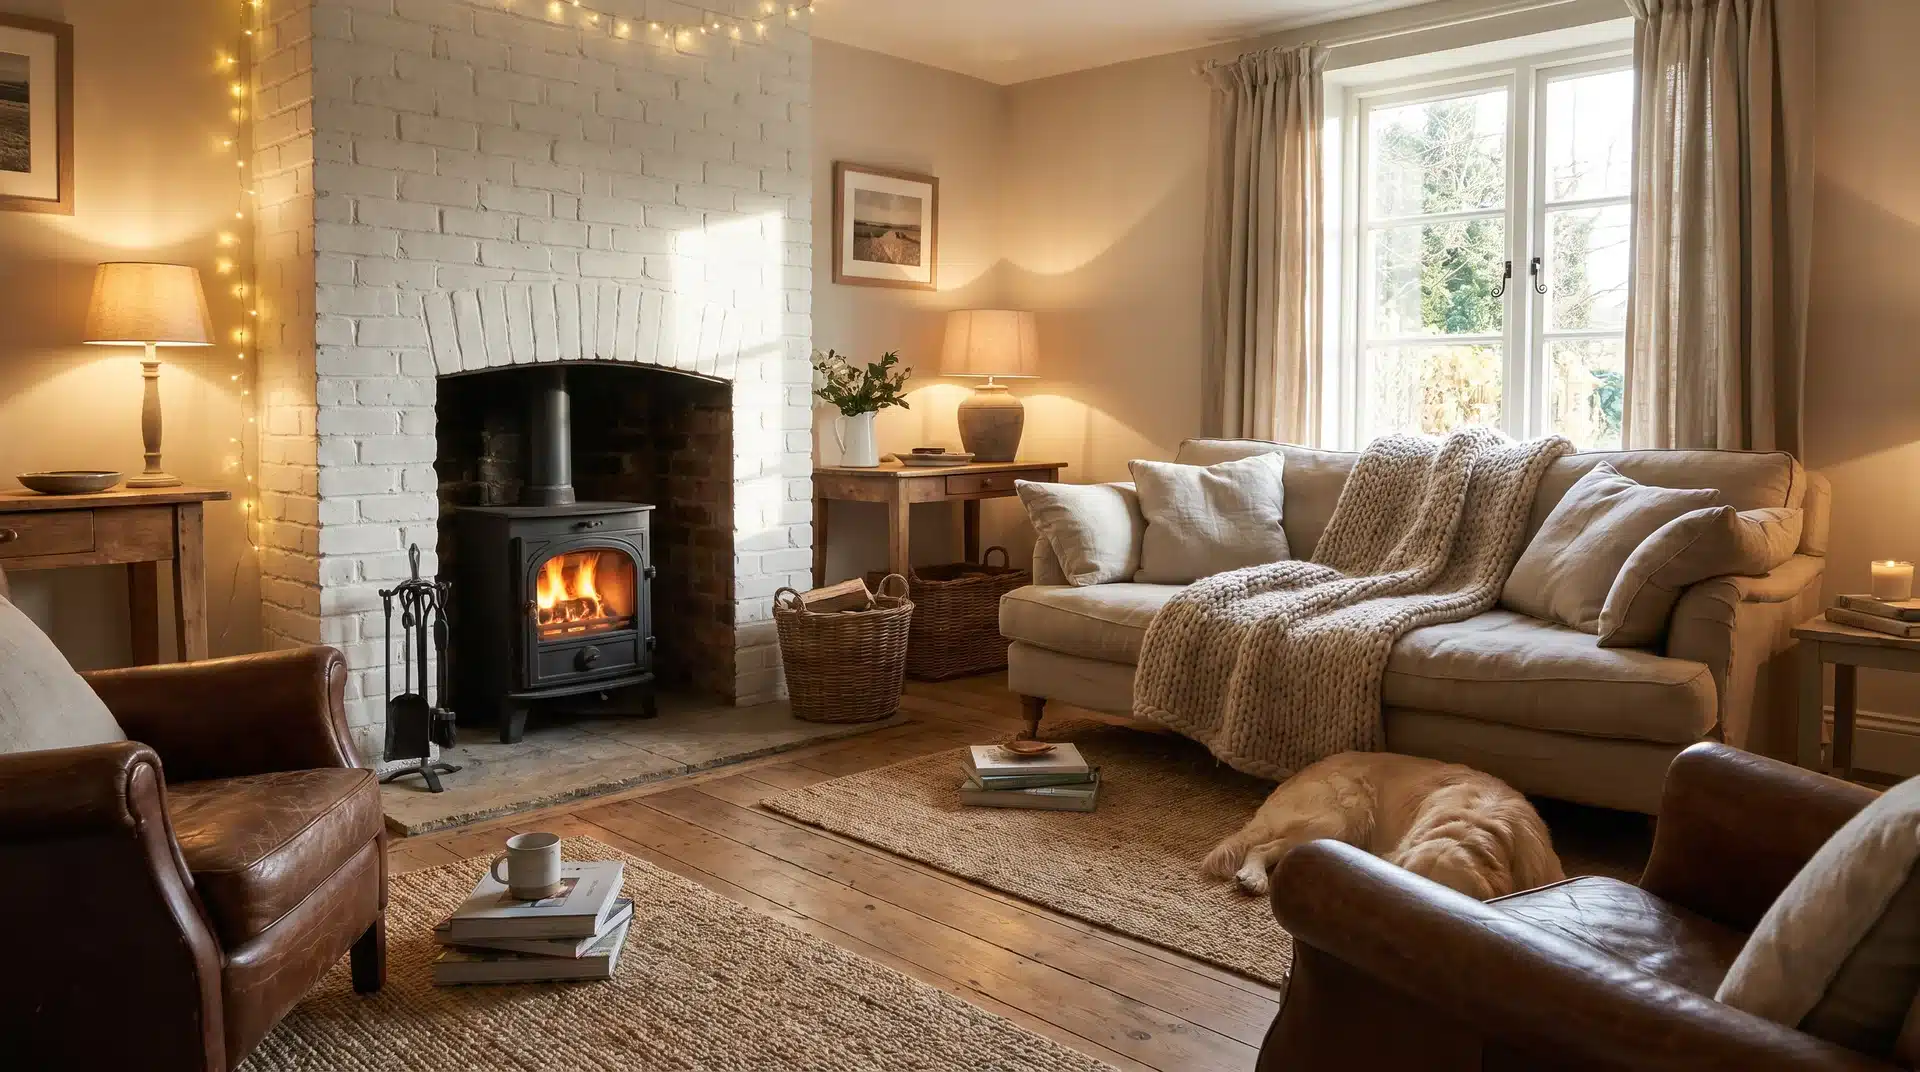
4. Painted Wood Surround in a Deep Period Color
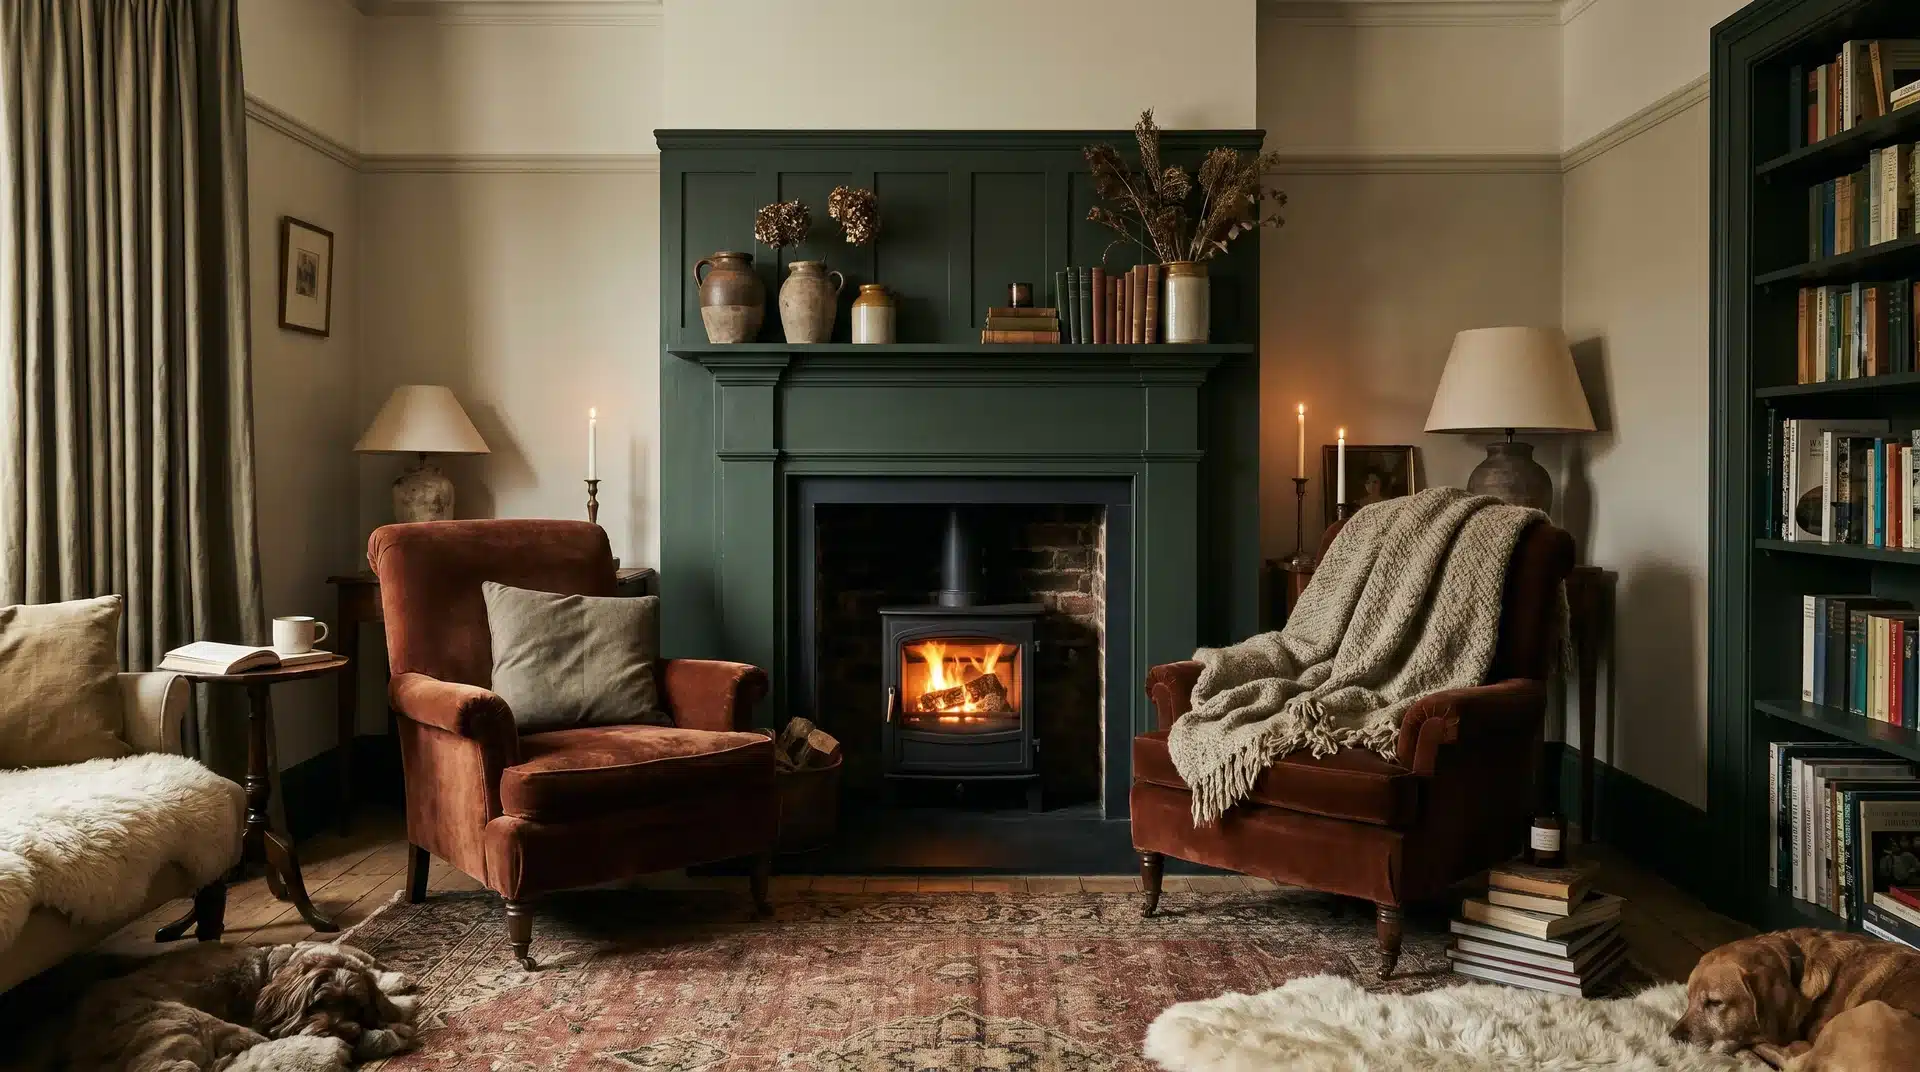
A traditional wood surround in forest green, navy, charcoal, or ox blood reads as a confident design decision rather than a safe one. the color carries the visual weight, so the mantel styling doesn’t have to.
This is particularly useful in rooms where the stove is smaller than you’d ideally want, because a deep-colored surround gives the whole arrangement more presence than a pale one.
Use a good quality eggshell or satinwood finish rather than gloss, which reads as cheap on a surround regardless of the color. And use a steady hand or tape at the edge where the surround meets the wall.
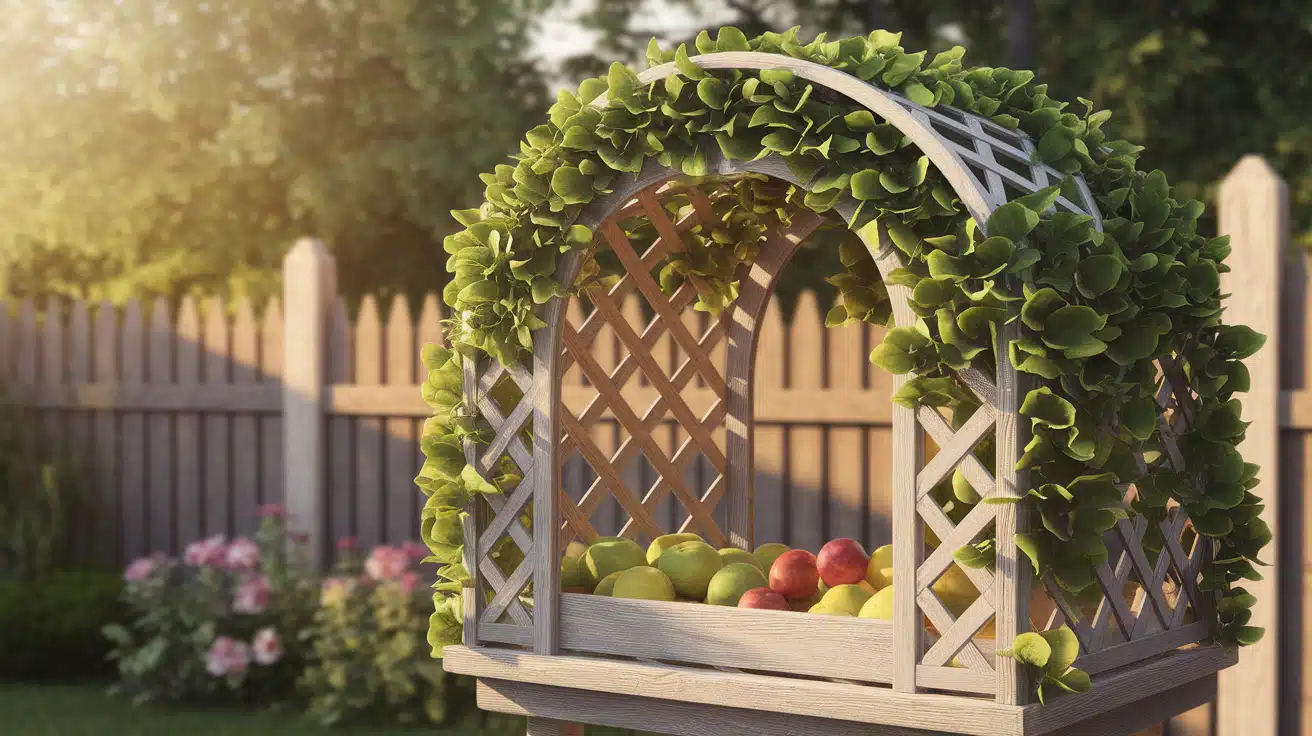
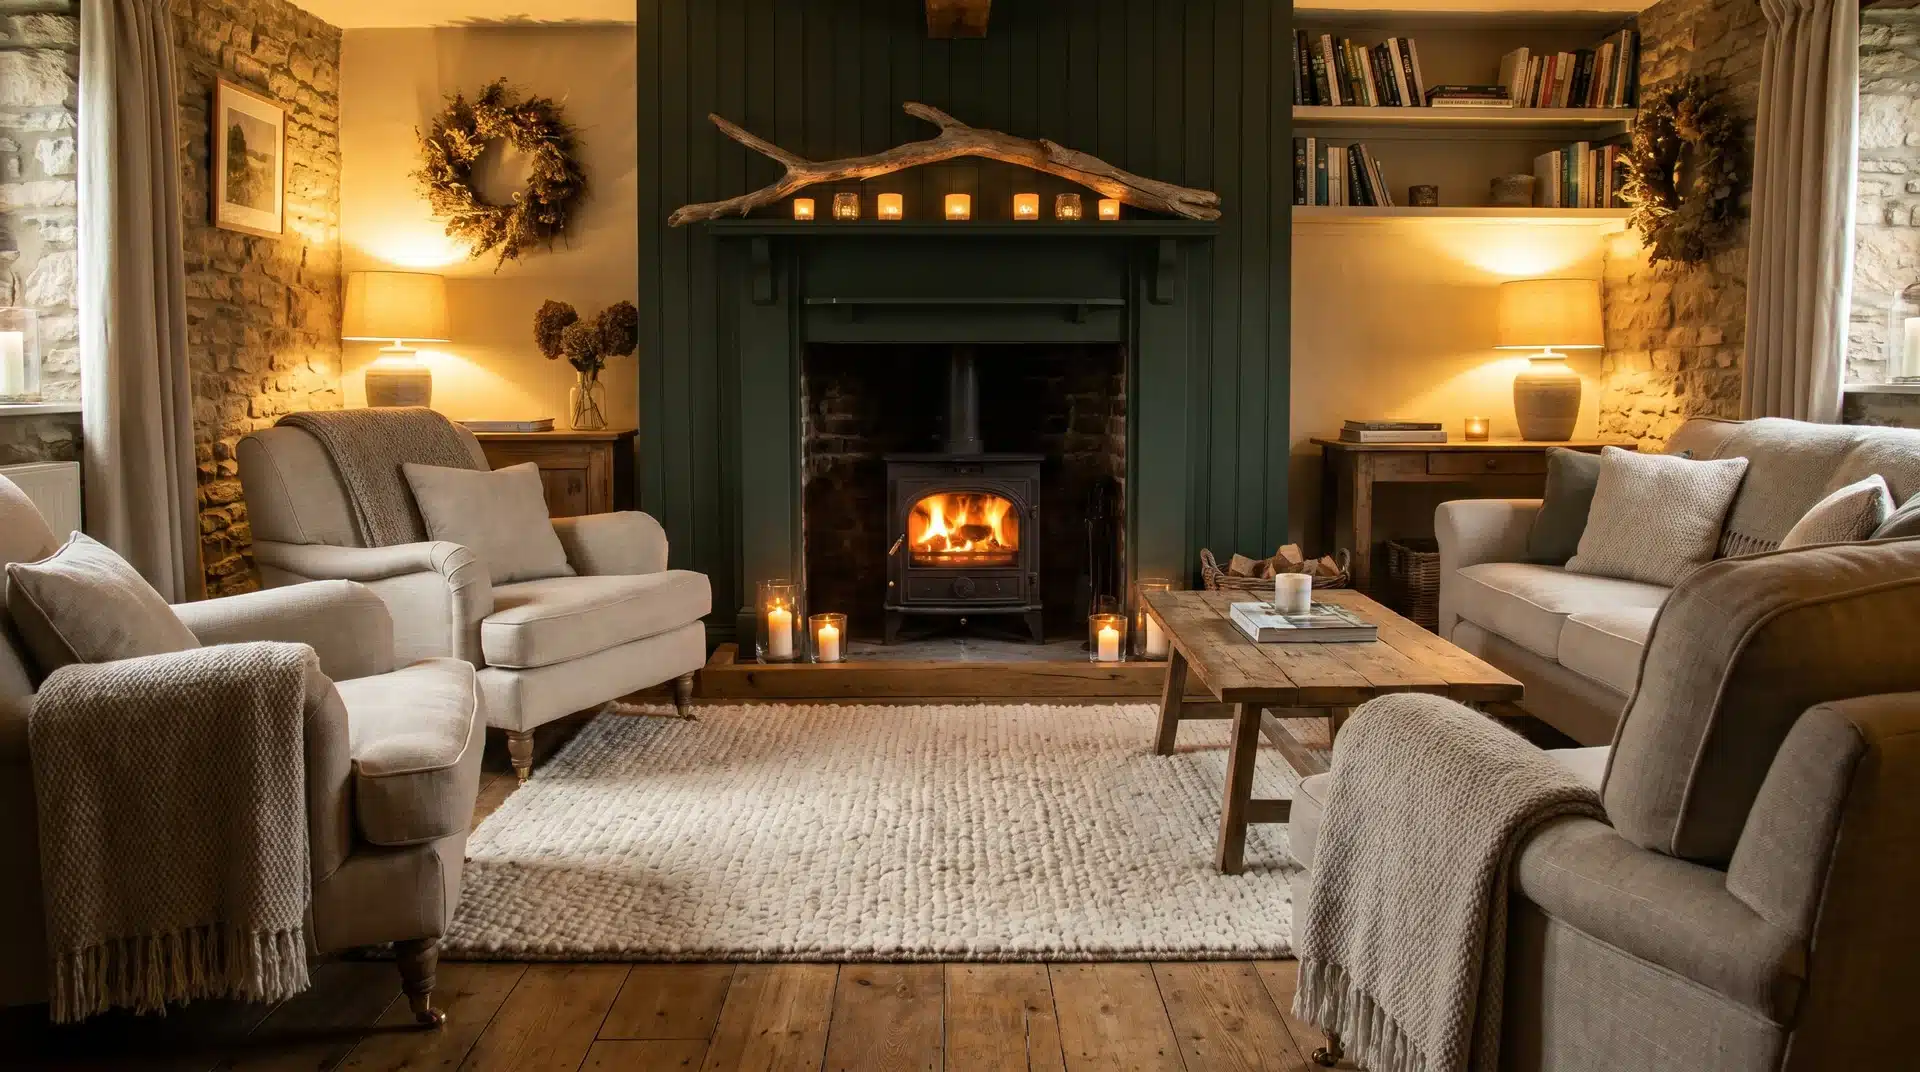
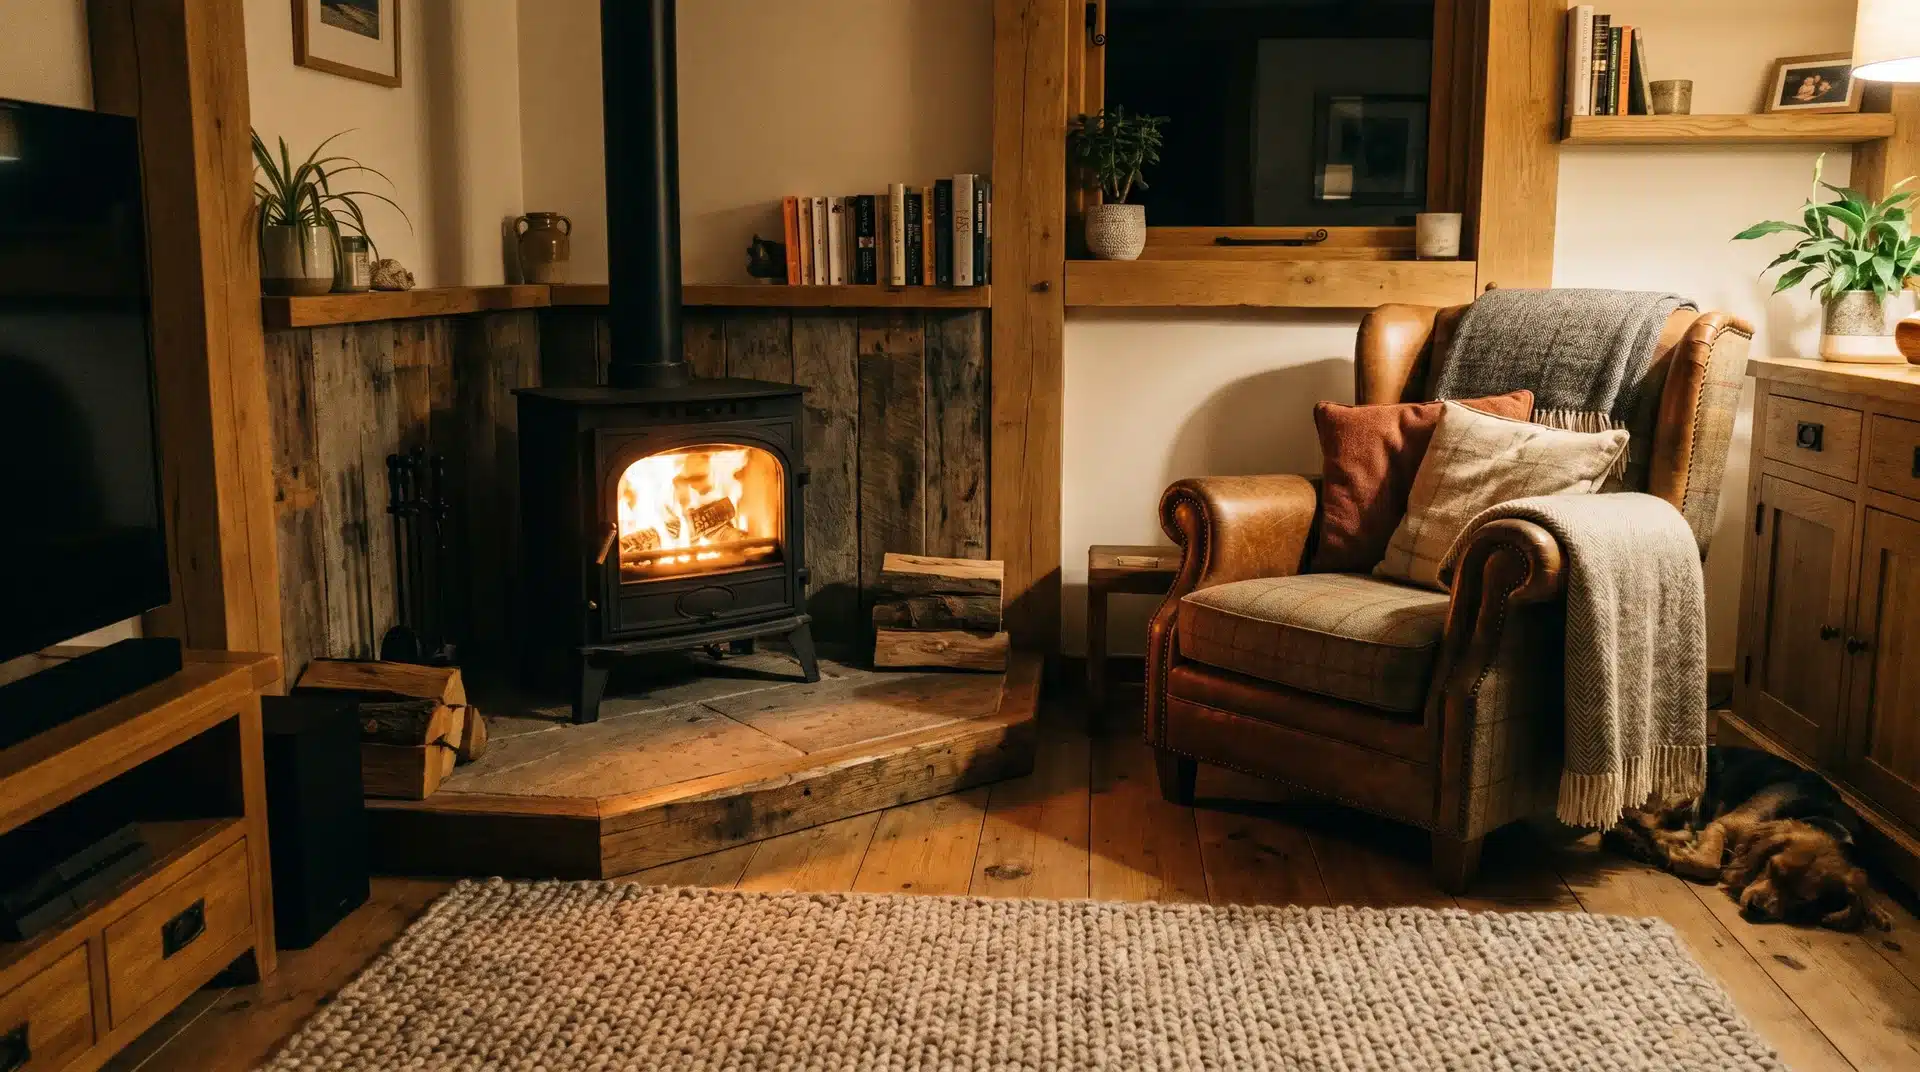
5. Inglenook Fireplace with Log Storage Built Into the Recess

The inglenook recess on either side of a log burner is a functional space that most people fill with generic wicker baskets and call it done.
Building in a proper log store, whether a stone shelf with a void beneath it or a timber-framed alcove lined in slate or tile, turns the whole inglenook into a composed arrangement: stove center, logs either side, a horizontal line across the top tying the whole thing together.
The slate or tile lining on the log store floor is practical rather than decorative. It manages ash and splinters without marking the plaster, and it’s much easier to include during the build than to retrofit afterward.
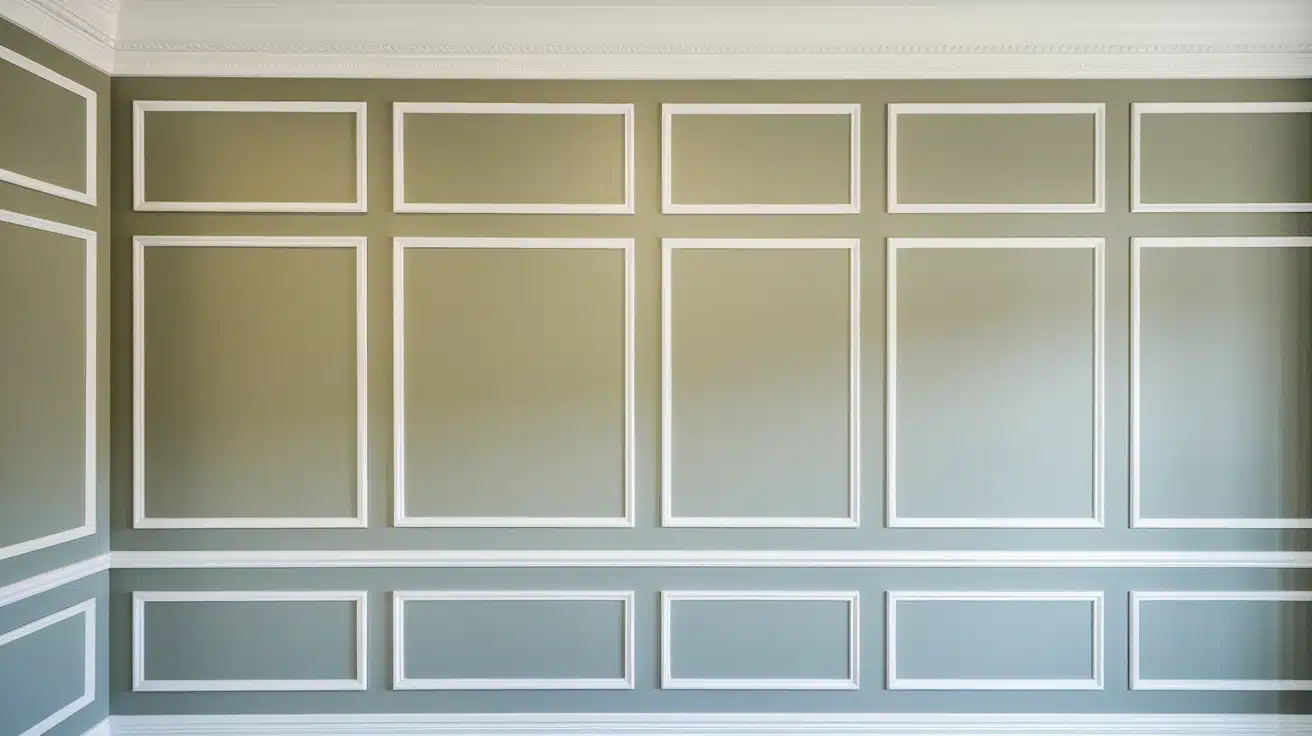
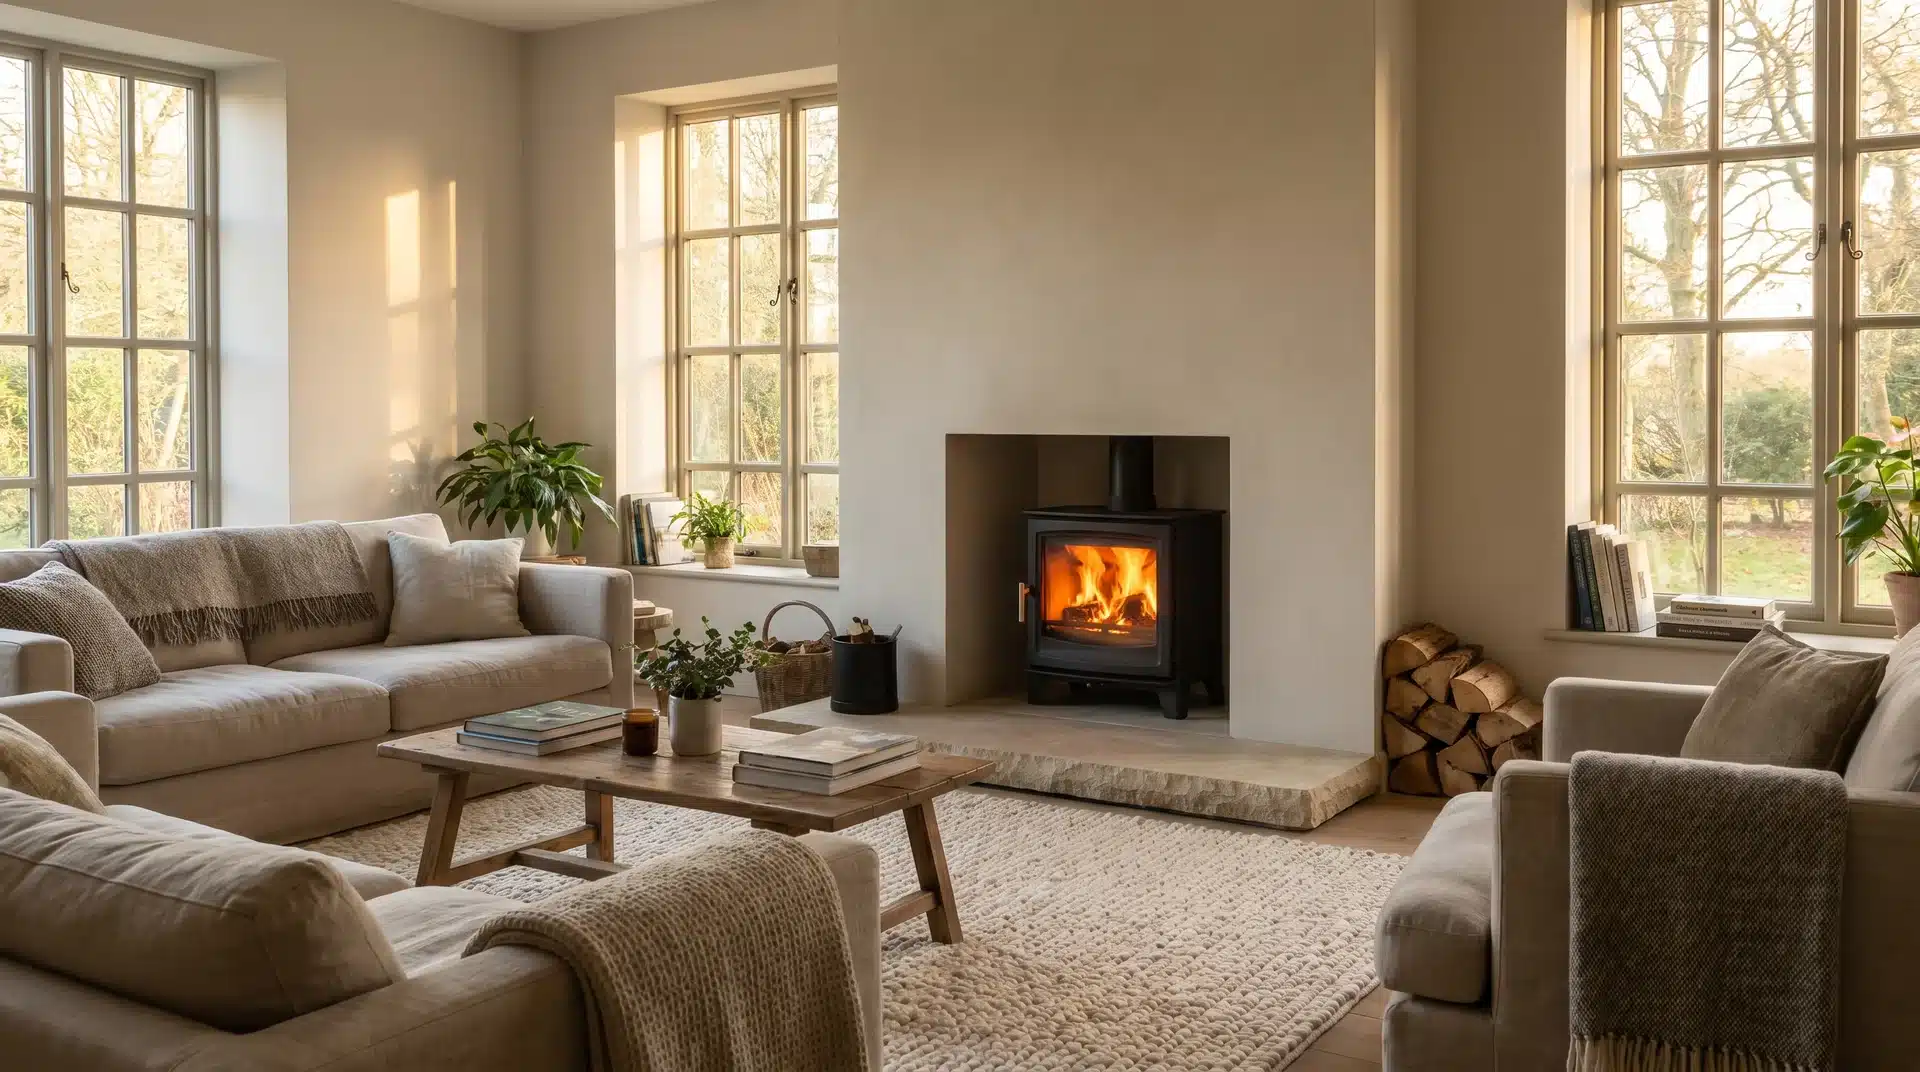
6. Flush Plastered Chimney Breast with an Inset Stove and No Visible Surround
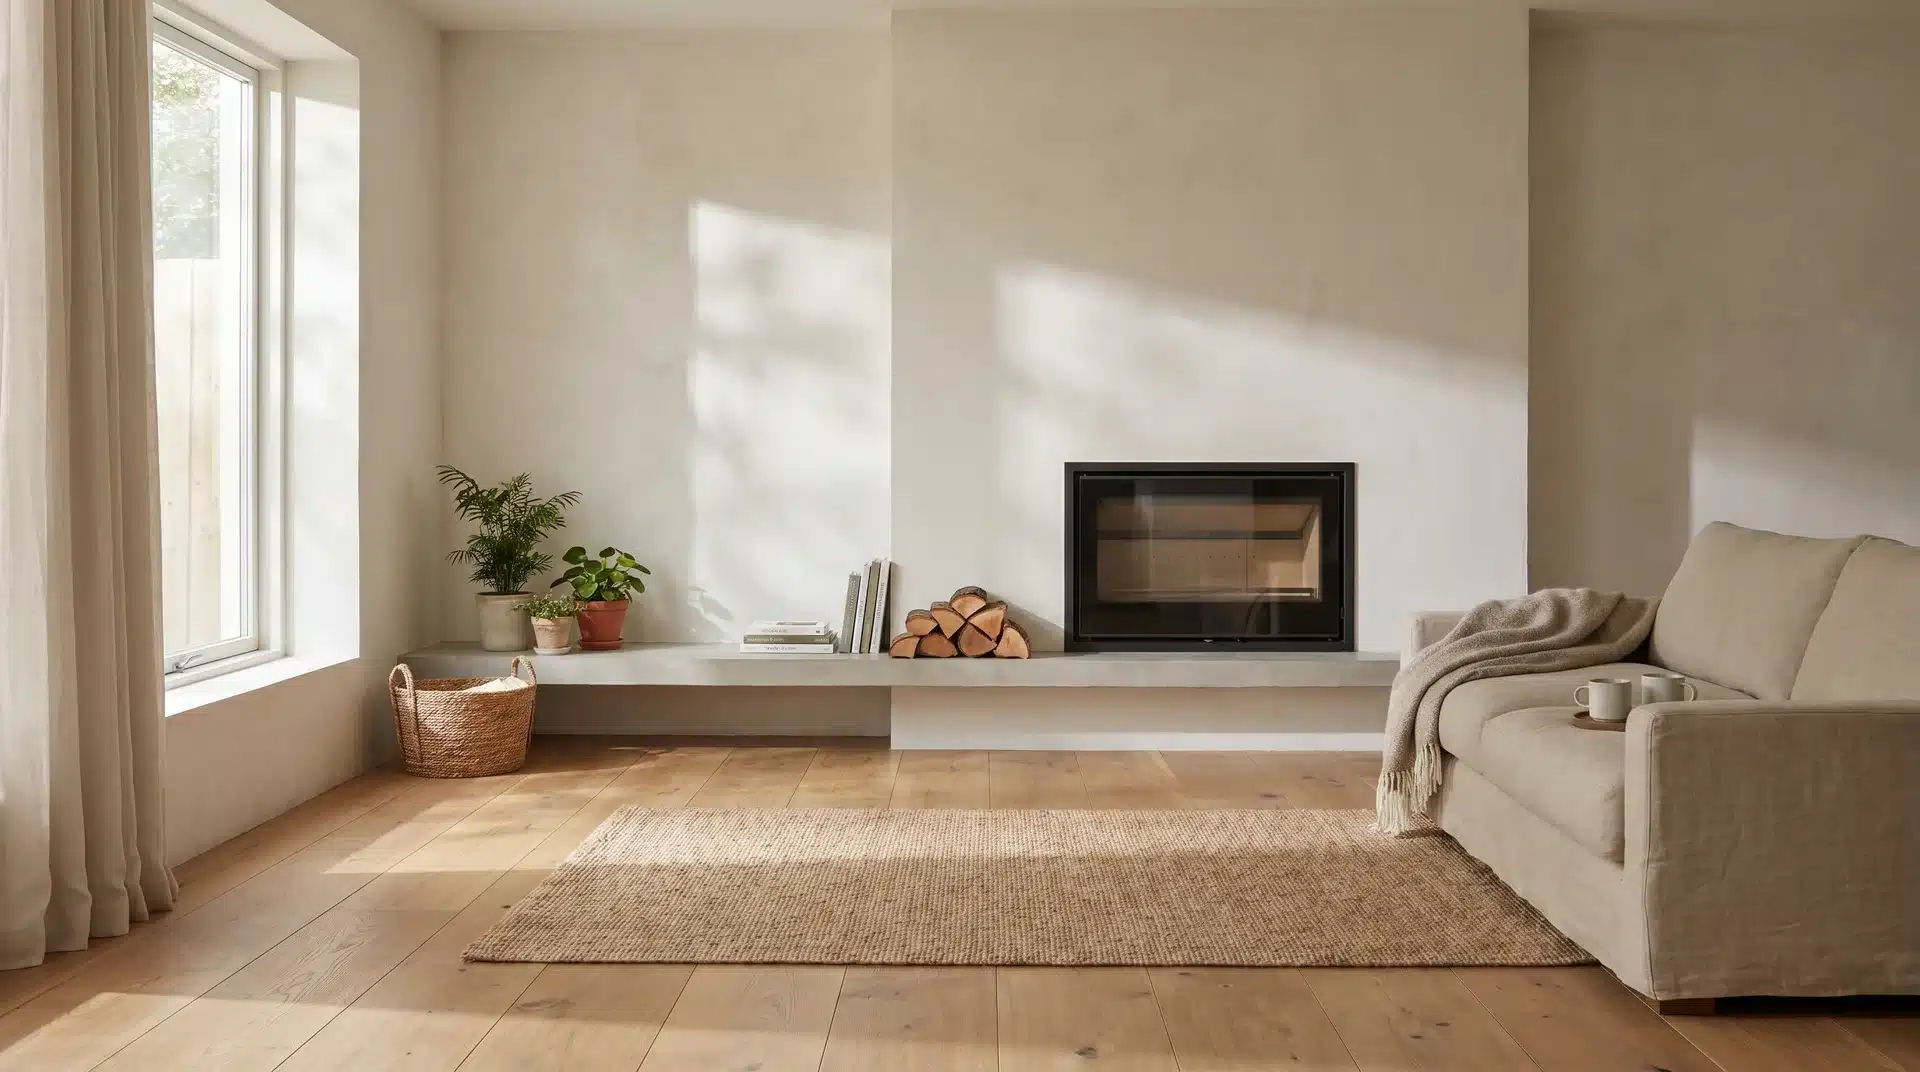
The inset stove sits inside the wall with no frame around it. the wall is the surround. It’s the cleanest possible arrangement and the one most people don’t consider because it looks too simple to describe.
In a room, it’s architectural. The stove becomes a window into the fire rather than an object mounted on a wall.
This works best with a matte plaster finish. Gloss or eggshell on the chimney breast reads as clinical, and the lack of a surround frame means the surface texture carries more visual responsibility than it would in a traditional setup.
7. Floor-to-Ceiling Slate Cladding with a Contemporary Stove
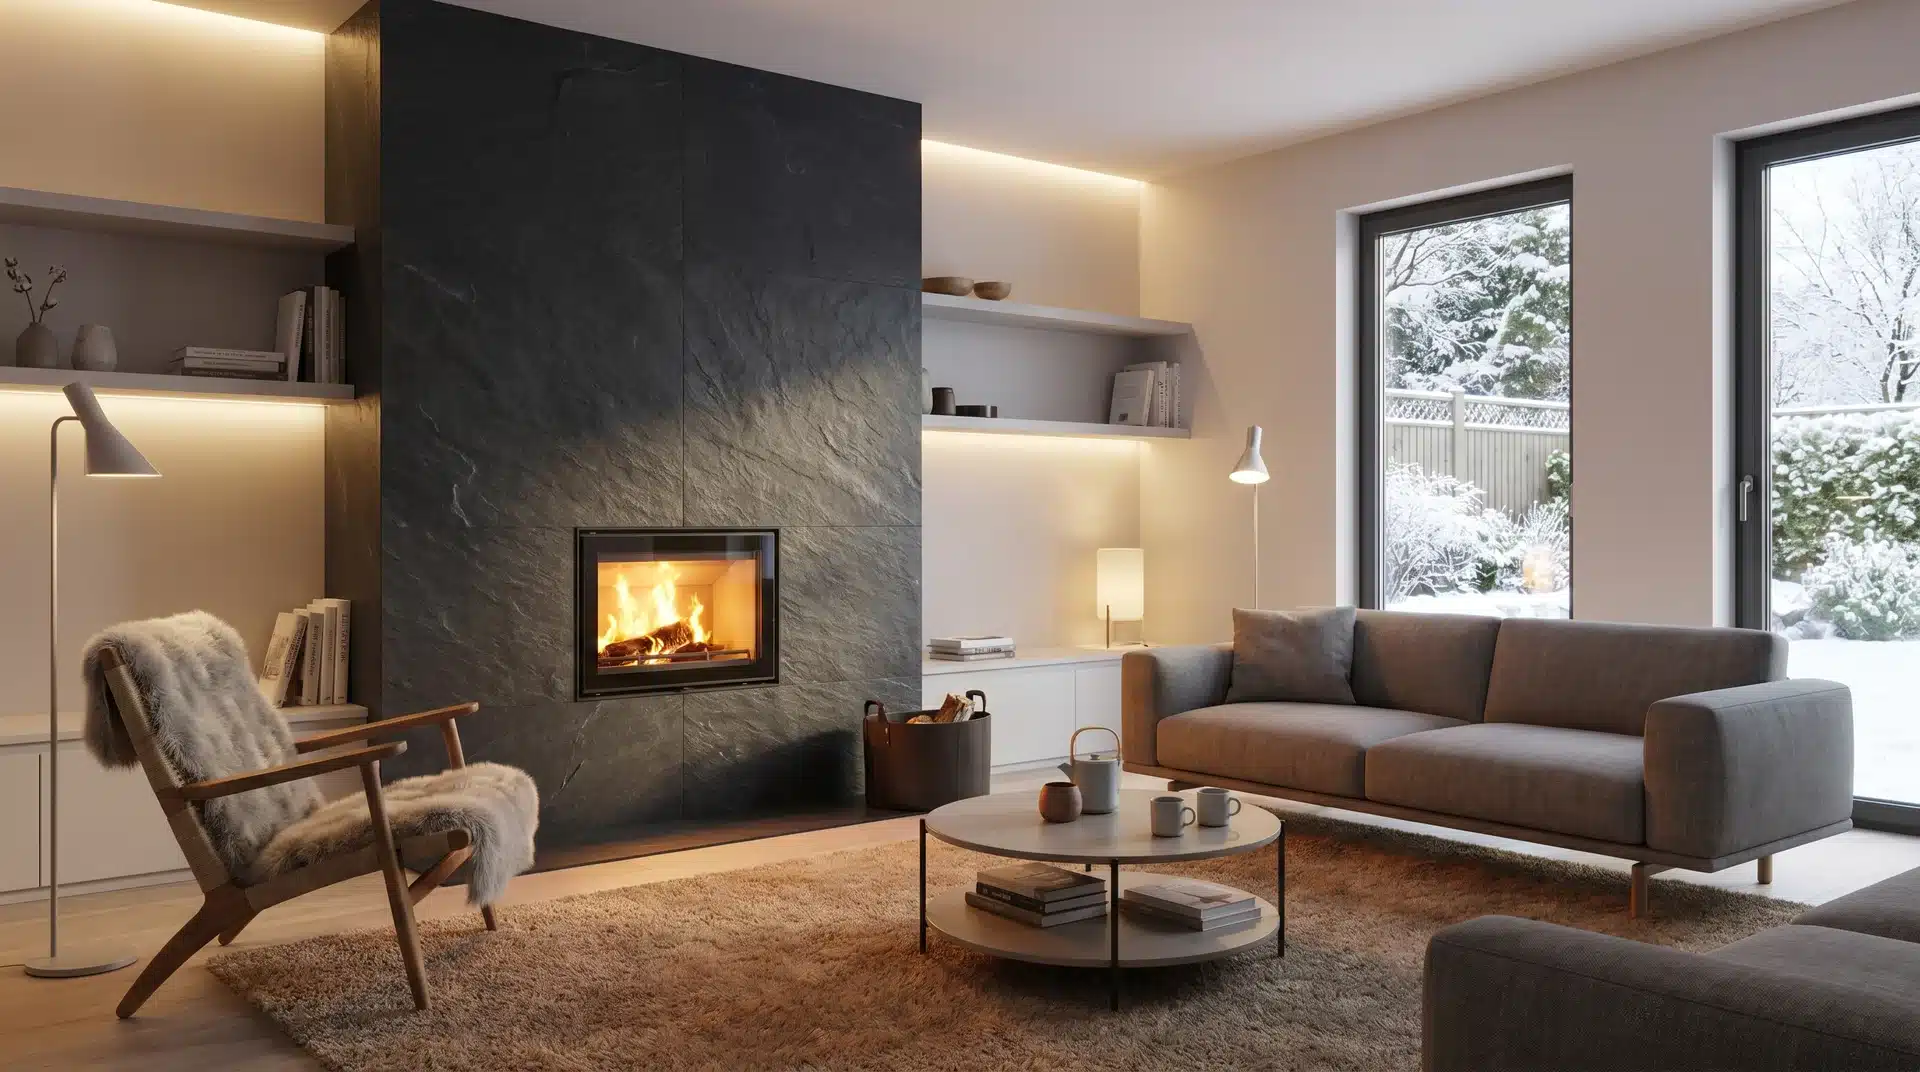
Slate cladding from floor to ceiling creates a feature wall, with the stove embedded rather than mounted on it.
The dark surface makes the fire visually brighter by contrast, and the vertical scale tends to make rooms feel taller than they are, which matters in older houses with ceilings that aren’t as generous as you’d like.
Slate is also one of the most heat-tolerant materials available for a surround, which makes it well-suited to a log burner’s higher heat output compared to gas or electric models. It requires almost no maintenance and gets a better surface patina with age.
8. Slatted Timber Wall Panel Behind an Inset Stove
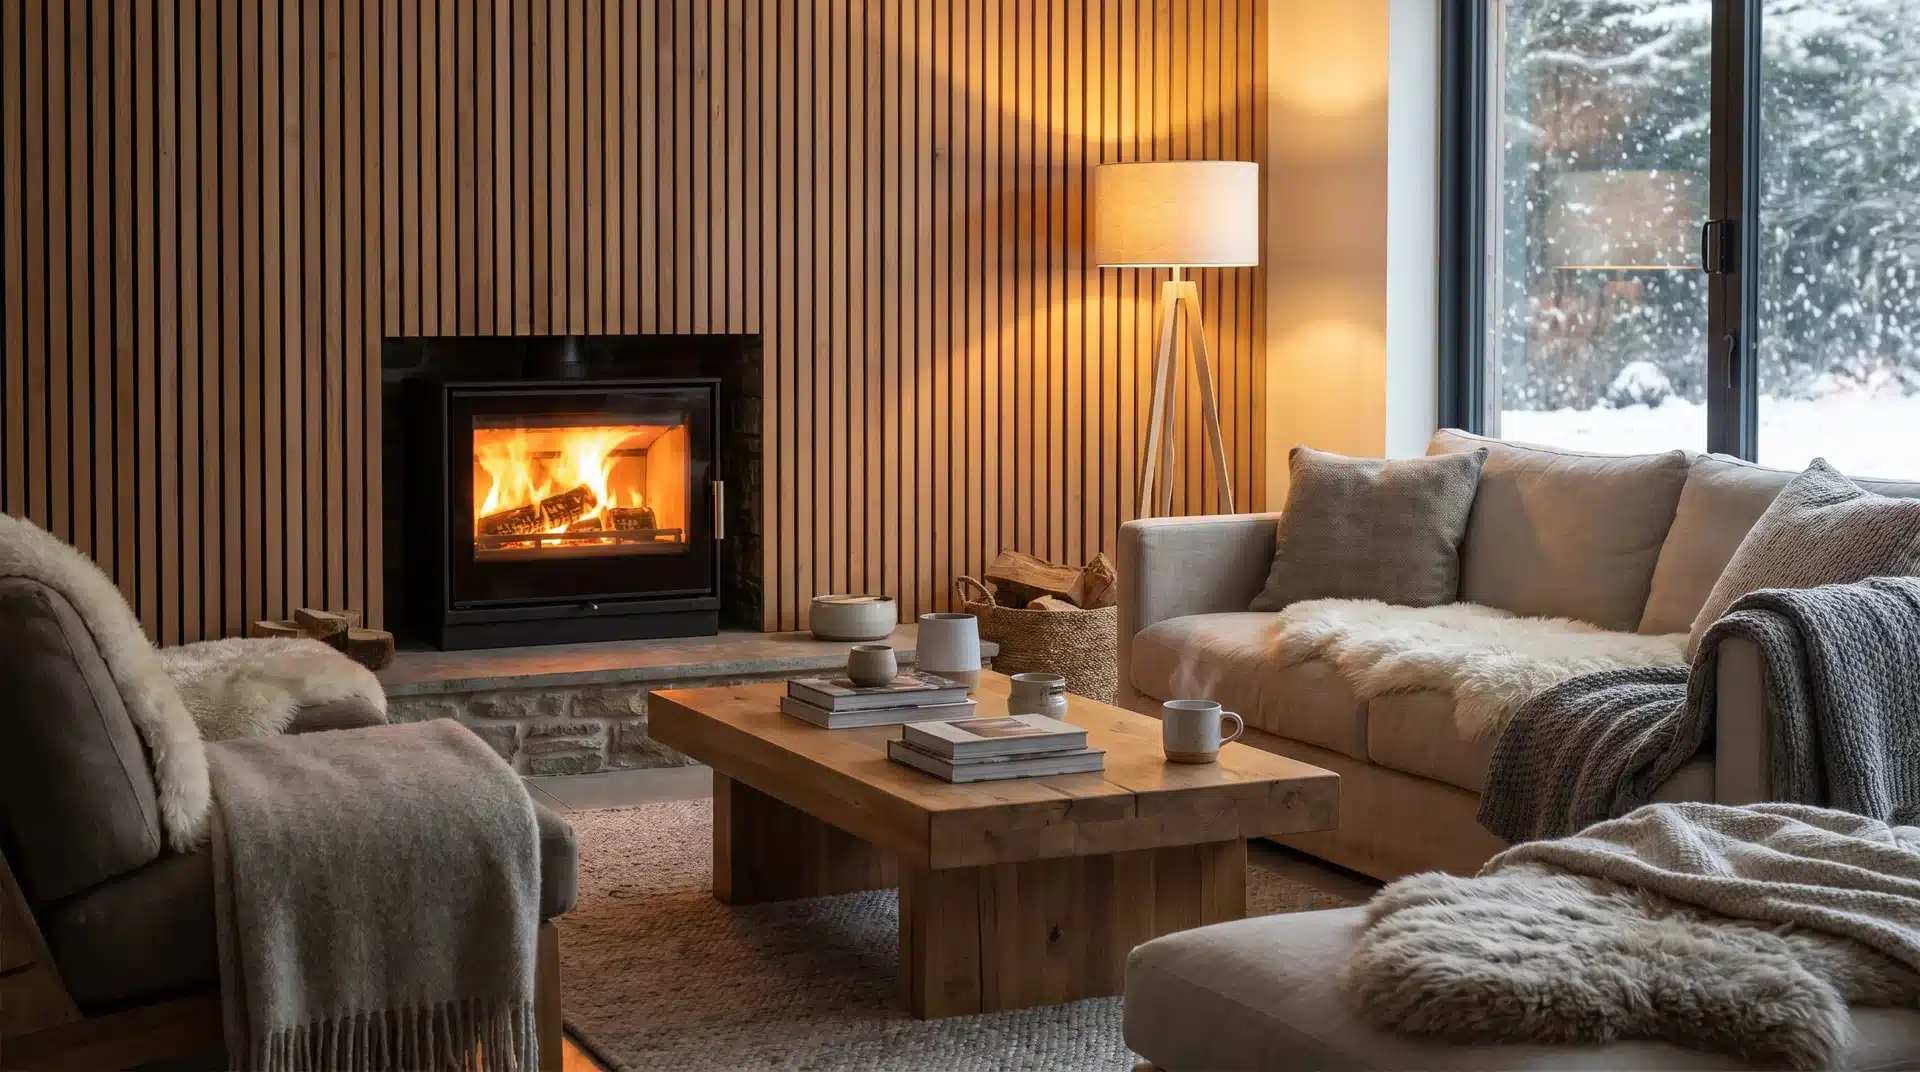
Vertical or horizontal timber slats finishing the chimney breast behind an inset stove create a warm, architectural backdrop that updates a traditional setup without losing material warmth.
It’s a combination that’s been appearing in residential interiors with more frequency over the last two years, and I think it holds up because the slats bring rhythm to the wall without competing with the flame.
Two things to plan for: the slats need to be at a safe clearance from the stove body, not just from the firebox opening, and they need to be finished with a heat-tolerant oil rather than standard varnish, which will yellow and blister near a working stove.
Get both of those right, and the result is one of the more considered modern log-burner walls available within a mid-range budget.
9. Corner Log Burner with an Angled Hearth
Corner stoves are the most space-efficient log-burner configuration for rooms under 150 square feet, and they’re also the most underused.
The angled position means the stove body doesn’t project into the room the way a centered stove does, and the 90-degree flame view from most corner models compensates visually for the smaller body that fits in a corner.
The flue routing from a corner position needs planning before installation. It’s not complicated, but it’s easier to sort it out during the build than to redesign around it afterward.
The hearth in a corner installation also reads better when it’s slightly larger than the minimum requirement. A corner hearth cut tight to code looks pinched.
10. Slim Inset Stove in a Narrow Chimney Breast with No Surround Frame
Narrow chimney breasts under 30 inches don’t require a narrow stove.
Slim inset models sit deep into the wall rather than projecting from it, giving the room back its floor space without sacrificing the visual presence of a proper log burner.
The surround treatment in this case should be minimal: a thin frame or the same plaster as the surrounding wall. Anything heavier makes the breast feel more compressed, not less.
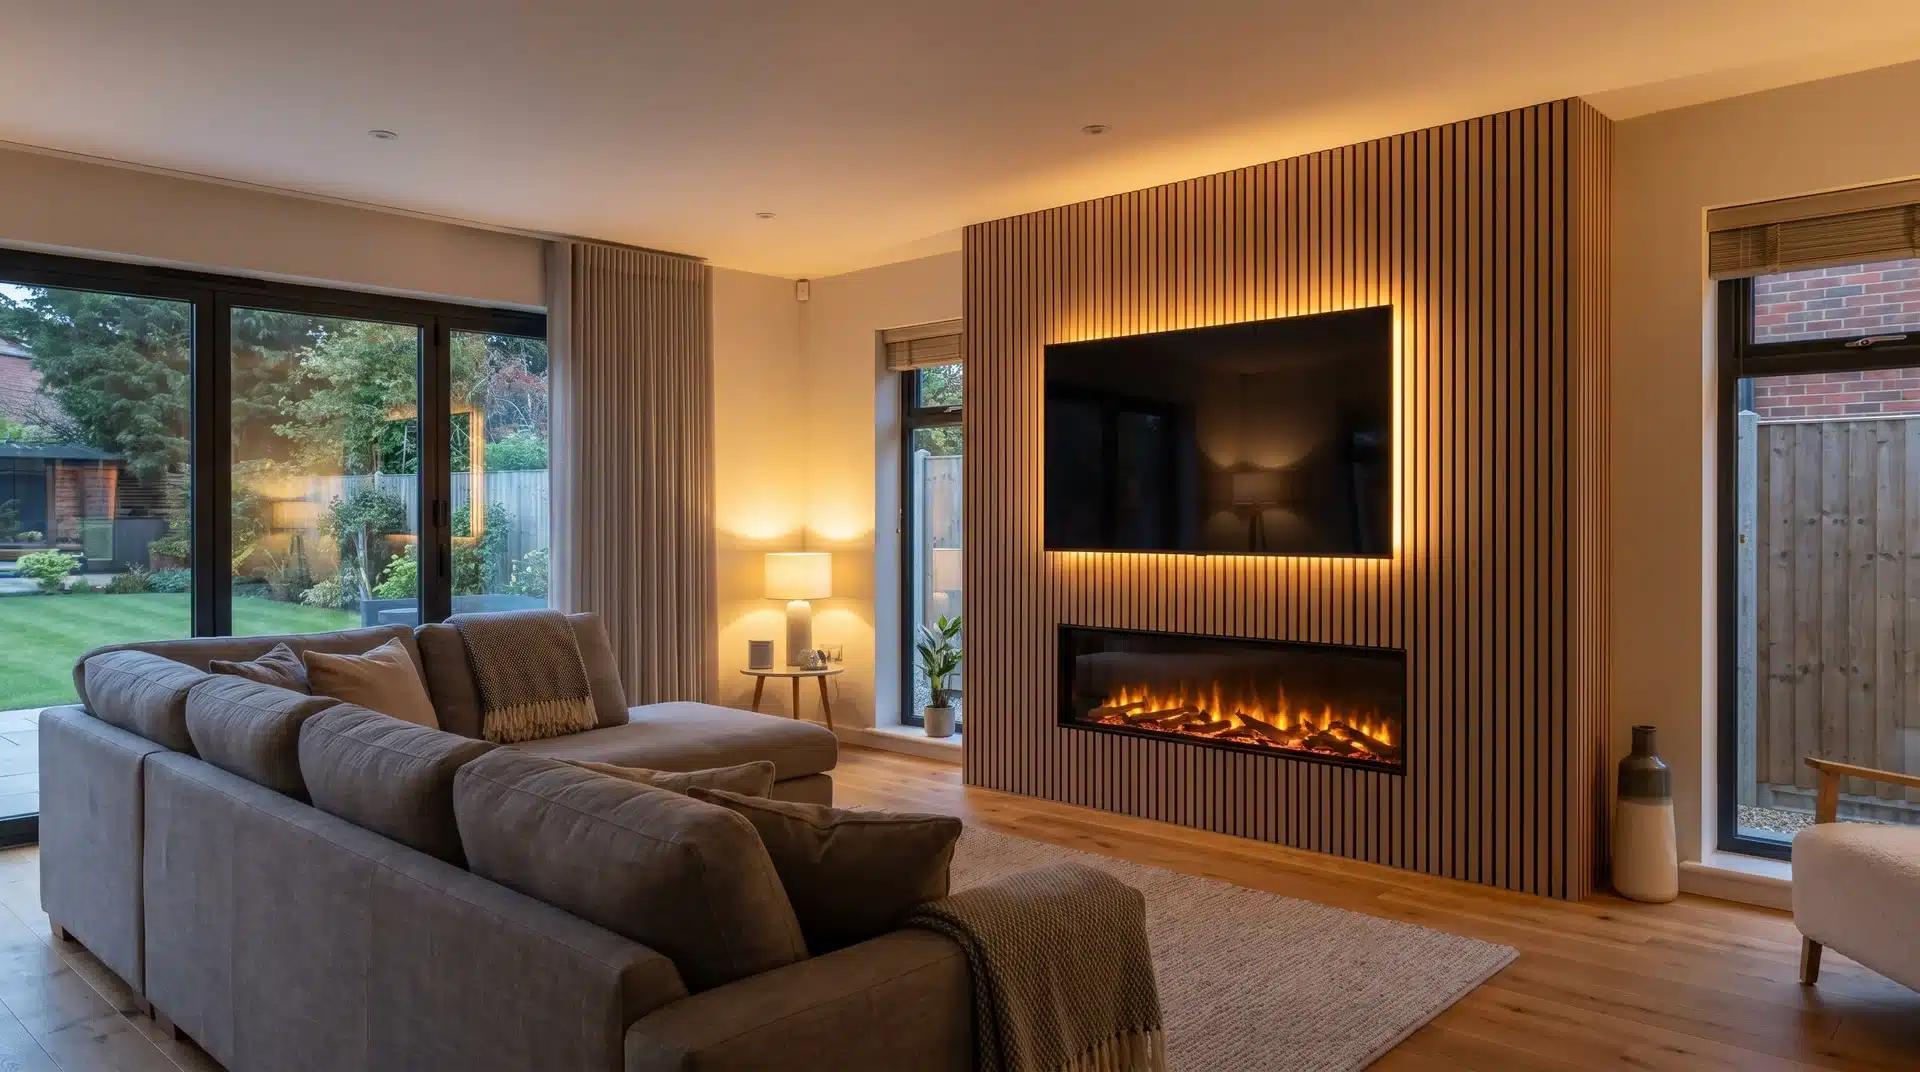
11. Log Burner Below a Floating Shelf with TV and Built-in Alcove Storage
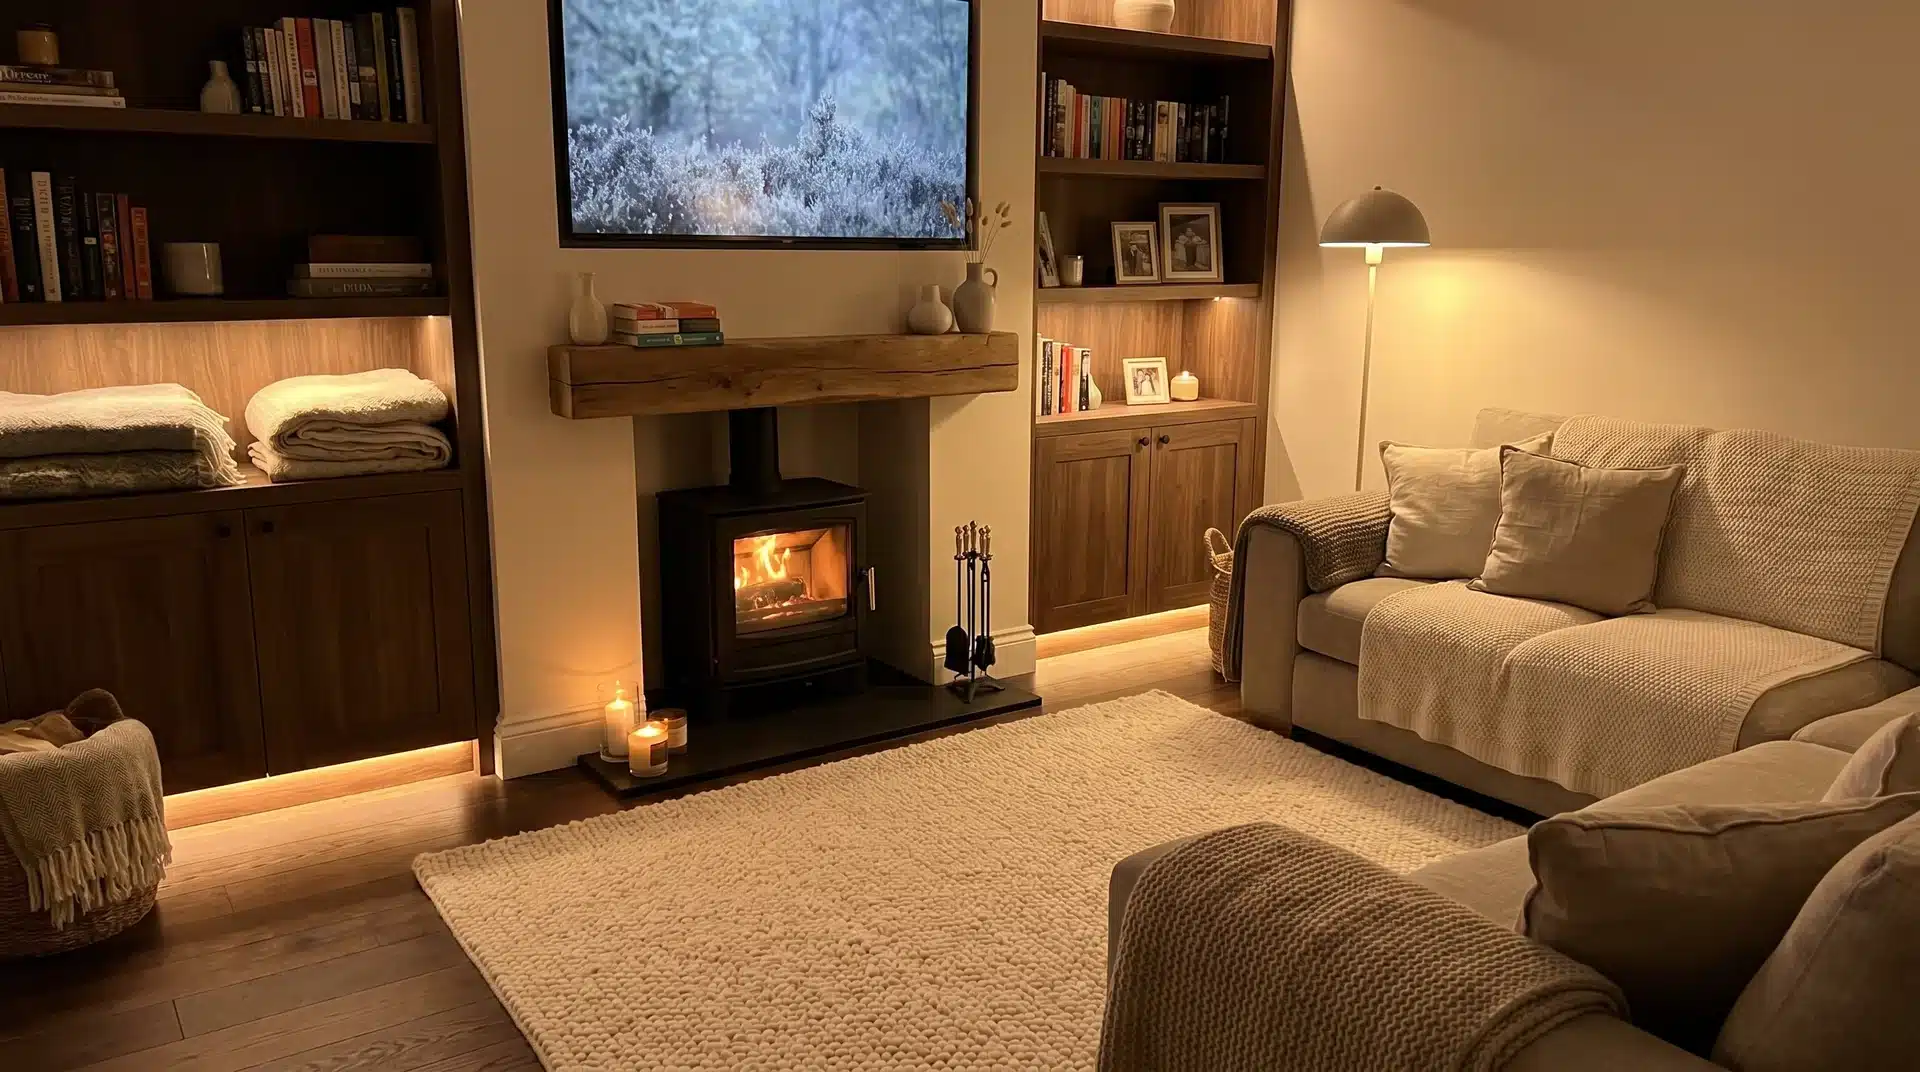
A floating shelf positioned between the log burner and the TV does two things at once: it’s a visual and thermal break that earns its place on both counts.
The shelf acts as a heat deflector, keeping rising heat from the stove away from the TV above, and it adds a horizontal line to the wall, separating the two elements into a composed arrangement rather than a stack.
The built-in alcove storage on either side completes the configuration without the need for a full custom unit.
The TV sits above the shelf; the stove sits below it; the alcoves frame both. It’s the most practical version of this idea for rooms where the wall needs to do a lot of work.
The heat management is only half the problem in this configuration.
A TV above fireplace setup also needs the screen height and mount tilt resolved before the wall goes up, because retrofitting a better mount position after the fact is a much harder job than planning for it during the build.
12. Log Burner in a Chimney Breast Alcove with TV Positioned in a Flanking Alcove
Not every room suits a TV directly above a log burner, and this is the idea that most guides skip entirely.
Positioning the TV inside one of the flanking alcoves on a pull-out swivel mount completely sidesteps the heat and viewing-angle problems.
The TV pulls out and angles toward the sofa for viewing; it sits flush with the alcove face when not in use. the log burner remains the visual center of the wall, without a screen above it competing for the same space.
This works particularly well in rooms where the log burner is in an inglenook or a deep chimney breast recess, because the flanking alcoves are often wide enough for a 55-inch screen at depth.
When the stove, TV, and storage are all on the same wall, the project stops being a styling decision and becomes a structural one, with flue routing, combustible clearances, and the media wall with log burner configuration all needing to be resolved before anything goes up.
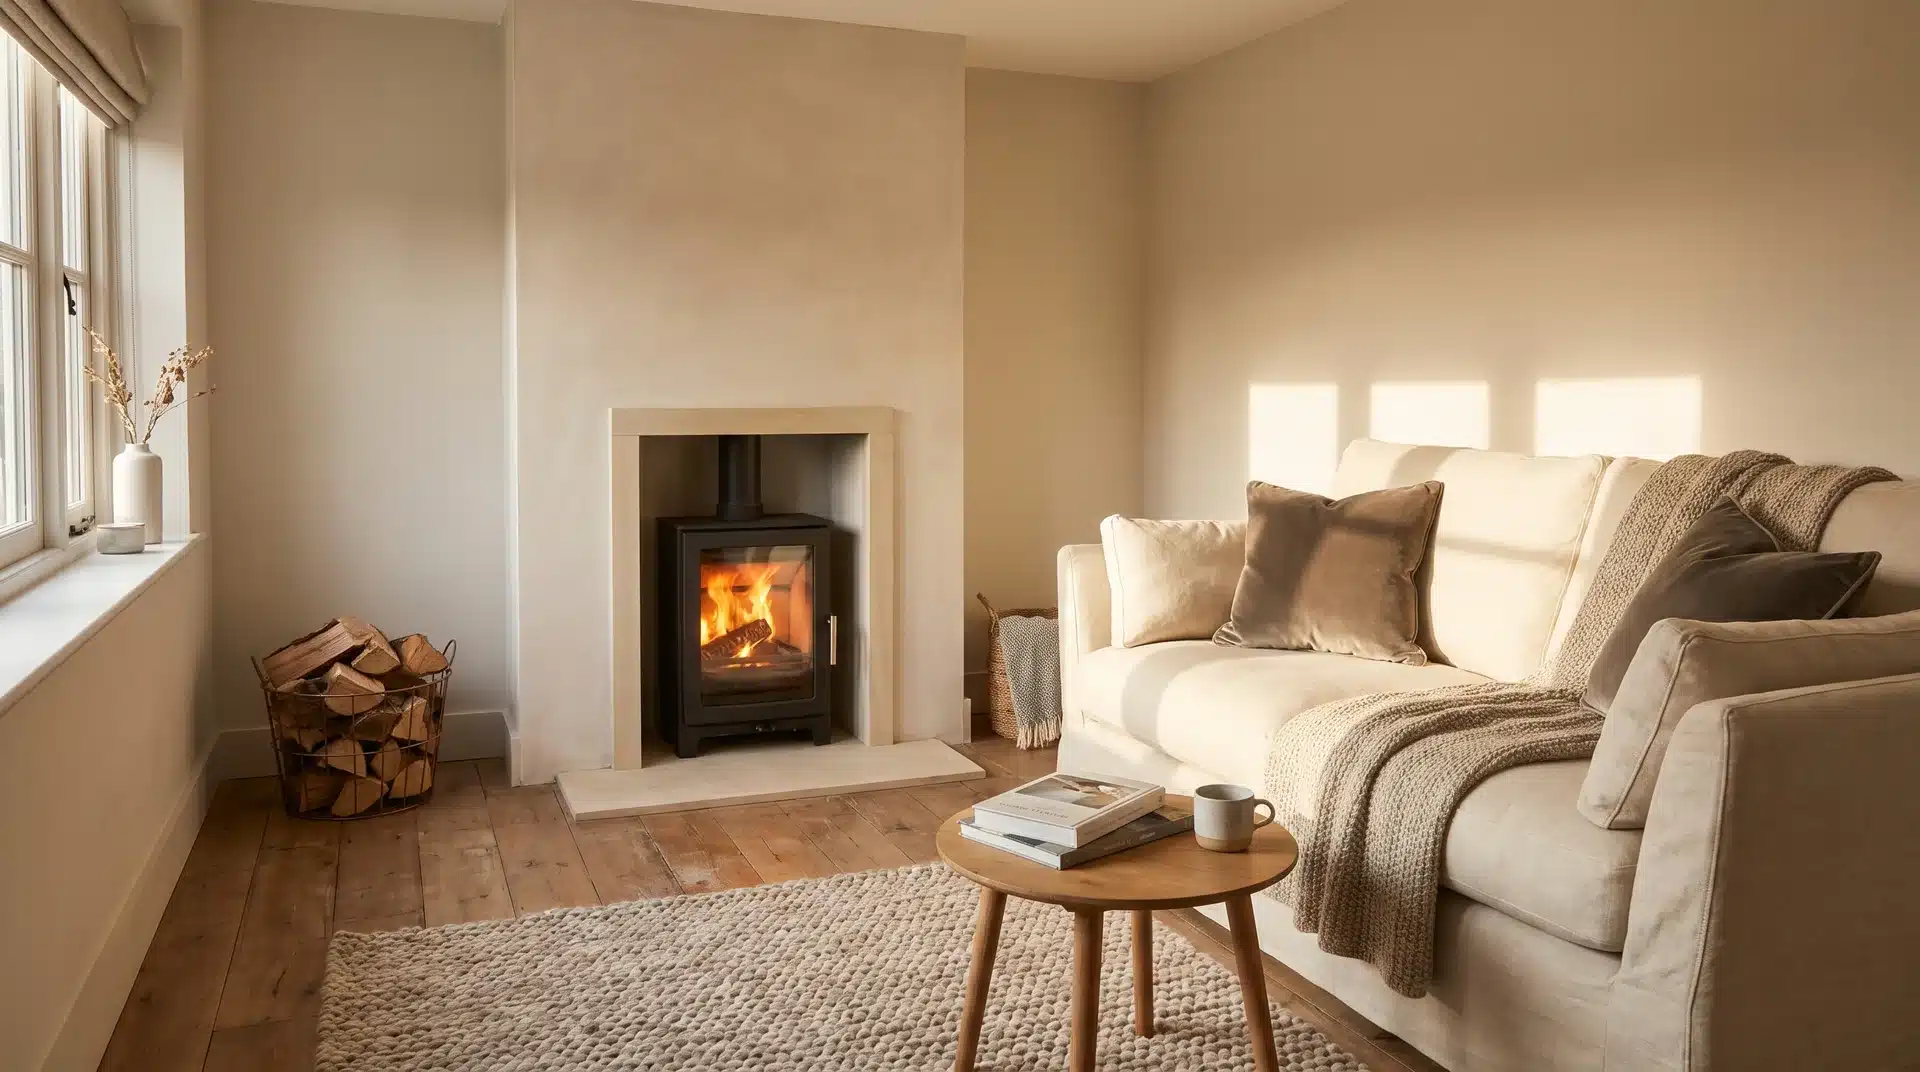
13. Recessed Chimney Breast with Oversized Limestone Hearth Pad and No Mantel
Removing the mantel entirely is a move most people won’t consider, and I understand why. The mantel feels load-bearing to the room’s composition even when it isn’t.
In a chimney breast that sits proud of the wall by six inches or more, pulling the stove back into a proper recess and finishing the opening in a single material produces a result that looks less like a fireplace and more like the wall was always meant to have a fire in it.
Limestone is the material I’d reach for first, paired with an oversized hearth pad that extends generously in front.
The absence of a mantel shelf forces the hearth to do more visual work, which is why the proportion here matters more than anywhere else in this list.
A hearth that runs at least 24 inches in front of the opening and wraps to the full width of the recess reads as deliberate. Anything smaller in this setup just looks like something is missing.
How to Style the Hearth and Mantel Around a Log Burner
The stove has visual mass. Everything placed around it needs to earn its position relative to that mass, which is a different problem than styling a mantel above a gas fire or a decorative surround.
The mantel height matters more than most people account for. When the mantel shelf sits too close to the stovetop, the whole arrangement looks compressed.
There should be enough vertical space between the top of the stove body and the underside of the shelf for the stove to read as its own object.
On the mantel itself, keep objects low and horizontal. Anything tall will visually merge with the stove body or compete with the wall above it.
A long flat piece of driftwood, a low ceramic vessel, a few grouped candles at varied heights where none is taller than roughly one-third the stove’s visible height- these read in proportion to the stove rather than fighting it.
Tall mirrors directly above a working log burner are the most common mistake I see. Soot and radiant heat will affect the frame and backing over time, and the visual competition between a large mirror and a strong stove surround rarely resolves cleanly.
The hearth is the one styling surface that gets genuinely overlooked. A hearth in slate, terracotta tile, or limestone is a floor-level design decision that sets the material tone for everything above it.
Most hearths are sized to minimum code, which leaves them looking like an afterthought. Go slightly larger than required, and choose a material that ties the surround to the room’s flooring rather than sitting between them as a disconnected panel.
Choosing the Right Surround Material
The decision most people make too quickly is based on what looks good in a photo rather than on what suits the stove type, the room’s proportions, and how much maintenance they’re actually willing to do.
| Surround Material | Best Style Register | Heat Tolerance | Approximate Cost | Maintenance |
|---|---|---|---|---|
| Natural Stone (limestone, Sandstone) | Traditional, Rustic | High | Mid to High | Low; Ages Well |
| Slate | Modern, Industrial | Very High | Mid | Very Low |
| Marble | Formal, Luxury | High | High to Very High | Moderate |
| Painted Wood | Traditional, Transitional | Moderate; Needs Clearance | Low to Mid | Low; Repaintable |
| Plaster (no Surround) | Modern, Minimal | Depends on Coating | Low | Low |
| Concrete | Industrial, Contemporary | Very High | Mid to High | Low |
| Brick (original or Cladding) | Rustic, Period | Very High | Low to Mid | Low |
| Encaustic or Period Tile | Period, Eclectic | High | Mid to High | Low |
The column that most people skip when looking at this kind of table is maintenance. A marble surround near a working log burner will pick up marks over time from soot, cleaning products, and general proximity to an active fire.
That’s not a reason to avoid it, but it’s worth knowing before committing to it in a room where the fireplace is used regularly through winter.
Conclusion
The ideas in this list cover a range of budgets and room types, but the planning logic behind all of them is the same: sort the surround material, hearth proportion, and clearances before thinking about styling.
Those decisions are structural in the way that styling decisions are not. the mantel display can change with the seasons. The surroundings cannot. If you’re working with a small room, start with ideas 9 and 10.
If the media wall and TV configuration are the main questions, ideas 11 and 12 are where to begin.
And if the stove is already in and the question is purely about the wall around it, the material comparison table is probably the most useful thing on this page.
Frequently Asked Questions
Do You Need a Permit to Install a Log Burner?
Yes. Most US states require a building permit for wood stove installation. A certified NFI or CSIA installer can handle inspection requirements and ensure the setup meets local fire and building codes.
Are Wood-Burning Stoves Being Banned in the US?
No federal ban exists. Some counties in California and the Pacific Northwest restrict burning on high-pollution days. EPA-certified stoves are required in many states, but log burners remain legal nationwide.
What Wood Should You Burn in a Log Burner?
Only seasoned hardwood with a moisture content below 20 percent. Oak, maple, and ash are the best options. Wet or green wood burns inefficiently, produces excess creosote, and significantly increases the risk of chimney fires.
How Much Does It Cost to Install a Log Burner in the US?
Stove units range from $500 to $3,000 depending on the model. Installation, including the flue liner, hearth, and permits, typically adds $1,500 to $3,500, bringing total project costs to between $2,000 and $6,500.