
Tired of sharing your strawberries with hungry birds? There’s nothing more frustrating than watching your perfectly ripe berries disappear overnight, leaving you with half-eaten fruit and crushed gardening dreams.
But what if I told you there’s a simple solution that costs a fraction of the price of store-bought alternatives?
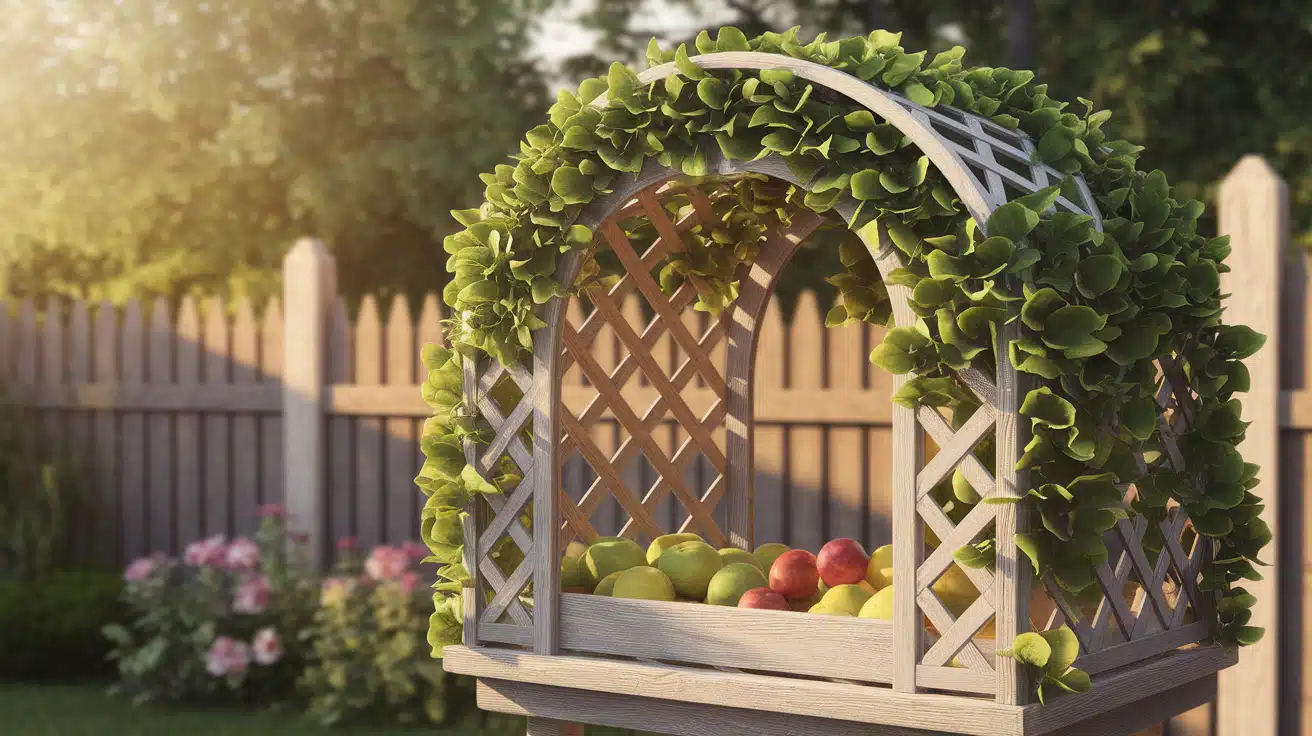
Building your own fruit cage is easier than you think, and it’ll protect your precious harvest while letting beneficial pollinators do their job.
In this guide, I’ll walk you through everything you need to know – from choosing the right materials at budget-friendly stores to assembling a sturdy cage in just one weekend.
You’ll find step-by-step instructions, money-saving shopping tips, and insider tricks that guarantee your fruits stay safe from pests.
Ready to reclaim your harvest? Let’s build your fruit fortress together.
What is a DIY Fruit Cage?
A DIY fruit cage is a simple protective structure you can build yourself to keep your fruit plants safe from birds, insects, and other pests. Think of it as a giant mesh tent that covers your fruit trees, berry bushes, or vegetable plants.
The basic idea is super simple: you create a frame using wood or metal poles, then cover it with netting or mesh. This creates a barrier that lets sunlight and rain through but keeps hungry birds and bugs out.
Why Do You Need a Fruit Cage?
If you’ve ever grown strawberries, blueberries, or cherry tomatoes, you know the frustration. You watch your fruits grow and ripen, only to find them half-eaten by birds the next morning. A fruit cage solves this problem by creating a protected space where your plants can grow safely.
Basic Components of a DIY Fruit Cage
Every fruit cage has three main parts.
- The Frame: This is the skeleton of your cage, usually made from wooden posts, PVC pipes, or metal poles. It holds everything up and gives the structure its shape.
- The Covering: This typically consists of bird netting, mesh, or fine wire that wraps around the frame. It needs to have holes small enough to keep pests out but large enough to let air and water flow through.
- The Foundation: Some fruit cages sit directly on the ground, while others are anchored with stakes or have a base frame to keep everything stable.
Step-by-Step Guide: DIY Fruit Cage
Build a custom DIY fruit cage by measuring and cutting wood to create a rectangular frame, then cover it with chicken wire for protection.
Tools Required to Make a Fruit Cage
- Impact driver (or regular drill)
- Measuring tape
- Wire cutters
- Staple gun
- Saw (to cut wood pieces)
Materials Required to Make a Fruit Cage
- Wooden pieces (cut to your bed dimensions)
- Chicken wire or mesh (35mm holes work best)
- Hinges (2-3 pieces)
- Handles (for easy opening)
- Screws (for joining wood)
- Staples (for attaching wire)
- Straw or hay (optional, for ground cover)
Step 1: Measure and Cut Your Wood

Measure your strawberry bed or crop area first. Cut wooden pieces to match your bed size. You’ll need lengths for the long sides, short sides, and height pieces (approximately 30cm tall for strawberries).
If your bed is very long, consider assembling it in two sections for easier handling.
Step 2: Build DIY Fruit Cage Frame Structure

Using your impact driver or drill, connect all the wooden pieces to create a rectangular frame. Start by joining the long and short sides, then add the height pieces to create a 3D box shape.
Ensure everything is square and sturdy before proceeding to the next step.
Step 3: Cover with Chicken Wire

Unroll your chicken wire or mesh over the entire frame. Cut it to size, leaving a little extra on each side.
The 35mm mesh size is ideal because it keeps birds out while allowing bees and other beneficial pollinators to pass through, ensuring good fruit production.
Step 4: Secure the Wire with Staples

Use your staple gun to attach the chicken wire firmly to the wooden frame. Work your way around the entire structure, placing staples every few inches.
Pull the wire tight as you go to avoid sagging. Make sure there are no loose edges where birds could sneak through.
Step 5: Add Hinges and Handles

Attach hinges to one side of your frame so you can easily open it like a lid. Add handles to the opposite side for comfortable lifting and closing.
This makes it super easy to access your plants for watering, harvesting, or general maintenance without removing the entire protective structure.
Step 6: Place and Add Straw (Optional)

Position your finished fruit cage over your strawberry bed or crops. If growing strawberries, spread a layer of straw or hay around the plants underneath the cage.
This keeps fruit off damp soil, retains moisture, deters slugs and snails, and prevents weeds from growing by blocking sunlight to the soil.
Video Tutorial
Special thanks to Silverline Tools for providing valuable insights in their video, which I referenced while creating this guide.
Where to Shop For Your DIY Fruit Cage Adventure?

Ready to build your fruit fortress? Here are 6 fantastic places to grab everything you need from basic materials to complete kits that’ll make your neighbors green with envy!
1. Home Depot – The DIY Giant
Picture this: you walk into Home Depot with a rough sketch on a napkin, and you walk out with everything needed to build a fruit cage that could survive a zombie apocalypse. Their orange-aproned staff actually know what they’re talking about, and you can touch and feel materials before buying.
Website: www.homedepot.com
2. Amazon – Your Lazy Gardener’s Best Friend
Sometimes you want to shop in your pajamas at 2 AM while binge-watching gardening videos. Amazon’s got your back with thousands of reviews from fellow fruit cage builders who’ve already made the mistakes so you don’t have to.
Website: www.amazon.com
3. Gardener’s Supply Company – A Gardener’s Dream
These folks eat, sleep, and breathe gardening. Their fruit cage kits are like the Tesla of garden protection: sleek, efficient, and guaranteed to make your tomatoes feel like royalty. Plus, they actually care about the planet!
Website: www.gardeners.com
4. B&Q – Britain’s Building Buddy
If you’re in the UK and need materials that can handle British weather (aka rain, more rain, and occasional sunshine), B&Q is your mate. Their staff can help you calculate exactly how much timber you need without using a calculator app.
Website: www.diy.com
5. The Greenhouse People – The Specialists
These aren’t just sellers – they’re fruit cage engineers! They’ll design a custom solution that fits your garden like a glove. Think of them as the personal trainers of the fruit protection world.
Website: www.greenhousepeople.co.uk
Ready-Made Kits vs. Custom Builds: Which Is Better?
Ready-made kits offer quick, hassle-free assembly, but at a higher price, while custom DIY builds provide a budget-friendly, personalized option that requires more time and effort.
| Aspect | Ready-Made Kits | Custom DIY Builds |
|---|---|---|
| Ease of Assembly | Quick assembly, with no measuring or cutting required. | Requires planning, measuring, and cutting. |
| Price | Higher due to convenience and packaging. | More budget-friendly. |
| Customization | Limited to standard designs and sizes. | Full creative freedom in design. |
| Fit | One-size-fits-most may leave gaps. | Perfect fit for your garden size. |
| Quality | Professional quality, engineered for durability. | Dependent on material choice and skills. |
| Time Investment | Fast assembly, typically within hours. | Time-consuming, can take a weekend or more. |
| Skill Requirements | No special skills required. | Basic DIY skills are needed for assembly. |
| Flexibility | Limited design and expandability. | Easy to expand, modify, or adapt. |
| Warranty | Includes warranty and customer support. | No warranty; you’re responsible for repairs. |
If you prioritize convenience and durability, a ready-made kit is the ideal choice. But if you enjoy customizing your projects and want a custom DIY build for your garden, it will be both satisfying and cost-effective.
Conclusion
Building your fruit cage isn’t just about saving money; it’s about taking control of your harvest and ensuring every strawberry, blueberry, and tomato makes it to your table instead of feeding the neighborhood birds.
With basic tools, affordable materials from stores like Home Depot or Amazon, and a weekend of work, you’ll have a custom protection system that perfectly fits your garden.
The satisfaction of harvesting from a cage you built yourself is unmatched. Your plants get the protection they need, beneficial pollinators can still do their job, and you get to enjoy the fruits of your labor – literally.
Ready to start your next gardening project?
Frequently Asked Questions
What Is the Best Material for A Fruit Cage?
Chicken wire with 35mm holes is the best material for fruit cages. It blocks birds while letting bees pollinate plants, and it’s affordable and durable.
How High Should a Fruit Cage Be?
A fruit cage should be 30cm tall for strawberries, but adjust height based on your plants. Taller crops like cherry tomatoes need more space.
What Do Fruit Trees Need to Thrive?
Fruit trees need full sunlight, well-draining soil, regular watering, proper spacing for air circulation, annual pruning, and protection from pests and diseases.