
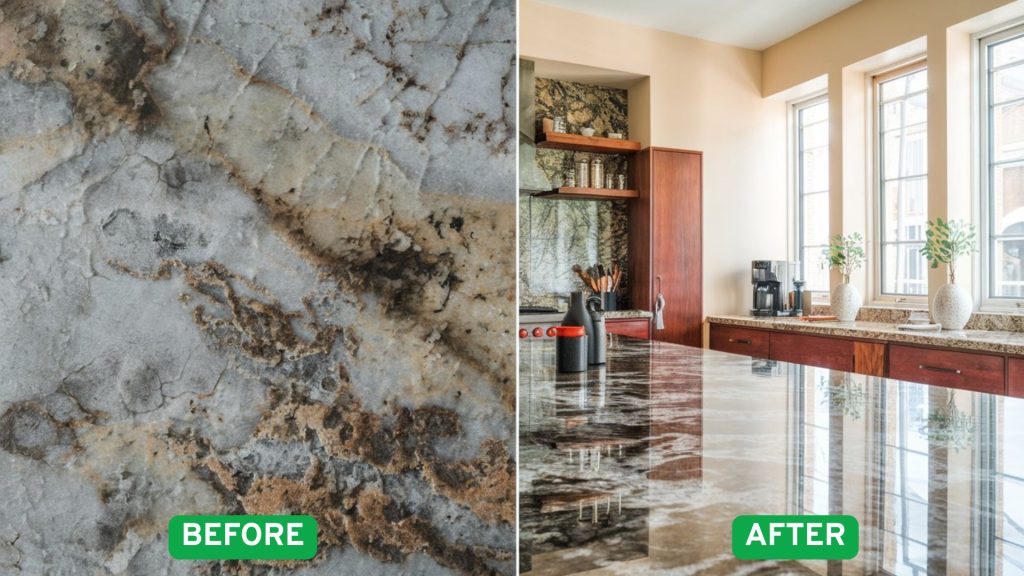
I used to stare at my granite worktops, wondering why they looked dull and streaky despite my best cleaning efforts. Every time I cleaned them, they seemed to get worse instead of better.
Most people make the same mistake I did – using the wrong products that actually damage granite’s natural shine and protective seal. Common household cleaners can be your granite’s worst enemy.
After years of trial and error, I learned the proper techniques that keep granite worktops sparkling clean without causing harm. These methods work for both daily maintenance and tough stains, saving you money on repairs.
Let me share the exact steps I use to clean my granite worktops safely and effectively, so you can avoid the costly mistakes I made and keep your surfaces looking brand new.
What Are Granite Worktops?
Granite worktops are natural stone surfaces made from igneous rock formed deep within the Earth. This hard-wearing material contains minerals such as quartz, feldspar, and mica, which create the stunning speckled patterns you see.
Key benefits that make granite a premium kitchen choice
- Durability: Resists scratches and heat damage
- Unique patterns: No two slabs are identical
- Heat resistance: Can handle hot pans up to 1,200°F
- Stain resistance: When properly sealed
- Value addition: Increases home resale value
Why Should You Care About Proper Granite?
Your granite worktop is more than just a kitchen surface—it’s an investment. Here’s what happens when you neglect proper cleaning:
| With Proper Care | Without Proper Care |
|---|---|
| ✅ Maintains natural shine | ❌ Develops a dull, cloudy appearance |
| ✅ Resists stains effectively | ❌ Absorbs spills and stains |
| ✅ Lasts 15-20 years | ❌ Requires costly repairs |
| ✅ Easy daily maintenance | ❌ Difficult deep cleaning needed |
The Bottom Line: Granite worktops need specific care because they’re porous. Without the right care, granite surfaces can absorb spills and lose their shine, especially if sealing is neglected.
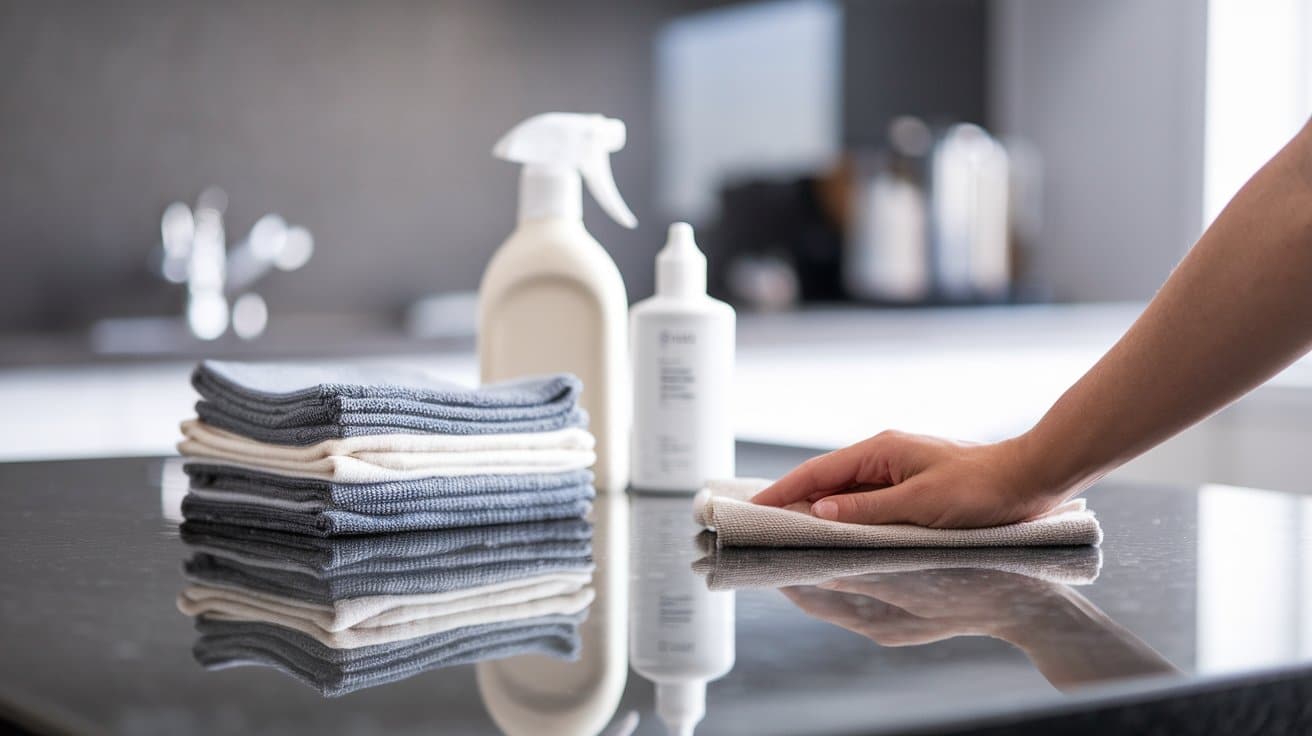
Step-By-Step Granite Cleaning Process

Follow this simple routine to keep your granite worktops spotless without causing damage. This method works for both sealed and unsealed granite surfaces.
What You’ll Need:
- Microfiber cloths (2-3 pieces) – soft and lint-free
- Spray bottle with adjustable nozzle
- Warm water (not hot)
- Mild dish soap (pH-neutral preferred)
- Clean, dry towels for final polishing
- Small bowl for mixing (optional)
Step 1: Clear and Prep the Surface
Remove all items from your worktop, including appliances, containers, and decorative pieces. Check for any sticky residue or stubborn spots that may require additional attention.
Wipe away loose crumbs and debris with a dry microfiber cloth using gentle sweeping motions. This prevents scratching during the wet cleaning process, ensuring better results.
Step 2: Mix Your Cleaning Solution
Fill your spray bottle with warm water, leaving about an inch of space at the top. Add 2-3 drops of mild dish soap – avoid using too much as it creates excess suds.
Cap the bottle and shake gently to mix the contents. This gentle mixture cleans effectively without damaging granite’s natural finish or removing protective sealants.
Step 3: Apply and Clean
Spray the solution lightly across the granite surface in sections, working from one end to the other. Never oversoak the stone, as excess water can seep into unsealed areas and cause staining.
Use circular motions with your damp microfiber cloth to clean thoroughly. Apply gentle pressure for stubborn spots, but avoid scrubbing harshly. Work in manageable sections to prevent the solution from drying on the surface.
Step 4: Dry Completely
Immediately dry each cleaned section with a clean, dry microfiber cloth using straight, overlapping strokes. This prevents water spots and streaking that make granite look dull.
For extra shine, finish with a final buff using a completely dry cloth. Check the surface from different angles to ensure that no streaks or watermarks remain.
Daily vs Weekly Cleaning Comparison
Understanding the difference between daily maintenance and weekly deep cleaning helps you allocate time effectively while keeping your granite in optimal condition.
| Aspect | Daily Cleaning | Weekly Deep Clean |
|---|---|---|
| Time Required | 2-3 minutes | 10-15 minutes |
| Frequency | Every day | Once per week |
| Cleaning Solution | Water + 1 drop dish soap | pH-neutral granite cleaner |
| Tools Needed | 1 microfiber cloth | 2-3 microfiber cloths + soft brush |
| Focus Areas | Quick surface wipe | Complete worktop including edges |
| Drying Time | 30 seconds | 2-3 minutes of thorough buffing |
| Purpose | Remove daily residue | Deep clean and restore shine |
| When to Do | Morning/evening routine | Weekend maintenance |
Tough Stains Guide
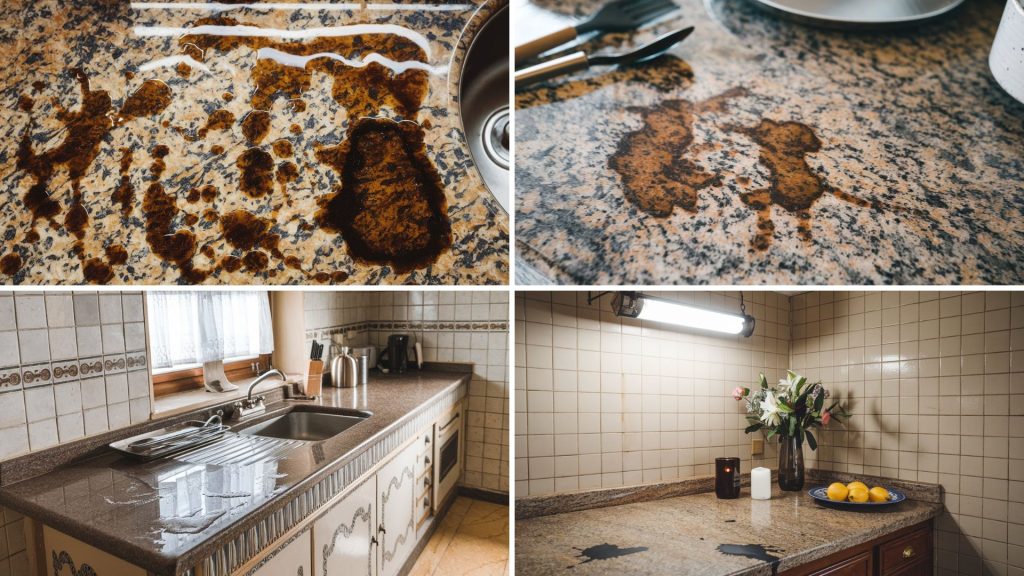
Accidents happen even with perfect care, but most granite stains can be removed with the right approach and patience. The key is identifying your stain type and using the correct treatment method.
1. Oil-Based Stains (Cooking oils, Cosmetics, Hand Lotion)
What You’ll See: Dark, greasy spots that absorb deep into granite
Treatment:
- Mix baking soda + water into a thick paste
- Apply over stain, cover with plastic wrap
- Leave overnight (24 hours for stubborn stains)
- Remove the paste and rinse thoroughly
2. Organic Stains (Coffee, Wine, Fruit Juice)
What You’ll See: Colored rings and spots from beverages/food
Treatment:
- Mix hydrogen peroxide + a few drops of ammonia
- Soak the cloth with the solution, and place it over the stain
- Cover with plastic wrap for 24 hours
- Check progress every few hours
3. Water Stains & Etching (Hard Water, Acidic Spills)
What You’ll See: White, chalky rings or dull spots
Treatment:
- Make a baking soda paste with water
- Rub gently in circular motions
- For deep etching, use granite polishing powder
- Work in small sections with light pressure
Quick Reference Table
| Stain Type | Treatment | Time | Success Rate |
|---|---|---|---|
| Oil-based | Baking soda paste | 12-24 hours | 85-95% |
| Organic | Hydrogen peroxide | 6-24 hours | 90-95% |
| Water/Etching | Baking soda rub | 30 minutes | 80-90% |
| Ink | Isopropyl alcohol | 20-60 minutes | 70-85% |
Why and How to Seal Granite Worktops?
Sealing granite worktops protects your investment and maintains their beauty for decades to come.
Why Sealing is Essential?
Granite’s natural porosity allows liquids to penetrate the surface, causing permanent stains and damage. An effective seal creates a protective barrier that repels water, oils, and other substances before they can absorb into the stone.
Most granite comes with factory sealing, but this protection degrades with daily use, leaving your granite susceptible to damage.
How to Test if Sealing Is Needed?
This simple water test helps you determine if your granite countertops need resealing. Follow the flowchart below to interpret your results and take appropriate action.
Drop a small amount of water on your granite surface.
⬇️
Wait and observe the water’s behavior.
⬇️
Monitor for 10-15 minutes.
⬇️
Does the water bead up and stay on top?
⬇️
If yes, your seal is effective. Your Granite is Well Protected
⬇️
No action needed
Remember, this simple water test is your best friend for maintaining beautiful granite surfaces. Regular testing helps you catch sealing issues before they become expensive problems.
Sealing Process
- Clean the granite thoroughly and let it dry completely for 24 hours.
- Apply granite sealer evenly using a clean cloth, working in small sections.
- Allow the sealer to penetrate for the time specified on the product label, typically 15-20 minutes.
- Wipe away excess sealer with a clean, dry cloth.
- Wait 24 hours before using the surface typically.
Long-Term Maintenance & Shine Tips
Regular care and professional maintenance keep your granite looking beautiful for decades while protecting your investment from costly damage.
- Check monthly for chips, cracks, and dull spots that indicate sealer failure.
- Apply granite polish with a microfiber cloth monthly, buff to restore shine.
- Always use cutting boards and trivets to prevent scratches and thermal damage.
- Wipe spills immediately and use coasters under all drinks.
- Schedule annual professional services to avoid replacement costs.
- Call professionals for visible cracks, persistent stains, or widespread sealer failure.
Conclusion
Cleaning granite worktops doesn’t have to be complicated when you know the right methods. I’ve shared techniques that changed my dull, streaky surfaces into sparkling countertops that look brand new every day.
The key is understanding granite’s natural properties and using gentle, pH-neutral products that protect the stone rather than damage it.
Consistent cleaning and a fast response to spills go a long way. Don’t forget sealing to lock in that brilliant shine.
Your granite worktops are a significant investment that can last decades with proper care. These simple steps will save you money on repairs and keep your kitchen looking its best.
What’s your biggest challenge with granite care? These methods are suitable for any granite surface, so begin with daily cleaning and gradually build your routine from there.
Frequently Asked Questions
What Should You Not Put on A Granite Countertop?
Avoid lemon, vinegar, lime, ammonia, bleach, or glass cleaners on granite. These harsh chemicals break down the protective sealant and damage the stone’s surface over time.
Can You Use Clorox Wipes on Granite?
No, Clorox wipes contain alcohol and bleach that damage granite’s sealant and dull the finish. Use pH-balanced stone cleaners designed specifically for granite surfaces instead.
What Causes Granite to Lose Its Shine?
Soap film and cleaner residue left on granite surfaces cause dullness. Even thin layers of leftover cleaning products can remove the natural shine and reflective appearance of granite.