
Pittosporum plants are taking over gardens everywhere, and for good reason. These versatile evergreens create perfect privacy screens, require minimal care, and maintain their beauty throughout the year.
However, many gardeners struggle with basic care questions, such as determining the proper timing for pruning, creating effective watering schedules, and troubleshooting common problems like leaf drop or yellowing.
We’ll show you exactly how to grow, maintain, and troubleshoot Pittosporum successfully. From choosing the right variety, such as P. tenuifolium or James Stirling, to mastering seasonal pruning techniques, you’ll find practical solutions that work.
This guide covers everything you need, including planting basics, watering and feeding schedules, and how to solve common problems.
You’ll learn when to prune, how to maintain dense hedges, and what’s normal versus concerning when leaves change color or drop.
What is Pittosporum?
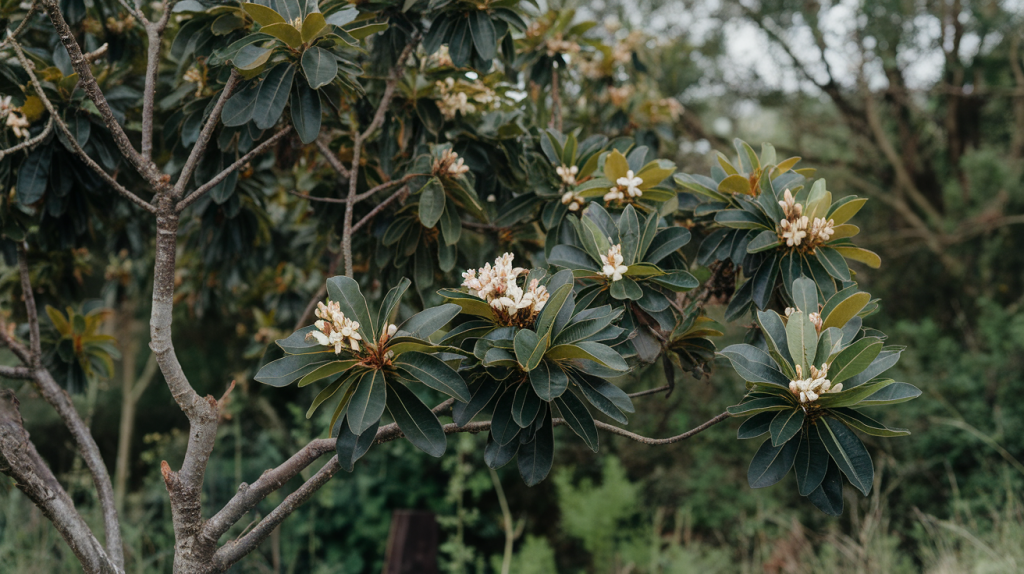
Pittosporum is a versatile evergreen shrub that belongs to a large plant family with over 200 species worldwide.
The most popular variety for home gardens is Pittosporum tenuifolium, along with cultivars like James Stirling and Silver Sheen.
These plants have become garden favorites because they grow quickly into dense hedges, provide excellent privacy screening, and need very little care once established.
Their small, glossy leaves and compact growth habit make them perfect for creating natural boundaries, windbreaks, or standalone feature plants that look good year-round.
Choosing the Right Pittosporum
Selecting the right Pittosporum depends on factors like desired size, climate, and growth habit, with options ranging from compact shrubs to tall, evergreen trees.
| Variety | Best Use | Size (H × W) | Key Feature |
|---|---|---|---|
| Tenuifolium | Hedges, screens | 3–5m × 1.5–2.5m | Glossy leaves, black stems |
| James Stirling | Privacy fence | 3–4m × 1.5–2m | Silvery dense foliage |
| Silver Sheen | Light screening | 4–5m × 1.5m | Airy silver-grey foliage |
| Golf Ball | Borders, compact | 0.8–1m × 0.8–1m | Naturally rounded shape |
| Limelight | Accent, low hedge | 1.5–2m × 1.5m | Bright lime-green new growth |
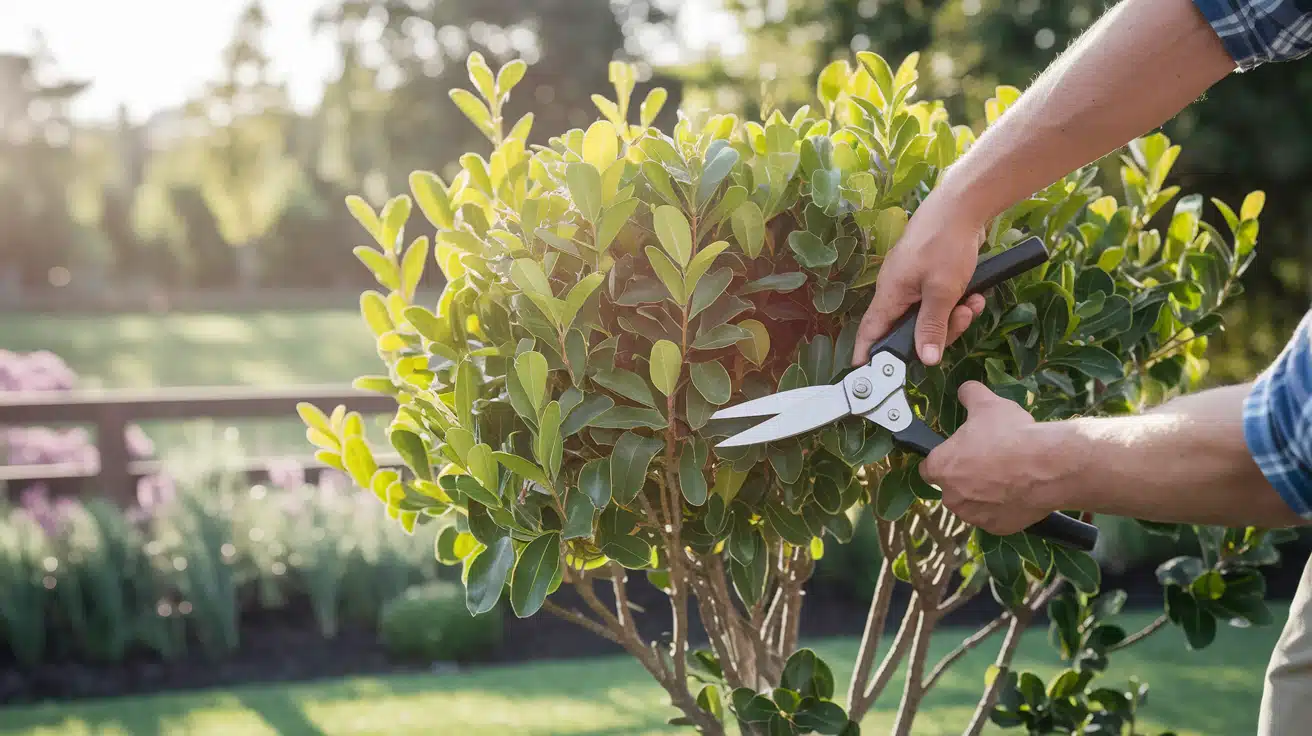
How to Prune Pittosporum for Health & Growth?
Pruning Pittosporum is essential for maintaining its shape, promoting healthy growth, and preventing it from becoming leggy and unbalanced. By trimming regularly, you can encourage denser foliage and ensure your plant stays vibrant.
Step 1: Time It Right
Prune from late spring through early fall for regular maintenance trimming, as this is when Pittosporum actively grows and recovers quickly. For major reshaping or hard pruning, wait until late winter, after new growth begins, allowing plants the entire growing season to recover. Light touch-ups in mid spring or late summer are fine during cooler spells, which helps keep growth even between seasonal flushes.
Avoid pruning during hot summer months when plants are stressed, and never prune just before winter, as new growth won’t have time to harden off before frost.
Step 2: Remove Problem Areas
Begin by cutting out all dead, damaged, diseased, or crossing branches using clean, sharp pruning shears sanitized with rubbing alcohol.
Look for branches that rub against each other, grow inward toward the center, or show signs of disease or pest damage. Make cuts just above healthy leaf nodes at a slight downward angle to prevent water from pooling on cut surfaces, which can lead to rot or disease.
Step 3: Shape and Size Control
Trim the outer growth to maintain your desired shape and prevent the plant from outgrowing its space. Reduce the new development by about one-third, focusing on longer shoots that disrupt the plant’s silhouette.
Work systematically from the outside to preserve the plant’s natural form while achieving a neat, compact appearance. Make cuts just above outward-facing buds to encourage growth away from the center.
Step 4: Create a Proper Structure
for hedge plantings, such as those by James Stirling. Trim the top slightly narrower than the base in a gentle trapezoid shape to allow sunlight to reach the lower branches and maintain fullness from top to bottom.
Cut back side shoots regularly throughout the growing season to control width and prevent gaps. Trim the top to your preferred height. For new privacy screens, allow some initial upward growth before capping to achieve better coverage more quickly.
Step 5: Clean Up and Care
Remove all cuttings and debris from around the plant base to eliminate hiding spots for pests and prevent fungal diseases from developing in decomposing material.
Water the plant deeply after pruning to help reduce transplant shock and encourage new growth. Monitor the plant over the following weeks for signs of new shoots and do light touch-up pruning as needed to maintain the desired shape while the plant fills in.
How to Grow Healthy Pittosporum Shrubs?
Growing Pittosporum successfully means getting the basics right from day one. These hardy plants are forgiving, but they perform best when you give them what they need from the start.
Step 1: Choose the Perfect Location
Pittosporum thrives in full sun to partial shade. Six hours of sunlight daily give the best growth and leaf color. Too much shade can make plants appear leggy and weak.
These plants aren’t picky about soil type. They grow well in most garden soils as long as water drains away properly. Heavy clay that stays wet will quickly kill roots. Sandy or loamy soil works perfectly.
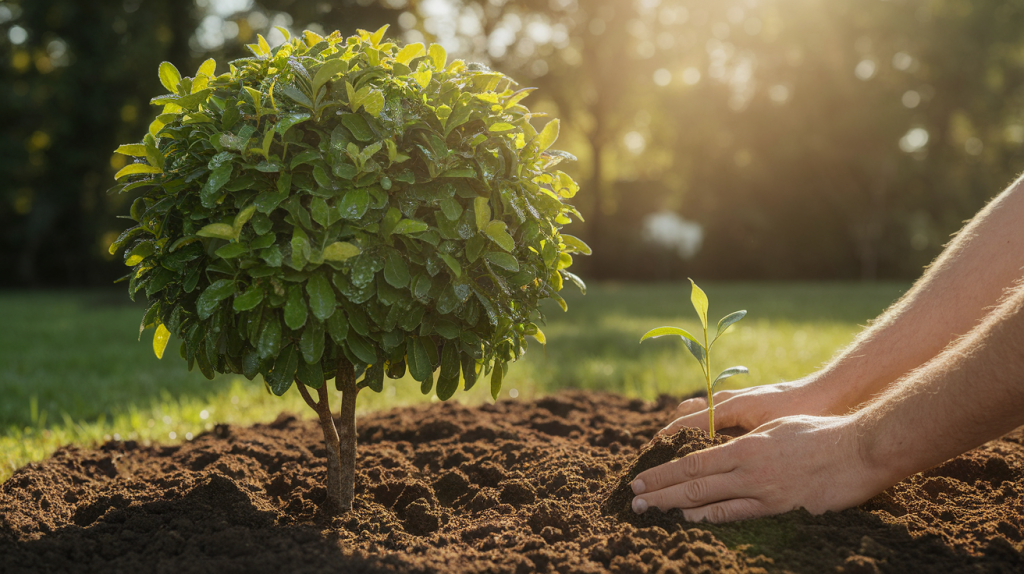
Step 2: Time Your Planting Right
Spring and early fall are ideal seasons for planting. Spring provides plants with time to establish before the summer heat arrives, while fall planting works particularly well in mild climates.
Avoid planting during hot summer months or when frost is expected. Plants need 4-6 weeks to settle in before extreme weather hits. Choose calm, overcast days for planting to minimize transplant shock and help roots establish more quickly.
Step 3: Master the Watering Schedule
New plants need regular water for the first year. Water deeply twice weekly rather than daily light sprinkling. This builds strong, deep roots that will support healthy growth.
Established Pittosporum is quite drought tolerant. Water only during dry spells or when leaves start to droop. Deep, less frequent watering is more effective than shallow, frequent watering.
Step 4: Feed for Strong Growth
Apply fertilizer in spring for best results. Slow-release granules work well and last all season. Once yearly spring feeding is usually enough for healthy plants.
Avoid high-nitrogen feeds that promote soft, weak growth. General garden fertilizer provides the right balance of nutrients without pushing excessive leaf production.
Step 5: Protect from Temperature Extremes
Most Pittosporum varieties handle light frost well. P. tenuifolium survives temperatures down to 20°F (-6°C) once mature. Young plants need protection from hard frost.
During cold snaps, cover plants with frost cloth or move containers to sheltered areas. Plant near walls or fences for extra wind protection in very cold regions. Choose hardy varieties, such as James Stirling, for areas with harsh winters. This simple cover reduces cold damage on tender tips.
Established plants handle summer heat better than many other evergreens. They rarely struggle with hot weather once their roots are well established.
Quick Solutions to the Pittosporum Problem
Find quick solutions to common Pittosporum problems, such as leaf drop, yellowing, and pest issues, to keep your plant healthy and thriving.
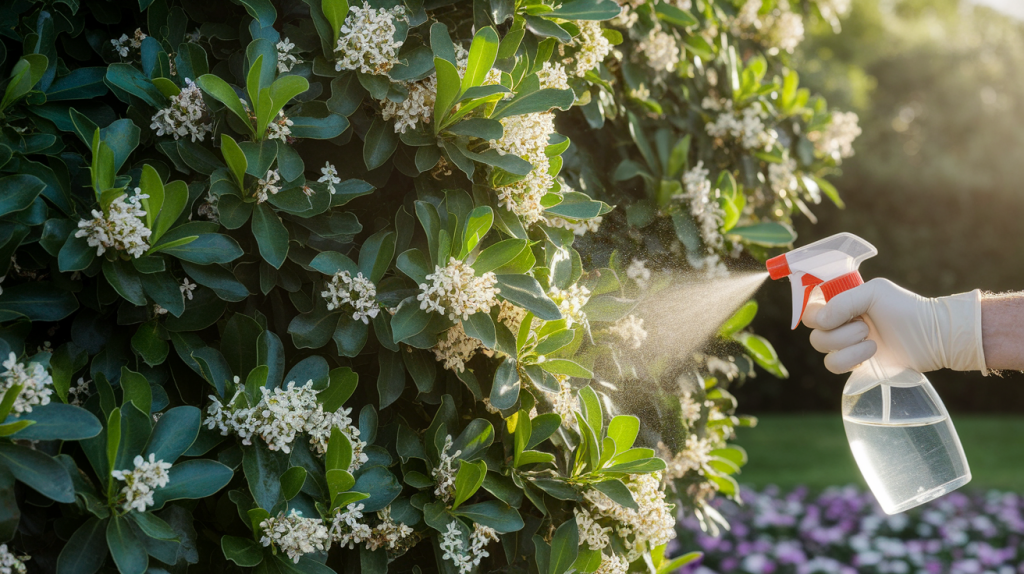
1. Leaf Drop
Leaf drop typically occurs due to stress, such as sudden changes in watering, transplant shock, or extreme weather conditions. Overwatering is the most common cause, as it causes roots to rot and become unable to support the foliage.
Some leaf loss is normal when plants adjust to new conditions, but rapid leaf drop indicates that an issue needs to be addressed promptly.
2. Common Issues
Scale insects and aphids are the main pests that attack Pittosporum, causing sticky honeydew and yellowing leaves. Yellow leaves often indicate excessive water or poor drainage, while brown leaf edges suggest the plant is too dry.
Check soil moisture regularly and adjust watering accordingly, based on the weather and season, rather than adhering to a rigid schedule.
3. Seasonal Changes
Some older leaves naturally turn yellow and drop in spring as new growth appears – this is completely normal. Winter browning on leaf tips is common in cold areas and typically recovers in the spring.
However, widespread yellowing, sudden leaf drop, or black spots on leaves indicate problems that need attention.
4. Long-Term Care
Old Pittosporum plants benefit from thinning every 3-4 years to remove crowded
interior branches and improve airflow. For overgrown shrubs, cut back one-third of the oldest stems to ground level each year over three years.
This gradual approach keeps the plant looking good while encouraging fresh, healthy growth from the base.
Conclusion
Growing healthy Pittosporum doesn’t have to be complicated when you follow the right steps. These reliable evergreens reward proper care with dense foliage, strong growth, and years of natural privacy screening.
Remember the key points: plant in well-draining soil with adequate sunlight, water deeply but not too often, and prune regularly to maintain shape and health.
So what’s next for your garden? Begin by selecting the suitable Pittosporum variety for your specific space and climate. P. tenuifolium works well for most gardens, while James Stirling excels as privacy hedging. Focus on getting the planting location and drainage right from the beginning.
Why does this matter? Well-maintained Pittosporum can provide decades of low-maintenance beauty and privacy.
Assess your current plants now or plan where to place new ones. Your garden will thank you for the effort.
Frequently Asked Questions
What Is the Lifespan of a Pittosporum?
A Pittosporum typically lives 20-40 years with proper care and maintenance.
How Do You Revive a Pittosporum?
Revive a struggling Pittosporum by improving drainage, watering deeply but less frequently, and pruning away dead or damaged material.
Should You Cut Brown Bits Off Leaves?
Yes, remove the brown bits on leaves with clean scissors to prevent the spread of disease and promote healthy growth.