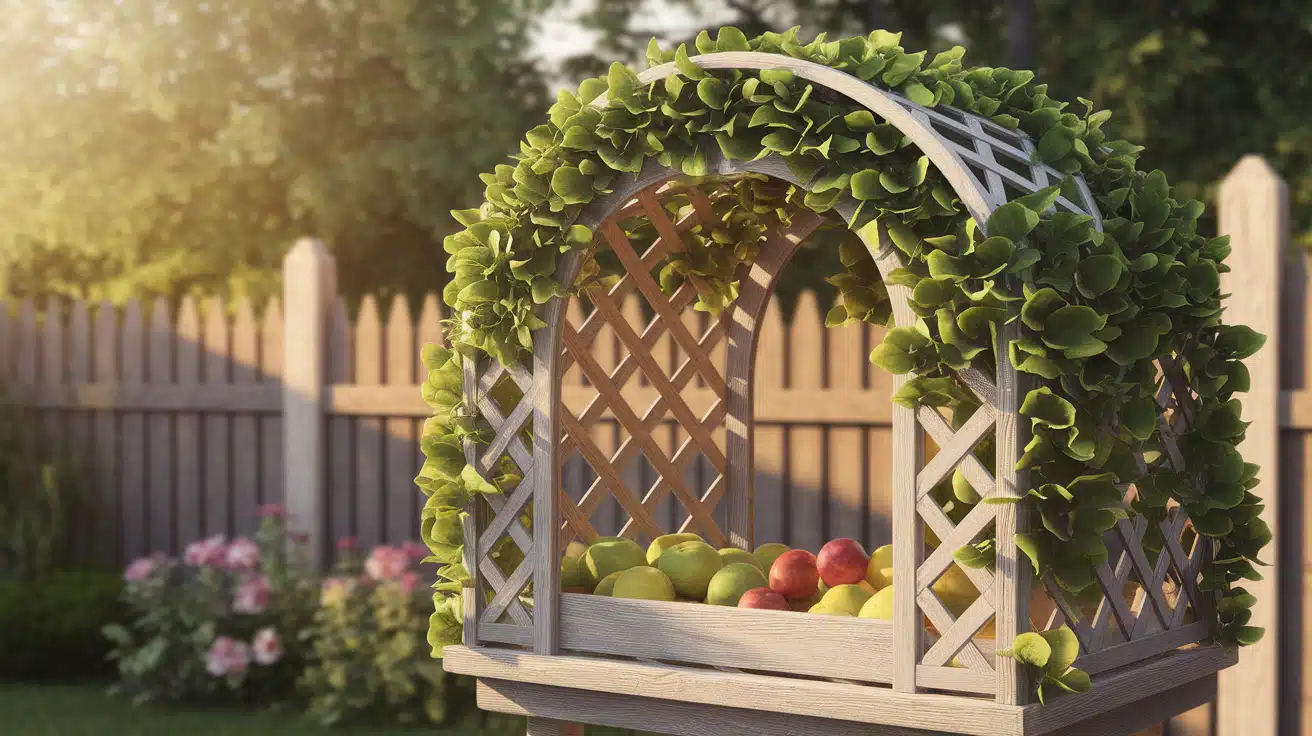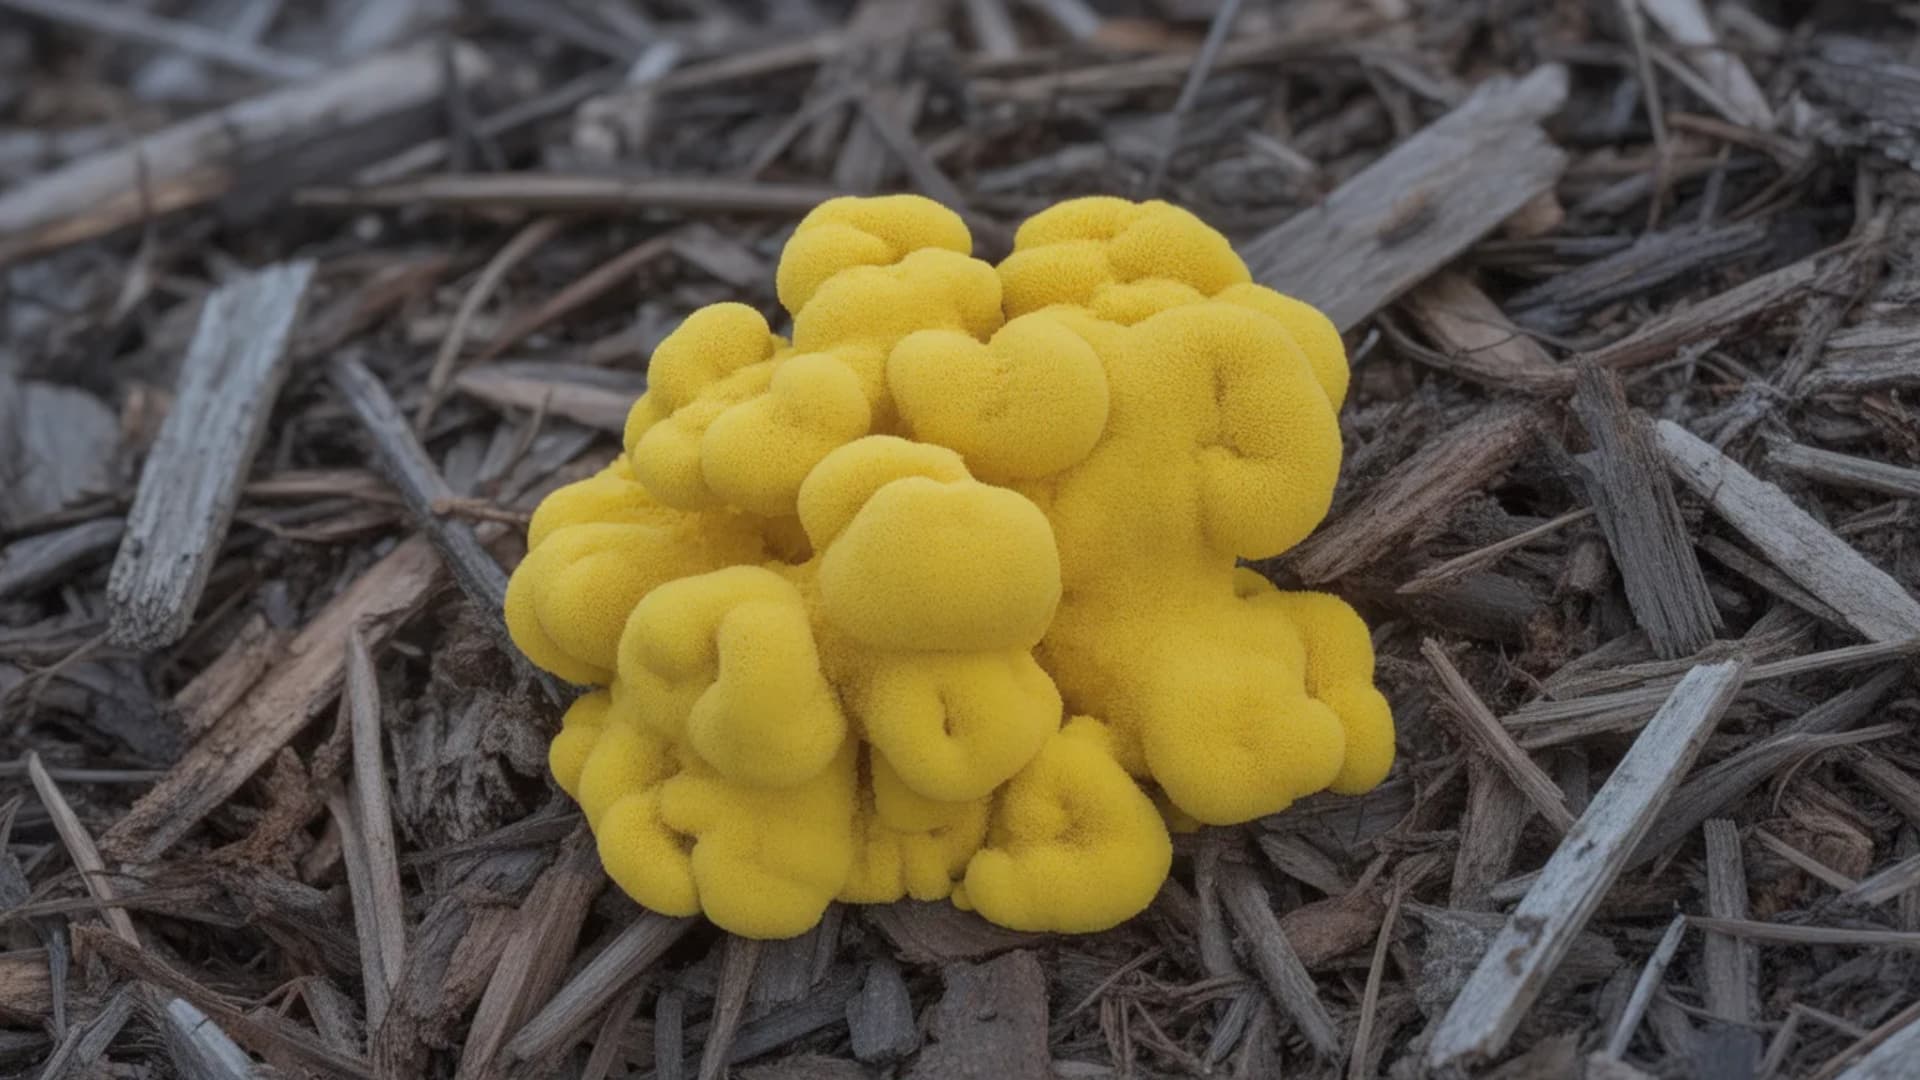

After a heavy rain, you step into your garden and freeze. A bright yellow blob sits on your mulch, foamy, alien, and completely unexpected.
As an entomologist who’s analyzed fungal growth patterns on organic materials for over 15 years, I’ve seen this scenario hundreds of times. The panic is understandable, but misplaced.
Yellow fungus on mulch is usually harmless slime mold, but improper removal often causes it to come back.
This guide explains exactly what you’re looking at, why it appeared, and the proper removal technique that actually works.
Why Did Slime Mold Appear in Mulch?
Fuligo septica spores exist everywhere in the environment. They travel through air currents, land on organic surfaces, and remain dormant until conditions activate them.
Three conditions trigger their growth:
- Temperatures between 80-85°F
- Consistent moisture
- Shaded areas with poor airflow
Heavy rainfall and overwatering create ideal conditions, particularly in shaded garden beds that retain moisture for extended periods.
Many owners blame the mulch itself, but organic mulches like hardwood bark simply break down naturally, creating a nutrient-rich environment.
Trapped moisture within thick mulch layers is the actual trigger. Understanding which growth stage you’re observing determines the correct removal approach.
What Does Slime Mold Look Like at Each Growth Stage?
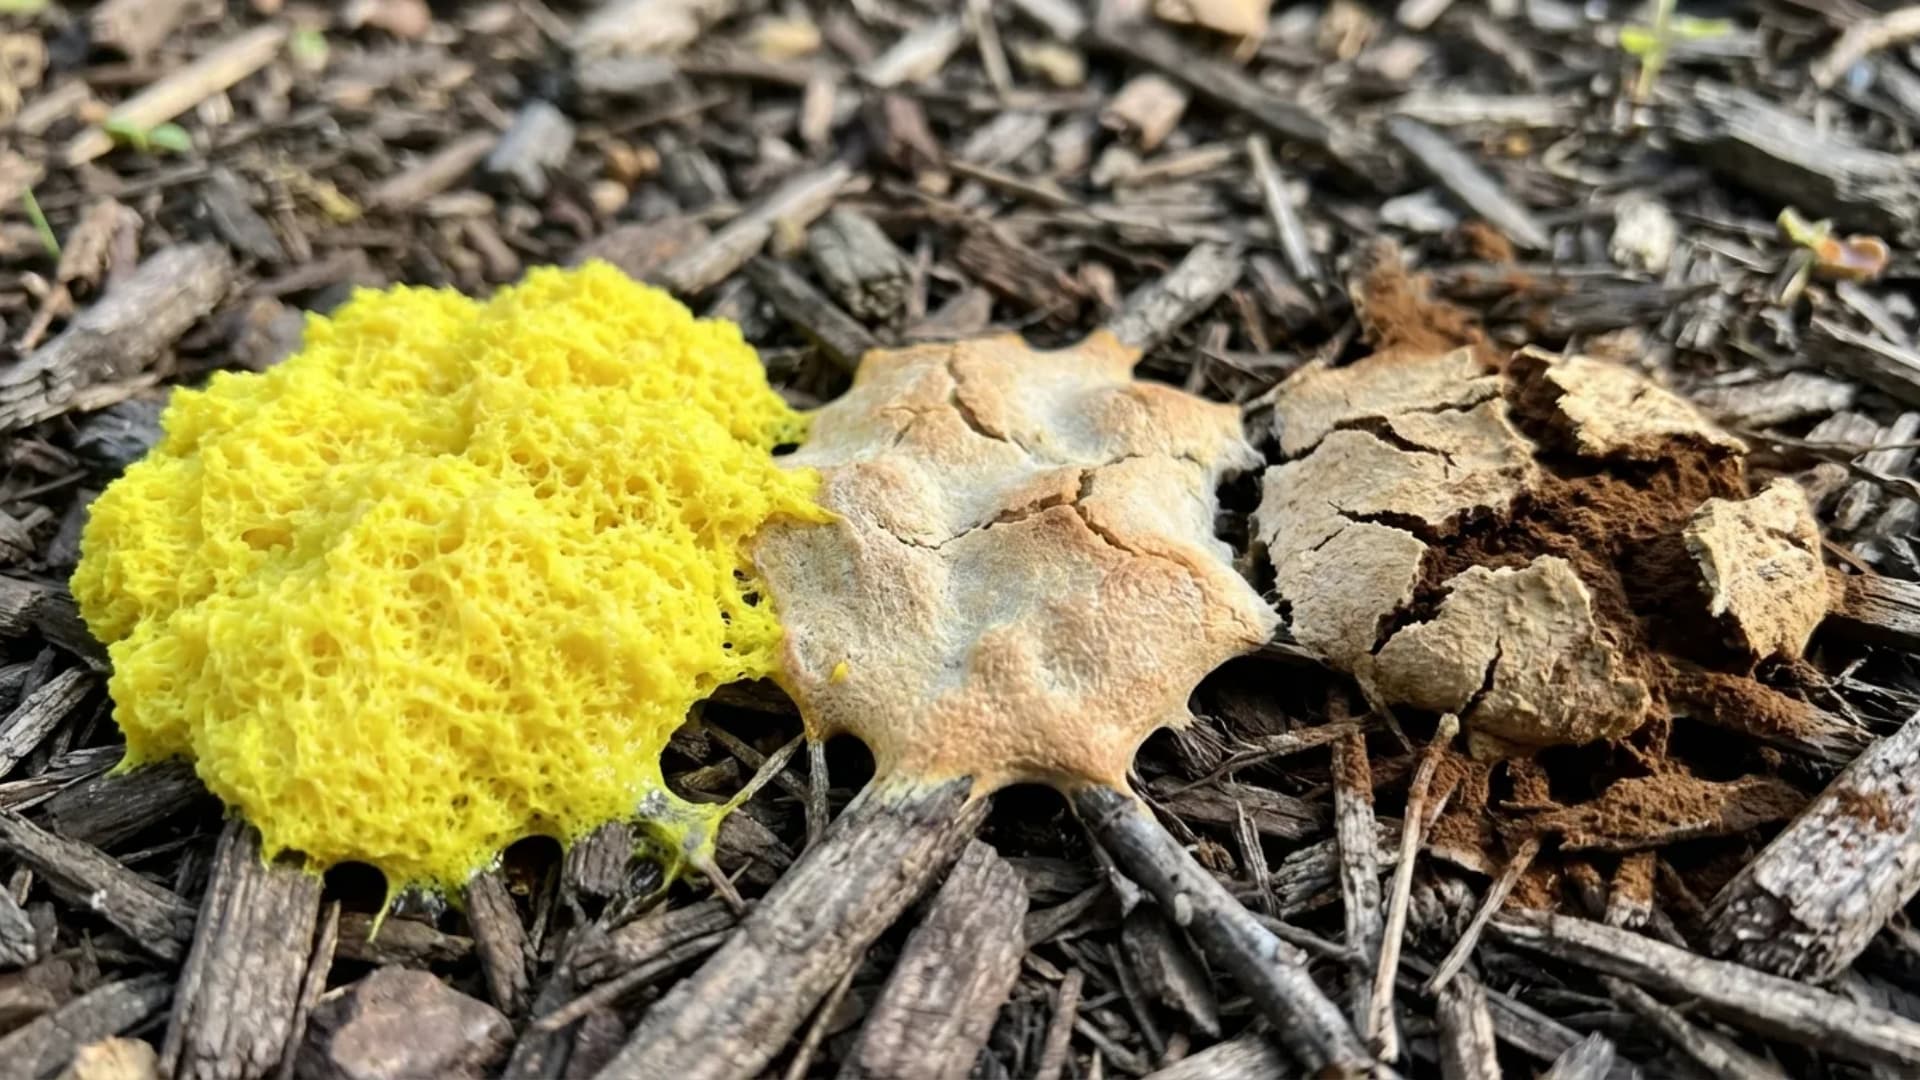
Fuligo septica progresses through three distinct stages. Identifying the current phase is critical because removal techniques that work in Stage One can spread spores in Stage Three.
Stage One: The Slime Stage
Bright yellow, foamy, and wet, this stage spreads up to eight inches wide across the mulch surface.
The texture resembles scrambled eggs or foam insulation, and it’s actively mobile (though movement is imperceptible to the naked eye).
Stage Two: The Crust Stage
Usually, within 24-48 hours, the yellow gently transitions to a lovely tan or light brown.
The surface slowly forms a tough, crusty shell, gently indicating that it’s entering its reproductive phase rather than its end.
Stage Three: The Powder Stage
The crust ruptures, releasing millions of dark brown or black spores. This stage is critical: disturbing the powder spreads spores across your entire garden, guaranteeing regrowth.
I’ve documented slime mold behavior in over 200 garden environments, and the powder stage is where owners inadvertently create a worse problem. Hosing it down is essentially spreading millions of spores intentionally
Is Yellow Fungus on Mulch Harmful to Plants, Pets, or People?
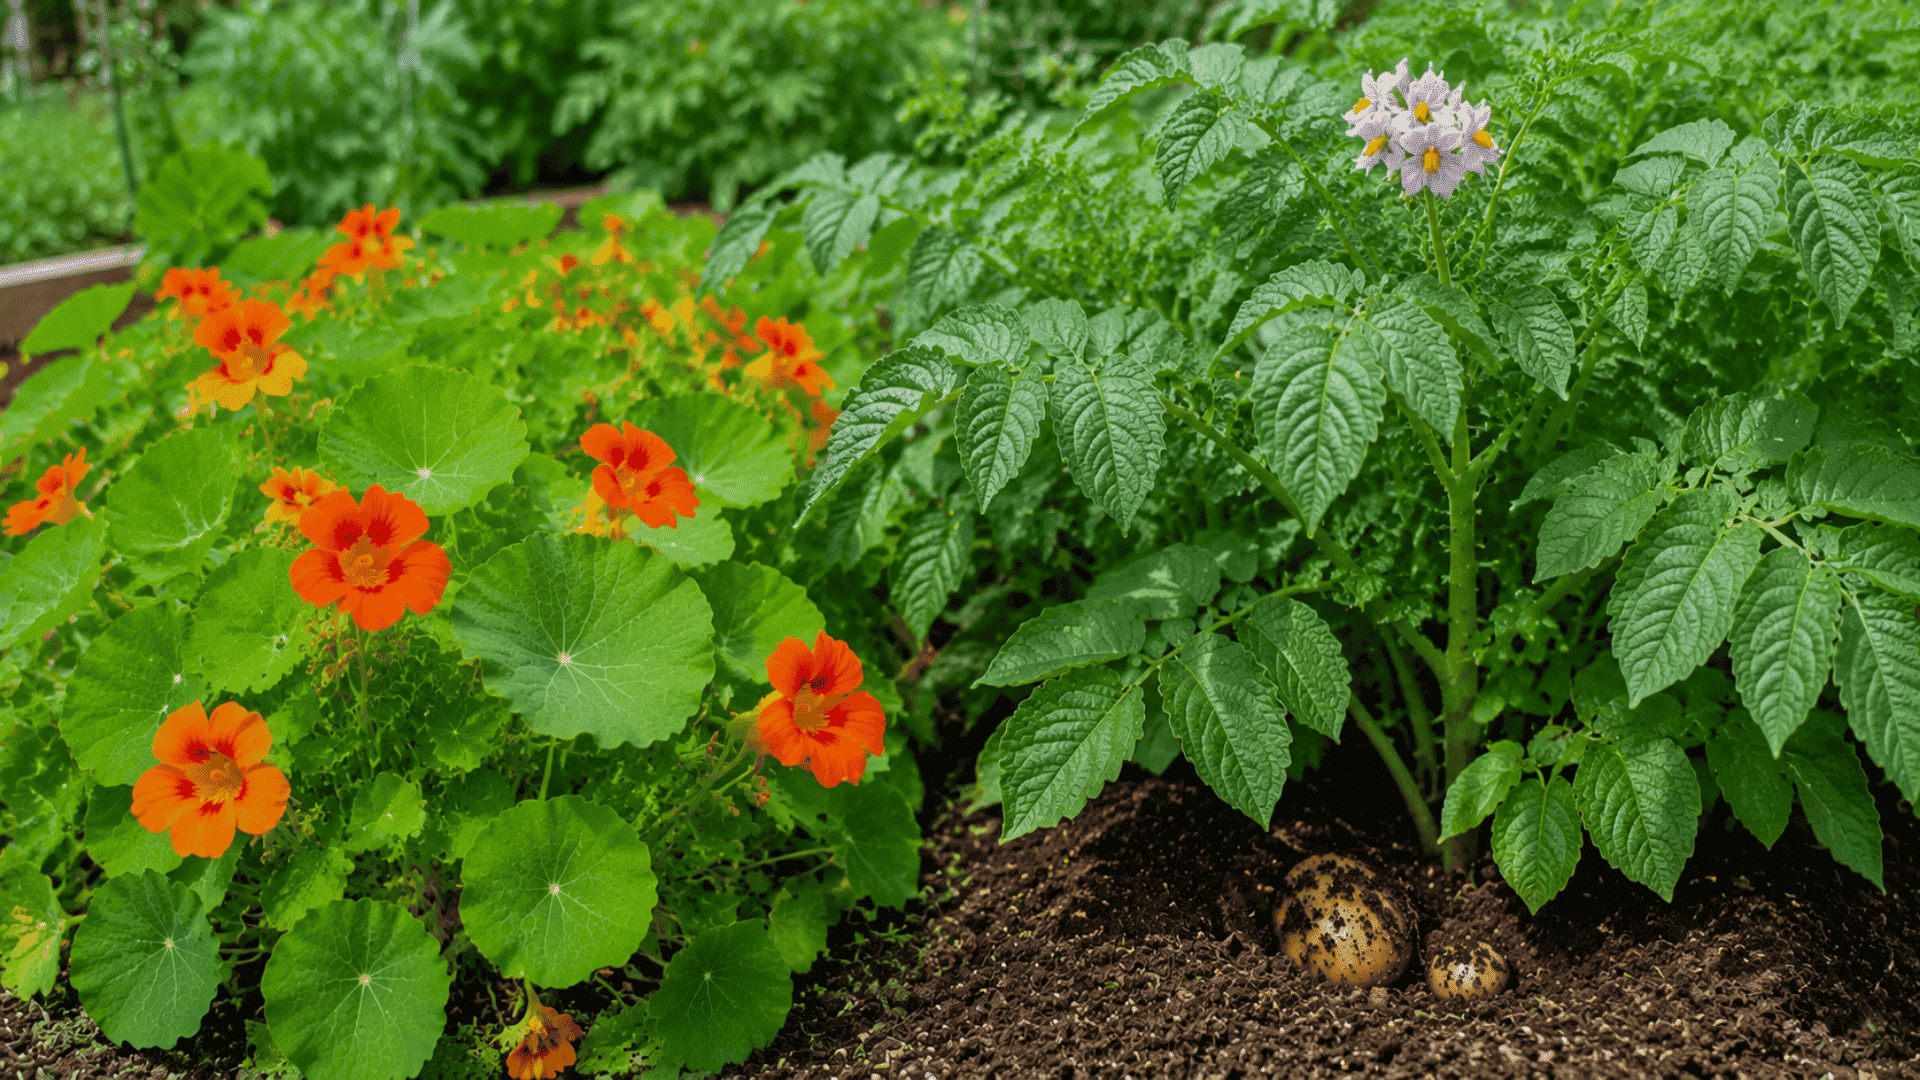
Fuligo septica feeds exclusively on bacteria and decaying organic matter, never on living plant tissue. Roots, stems, and leaves remain unaffected even when slime mold appears nearby.
Occasionally, slime mold climbs plant stems while searching for food, but this is only surface contact; the plant serves as a pathway, not a food source.
In rare cases, a thick mass covering young seedlings can temporarily block sunlight.
Established plants aren’t harmed by Fuligo septica, and despite its nickname “dog vomit fungus,” it’s non-toxic to pets, causing only mild stomach upset if eaten in large amounts.
For children, contact with either the wet slime stage or the dry powder stage is non-toxic. Standard hand-washing after touching any garden material is sufficient.
Individuals with mold allergies or asthma may experience respiratory irritation from airborne spores during Stage Three.
Using an N95 mask during removal prevents inhalation of spore particles, similar to those used for organic pest control applications.
Yellow Fungus vs. Other Mulch Growths
Several organisms colonize mulch, and correct identification prevents ineffective treatment. This comparison helps distinguish slime mold from other garden pests and fungi before choosing a removal strategy.
| Growth | What It Looks Like | Harmful? |
|---|---|---|
| Yellow Fungus (Slime Mold) | Bright yellow, foamy blob. Turns brown and powdery over time | No |
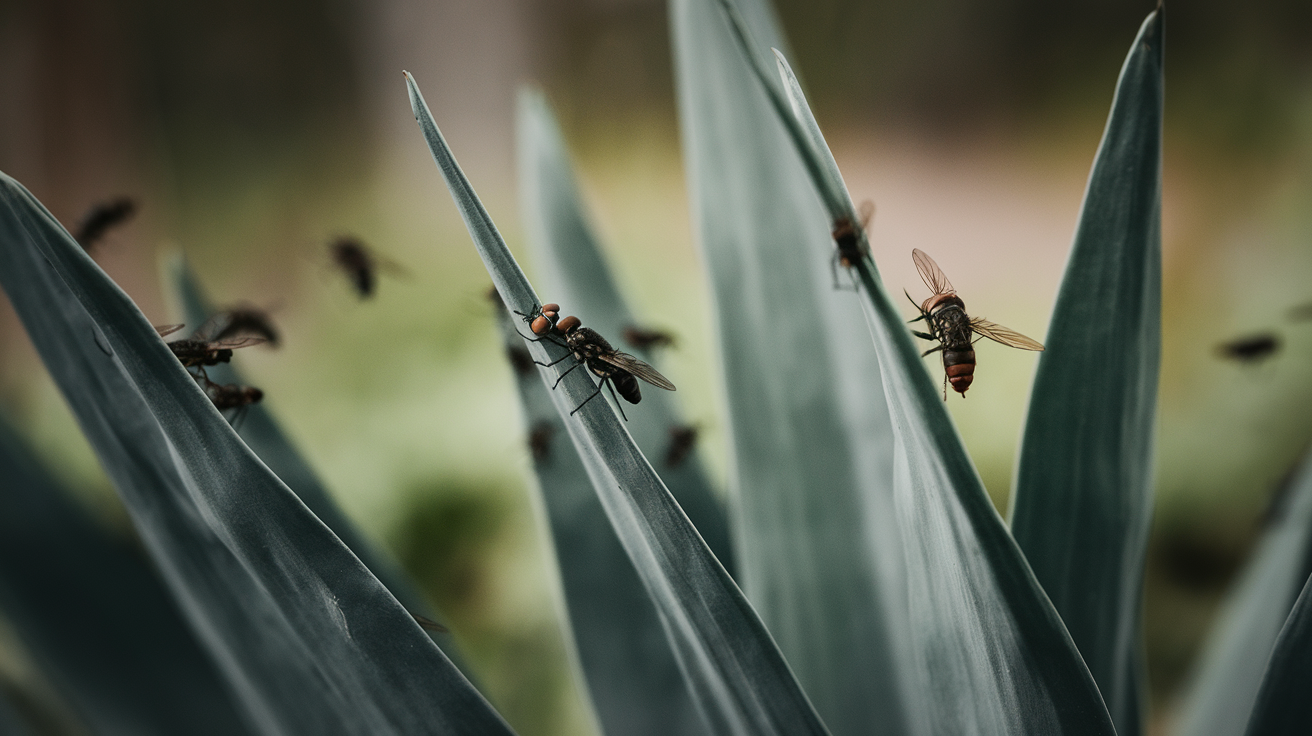
| Stinkhorn Fungus | Tall, reddish-orange stalk with a foul smell | No, but attracts flies |
| Artillery Fungus | Tiny, dark spore sacs that shoot sticky black dots onto surfaces | No, but stains siding and cars |
| Bird’s Nest Fungus | Small brown cups with tiny egg-like structures inside | No, but eggs stick to surfaces |
| Mushrooms | Brown or white caps growing from mulch after rain | Some species are toxic |
Bright yellow, foamy, flat against mulch indicates slime mold. Foul odors, vertical growth, or spores suggest other fungi requiring different treatment; learn to identify garden issues.
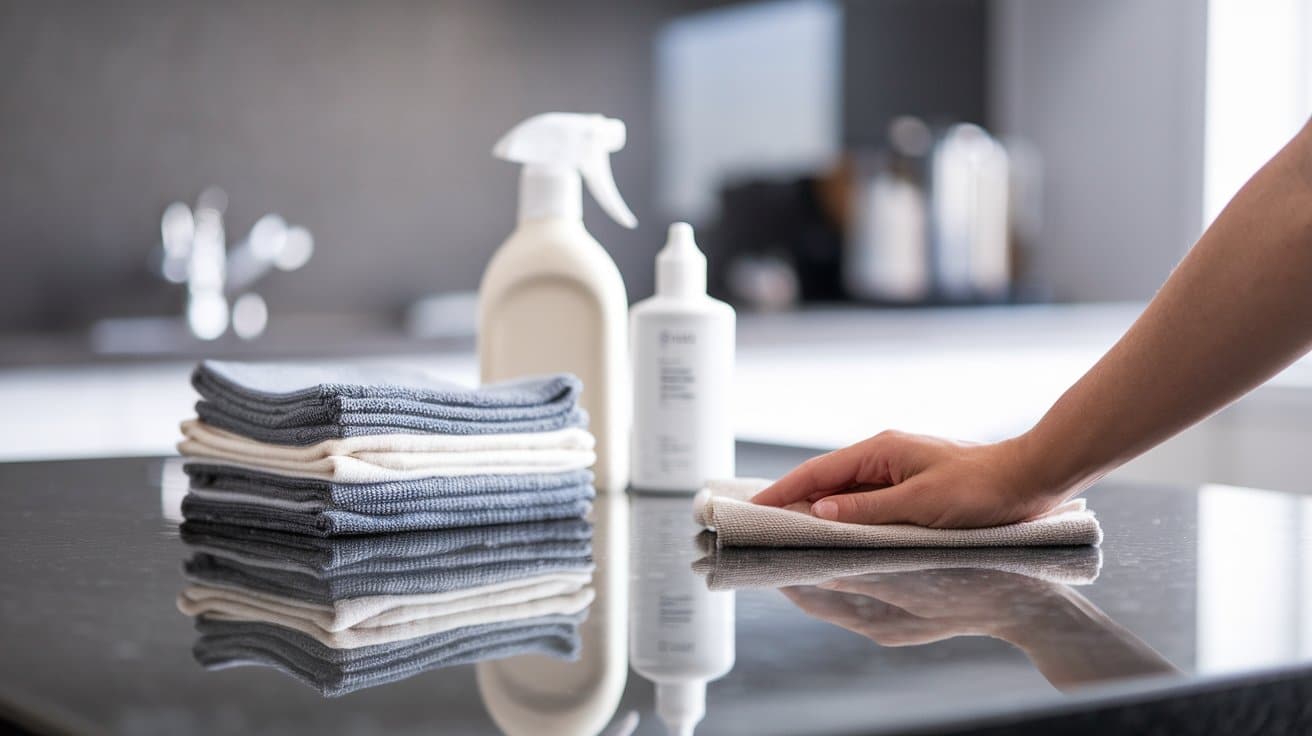
How to Remove Yellow Fungus from Mulch Without Spreading Spores?
The removal technique must match the growth stage. Using the wrong method, particularly hosing down Stage Three, disperses millions of spores throughout your garden.
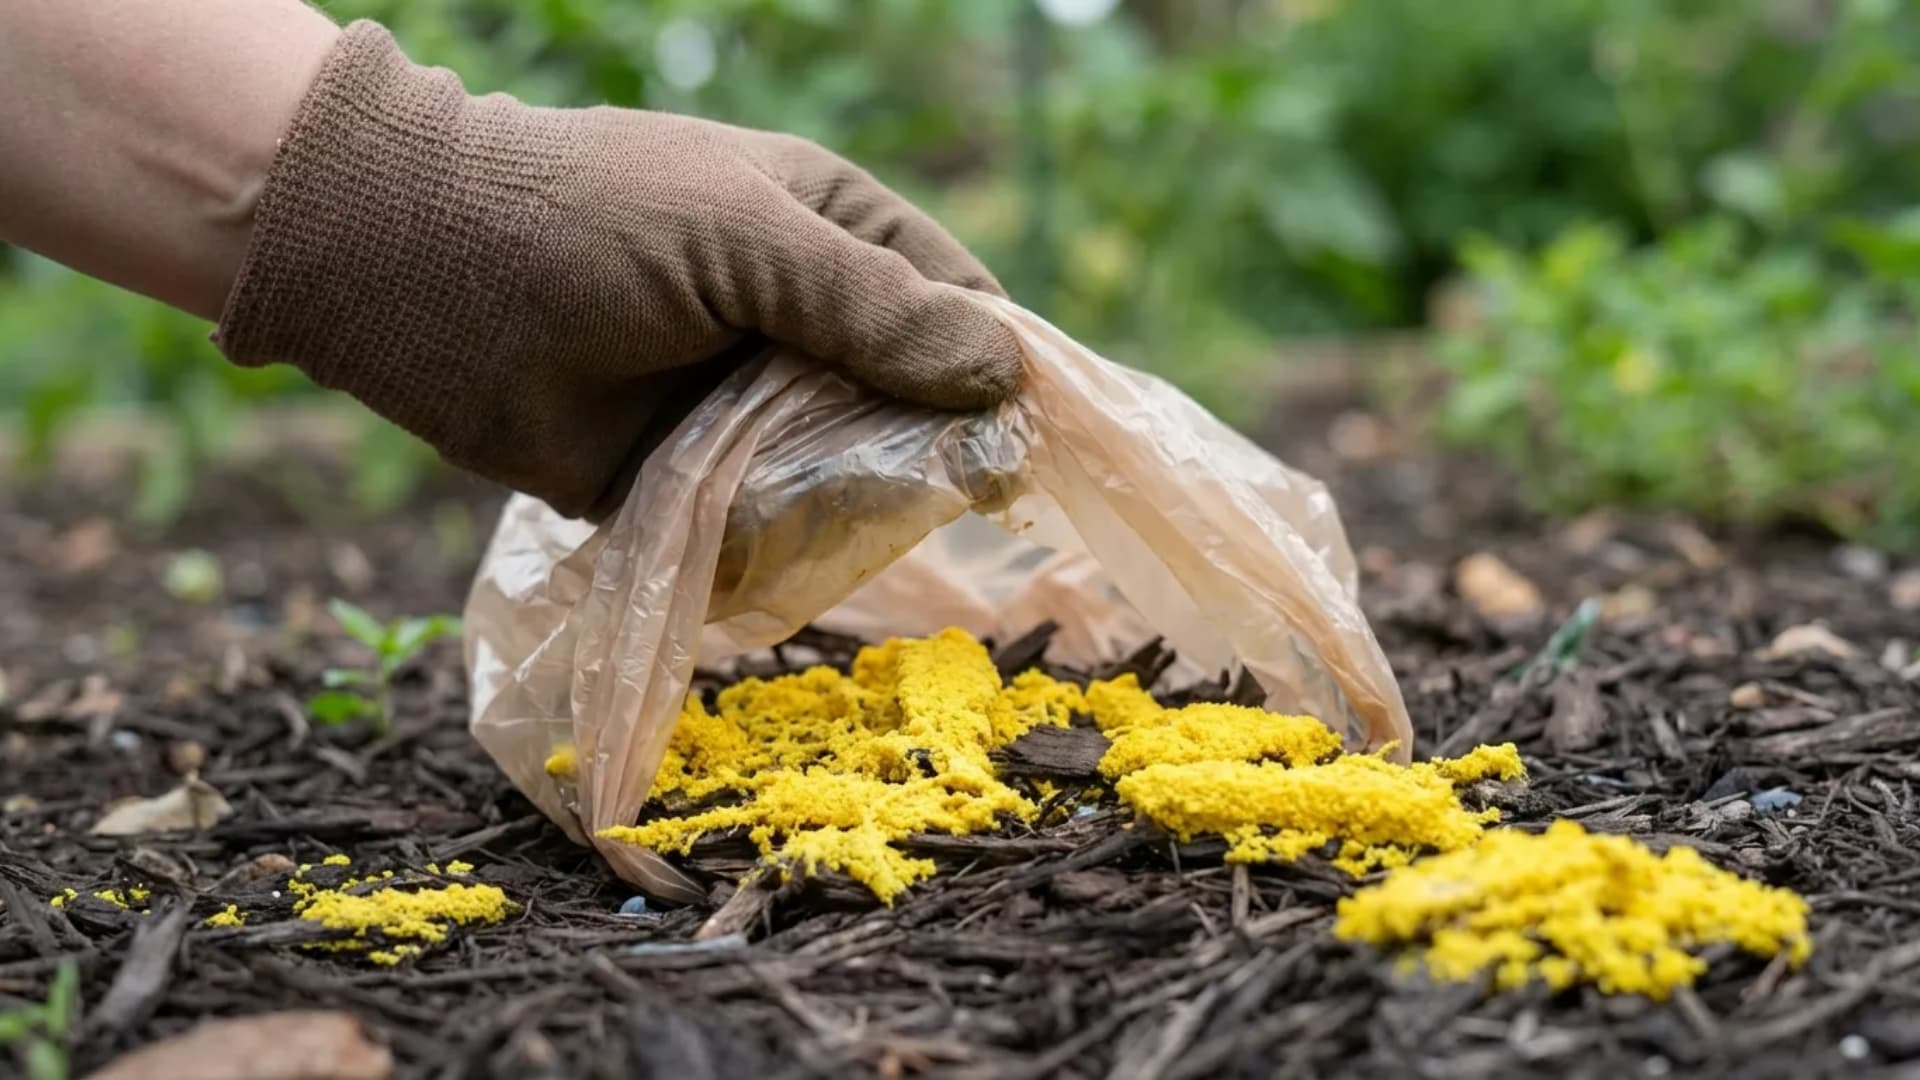
Stage One (Yellow Slime) Removal:
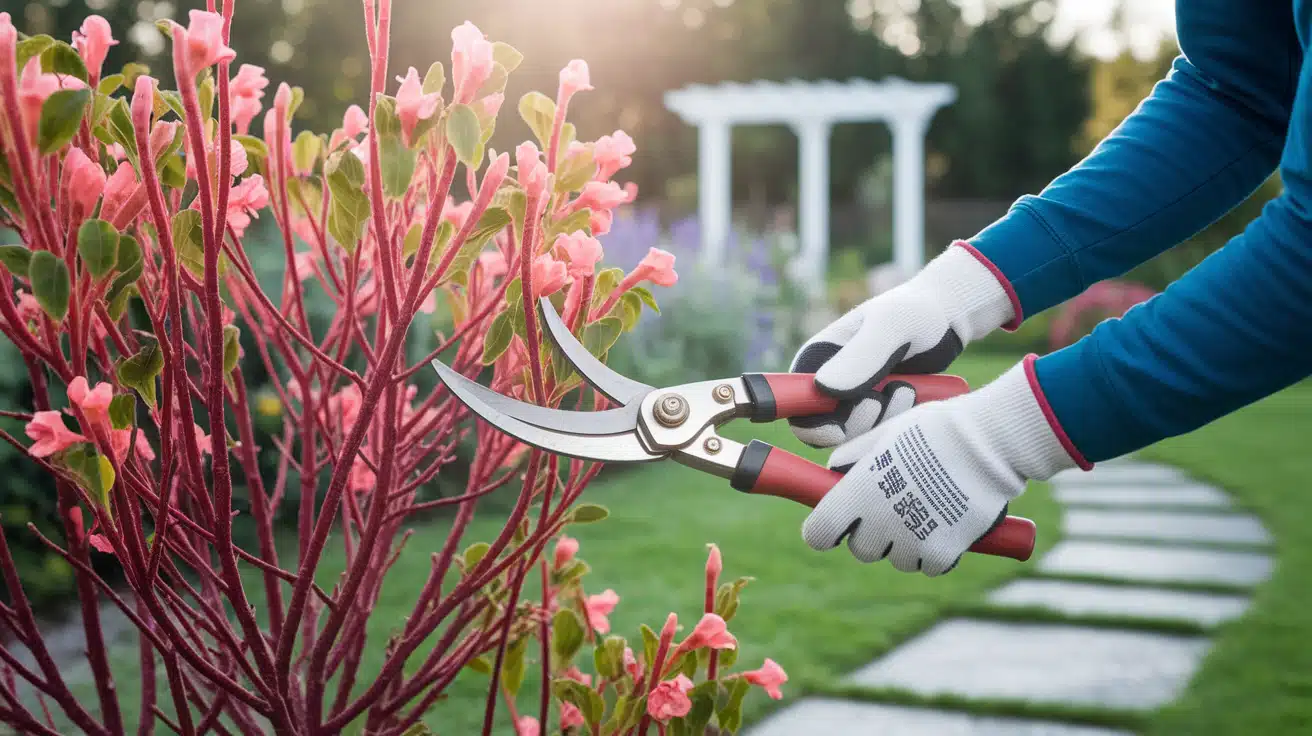
- Insert your hand into a plastic bag (grocery bag or trash bag), scoop the entire mass plus 2-3 inches of surrounding mulch.
- Invert the bag to seal the mass inside, then dispose of it in regular trash (not compost).
- Never use garden tools that come into contact with multiple areas; cross-contamination can spread spores.
Stage Two (Tan Crust) Removal:
Use the same bagging technique, but handle with minimal pressure, the crust is near spore release, and compression can accelerate dispersal.
Stage Three (Dark Powder) Removal:
- Stop all physical contact. Allow complete drying (2-3 days), then gently lift the entire dried mass with gloved hands into a sealed bag.
- Disturbing powder releases airborne spores; wear an N95 mask during removal. Dispose of all removed material in sealed bags away from garden areas.
- Compost systems that consistently maintain 140°F+ can break down spores; most home compost bins cannot achieve this temperature.
How to Prevent Slime Mold from Returning?
Long-term prevention targets the three environmental factors that activate dormant spores: excess moisture, poor drainage, and compacted mulch layers.
- Water Smarter, Not More: Morning irrigation allows mulch to dry before nightfall. Evening watering creates overnight moisture accumulation, ideal conditions for spore activation.
- Fluff Your Mulch Regularly: Rake mulch every 2-3 weeks to break compaction. Improved airflow accelerates drying and disrupts the moisture-temperature combination that slime mold requires.
- Keep Your Mulch Layer Thin: Maintain a maximum depth of 2-3 inches. Layers exceeding three inches trap moisture at the soil interface, creating anaerobic conditions that favor fungal growth.
- Switch Your Mulch Type: Cedar and cypress contain natural antifungal compounds that inhibit slime mold colonization. For chronic problems, this mulch transition proves more effective than repeated removal efforts.
In my 15 years of fieldwork, I’ve learned that spore exposure is unavoidable; they’re in every cubic meter of outdoor air.
Prevention succeeds by maintaining conditions that keep spores dormant: controlled moisture, adequate drainage, and regular mulch maintenance
Conclusion
Yellow fungus on mulch is harmless to plants, pets, and people, but removing it incorrectly can spread spores and cause regrowth.
Preventing slime mold in the long term comes down to controlling moisture through proper watering, aeration, and a 2- to 3-inch mulch layer.
Cedar and cypress mulch can also help because of their natural antifungal properties.
After 15 years working with organic decomposition, I’ve found the best solution is simple: reduce moisture, improve airflow, and let nature do the work.
Now you know how to identify, remove, and prevent yellow fungus on mulch before it spreads. Keep your mulch healthy with the right removal method.
Frequently Asked Questions
Does Baking Soda Kill Yellow Fungus on Mulch?
Baking soda can slow early-stage growth by raising surface pH (mix 2 tablespoons per liter of water), but physical removal and moisture control provide more reliable long-term results.
Can Yellow Fungus Spread to My Lawn?
Yes, spores spread via wind and water runoff to lawn areas with high thatch. Removal before Stage Three minimizes risk, and well-aerated lawns are less prone to colonization.
Is This the Same as Indoor Yellow Mold?
No. Outdoor Fuligo septica is a harmless slime mold, while indoor yellow mold (Aspergillus, Stachybotrys) can be toxic and requires professional remediation.
Will It Kill My Plants?
No. Slime mold feeds only on bacteria and decaying matter, never living plant tissue. It may climb stems while spreading, but it causes no damage to established plants.