
You reach down, grab the feathery green tops, and pull. The tops snap off. The carrot stays put underground. Sound familiar?
Most first-time growers hit this exact wall. Growing carrots has a reputation for being difficult.
I can tell you this: the problem is rarely the gardener. It is almost always the soil, the timing, or one skipped step.
Get those three things right, and growing carrots at home becomes one of the most satisfying things you can do in a garden.
This post walks you through every step, from choosing the right variety to storing your harvest correctly.
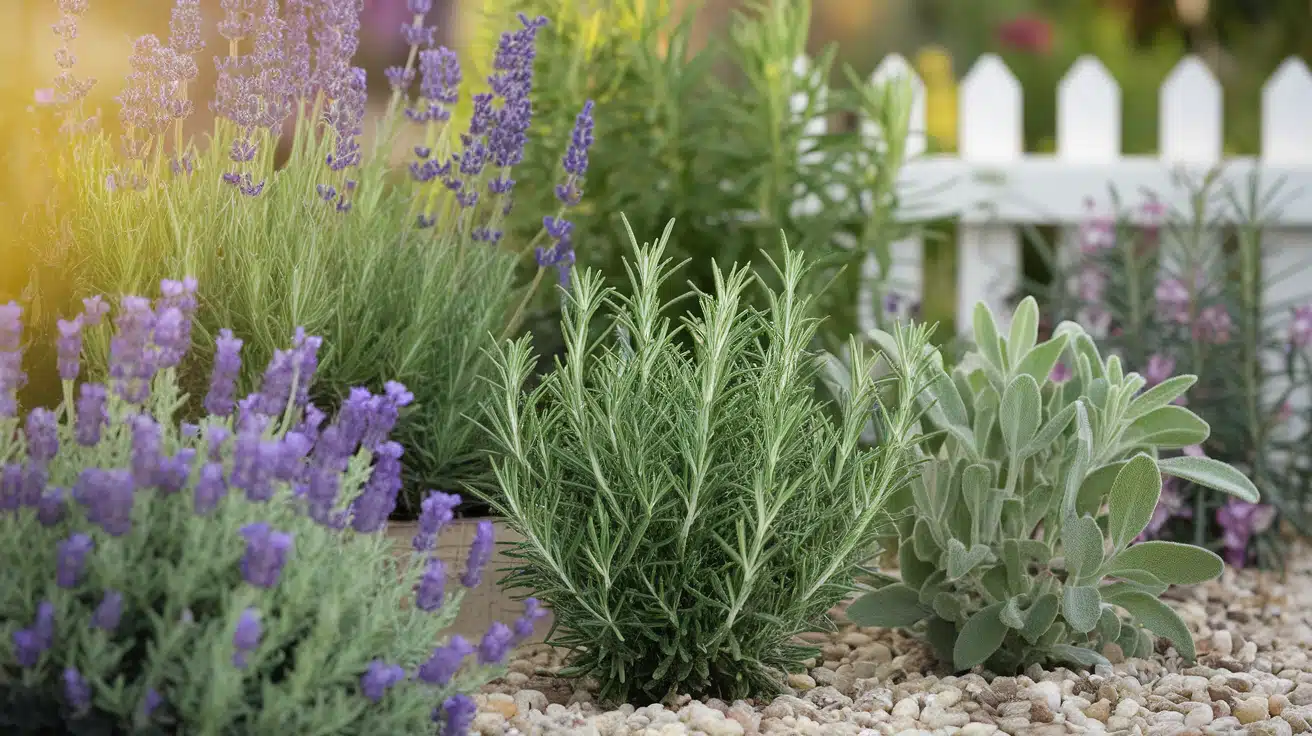
Pick the Right Carrot Variety First
Choosing the right carrot variety before you plant carrot seeds can save you a lot of frustration later. Different types of carrots suit different soil depths and growing spaces.
1. Nantes: Cylindrical roots, 6 to 8 inches long. The sweetest option. Great for raised beds.
2. Danvers: 6 to 8 inches, classic tapered shape. Handles heavier soil better than most types.
3. Chantenay: 4 to 6 inches, broad shoulders. Best choice for shallow or clay-heavy soil.
4. Parisian/Round: 1 to 3 inches across. Ideal for containers or very shallow beds.
5. Imperator: Long and tapered, 10-12 inches. Needs deep, loose soil and a container at least 14 inches deep.
For beginners: Start with Nantes or Danvers. They adapt to imperfect soil far better than other types.
When to Plant Carrot Seeds
Timing matters a lot when you want to grow carrots successfully. Carrots are cool-season crops. Carrots grow best when soil temperatures stay between 45°F and 75°F (7°C to 24°C).
For spring planting: Direct-sow your carrot seeds 2 to 4 weeks before the last expected frost date. Carrots tolerate light frost well.
For fall planting: Sow seeds 8 to 10 weeks before the first expected fall frost. In zones 5 to 9, a fall crop is very manageable.
Carrot seeds take 14 to 21 days to germinate. That is longer than most vegetables. Do not give up and assume the seeds have failed in the first week.
One important note: Never start carrot seeds indoors. Carrots do not transplant well. Always direct-sow them where they will grow.
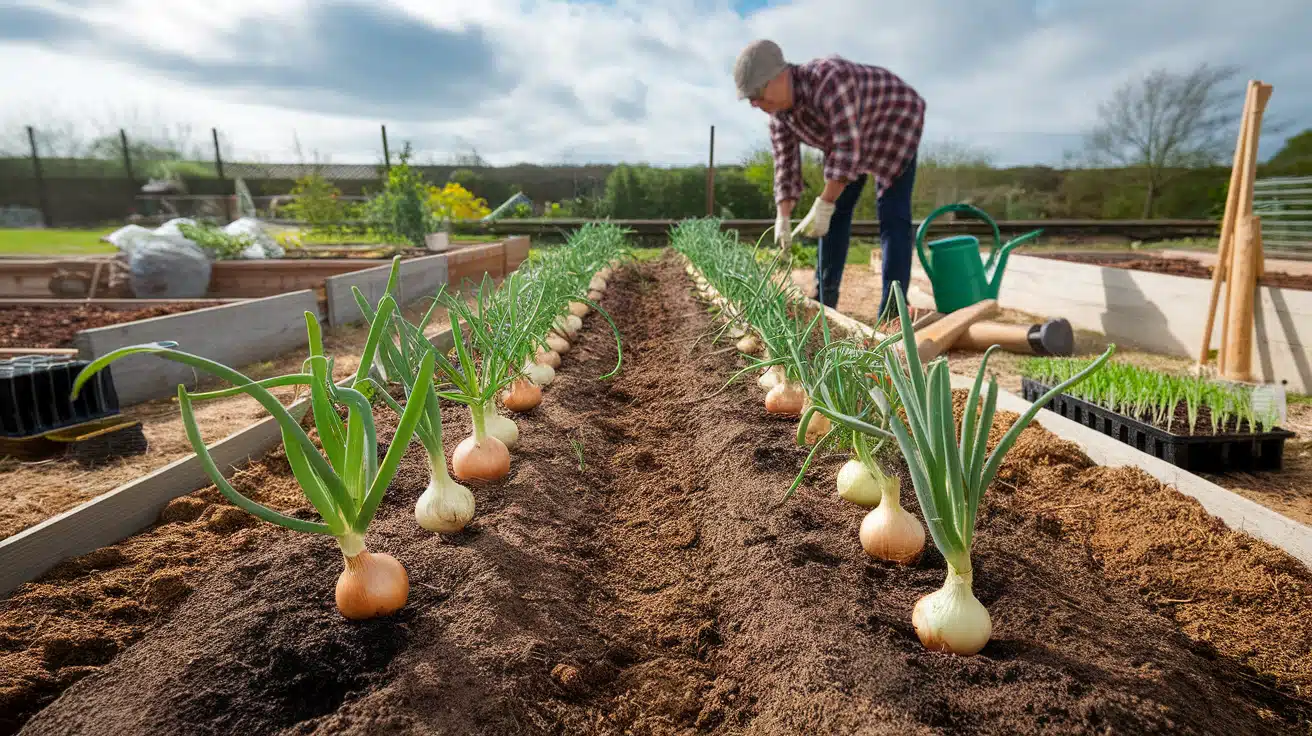
How to Prepare the Soil Before You Plant Carrots
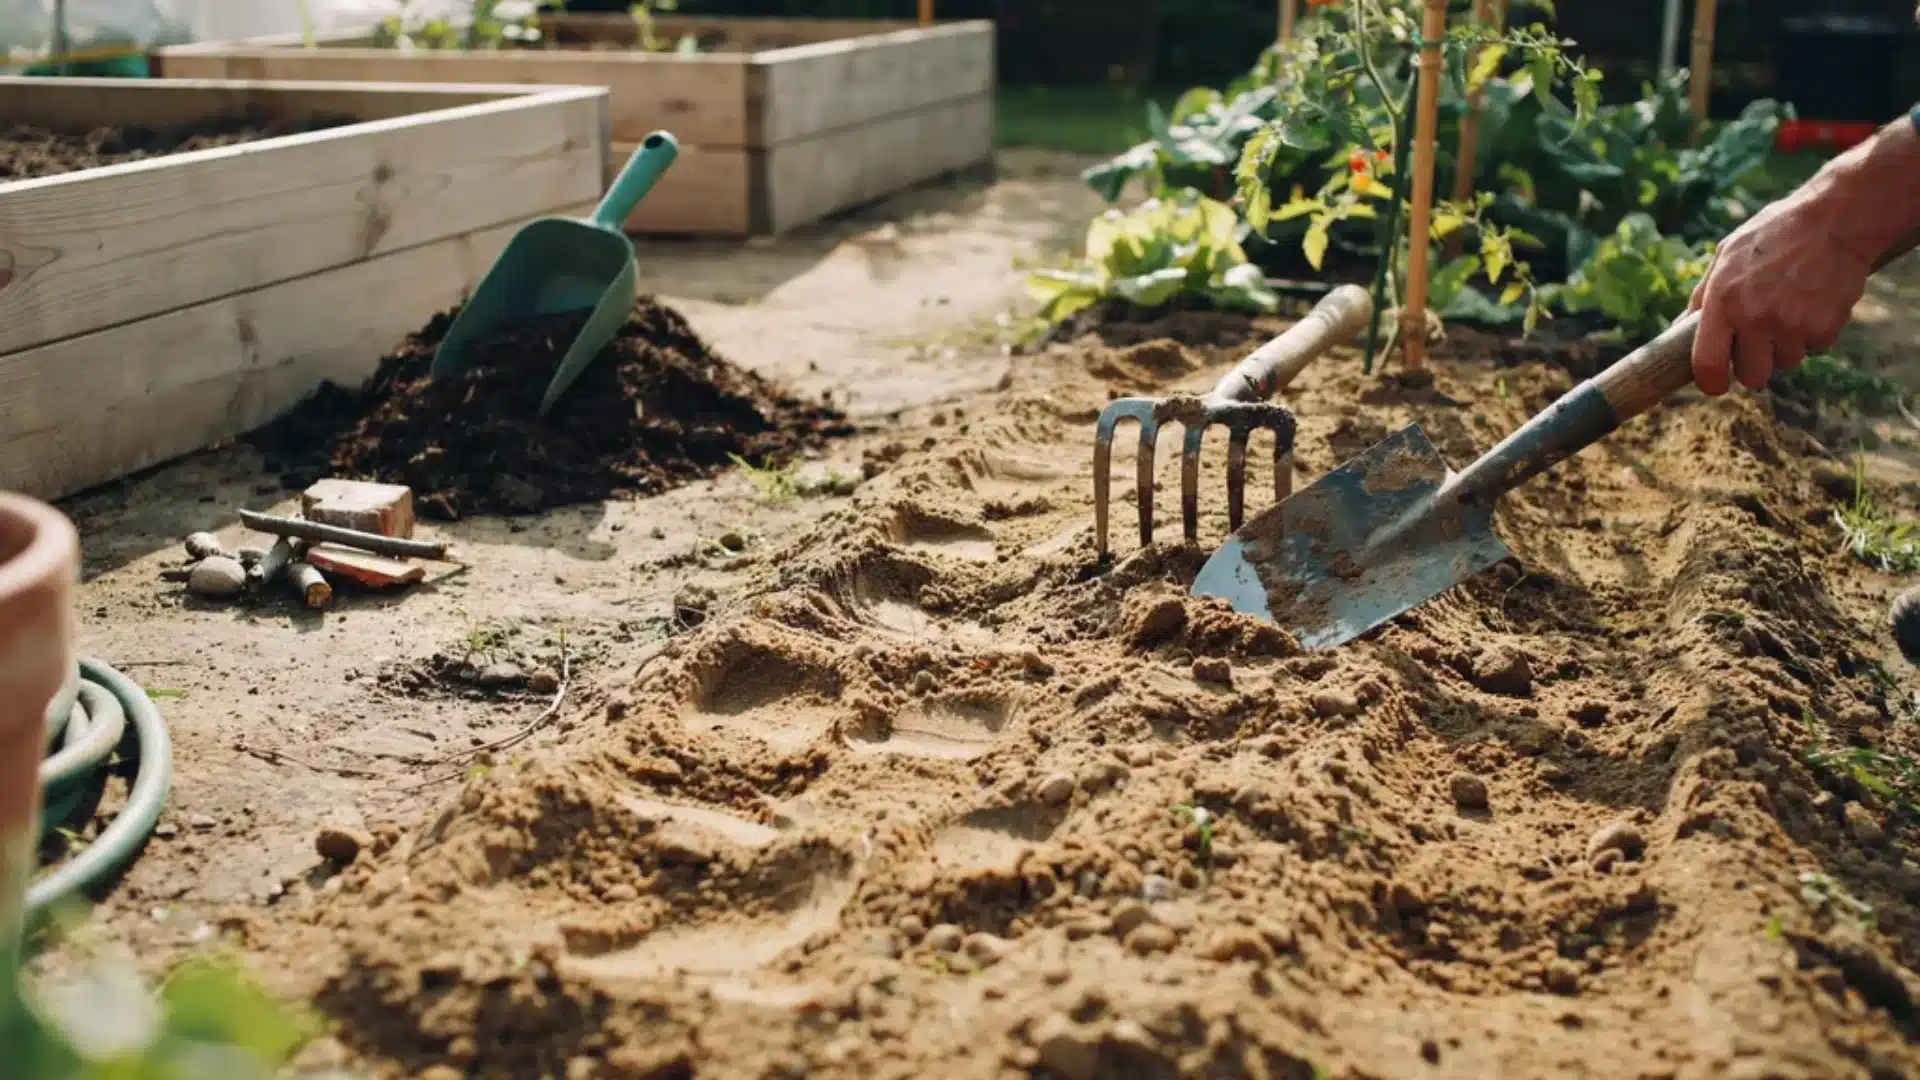
This is the step that decides everything. In over a decade of guiding home gardeners, I have seen more carrot failures caused by poor soil prep than by any other factor.
Carrots grow downward. Anything blocking that path causes forking, twisting, and stunted roots.
Steps to prepare your bed:
- Loosen the soil to at least 10 to 12 inches deep.
- Remove every rock, stick, and clump of hard soil.
- Work in compost to improve soil structure, not to boost nutrients.
- Avoid high-nitrogen fertilizers at this stage. Too much nitrogen produces lush leafy tops and weak, underdeveloped roots.
Best soil type: Loamy, sandy, and well-draining. Heavy clay soil is not ideal for growing carrots directly. If your garden has dense clay, use a raised bed or container instead.
A raised bed at least 12 inches deep gives carrots the vertical space they need.
How to Plant Carrot Seeds Step by Step
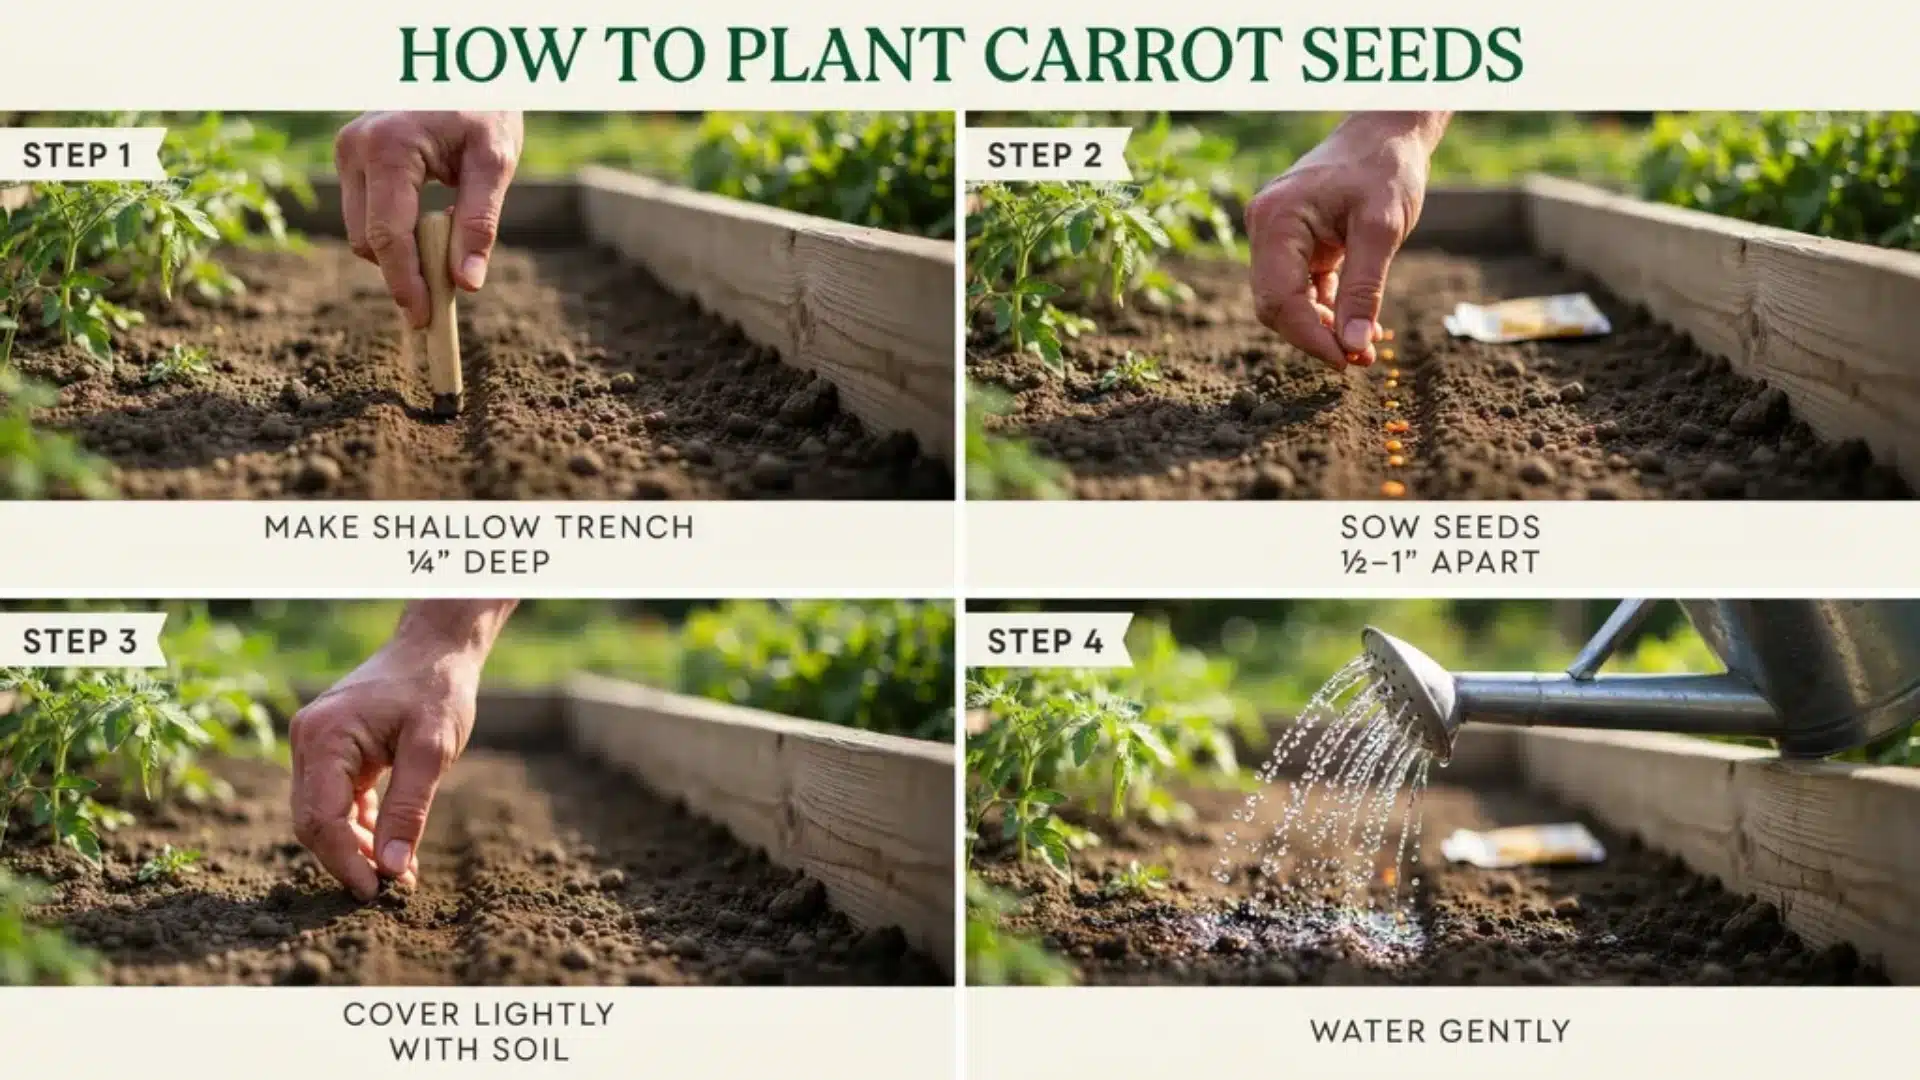
Once your soil is ready, planting carrot seeds is straightforward. Here is the exact process I recommend to every new gardener.
Step 1: Choose a spot that gets 6 to 8 hours of direct sun each day.
Step 2: Make a shallow trench in the soil, only about 1/4 inch deep.
Step 3: Sow seeds 1/2 to 1 inch apart along the row.
Step 4: Cover seeds lightly with soil. Do not press down hard.
Step 5: Water gently but thoroughly right after sowing.
Step 6: Keep the soil moist every day until seedlings appear.
Pro Tip: Cover the seeded area with a board or piece of burlap for 5 to 7 days. This locks in moisture during germination. Check daily and remove the cover as soon as seedlings begin to show.
Why Thinning Carrot Seedlings Matters
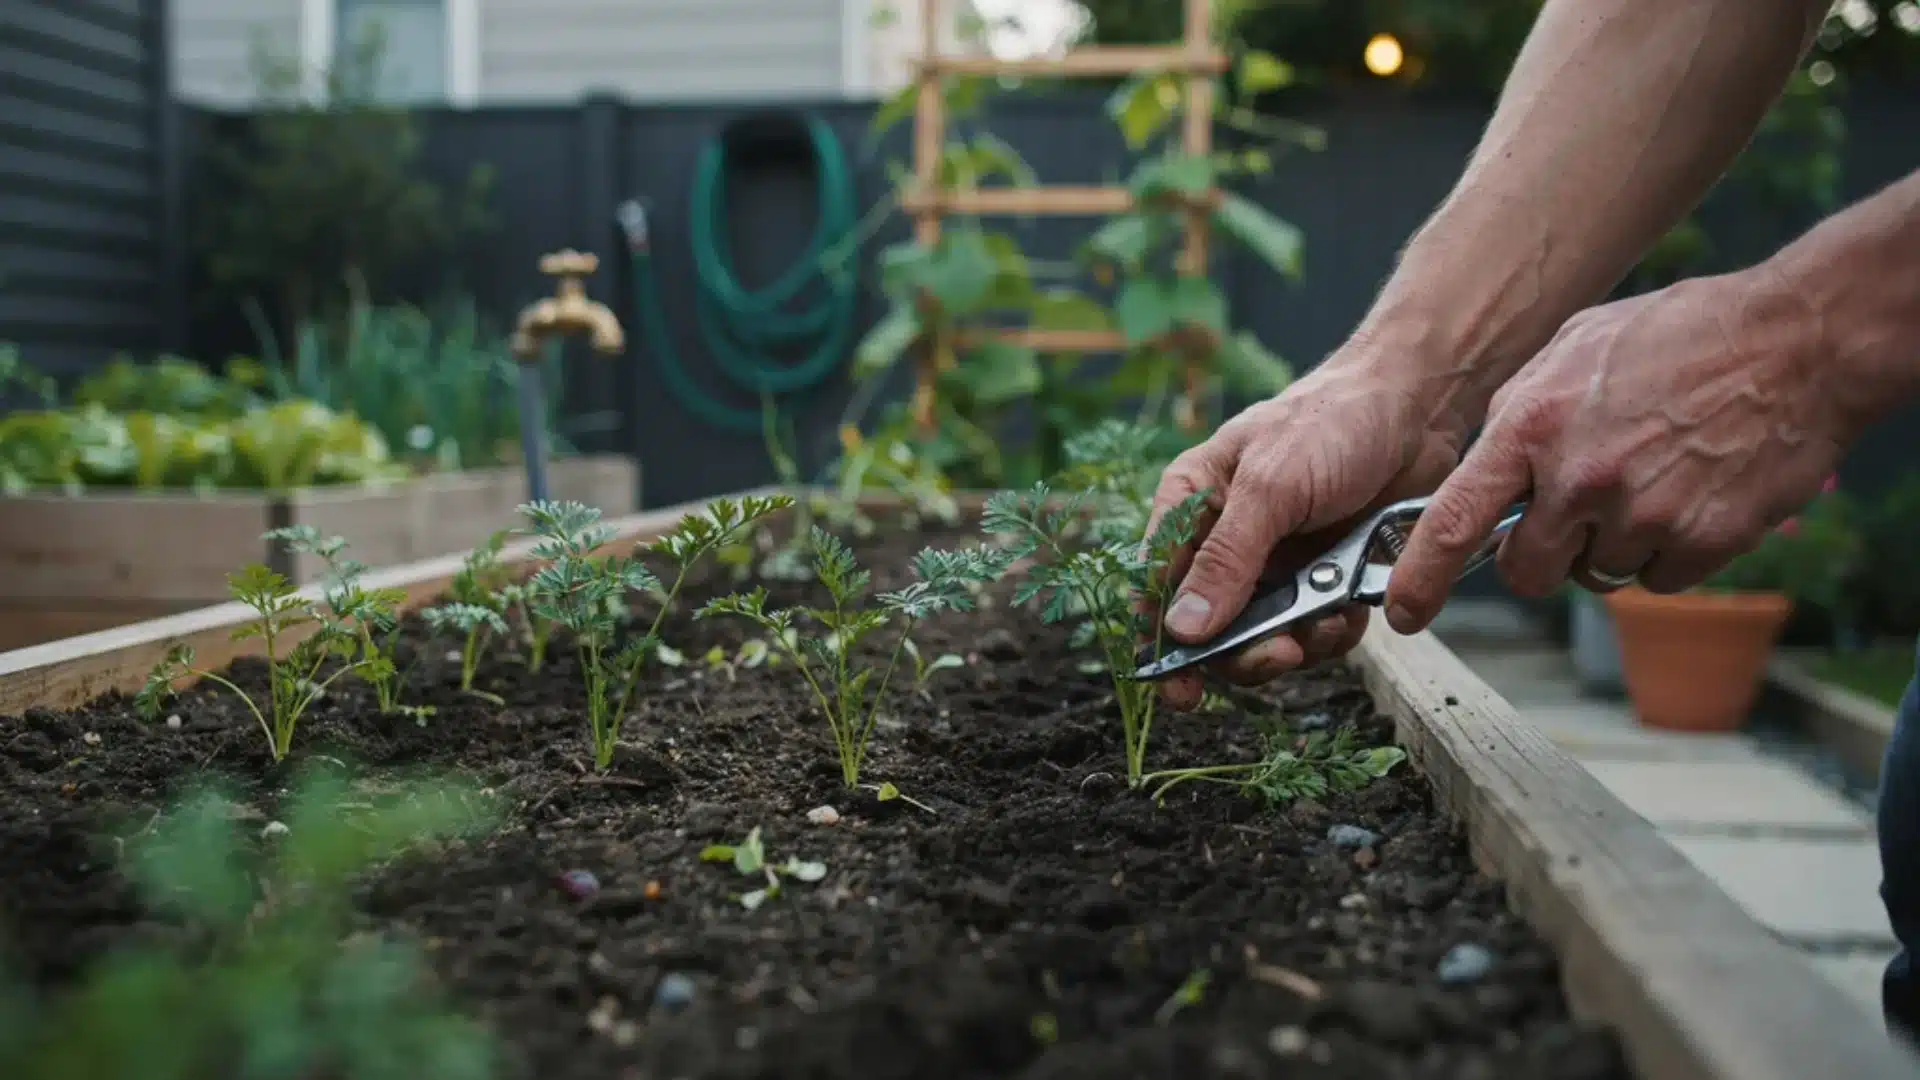
This is the step most beginners skip. Thinning feels wasteful. But failing to thin is one of the fastest ways to ruin a carrot crop.
Carrots need room to grow downward and outward. When they compete for space, nutrients, and water, the roots come out small, misshapen, and flavorless.
How to think properly:
- Wait until plants are about 4 inches tall.
- Aim for 2 to 3 inches of space between each plant.
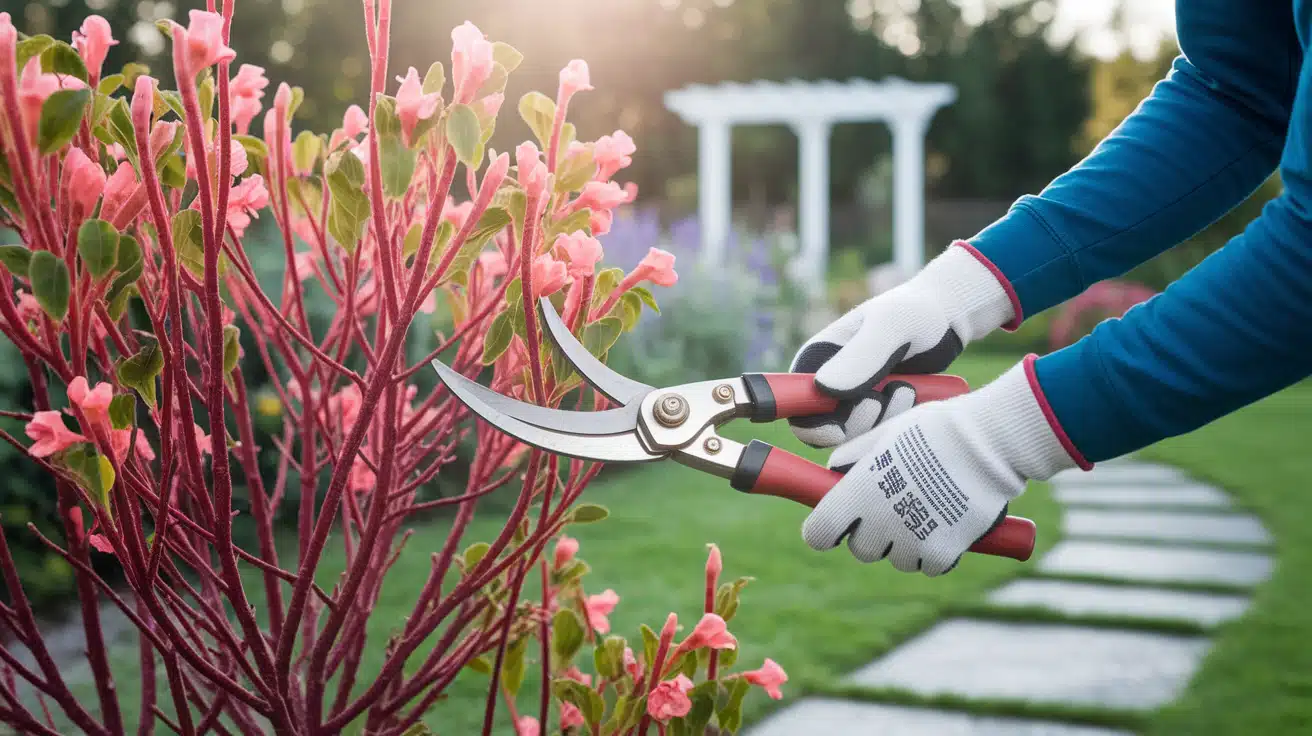
- Do not pull seedlings out by hand. That disturbs the roots of nearby plants. Use small scissors and snip unwanted seedlings at soil level instead.
- Think in the evening. Carrot flies are less active then, and disturbing the plants at dusk lowers the risk of attracting pests.
Watering Carrots the Right Way
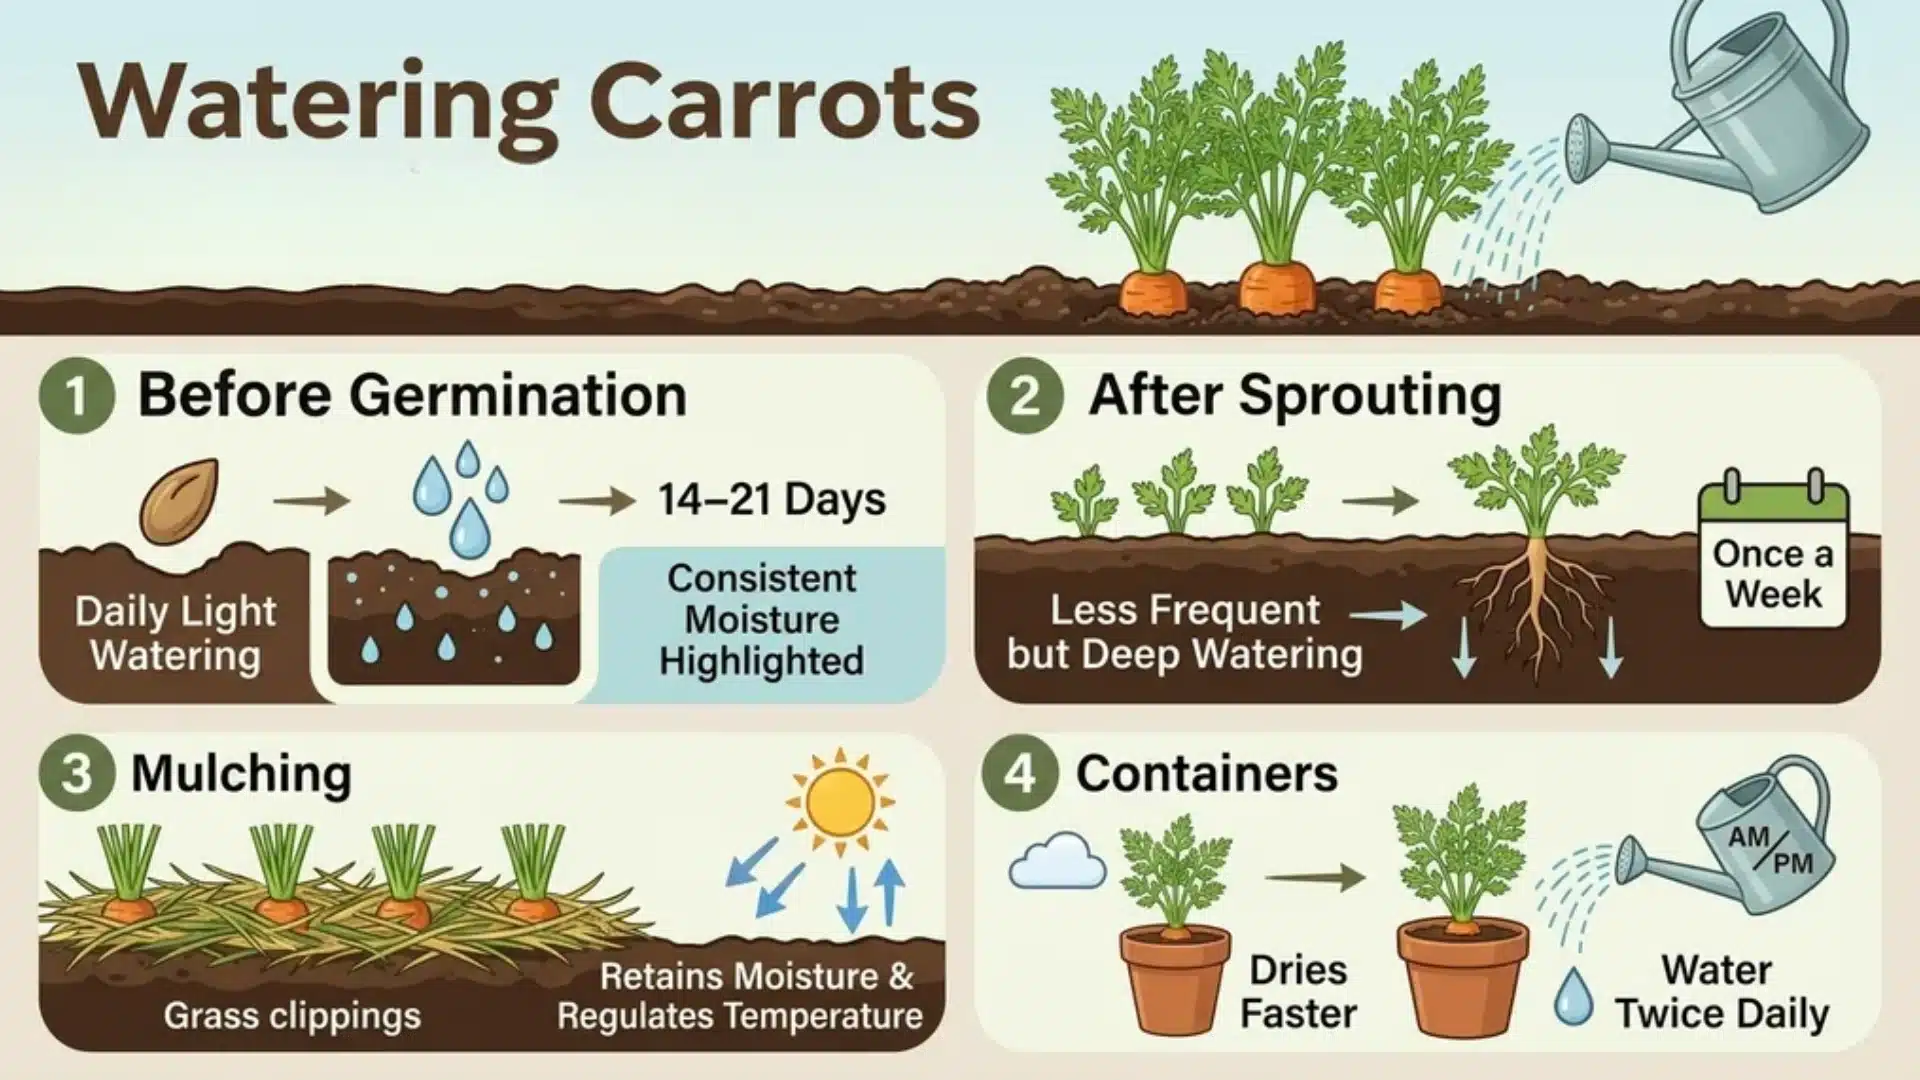
Carrots are 88% water. Inconsistent watering causes roots to crack, split, or fail to sprout at all.
1. Before germination: Water daily. The soil must stay consistently moist during those first 14 to 21 days. Even one or two dry days can cause soil crusting and stop germination.
2. After sprouting: Reduce frequency but increase depth. Deep watering once a week encourages roots to grow further down into the soil.
3. Mulching: Spread a thin layer of straw or grass clippings over the bed. Mulch holds moisture, regulates soil temperature, and reduces the need for daily watering.
4. In containers: Containers dry out much faster than raised beds. You may need to water twice daily during warm weather. Check the soil regularly and adjust based on moisture levels.
Fertilizing Carrots: Keep It Simple
Carrots do not need heavy feeding. In fact, too much fertilizer causes more problems than it solves.
Avoid any fertilizer high in nitrogen. Nitrogen drives leafy top growth at the expense of root development. You end up with beautiful green tops and thin, forked, or hairy roots underground.
If you notice yellowing leaves or slow growth, it could indicate a nitrogen deficiency that’s worth addressing before the next sowing.
Getting the amount right matters just as much as picking the right product. A good starting point is to dose fertilizer correctly before your seedlings hit 3 inches tall.
Use a low-nitrogen formula such as 5-10-10 at that stage. In containers, a weekly application of organic fertilizer or tomato fertilizer supports steady root growth without overstimulating leaf production.
Pests to Watch For When Growing Carrots
Most pest issues are manageable when caught early.
1. Carrot Root Fly: The most common threat. Look for brown lesions on the roots. Cover the bed with insect-proof mesh or a floating row cover to prevent the fly from laying eggs near the plants.
2. Slugs and Snails: They target young seedlings. Slug traps and barrier methods work well.
3. Carrot Weevil: Tunnels into roots. Growing in raised beds significantly reduces the risk.
4. Alternaria Leaf Blight: Brown-black lesions on leaf edges—water at the base of the plant, not on the leaves. Choose disease-resistant varieties where available.
Companion planting tip: Plant garlic or chives nearby. Their strong scent helps mask the smell of carrot foliage, which attracts flies.
Common Problems and How to Fix Them
Even well-prepared beds run into issues. Here is a quick guide to the most frequent problems home growers face:
1. Seeds not sprouting: The soil dried out during germination. Water daily and cover with a board or row cover to hold moisture.
2. Forked or twisted roots: Rocks or hard patches in the soil forced the roots to split around them. Clear and loosen the bed more thoroughly next time. Try Chantenay varieties, which handle denser soil better.
3. Cracked or split roots: A dry period followed by heavy watering or rain causes this. Mulch the bed and keep moisture levels consistent.
4. Small or stunted roots: Overcrowding or too much nitrogen. Thin properly and skip nitrogen-heavy feeds.
5. Green-topped carrots: The top of the root was exposed to sunlight. Hill soil up around any roots you can see poking above the surface.
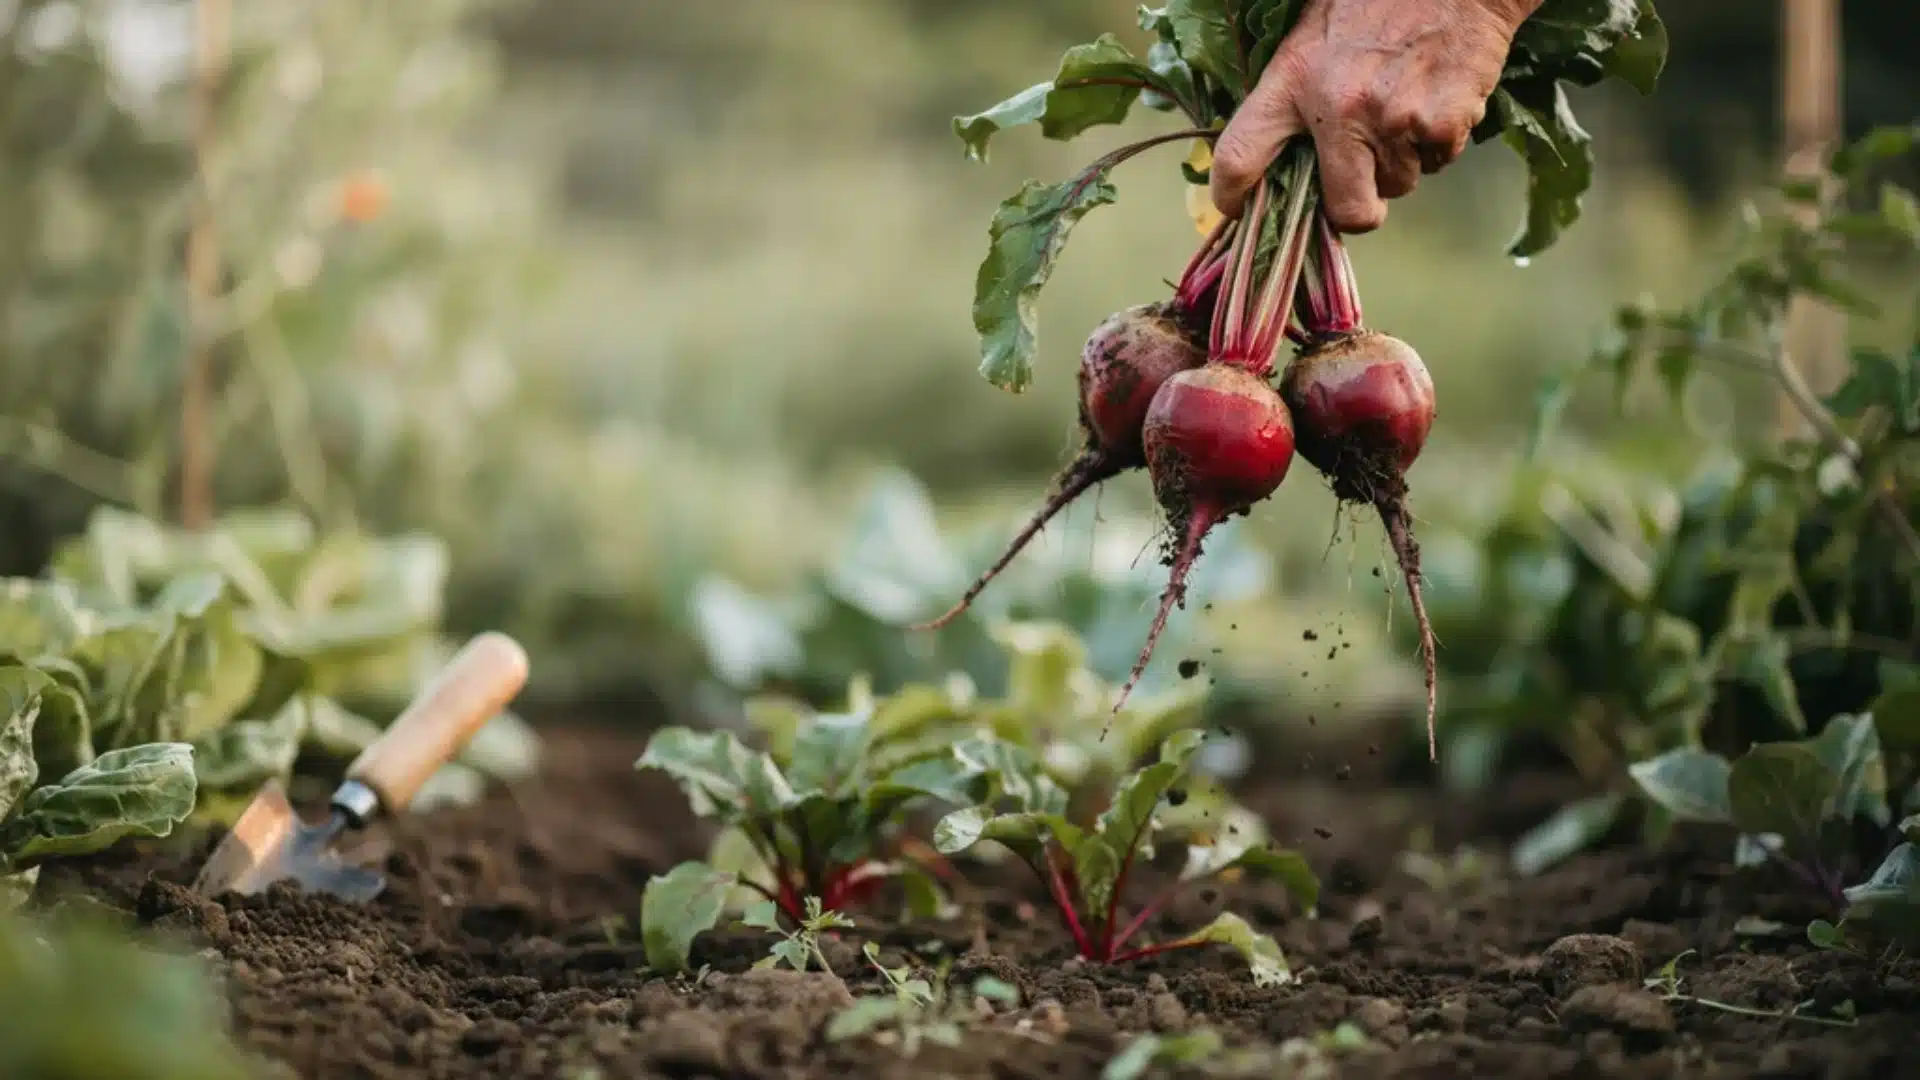
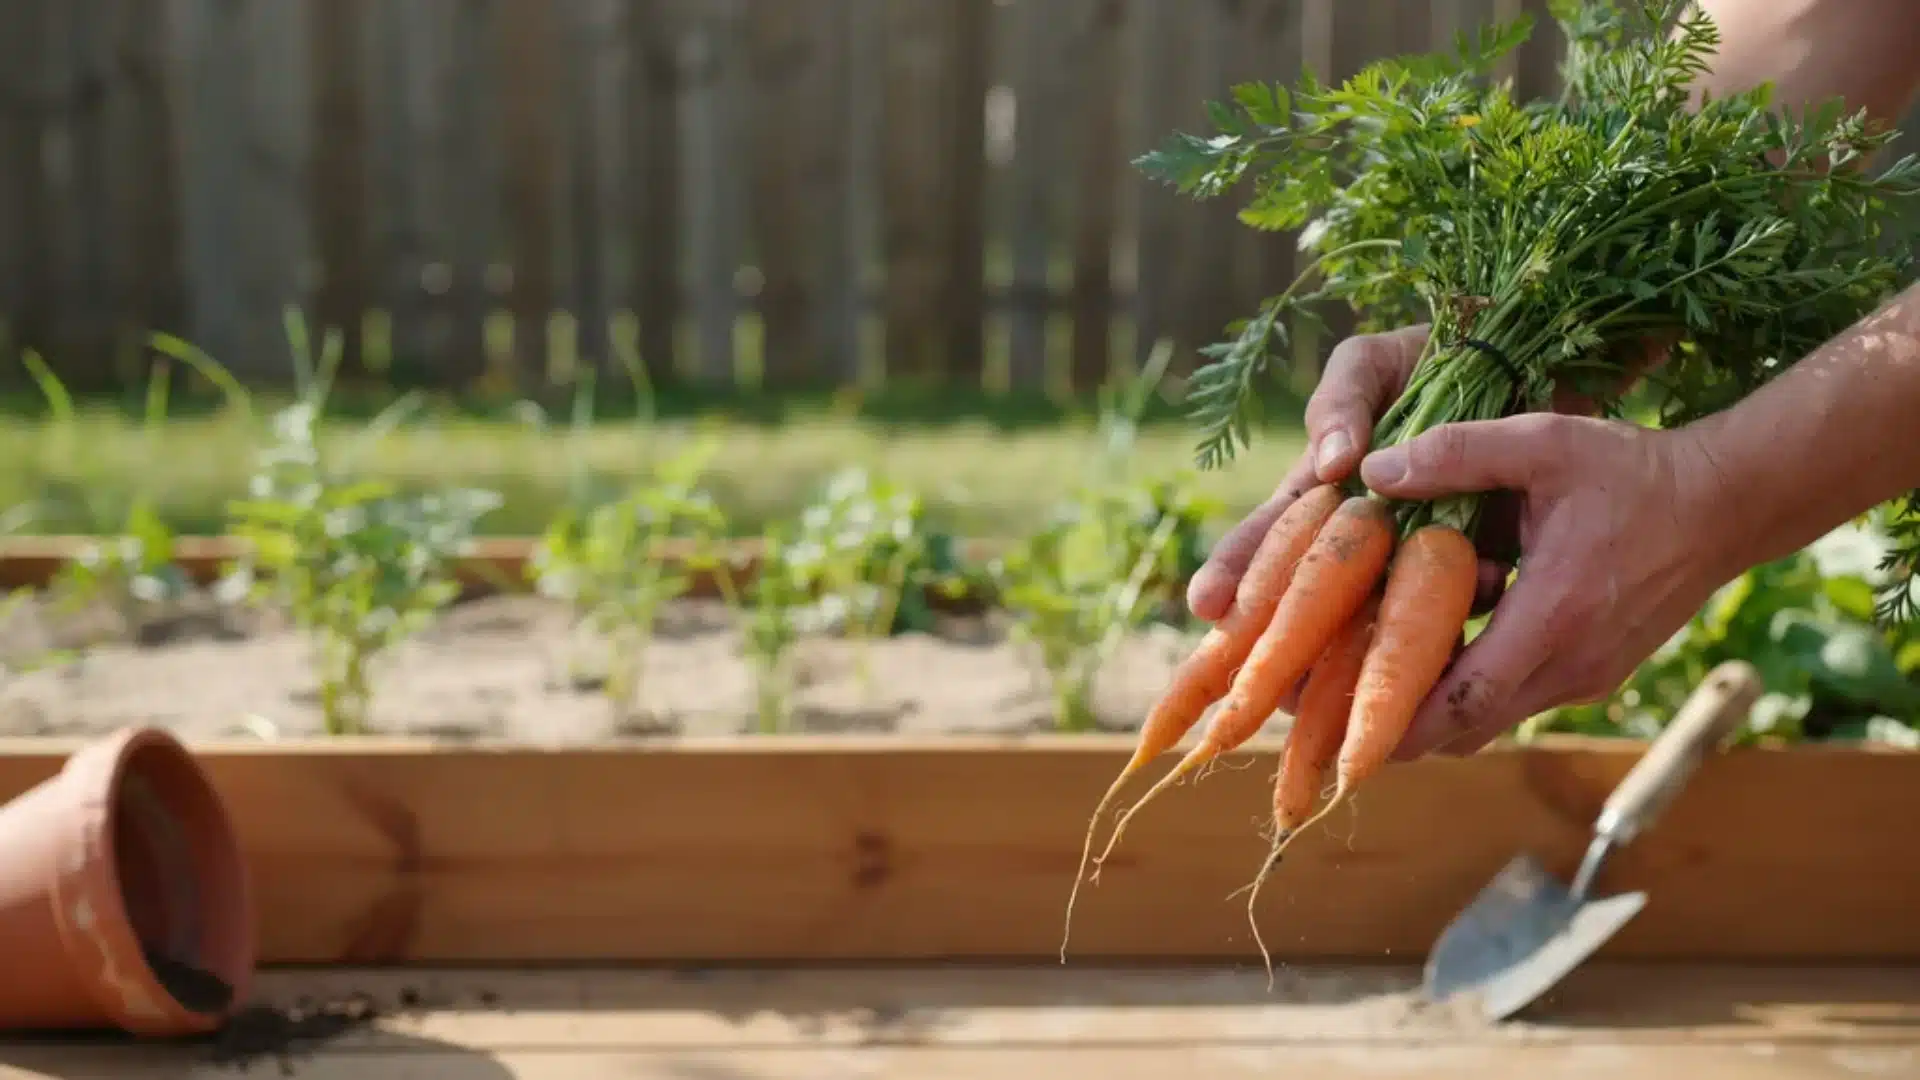
How to Store Carrots After Harvest
You pulled a great crop. Now the goal is to keep it fresh for as long as possible. The way you store carrots right after harvest makes all the difference.
- Short-term (up to 2 weeks): Remove the greens. Store roots in the refrigerator in a sealed plastic bag. Do not wash them until you are ready to use them. Washing shortens shelf life.
- Long-term (up to 8 months): Layer harvested carrots in a box with moist sand, sawdust, or peat moss. Store the box in a cool, dark space at 32 to 40°F (0 to 4°C). A root cellar works perfectly for this.
- Freezing: Wash, chop into pieces, and freeze in an airtight container. Frozen carrots keep well for several months.
Conclusion
Growing carrots at home comes down to a few non-negotiable steps: loose, clear soil, correct timing, daily moisture during germination, and proper thinning.
Get those right, and your harvest will look nothing like the broken, twisted results most beginners experience.
The sweetness of a carrot pulled fresh from your own garden is genuinely different from anything you find in a shop. The variety and color options available to home growers make it even more worth the effort.
Try one bed this season. Start with Nantes or Danvers, give your soil the preparation it needs, and see what grows.
Have questions or a carrot win to share? Drop them in the comments below.
Frequently Asked Questions
What Should Not Be Planted Near Carrots?
Celery can be a bad companion plant for carrots because it can attract the same pests and diseases, including carrot rust fly.
Do Coffee Grounds Help Carrots Grow?
Yes, coffee grounds are highly beneficial for growing carrots. They provide a great source of slow-release nitrogen, phosphorus, and potassium.
Should You Cut Off Carrot Tops to Help Carrots Grow?
No, you should not cut off carrot tops while they are growing. The green foliage is essential for photosynthesis, which provides the energy to the plant.