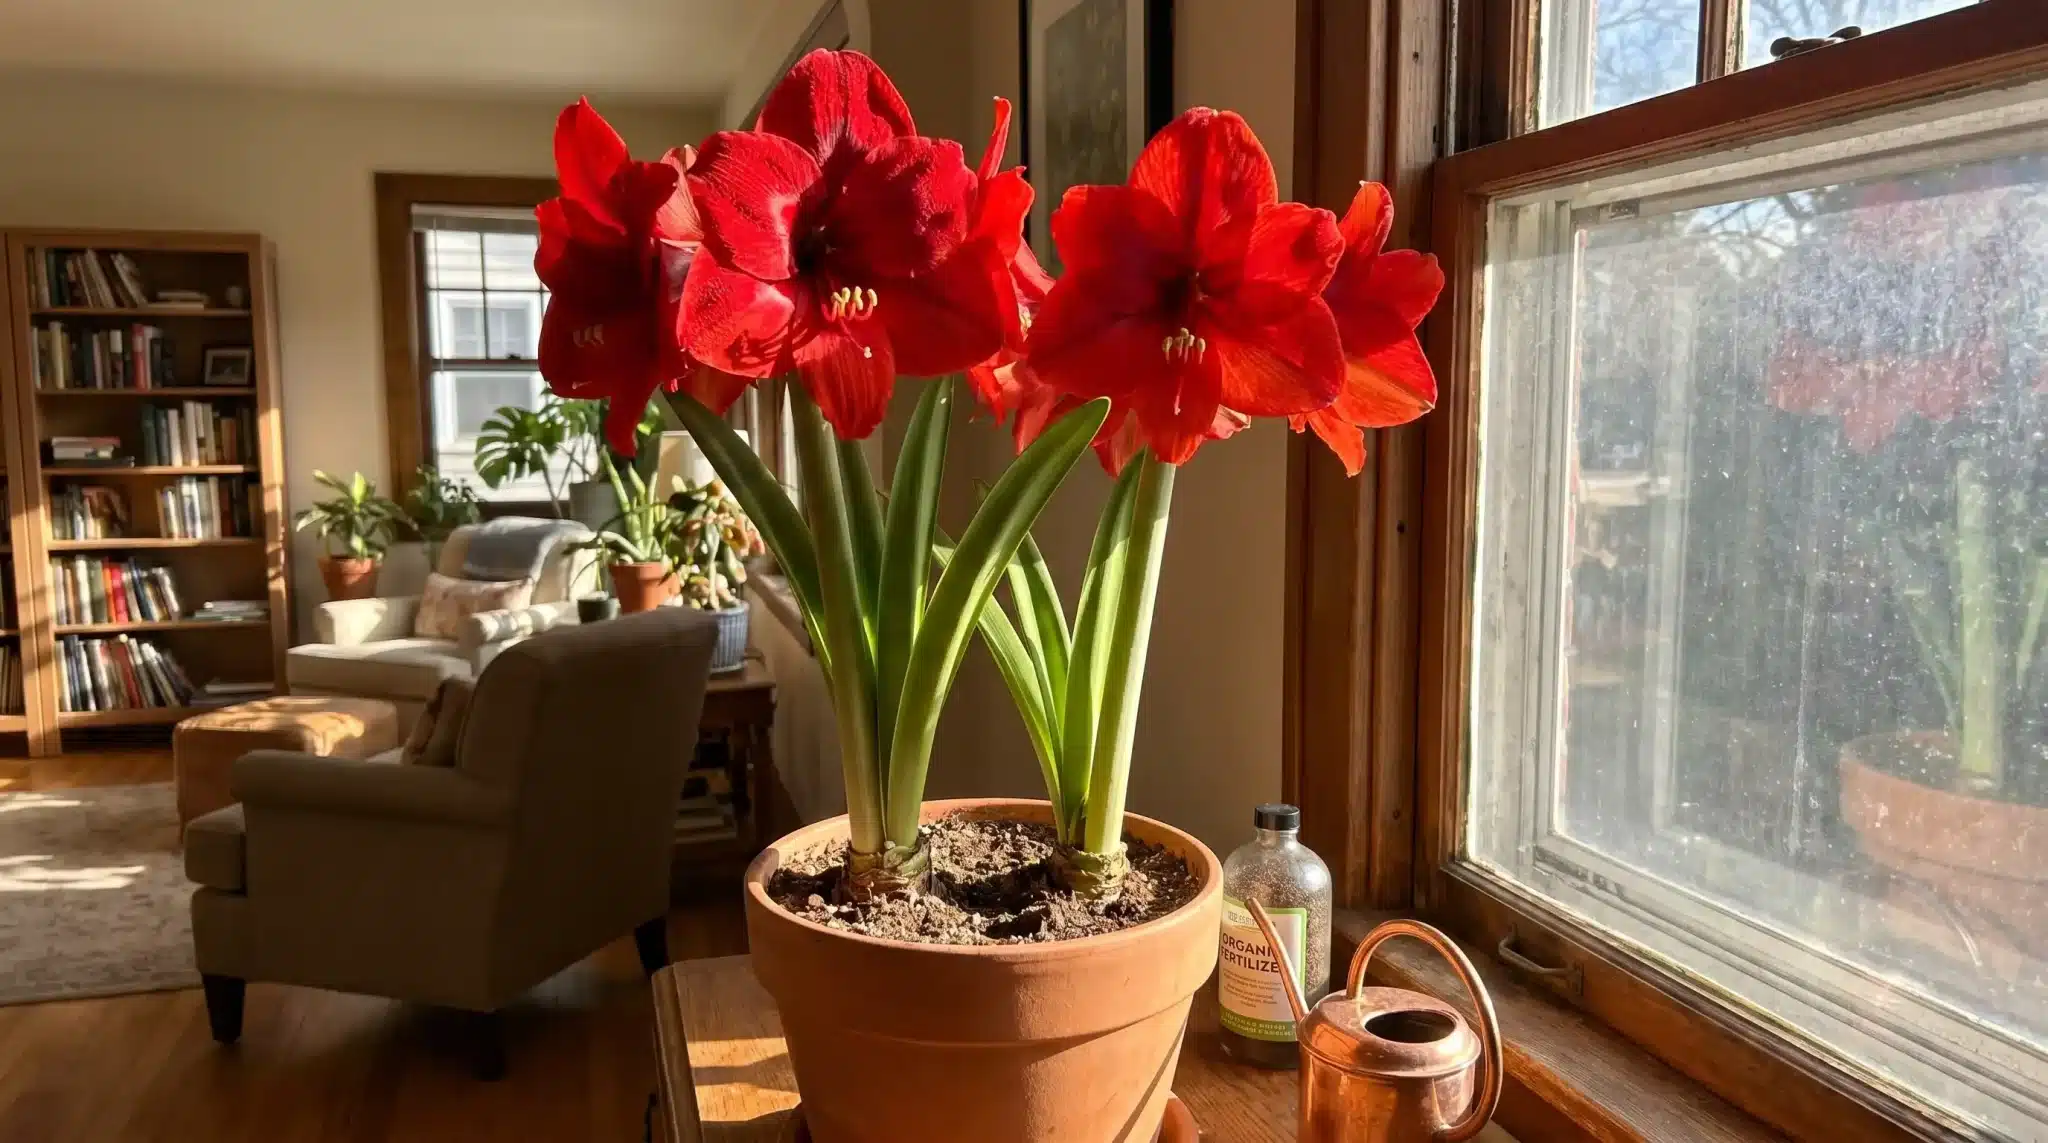

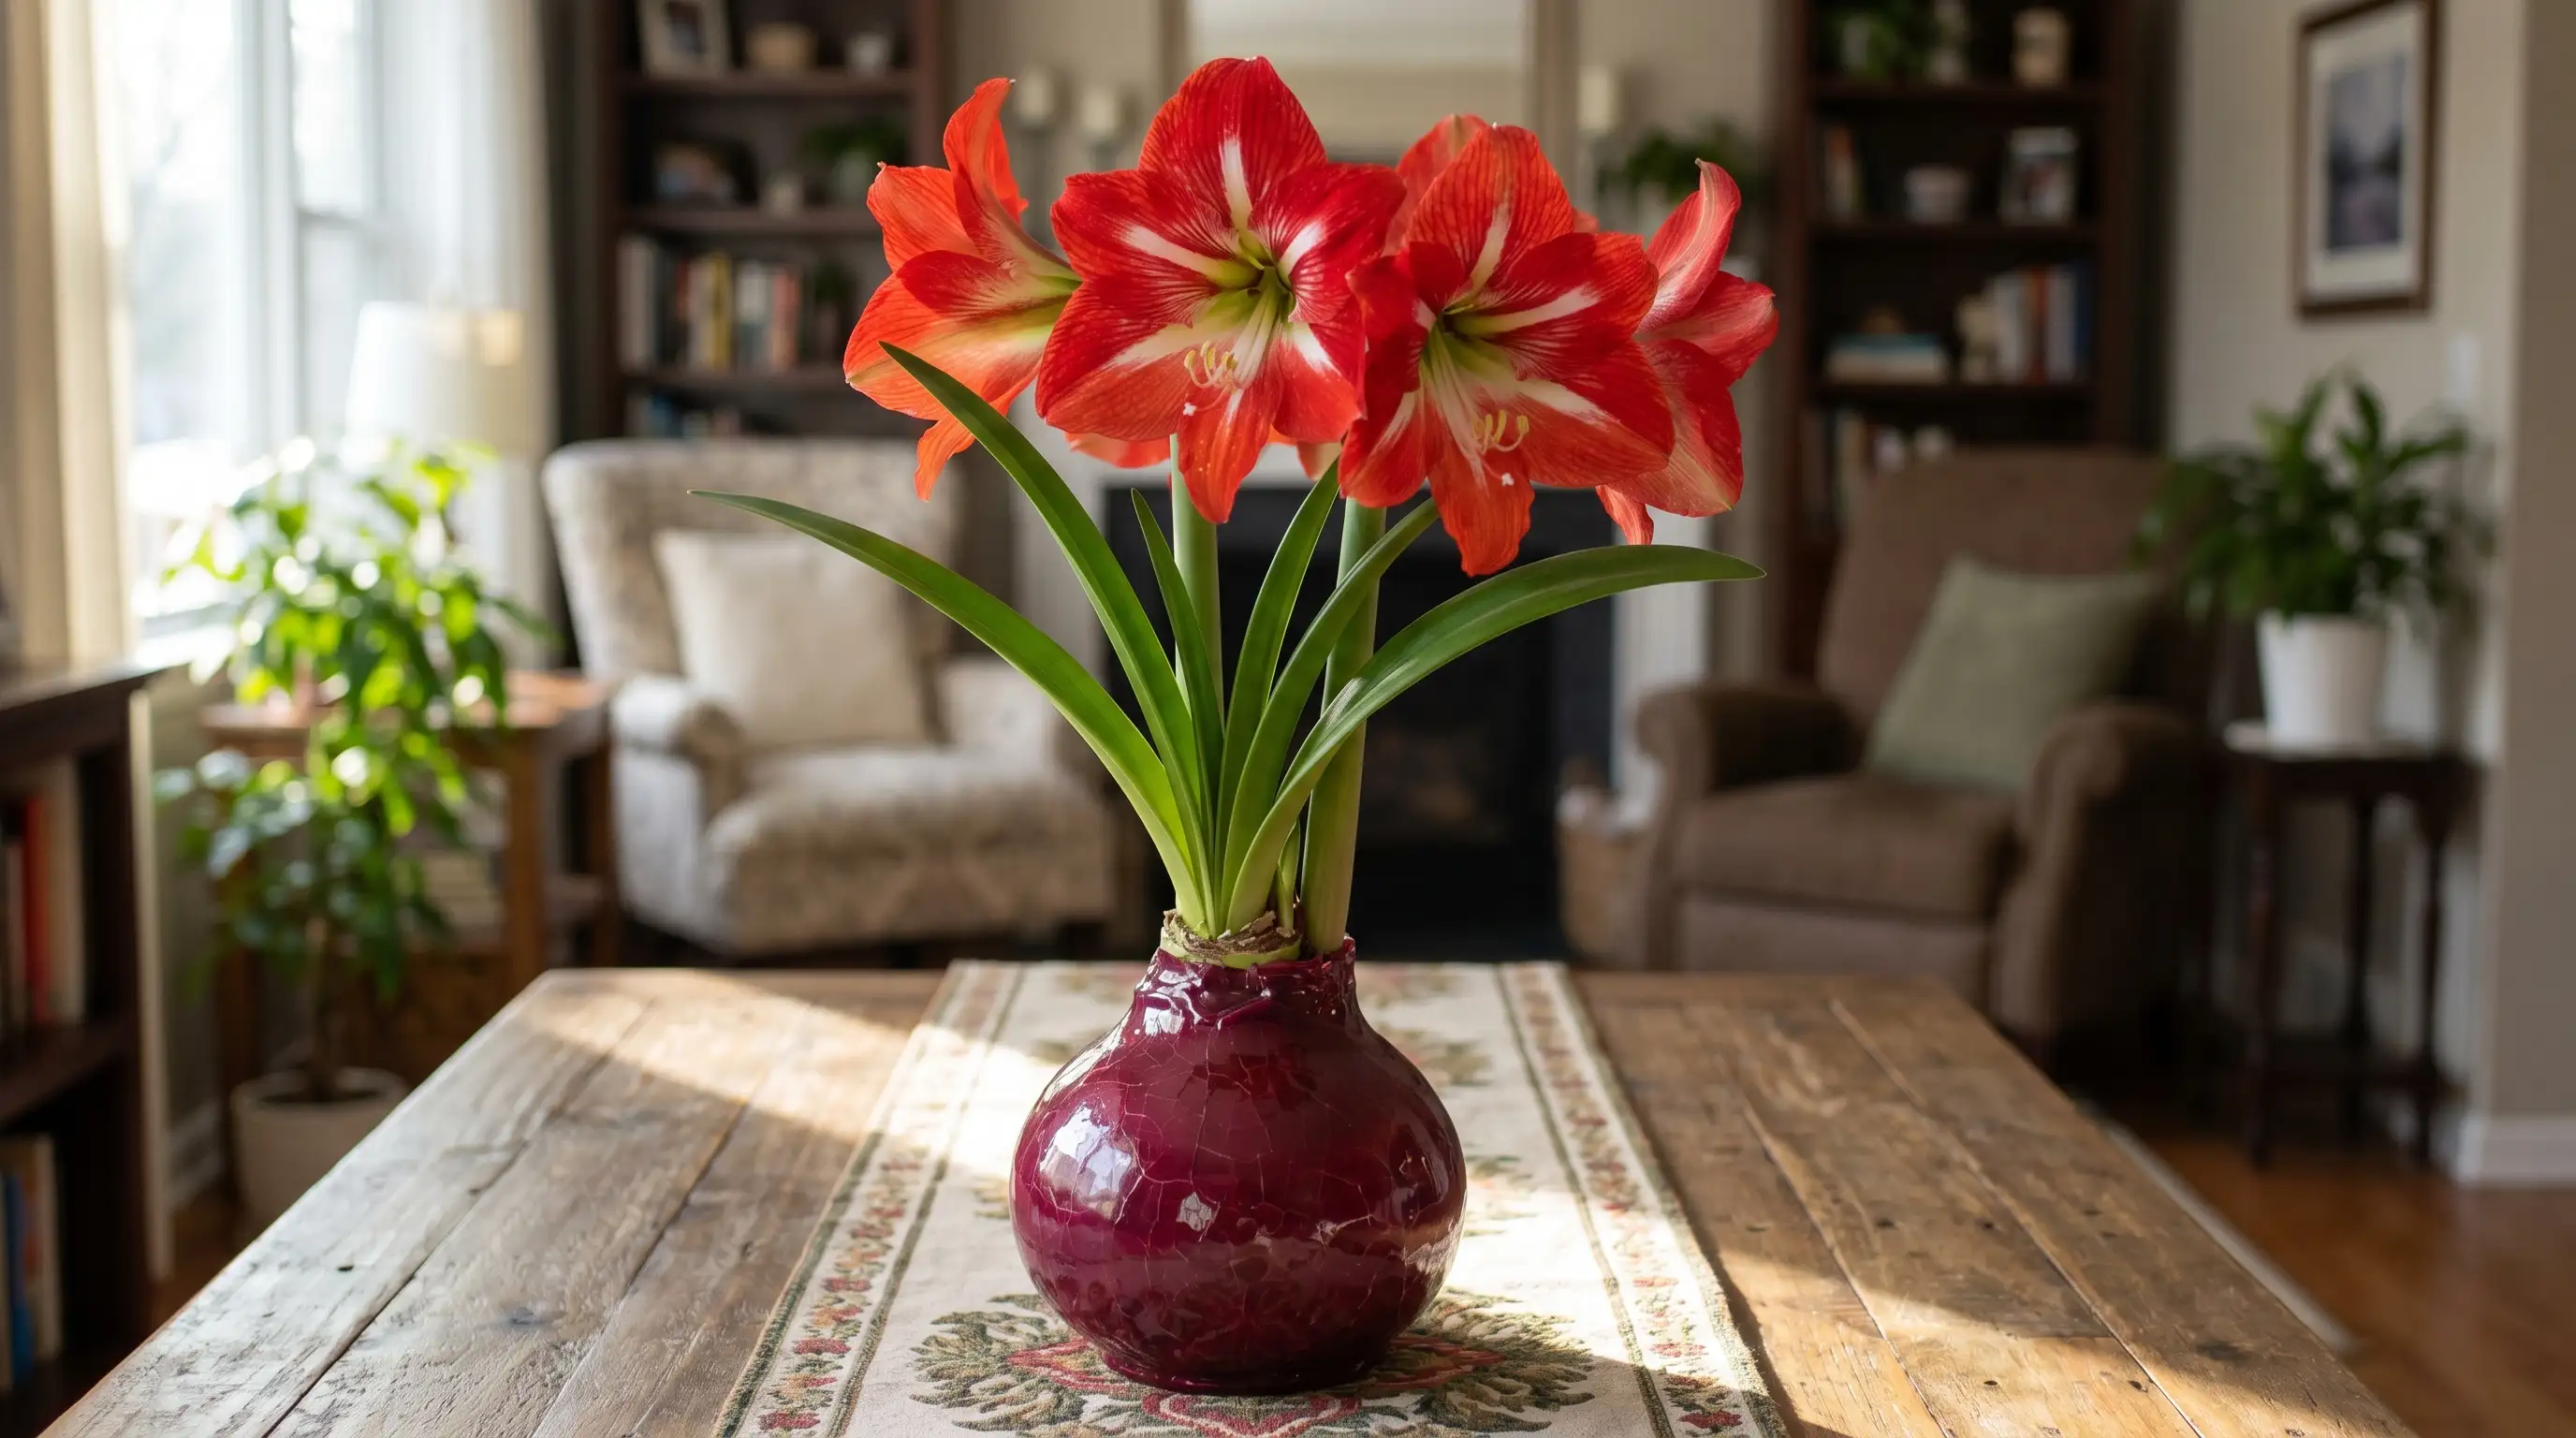
You got an amaryllis. It bloomed. It was gorgeous. And then the flowers fell off, the stalk turned yellow, and you had absolutely no idea what to do next.
The thing is, amaryllis is not a one-season plant. It is a bulb. And bulbs are built to come back.
Year after year, the same plant can push out more stalks, more flowers, and bigger blooms than the season before.
You just have to know what it needs after the show is over.
A quick note before we go further: what most of us buy and grow as amaryllis is technically Hippeastrum, a group of South American bulb hybrids.
True Amaryllis (belladonna lily) is a separate plant from South Africa. We will use the name everyone actually uses throughout this blog.
How to Care for Amaryllis?
Before anything else, here is a quick snapshot of what Amaryllis needs day-to-day. Bookmark this if nothing else.
| Care Factor | What to Do |
|---|---|
| Light | Bright, indirect light indoors; 6+ hours of sun if moved outside in summer |
| Water | When the top 1–2 inches of soil feel dry, never let water pool at the bulb base |
| Soil | Well-draining potting mix; slightly acidic pH (6.0–7.0) |
| Temperature | 60–75°F indoors; bring inside before the first frost |
| Fertilizer | Balanced liquid fertilizer every 2–4 weeks during active growth |
| Pot size | 1–2 inches wider than the bulb on each side |
None of those requirements is hard to meet. The trick is knowing when each one matters most, which changes by season.
How to Plant an Amaryllis Bulb the Right Way
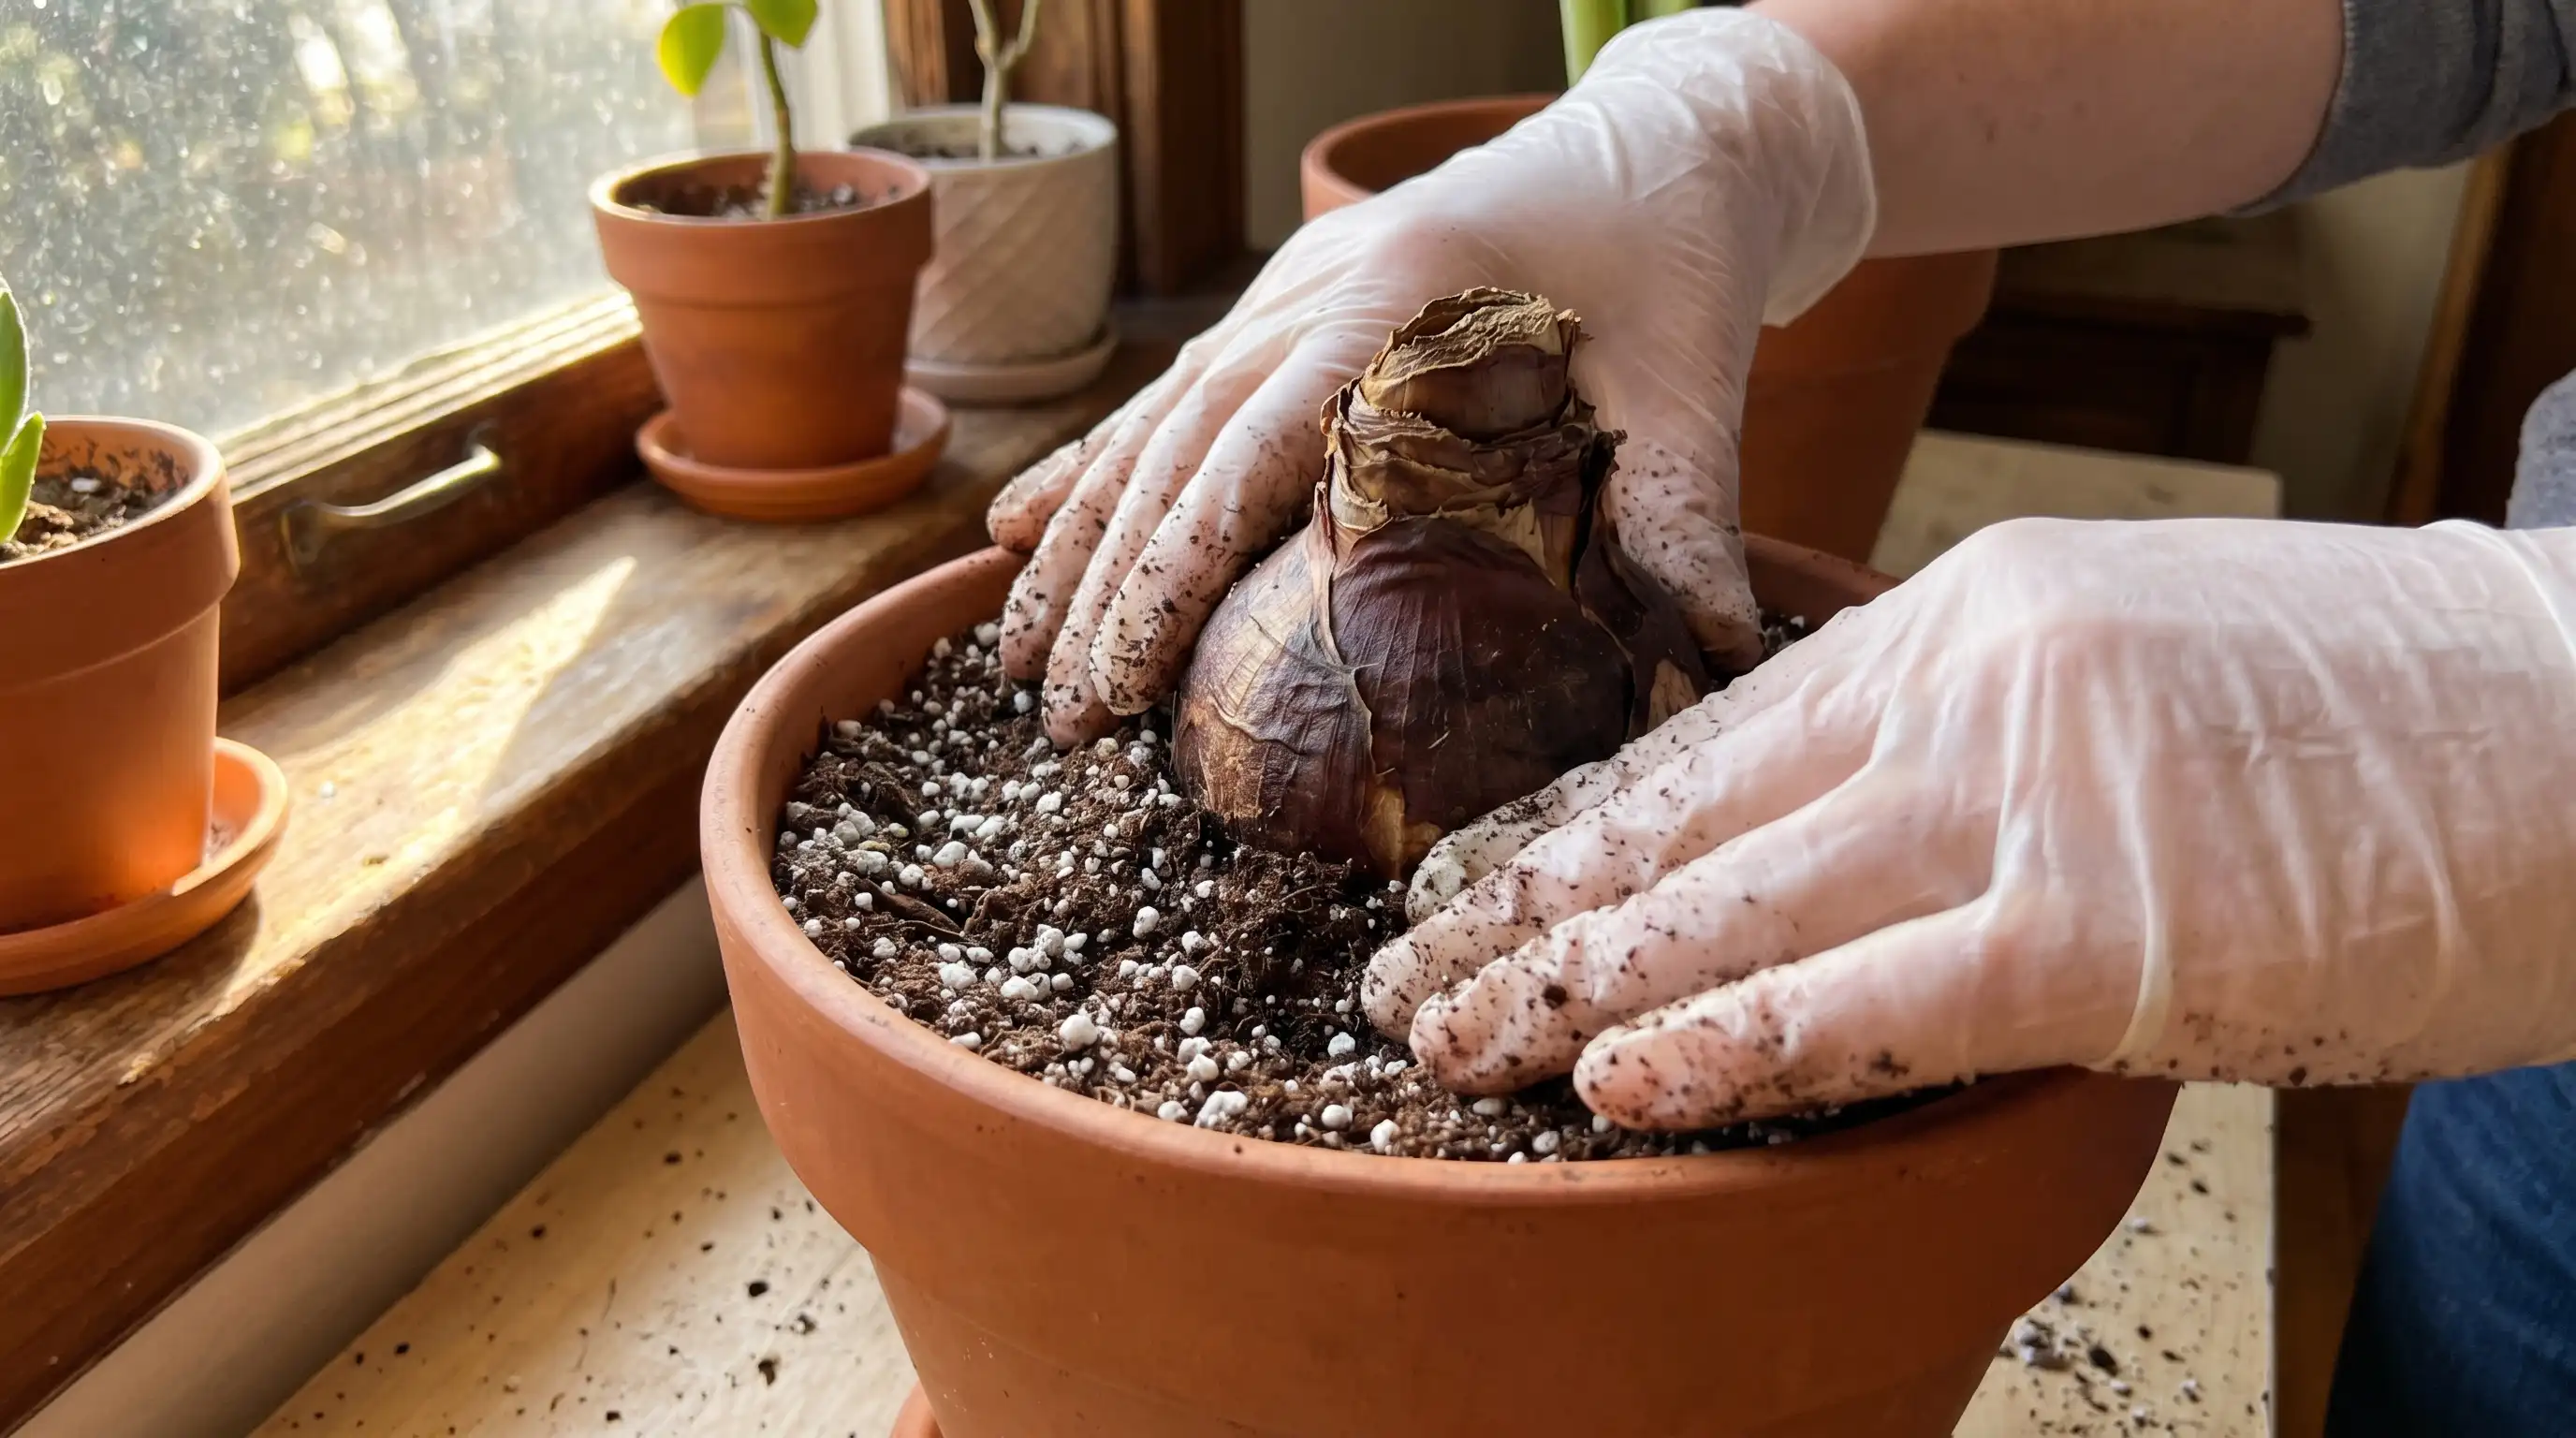
Getting the planting right matters more than most people realize, and a few small decisions here set the tone for the whole season.
Start with the largest, firmest bulb you can find. This is not just marketing. Larger bulbs store more energy, which means more flower stalks and bigger blooms.
Before buying, squeeze the bulb gently. It should feel firm and solid, with no soft spots, no mold, and no visible damage to the outer papery skin.
Pot selection and planting depth:
- Choose a pot that is only about 1–2 inches wider than the bulb on each side. Amaryllis actually blooms better when it is slightly snug in its pot.
- Use a well-draining potting mix. I often add a small amount of perlite to standard indoor mixes for extra drainage.
- Plant with the top one-third of the bulb above the soil surface. This is one of the most commonly made mistakes. Burying the bulb entirely leads to rot.
- After planting, water lightly once. Then hold off on watering again until you see the first shoot emerging. Watering too eagerly before growth begins is one of the fastest ways to rot a bulb.
- Place in a warm spot (at least 70°F) until the first shoot appears. Once you see green, move to a bright window.
Light, Water, and Temperature: The Everyday Care Routine
Getting the basics right makes all the difference. Proper light, watering, and temperature keep your amaryllis healthy and thriving year after year.
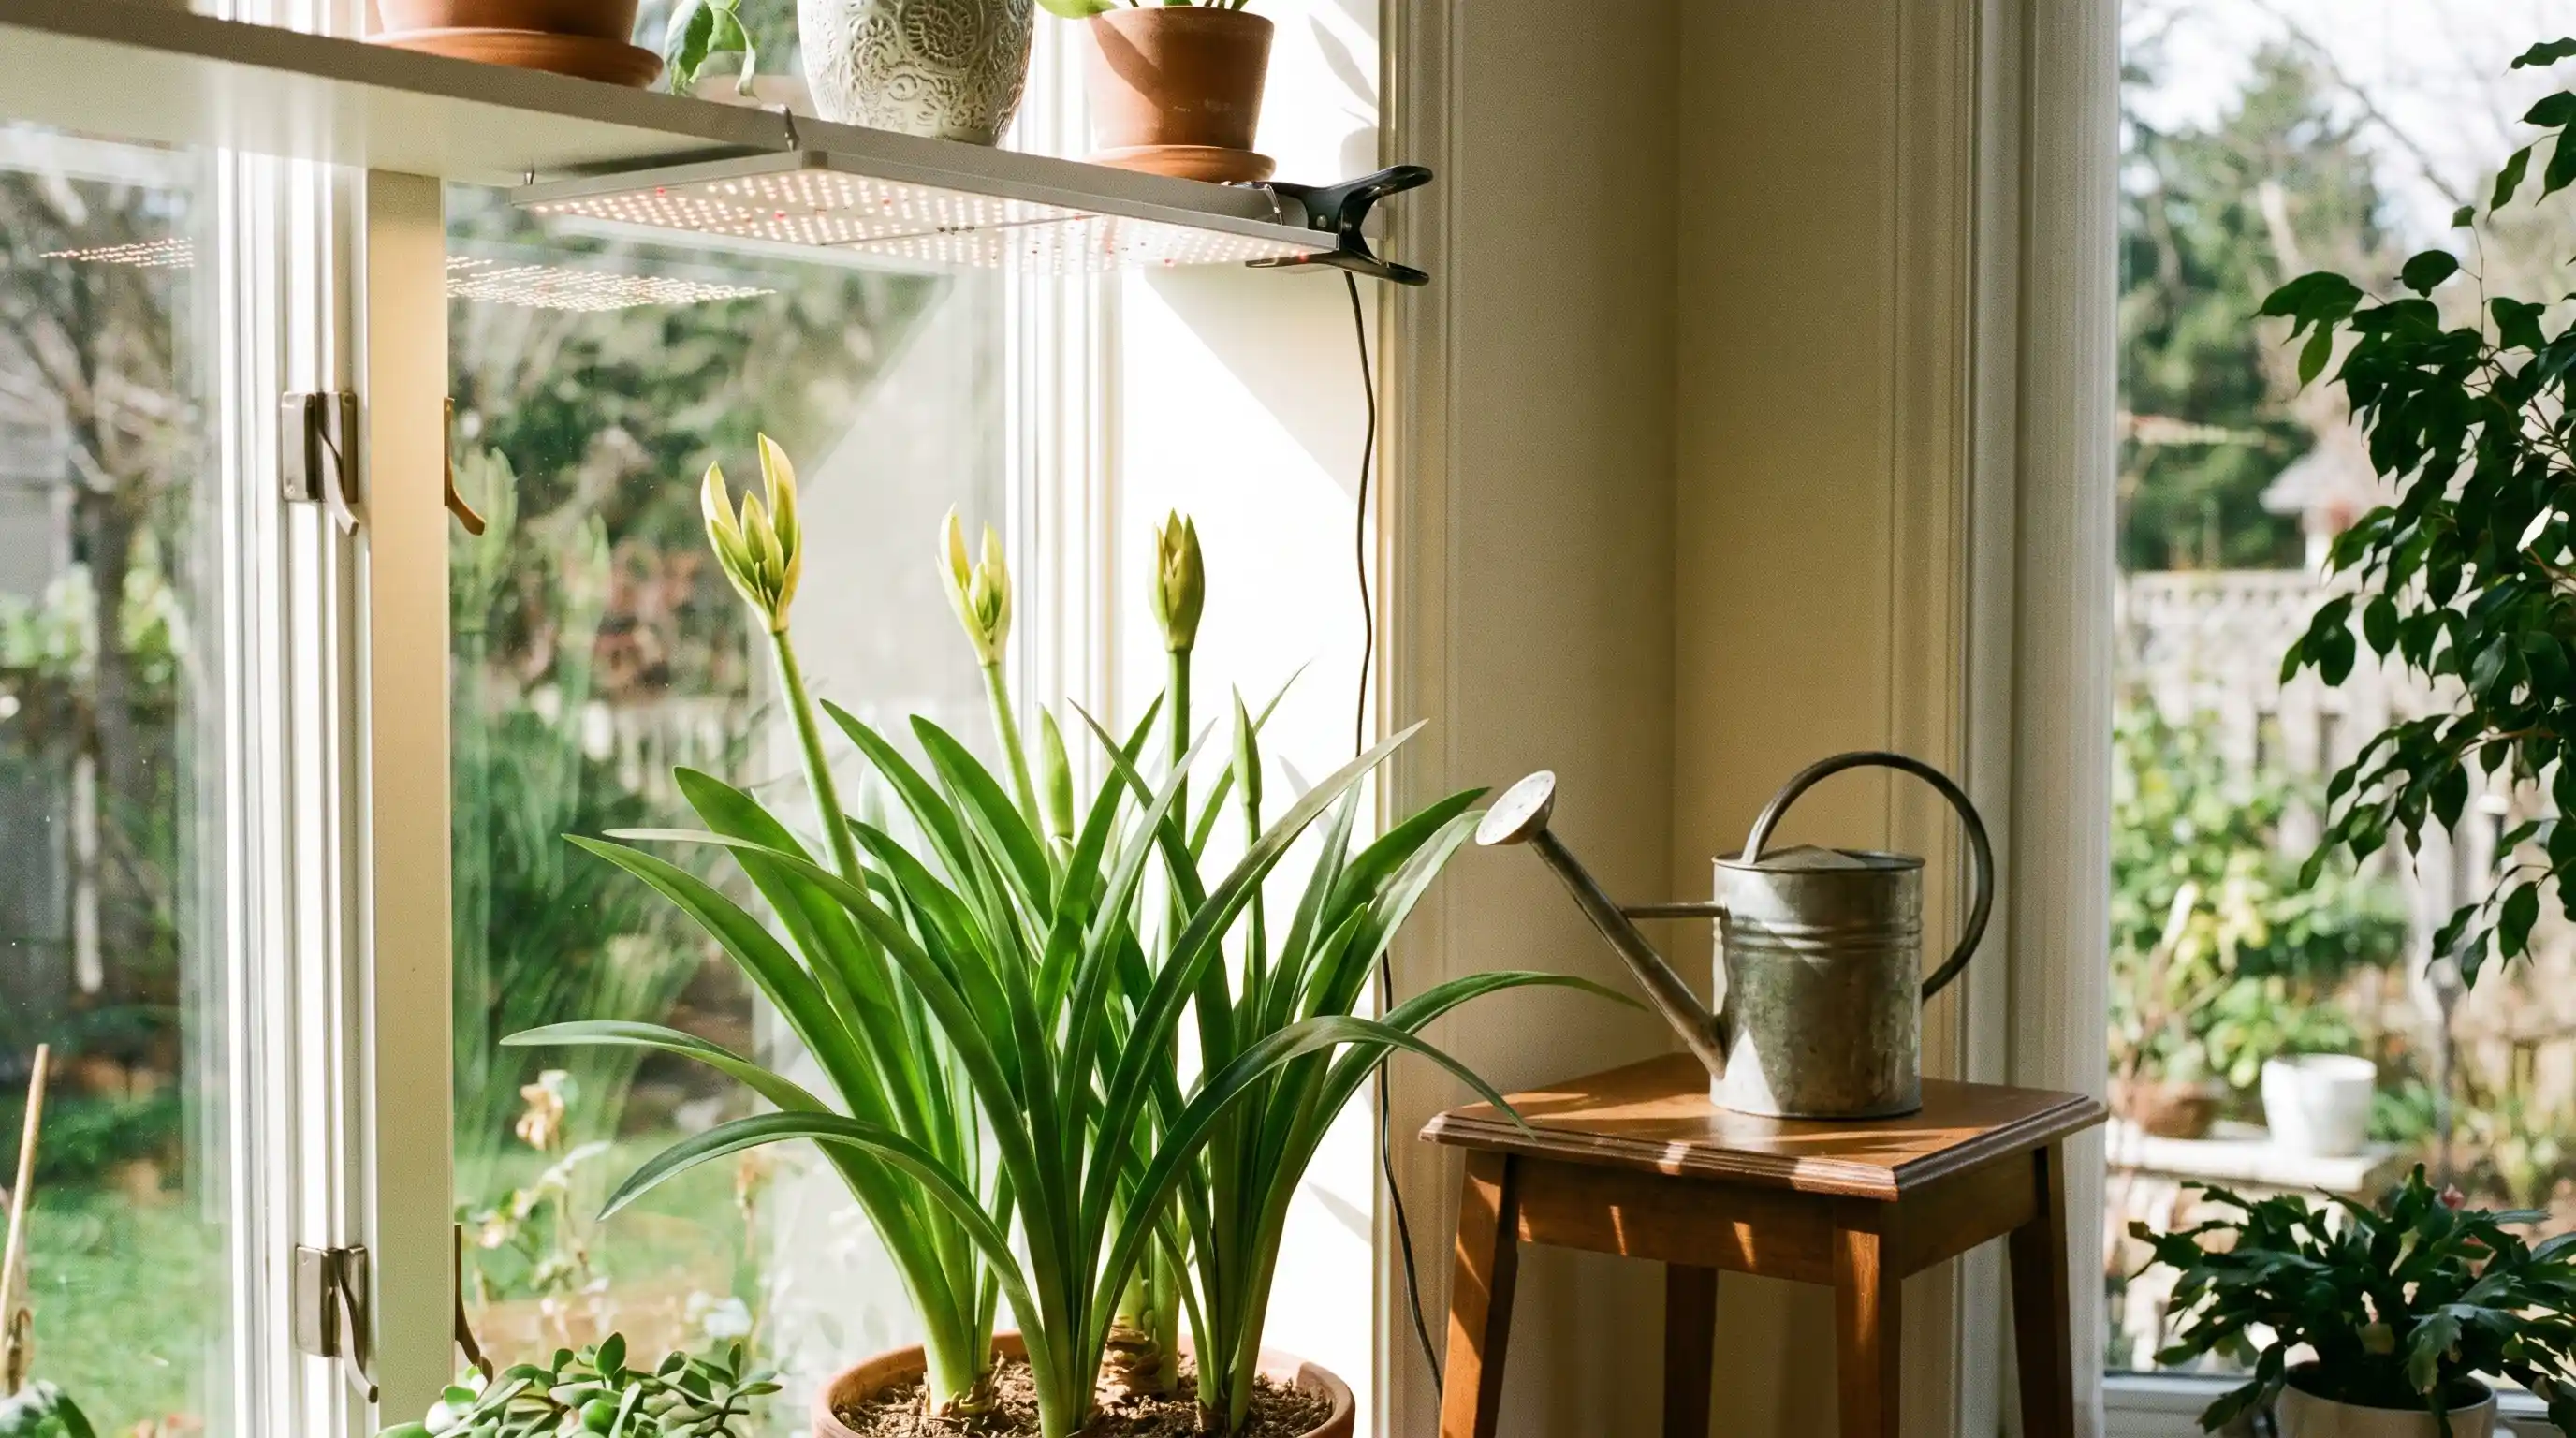
1. Light
Indoors, a south or west-facing window works best. Amaryllis needs at least 4 hours of direct sun per day to stay healthy; 6 hours is better.
One thing I always remind gardeners to do: rotate the pot a quarter turn every few days. The stalk will lean hard toward the light source, and rotating keeps it growing straight.
If your home has limited natural light, a basic grow light positioned 6–12 inches above the plant does the job well.
2. Water
Water when the top 1–2 inches of soil are dry to the touch. For most indoor setups, that works out to roughly every 7–10 days. Always water at soil level.
Getting water into the neck of the bulb (the area where the leaves meet the bulb) is one of the leading causes of rot.
Be patient with the soil between waterings rather than watering on a strict schedule regardless of what the soil feels like.
3. Temperature
Room temperature is fine for most of the year. Keep the plant away from cold windows in winter and away from heating vents that can dry it out.
Once nighttime temperatures are reliably above 50°F in spring, you can move it outdoors. Bring it back inside before the first frost in the fall.
How and When to Fertilize Amaryllis
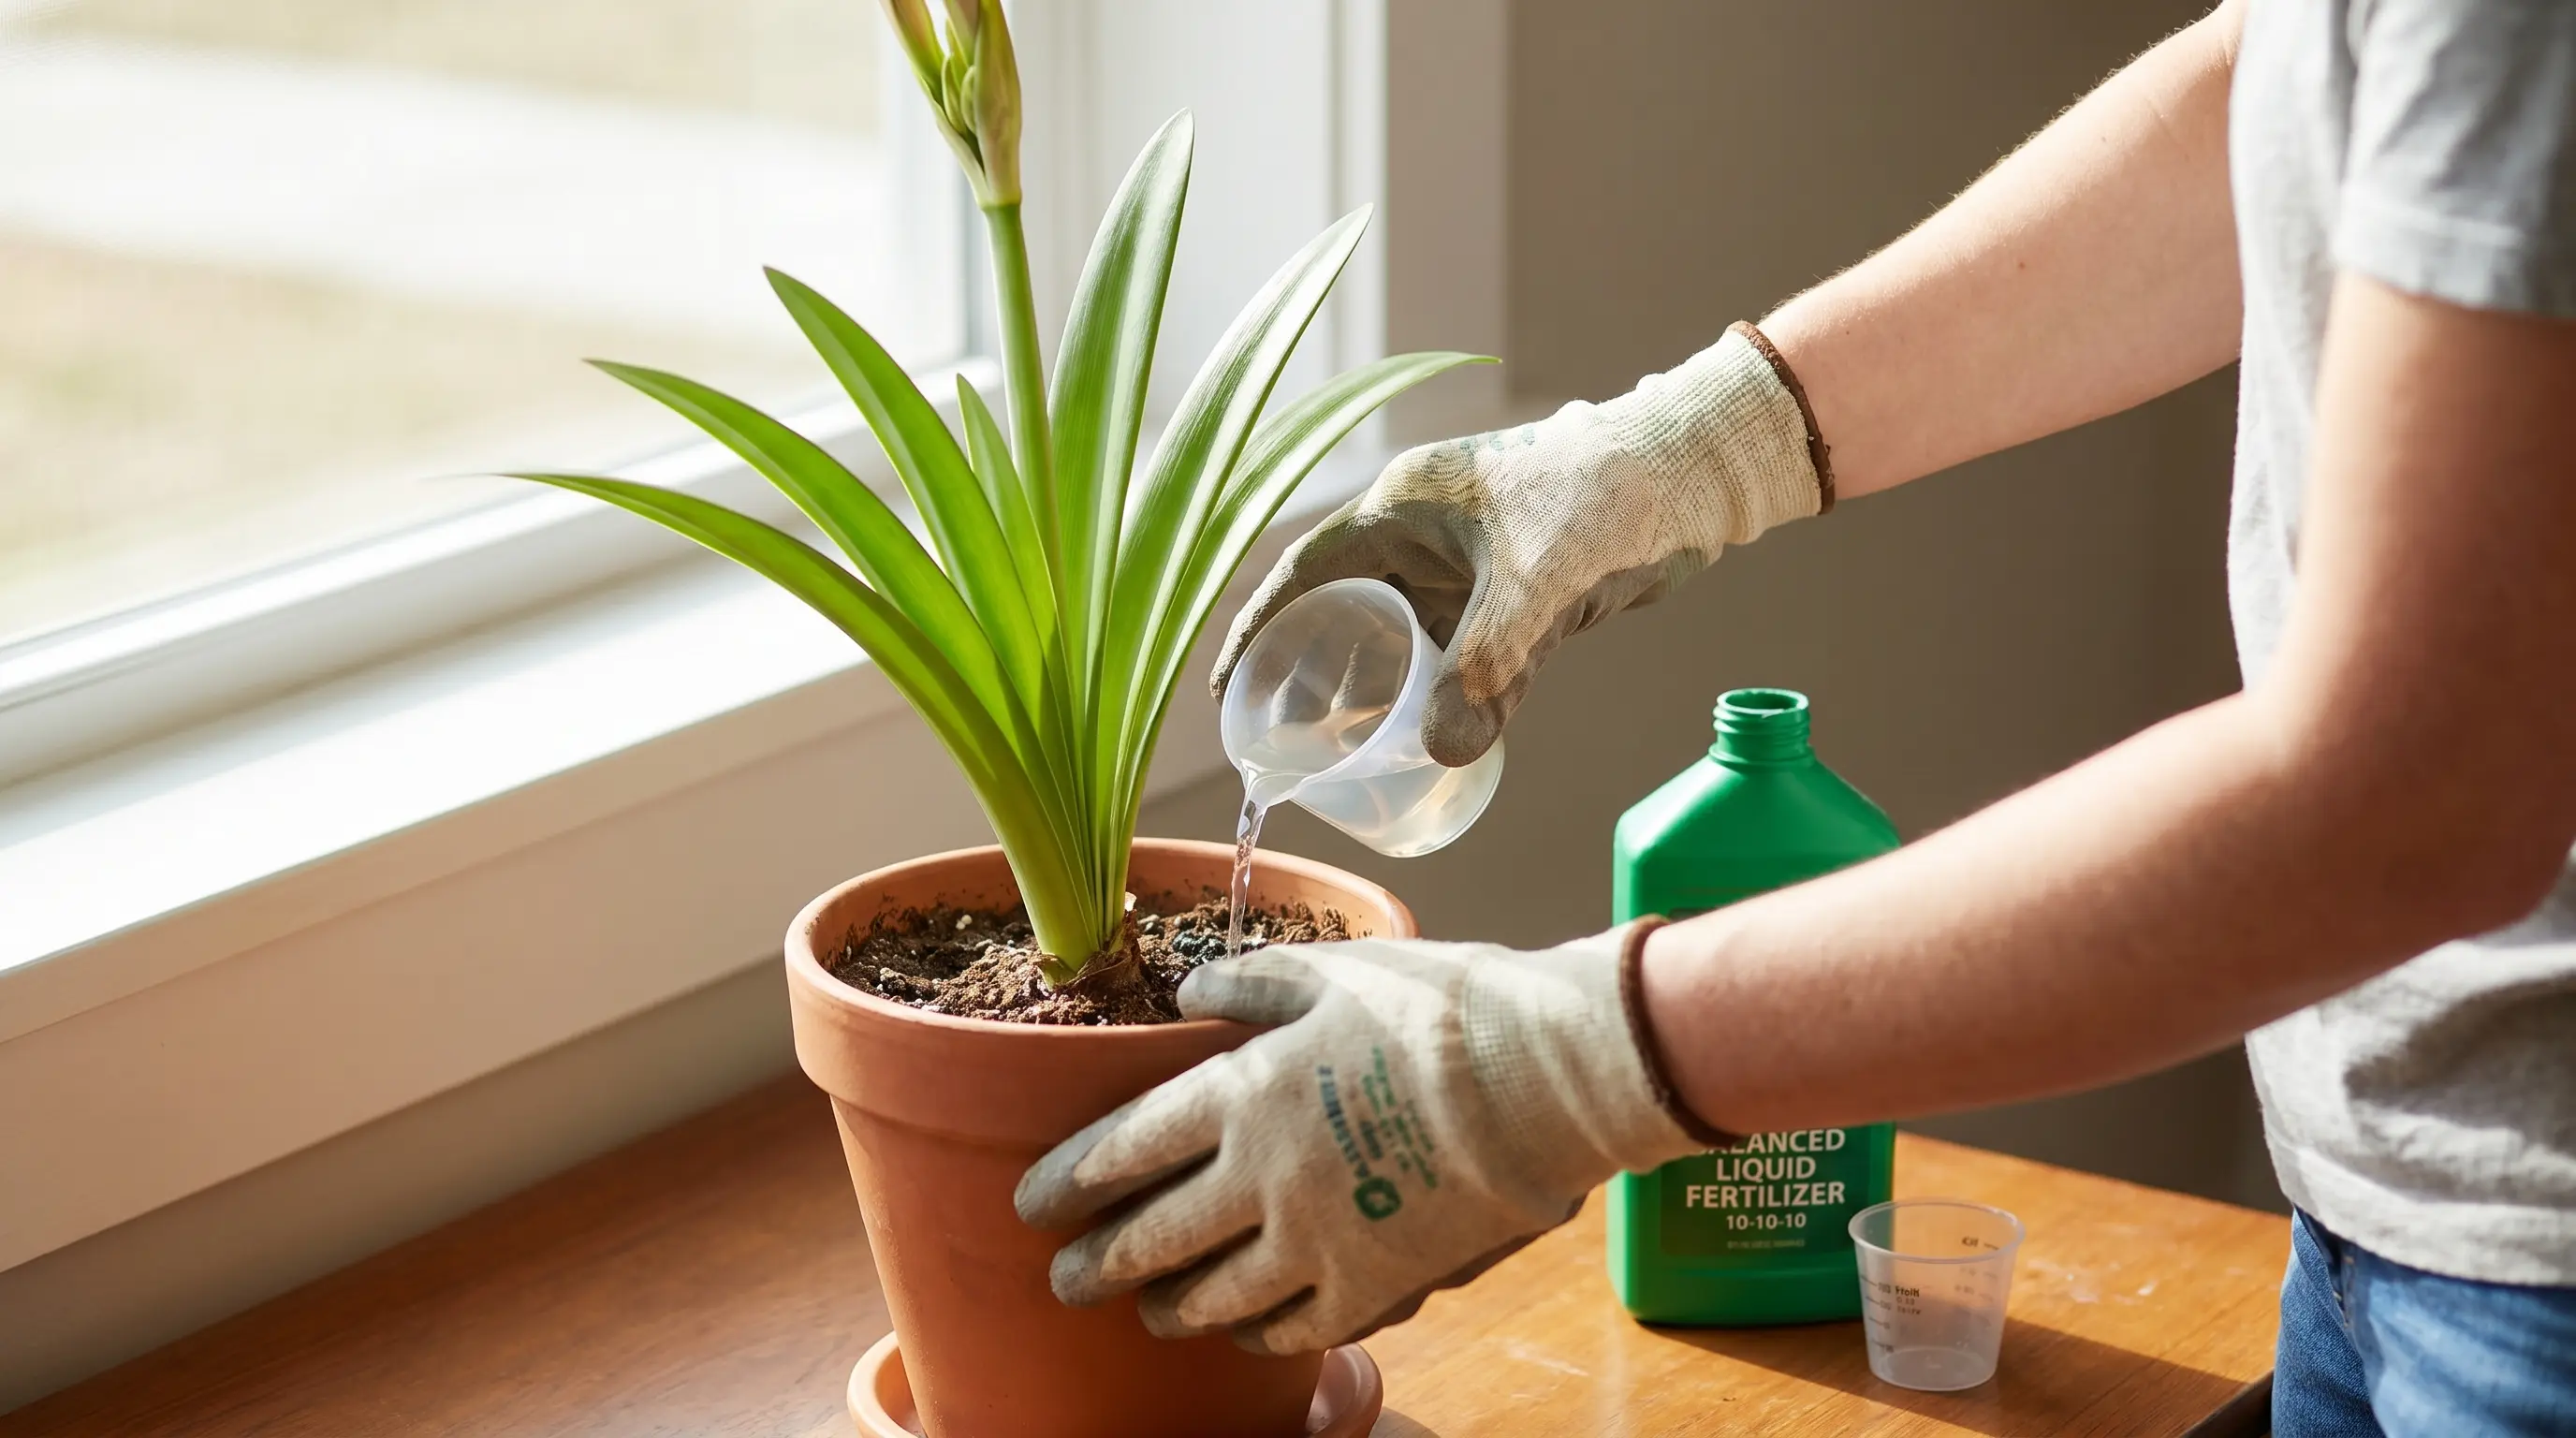
Start fertilizing roughly 6–8 weeks after planting, once the leaves are actively growing. At this stage, use a balanced liquid fertilizer (10-10-10) every 2 to 4 weeks.
After the flowers fade and you move into the post-bloom leaf growing phase, switch to a fertilizer with higher phosphorus, something like a 10-20-10.
Phosphorus supports root and bulb development, which is exactly what the plant is doing during that long summer leafy phase: storing energy for next year’s flowers.
Stop fertilizing entirely once the leaves begin to yellow in late summer or early fall.
The plant is heading toward dormancy, and feeding it at that point wastes fertilizer and can actually interfere with the rest of the cycle.
How to Care for a Waxed Amaryllis?
If you received a waxed amaryllis as a gift, here is what you need to know right away: it does not need soil, water, or a pot.
The wax coating seals in all the moisture and nutrients the bulb needs to bloom. Just set it in bright, indirect light at room temperature (60–70°F), and it will send up a flower stalk on its own.
Avoid placing it in direct sunlight. The wax can soften and melt, and the bulb can overheat. Keep it away from radiators and sunny south-facing windowsills for the same reason.
The waxed bulb will bloom once. That is all the energy it has in that state.
Can you save it to rebloom? Sometimes, yes.
After flowering, carefully peel or cut away the wax coating, trim any dead or mushy roots, and repot in a well-draining potting mix, keeping the top third of the bulb above the soil line.
Water lightly and place in a sunny window. From that point, treat it exactly like a standard potted amaryllis using the post-bloom care steps above.
I will be straight with you: not every waxed bulb makes it through the transition. The waxing process stresses the bulb, and some simply do not have enough reserves left.
But many do survive and bloom again, so it is worth trying rather than throwing it away.
Is Amaryllis Toxic to Pets and Children?
Yes, and this is a question worth answering clearly because most amaryllis care guides skip it entirely.
All parts of the amaryllis plant contain lycorine, an alkaloid that is toxic to cats, dogs, and humans if ingested.
The ASPCA lists amaryllis as toxic to both cats and dogs, with symptoms including vomiting, drooling, diarrhea, abdominal pain, and, in more severe cases, tremors.
The bulb carries the highest concentration of toxins, so keep this in mind when handling bulbs during planting, repotting, or dormancy prep.
A few practical steps:
- Keep bulbs in a closed container or room your pets cannot access during storage.
- Do not leave freshly planted pots on low tables or floors where dogs and cats can reach them.
- If you have curious cats or dogs, put the plant on a high shelf or in a room with a door.
- If you suspect ingestion, call the ASPCA Animal Poison Control Center at (888) 426-4435 or your vet immediately.
How to Care for Amaryllis After Bloom?
This is the section most people need, and most blogs treat it as an afterthought. Here is the full sequence in order.
1. Remove Spent Flowers
As each individual flower fades, pinch it off at the base. Once all the flowers on a stalk are gone and the stalk begins to yellow, cut it back to 1–2 inches above the bulb neck. Do not yank it.
2. Keep Every Green Leaf
This is the most important step. The leaves are how the bulb refuels itself. It takes a minimum of four healthy leaves to produce a single new flower stalk.
Cut them early, and you will get weak blooms or none at all next year.
3. Move to the Brightest Window
Continue watering and fertilizing normally through spring and into summer. The plant may look like it is just sitting there, being leafy. It is not. It is working.
4. Move Outdoors in Summer
Once nighttime temps hold above 50°F, move your amaryllis outside to a spot with morning sun and afternoon shade.
Outdoor light levels are dramatically higher than indoors, and the bulb responds well to the extra energy input.
5. Stop Watering in Late Summer
Let the soil dry completely. The leaves will start to yellow. This is good. Do not panic.
6. Start the Dormancy Period
Ideal temperature: 45–55°F. A basement, unused closet, or cool garage all work. Let the bulb rest for 8 to 10 weeks. Cut off any yellowed leaves once they have dried back.
7. Resume Care After Dormancy
Move it back to a warm, bright location and resume light watering. Expect flowers in roughly 6–8 weeks.
Conclusion
Amaryllis care follows a rhythm: bloom, leaf growth, summer outdoors, fall dormancy, then back to blooming.
Stick to that cycle, and the bulb genuinely improves each year, producing more stalks and more flowers than it did the season before.
The biggest thing I want you to take away from this is that those leaves after blooming are not just decoration.
They are the whole reason your amaryllis will bloom again. Protect them, feed the plant, give it enough light through spring and summer, and you will have flowers every winter without buying a new bulb.
Have a question about your specific plant? Drop it in the comments. I read everyone.
Frequently Asked Questions
1. Should Amaryllis Be Cut Back in the Fall?
Yes. After the leaves turn yellow in late summer or fall, trim back dead foliage to 1–2 inches above the bulb to prepare it for dormancy.
2. How Do I Winterize My Amaryllis?
Move the bulb to a cool, dark place (45–55°F) for 8–10 weeks. Keep the soil dry and ensure it has fully rested before resuming watering.
3. When Should I Throw Away My Amaryllis?
Only discard bulbs that are soft, moldy, or severely rotted. Healthy bulbs can rebloom for many years with proper care.