
Imagine your shed surviving every downpour, frost, and blazing summer day without a single leak or rotting board.
That’s what felting a shed roof does: it’s like giving your shed waterproof armor.
Shed roofs are often underestimated because they’re small and simple, but their low angles make them highly vulnerable.
A tiny crack or worn felt can lead to soft timber, water stains, or even a collapsing roof.
The right felt, whether budget-friendly mineral, resilient polyester, or ultra-durable EPDM, can protect your shed for years, but only if installed properly.
In this blog, you’ll learn the secrets professionals use: how to choose the perfect felt, lay it step by step, and prevent future leaks.
Say goodbye to soggy sheds and hello to a roof that truly works.
What Felting a Shed Roof Actually Means
Shed roof felt is a waterproof layer that sits on top of the wood boards. It blocks rain, wind, and sunlight from reaching the timber underneath.
Without it, wood soaks up water, swells, and starts to rot.
Shed roofs sit at a low angle with nothing else protecting the timber. Every rainstorm and hot summer day wears down that felt.
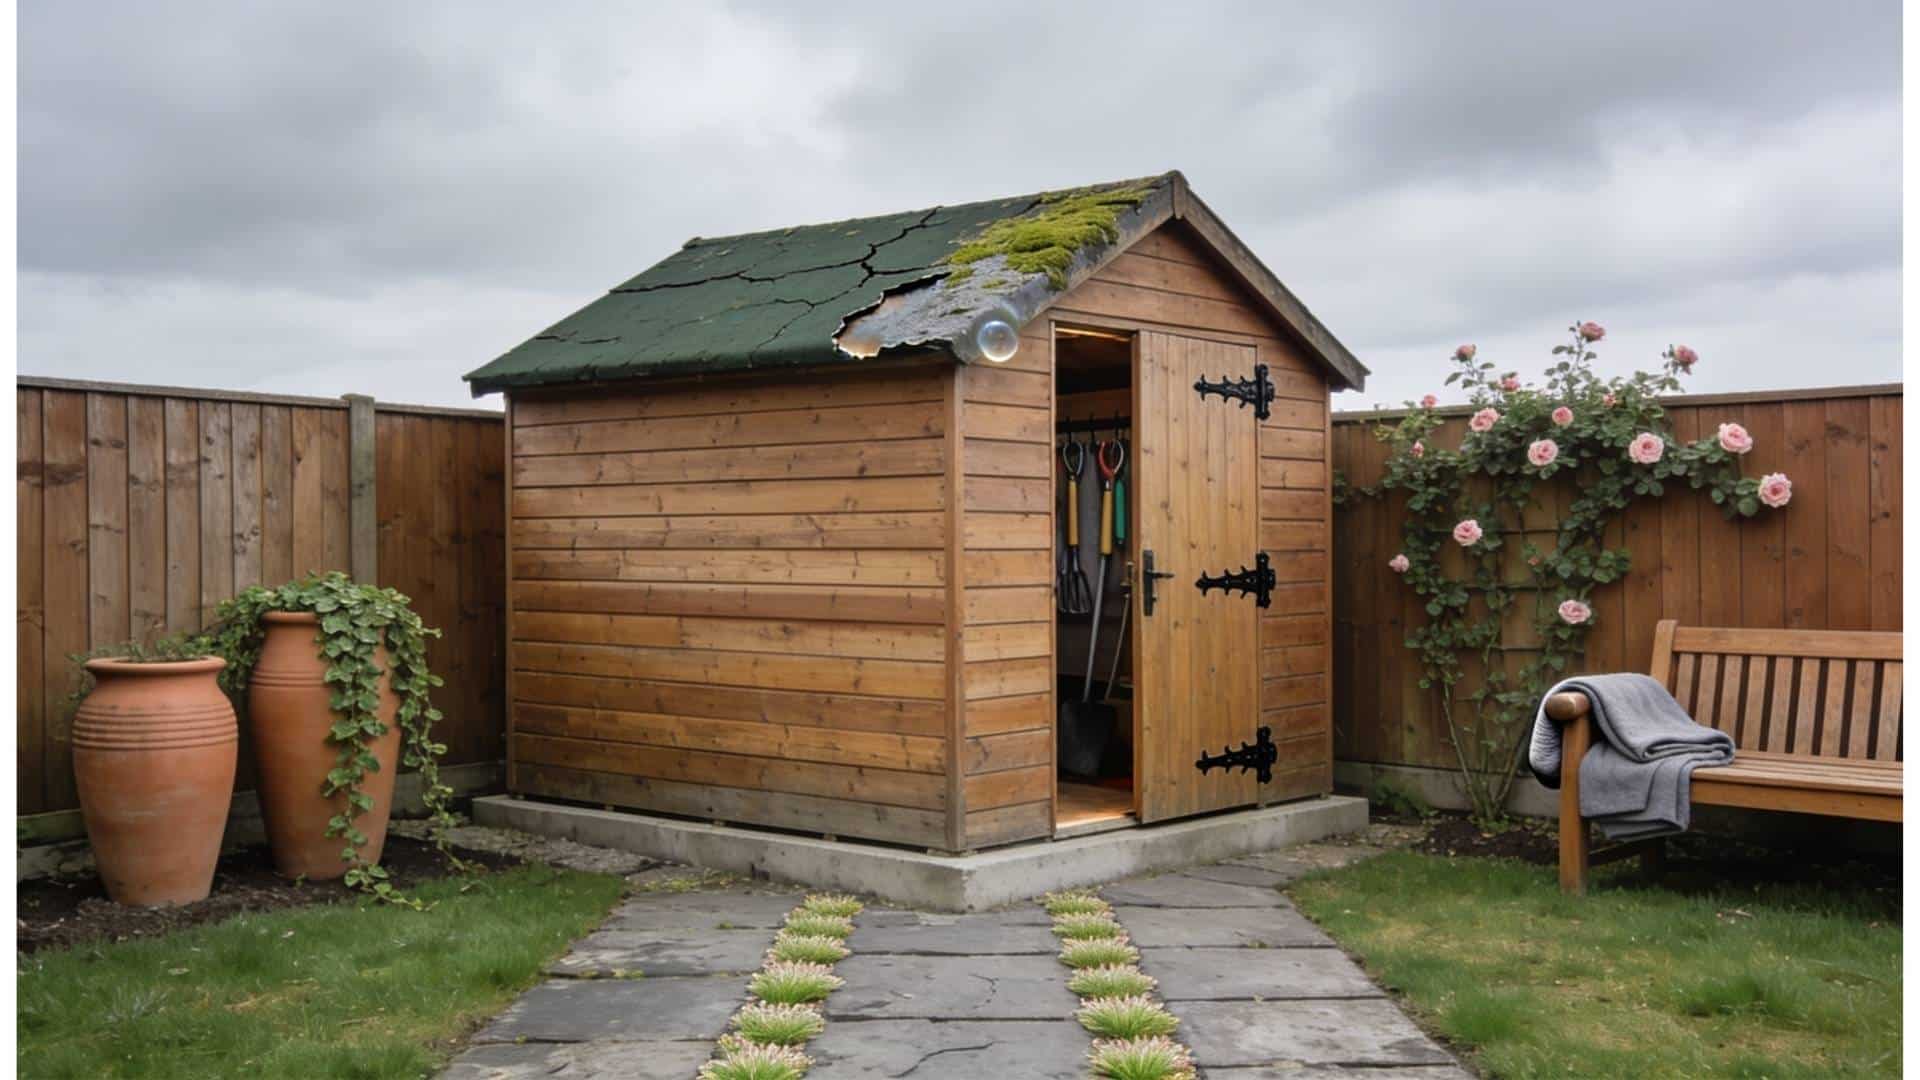
Watch for these warning signs: cracking felt, bubbles where it has lifted off the board, water stains inside the ceiling, or soft wood when pressed. Any one of these means you need new felt, not a patch.
The felt type matters too. Basic felt lasts five years. Polyester lasts up to fifteen years. EPDM rubber lasts twenty or more years.
Choosing the Right Felt Before You Start Felting
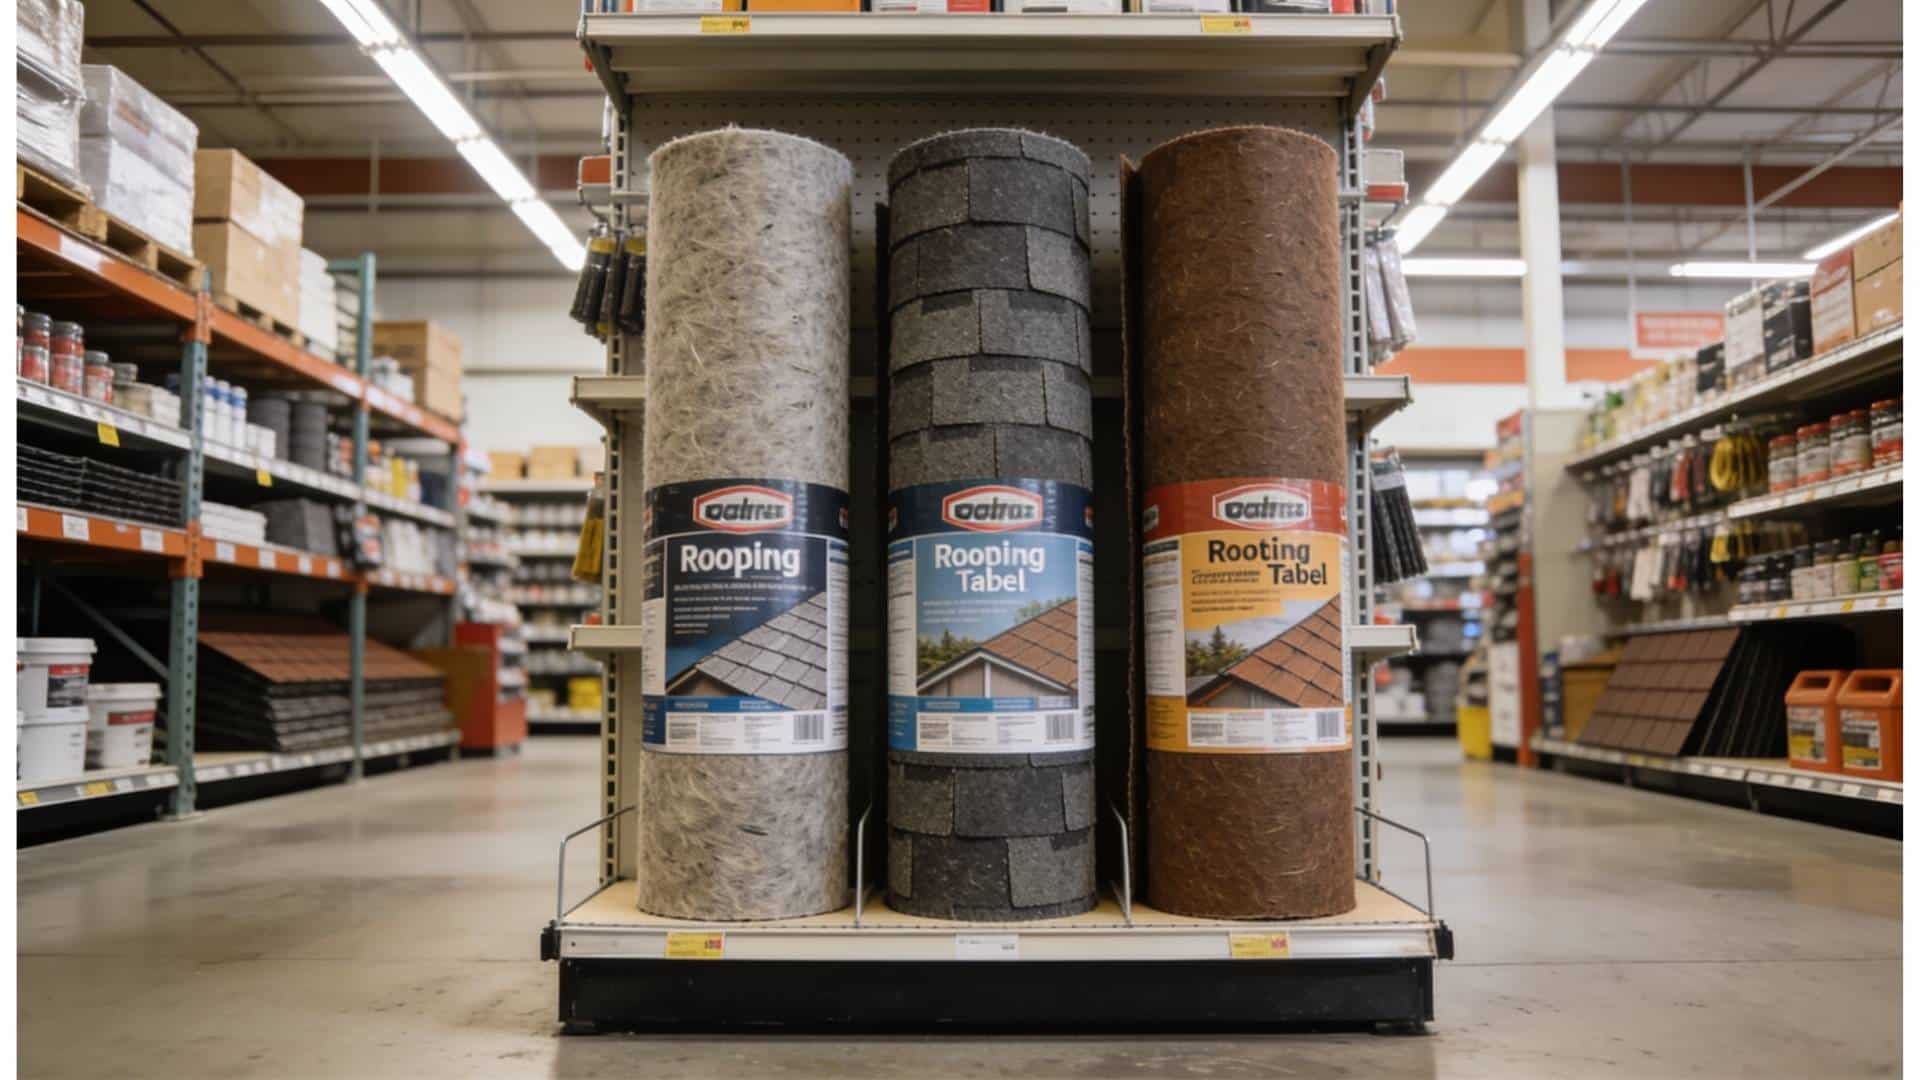
Choosing the right roofing felt makes the job easier and helps your shed stay protected for years. Each type offers different levels of durability, cost, and lifespan, so it’s worth comparing them before you buy.
| Felt Type | Best For | Lifespan | Pros | Cons |
|---|---|---|---|---|
| Standard Green Mineral Felt | Budget repairs | ~5 years | Low cost, easy to find | Cracks and shrinks over time |
| Polyester-Backed Felt | Most garden sheds | Up to 15 years | Strong, flexible, long-lasting | Higher upfront cost |
| EPDM Rubber Membrane | Long-term protection | 20+ years | Seamless, low maintenance | Most expensive option |
Everything You Need to Felt a Shed Roof
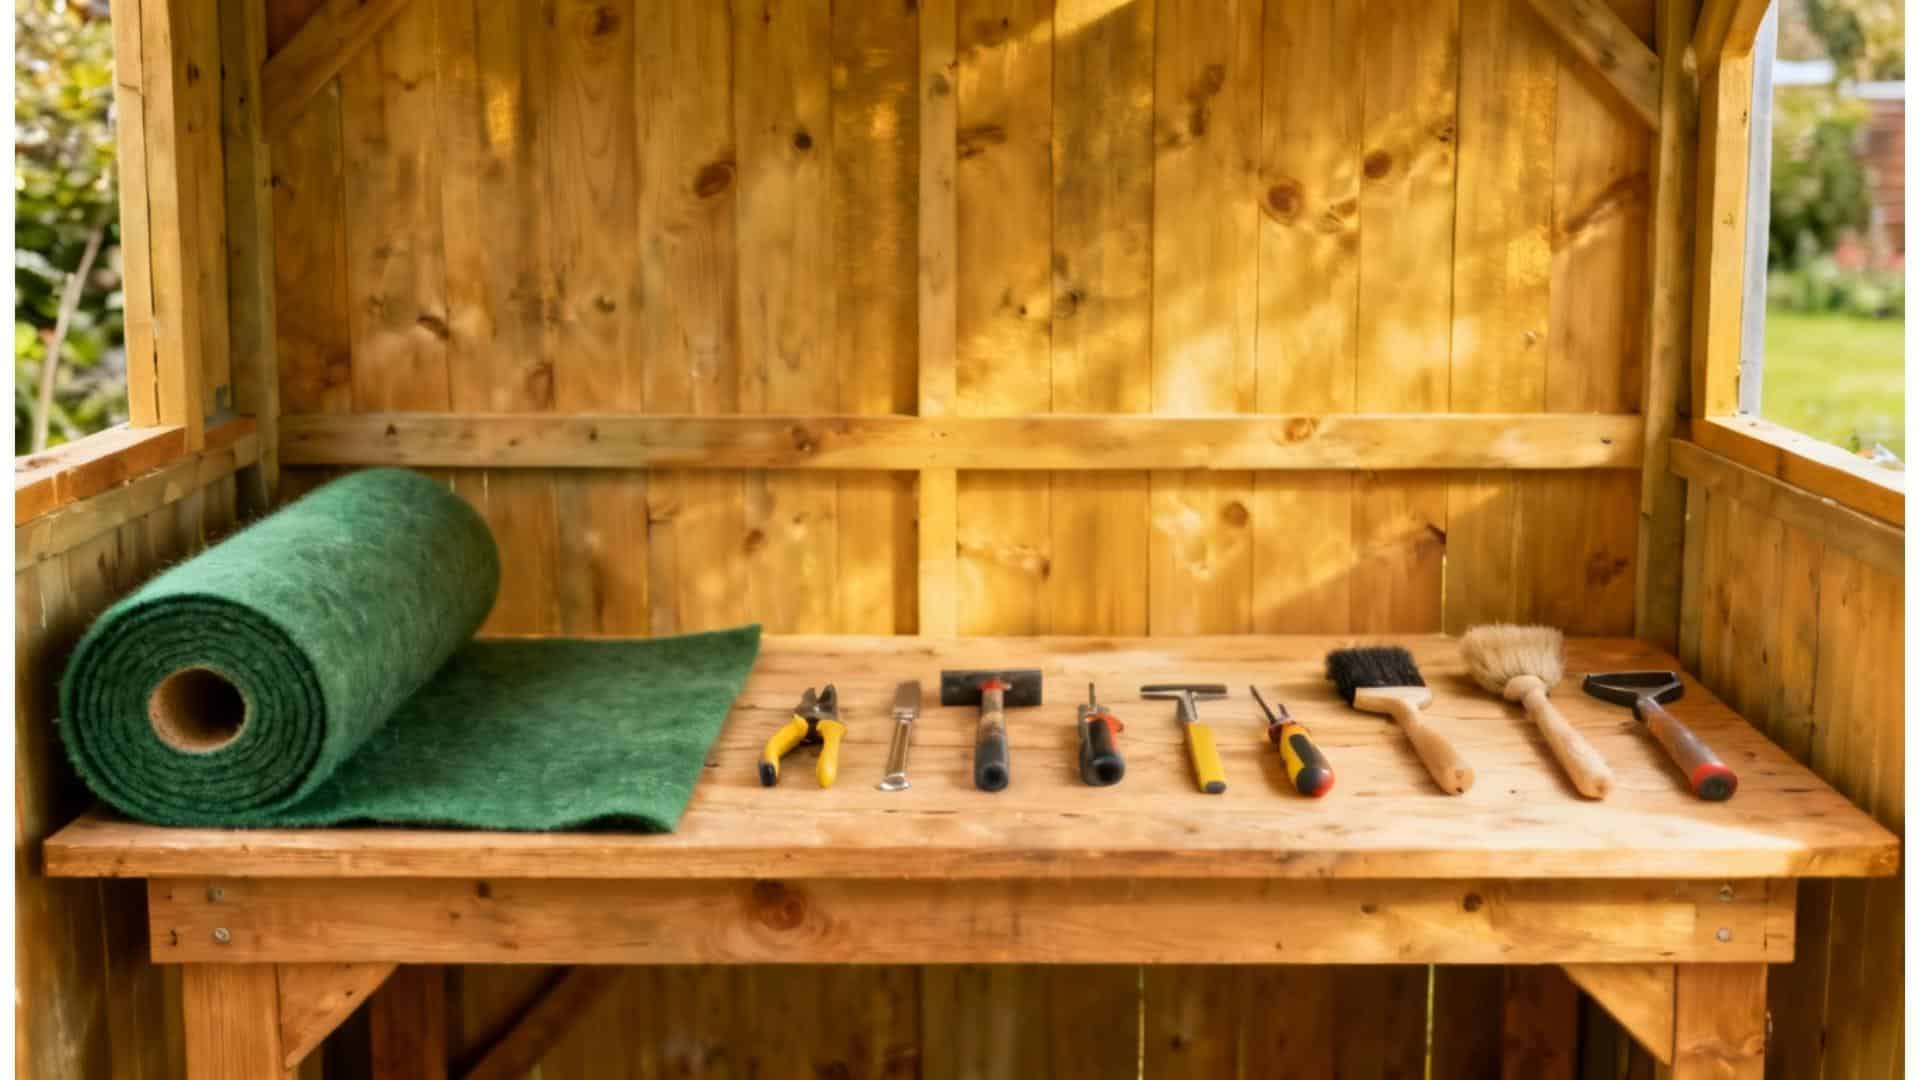
Before you start, gather all the tools and materials in one place. This helps the job go faster and reduces interruptions while working on the roof.
| Item | Use |
|---|---|
| Roofing felt | Covers the roof |
| Clout nails | Secure the felt |
| Hammer | Drive nails |
| Stanley knife | Cut felt |
| Tape measure | Measure roof |
| Adhesive | Seal overlaps |
| Paintbrush | Apply adhesive |
| Step ladder | Safe access |
How to Felt a Shed Roof Step by Step
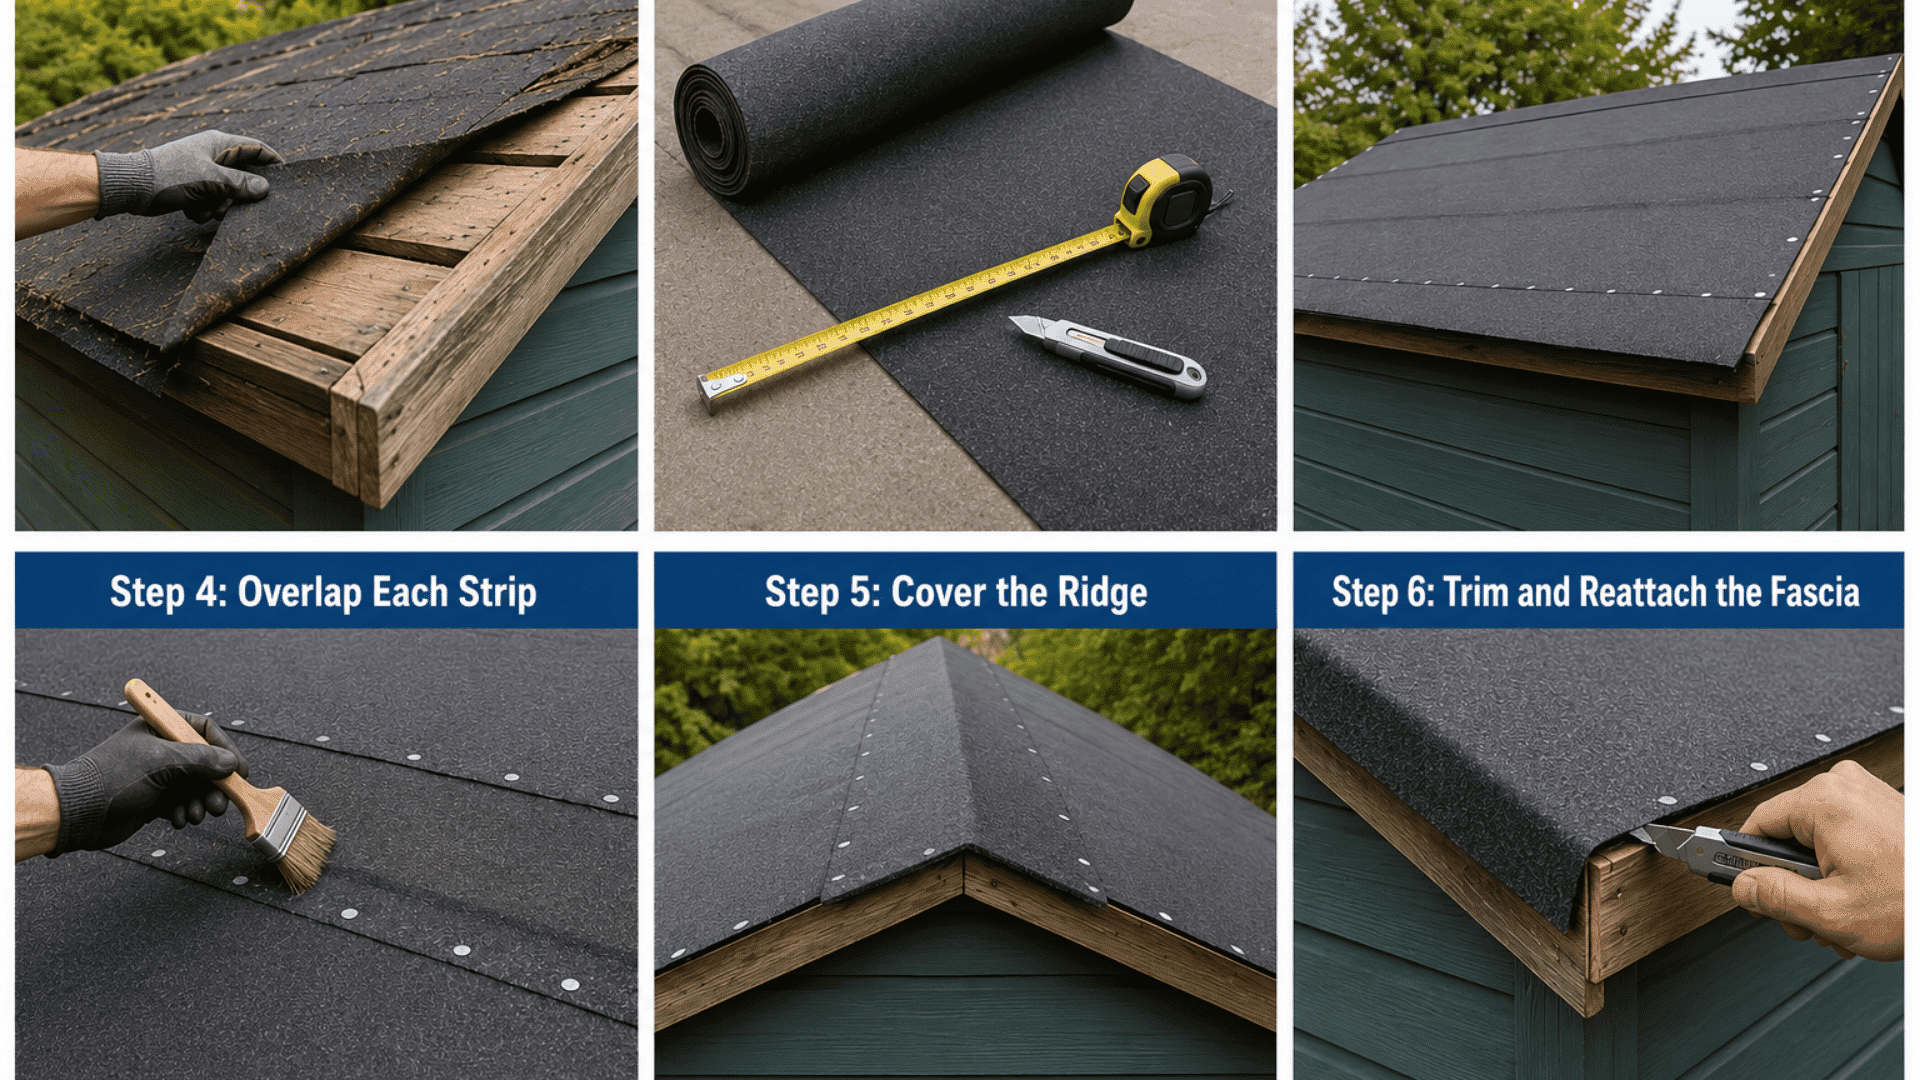
This guide covers a standard apex shed. Read the next section if you have a pent roof, since the process is different.
Step 1: Strip the Old Felt
Take off the fascia boards first. This releases the old felt cleanly. Pull the felt back and remove all old nails and staples.
Press your fingers along each board. Soft or spongy spots mean rot. Replace those boards now. New felt over damaged wood will not hold up.
Step 2: Measure and Cut the Felt
Measure each roof section and cut your felt on the ground first. Leave a 50mm overhang on all sides. Unroll each piece flat for a few minutes before cutting.
Felt from a roll keeps a curl, and curled felt traps air pockets, making it hard to lay flat.
Step 3: Start at the Lowest Edge
Begin at the bottom of the roof and work up. Each strip should sit over the one below it so water runs off. Place the first strip with the overhang past the eave.
Nail the top edge every 100mm and the sides every 300mm. Keep the felt tight. Sags trap water.
Step 4: Overlap Each Strip
Each new strip should overlap the last by at least 75mm. Brush roofing adhesive along the top edge of the strip below before laying the next one.
Press the new strip down, then nail through both layers along the overlap. Glue and nails together keep water out through temperature changes.
Step 5: Cover the Ridge
Cut one piece wide enough to overlap both slopes by 75mm. Spread adhesive across the underside of the whole piece. Press it down firmly and nail both sides every 100mm.
The ridge takes the most wind on the roof, so do not skip the adhesive step here.
Step 6: Trim and Reattach the Fascia
Trim the overhanging felt with a Stanley knife. Fold the felt at the gable ends under the roof board and tack it down. Reattach the fascia boards to lock the edges in place.
Check every overlap by hand. Any lifting spot needs an extra nail and adhesive.
Apex vs Pent Shed Roof: Does the Process Change?
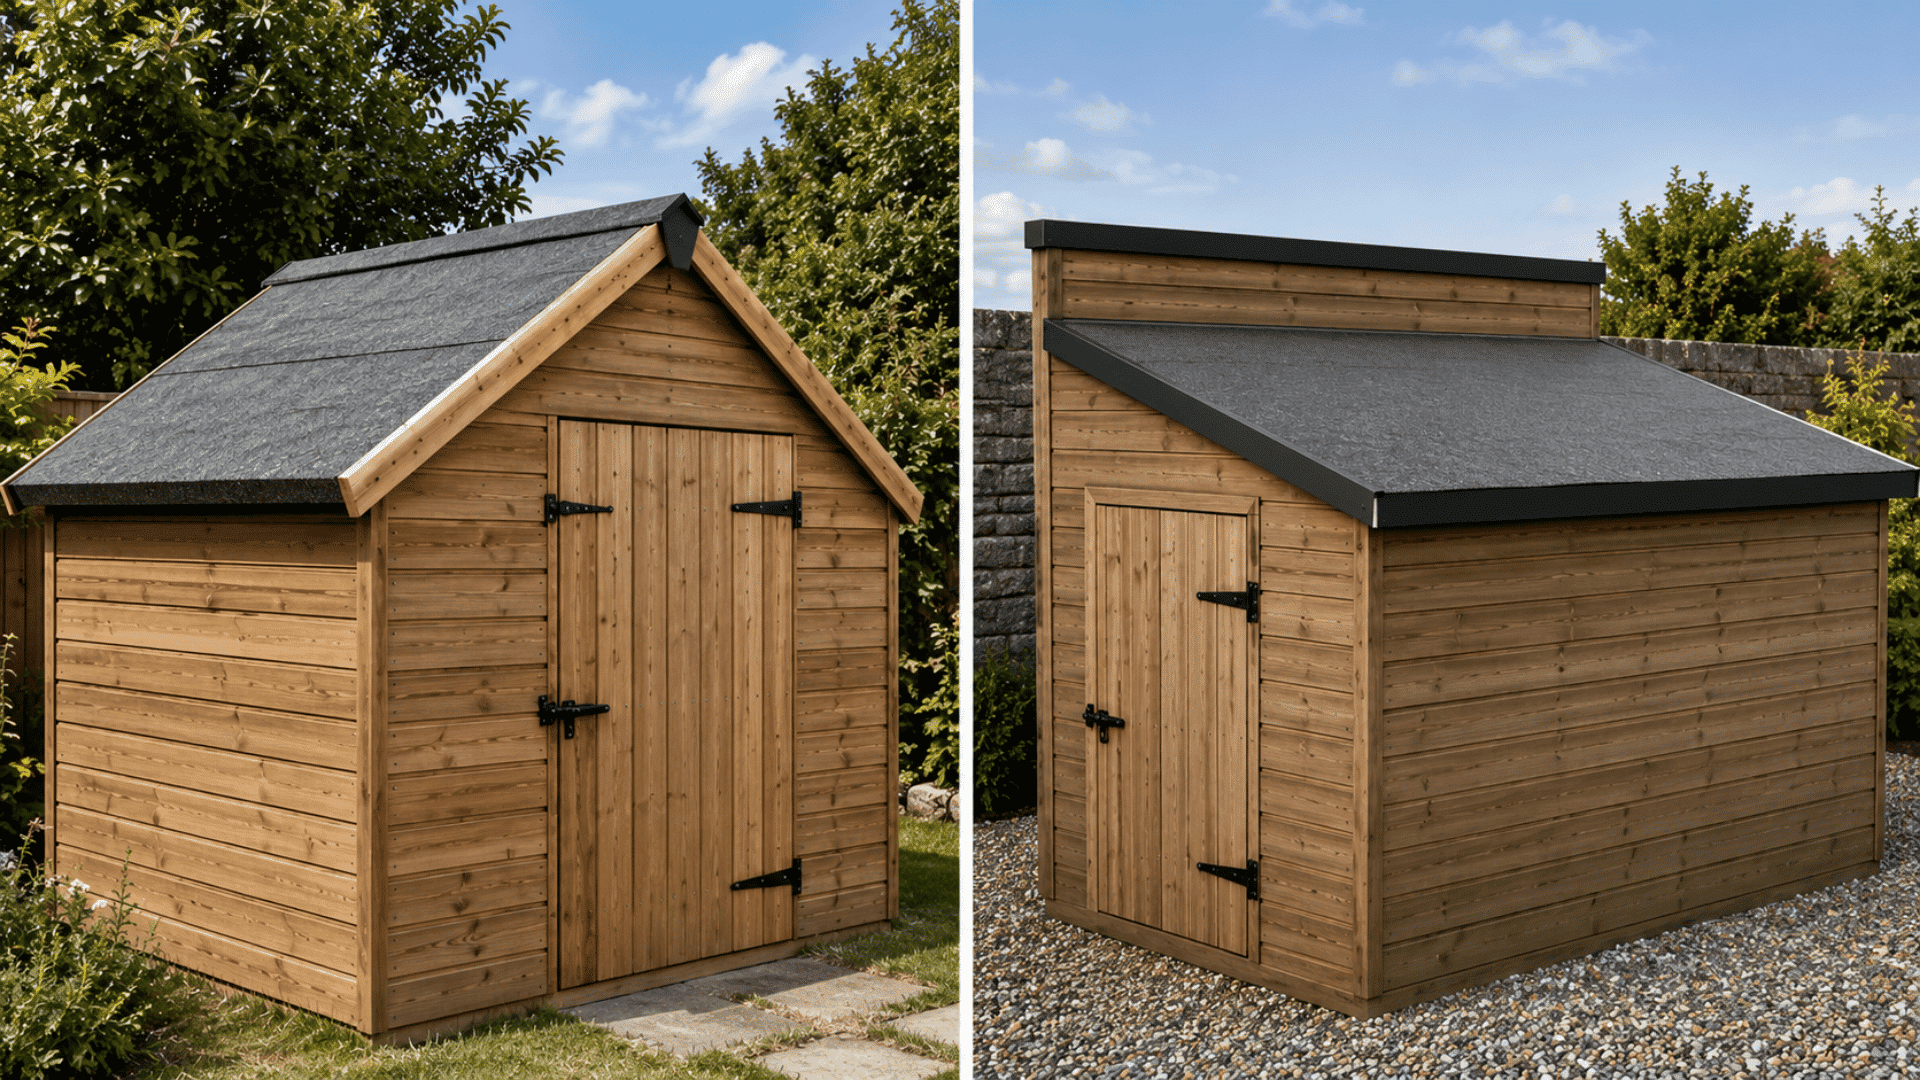
A pent and apex shed roof need different felting methods because they drain water differently.
Since a pent roof is essentially a form of flat-roof construction, use the appropriate overlap and installation approach to prevent leaks and extend the life of your shed roof.
| Feature | Apex Roof | Pent Roof |
|---|---|---|
| Roof shape | Two sloping sides meeting at a ridge | One single sloping surface |
| Typical pitch | 20° or steeper | 5°–10° |
| Water drainage | Water runs off quickly | Water drains slowly |
| Felt installation | Single layer with 75mm overlap | Two bonded felt layers with bitumen adhesive |
| Starting point | Lowest edge to ridge | Low edge toward the high wall |
Tips to Make Your Shed Roof Felt Last as Long as Possible
A few small steps during installation can add years to your felt roof. Here is what actually makes a difference:
- Treat the boards first: Apply wood preservative before felting. It protects the timber where moisture sneaks in through nail holes and edges.
- Fold corners, never cut them: Cutting a V-shape leaves an opening where water collects. Fold the felt flat and nail or bond it down instead.
- Keep nails 20mm from edges: Nailing too close to the edges causes small tears that spread as the felt expands and contracts.
- Go light on adhesive: A small bead at each overlap is enough. Too much stops the felt from moving naturally, causing cracking.
- Inspect after the first rain: Check every overlap and edge, plus the ceiling boards inside. A loose nail is a quick fix now, but a leak found months later is not.
Signs Your Shed Roof Felt Needs Full Replacement
Not every problem needs a full re-felt. A single small tear, one loose nail, or one small blister can be patched with new felt and adhesive. That counts as a repair, not a replacement.
Strip and re-felt the whole roof when you see:
- Cracking across a large area: Small cracks are normal wear. Cracking across most of the roof indicates the felt is failing.
- Multiple leaks in different spots: One leak might be a local fix. Several leaks mean the whole layer has broken down.
- Daylight through nail holes: If you can see light from inside the shed, water is already getting in too.
- Soft boards when pressed: This means rot has started underneath. New felt over soft wood will not stop it.
- Moss or algae covering a third or more: Heavy growth traps moisture against the felt and speeds up damage.
One trap to avoid: Laying new felt over a failing roof. It seems like a quick fix, but it seals damp against the boards and speeds up rot. By the time the next leak shows up, the boards underneath often need replacing, too. Strip back to bare timber and start clean.
Conclusion
A shed without proper felt is like a boat with holes; it just won’t last.
By choosing the right material and installing it carefully, you can turn your roof into a long-lasting shield against rain, frost, and sun.
Start at the lowest edge, overlap every strip, and secure with nails and adhesive to keep water out.
Treat boards beforehand, fold corners neatly, and check after the first rain to catch early issues. Done right, felting alters your shed from a vulnerable structure into a reliable, weatherproof space.
Enjoy peace of mind, knowing your shed and its contents are fully protected.
Frequently Asked Questions
What Should I Check Before Applying New Felt?
Inspect the timber for soft spots, rot, nails, and replace damaged boards before laying the felt. This extra step ensures a solid, safe project!
Which Direction Should I Lay the Felt?
Start at the lowest edge and work upwards to guide rainwater smoothly over overlaps, ensuring the area remains dry and protected.
How Much Should the Felt Overlap?
Overlap the horizontal seams by about 150–200 mm and the parallel sheets by 100–150 mm to ensure effective waterproofing.