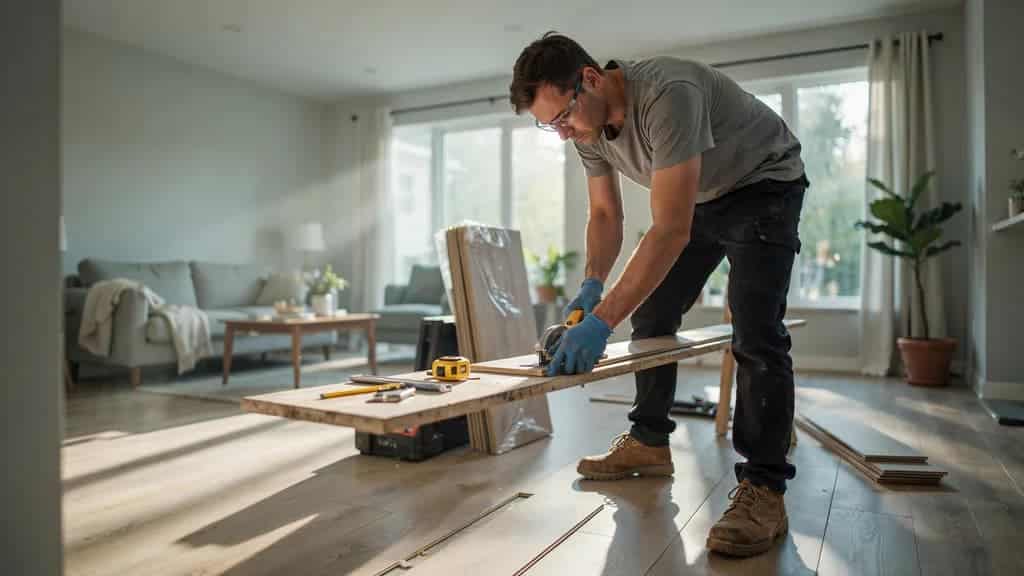

Cutting laminate flooring is straightforward once you have the right tool and an accurate measurement.
One key rule: always cut with the finished side facing up (or down, depending on your saw).
A circular saw, jigsaw, or laminate cutter can all do the job. Each one works best in different spots, like straight cuts, curves, or tight corners.
In this guide, you’ll learn what laminate flooring is, which tools work best, which side to cut, and how to measure and cut it step by step.
What Is Laminate Flooring?
Laminate flooring is an artificial product built to look like wood. It has several layers pressed together under heat and pressure.
The top layer is a photo of wood grain. A clear coating sits above it, protecting the floor from scratches and stains.
Below the photo layer is a core board, usually made from compressed wood fiber. This core gives the plank its strength. A backing layer sits at the bottom to add stability and stop moisture damage.
Homeowners like laminate because it costs less than real wood. It also holds up well against foot traffic, spills, and daily wear.
Laminate planks click together during installation. That’s why cutting them the right way matters. A clean cut helps each piece lock into place without gaps.
What Tools Do You Need to Cut Laminate Flooring?
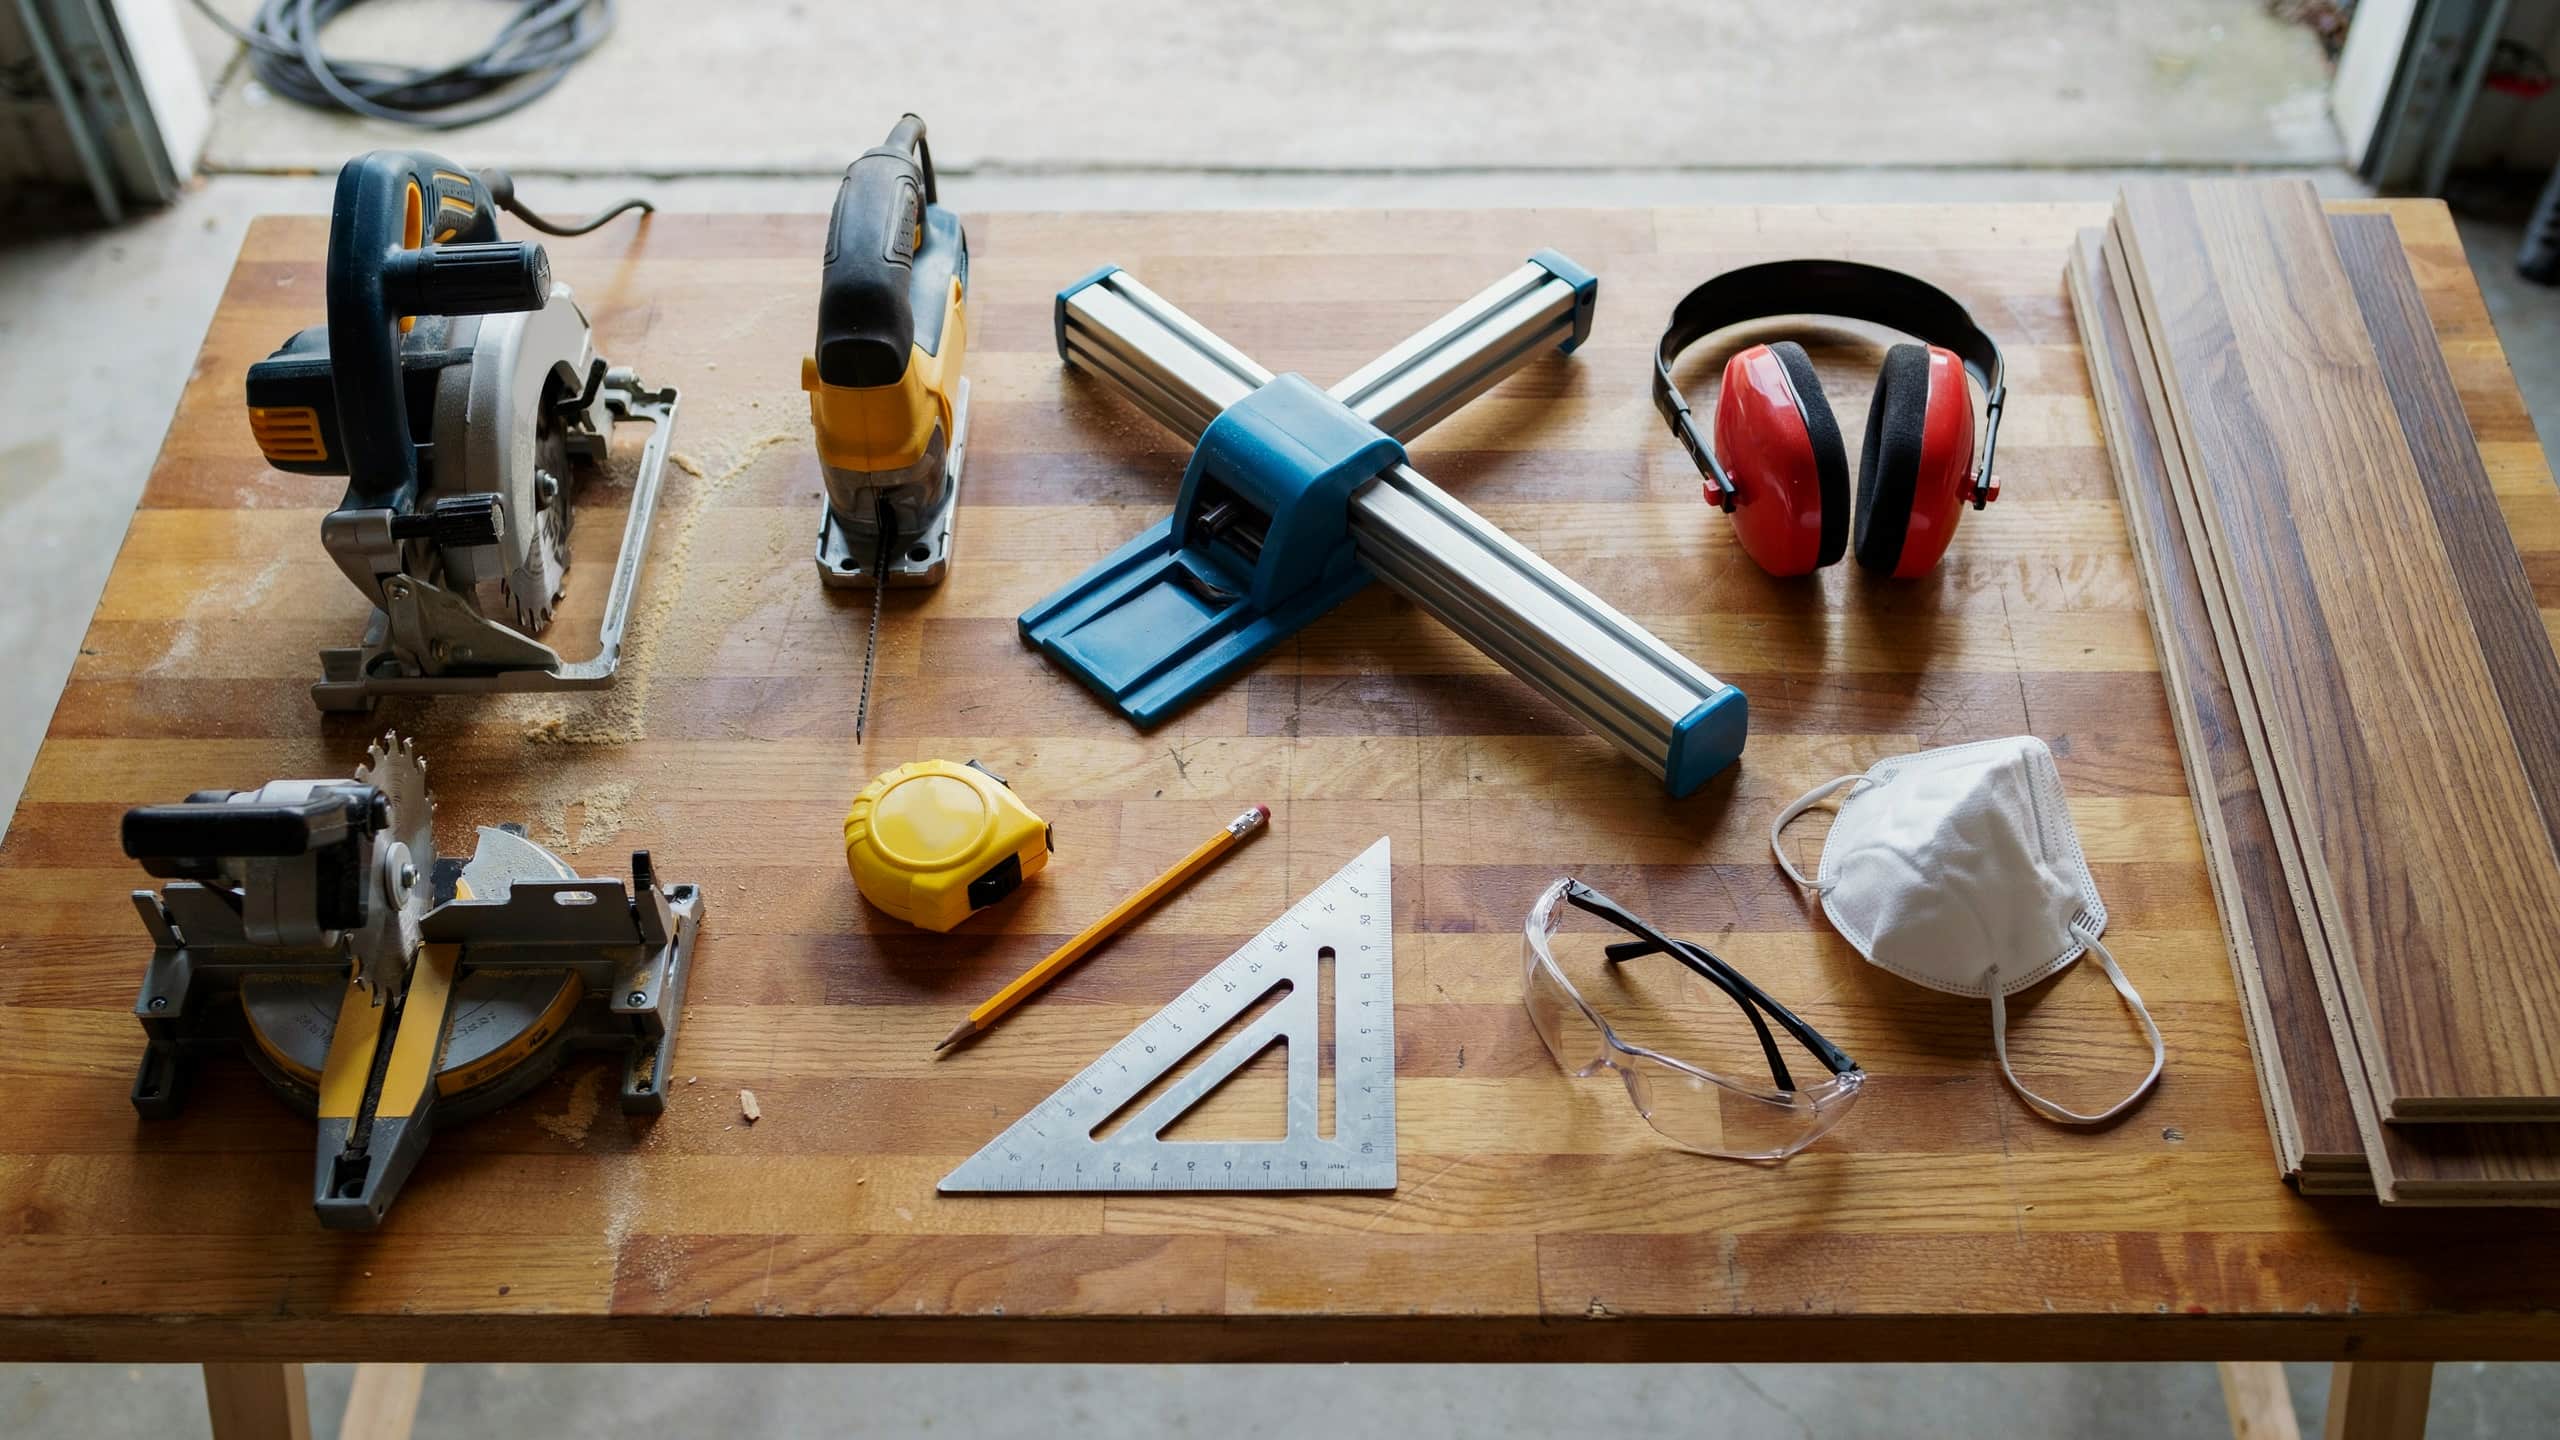
The right combination of cutting and measuring tools helps you make cleaner cuts, reduce waste, and install laminate flooring more accurately and safely.
| Main Cutting Tool | Best Used For | Helper Tool | Purpose |
|---|---|---|---|
| Circular saw | Long, straight cuts in laminate planks | Tape measure | Measure plank lengths accurately |
| Jigsaw | Curves, notches, and cuts around obstacles | Pencil or marker | Mark cutting lines |
| Laminate cutter | Clean, quiet, dust-free laminate cuts | Straight edge or speed square | Guide straight, accurate cuts |
| Table saw | Cutting multiple planks quickly | Safety glasses | Protect eyes from debris |
| Miter saw | Angled cuts for corners and transitions | Ear protection and dust mask | Reduce noise and dust exposure |
Which Side of Laminate Flooring Should You Cut?
This depends on the tool you’re using. The rule is simple: cut from the side that faces the blade during the cutting motion.
- If using a circular saw: Cut with the finished (top) side facing down. These saw blades spin upward into the material, so cutting from the back stops the top layer from chipping.
- If using a jigsaw: Cut with the finished side facing up. Jigsaw blades move up and down, and they tend to chip the surface at the exit.
- If using a laminate cutter: Cut with the finished side facingup. This manual tool uses a blade that presses down through the plank, so the top stays clean either way.
Getting this step right matters. A chipped edge can ruin a plank, especially if it’s visible in the final layout. When in doubt, test on a scrap piece first.
How to Measure Laminate Flooring Before Cutting
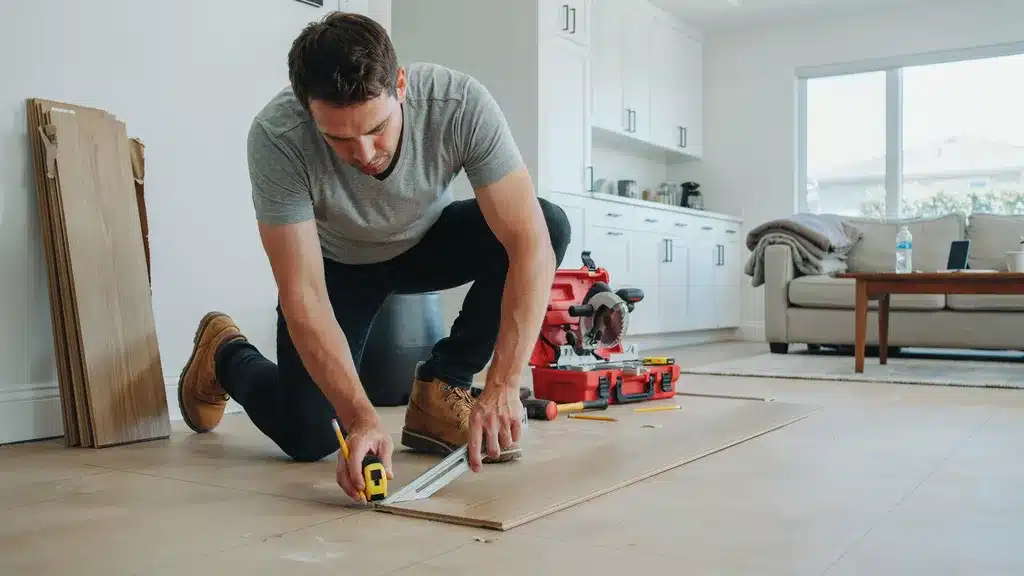
Good measurements save you time, money, and planks from being wasted. Follow these steps before you make a single cut.
- Measure the room: Use a tape measure to check the length and width of the space. Write down both numbers.
- Measure the last row: Rooms rarely fit full planks perfectly. Measure the gap left for the final row and subtract about 3/8 inch to allow for an expansion gap along the wall.
- Mark the plank: Place the plank finished side up or down (depending on your tool; see the section above). Use a pencil and straight edge to mark your cut line.
- Double-check the number: Measure twice before cutting. A small mistake here means a wasted plank and extra cost.
- Account for obstacles: If the cut needs to fit around a doorway, vent, or pipe, measure that shape separately. Transfer it to the plank using a template or by marking each point by hand.
How to Cut Laminate Flooring Step-by-Step
Once your measurements are marked, it is ready to be cut. Follow these five steps for a clean, accurate result.
Step 1: Set Up Your Work Area
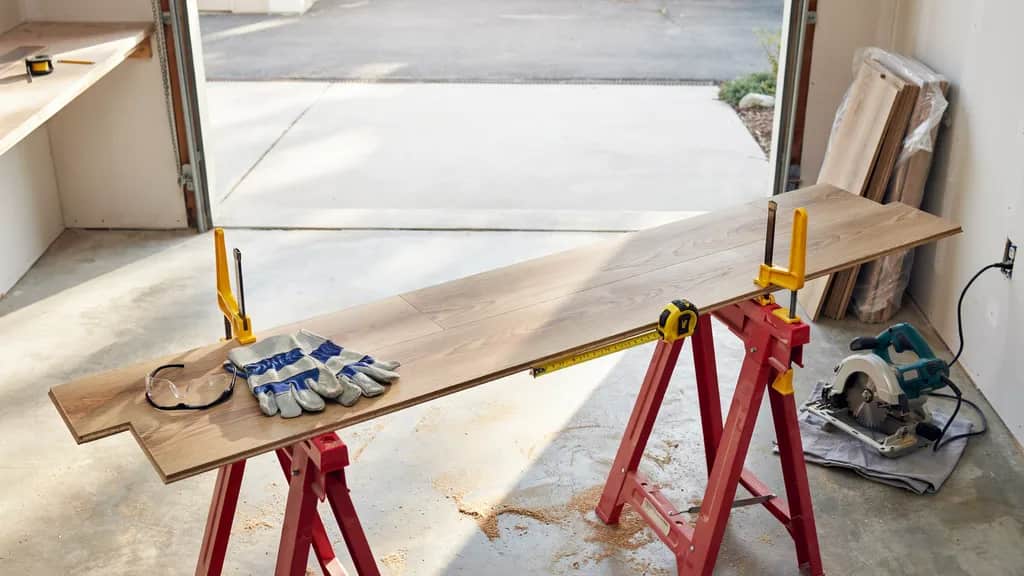
Pick a flat, stable surface to support the plank while you cut. A workbench, sawhorse, or even a stack of scrap wood works fine.
Make sure the plank is fully supported on both sides of the cut line.
If one end hangs in the air, the plank can crack or splinter as the blade passes through. Clamp the plank down if your saw vibrates a lot, since this keeps the cut straight and steady.
Put on your safety glasses and ear protection before you turn on any power tool. Dust from cutting laminate can irritate your eyes, so a dust mask helps too.
Step 2: Line Up the Blade
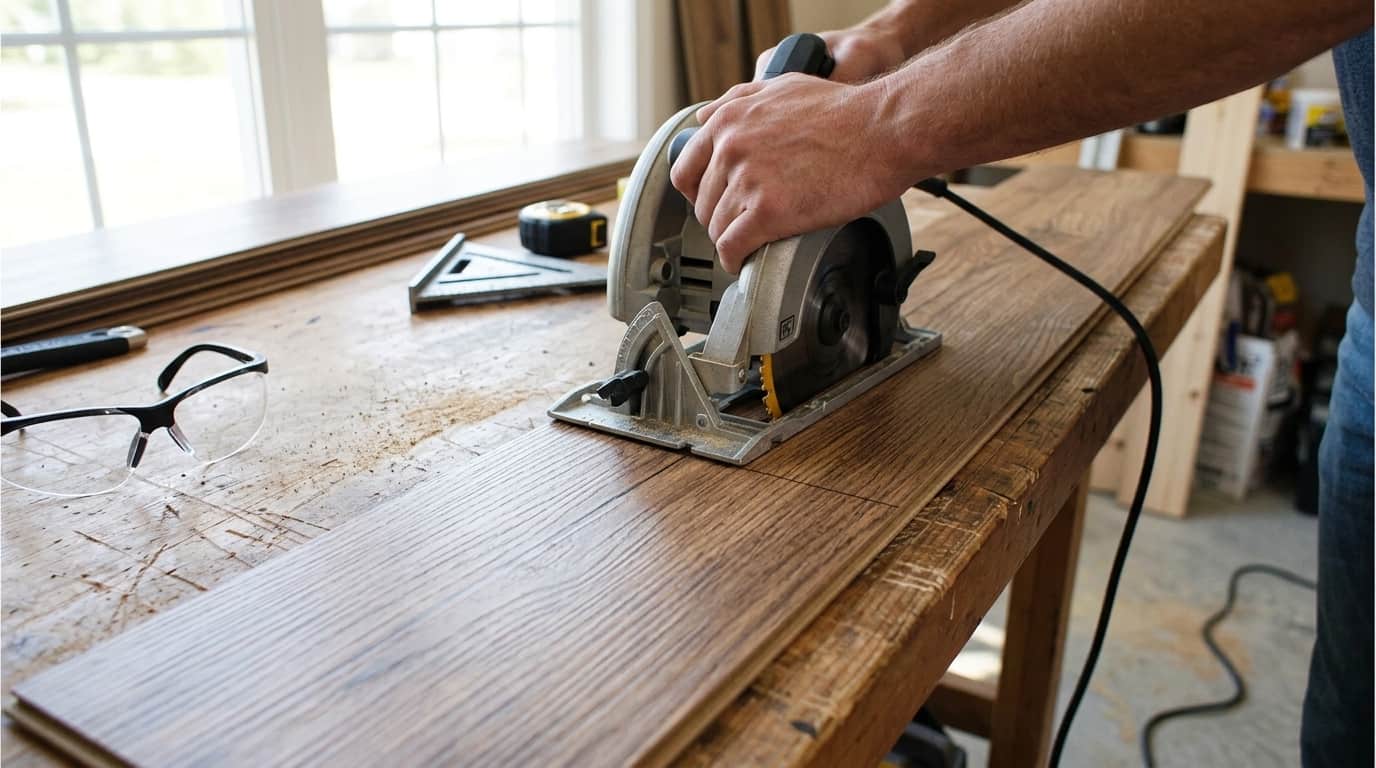
Check that your marked line is visible and clear. Position the saw blade just outside the line, on the side you’ll be removing.
For a circular saw, rest the base plate flat on the plank before starting the motor.
For a jigsaw, place the blade tip right at the edge of the plank, close to your mark. Take a moment here, as rushed setup often leads to a crooked cut.
Step 3: Make the Cut
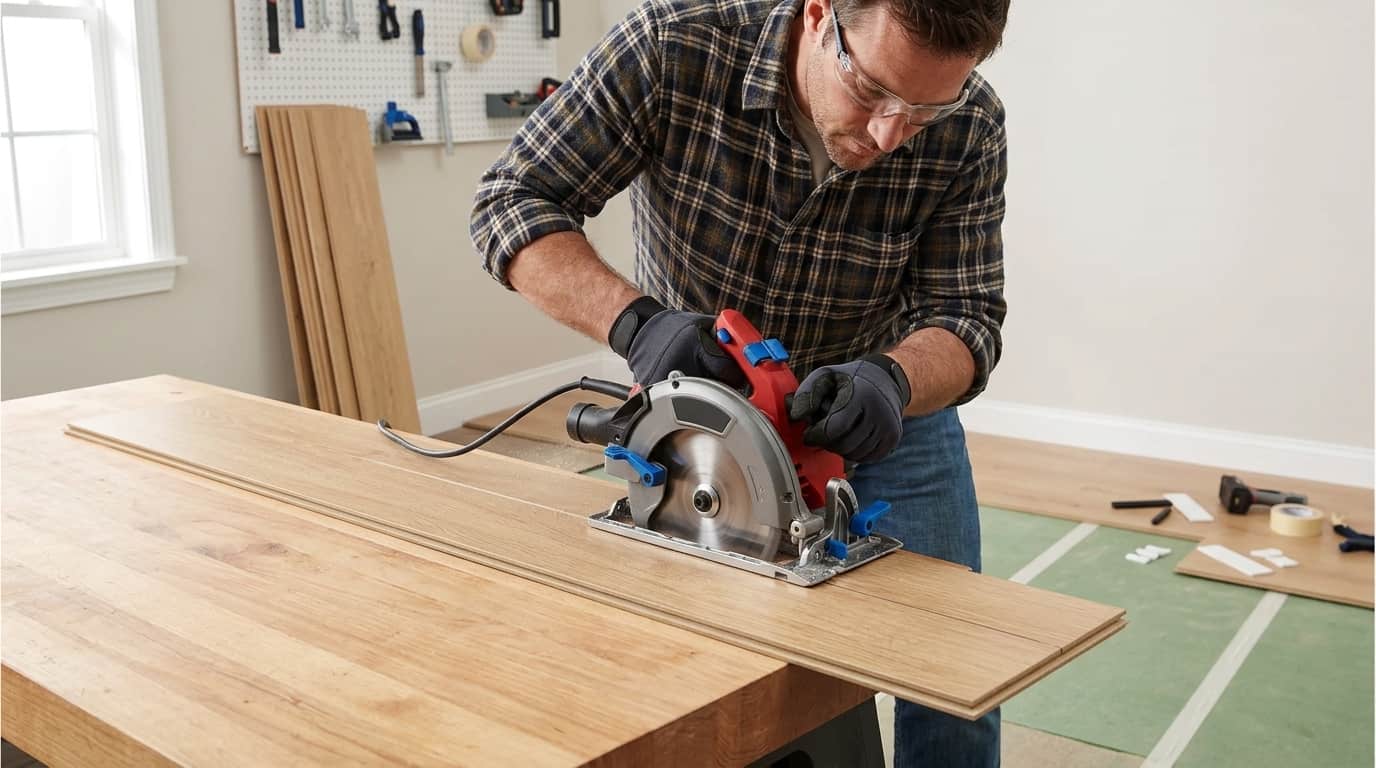
Turn on the saw and let it reach full speed before it touches the plank. Push the saw forward at a steady pace.
Let the blade do the work, which gives you a cleaner edge and puts less strain on the motor.
For curves or notches with a jigsaw, move slowly around the shape. Sharp turns need a lighter touch and shorter blade strokes.
If you’re using a manual laminate cutter, position the plank in the guide, then pull the handle down in one smooth motion. This tool doesn’t need power, so there’s no dust and no noise.
Step 4: Check the Edge
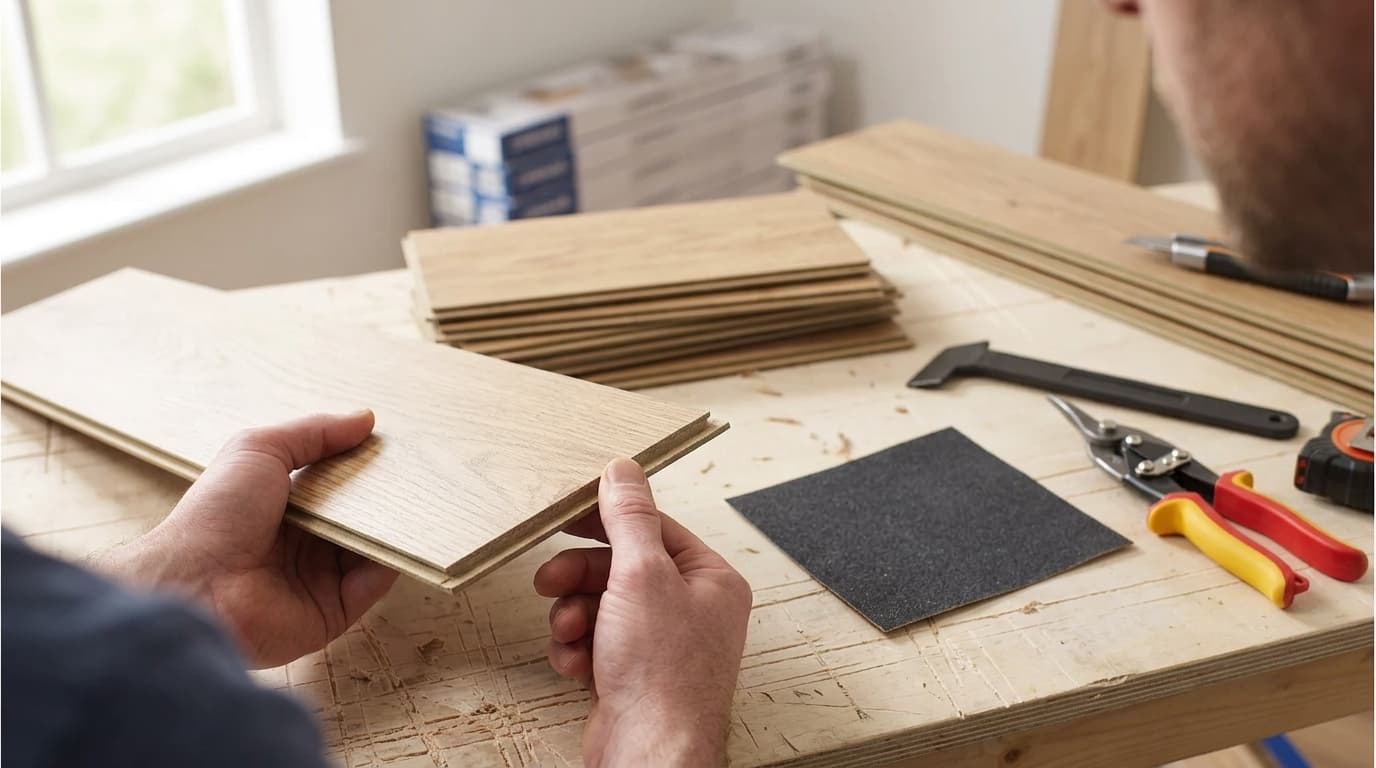
Turn off the saw and lift the plank once the cut is complete. Look closely at the cut edge for chips, splinters, or rough spots.
Small imperfections along the edge facing the wall usually won’t matter, since baseboards or trim will cover them.
A chipped edge on a visible seam calls for a light sanding with fine-grit sandpaper to smooth it out.
Step 5: Test the Fit
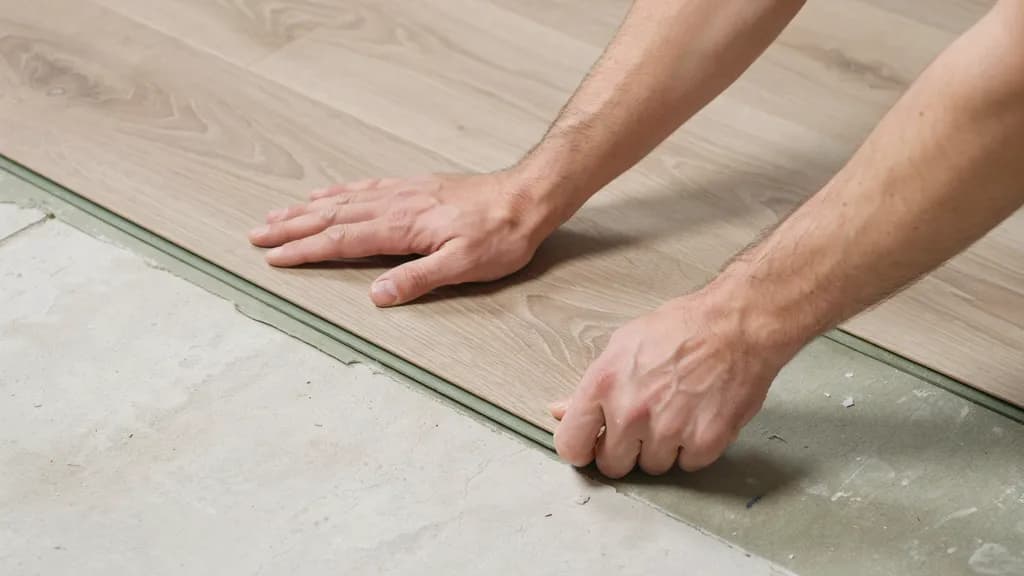
Place the cut plank into position before you commit to the final installation. Check that it clicks into the neighboring plank without gaps.
If the fit feels tight, a small trim along the edge usually solves the problem, and if there’s a gap, you may need to remeasure and cut a new piece.
It’s worth taking this extra minute, since a bad fit is harder to correct once the plank locks into place with others around it.
How to Cut Laminate Flooring Around Tricky Spots
Standard straight cuts aren’t the only challenge you’ll face. Corners, door jambs, and chip-prone edges each need their own approach.
1. Around Corners and Obstacles
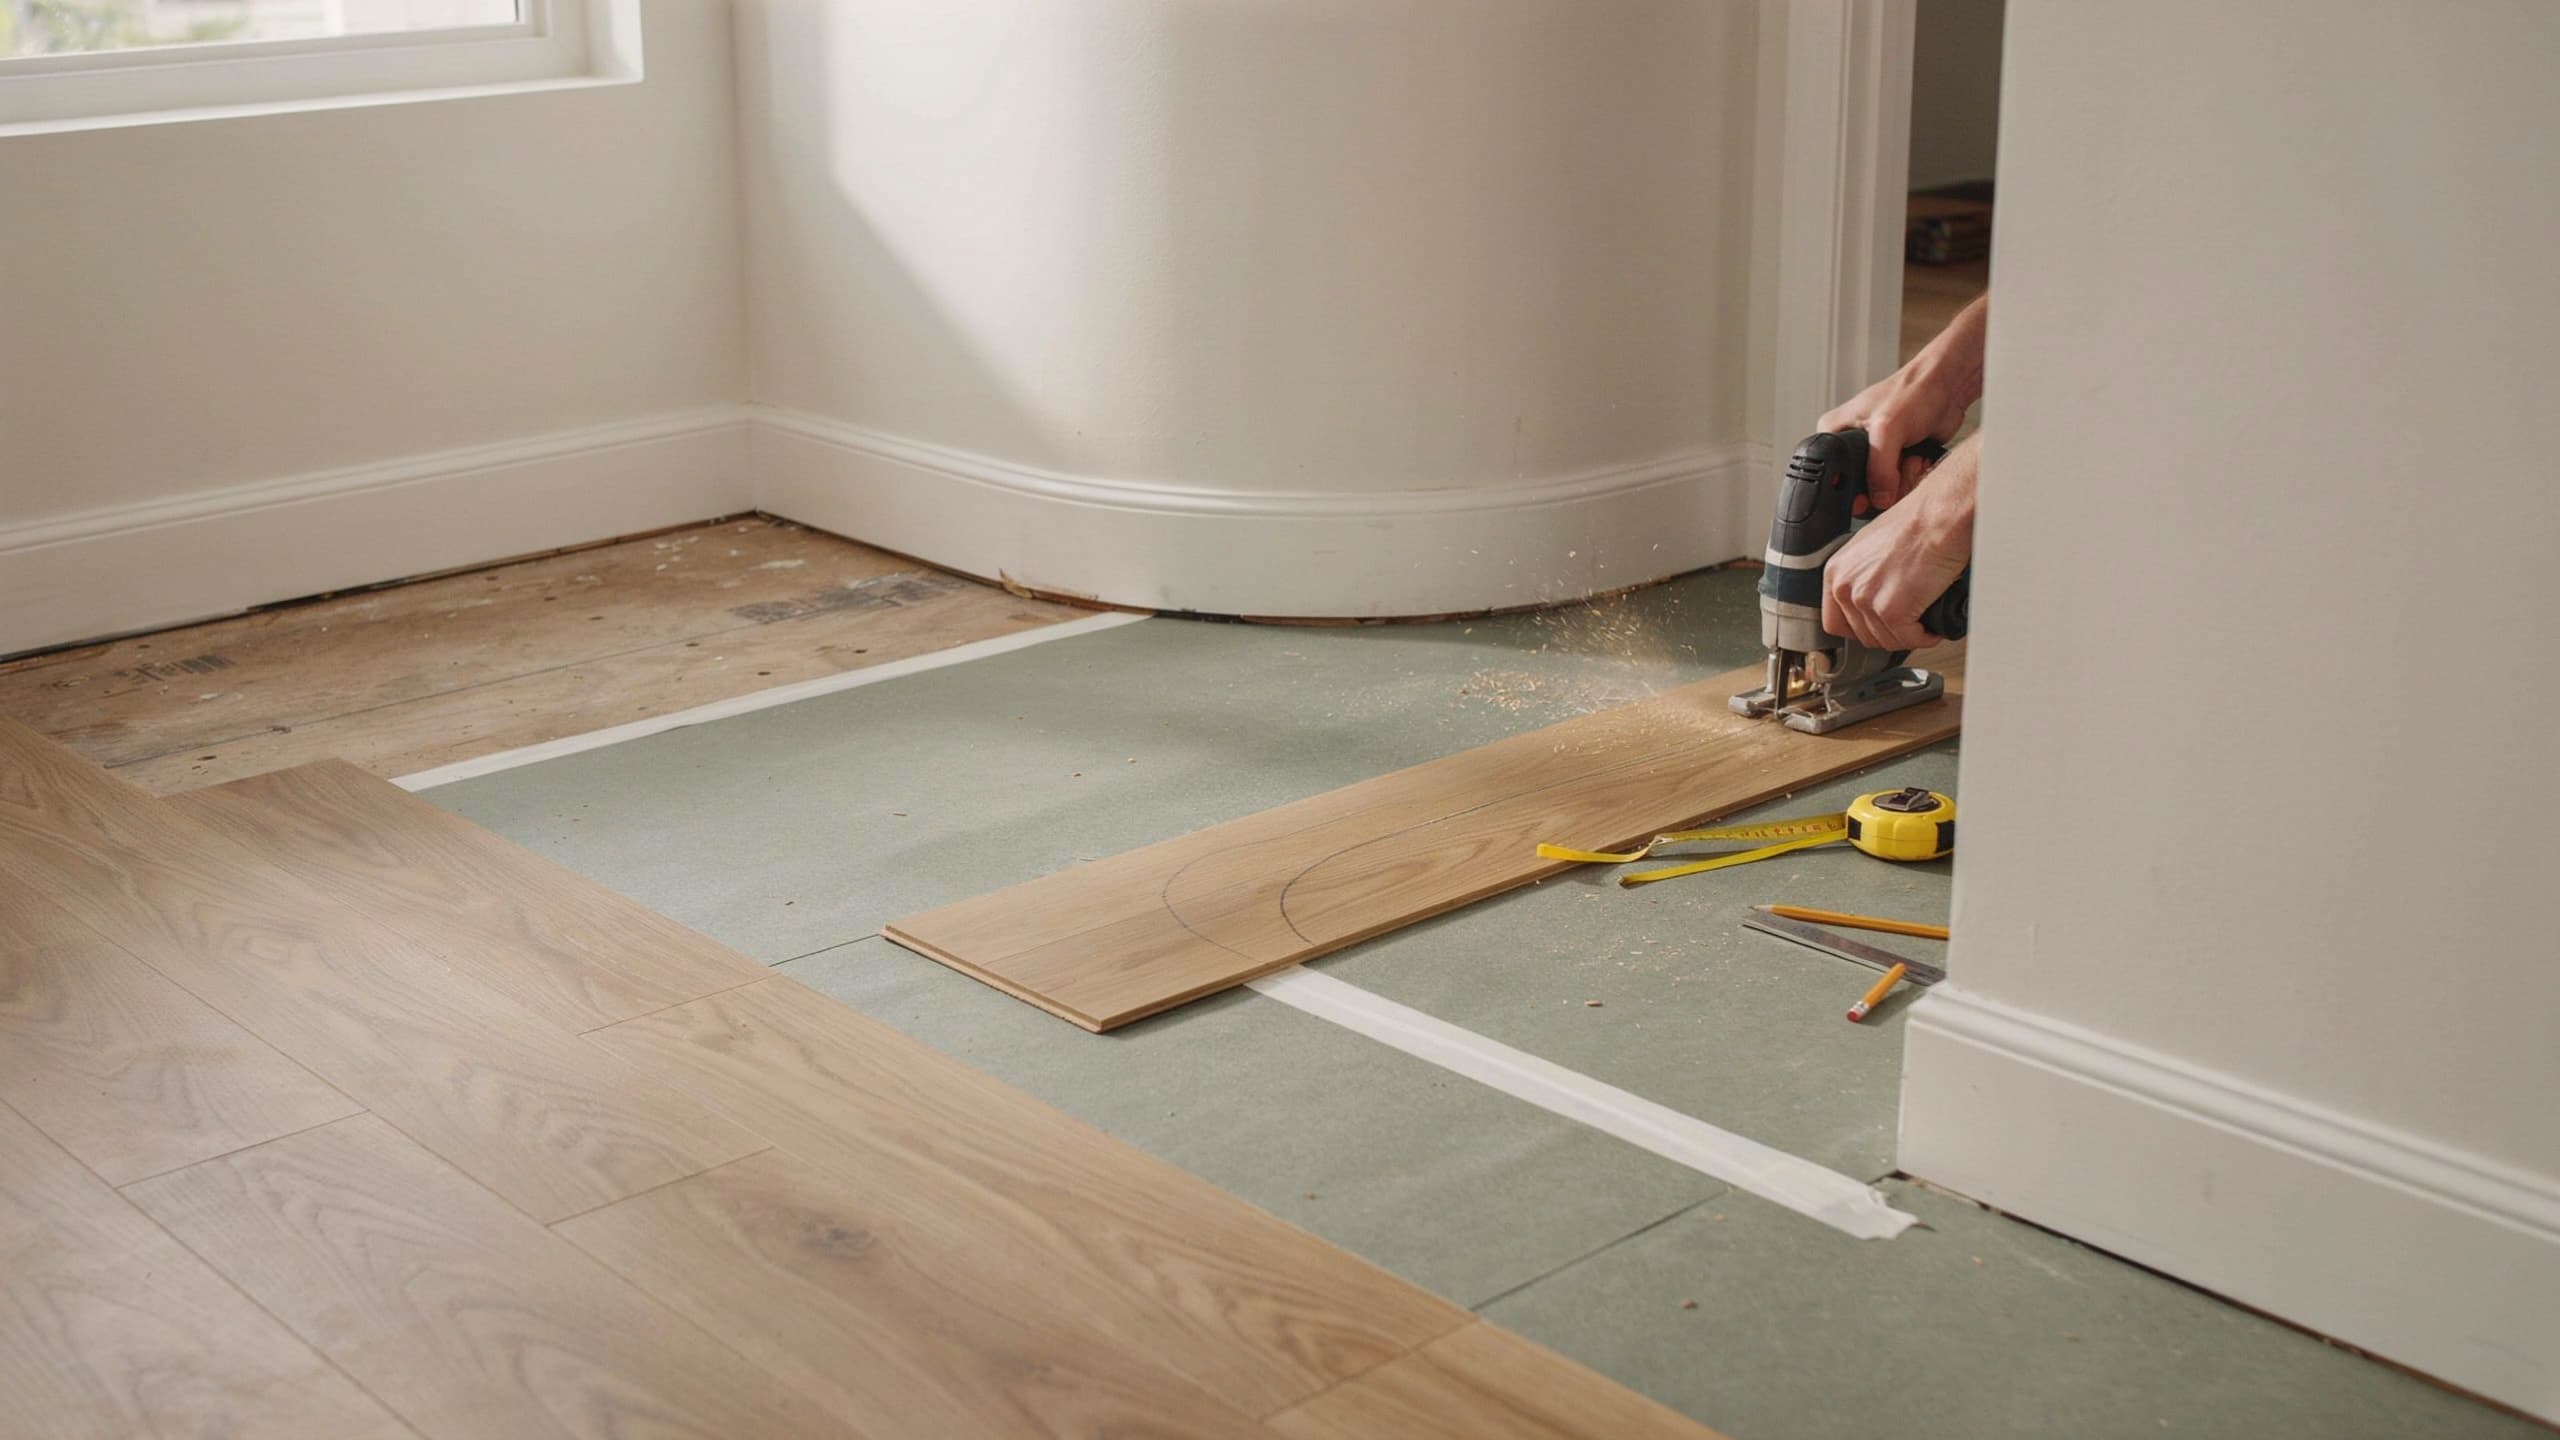
Corners rarely line up with a straight cut. For an L-shaped notch, measure both sides of the obstacle and mark the plank with a straight edge.
Use a jigsaw to cut along both lines that meet at the inside corner. Go slow at the point where the two lines meet, since this spot is prone to overcutting.
For pipes or vents, trace the shape onto the plank using a compass or a paper template. A jigsaw with a fine-tooth blade handles curved cuts better than a circular saw.
2. Without Chipping
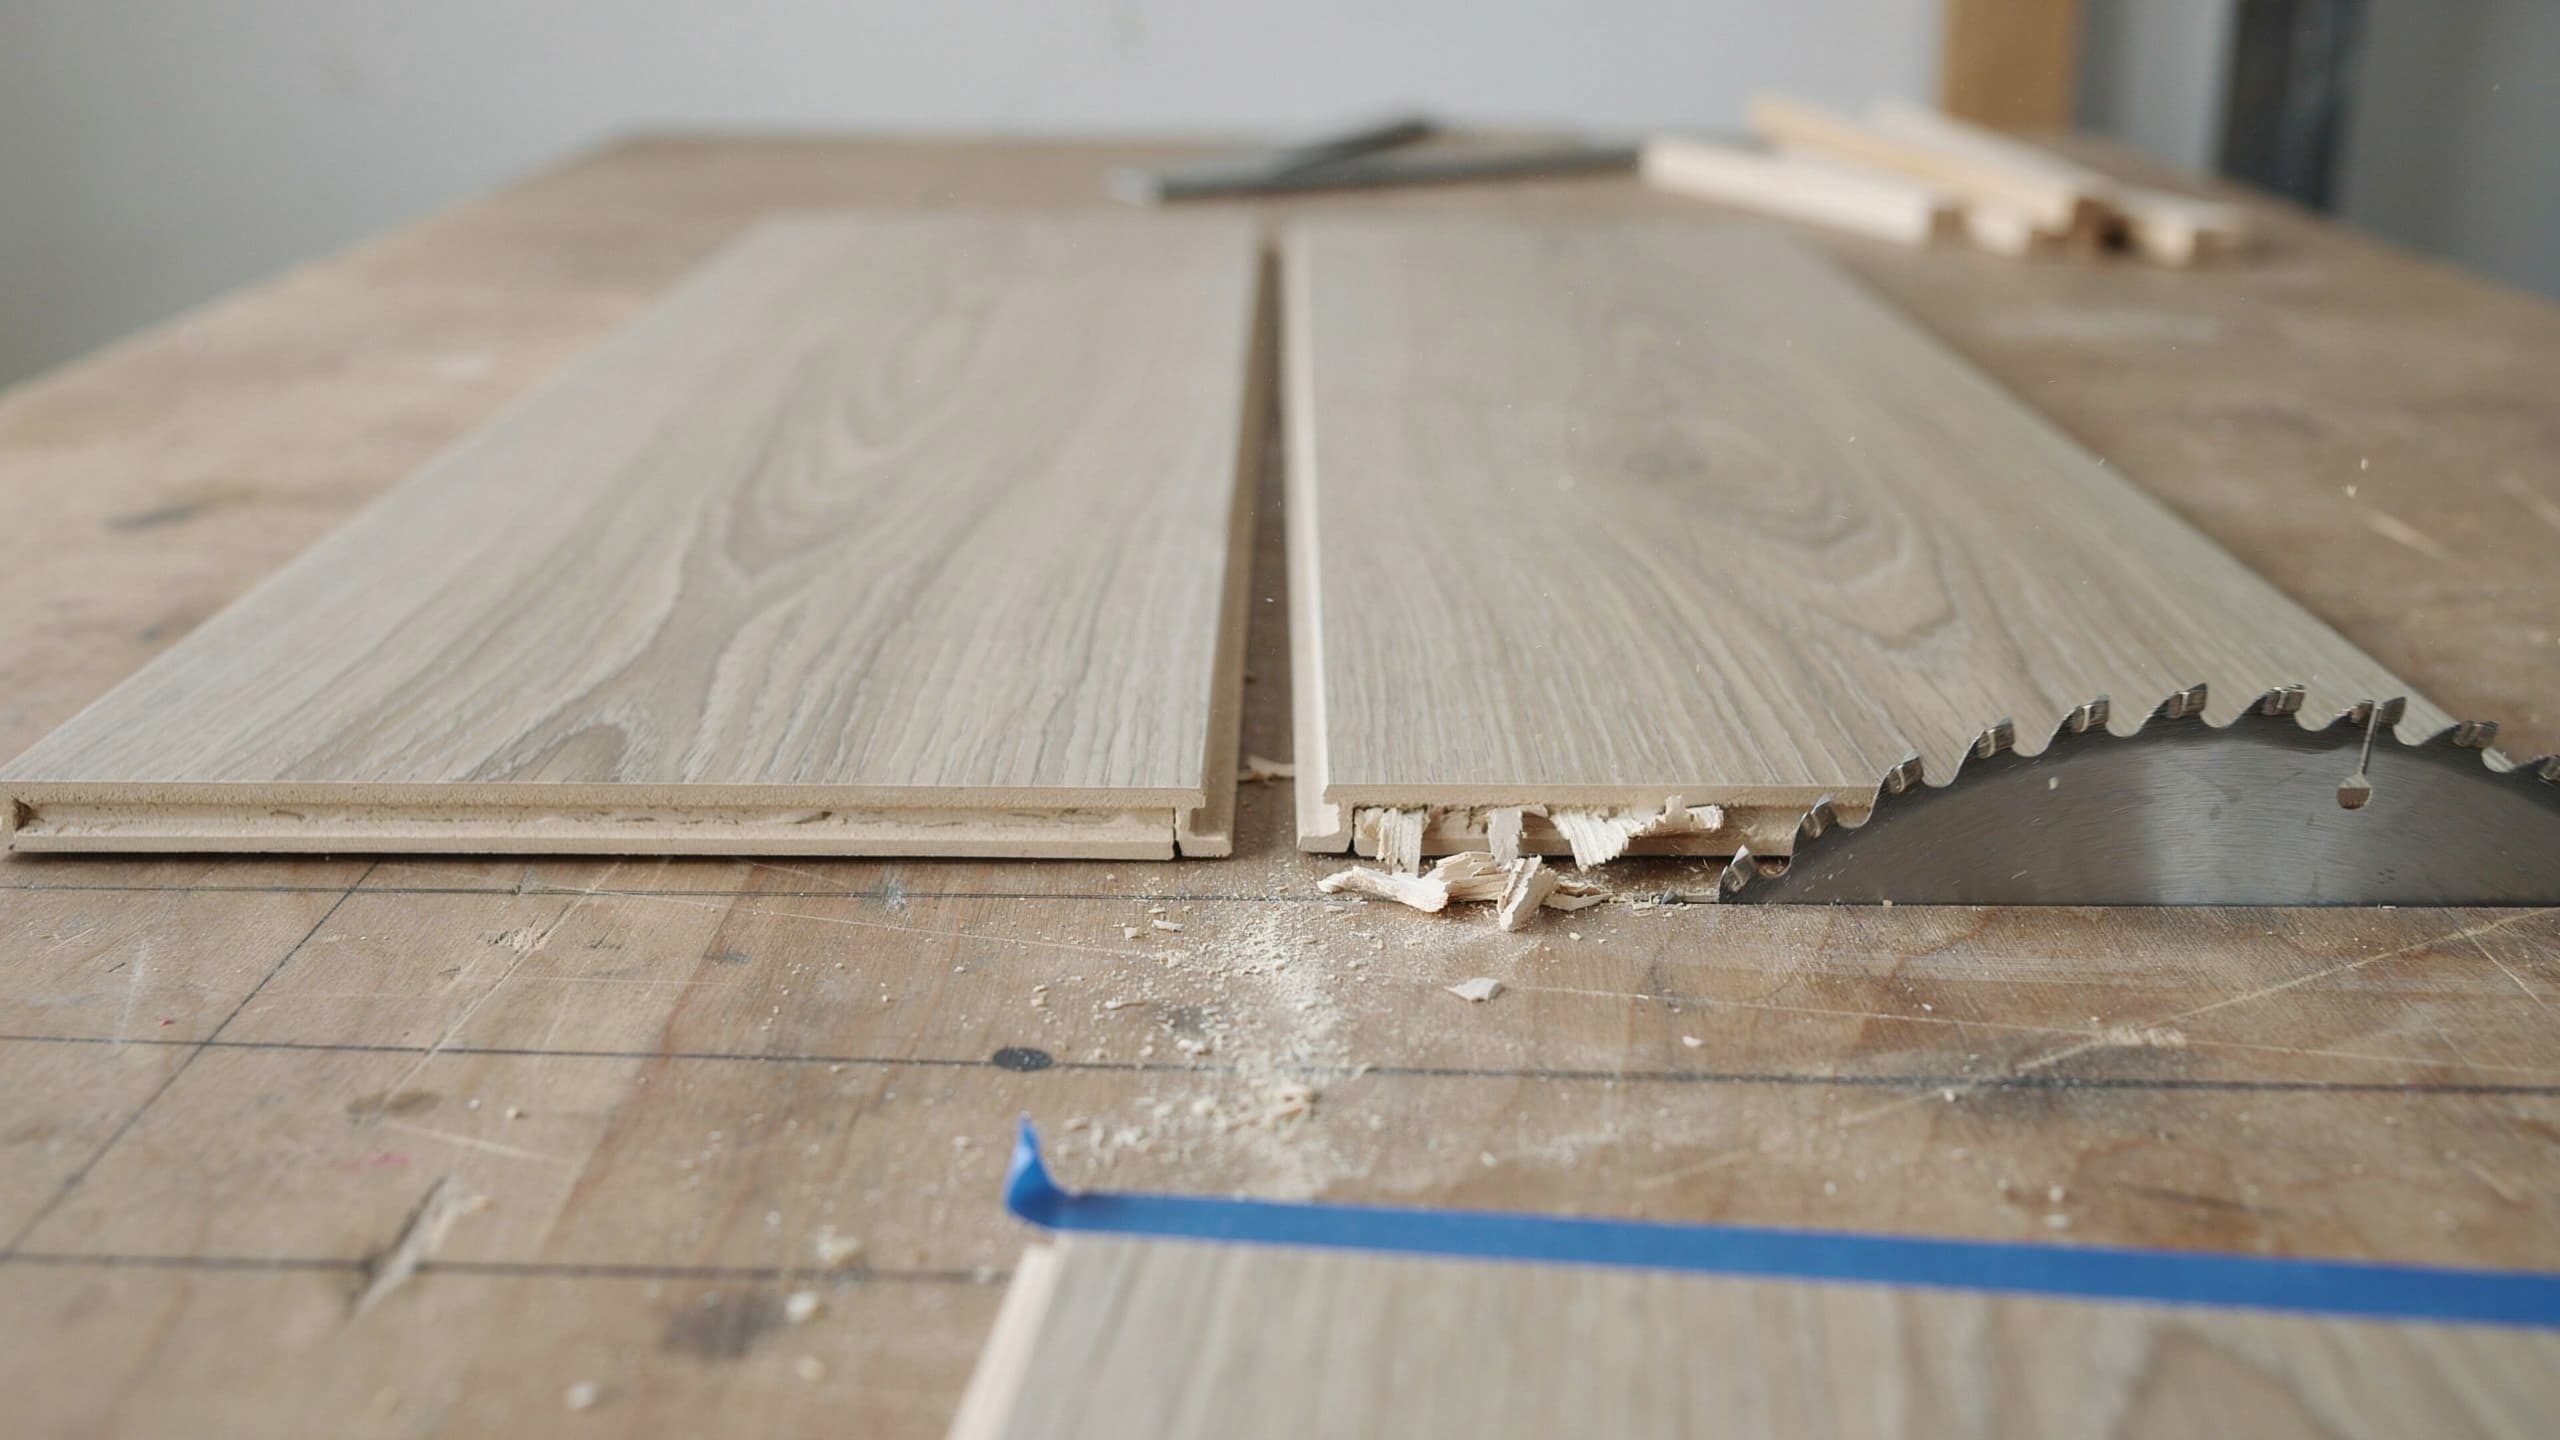
Chipping occurs when the blade tears the top layer rather than slicing it. A few habits prevent this:
- Use a laminate-grade blade with more teeth per inch than a standard wood blade.
- Aim for 60 to 80 teeth per inch on a circular saw blade, or 80 or more on a fine-tooth jigsaw blade
- Cut with the correct side up or down, based on your tool (see the earlier section on this).
- Apply painter’s tape along the cut line. This holds the surface fibers in place as the blade passes through.
- Keep a steady, even push. Stopping partway through a cut often causes a rough edge at the restart point.
3. Around Door Jambs (Two Methods)
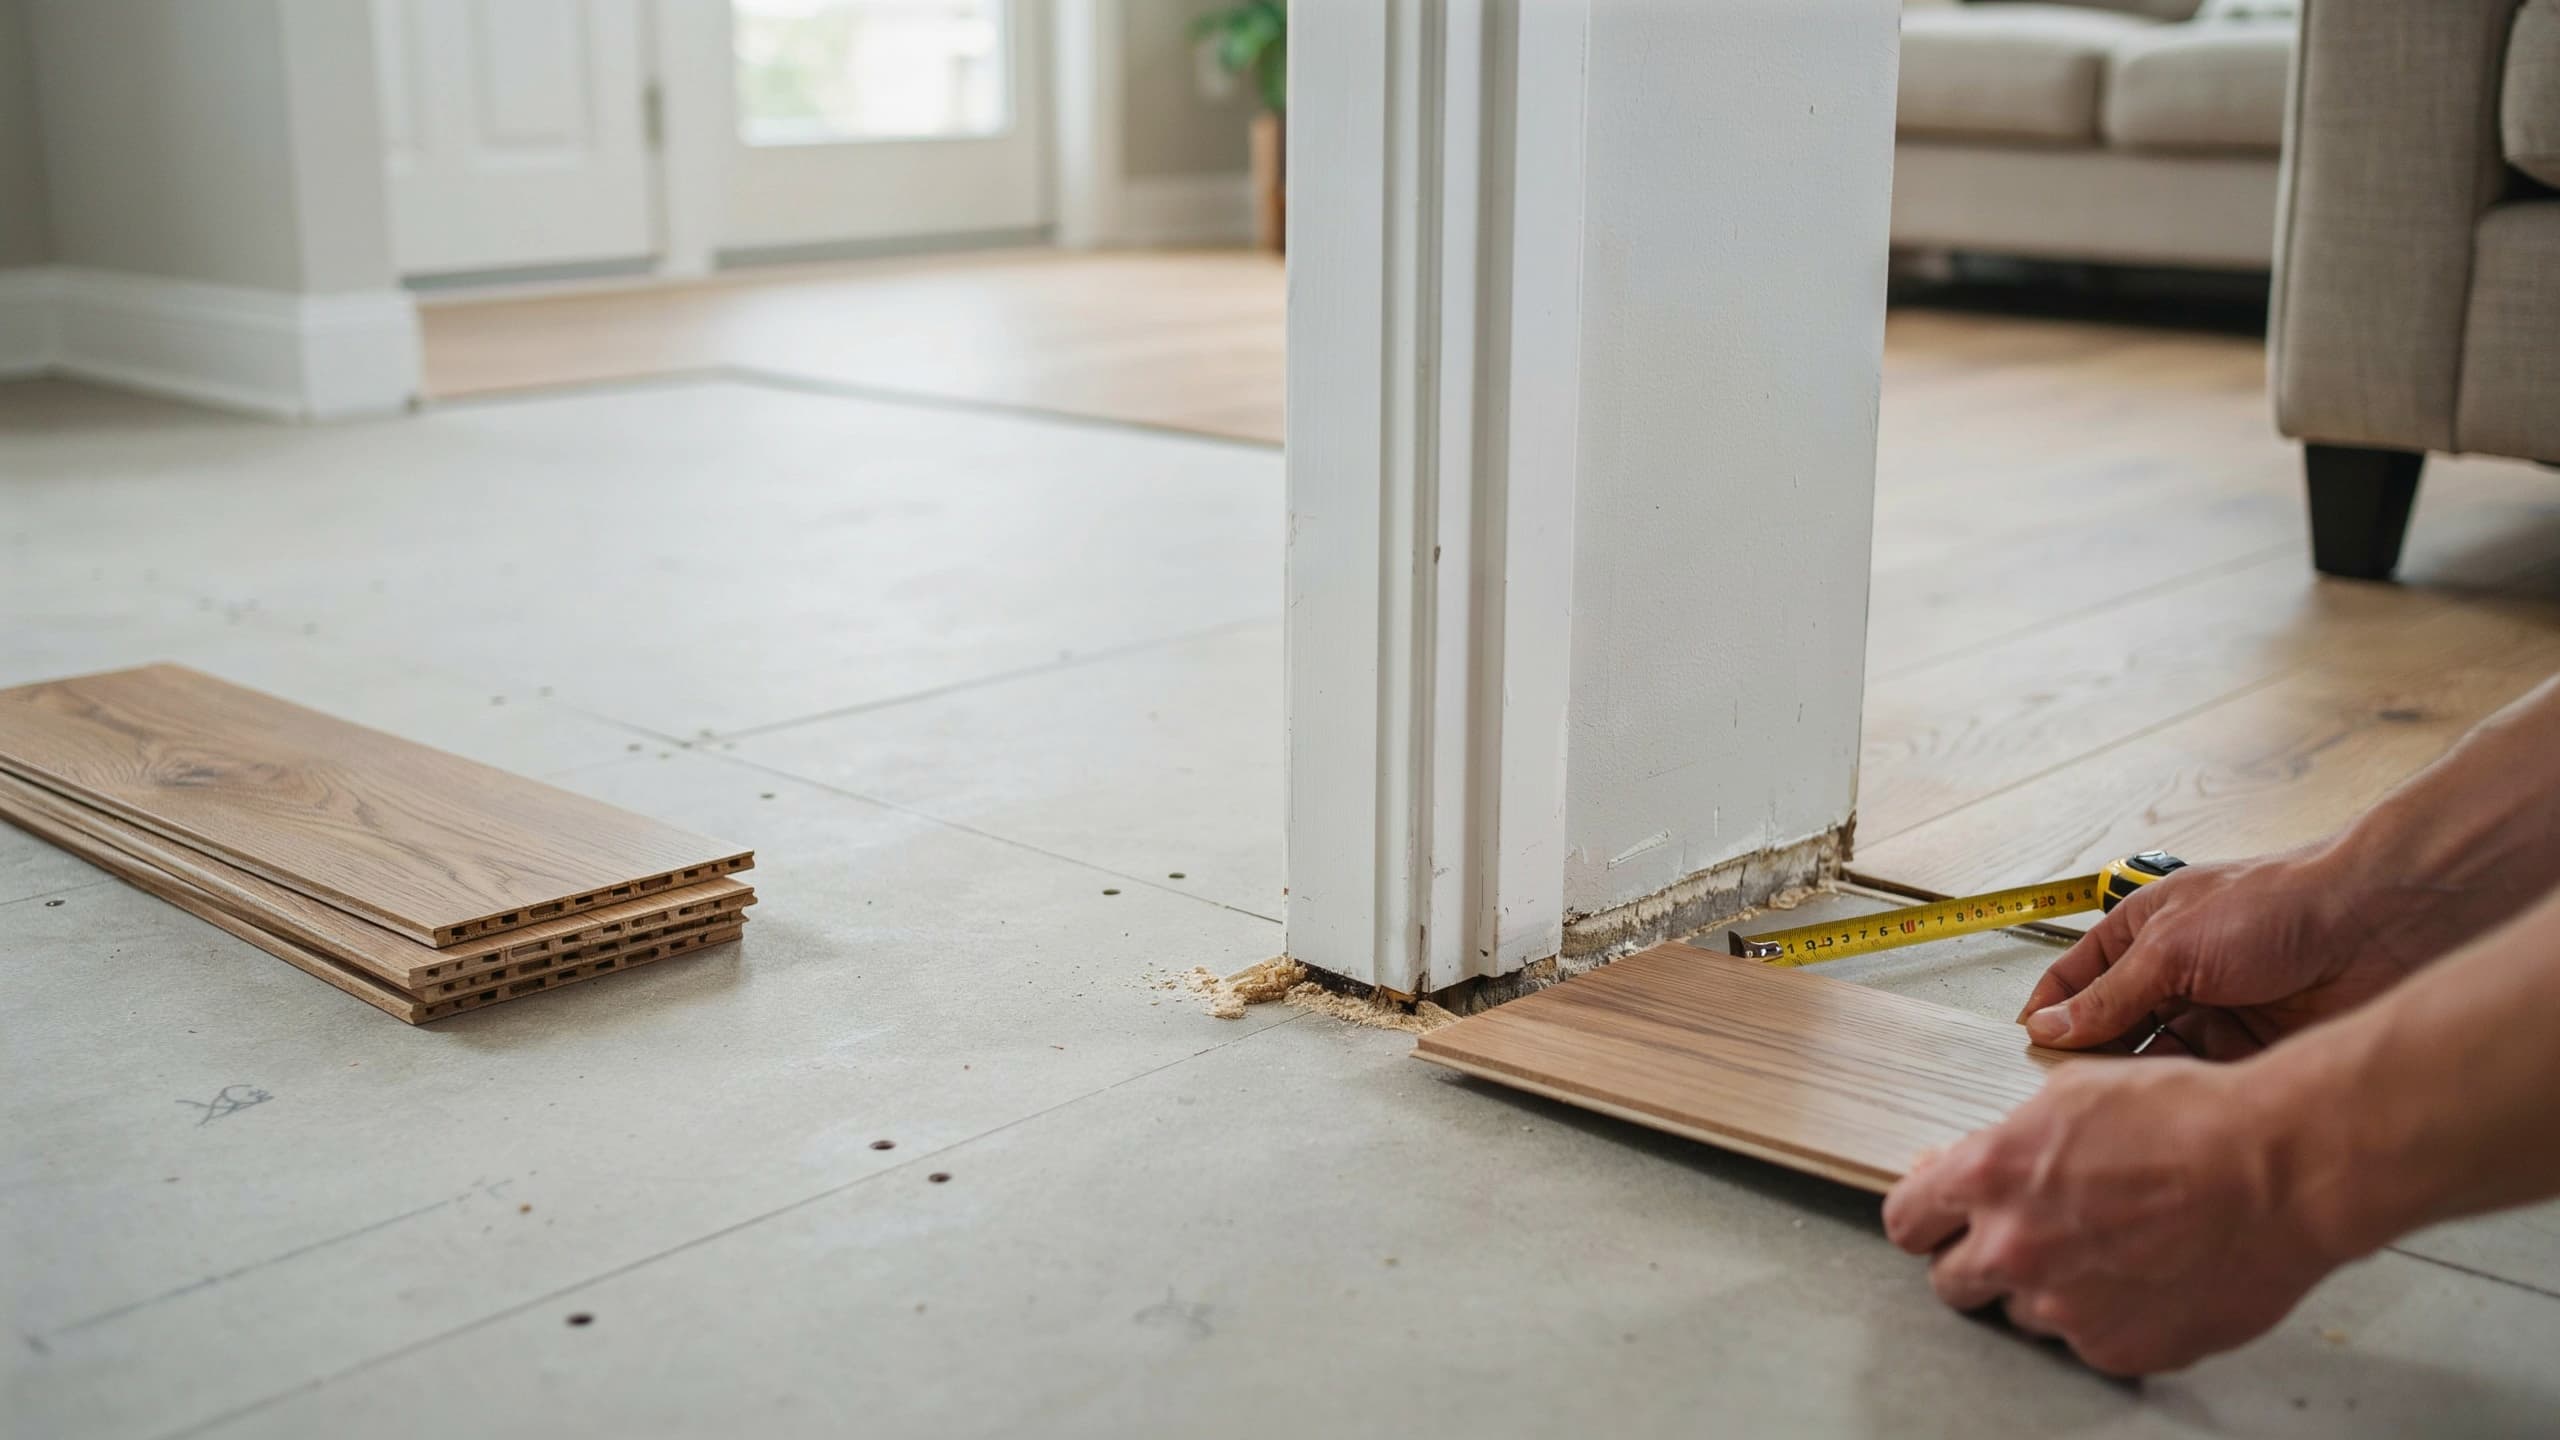
Door jambs create a tricky gap where flooring needs to slide underneath. Two methods work well here.
This kind of precise trim work comes up throughout interior finishing projects, including when you panel a wall for a feature design.
Method 1: Undercut the Jamb
Place a scrap piece of plank flat on the subfloor, next to the jamb. Use a handsaw or an oscillating tool to cut the jamb at the same height as the plank.
This lets the flooring slide underneath cleanly, with no visible gap.
Method 2: Notch the Plank
Measure the exact shape of the jamb and trim the plank to fit around it instead. This takes more precise marking but skips cutting into the door frame itself.
Undercutting the jamb usually gives a cleaner look. Notching the plank is faster if you’d rather not touch the door frame.
Common Mistakes When Cutting Laminate Flooring
Even simple cuts can go wrong. Here are the mistakes people most often run into and how to avoid them.
| Mistake | Why It Happens | How to Fix It |
|---|---|---|
| Cutting the wrong side up | Confusing which side to face up for the tool being used | Check your tool type first, then follow the correct orientation for that saw. |
| Skipping the expansion gap | Rushing the measurement step | Always leave about 3/8 inch of space along the wall. |
| Forcing the saw through the plank | Trying to cut too fast | Let the blade set the pace and push gently. |
| Using a dull or wrong blade | Reusing a standard wood blade on laminate | Use a fine-tooth blade made for laminate material. |
| Not supporting the plank fully. | Letting one end of the plank hang off the work surface | Support both sides of the cut line before starting. |
| Measuring once and cutting immediately | Overconfidence in the first measurement | Measure twice, especially near corners and doorways. |
| Ignoring safety gear | Treating the cut as a quick, minor task | Wear glasses, a dust mask, and ear protection every time. |
Safety Tips When Cutting Laminate Flooring
Cutting laminate flooring is simple, but a few safety habits keep the job accident-free.
- Wear safety glasses: Small chips and dust can fly up during a cut, especially with a circular saw or table saw.
- Use ear protection: Power tools run loud for long stretches, and repeated exposure adds up over a full flooring job.
- Wear a dust mask: Cutting laminate creates fine dust that can irritate your lungs, especially indoors with poor airflow.
- Keep your hands clear of the blade path: Never hold the plank close to where the blade will pass through.
- Unplug the saw before changing blades: This simple habit prevents accidental startups while your hands are near the blade.
- Work in a well-lit area: Good lighting helps you see the marked line clearly and avoid a crooked or unsafe cut.
- Keep kids and pets away from the work area: Loose dust, sharp offcuts, and power tools don’t mix well with curious hands or paws.
Following these steps protects you and keeps the plank cutting process smooth from start to finish.
Conclusion
Cutting laminate flooring comes down to the right tool, the correct side, and careful measuring.
Once you understand the basics, every cut becomes easier. Measure carefully and use the right blade to avoid wasted planks and rough edges.
Whether cutting one plank or a full room, the same basic techniques apply.
If laminate is heading down a hallway or staircase landing, it’s worth planning the layout early, since those spaces often call for their own design ideas.
With the right prep and a steady hand, cutting laminate flooring becomes a straightforward part of any flooring project, not the hardest part of it.
Frequently Asked Questions
How Do Professionals Cut Laminate Flooring?
Professionals combine accurate measurements with the right tool for each cut, then test on scrap before cutting the actual plank.
Can You Cut Laminate Flooring Without Power Tools?
Yes. A laminate cutter, utility knife, or fine-tooth hand saw all work well without power tools, though larger jobs take more time this way.
Why Does My Laminate Flooring Cut Look Uneven After Installation?
Uneven cuts usually come from inaccurate measurements, a dull blade, or the plank shifting mid-cut. Secure the board and use a fresh laminate blade.
Can You Cut Laminate Flooring That’s Already Installed?
Yes. Mark a chalk line, plunge-cut with a circular saw set to board depth, and let the blade fully stop before pulling it out.