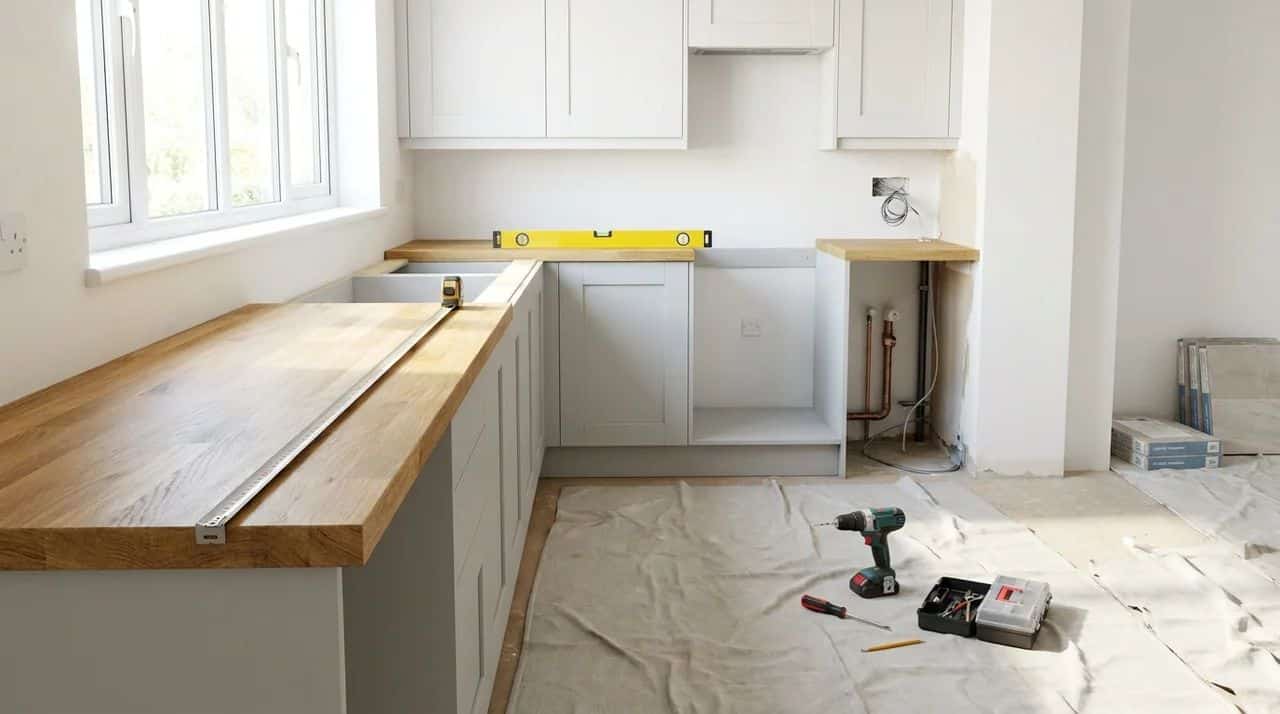

Learning how to fit a kitchen yourself feels like a big job, but it breaks down into manageable stages once you know the order.
After walking owners through countless installs, I have seen results always come down to three things: accurate measurements, a solid plan, and patience with details.
Wall cabinets, base units, worktops, and appliances each have a place in the sequence.
This blog walks you through every stage, from prep work to the last coat of sealant, so your kitchen turns out right.
Can You Fit a Kitchen Yourself?
Yes, fitting your own kitchen is realistic when the layout is simple, and you already have some basic DIY experience.
Before starting, it is important to understand the skills involved. You should be comfortable with accurate measurement, using tools such as a drill, spirit level, and saw, and carefully following installation instructions.
Keeping cabinets level is one of the most important parts of the process. Even a small error can affect the alignment of doors, drawers, and worktops.
Tasks suitable for DIY include installing wall and base cabinets, fitting handles and hinges, adding end panels and plinths, installing trim pieces, and setting up storage features
However, some work is better left to professionals, including gas connections, electrical changes, major plumbing adjustments, and cutting stone or quartz worktops.
Good preparation is key to achieving a neat finish. Measuring carefully, checking levels, and planning each stage before installation can help avoid costly mistakes.
Tools and Materials Needed
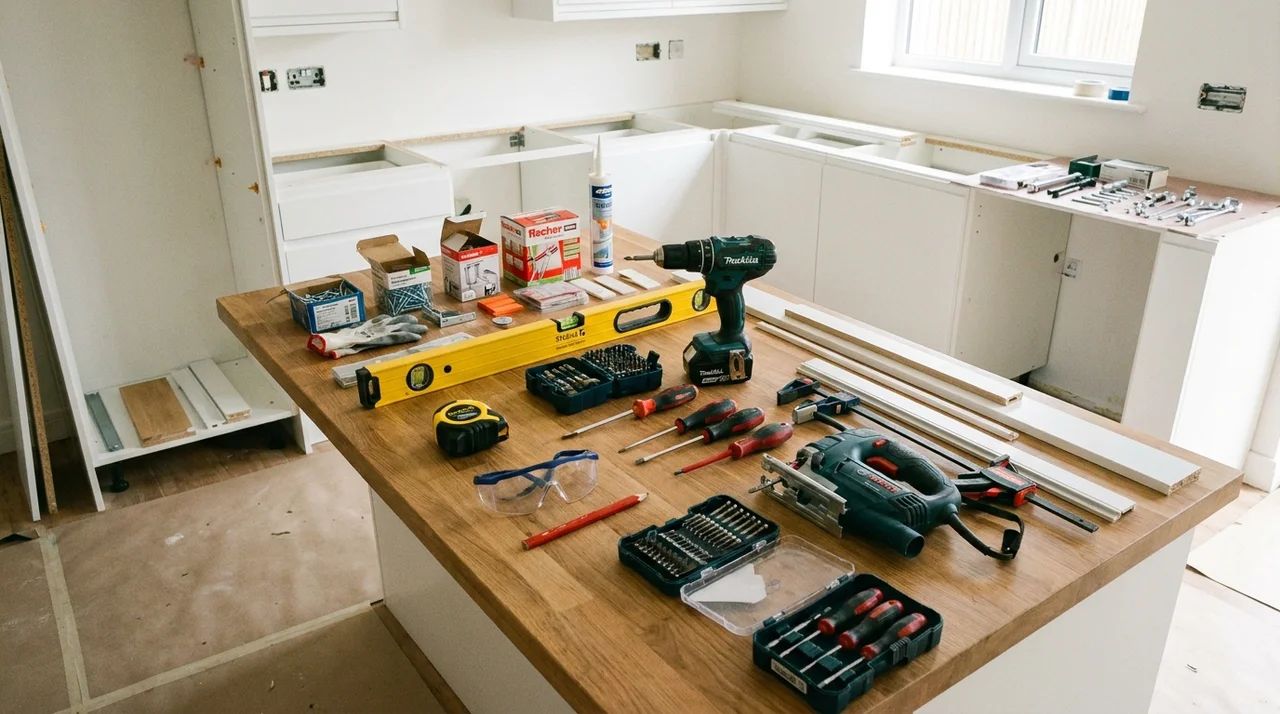
Gather all the tools and materials before you begin. Having everything ready will make the process quicker, easier, and safer.
| Category | Items Needed | Purpose |
|---|---|---|
| Measuring & Marking Tools | Tape measure, spirit level, pencil | Measure spaces accurately and keep cabinets straight and properly aligned |
| Installation Tools | Drill, drill bits, screwdrivers, jigsaw, clamps | Drill holes, secure cabinets, make adjustments, and hold pieces in place during installation |
| Safety Equipment | Safety goggles, gloves | Protect your eyes and hands while cutting, drilling, and handling materials |
| Fixing Materials | Cabinet screws, wall brackets, suitable wall fixings | Secure cabinets safely based on the cabinet design and wall type |
| Leveling Materials | Shims | Adjust cabinet height and correct uneven walls or floors for a level finish |
| Adhesives & Sealants | Wood adhesive, silicone sealant | Strengthen joints and protect moisture-prone areas from water damage |
| Finishing Pieces | Trims, plinths, end panels | Cover gaps, create a finished appearance, and complete the cabinet installation |
Prepare the Kitchen Space
Proper room preparation helps cabinets fit correctly and reduces delays during installation. Complete these checks before starting any fitting work.
- Clear the room: Remove old cabinets, appliances, worktops, and loose fixtures.
- Repair the walls: Fill cracks, holes, and damaged areas before installation.
- Check walls and floors: Make sure surfaces are level so base cabinets sit evenly.
- Mark utility points: Locate and mark all plumbing and electrical connections.
- Confirm measurements: Recheck the room dimensions and cabinet layout before fitting begins.
How to Fit a Kitchen Step by Step
Fitting a kitchen becomes easier when the work is completed in the correct order. Follow these steps carefully to keep cabinets level, appliances aligned, and the final finish neat.
Step 1: Plan the Layout and Mark Positions
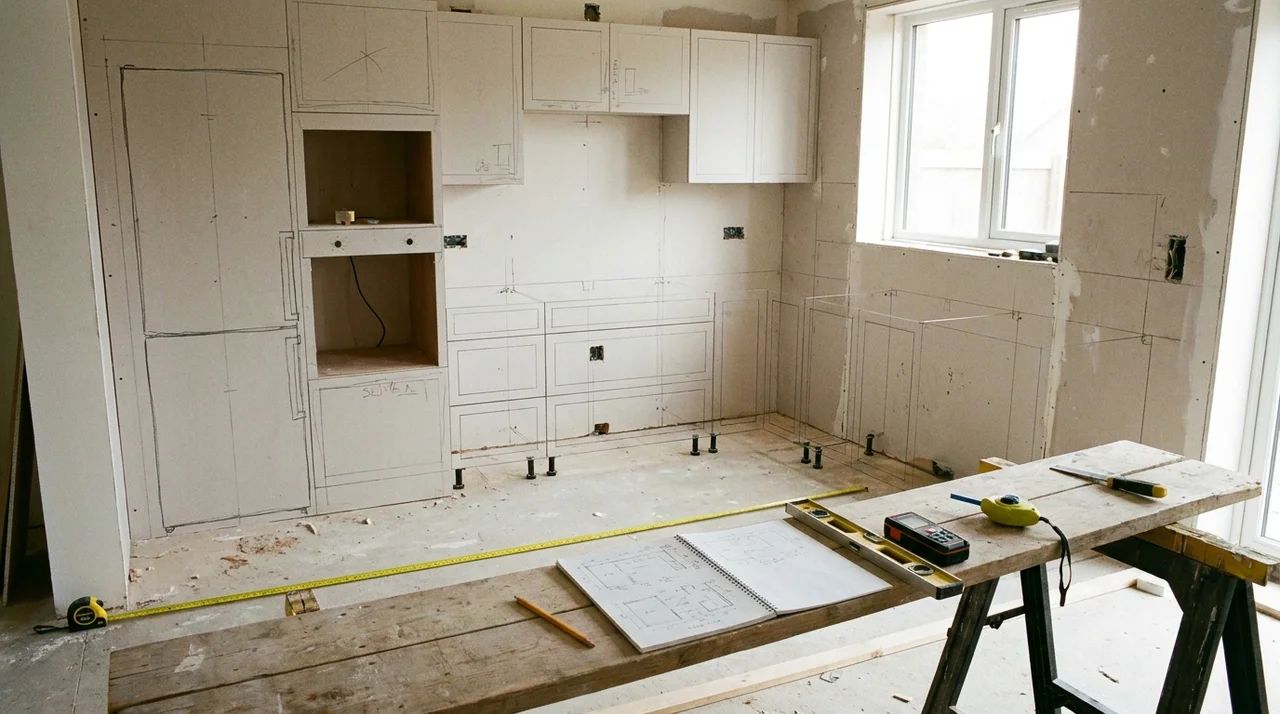
Start by confirming exactly where each cabinet will go.
Mark the positions of wall cabinets, base units, and appliances directly on the wall using a pencil and a tape measure. Check that appliance doors, cabinet doors, and drawers all have enough room to open fully without hitting each other.
A well-thought-out layout improves how the kitchen functions day-to-day and prevents costly changes once fitting has started.
Step 2: Install Wall Cabinets First
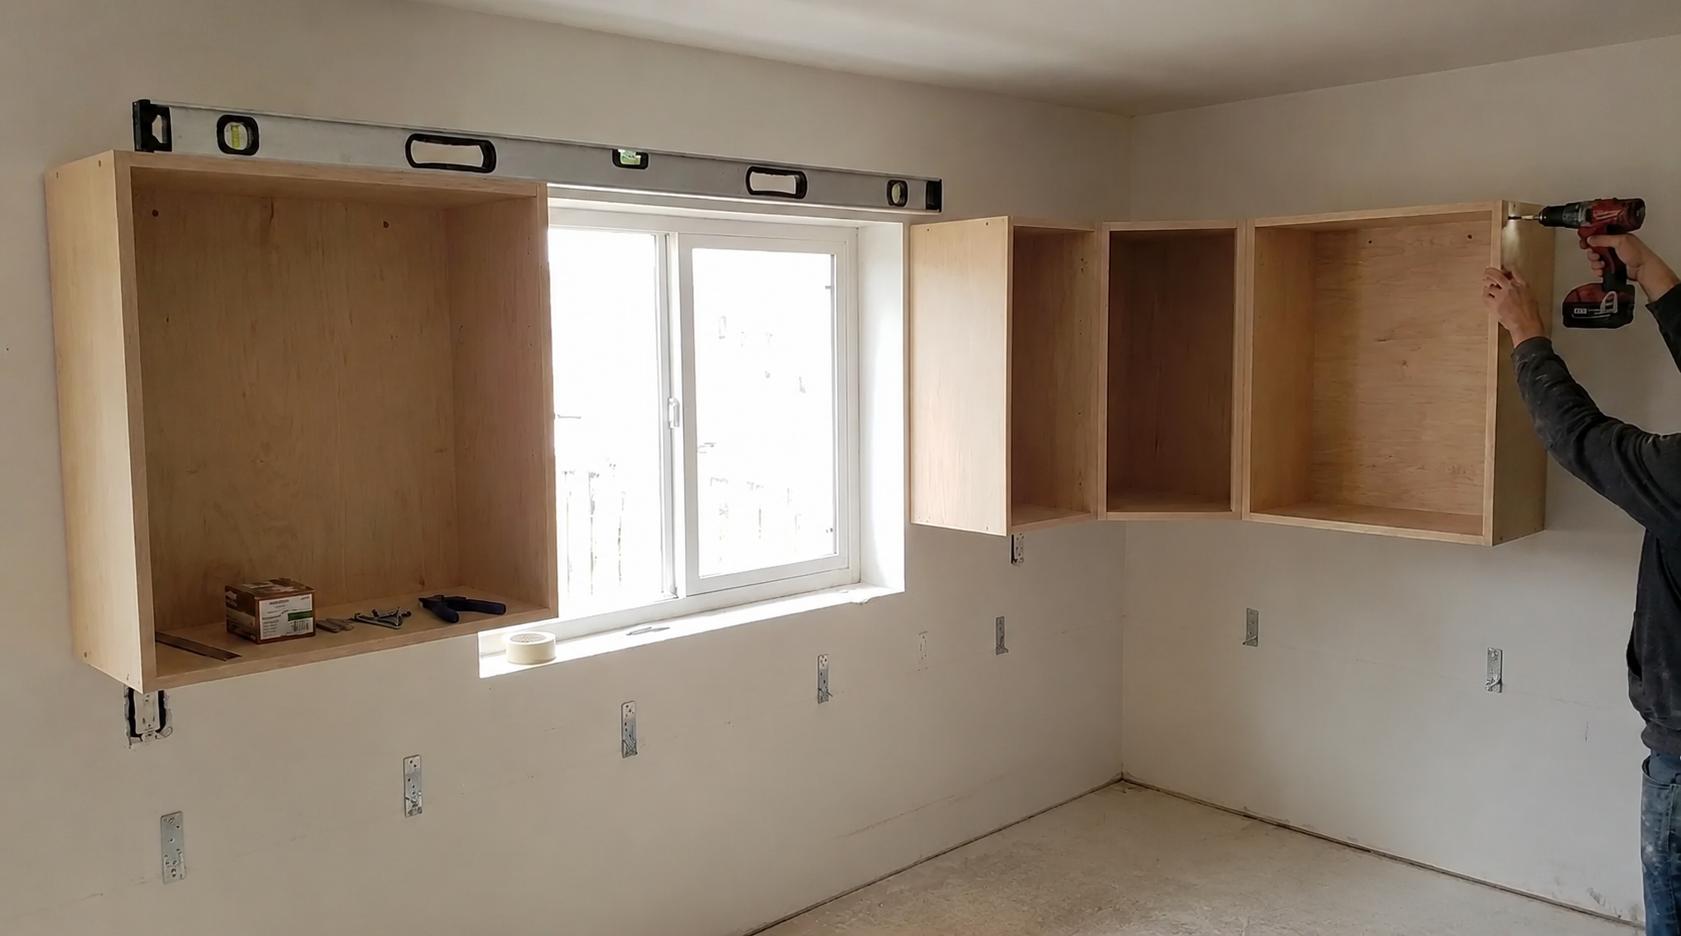
Draw a level horizontal line across the wall at your chosen cabinet height.
Fix mounting rails or brackets along this line. Then hang your wall cabinets, checking each one is level before moving to the next. Join cabinets together using connecting bolts to keep them aligned.
Always fit wall cabinets before base units. Working above empty floor space reduces the risk of scratching or damaging base cabinets during installation.
Step 3: Fit Base Cabinets
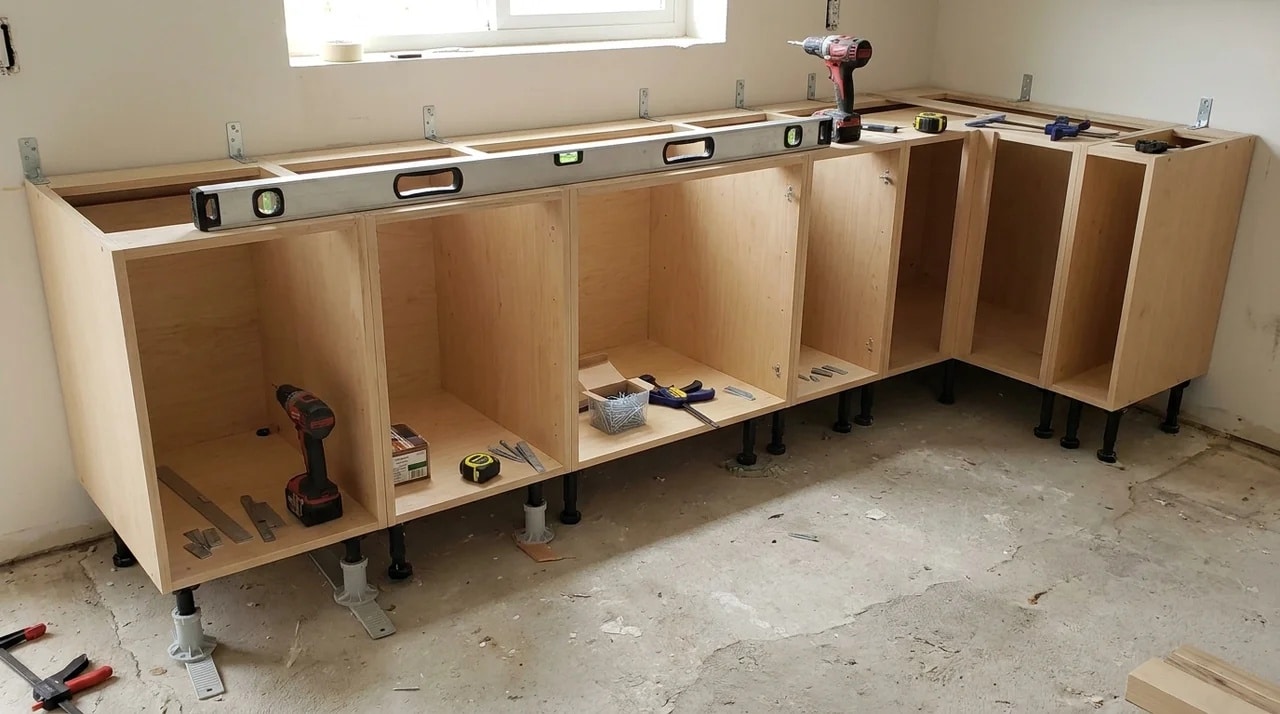
Position your base cabinets according to your marked layout.
Most base units have adjustable legs underneath. Use these to level each cabinet carefully, checking with a spirit level in both directions. Once level, connect the cabinets and secure them to the wall.
Fitting base cabinets on an uneven floor without adjusting the legs can cause problems with door, drawer, and worktop alignment later on.
Step 4: Install Worktops
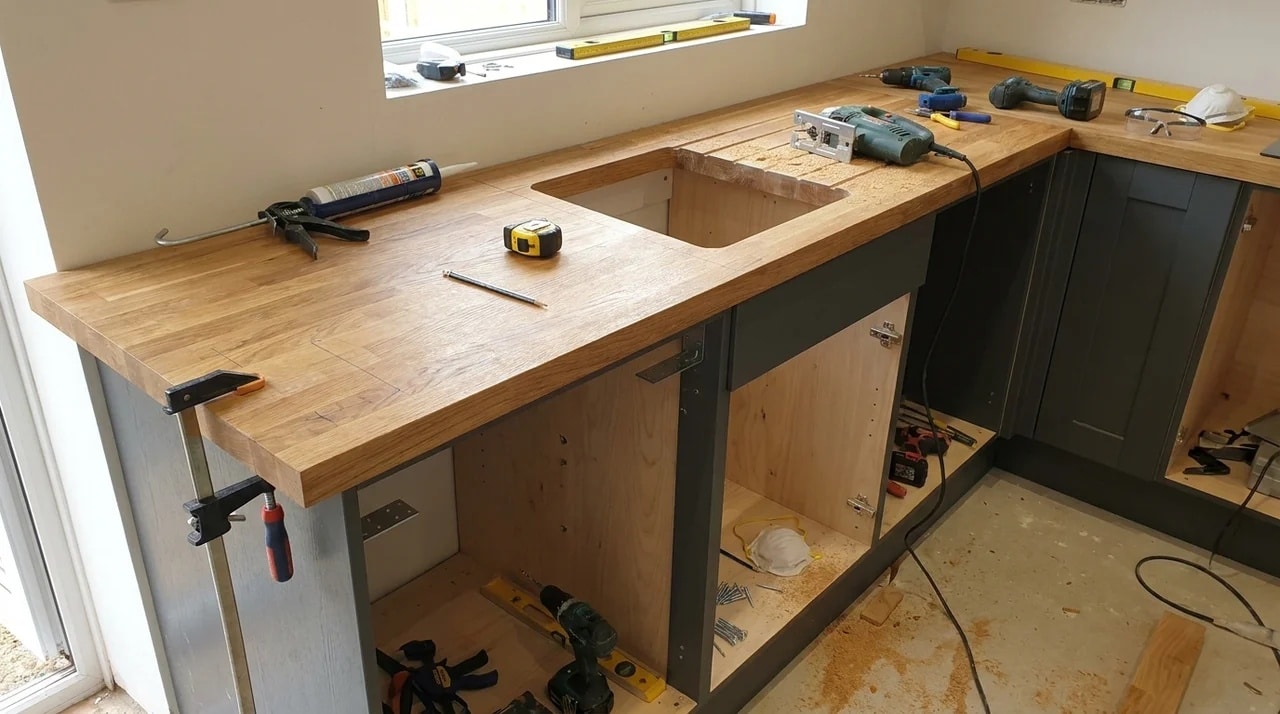
Measure your worktop run carefully before making any cuts.
Mark and cut openings for your sink and hob using a jigsaw. Seal all cut edges to prevent moisture from getting into the material. Securely fix the worktop from underneath using the fixing points inside the cabinets.
Stone worktops, including quartz and granite, need specialist cutting equipment and are best left to a professional templater and installer.
Step 5: Fit Sink, Appliances, and Finishing Details
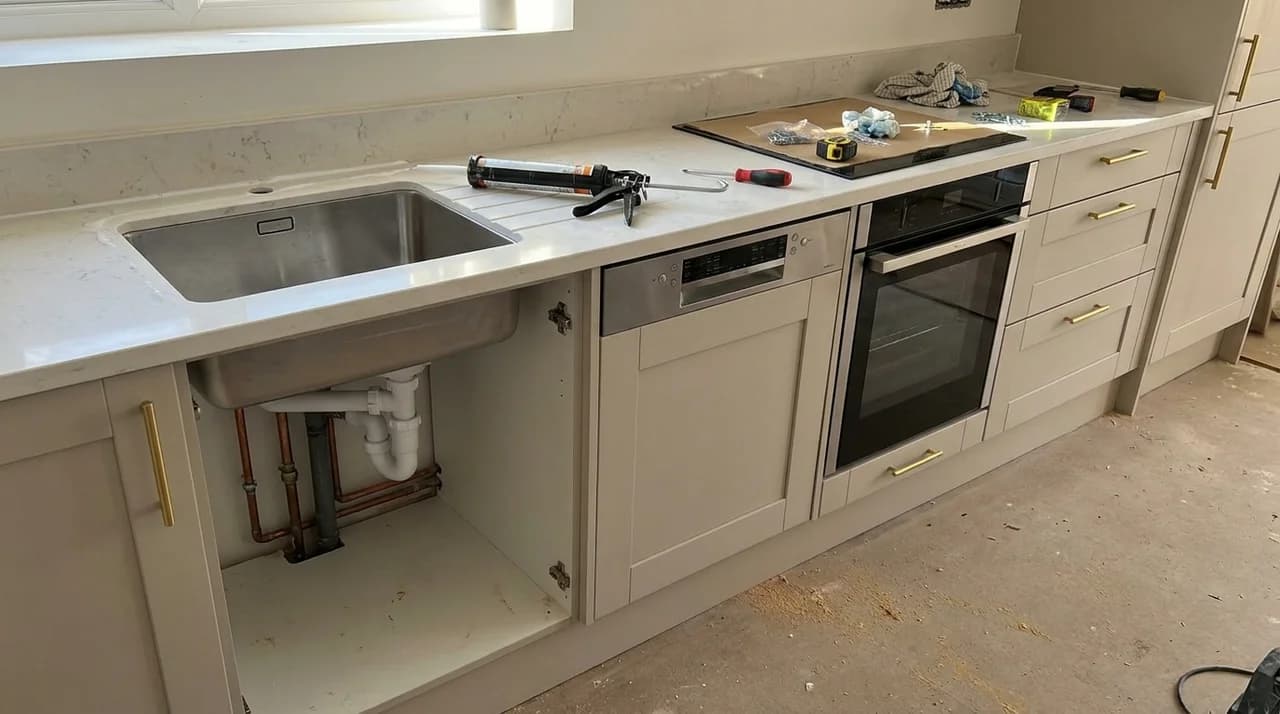
Drop the sink into the cut-out and connect the water supply and waste pipes.
Slide appliances into their housing units and check that they sit flush with the cabinet fronts. Hang all cabinet doors and drawer fronts, adjusting hinges until everything lines up evenly. Fit your handles, then clip the plinths into place along the base of the units.
Finally, apply silicone sealant along the join between the worktop and wall, around the sink, and anywhere else water could get in.
How Long Does It Take to Fit a Kitchen?
The time needed to fit a kitchen depends on the size of the space, the amount of work involved, and whether any changes are being made to plumbing or electrics.
A straightforward replacement can be completed within a few days, while larger projects may take several weeks.
| Kitchen Type | Typical Installation Time |
|---|---|
| Small kitchen replacement | 3 to 5 days |
| Standard kitchen installation | 1 to 2 weeks |
| Large renovation with layout changes | 2 to 4+ weeks |
Common Kitchen Fitting Mistakes to Avoid
A successful kitchen installation depends on more than just following the steps.
Small mistakes during measuring, fitting, or finishing can create bigger problems later, so it is worth knowing what to avoid before you begin.
1. Skipping Accurate Measurements
This is the most common mistake of all. Even a few millimeters off can mean a cabinet does not fit into its allocated space, an appliance sits too tightly, or a worktop does not reach the wall correctly.
Measure every wall, every gap, and every appliance space at least twice before ordering anything.
2. Not Checking Levels
A cabinet that looks straight to the eye is not always level. Uneven cabinets affect how doors hang, how drawers slide, and how worktops sit.
Use a spirit level constantly throughout the installation, not just at the start.
3. Installing Cabinets Before Completing Plumbing and Electrical Work
Sorting service points after cabinets are in place creates unnecessary disruption. If a pipe or socket needs moving, it is far easier to do before anything is fixed to the wall.
Plan all plumbing and electrical changes first, and confirm the positions are correct before a single cabinet goes up.
4. Forgetting Ventilation and Access Space
Appliances need room to breathe and to be serviced. Leave the correct clearance around your oven, fridge, and washing machine.
Keep access to plumbing connections clear so that stop valves and waste connections can be reached without removing cabinets.
5. Rushing the Finishing Stage
The last stage of fitting is easy to rush, but it shows. Poorly applied sealant, badly cut trims, and misaligned doors all stand out in a finished kitchen. Take your time with the details.
A clean finish is what separates a professional-looking result from a homemade one.
Conclusion
Now you have the full picture of how to fit a kitchen, from marking your first line on the wall to sealing the last worktop joint.
Stick to the order: cabinets first, then worktops, then appliances and trim.
Keep your spirit level close and check it often. Call a qualified professional for gas lines, wiring, and stone worktop cuts.
Ready to start your own project? Measure your space carefully today, sketch your layout, and book your professional help early, before the first cabinet goes up.
Frequently Asked Questions
What Is the Most Expensive Part of a Kitchen?
Cabinetry is usually the biggest expense in a kitchen renovation, often accounting for around 30% to 40% of the total budget, especially with custom designs.
What Is The Best Color For A Modern Kitchen?
The best modern kitchen colors depend on the style you want to create. Popular choices include crisp white, matte black, sage green, navy blue, and warm neutral tones like taupe.
What Is The Most Durable Kitchen Material?
Solid wood is one of the most durable kitchen materials, especially for cabinets. Hardwoods like oak, maple, and cherry can last for decades with proper care and maintenance.