
Garlic is one of the few crops that practically grows itself, but only if you get three things right: the variety that matches your climate, the planting window, and the harvest moment that separates a great bulb from a ruined one.
Miss any one of those, and you end up with split bulbs, thin skins, and a harvest that goes soft in storage before you ever get to use it.
I’ve planted garlic every fall for over a decade, and once you know how to plant garlic at the right depth and time, it grows itself from there.
Grab a bulb of seed garlic, and let’s get it in the ground.
Why Is Garlic the Best Crop You Are Not Growing Yet
Most vegetables need you to start seeds indoors, harden off transplants, and watch them closely all season. Garlic is nothing like that.
You put a clove in the ground in the fall. It grows roots, sleeps through winter, and bulbs up in spring without any help from you. By July, you pull up a full head of garlic from a single clove.
- It tastes better than store-bought: Grocery store garlic is grown for shelf life, not flavor. Homegrown hardneck garlic is sharper, juicier, and far more aromatic.
- It keeps giving year after year: You save your biggest bulbs from each harvest and replant them in the fall. One bag of seed garlic can keep you supplied for life.
- It is beginner-proof: No seed trays, no indoor lights, no transplanting. If you can push a clove into the soil, you can grow garlic.
How to Choose the Right Seed Garlic for Your Climate
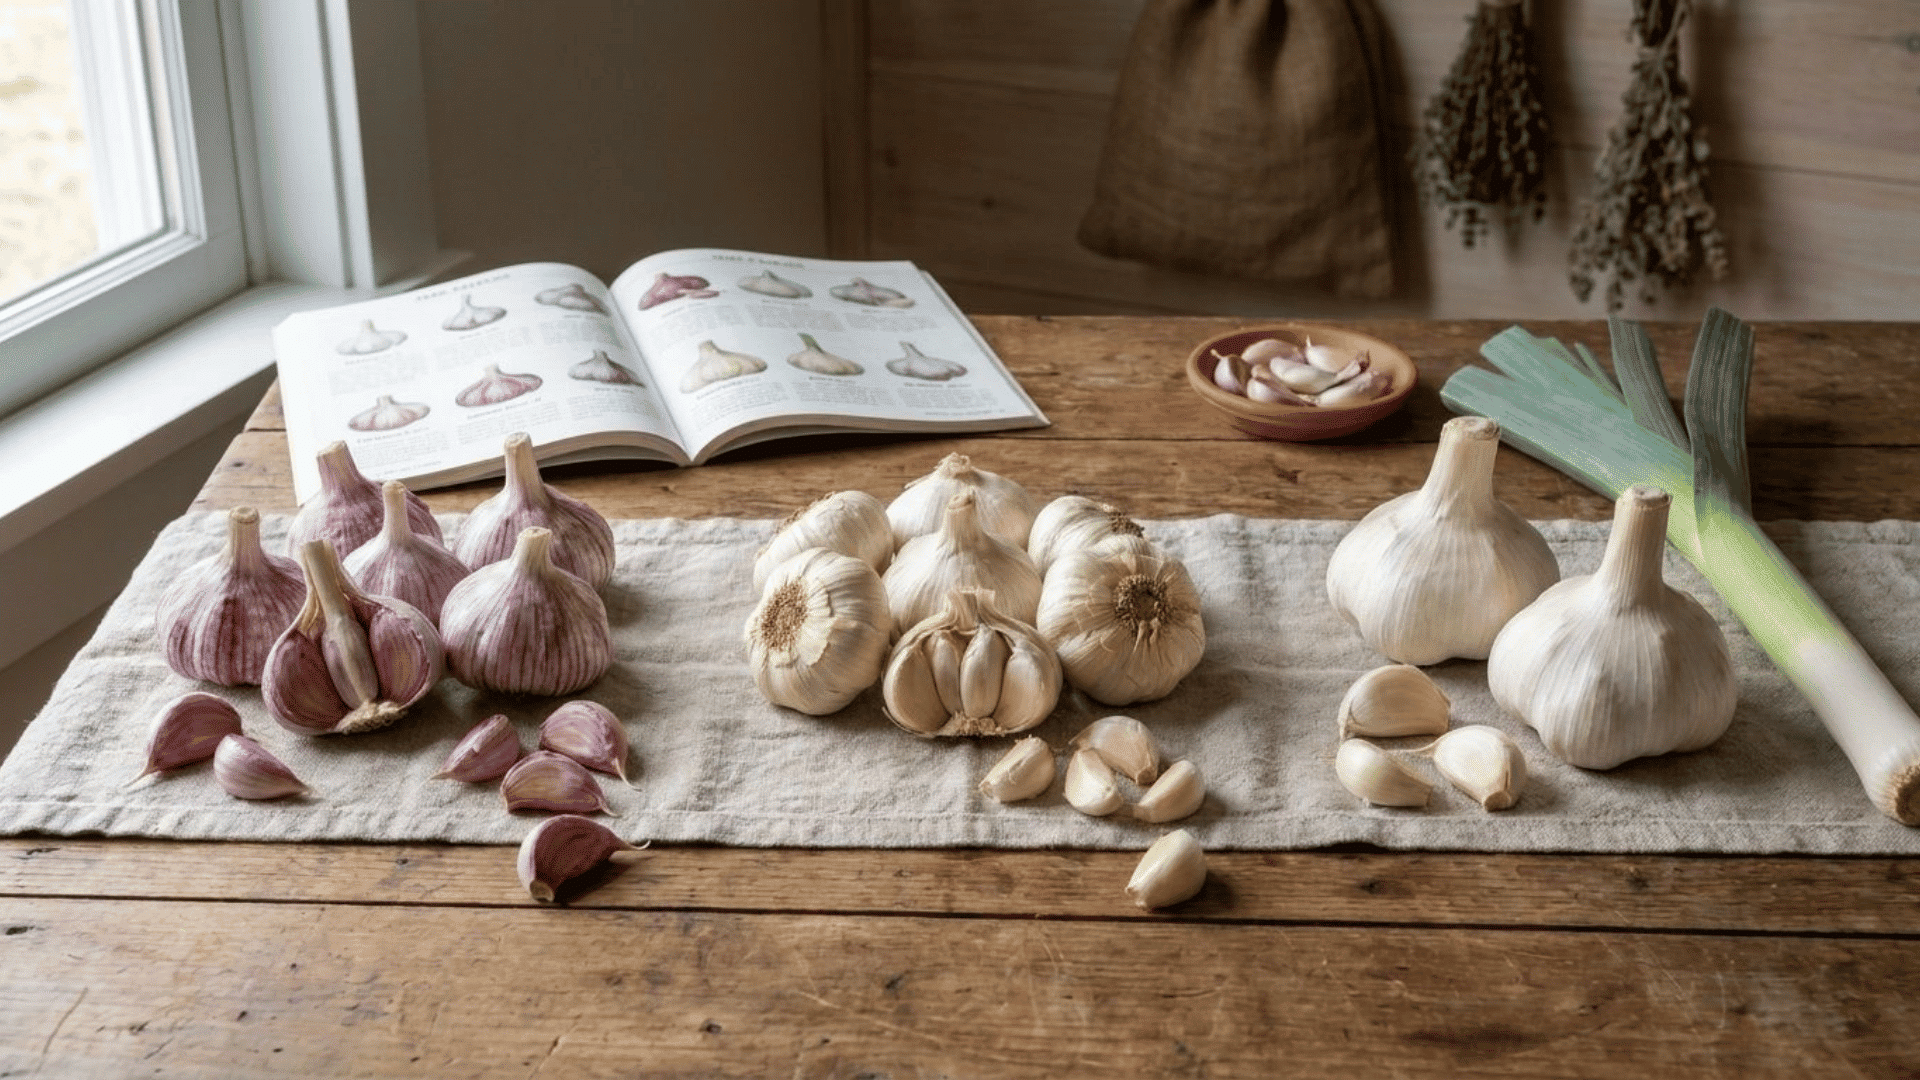 This is the only real decision you need to make before buying seed garlic. Pick the wrong type for your climate, and your bulbs will struggle.
- Hardneck garlic grows best in cold climates, zones 3 through 6. It has large cloves, a bold flavor, and produces edible scapes in early summer. It stores for 4 to 6 months after curing.
- Softneck garlic grows best in warm climates, zones 7 and above. Smaller cloves, milder taste, and it stores for up to 12 months. This is the variety sold in most grocery stores.
- Elephant garlic: Very large, very mild. It is actually related to leeks, not true garlic. Good for beginners who want an easy, dramatic harvest.
Get seed garlic from a farmers’ market, local nursery, or online seed catalog. Do not use grocery-store garlic, as it is usually treated to prevent sprouting.
Simple rule: Cold winters with snow? Plant hardneck. Mild winters? Plant softneck.
When to Plant Garlic by Growing Zone
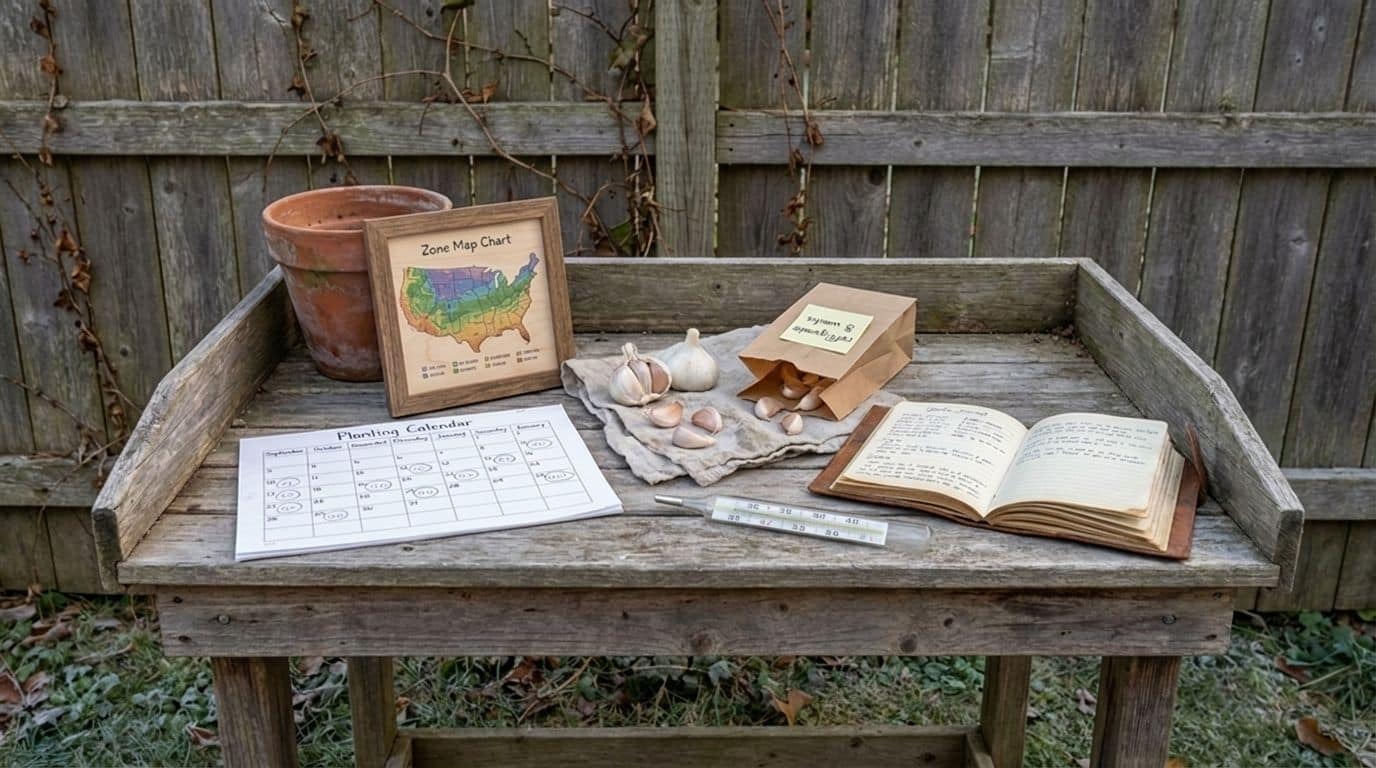
Plant garlic 4 to 6 weeks before your ground freezes. That gives cloves time to grow roots before going dormant for winter.
| Zone | Planting Time |
|---|---|
| 3–4 | Late September – Early October |
| 5–6 | Mid-October – Early November |
| 7–8 | November – December |
| 9–10 | December – Early January (use softneck varieties) |
Planting too early results in excessive top growth before frost. That green growth is damaged by cold, weakening the plant.
Missed the fall window? Place unpeeled cloves in a paper bag and refrigerate them for 8 weeks. This tricks them into thinking they went through winter.
Plant them outside as early in spring as possible. Bulbs will be a bit smaller, but you will still get a real harvest.
How to Prep Your Soil Before Planting Garlic
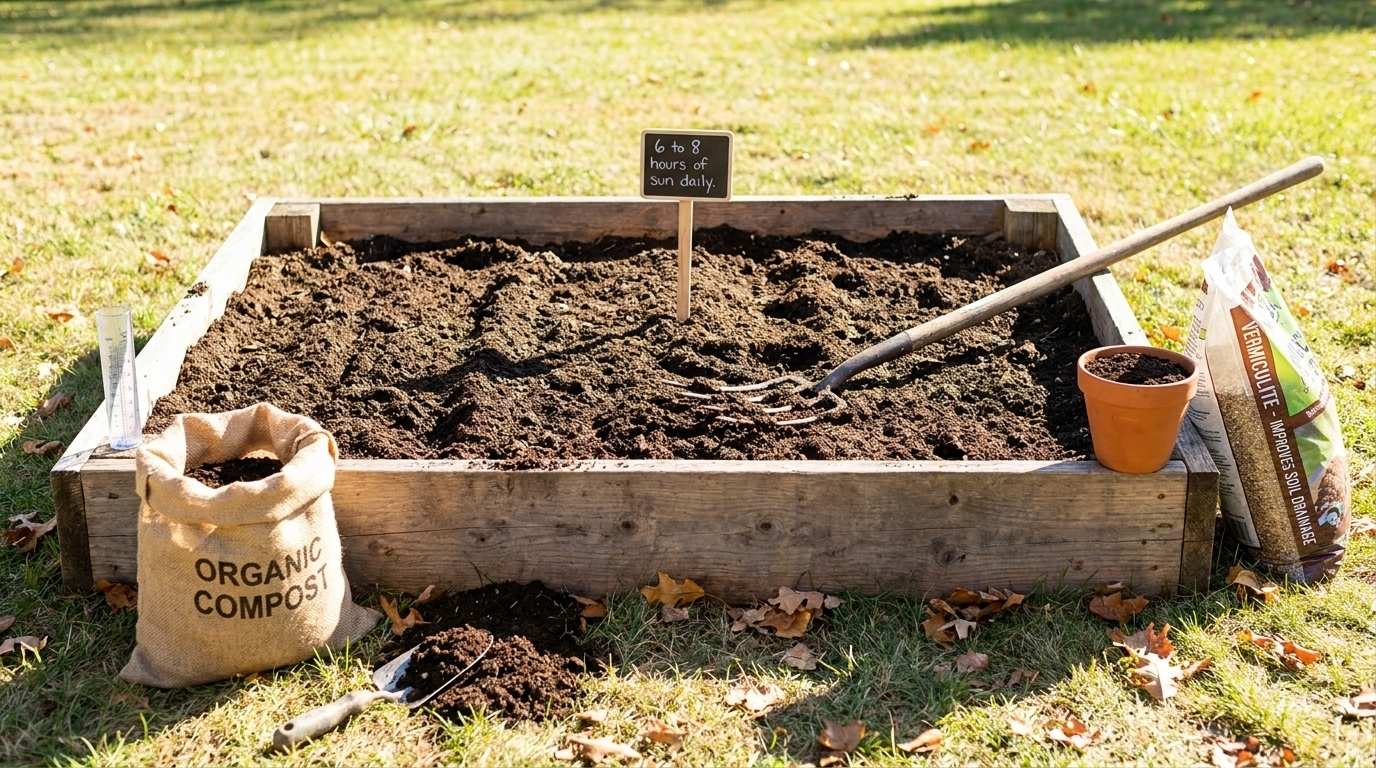
You do not need perfect soil, but two things are non-negotiable.
- Full sun: At least 6 to 8 hours of direct sun per day. Less light means smaller bulbs, full stop.
- Good drainage: Garlic sitting in wet soil will rot before it ever bulbs. If water pools in your bed after rain, use a raised bed or work compost deep into the ground to loosen it.
Before planting, add 2 to 3 inches of compost and mix it into the top 6 inches of soil. Garlic needs a steady supply of nitrogen through the season, and compost provides it slowly without burning the roots.
In my own raised beds, a mix of 75% compost and 25% vermiculite has consistently produced noticeably larger bulbs than straight garden soil. Vermiculite keeps the soil light and airy so bulbs can grow easily.
How to Plant Garlic in a Garden Bed
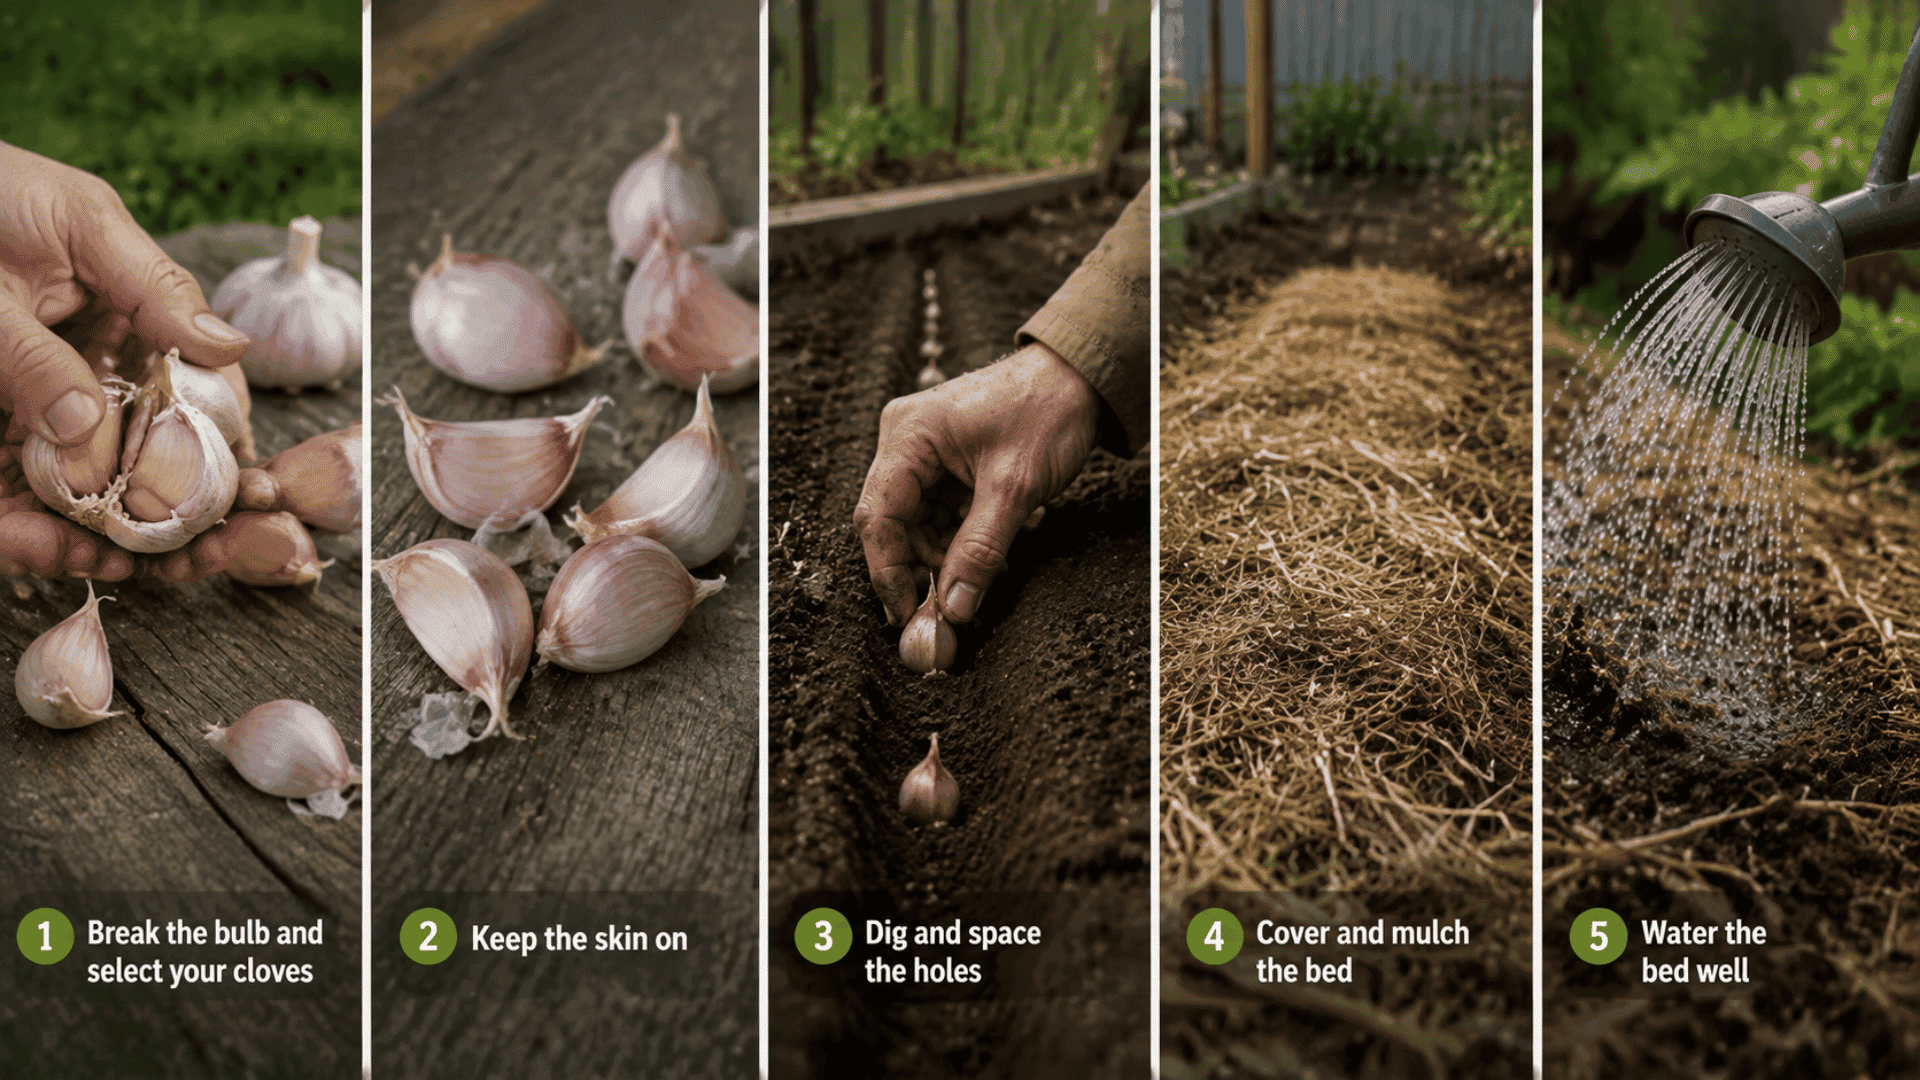
Follow these simple planting steps to give your garlic the best start and grow healthy, full-sized bulbs. From preparing the soil to placing cloves at the right depth, each step helps ensure a strong harvest.
Step 1: Break the Bulb and Select Your Cloves
Break the bulb apart right before you plant, not the night before. Cloves left apart for days dry out fast and lose the energy they need to grow roots in cold soil.
Pick the biggest, heaviest cloves and set the small ones aside for cooking. Size matters because it means more stored energy, deeper roots, and a bigger bulb at harvest.
Step 2: Keep the Skin On
Never peel the cloves before planting. That papery skin isn’t just wrapping. It protects the clove from soil bacteria, fungal spores, and moisture loss during its first weeks underground.
Peel it off too soon, and the clove is left exposed right when it needs protection most. Leave the skin on until you’re ready to use the garlic in the kitchen.
Step 3: Dig and Space the Holes
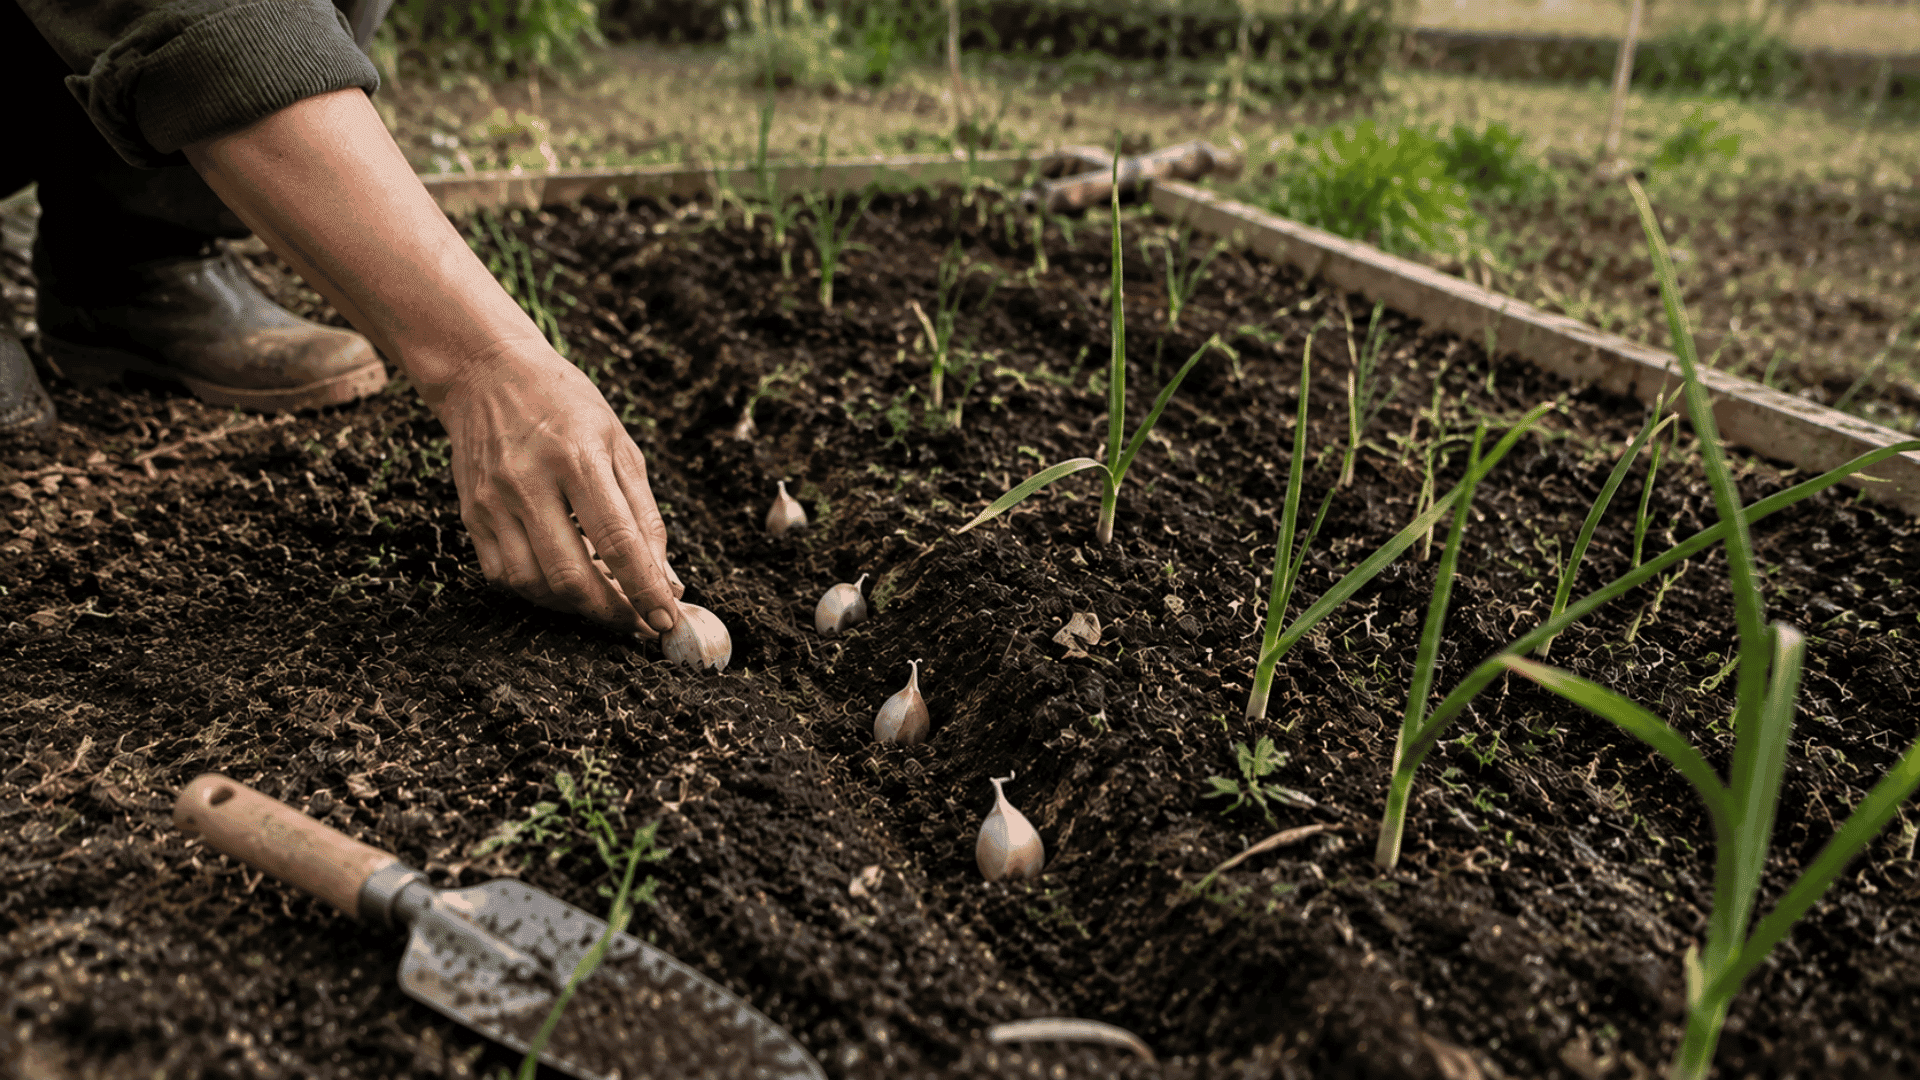
Dig each hole 2 to 4 inches deep using a dibber, a thick stick, or your finger. Place the clove pointy end up, tip about 2 inches below the surface.
Space cloves 4 to 6 inches apart in the row, with at least 12 inches between rows.
Too shallow and frost heaving pushes cloves out in winter; too deep and shoots struggle to reach the surface. Crowding limits bulb size, so give each clove room to grow.
Step 4: Cover and Mulch the Bed
Fill each hole back in and firm the soil gently with your hand. Spread a 3- to 6-inch layer of straw or shredded leaves over the whole bed.
Mulch does two jobs at once: it insulates cloves from harsh freeze-thaw cycles, and it chokes out early weeds competing for water and nutrients. Don’t skip this step. It’s simple, and it makes a difference at harvest.
Step 5: Water the Bed Well
Water the whole bed deeply right after planting and mulching. This first watering isn’t optional. It settles the soil around each clove, closes air pockets, and tells the clove it’s time to grow roots.
Keep the soil evenly moist until the ground freezes. As a rule of thumb, aim for about 1 inch of water a week if rain doesn’t cover it.
How to Plant Garlic in Pots and Containers
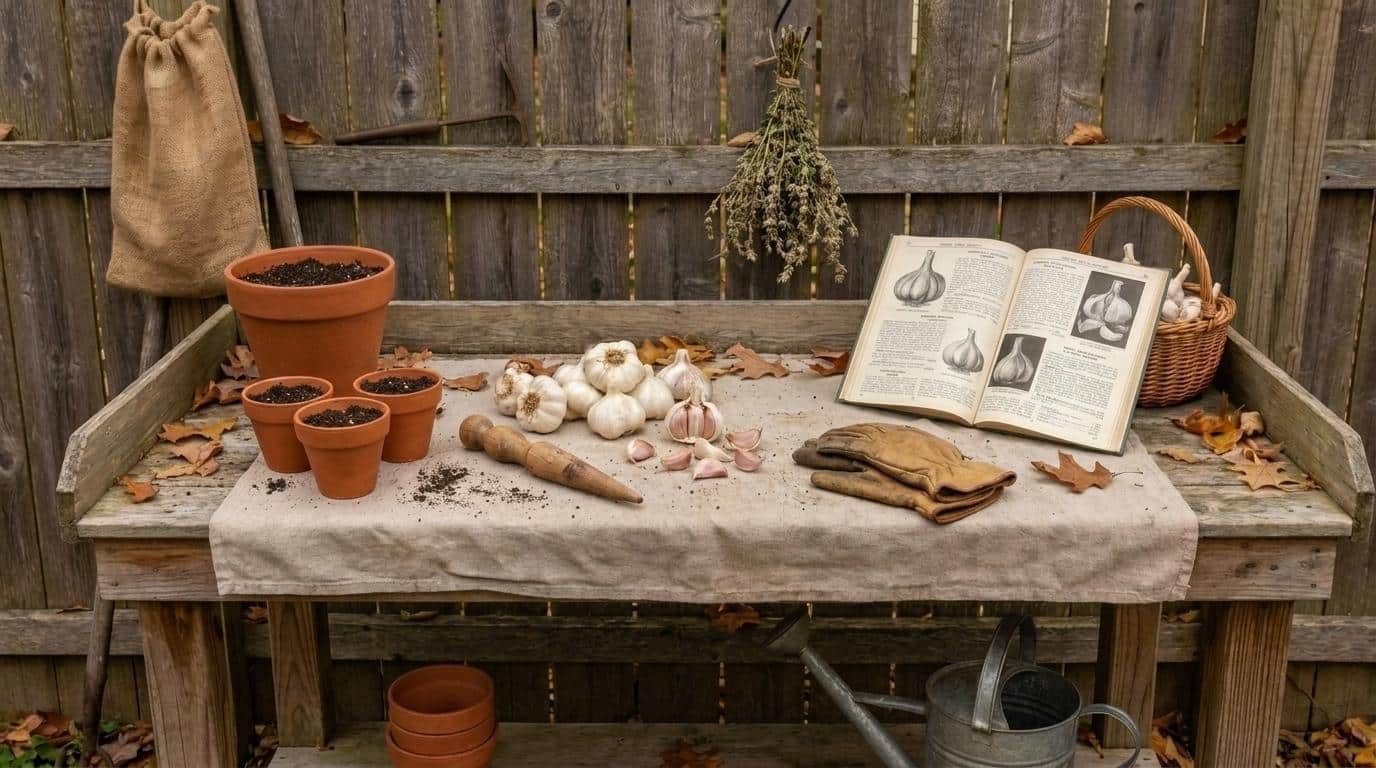
Growing garlic in pots and containers is a simple way to enjoy fresh bulbs even with limited garden space. With the right container, soil, and care, you can successfully grow healthy garlic at home.
- Container depth: At least 12 inches deep. Bulbs need room to grow down.
- Soil mix: 75% potting mix, 25% compost. Avoid straight garden soil in containers as it compacts and drains poorly.
- Planting depth: Plant shallower than you would in-ground, since pot soil is already loose.
- Winter protection: Pots lack ground insulation. Mulch the top with straw, move the pot near a south-facing wall, or keep it in an unheated garage through winter.
- Warm climate tip: If your winters stay above 45°F, use softneck garlic. It does not need a cold period to bulb properly.
When Is Garlic Ready to Harvest?
Garlic leaves give clear signals about harvest timing. The table below shows when to harvest and how timing affects bulb quality and storage life.
| Timing | What Happens |
|---|---|
| Too Early | Bottom leaves have not dried enough, leaving thin skins that tear easily and reducing storage life. |
| Right Time | Harvest when the bottom 3 to 4 leaves turn brown while 4 to 5 leaves remain green. Each green leaf represents a protective layer around the bulb. |
| Too Late | Bulbs split underground, cloves become exposed, and moisture can cause rotting during storage. |
How to Cure and Store Garlic After Harvest
Curing is what separates garlic that lasts two weeks from garlic that lasts all winter.
- How to cure: Hang plants in bunches or lay them in a single layer on a rack. Keep them in a dry, shaded, well-ventilated spot for 2 to 3 weeks.
- How to know it is done: The outer skin feels dry and papery. The neck above the bulb is firm and tight.
- After curing: Trim tops to 1 to 2 inches above the bulb. Trim dried roots close. Leave the outer wrapper on.
- Storage: Keep cured bulbs at 50 to 70°F with 50 to 60% humidity. Mesh bags or open crates with airflow work well. Airtight containers do not.
- Save your seed garlic: Set aside the 10 to 15 largest, firmest bulbs before you use the rest. These are your planting stock for fall. Onions cure and store the same way, so if you grow both, you can hang them side by side in the same spot.
Choosing the Right Garlic to Plant
Your garlic choice decides how well it survives winter and how long it lasts in storage. Here’s what to know before you buy.
- Skip grocery store bulbs: They’re often treated to stop sprouting and may not suit your climate
- Buy seed garlic instead: Get it from a garden center or seed supplier since it’s sized right for planting
- Choose hardneck for cold climates: It survives harsh winters and grows edible scapes
- Choose softneck for storage: It lasts longer in storage and braids well for display
- Compare before you plant: Climate fit, storage life, and scapes vary by type, so match your pick to your growing zone
Wrapping It Up
Garlic rewards patience, and now you know how to plant garlic the right way, from the first clove to the last cured bulb.
You plant in fall, wait through winter, and by midsummer you’re pulling up something genuinely satisfying from your own ground.
No complicated equipment, no daily maintenance. Just the right clove, the right depth, and the right timing.
Pick your variety, check your zone, break that bulb apart right before planting day, and don’t skip the mulch. Skip a step, and it shows up at harvest.
I still get a little thrill pulling that first bulb every July. Plant this fall, and you’ll see what I mean.
Frequently Asked Questions
Should I remove garlic scapes?
Yes, for hardneck garlic. Cutting scapes as soon as they curl redirects the plant’s energy into the bulb instead of into flowering, which can noticeably increase bulb size.
How much water does garlic need while it’s growing?
About 1 inch of water a week is enough. Water less if it rains, and stop watering completely 2 to 3 weeks before harvest.
What pests or diseases affect garlic?
Garlic has few problems overall. Thrips and onion maggots are the main pests to watch for, and bulb rot shows up fast in soil that stays wet.
Why did my garlic bulbs turn out small?
Usually poor spacing, small planting cloves, or not enough sun. Crowded cloves and shade both starve bulbs of the energy they need to size up.
Do I need to fertilize garlic after planting?
Not right away. Side-dress with a nitrogen fertilizer in early spring once green shoots appear, then stop feeding once bulbs start to form.