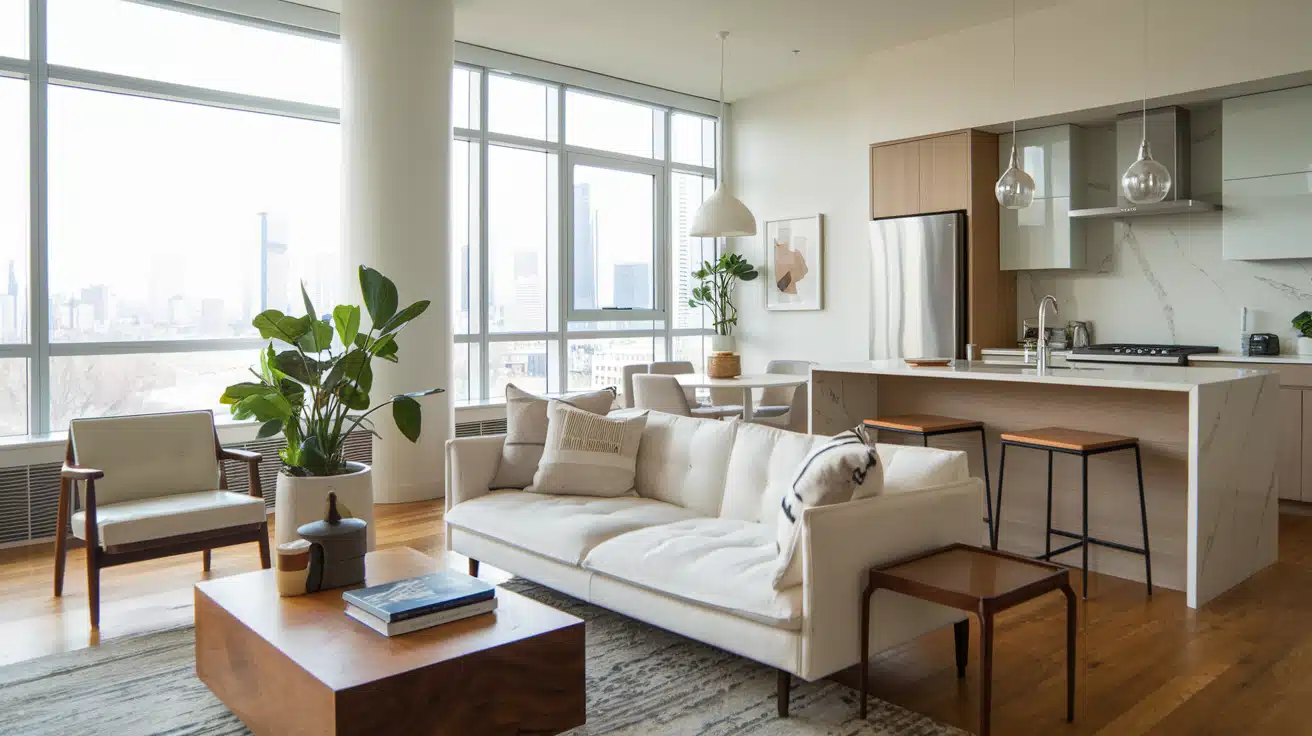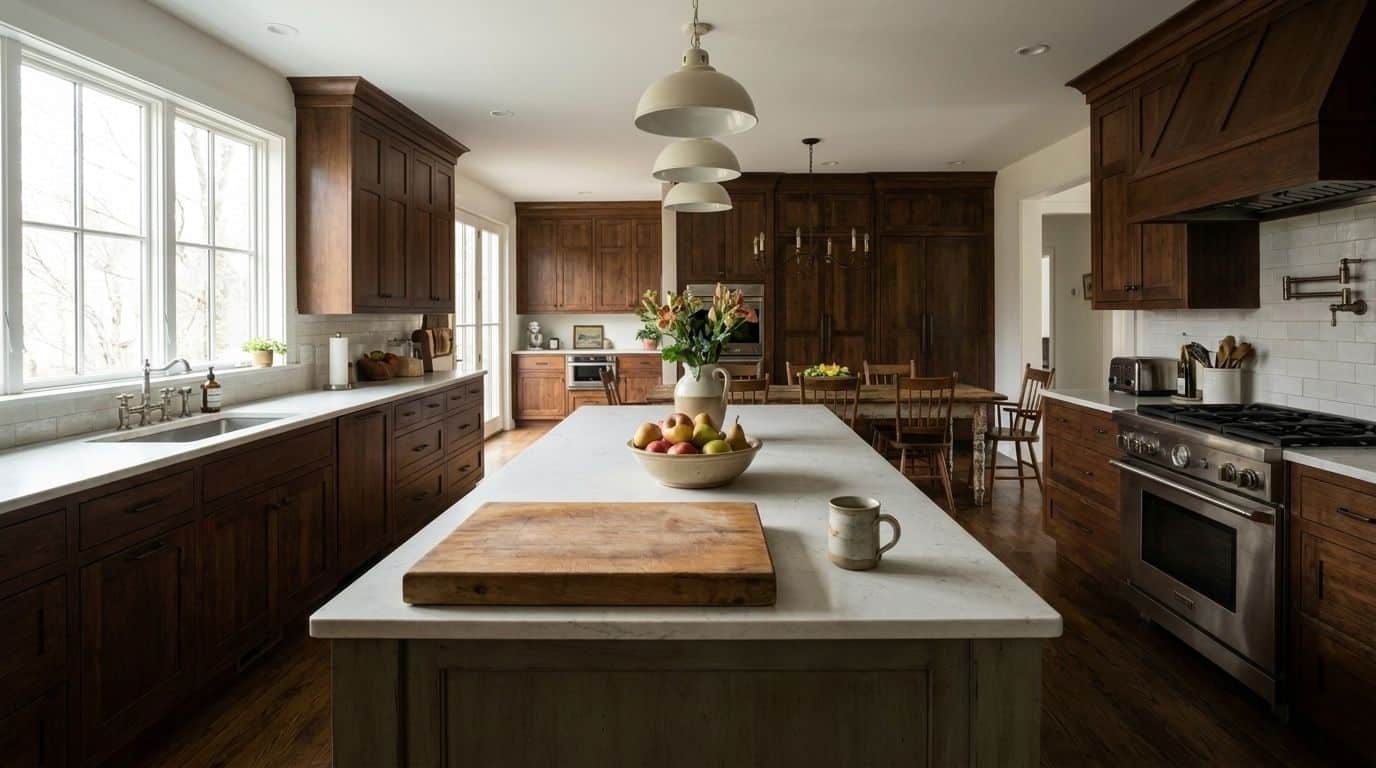

Most kitchen island ideas online show you the same five things: a waterfall edge, a two-tone paint job, a row of pendant lights.
You’ve seen them all before. This list skips that.
Inside are ideas built around how people actually live in their kitchens, not just how they photograph.
A pull-out step stool for kids. A drawer that charges your phone. A bench that hides board games.
A second island just for serving guests. Some cost almost nothing. Others mean a bigger layout change.
Why a Kitchen Island Is Worth Building Around
A kitchen island is not just a big block in the middle of the room. It gives you more counter space when your hands are full of onions and garlic.
Your kids get a spot to do homework while dinner cooks. Friends lean on it during a party instead of crowding the stove.
Pick the right one, and it works harder than any other spot in your house.
Kitchen Island Ideas to Steal for Your Layout
Some of these ideas mean big changes. Others are small touches you can add without tearing anything apart. Pick a few that match how your family really lives, not just how a photo looks online.
1. Reclaimed or Live-Edge Wood Slab Top
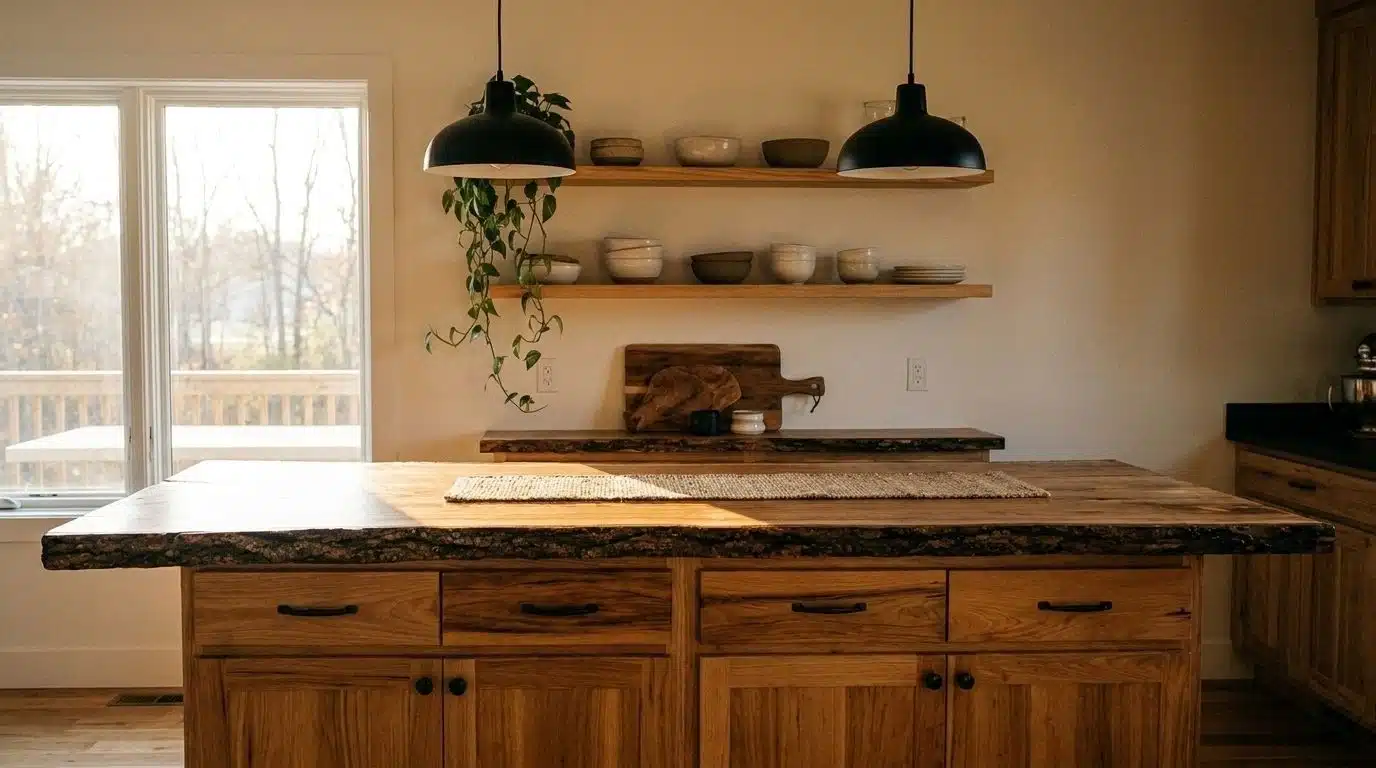
Old wood already has a story built into it. A slab with a live edge keeps the natural curve of the tree instead of cutting it straight.
No two islands like this will ever match. The knots, cracks, and color changes in the wood came from decades of growth, so each slab carries its own history right into your kitchen.
2. Carved Wooden Legs
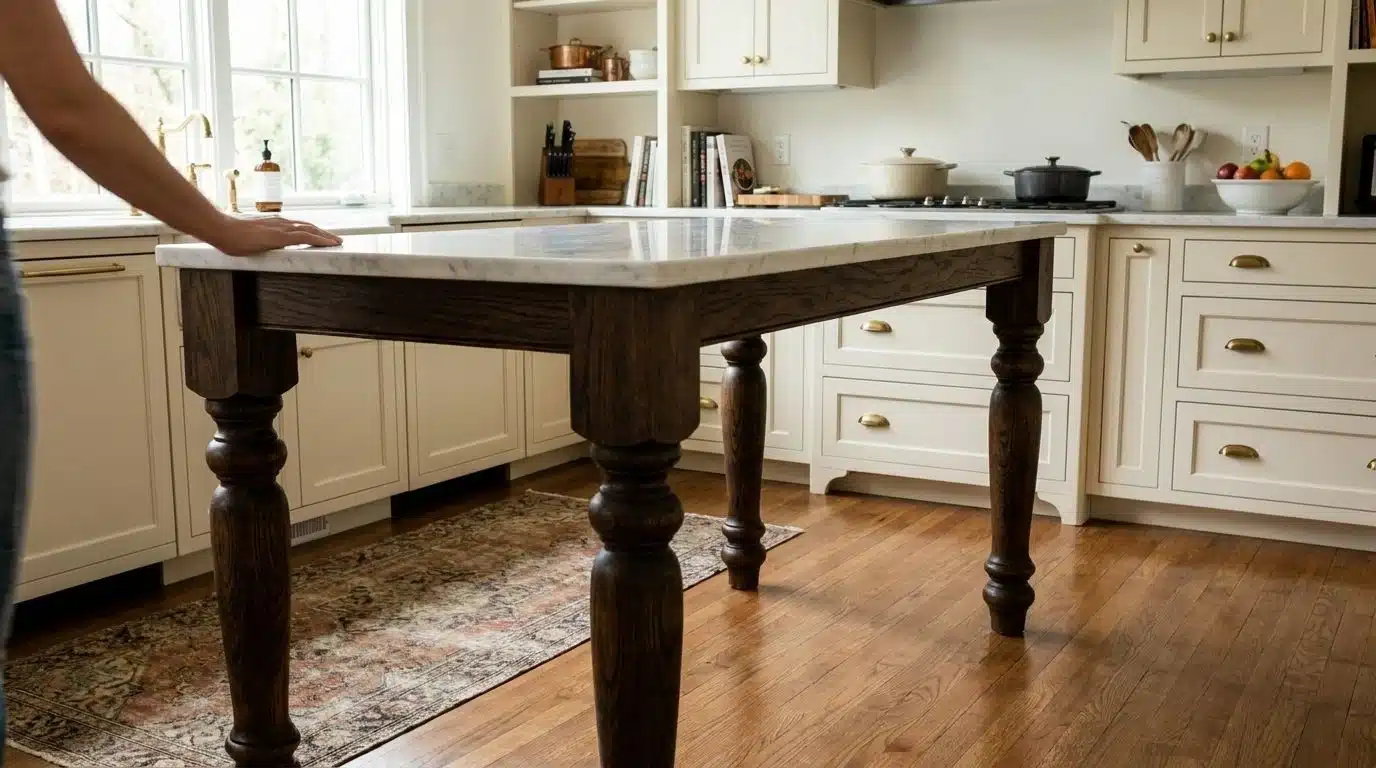
Skip the plain box look. Legs carved to look like old table legs make the island feel like real furniture, not a cabinet that got stuck in the kitchen.
Turned or fluted details add shadow and shape that flat cabinet panels never will, especially when morning light hits them at an angle.
3. Mixed-Material Base
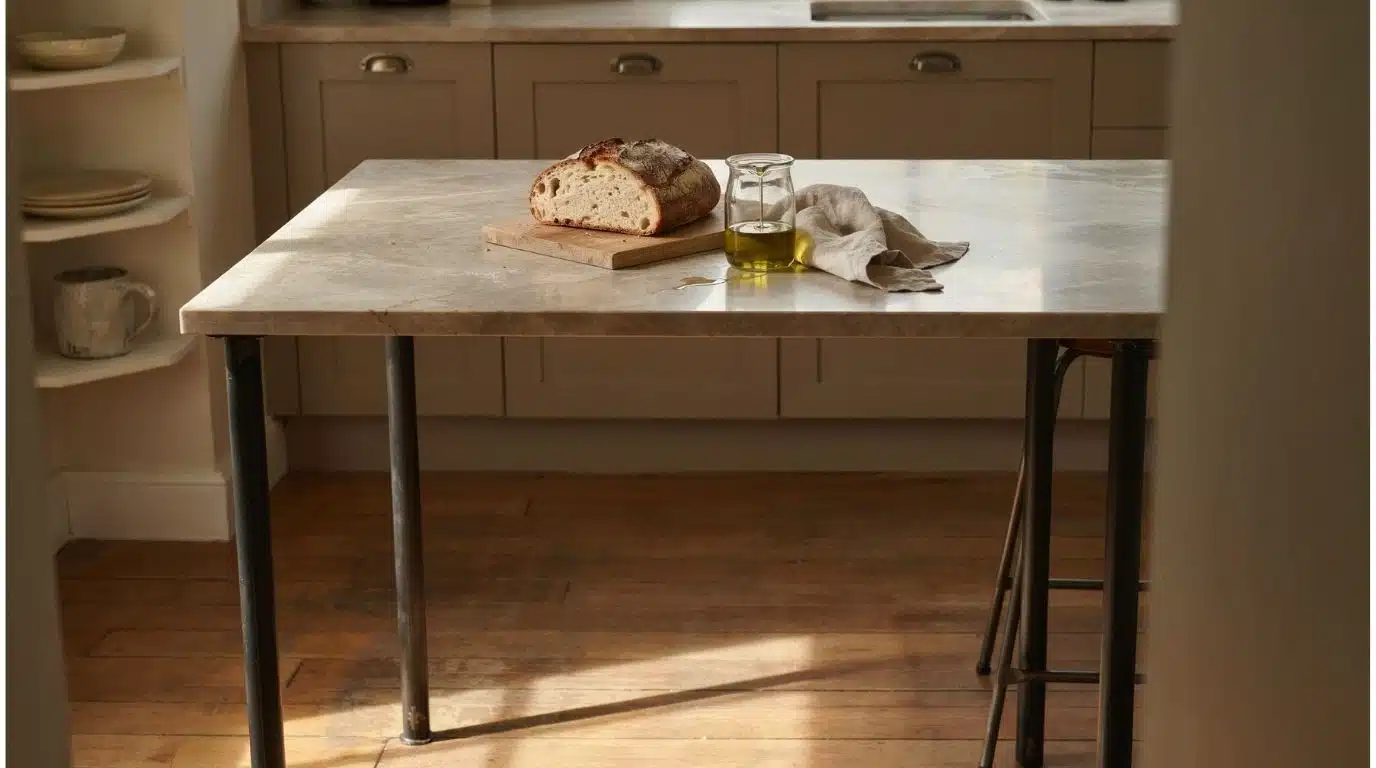
Metal legs supporting a wooden or stone top give the island some personality. The mix of textures also tends to weigh less than a full wood base.
Black iron or brushed steel legs pair well with almost any counter color, which makes this option easy to match with cabinets you already own.
4. Hand-Smoothed Concrete Top
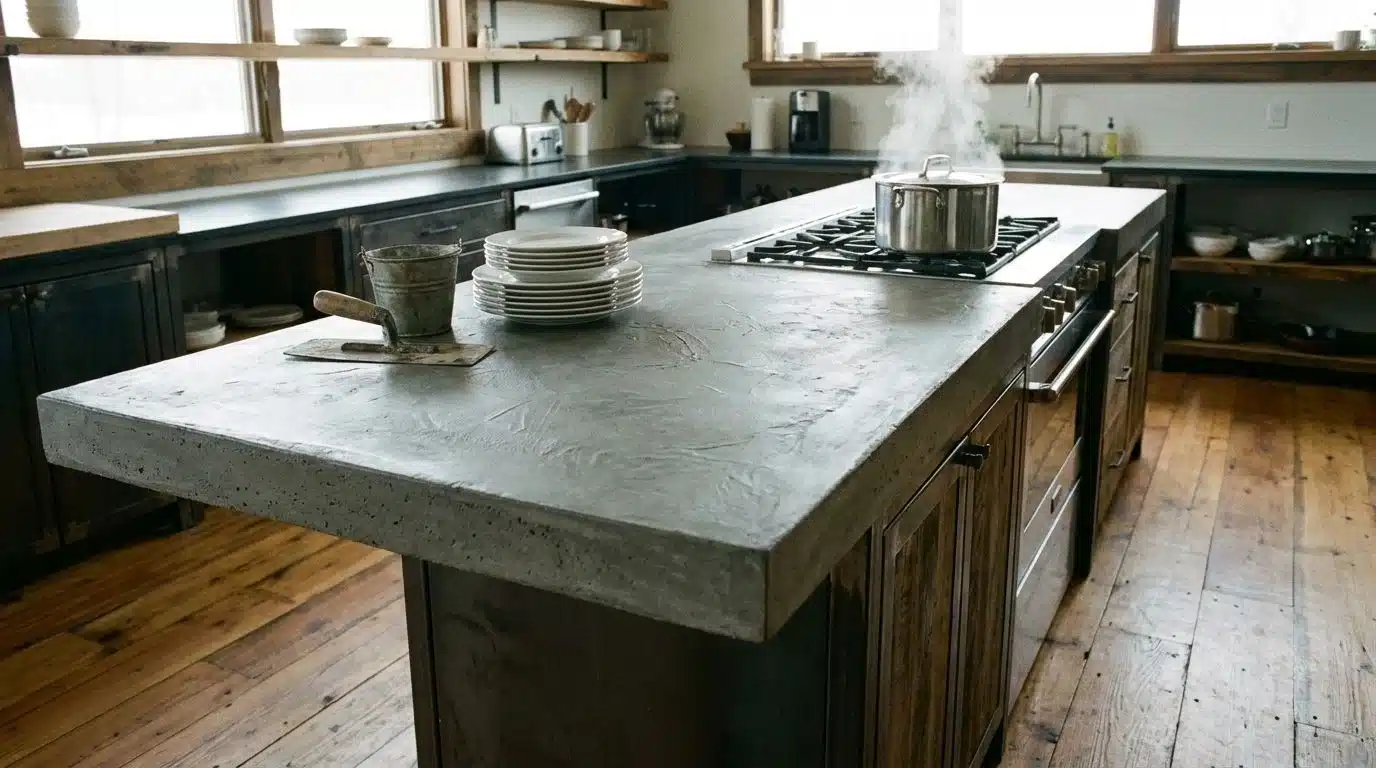
Workers pour and smooth concrete right on site. Every swipe of the tool leaves a tiny mark, so no two tops look the same. It handles hot pots without a flinch.
A sealed concrete top also resists scratches better than most people expect, and small chips can be patched instead of replaced.
When clients ask me to weigh concrete against other kitchen countertop options, upkeep and resealing every year or two are usually what tip the decision.
5. Hammered Copper Edge
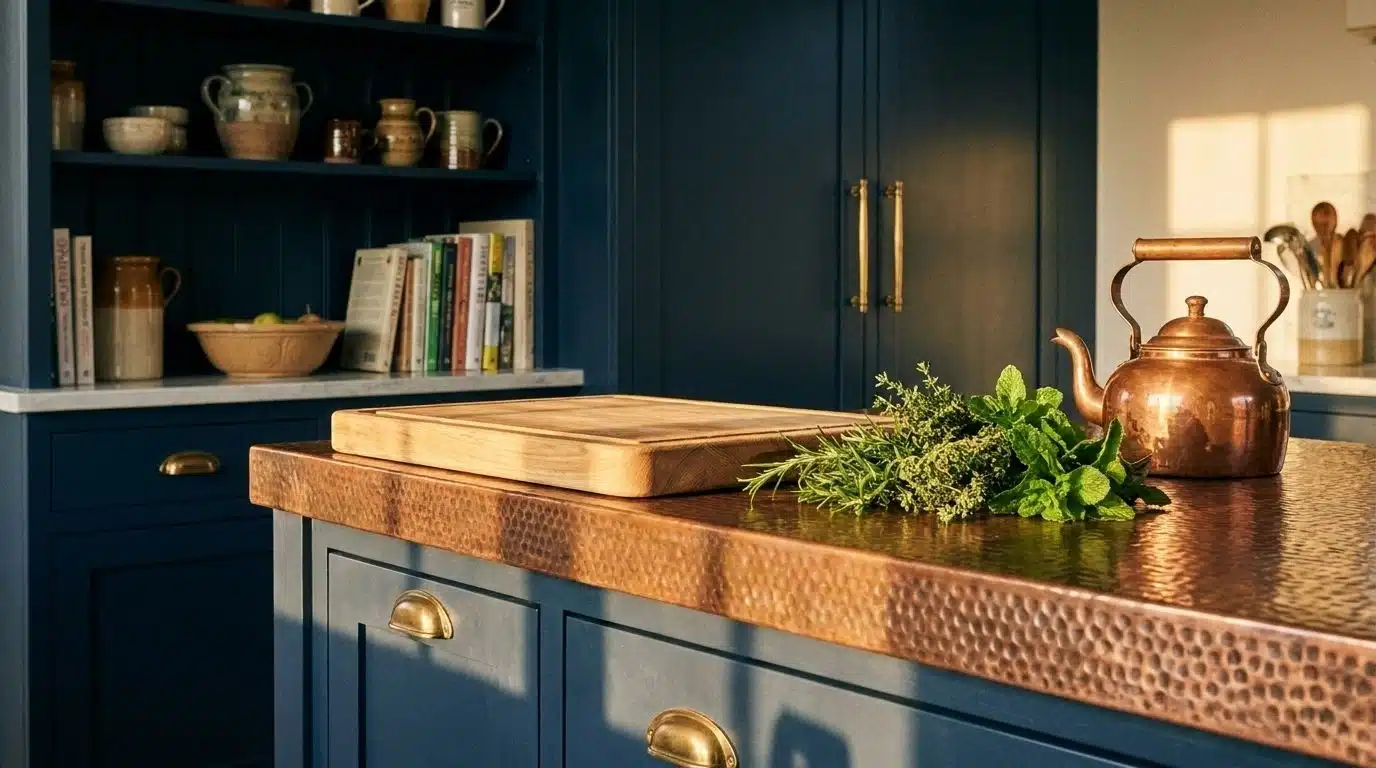
A strip of hammered copper along the edge catches light in a way stone never will.
Over the years, the metal changes color a little, and I always tell clients that the shift is part of the charm, not a flaw.
That slow shift from bright copper to a soft brown patina happens naturally, with no sealing or polishing required to keep it looking right.
6. Tile-Clad Base
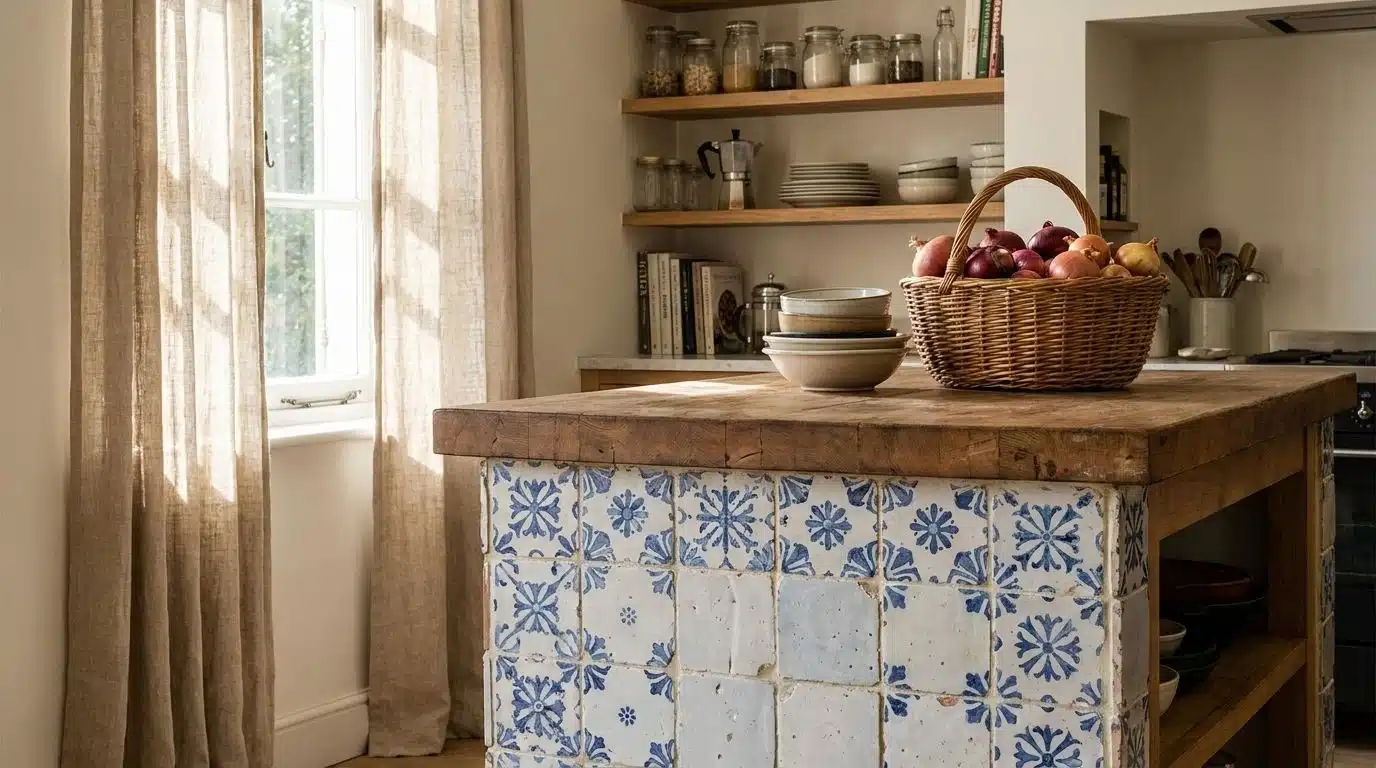
Cover the base in patterned or handmade tile instead of wood panels. This is a great way to add color without painting cabinets, and sealed grout wipes clean fast.
Zellige or hand-painted tile works especially well here, since the slight unevenness in each piece keeps the base from looking mass-produced.
I’ve paired deep, patterned tile with a dark green kitchen palette before, and it holds up especially well in older homes with more traditional bones.
7. Ribbed Glass Cabinet Doors
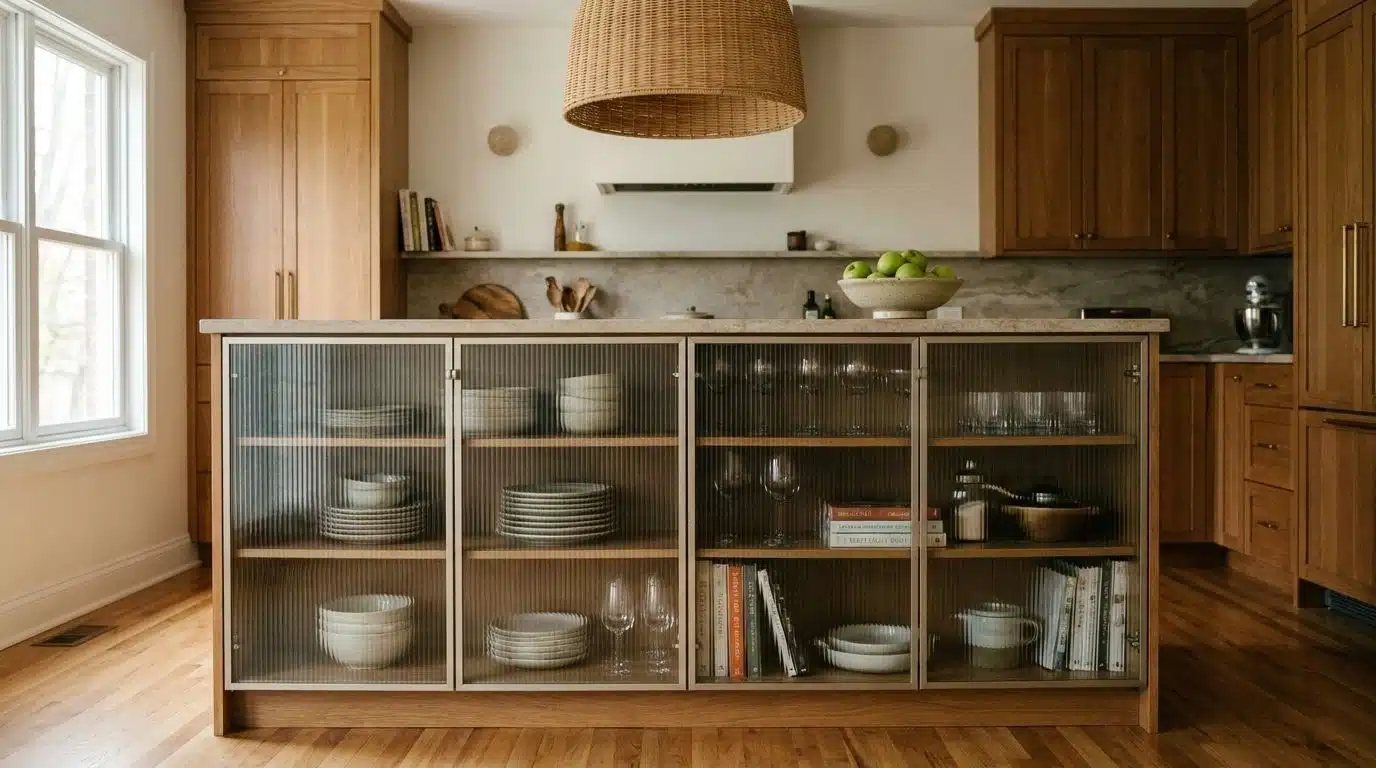
Glass doors show off dishes, but ribbed glass blurs the view just enough. You catch a hint of color inside without a messy shelf on full display.
It also hides fingerprints and dust far better than clear glass, so the cabinets still look tidy between cleanings.
8. Arched Trim Along the Bottom
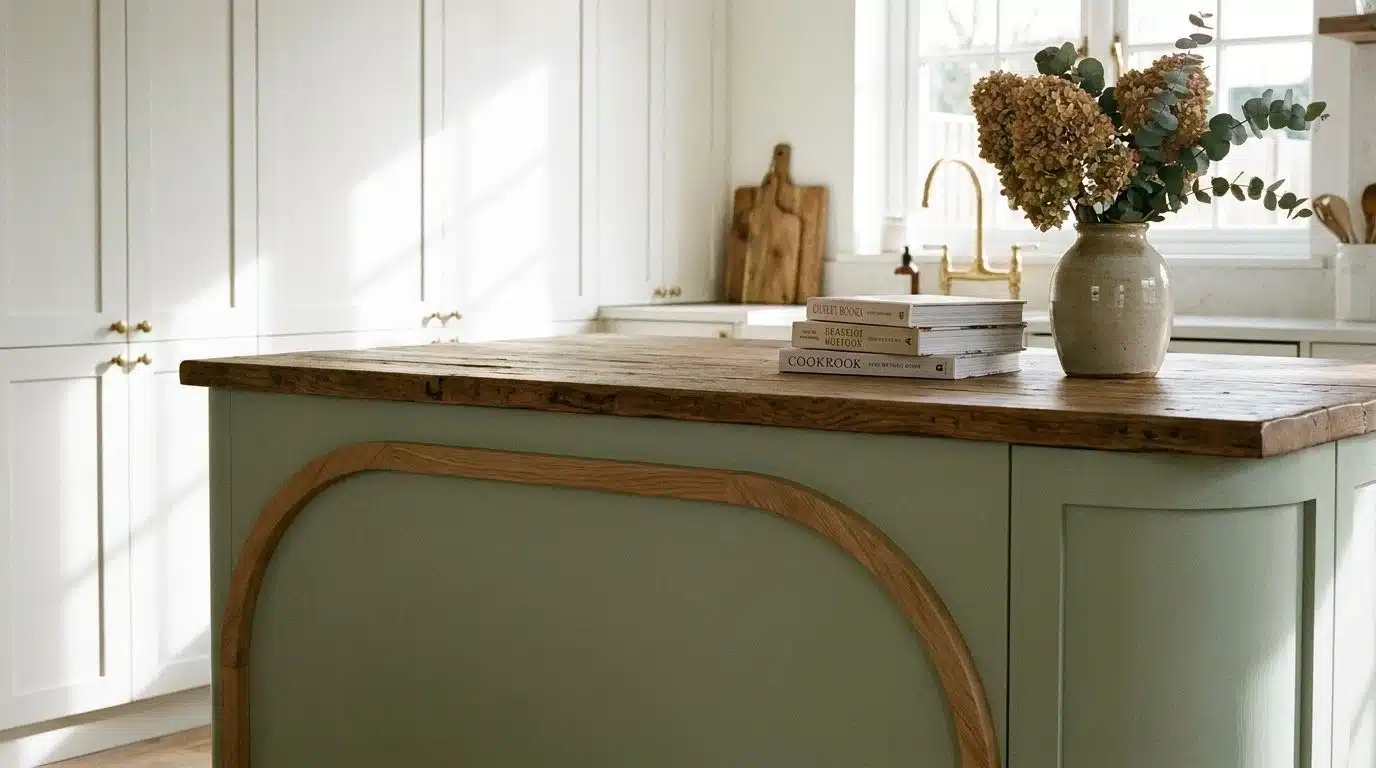
A curved strip of wood along the base softens all those straight lines. Small as it sounds, this one detail can change the whole mood of the piece.
Paired with rounded corners on the countertop, an arched base can make a boxy island feel almost like a built-in piece of furniture.
9. Herringbone Wood Panel
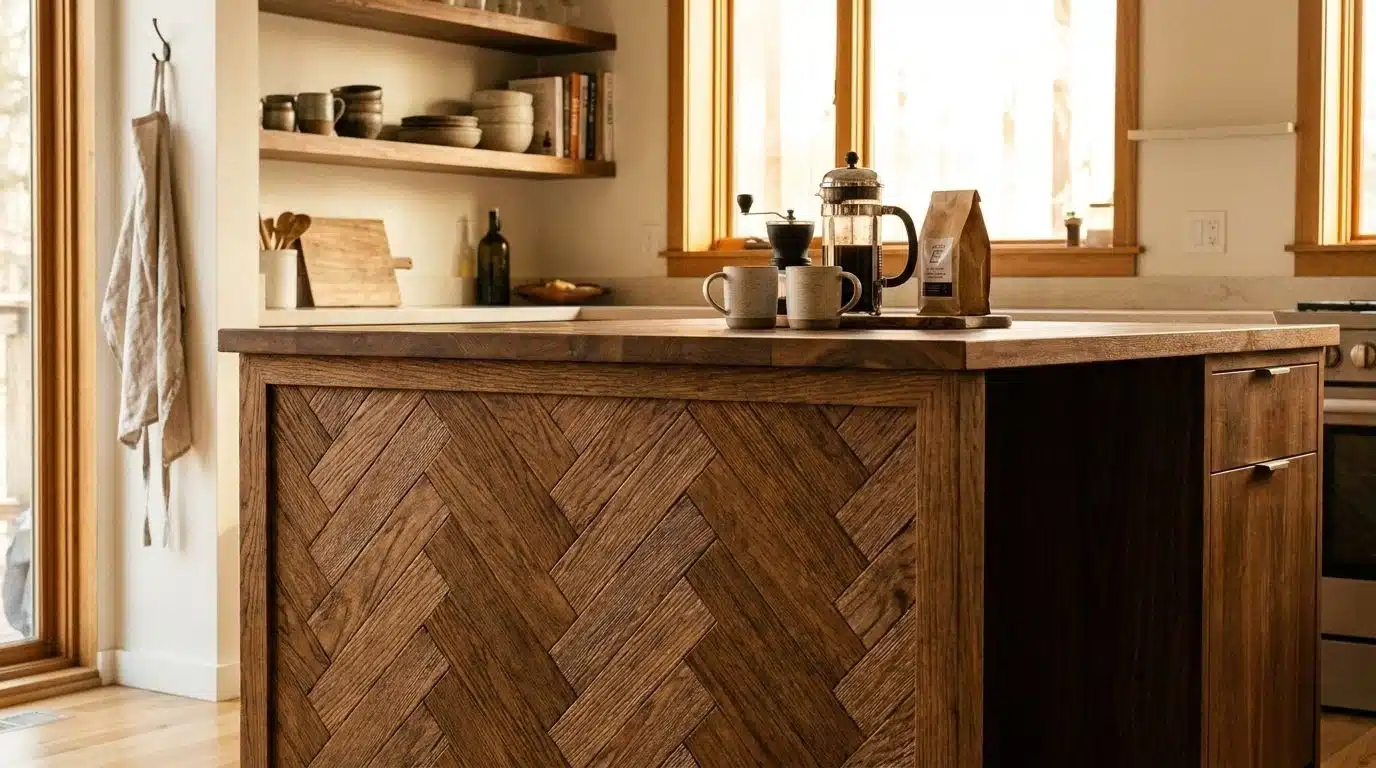
Lay small wood strips in a zigzag pattern on the side facing the room. A plain panel turns into something guests actually notice.
Stain the strips a shade darker than your main cabinets, and the pattern will stand out even more against the surrounding wood.
10. Repurposed Vintage Cabinet
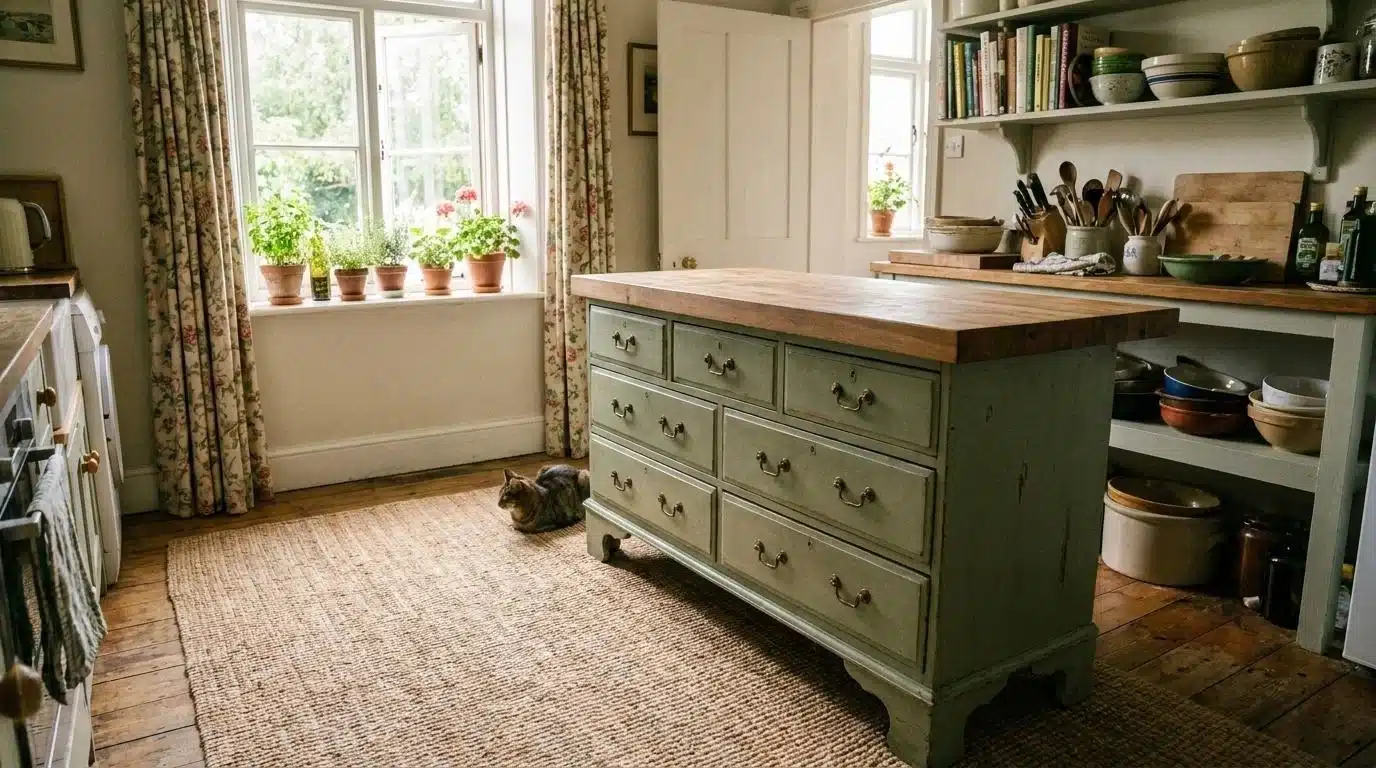
An old dresser or hutch can become an island with a new top and a coat of paint. It brings age and charm that a brand-new cabinet cannot fake.
Just check that the legs can handle daily bumps. A local furniture restorer can reinforce weak joints or swap in sturdier hardware before it goes into daily use.
11. Freestanding Butcher-Block Table
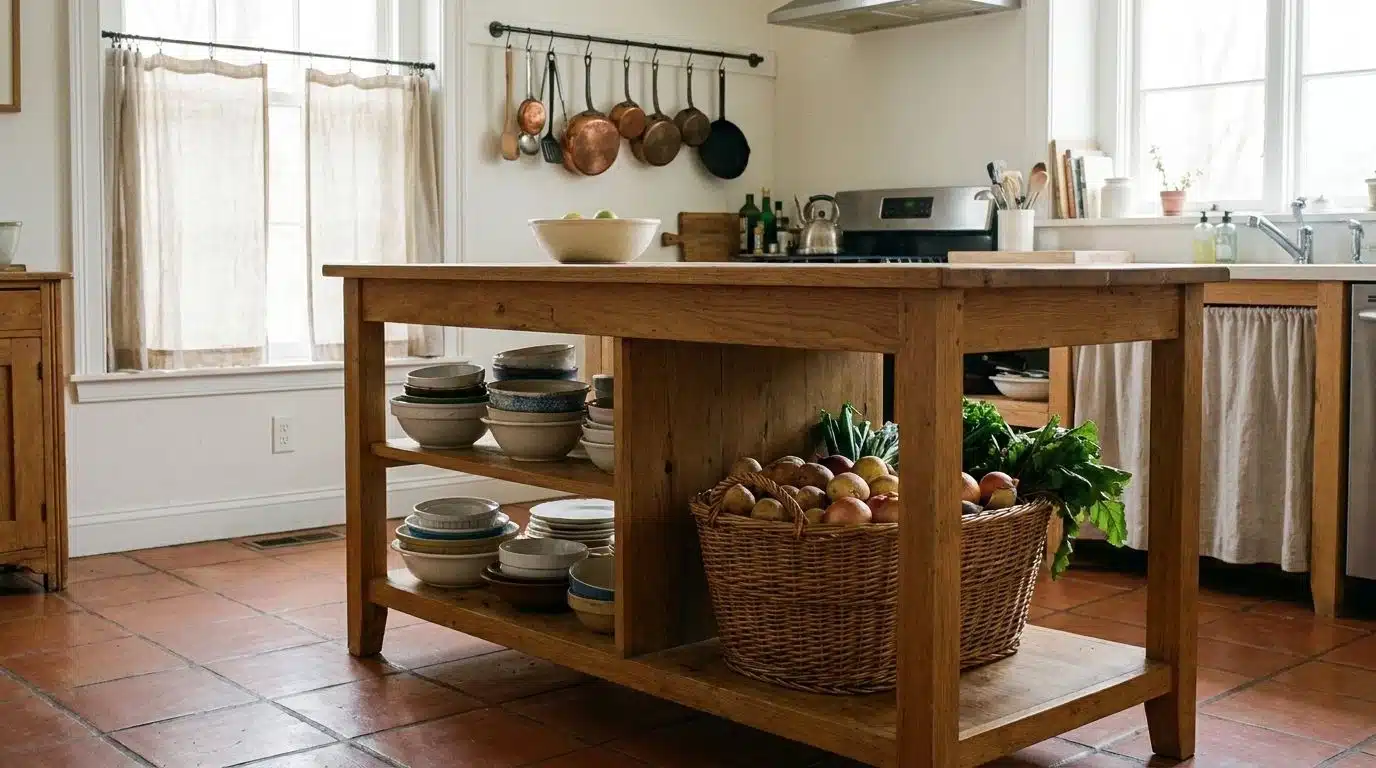
Not every island needs to be built on. A sturdy wood table with open shelves underneath works as a movable prep station, and you can push it against a wall when you need more floor space.
Look for one with a thick top, since a thin surface will dent quickly under regular chopping.
12. Roll-Down Door That Hides Small Appliances
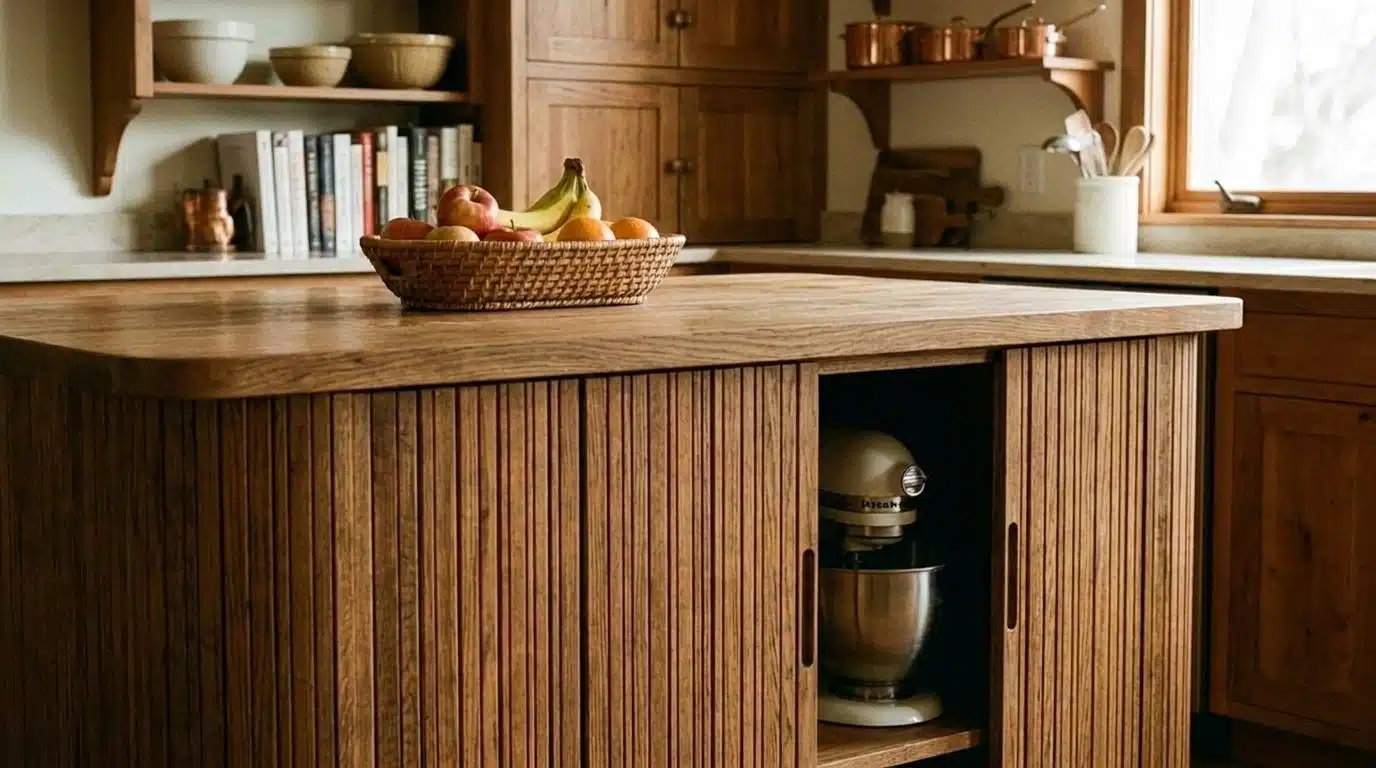
A door that rolls up like an old writing desk can hide a mixer or toaster inside the island. Roll it down, and the counter looks bare again.
This works especially well for appliances you use daily but don’t want sitting out, since you can leave them plugged in behind the closed door.
13. Built-In Trash and Recycling Pull-Out
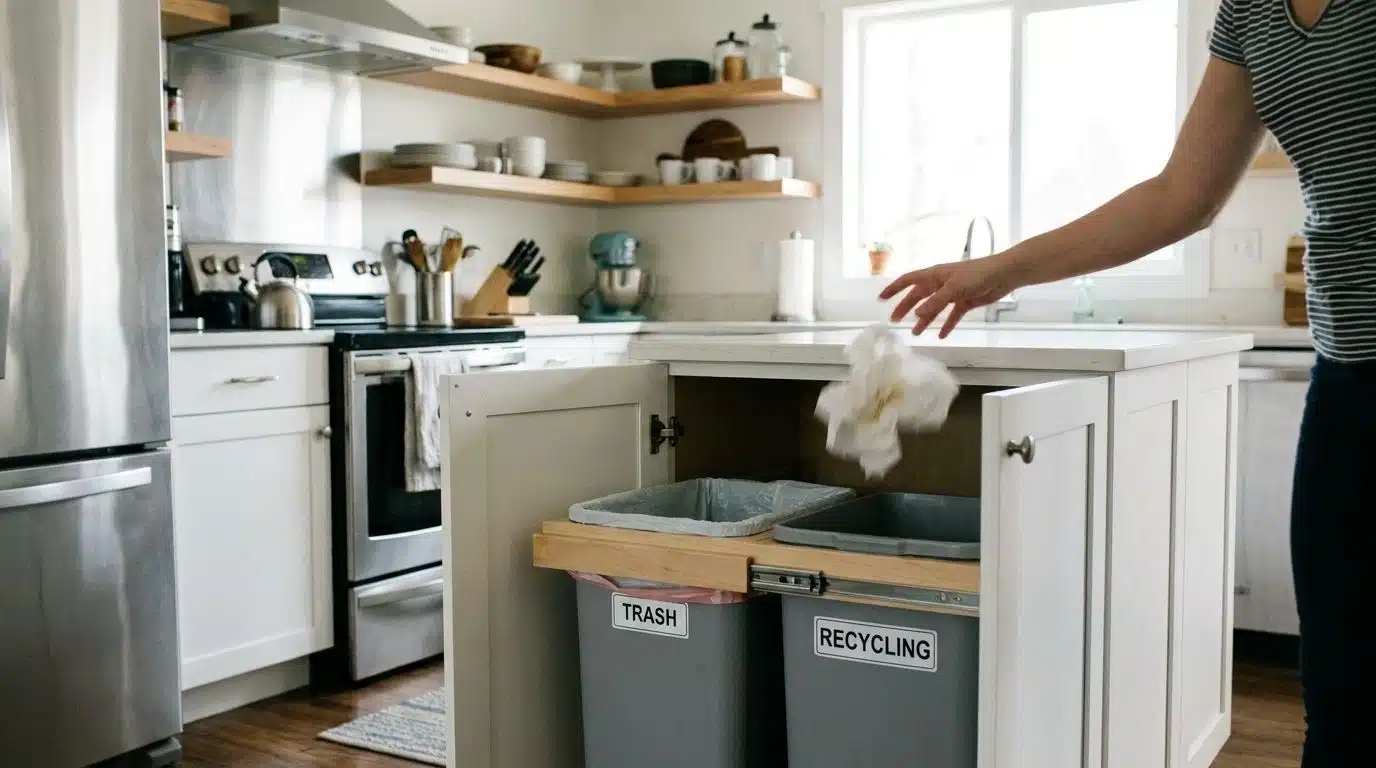
Trash off the floor, recycling right next to it, no trip across the kitchen. Smells stay shut inside a cabinet instead of hanging in the open room.
Look for a pull-out with two separate bins so sorting happens automatically as you toss things in.
I like pairing this kind of pull-out with the broader smart storage design for open-plan spaces, so nothing you don’t want on display ever sits in the open.
14. Wood Insert Set Into a Stone Top
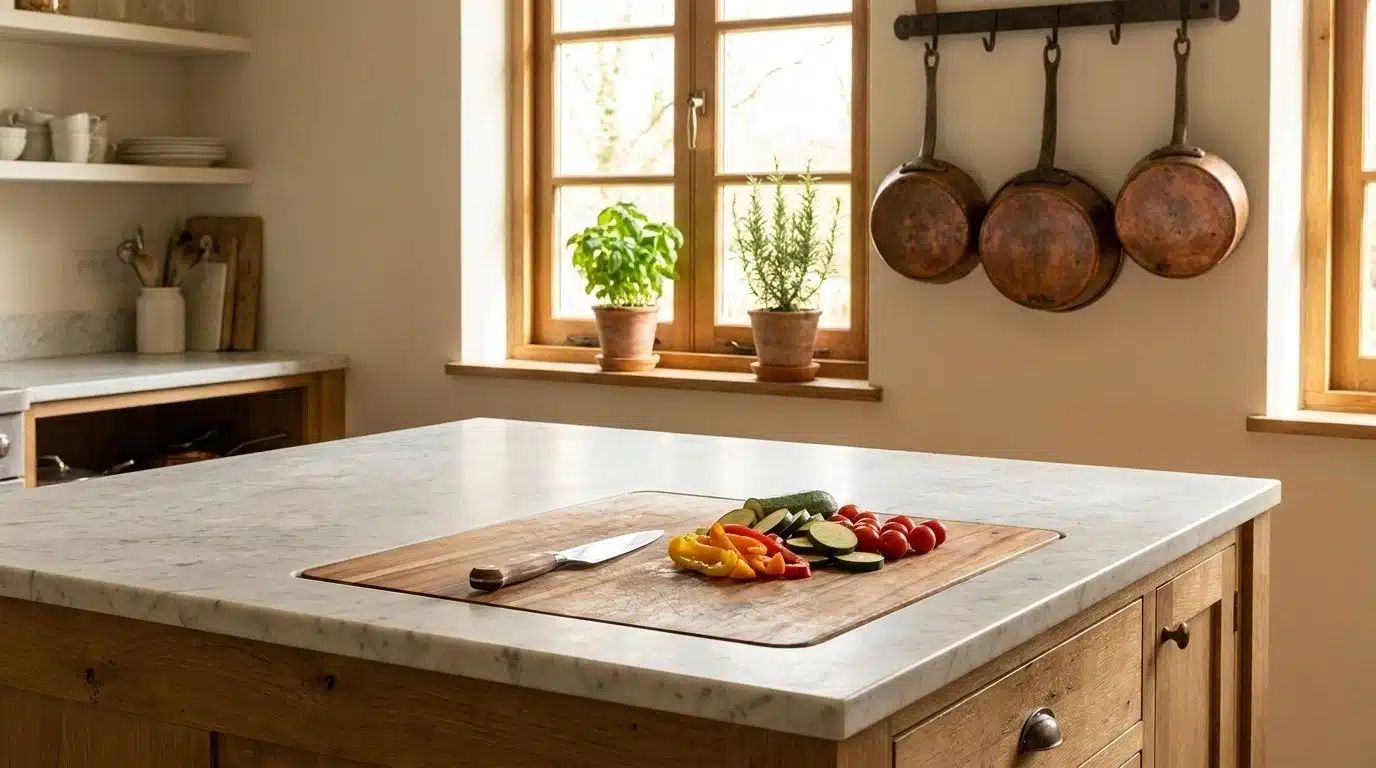
You don’t need the whole countertop in wood. A small wood square set into stone gives you a real cutting surface right where you chop, while the stone around it shrugs off spills and heat.
Set it flush with the stone, and the whole top stays level for rolling dough or setting down hot pans nearby.
15. Deep Farmhouse Sink
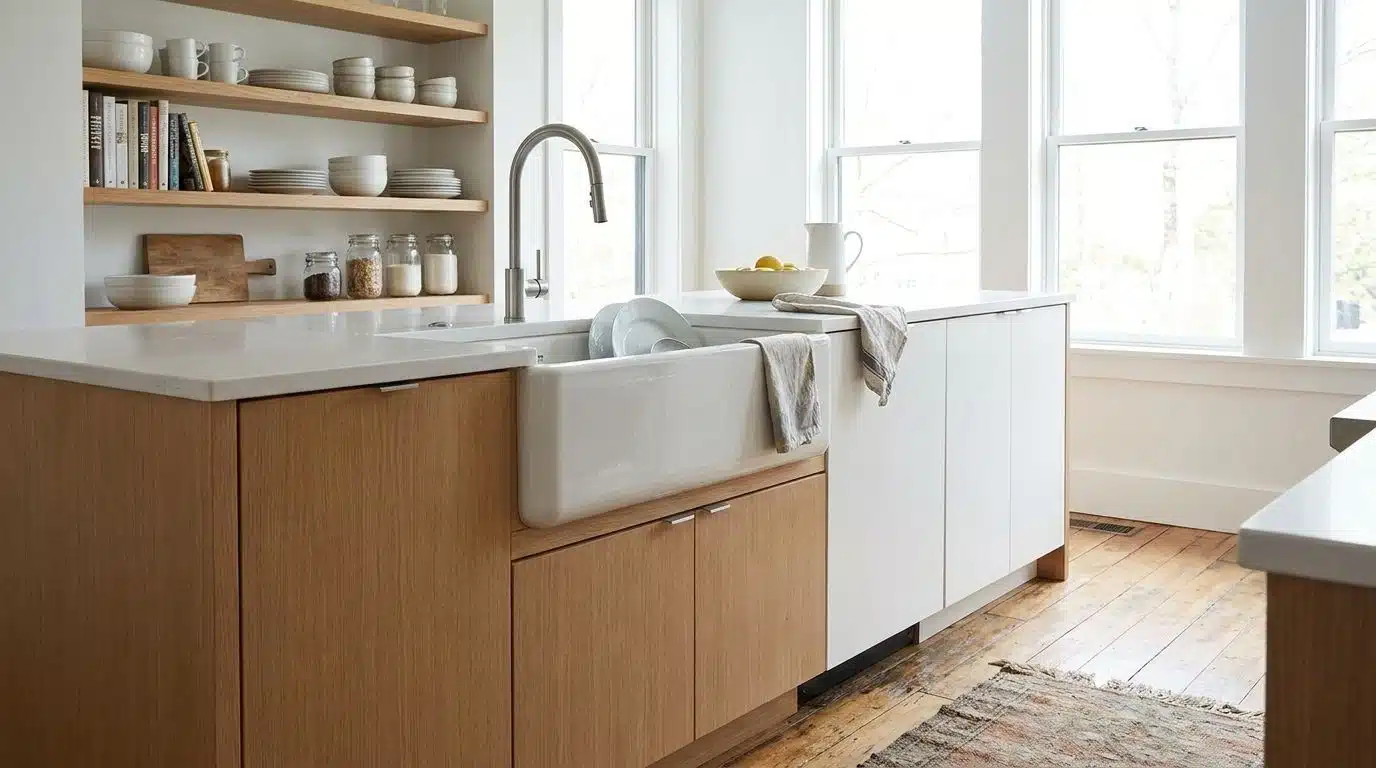
Washing big pots gets easy with a deep sink that hangs slightly past the cabinet front. That little overhang gives the island a cozy, farmhouse feel and hides splashes better than a flat front.
A single deep basin also means fewer trips to the main sink when you’re mid-recipe.
16. Sliding Cutting Board Sink Cover
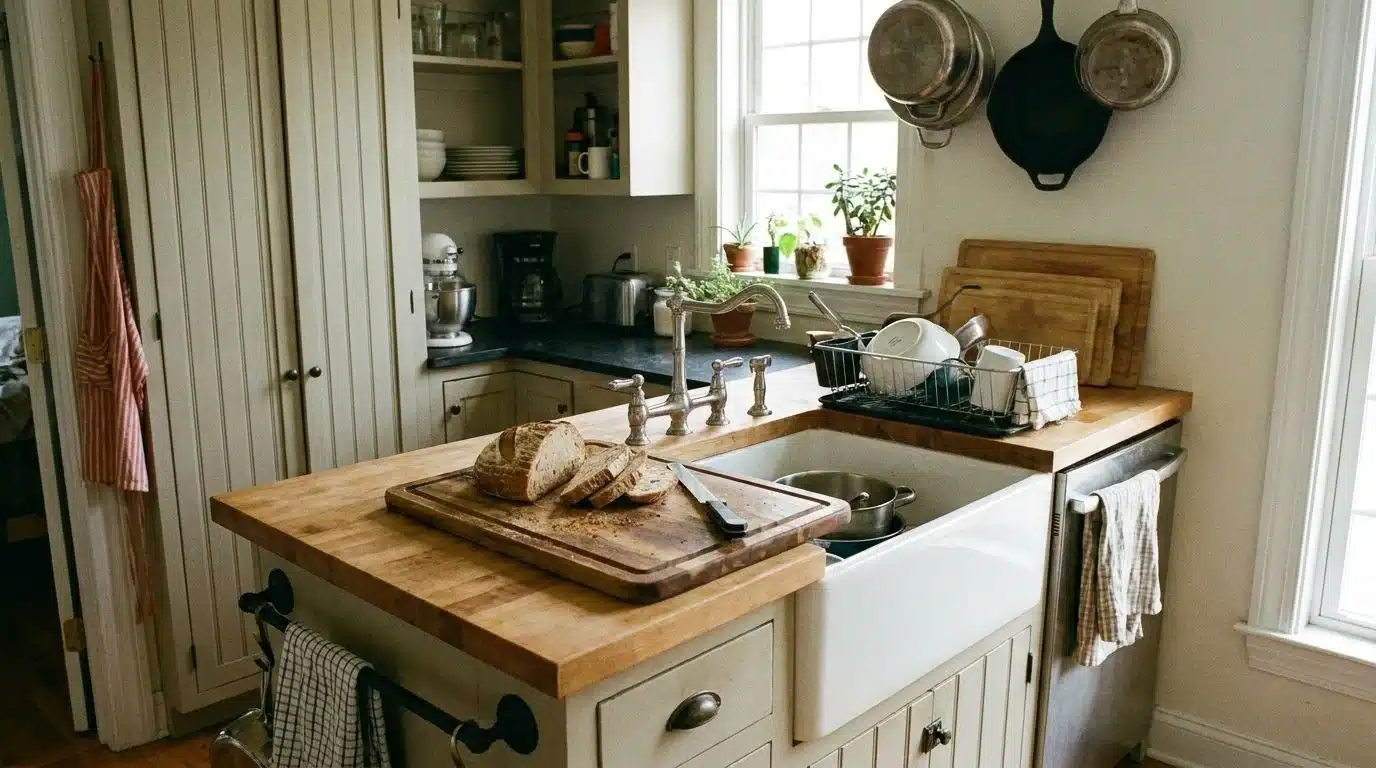
Slide a board over the sink, and you get extra counter space in seconds. Slide it back, and the sink is ready to use again.
Small kitchens need every inch, and this trick delivers one. Choose a board with a raised lip on the underside so juices from chopped vegetables don’t drip straight into the sink.
17. Toe-Kick Pull-Out Step Stool
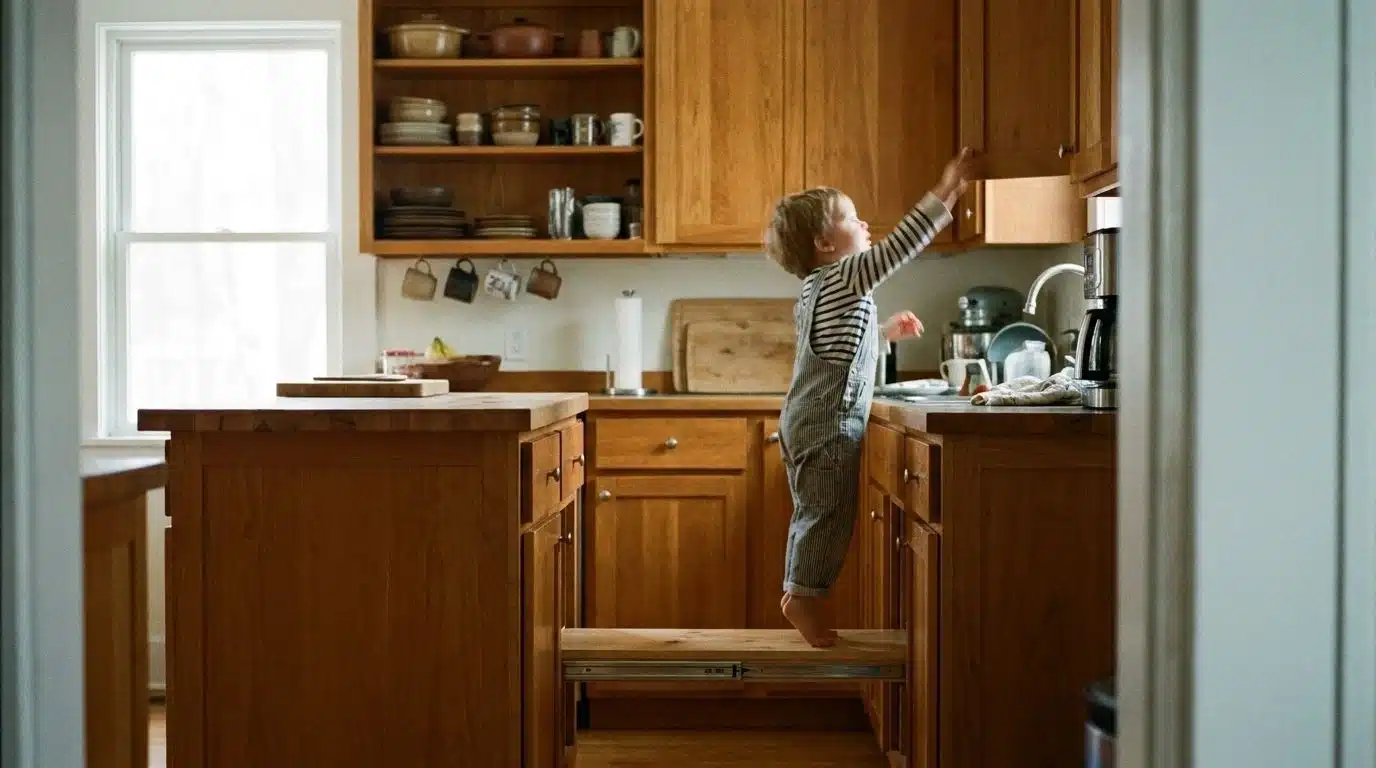
Down at the bottom of the island, past your feet, there is a thin gap called the toe-kick. Some islands hide a flat step stool right in that gap.
Pull it out, and a short person can reach a high shelf. Push it back in, and it disappears like it was never there.
Kids get a safe way to help at the counter this way, without dragging a chair across the floor.
18. Dedicated Baking Corner
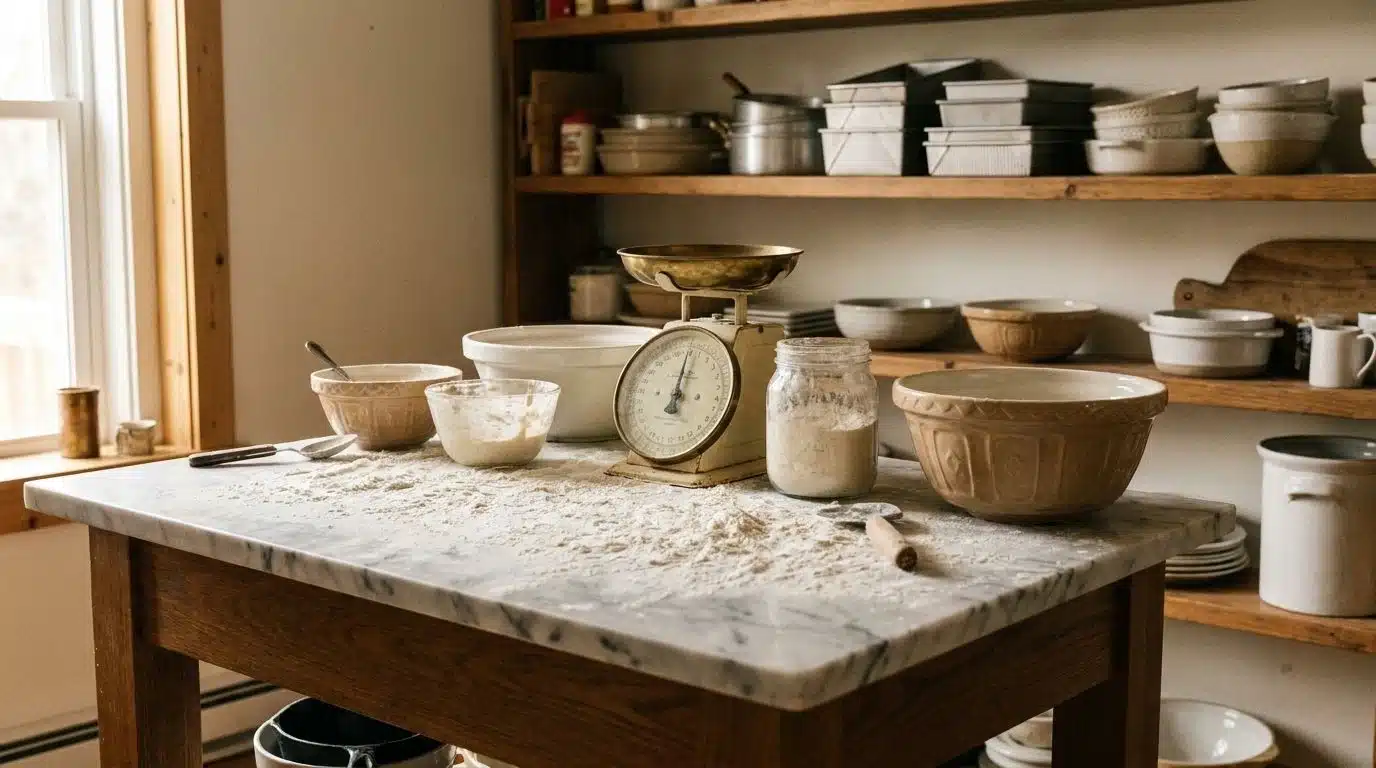
Save one end of the island just for baking. A cool marble insert and a pull-out shelf for your scale mean everything you need for bread or cookies lives in one spot.
Store your flour, sugar, and mixing bowls in the cabinet right below it, so you never have to walk across the kitchen mid-recipe.
19. Slotted Knife Drawer
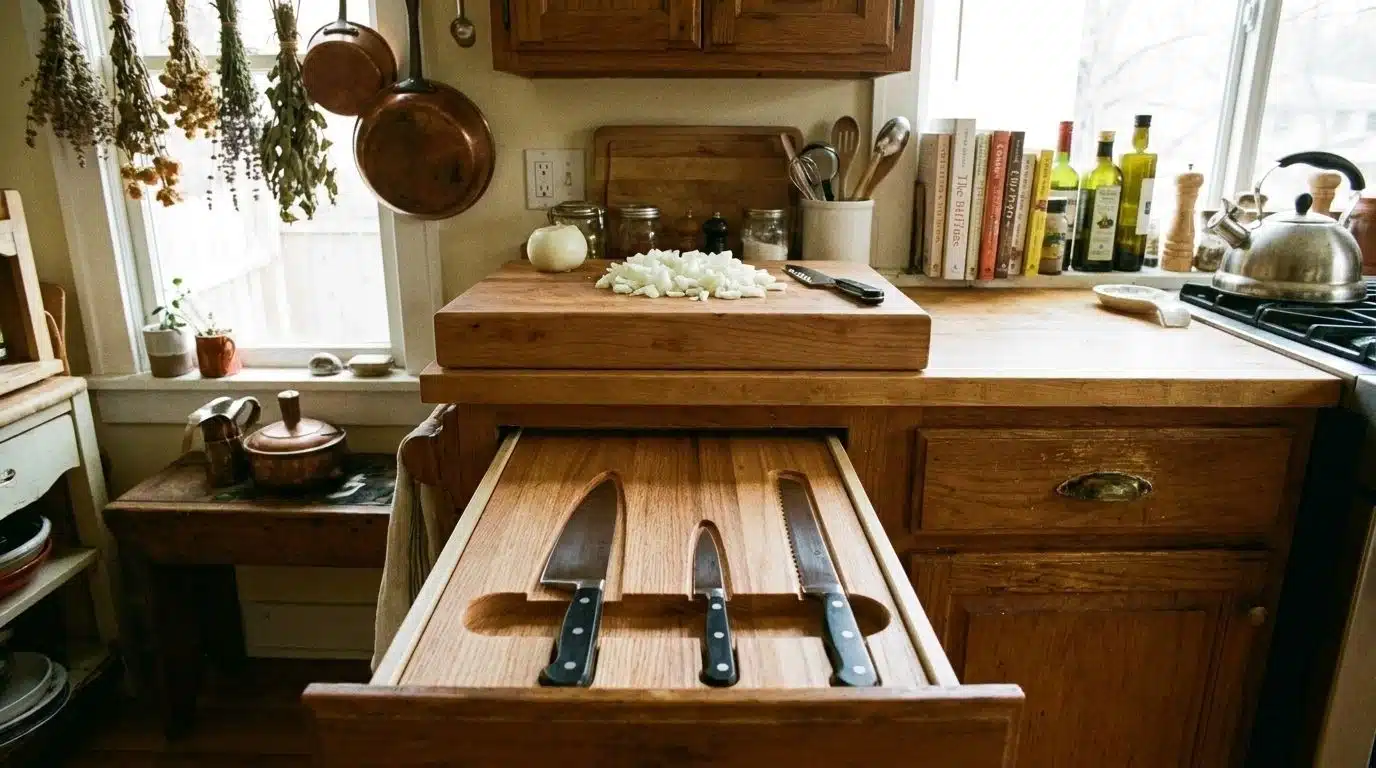
Slide your knives into a drawer with slots cut for each one, rather than leaving a block on the counter.
The counter stays clear, and little hands stay away from the blades. A drawer insert also prevents blades from knocking against each other, helping them stay sharp longer.
20. Pull-Out Pantry Cabinet
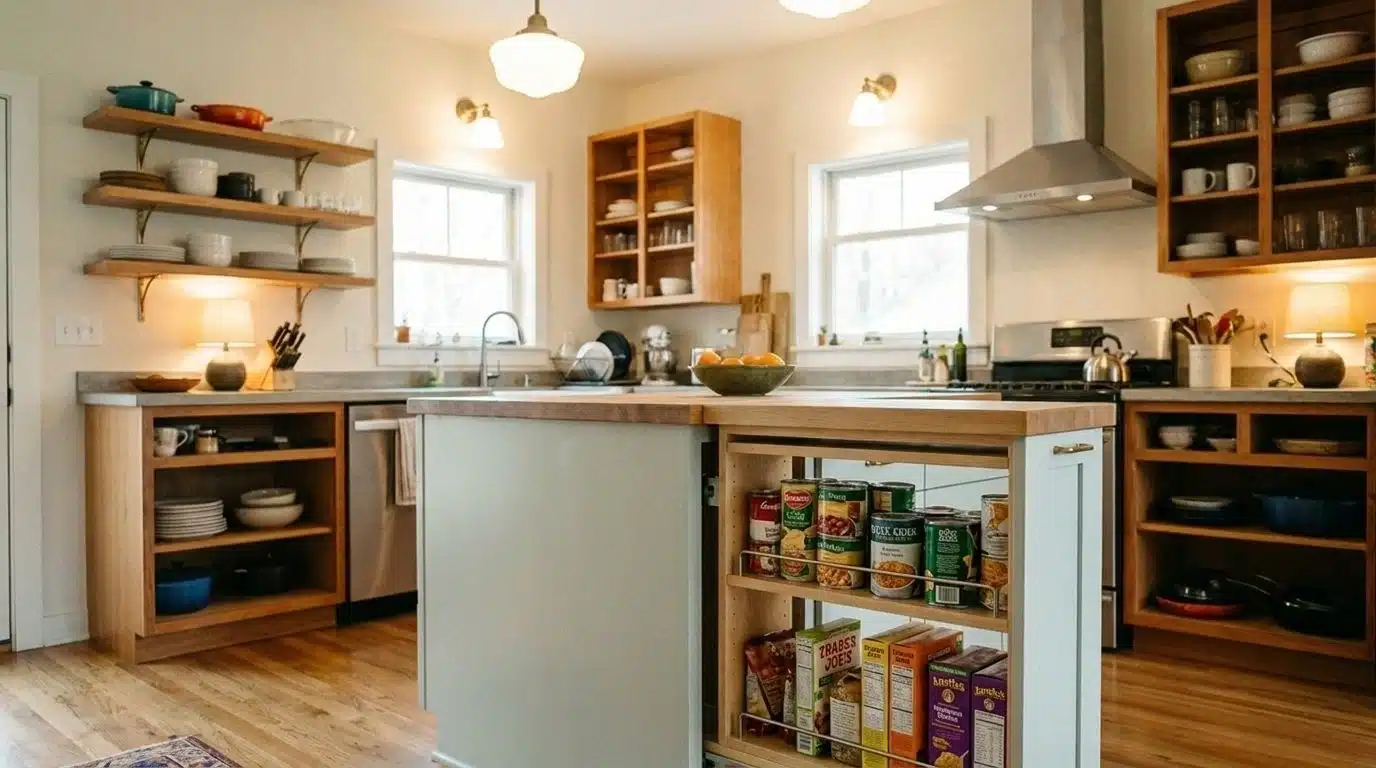
A tall, narrow cabinet at one end can hold cans, spices, and snacks. Pull it out, and every shelf sits right in front of you, no more digging in the back of a deep cupboard.
Even a cabinet just six or eight inches wide can hold a surprising amount once it’s fitted with slim shelves.
21. Narrow Wine Cubby
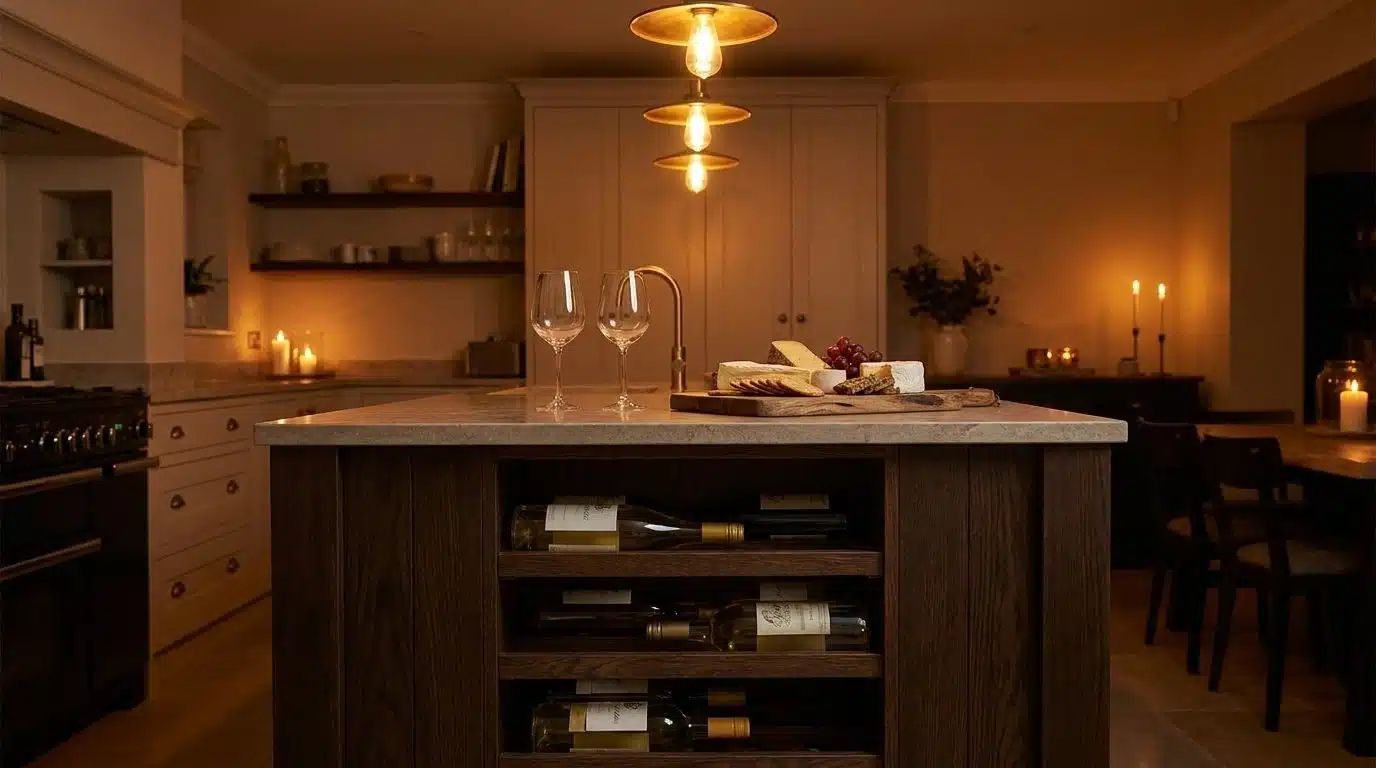
A slim slot built into the base holds bottles lying on their sides, cool and out of direct light. It barely eats up floor space, so even a small kitchen has room for it.
A short cubby near the seating side also makes it easy to grab a bottle without leaving your guests.
22. Warming Drawer
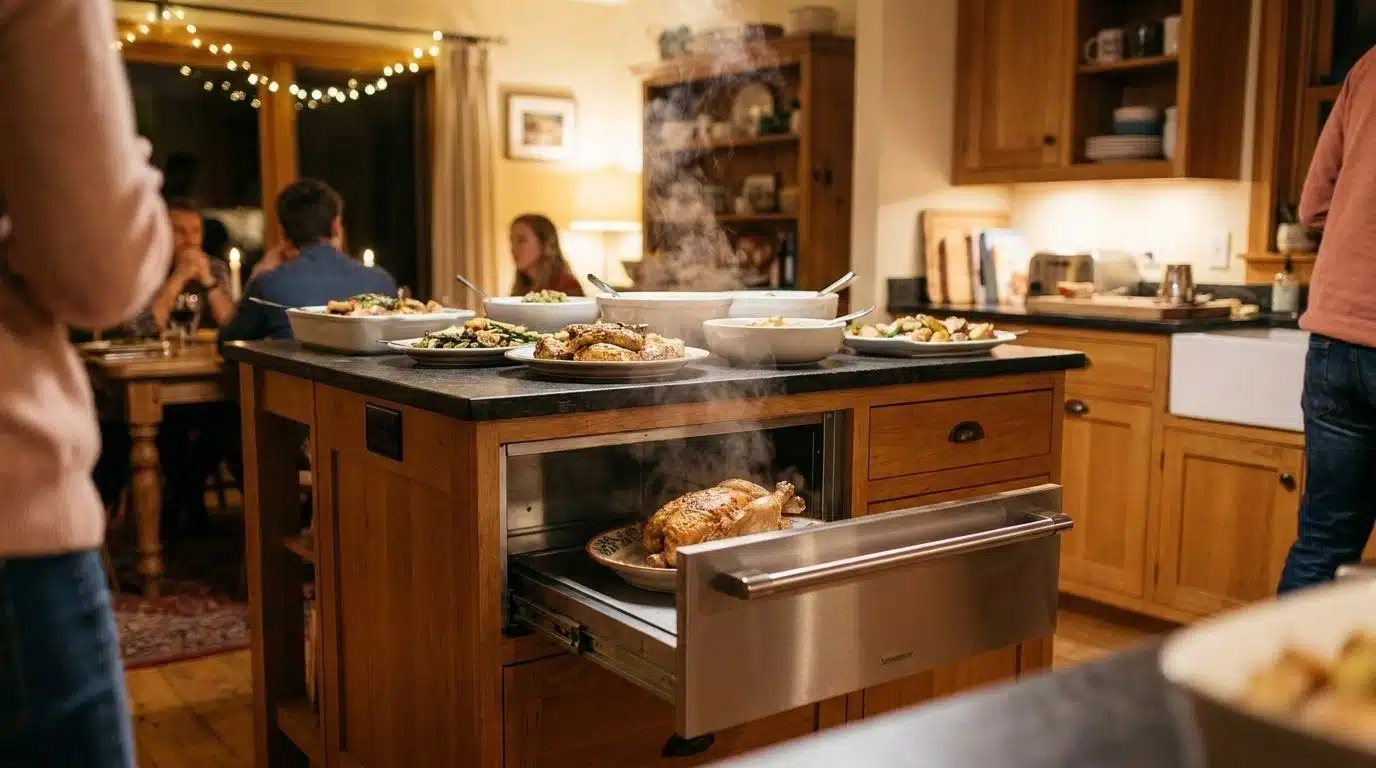
Hosting dinner gets easier when a warming drawer keeps food hot while the rest of the meal finishes.
It sits low, out of the way, and guests never notice it until you pull out a warm plate.
It also comes in handy for keeping bread or rolls at the right temperature while everything else is still cooking.
23. Sliding Door Over Island-Facing Appliances
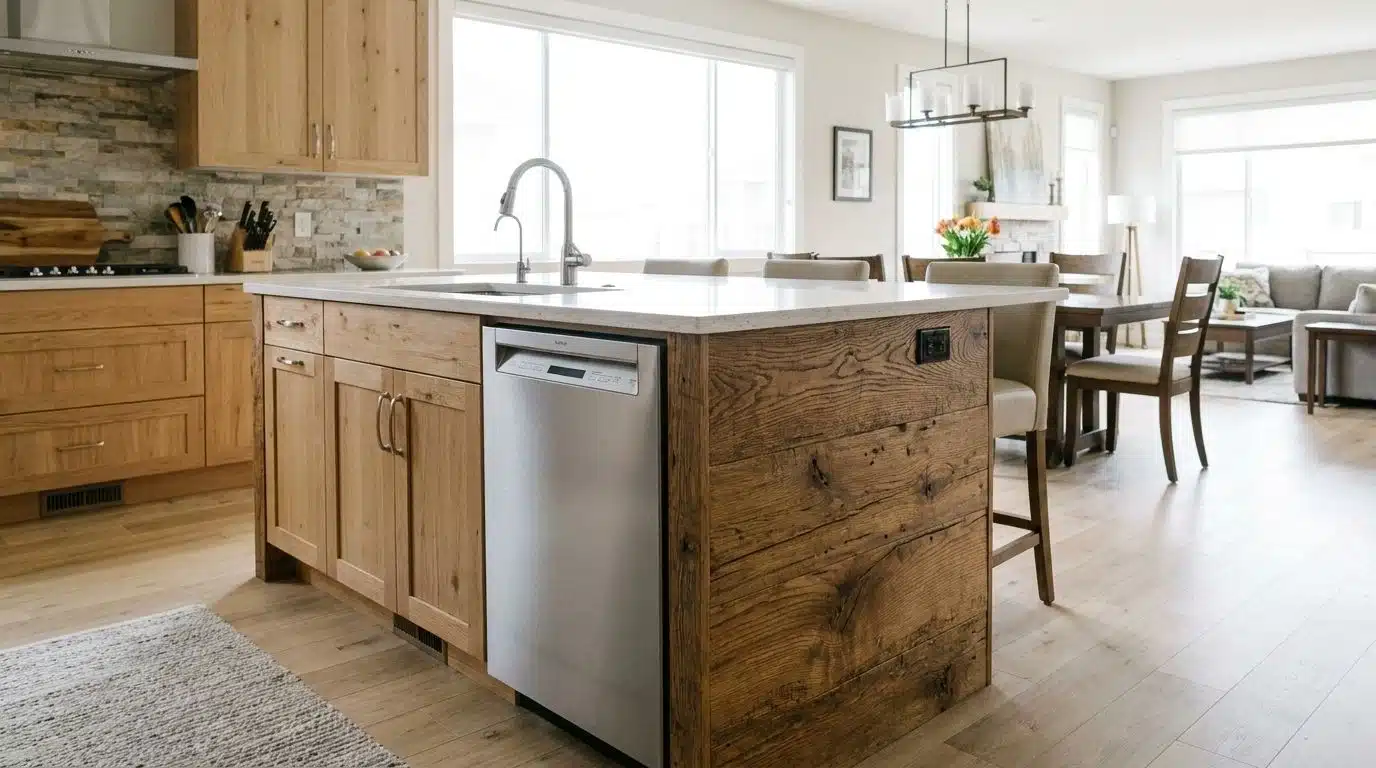
If a dishwasher or microwave faces the room, a sliding door can cover it when you’re not using it. Close it, and the island looks like a plain block of cabinets again.
This is a simple fix for open-concept kitchens where the island is visible from the living room or dining table.
24. Herb Planter Strip
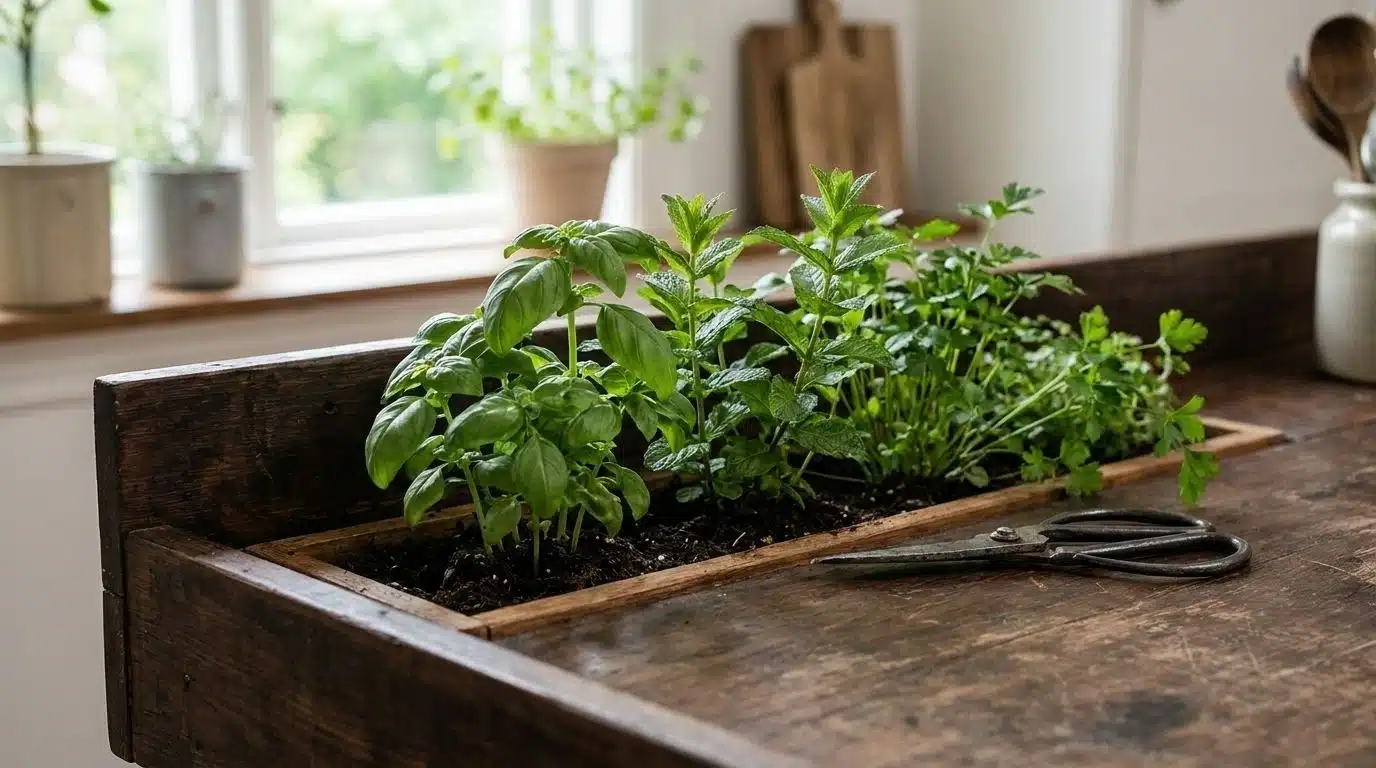
A narrow planter along the back edge can grow basil, mint, or parsley. Snip what you need while you cook, no windowsill required.
Line the planter with a removable metal tray so watering doesn’t risk damaging the wood or stone underneath.
25. Chalkboard or Magnet Panel
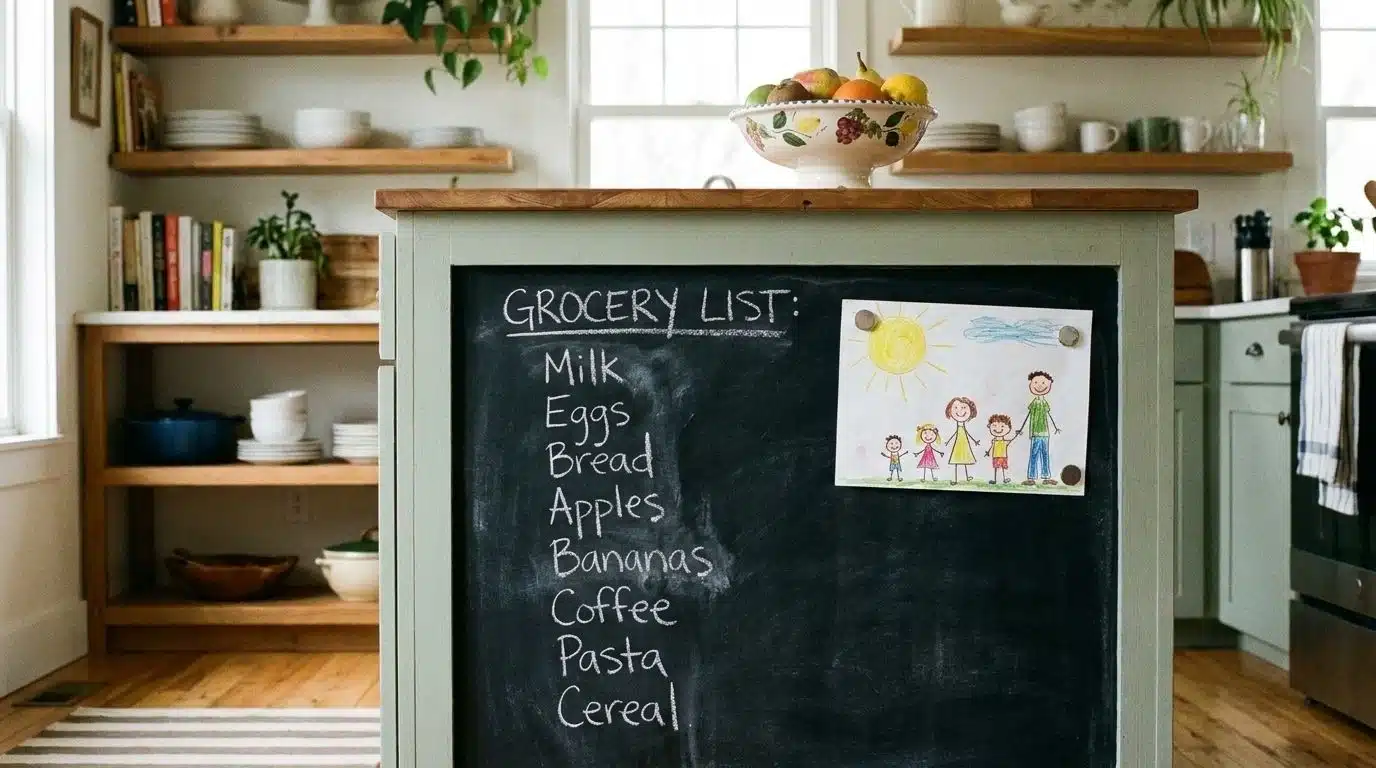
One end of the island can turn into a spot for notes and school flyers instead of the fridge. Kids can leave drawings there too.
A magnetic panel also works well for holding recipe cards in place while you cook, so you’re not wiping flour off your phone screen.
26. Kids’ Homework Corner
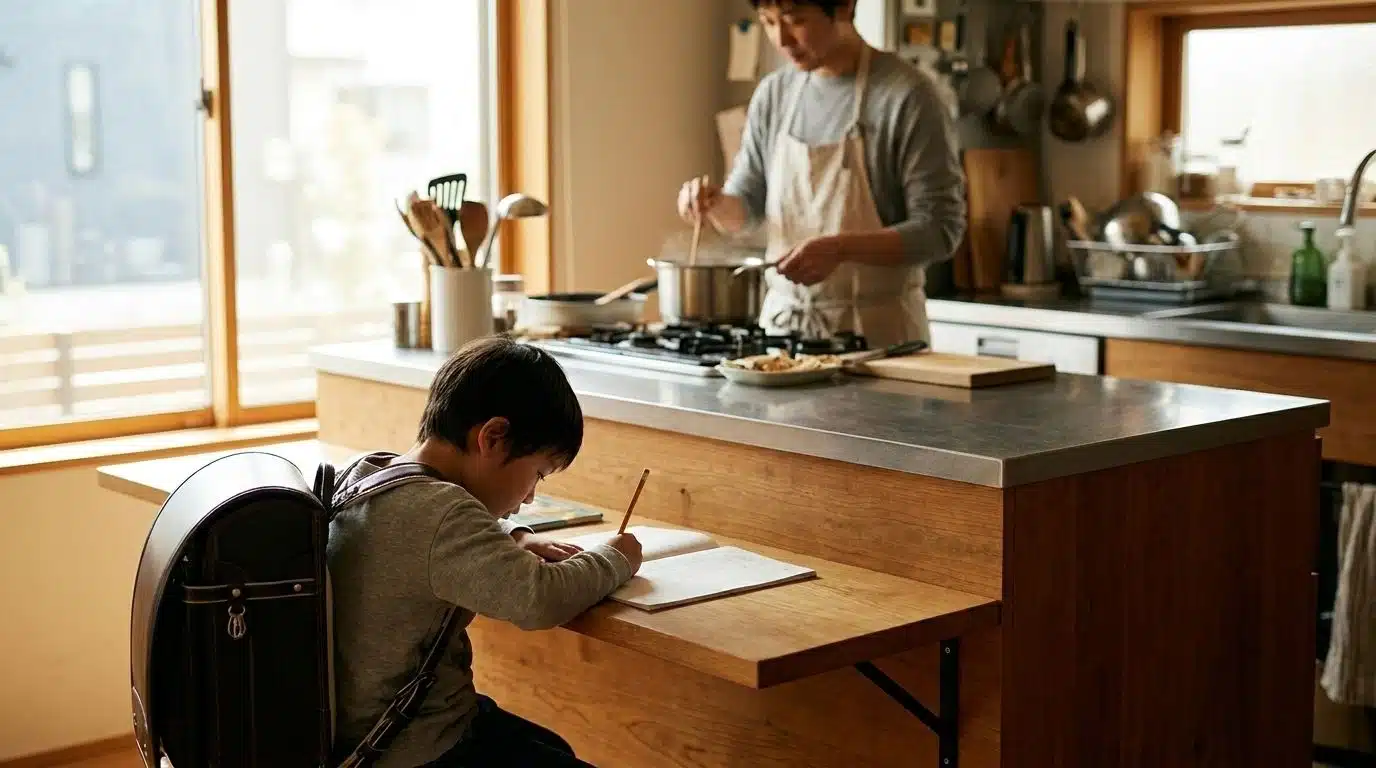
A lowered section at desk height, built shorter than the main counter, lets kids do homework with their feet flat on the floor while you cook nearby.
Add an outlet close by for a lamp or tablet charger, so the spot works just as well for evening homework as it does in daylight.
27. Storage Bench Seat
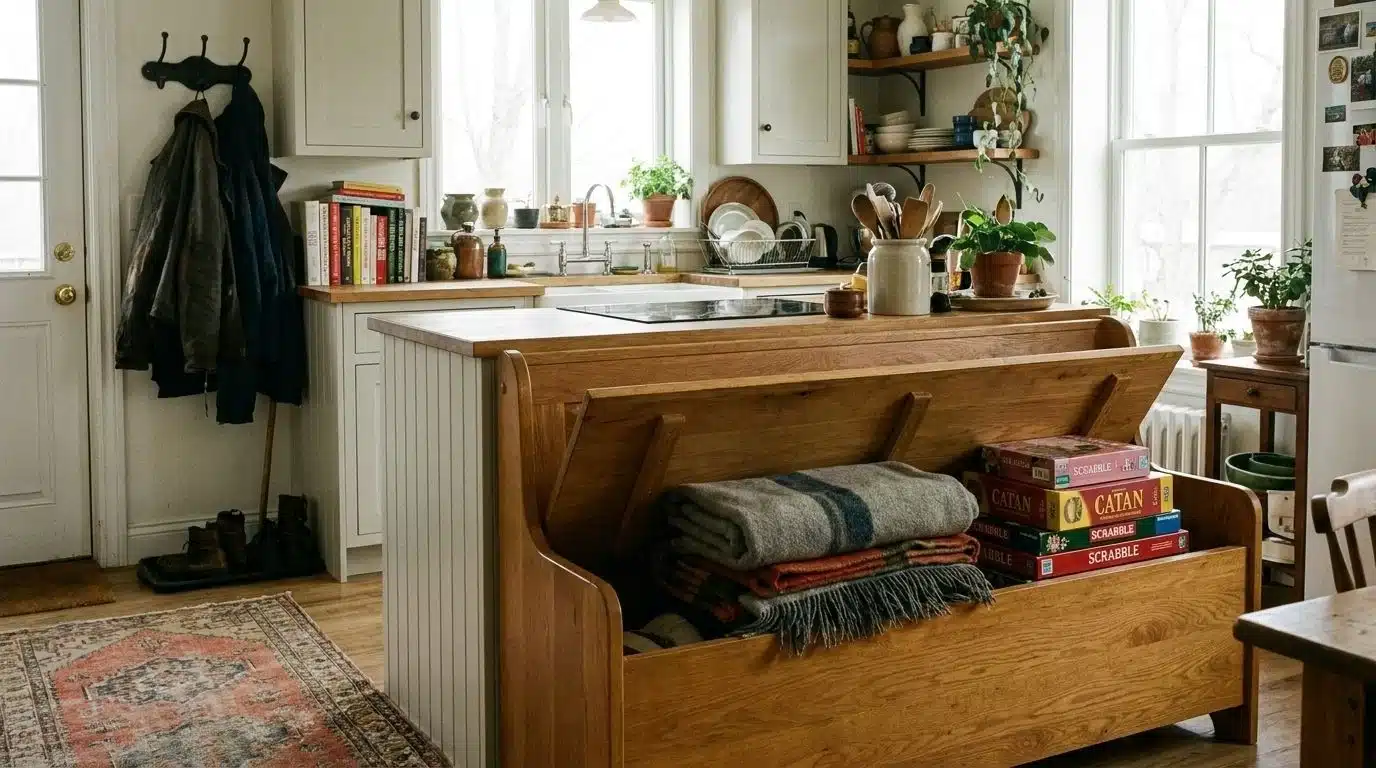
A bench with a hinged lid can hold blankets, board games, or pot lids underneath. It also gives you somewhere to sit while you pull on your shoes near the kitchen door.
Choose hinges rated for repeated daily use, since this spot tends to get opened and closed more than a typical storage lid.
28. Charging Drawer
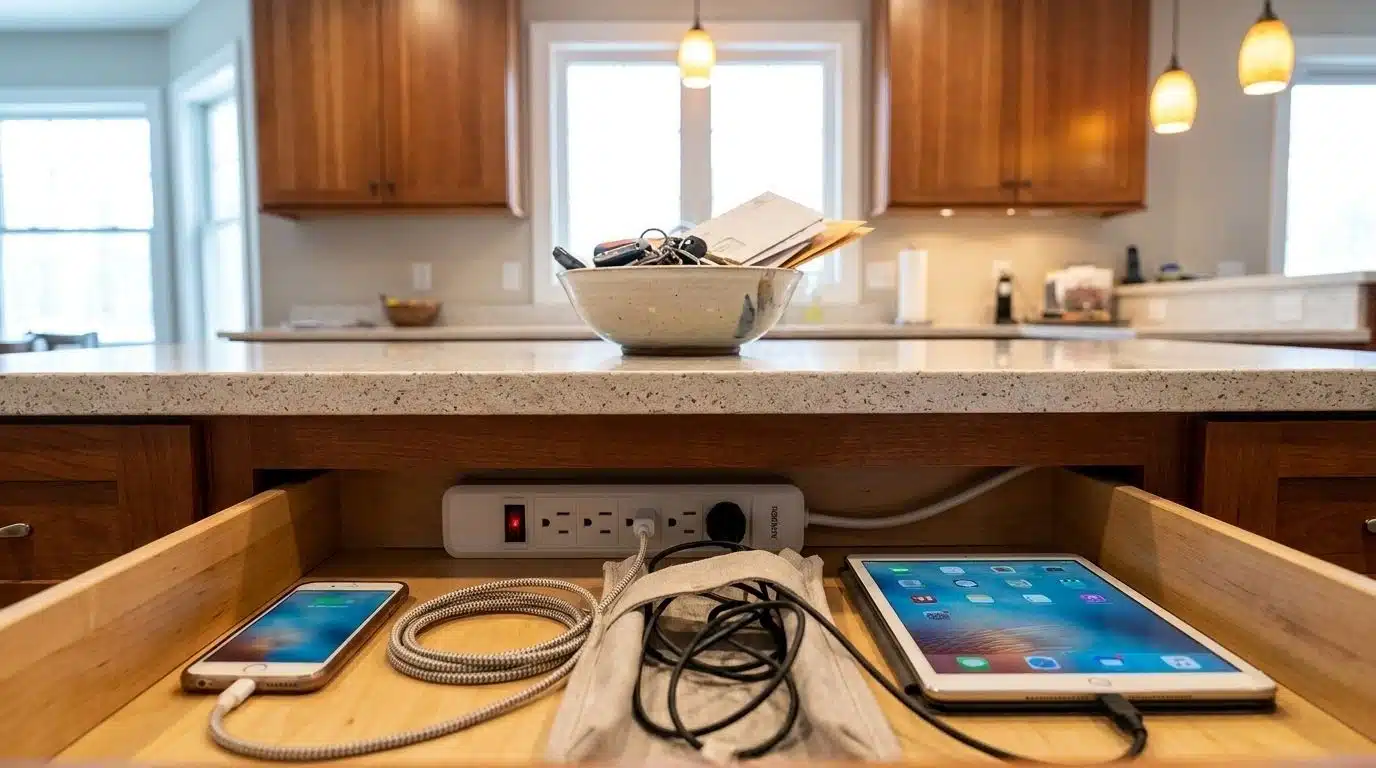
A drawer with a power strip inside charges phones and tablets without cords all over the counter. Shut the drawer, and the mess disappears.
Drill a small hole in the back panel for the cord to reach an outlet, so the drawer still closes flush when it’s in use.
29. Pull-Out Pet Feeding Drawer
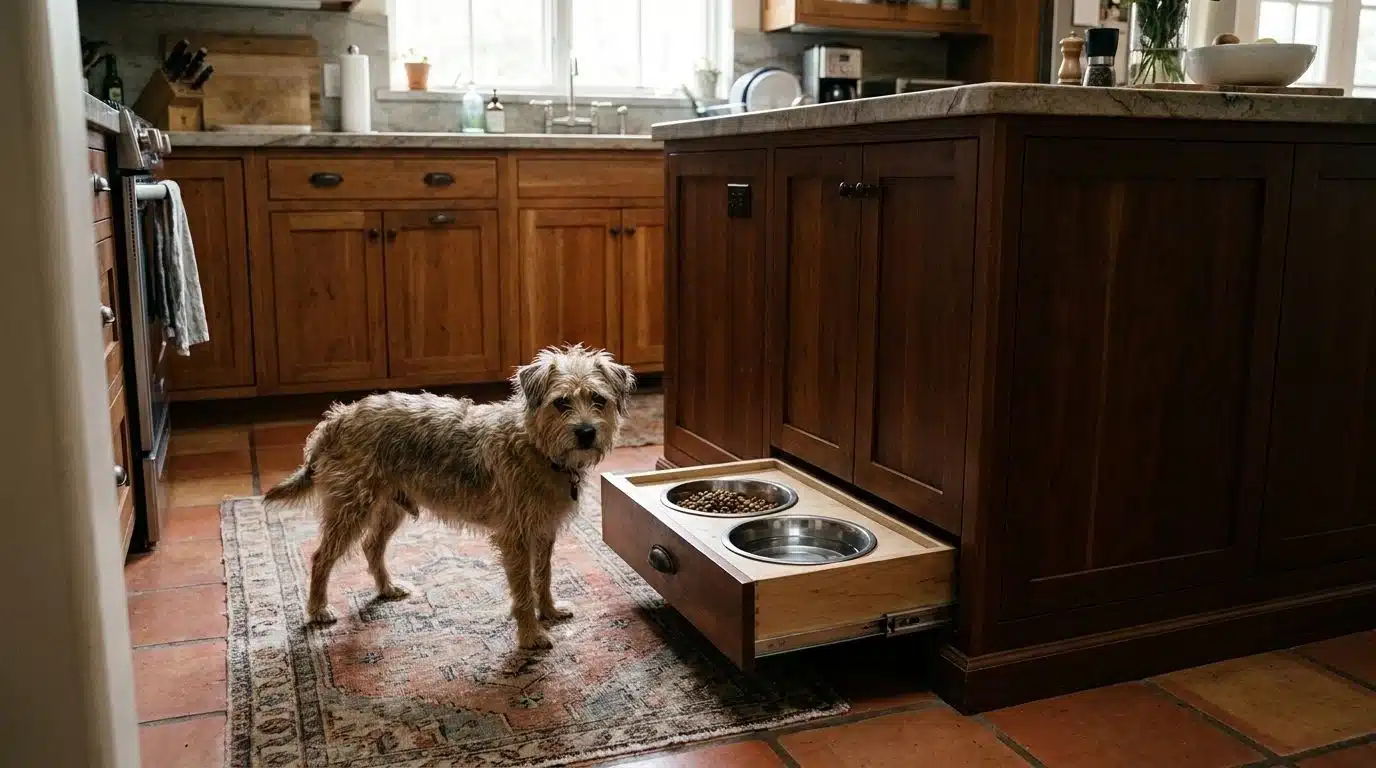
Food and water bowls are stored in a drawer at floor level.
Slide it shut, and the bowls vanish from sight and off the floor, though your dog still knows exactly where to look.
Line the drawer bottom with a rubber mat to catch spilled water and make cleanup quick.
30. Open Ladder Shelf
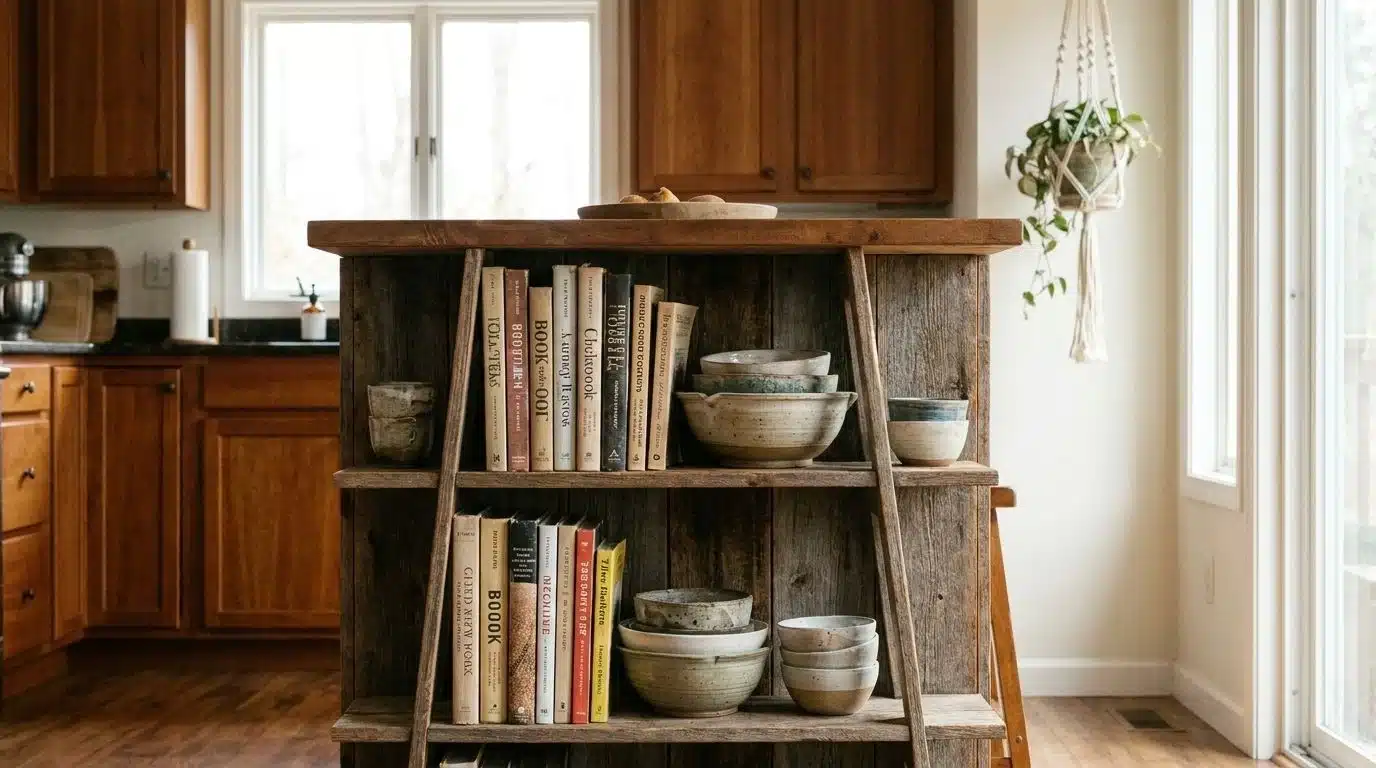
Skip a closed cabinet on one end and add open shelves shaped like a small ladder instead. Stack cookbooks or bowls there to break up a wall of solid doors.
It also gives you a spot to display a few favorite pieces, like colorful mugs or a stack of cloth napkins.
31. Fold-Out Leaf
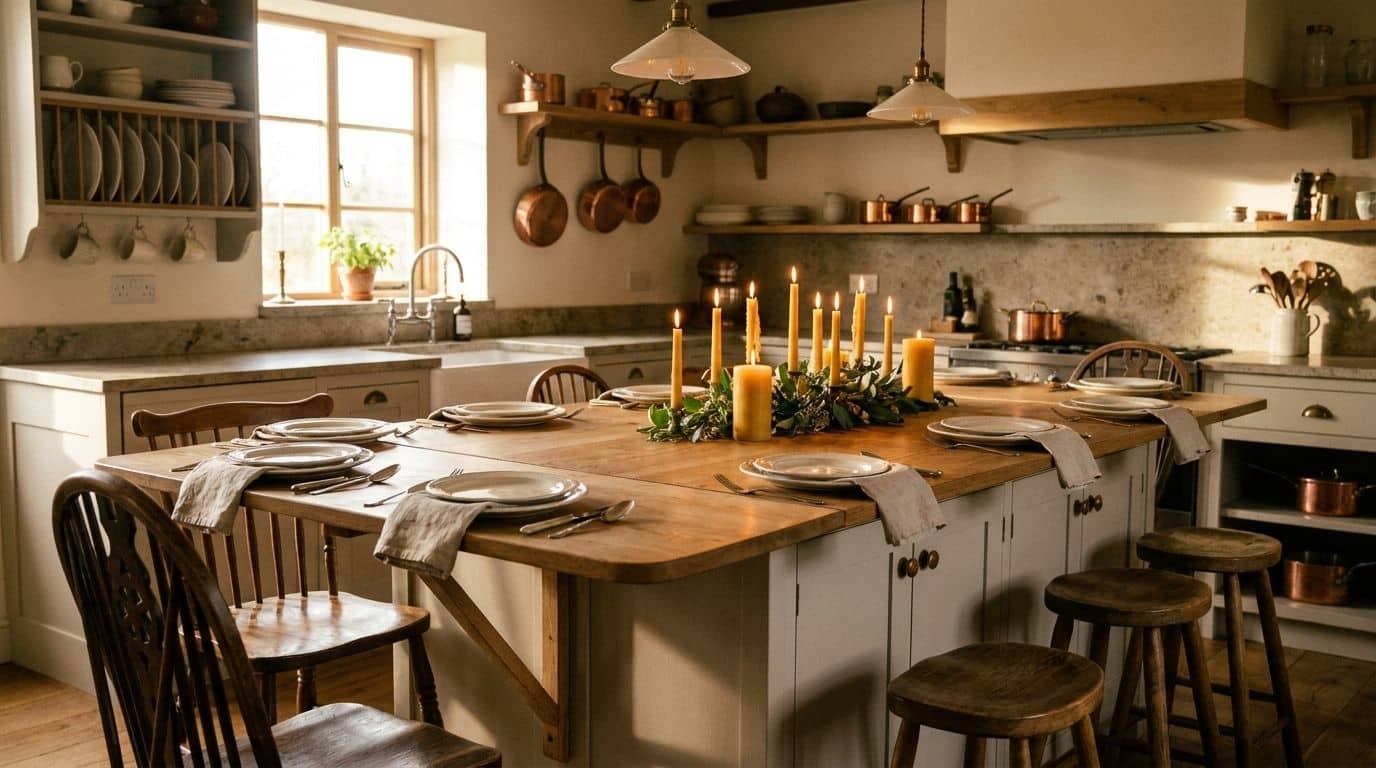
A hinged leaf folds flat against the island until you need more space. Pull it up for a big dinner, then fold it back down when the kitchen needs to feel normal size again.
A support bracket underneath keeps the leaf steady, so it can hold plates and serving dishes without wobbling.
32. Rounded Corners
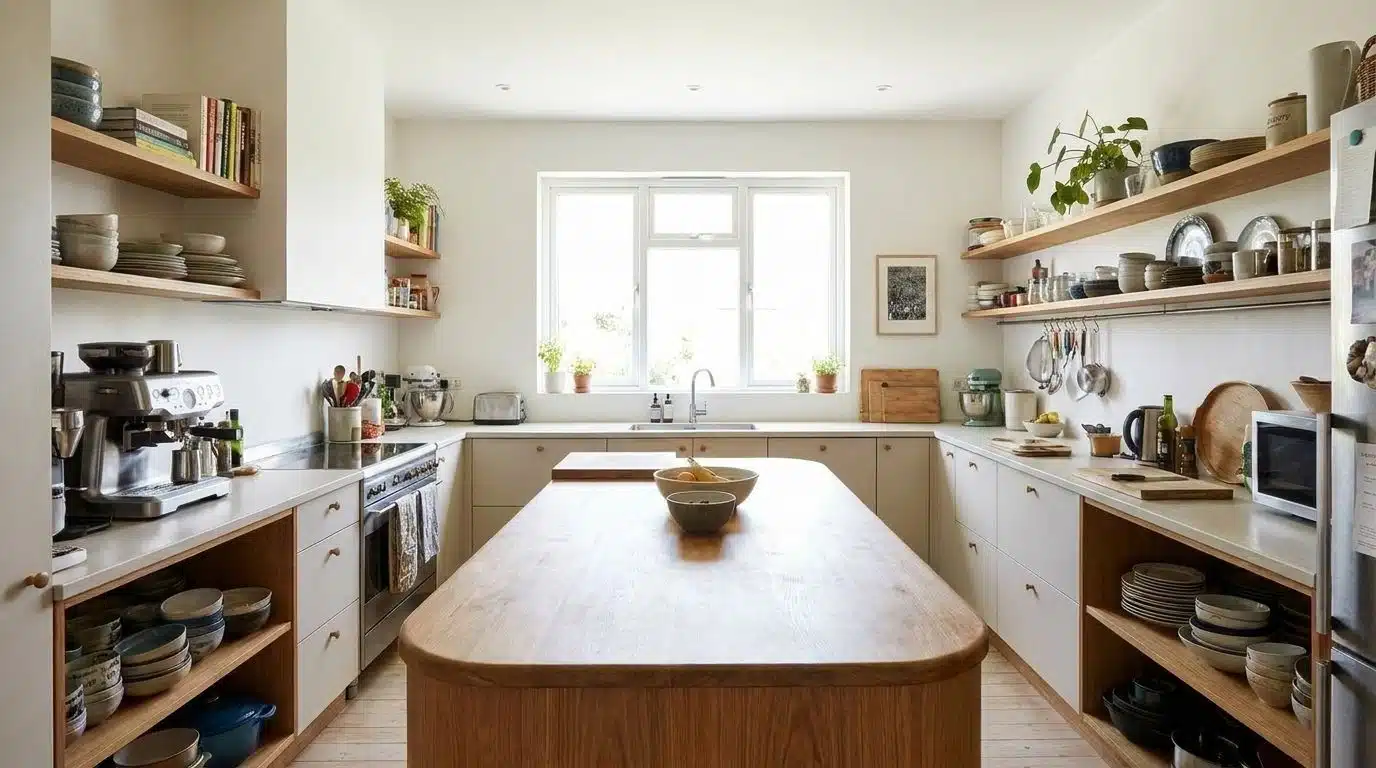
Sharp square corners bruise hips fast in a busy kitchen. Round off the edges where people walk past most, and tight kitchens will feel it the most.
Even a small radius at the corners can make a big difference in how safe the island feels when kids are running around.
33. Compact Mini Island
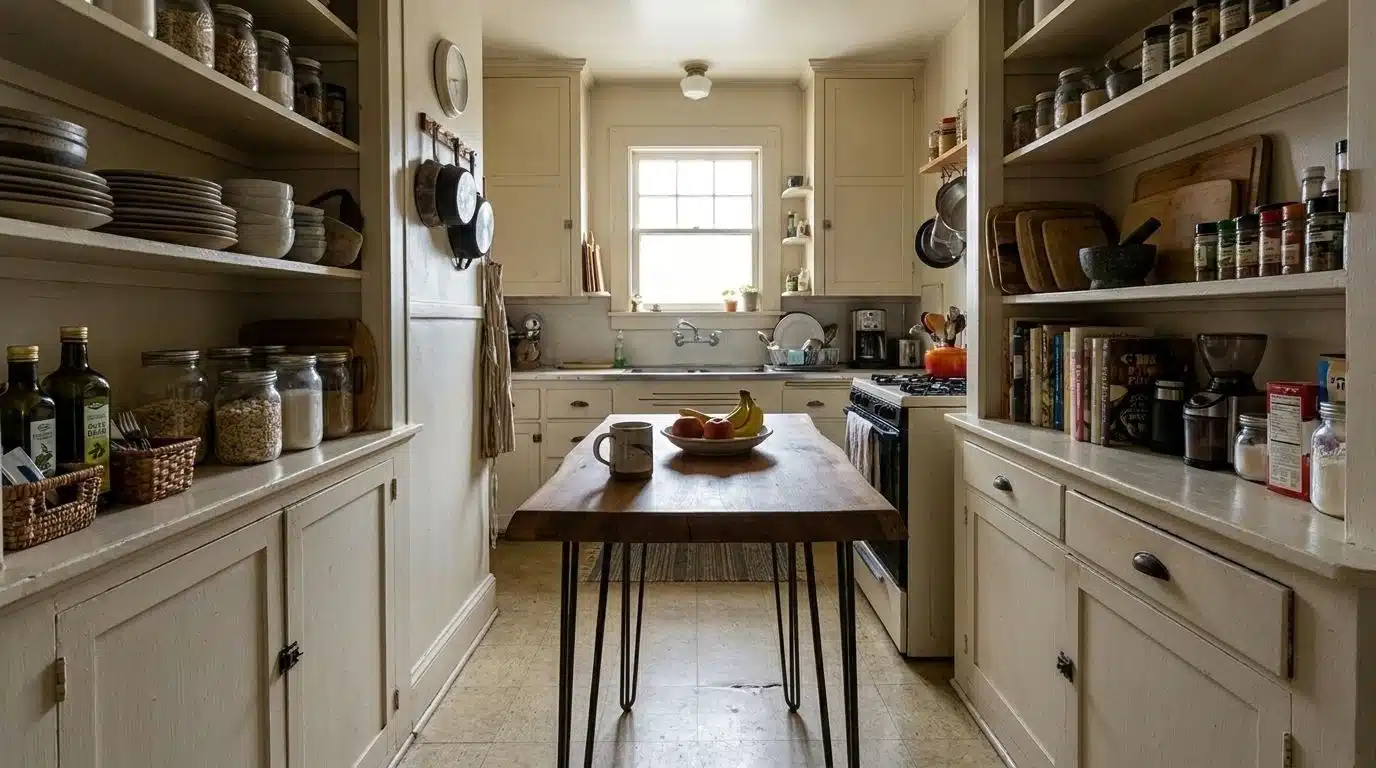
Big islands don’t fit every kitchen. A small one, sometimes just a single slab on slim legs, still adds real counter space, and it fits well in galley kitchens or small apartments.
Add a shelf underneath for baskets or cookbooks, and even a narrow island starts to pull real weight in a tight layout.
34. Rolling Cart With a Drop-Leaf
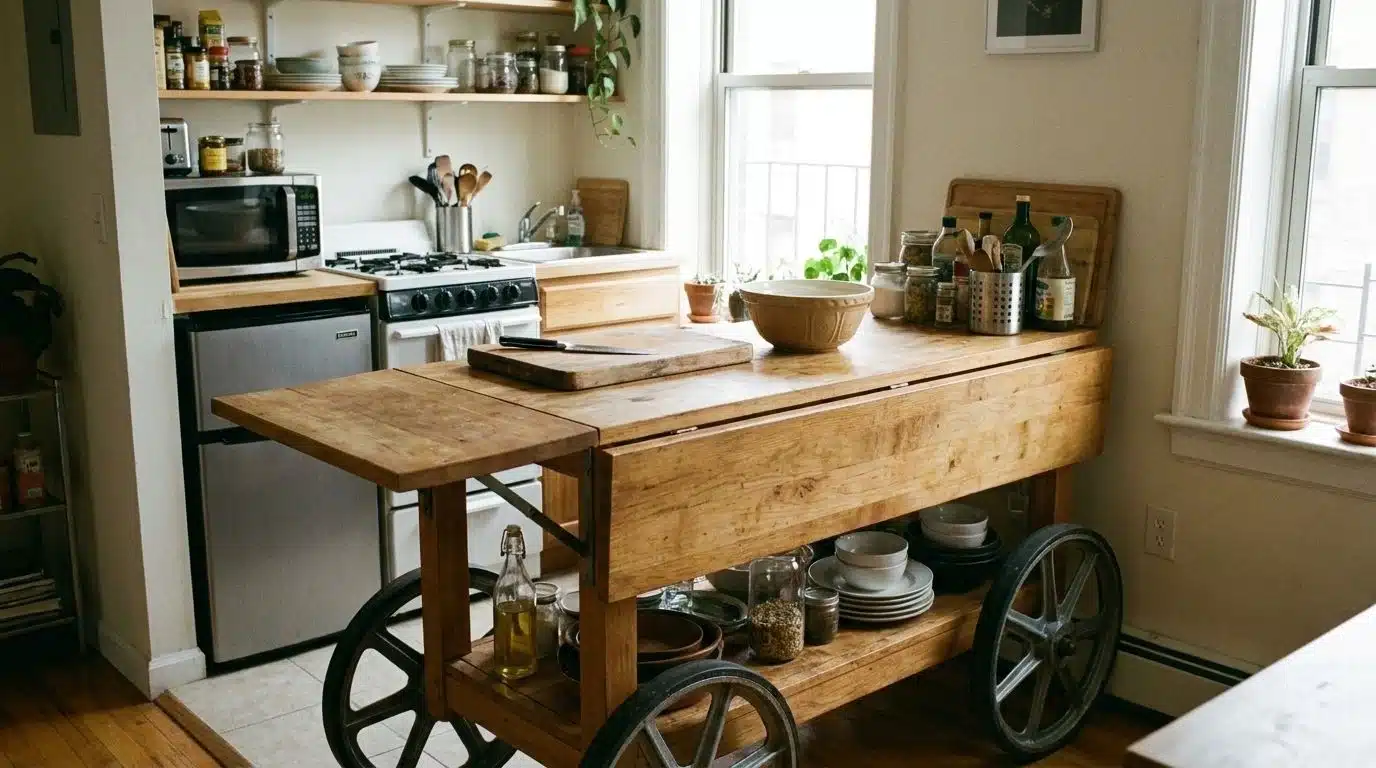
A wheeled cart with a folding leaf works as an island only when you need one. Roll it out for prep, push it against the wall when you’re done.
Renters love this option most, since it adds counter space without any drilling, painting, or permanent changes to the kitchen.
35. Two Connected Islands
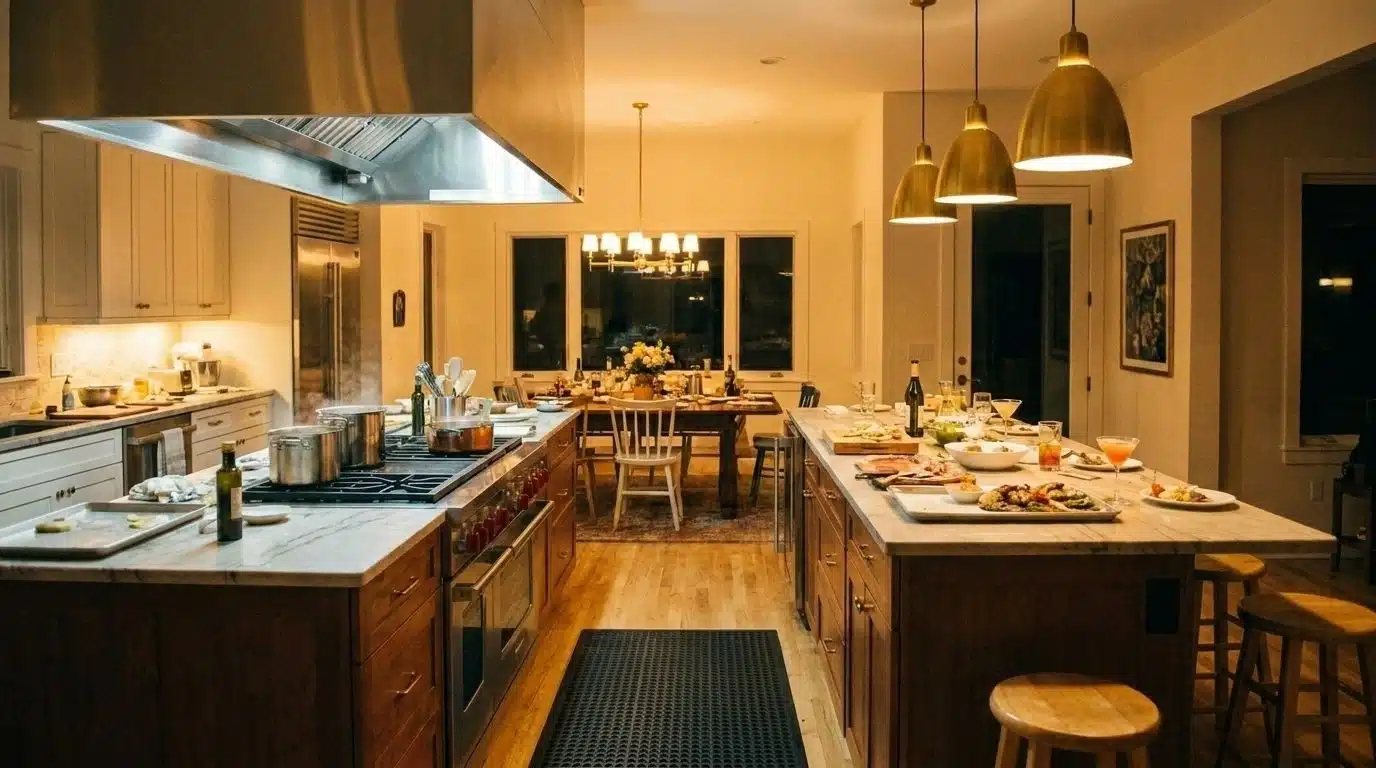
Bigger kitchens can fit one island for cooking and a second for serving. Guests gather at one while you work at the other, and nobody bumps elbows during a big dinner.
Keeping a few feet of open floor space between the two islands helps the space still feel like one kitchen rather than two separate zones.
Kitchen Island Mistakes That Are Expensive to Fix Later
A few simple mistakes can make your kitchen island harder to use and more expensive to fix later. Keep these points in mind before you build or buy one:
- Don’t make the island too big. Leave enough space to walk around it easily and open all doors and drawers.
- Add power outlets before the cabinets are installed. They are useful for small appliances and charging phones.
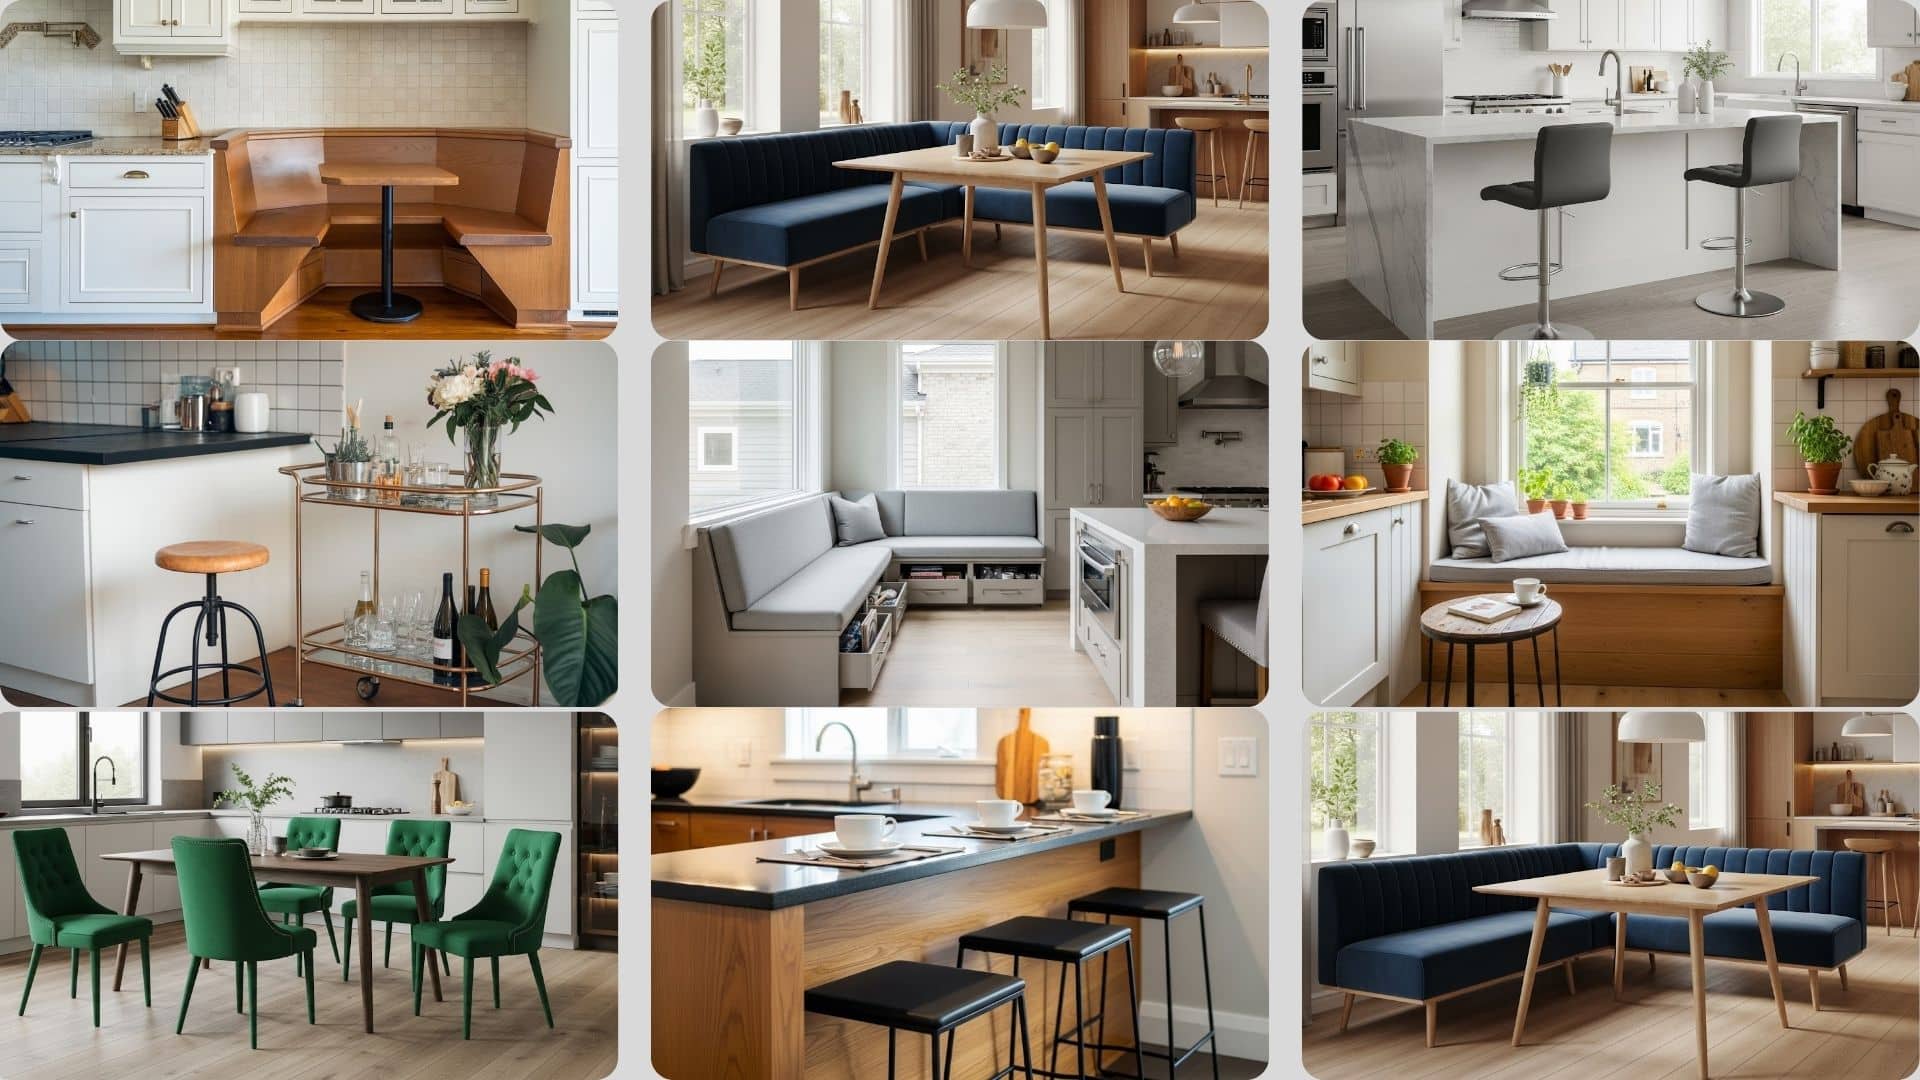
- Buy only the number of bar stools you really need. I plan seating around actual foot traffic first and let style follow, the same way I’d approach any smart kitchen seating layout.
- Pick drawers instead of lower cupboards when you can. Drawers make it much easier to reach pots, pans, and other kitchen items.
- Make sure the island has good lighting. The lights should help you cook and prepare food, not just look nice.
Planning these small details now will help you avoid extra costs and give you a kitchen island that is easy to use every day.
Conclusion
A kitchen island can be more than a slab of stone in the room. It can hide your dog’s bowls, charge your phone, fold out for a bigger dinner, or give your kid a spot to do homework while you cook.
Pick two or three kitchen island ideas from this list, not all thirty-five, and build around how your family truly spends time together.
Check clearance and outlets early, and the island will still work five years from now, long after the trendy stuff fades.
Frequently Asked Questions
What Size Should My Kitchen Island Be?
A kitchen island should be at least 4 feet long and 2 feet wide. For seating, allow a 12-15-inch overhang for legroom. If your kitchen is too small, consider a mobile butcher block cart instead.
Should I Put a Sink or Cooktop in The Island?
A sink or cooktop can work in an island, but consider additional plumbing or ventilation costs. A clear island for food prep, dining, and gathering often remains the simpler choice.
What Are the Best Electrical Options?
Include outlets for small appliances and charging devices. Popular choices include pop-up outlets, hidden side outlets, or built-in countertop chargers.
How Much Clearance Should I Leave Around My Island?
Leave at least 42 inches on all sides for a single cook, or 48 inches if two people work in the kitchen at once, so doors and drawers open fully.