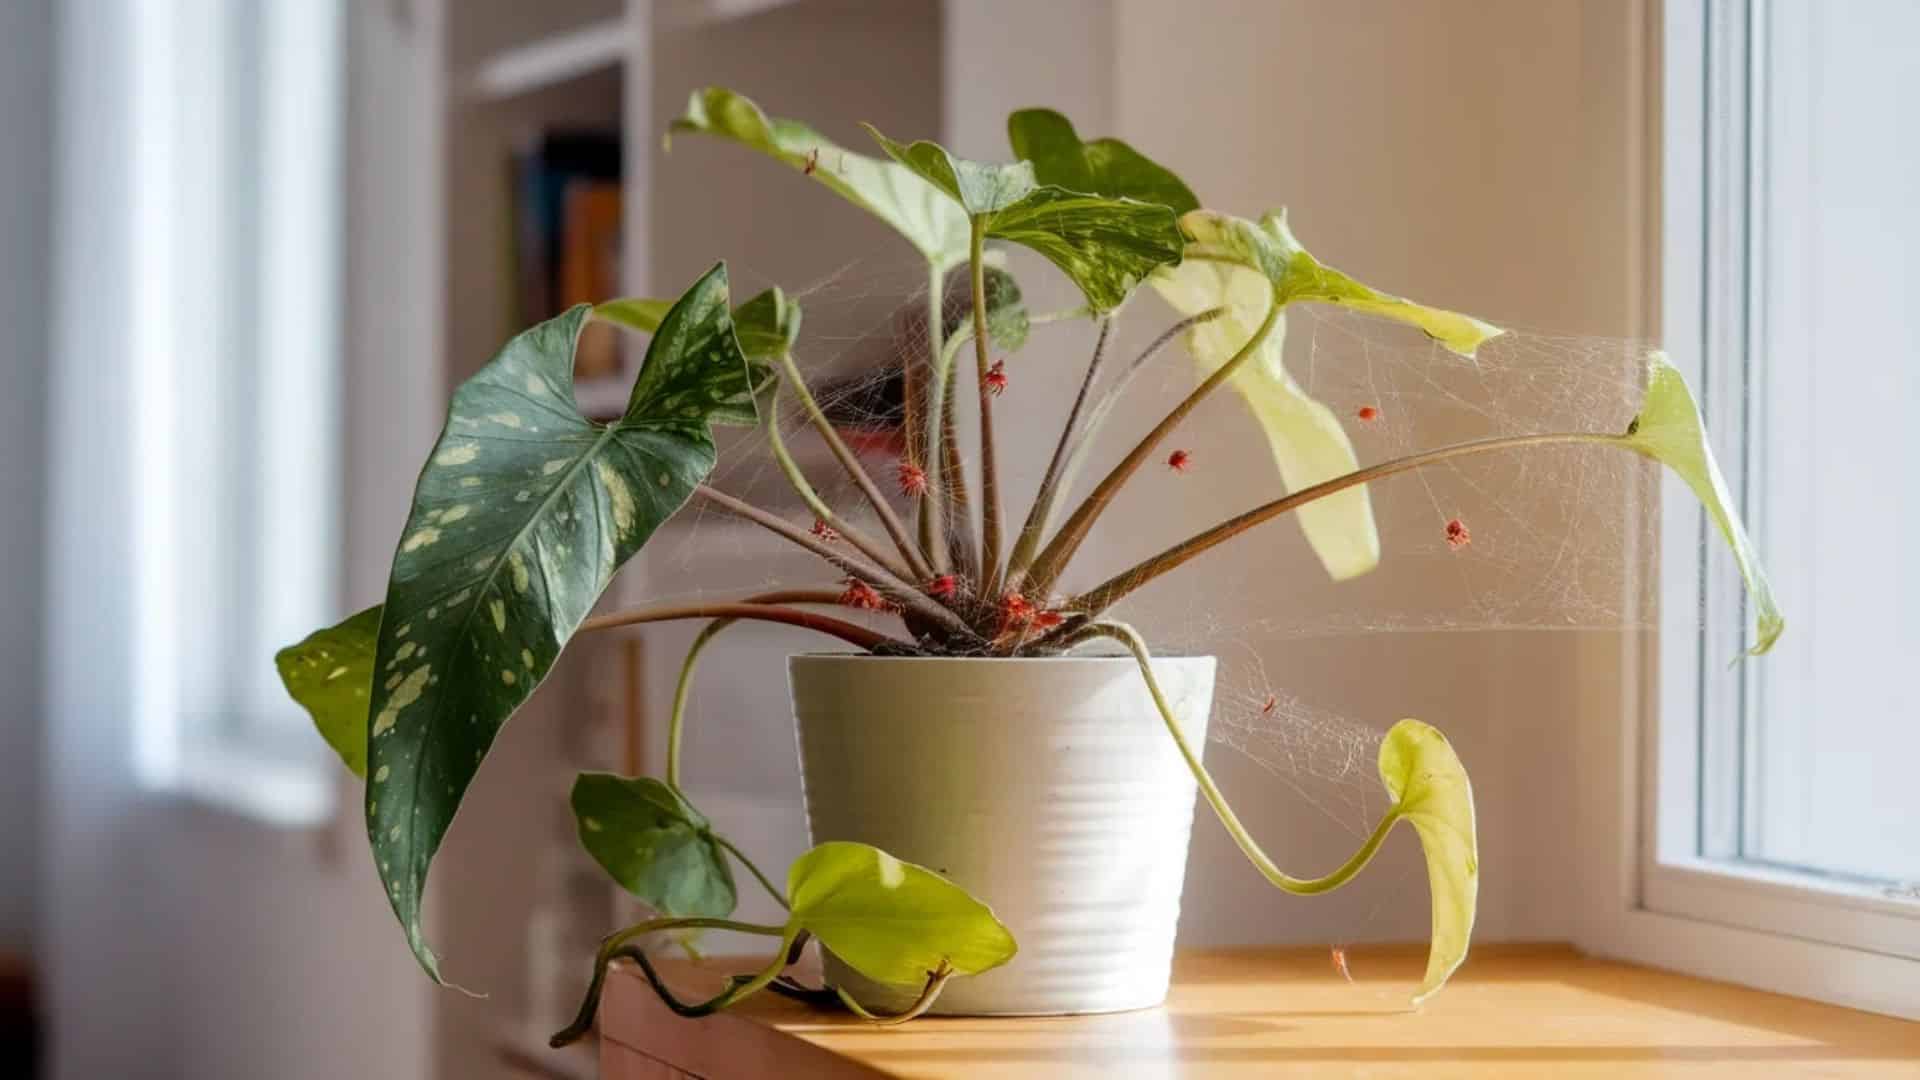

You water your plants. You give them sunlight. Still, the leaves look pale, spotted, and lifeless.
In my 12 years helping home gardeners, spider mites on houseplants are the most common cause of this pattern.
These tiny arachnids spread fast before you notice them.
That is why standard insect sprays often fail against them. This blog covers what draws spider mites in, which plants get hit hardest, and the exact steps to clear spider mites on plants for good.
You will also learn what treatment mistakes to avoid and how to bring your plant back to full health afterward.
What Are Spider Mites on Houseplants?
Spider mites are not insects. They are arachnids that feed on plant cells, leaving yellow spots, pale leaves, and fine webbing behind. Catching them early is the fastest path to saving your plant.
- Eight legs, not six like insects.
- Less than 1mm in size, nearly invisible without magnification.
- The two-spotted spider mite (Tetranychus urticae) is the most common type indoors.
- They live on the undersides of leaves and pierce plant cells to feed.
- They drain sap, leaving the plant weak over time.
Why do They Spread so Quickly Indoors?
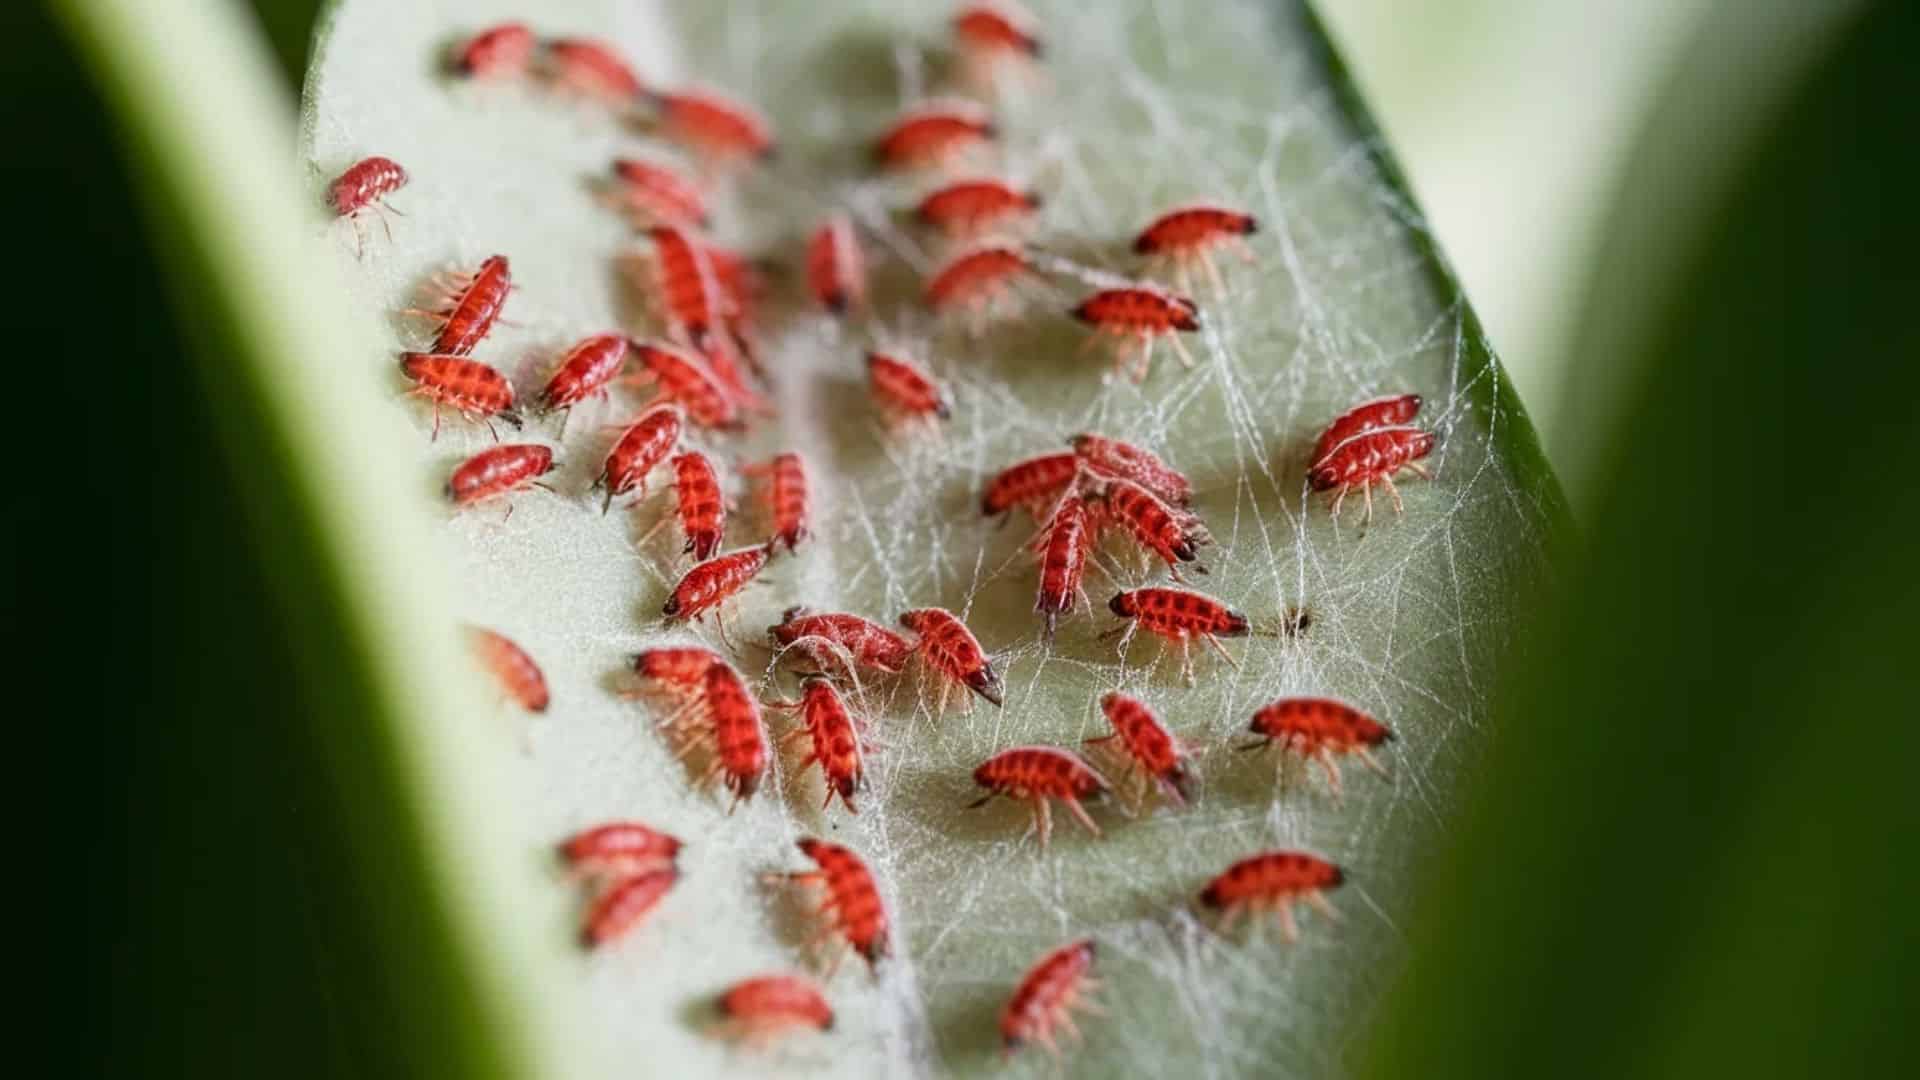
Indoors, spider mites have no natural predators. Warm, dry air provides ideal conditions for them to multiply within days.
- A single female lays up to 100 eggs in her lifetime.
- Eggs hatch in as little as 3 days in warm rooms.
- They move between plants through direct leaf contact.
- They also travel through air currents and on clothing.
- One infected plant can affect every plant nearby.
What Causes Spider Mites on Houseplants?
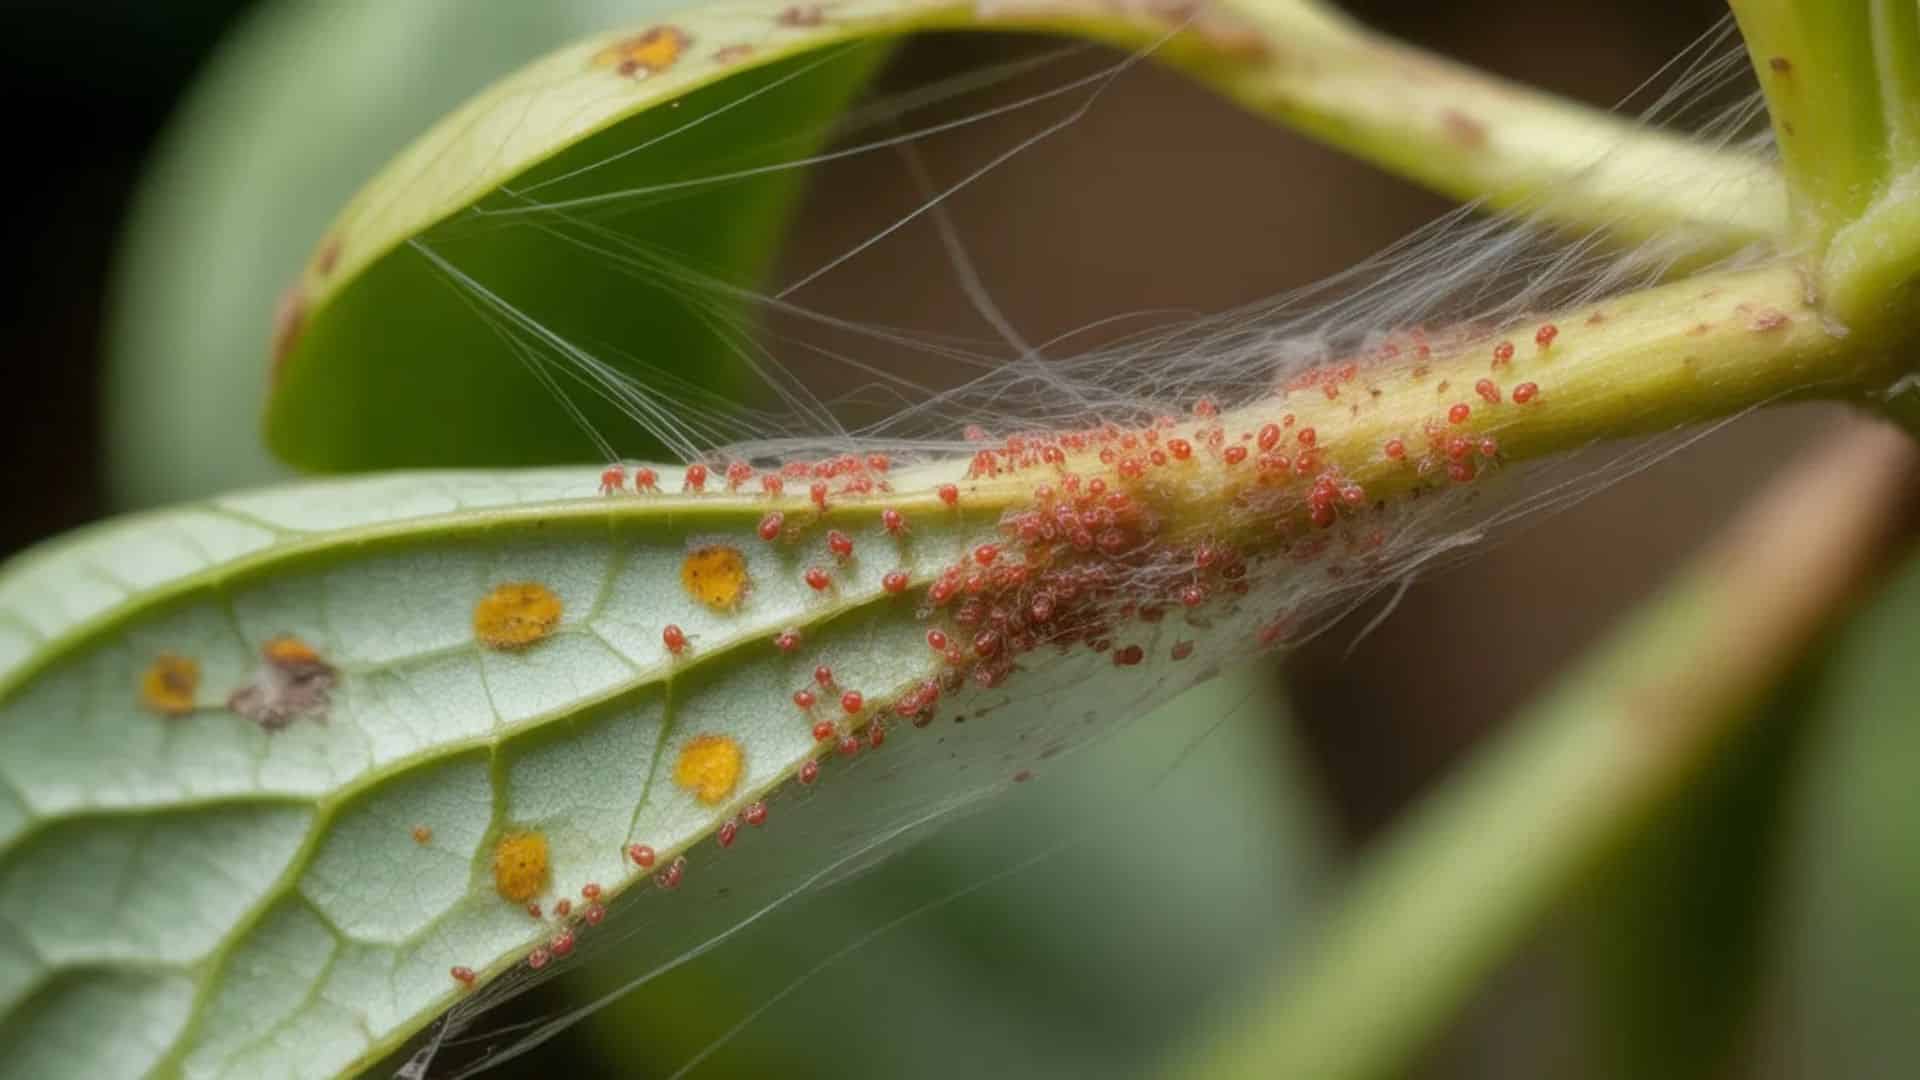
Spider mites don’t show up randomly. In most cases, something in the plant’s environment invites them in. Here’s what I’ve seen most often causes infestations.
1. Dry Air and Warm Indoor Rooms
Heated indoor air, especially in winter, creates perfect conditions for mites to multiply fast.
- Low humidity below 40% accelerates mite reproduction.
- Central heating dries air faster than most plant owners realize.
- Running a humidifier near plants helps reduce this risk.
2. Bringing Home an Infested New Plant
A new plant can carry mites with no visible signs at the time of purchase.
- Always inspect new plants before placing them near others.
- Check the undersides of the leaves closely before bringing any plant indoors.
- Quarantine new plants for at least one week as a precaution.
3. Stressed Plants From Inconsistent Watering
Stressed plants are weaker and easier for mites to attack and spread across quickly.
- Irregular watering weakens the plant’s natural defenses.
- Overwatering and underwatering both cause stress.
- A consistent watering schedule keeps plants stronger and more resistant.
4. Dusty Leaves and Crowded Plant Spacing
Dust blocks a plant’s ability to breathe. Crowded plants give mites a direct path to spread.
- Wipe leaves monthly with a damp cloth to keep them clean.
- Keep enough space between plants to prevent leaf-to-leaf contact.
- Good airflow around plants significantly slows mite movement.
Houseplants Most Likely to Get Spider Mites
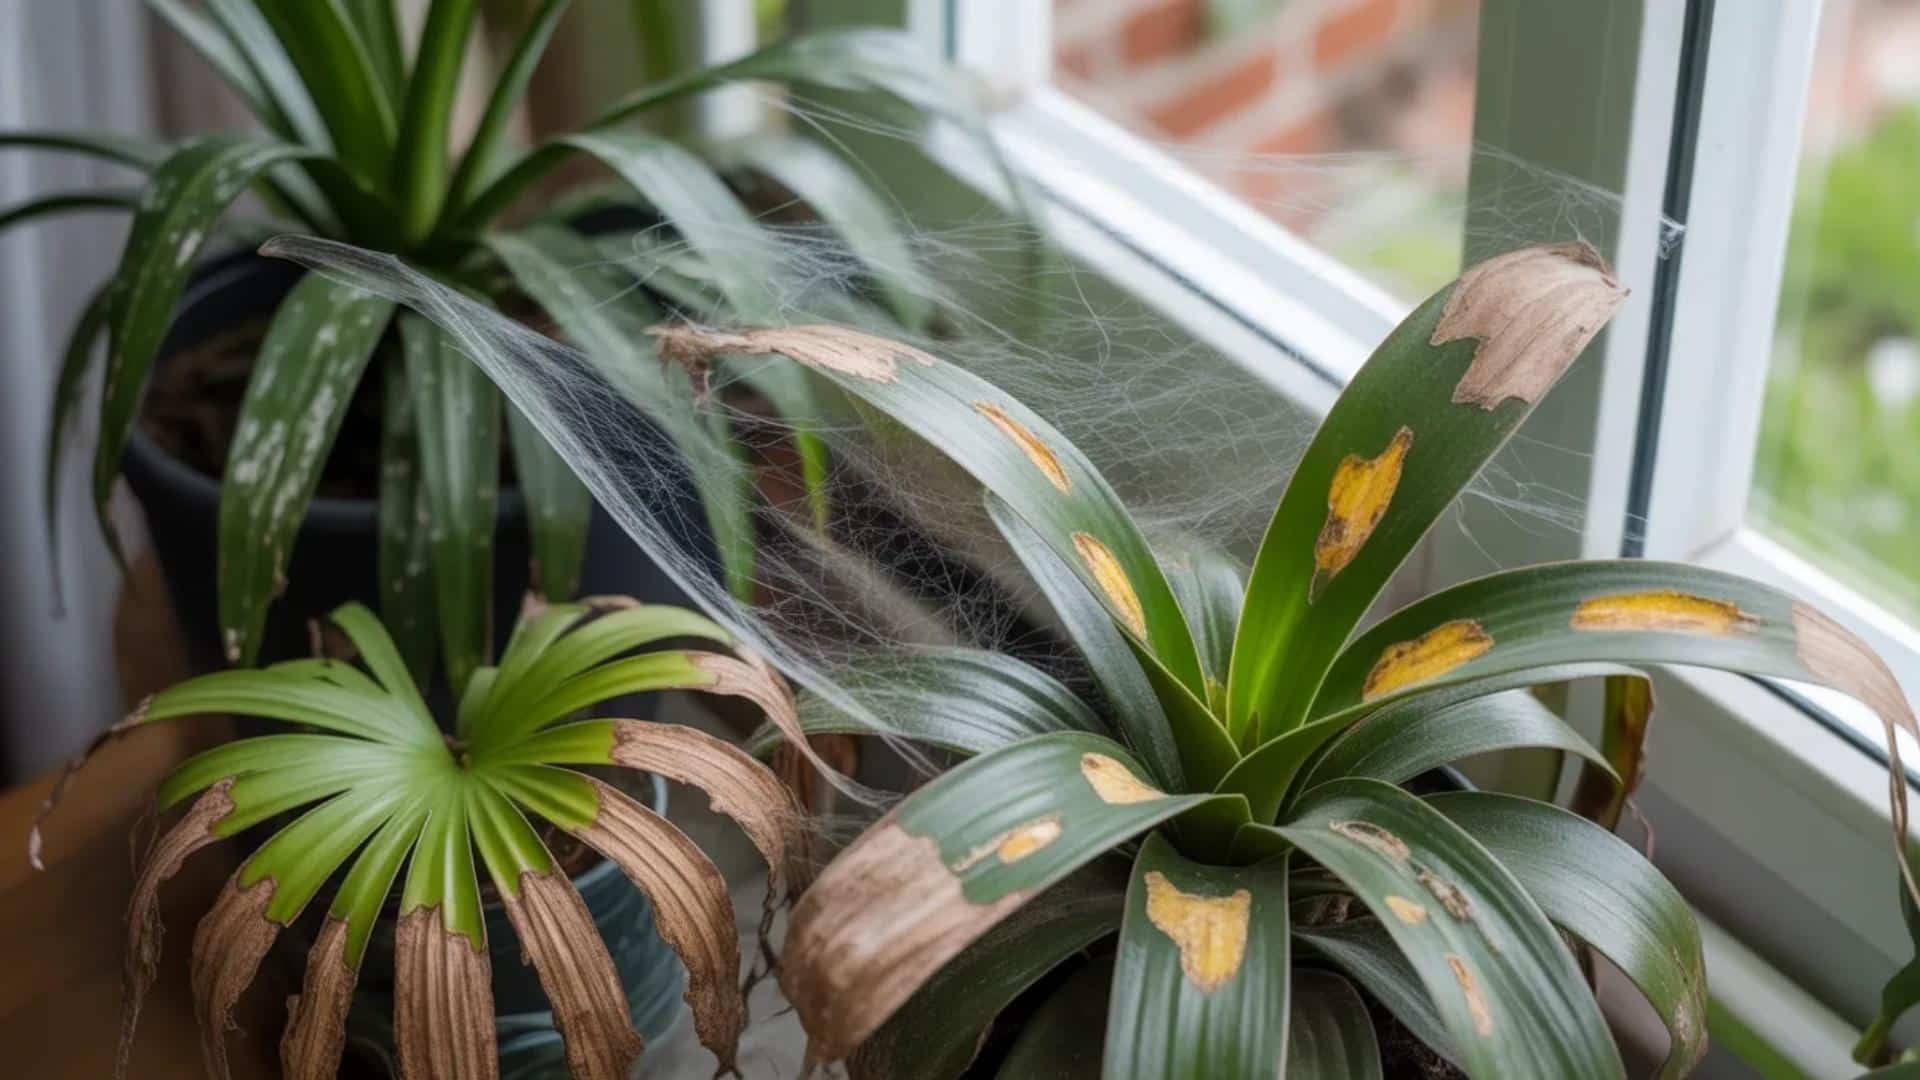
Some plants attract spider mites far more than others. Knowing which ones are high-risk helps you check them before an infestation takes hold.
| Plant Type | Risk Level | Why They’re Vulnerable |
|---|---|---|
| Palms, Figs, Philodendrons | High | Large leaves with a wide surface area |
| Calathea, Alocasia | High | Thin leaves, easy to pierce |
| Ivy, Pothos | Medium-High | Dense foliage, easy mite movement |
| Succulents, Cacti | Low | Thick skin, harder to penetrate |
Can Spider Mites Spread to Nearby Plants?
Yes, and faster than you expect. Mites move through direct leaf contact, air currents, and clothing.
- Keep a visible gap between all indoor plants.
- Never place a suspected plant back near healthy ones.
- Check the surrounding plants the moment you spot one infected.
What Goes Wrong When Treating Spider Mites?
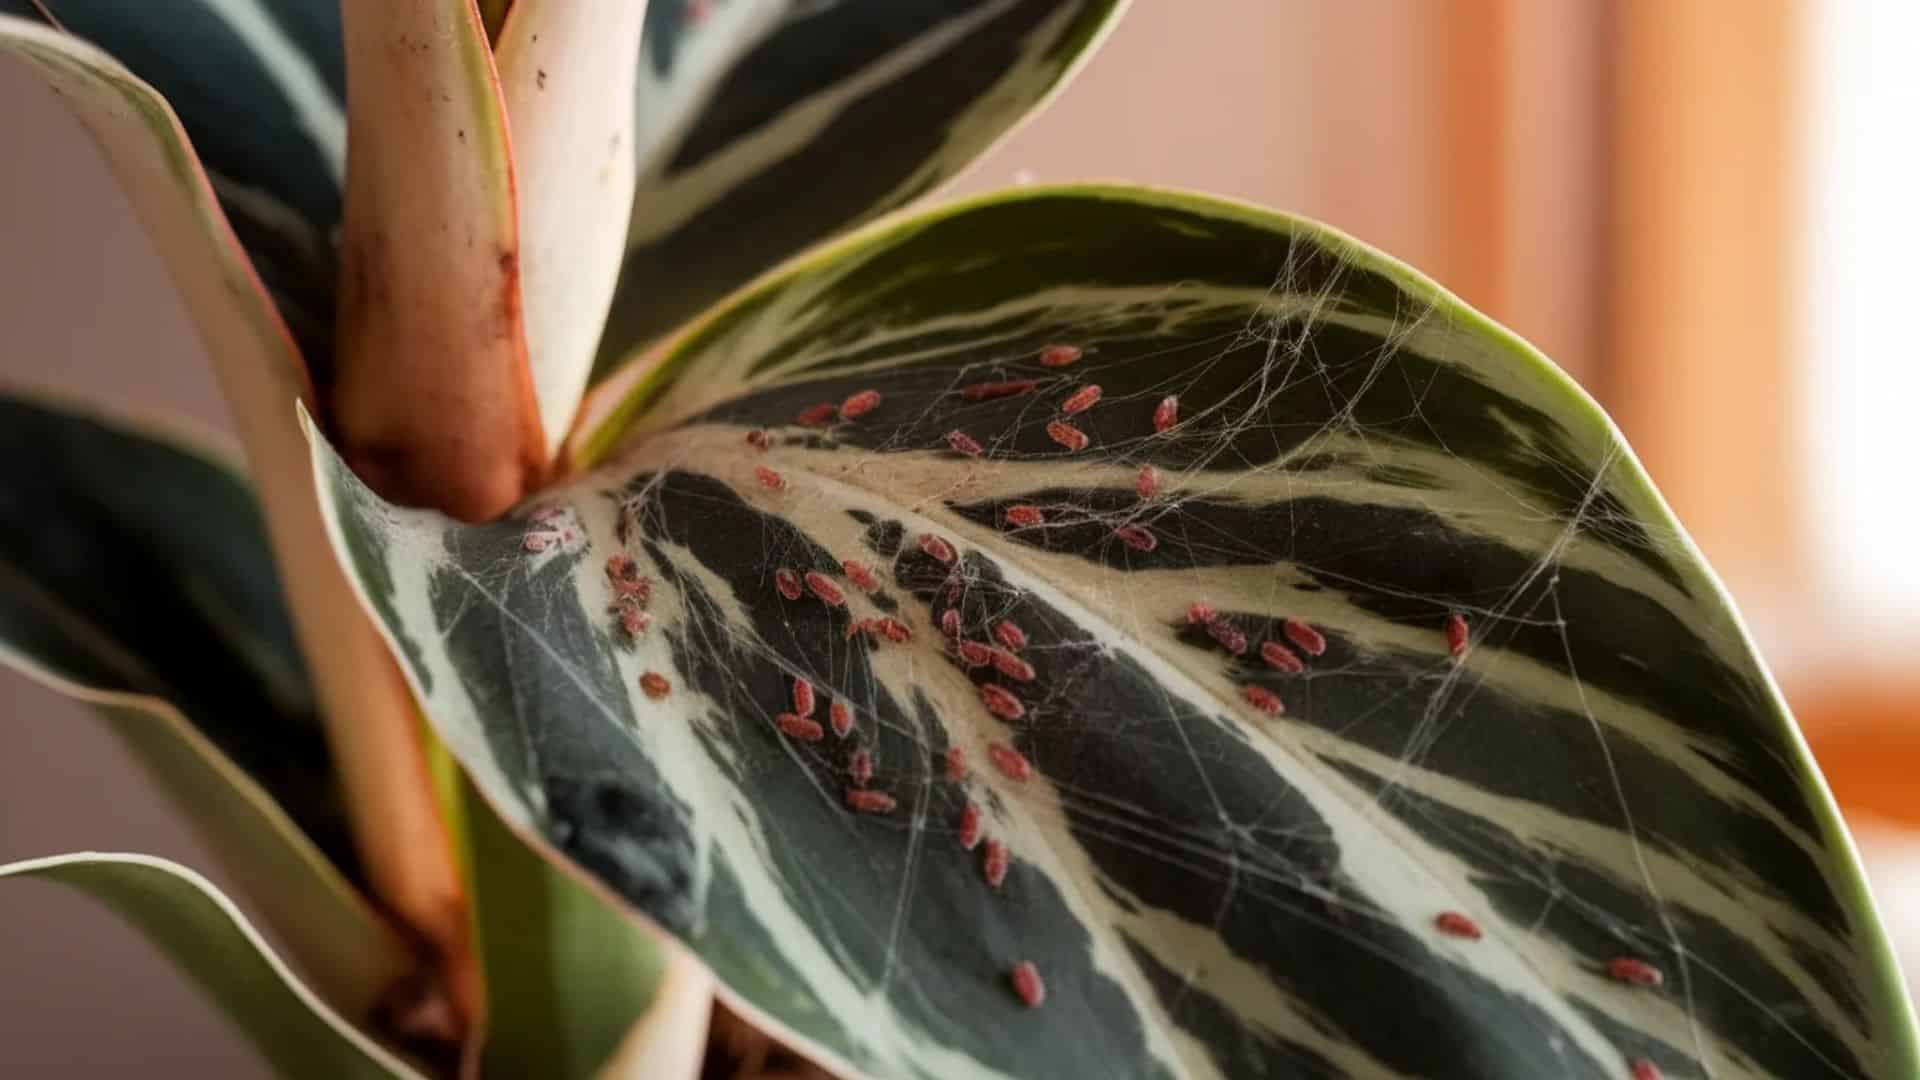
Treating spider mites with good intentions but missing key steps lets them bounce back within days. These are the four mistakes that set most treatments back.
- Treating only visible areas: mites hide on the undersides of leaves and in tight stem joints. Spraying only what you see leaves the majority untouched.
- Stopping treatment too early: Mite eggs survive the first round. Stopping after one or two treatments allows a fresh cycle to restart.
- Ignoring nearby plants and surfaces: Check surrounding plants and wipe down nearby shelves after every treatment round.
- Using strong solutions without testing first: Some plants react badly to concentrated sprays. Always test on one small leaf before full application.
Step-By-Step Plan to Get Rid of Spider Mites on Houseplants
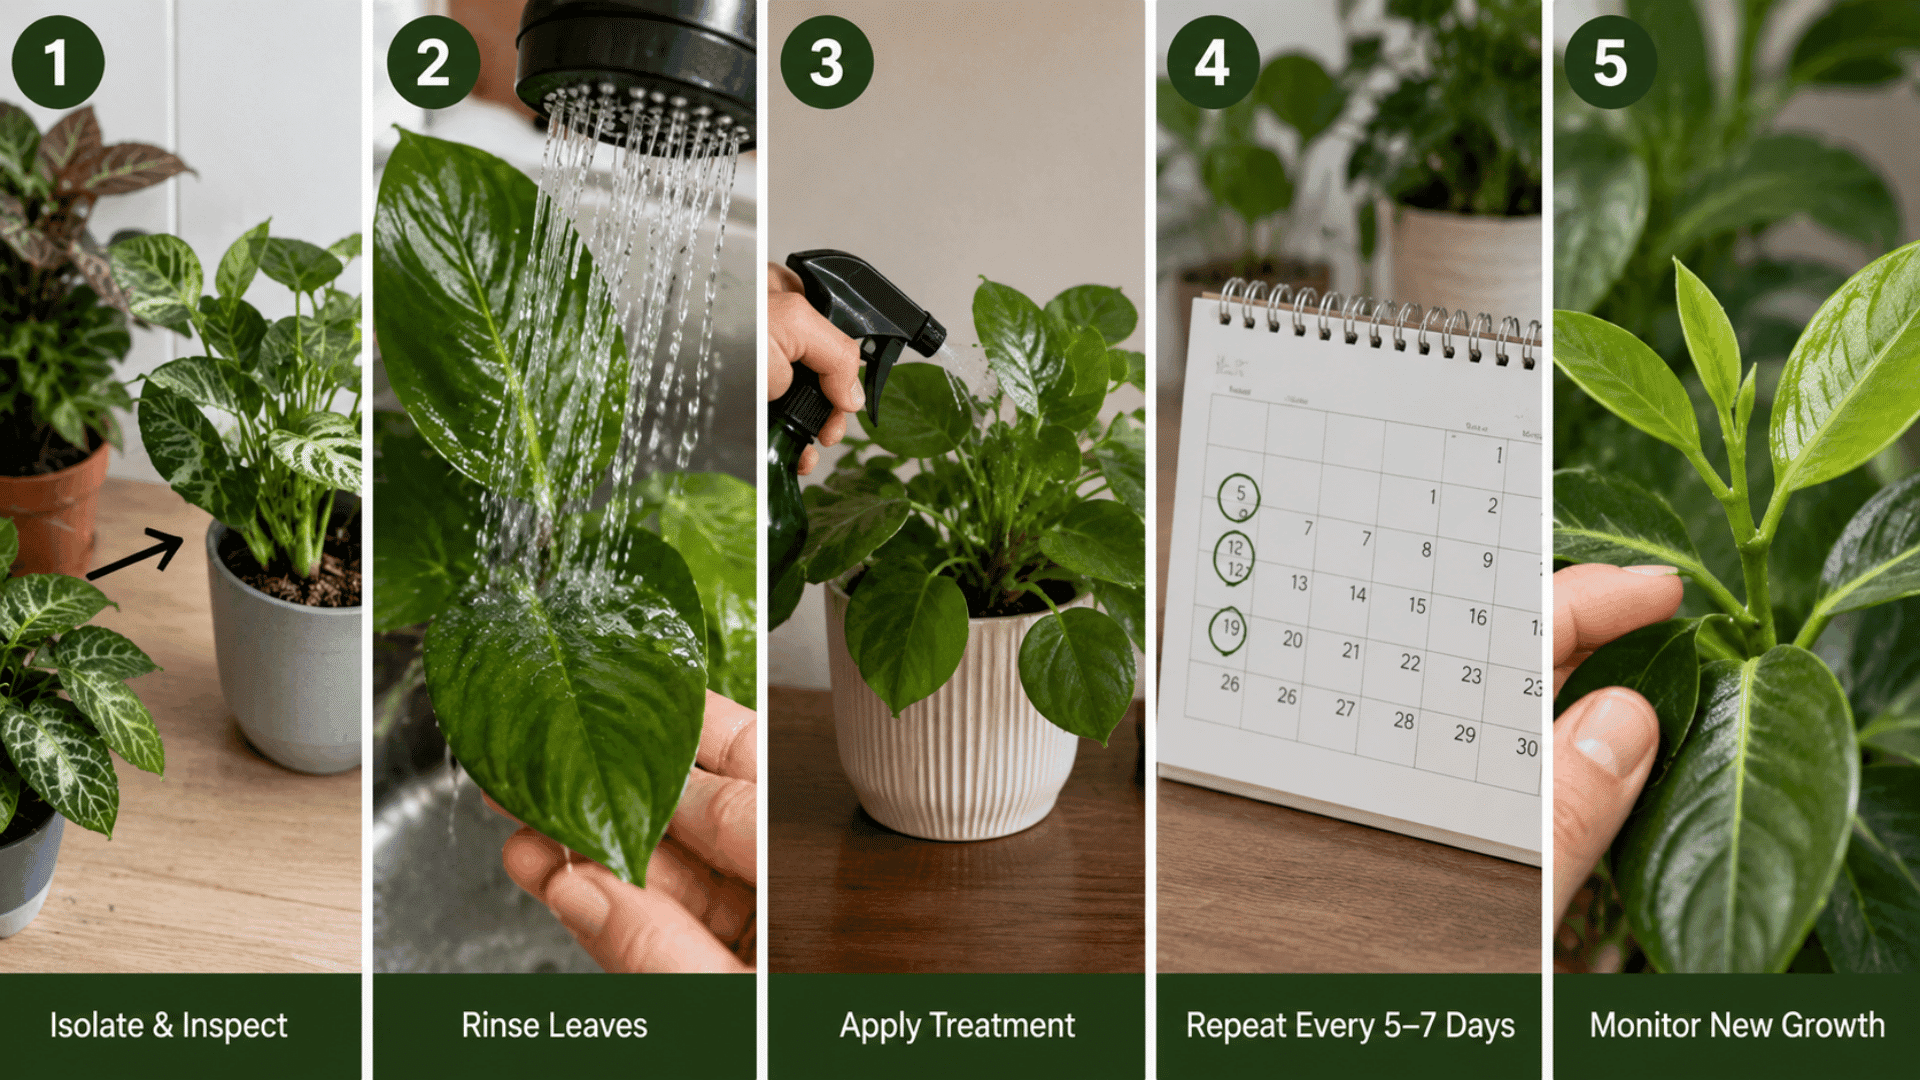
Getting rid of spider mites requires more than one spray. A structured plan breaks the mite life cycle so none survive to restart the infestation.
Step 1: Isolate and Inspect All Nearby Plants
Move the affected plant away from others right away. Check every nearby plant for fine webbing, yellow spots, or tiny moving dots.
Try using a magnifying glass to spot mites early, as they can be tricky to see without help.
Step 2: Rinse Both Sides of Every Leaf
Use a strong stream of water to wash both sides of every leaf. This physically removes mites and eggs before treatment starts.
Using a sink or shower is a gentle way to water your plants thoroughly without risking damage. It ensures they get enough moisture and stay healthy.
Step 3: Apply Treatment Evenly Across the Whole Plant
Spray neem oil or insecticidal soap across the entire plant. Cover the undersides of leaves thoroughly, since mites lay most of their eggs there.
Uneven spraying allows survivors to persist, enabling the infestation to reestablish itself within days.
Step 4: Repeat Treatment Every 5 to 7 Days
One treatment is never enough to stop spider mites. Repeat every 5 to 7 days for at least three weeks.
This timing is perfect for targeting newly hatched mites, catching them early before they can lay eggs.
Step 5: Monitor New Growth Closely
New leaves are soft and easy targets for mites. Check them every few days for early signs.
If activity picks up again, just start the whole treatment cycle over from step 1. We’re here to support you through every step!
How to Help Your Plant Recover After Spider Mites
After spider mites are gone, your plant needs gentle care to regain its strength. A few simple recovery steps encourage healthy new growth and reduce stress after treatment.
| Recovery Step | What to Do |
|---|---|
| Prune damaged leaves | Remove yellow, brown, or shriveled leaves with clean scissors. |
| Resume normal care | Gradually return to regular watering and wait to fertilize until new growth appears. |
| Watch for recovery | Look for firm leaves, less leaf drop, and fresh, healthy growth. |
Conclusion
Spider mites are stubborn, but they are beatable with the right approach. The key is staying consistent.
One missed treatment round gives them enough time to restart the cycle completely. Check leaf undersides regularly. Keep humidity up. Give each plant enough space.
These three habits alone significantly reduce the risk of another infestation. Plants that were pale, spotted, and covered in webbing weeks ago can grow back strong with the right care and a little patience.
If the leaves are firming up and fresh growth is appearing, the treatment is working. Stay with it for the full three weeks and do not stop early. Your plants are worth the effort.
Frequently Asked Questions
Can Spider Mites Live in Potting Soil?
Spider mites rarely live in soil. They prefer leaves and stems. However, checking the topsoil during treatment is still a smart habit.
Does Neem Oil Work on Spider Mites?
Yes, neem oil is very effective. It suffocates mites and disrupts their life cycle. Repeat applications give the strongest, most lasting results.
Can a Plant Recover from a Spider Mite Infestation?
Absolutely. With proper treatment and consistent care, most plants bounce back fully. New healthy growth is the clearest sign of recovery.