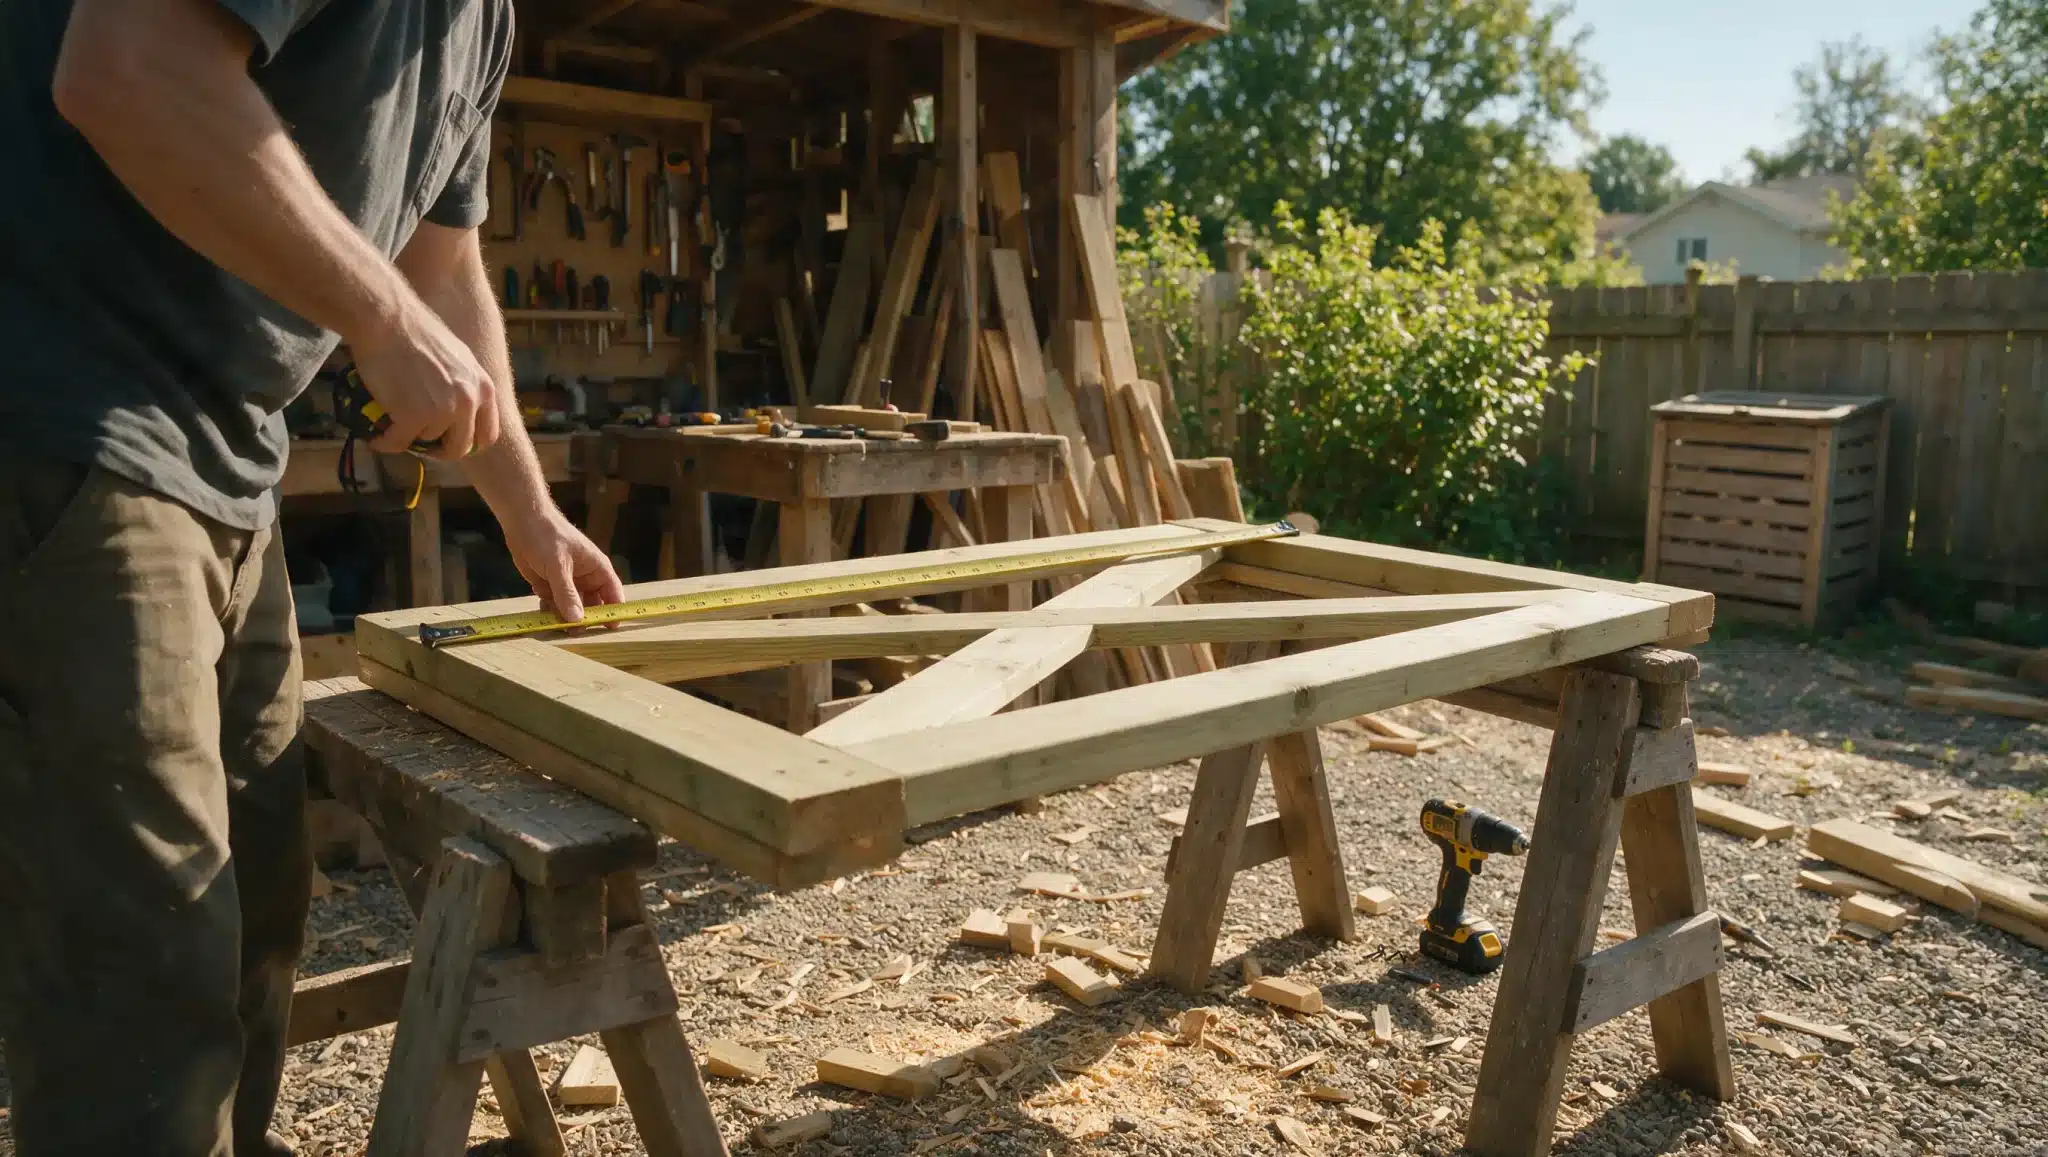

Building your own garden gate costs less than buying one, and you get to pick the exact size, style, and wood.
You can build a sturdy gate in a weekend, even if it’s your first project.
I’ve built more garden gates than I can count over the years, and the steps below cover planning, measuring, building, hanging, and protecting your gate from start to finish.
Follow them, and you’ll know exactly how to make a garden gate that fits your space, swings true, and lasts for years.
Before You Build Your Garden Gate
A bit of planning before working with timber prevents costly mistakes. These steps help you build a gate that fits and swings smoothly. If the gate shares a boundary, check which side is yours before digging.
1. Decide the Purpose of Your Gate: Think about whether your gate needs to keep pets in, block a view, or simply mark an entrance. A privacy gate needs solid boards, while a decorative gate can use open slats or pickets.
2. Measure the Opening Correctly: Measure the width of your opening in three places: top, middle, and bottom. Use the smallest measurement as your guide, since fence posts are rarely perfectly straight.
3. Choose the Right Gate Width and Height: Most garden gates are 3 to 4 feet wide and 4 to 6 feet tall. Match the height to your fence for a natural look, and check local rules for taller gates.
4. Check Ground Clearance and Swing Direction: Leave a 1- to 2-inch gap between the gate bottom and the ground to prevent dragging. Decide which way the gate should swing based on foot traffic and any slope in the ground.
What You’ll Need
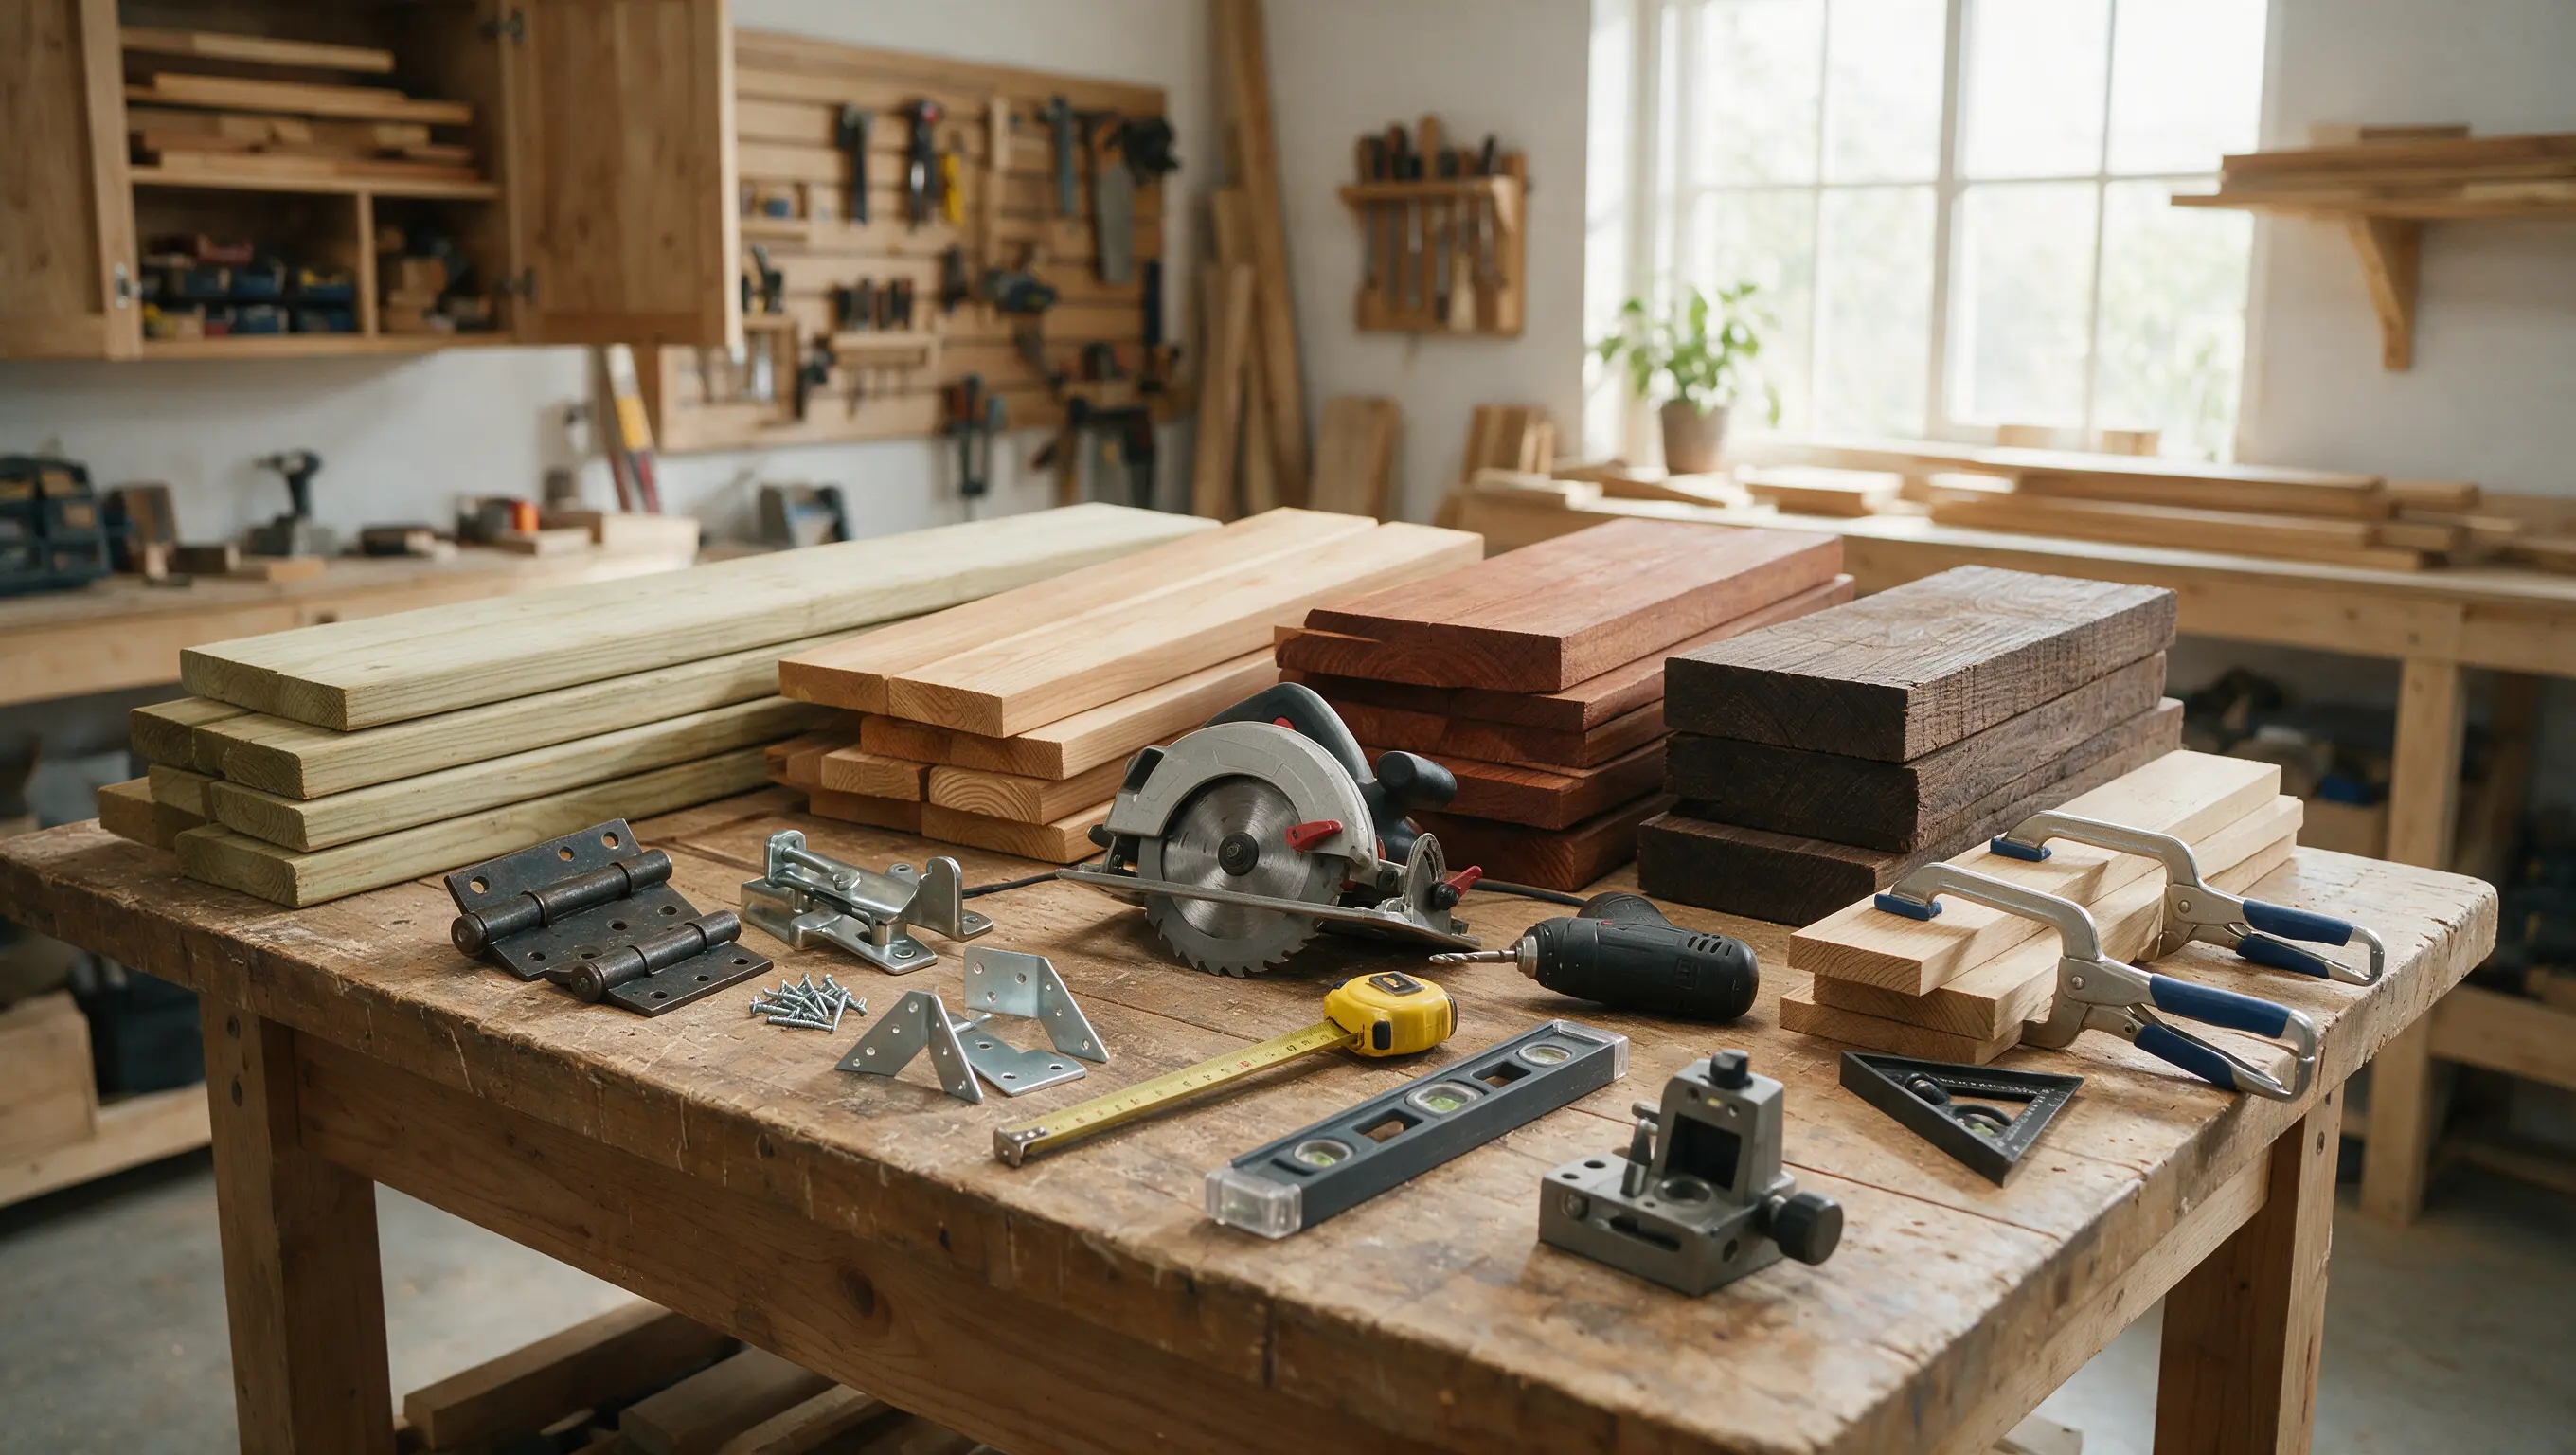
Having everything ready before you start keeps the build moving without delays or extra trips to the store.
Timber Options
The wood you choose sets your budget and how often you’ll need to refinish, so weigh cost against durability before you buy.
- Pressure-treated softwood: Lowest-cost and most budget-friendly, but requires regular refinishing.
- Cedar or redwood: Mid-range cost with built-in natural rot resistance.
- Hardwood (oak, iroko): Highest cost, longest lifespan, and the best warp resistance.
Hardware and Tools
These are the fittings and equipment that hold the gate together and help build it, all easy to find at any hardware store.
| Category | Item | Details |
|---|---|---|
| Hardware | Hinges | Heavy-duty exterior hinges rated for outdoor use |
| Hardware | Gate latch | A latch that matches your gate style and post setup |
| Hardware | Screws or bolts | Galvanized or stainless steel to resist rust |
| Hardware | Corner brackets | Optional, but useful for extra frame strength |
| Tools | Circular saw | For cutting timber to size |
| Tools | Drill and driver | For assembling the frame and attaching hardware |
| Tools | Level | To check the frame and gate for squareness |
| Tools | Tape measure | For accurate cuts and spacing |
| Tools | Clamps | To hold pieces steady while you work |
How to Make a Garden Gate Step by Step
Once you have your design and materials ready, building the gate itself follows a clear sequence.
Step 1: Cut the Timber to Size
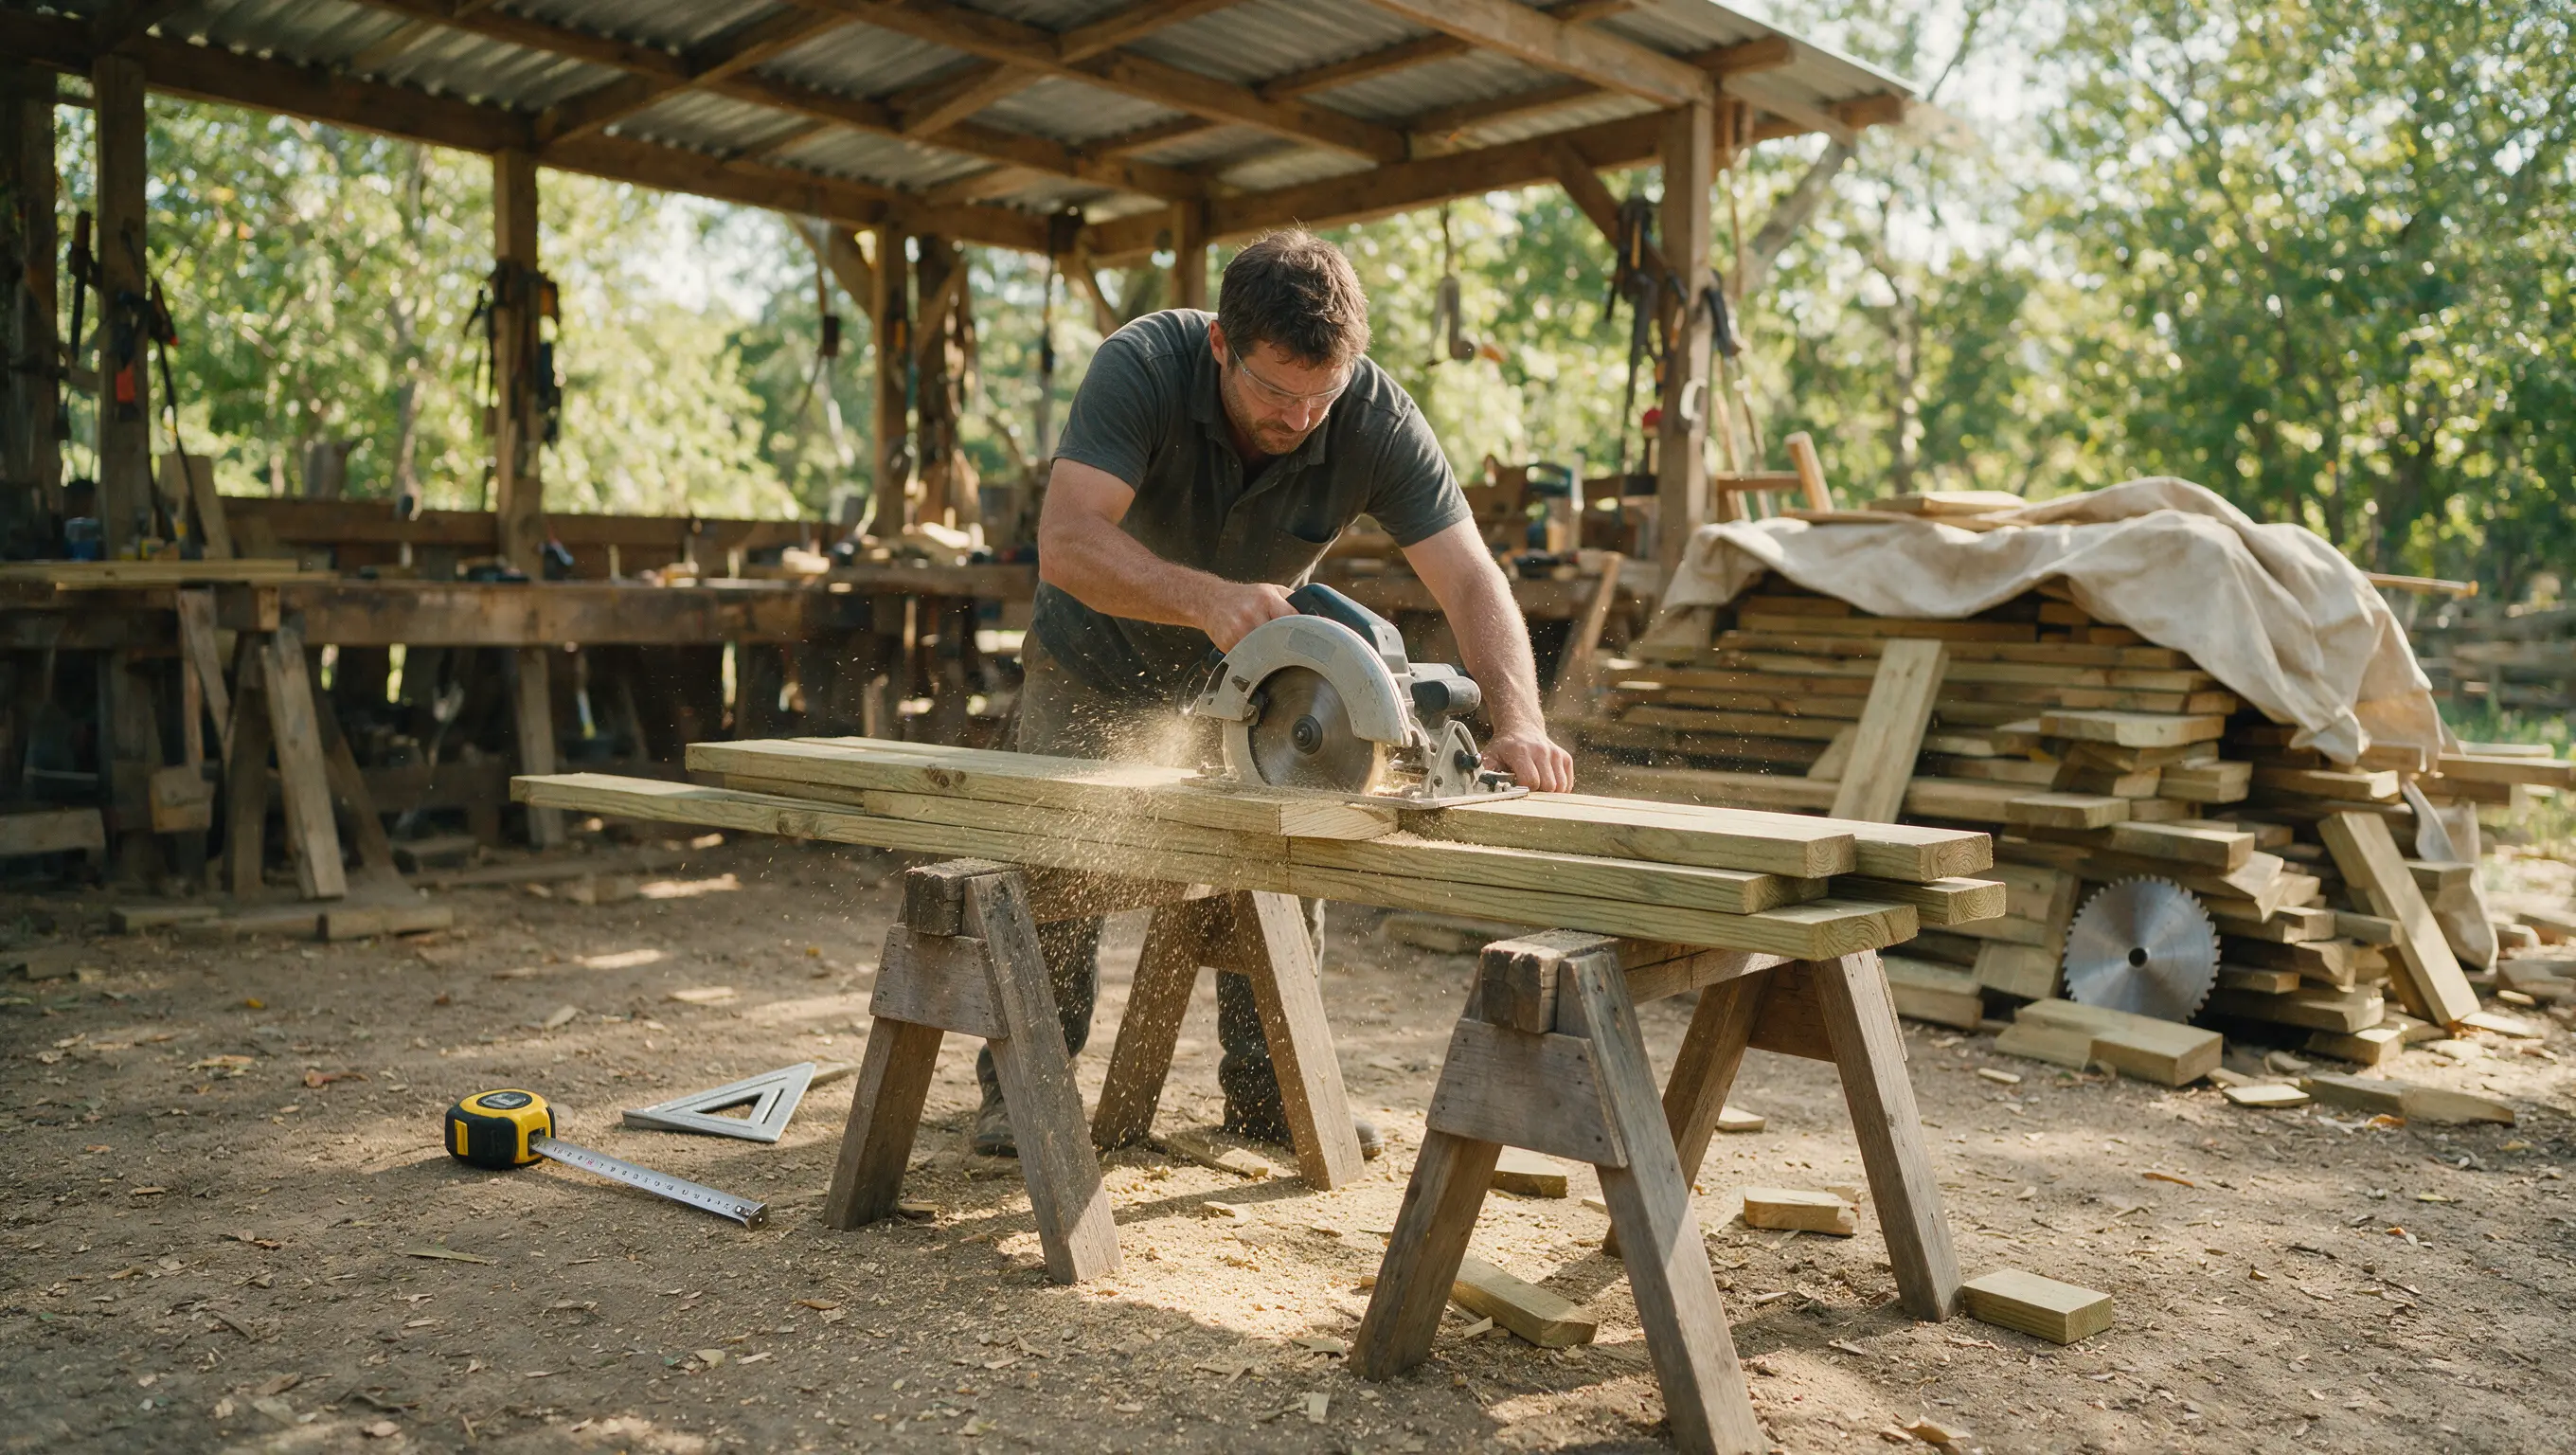
Cut your frame pieces to the exact width and height you measured earlier. Double-check every cut against your plan before moving forward.
Label each piece as you cut it so you know exactly where it belongs in the frame. Cutting all pieces first also lets you spot any errors before assembly begins.
Step 2: Build a Square Frame
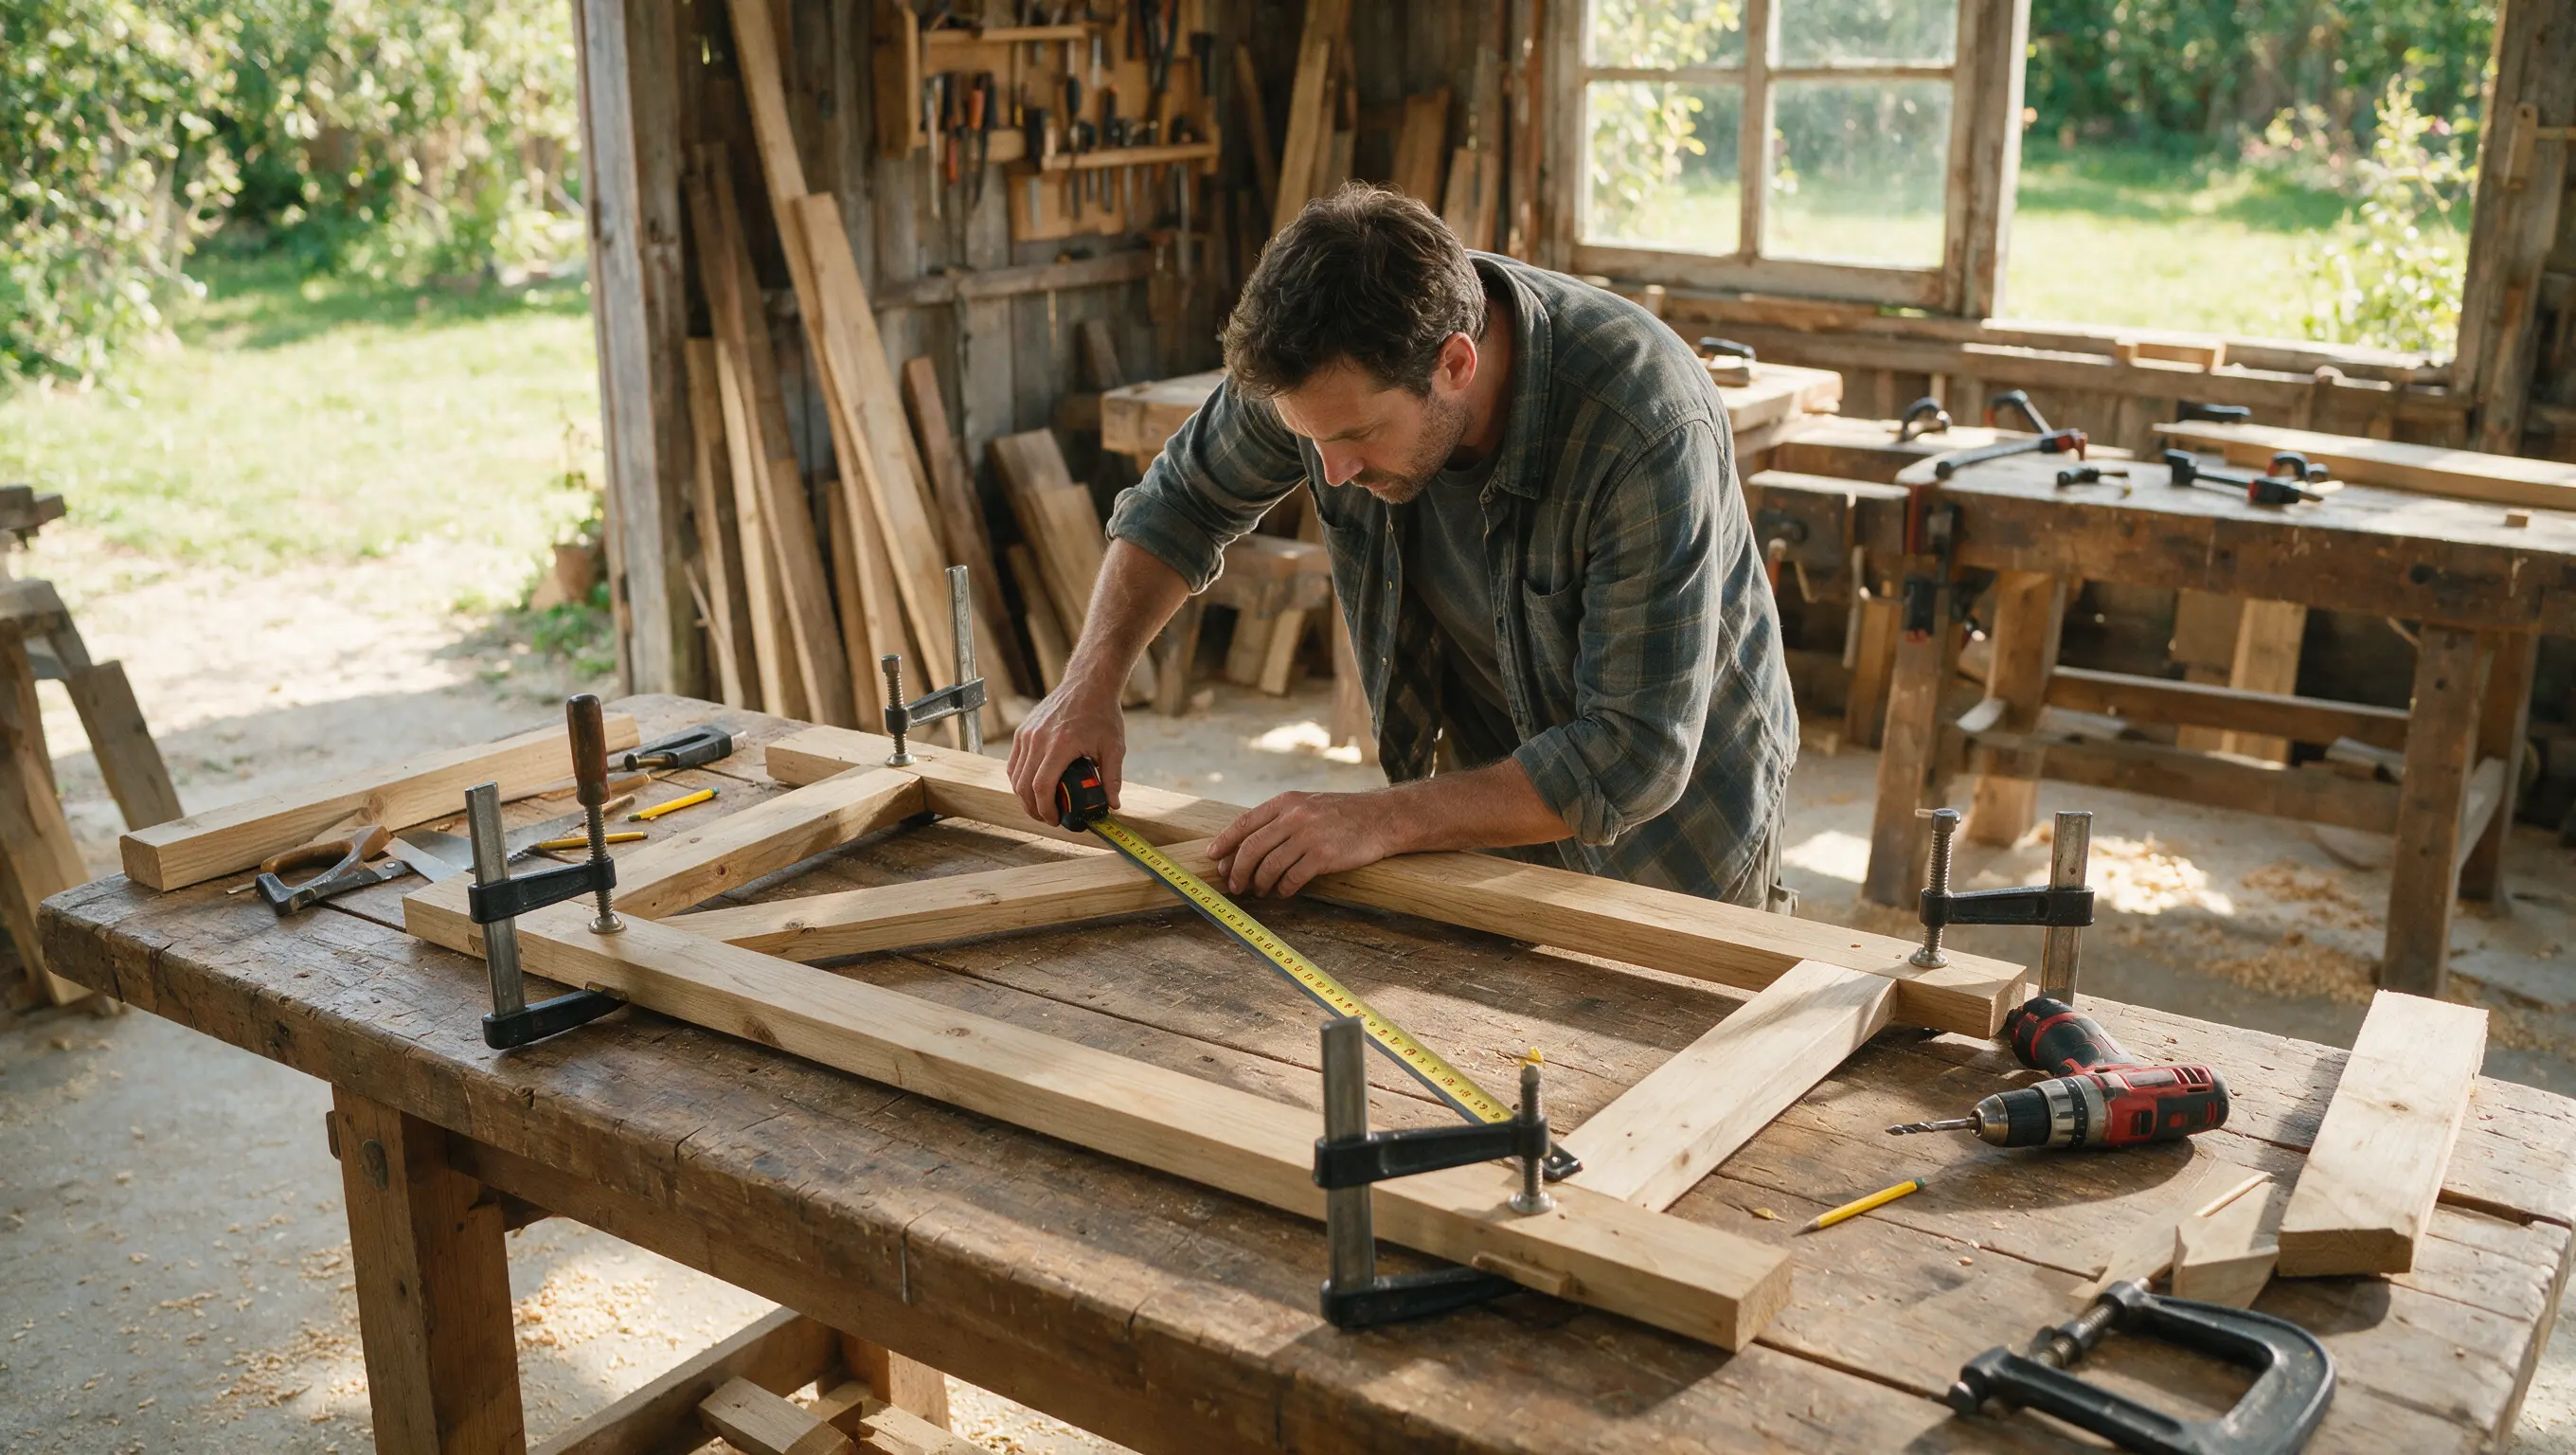
Lay out your top, bottom, and side rails, then join the corners with screws or brackets. Measure both diagonals of the frame to confirm it is square before fully securing it.
If the two diagonal measurements match, your frame is square and ready for the next step. Work on a flat surface so the frame does not twist while you fasten the corners.
Step 3: Install the Diagonal Brace the Right Way
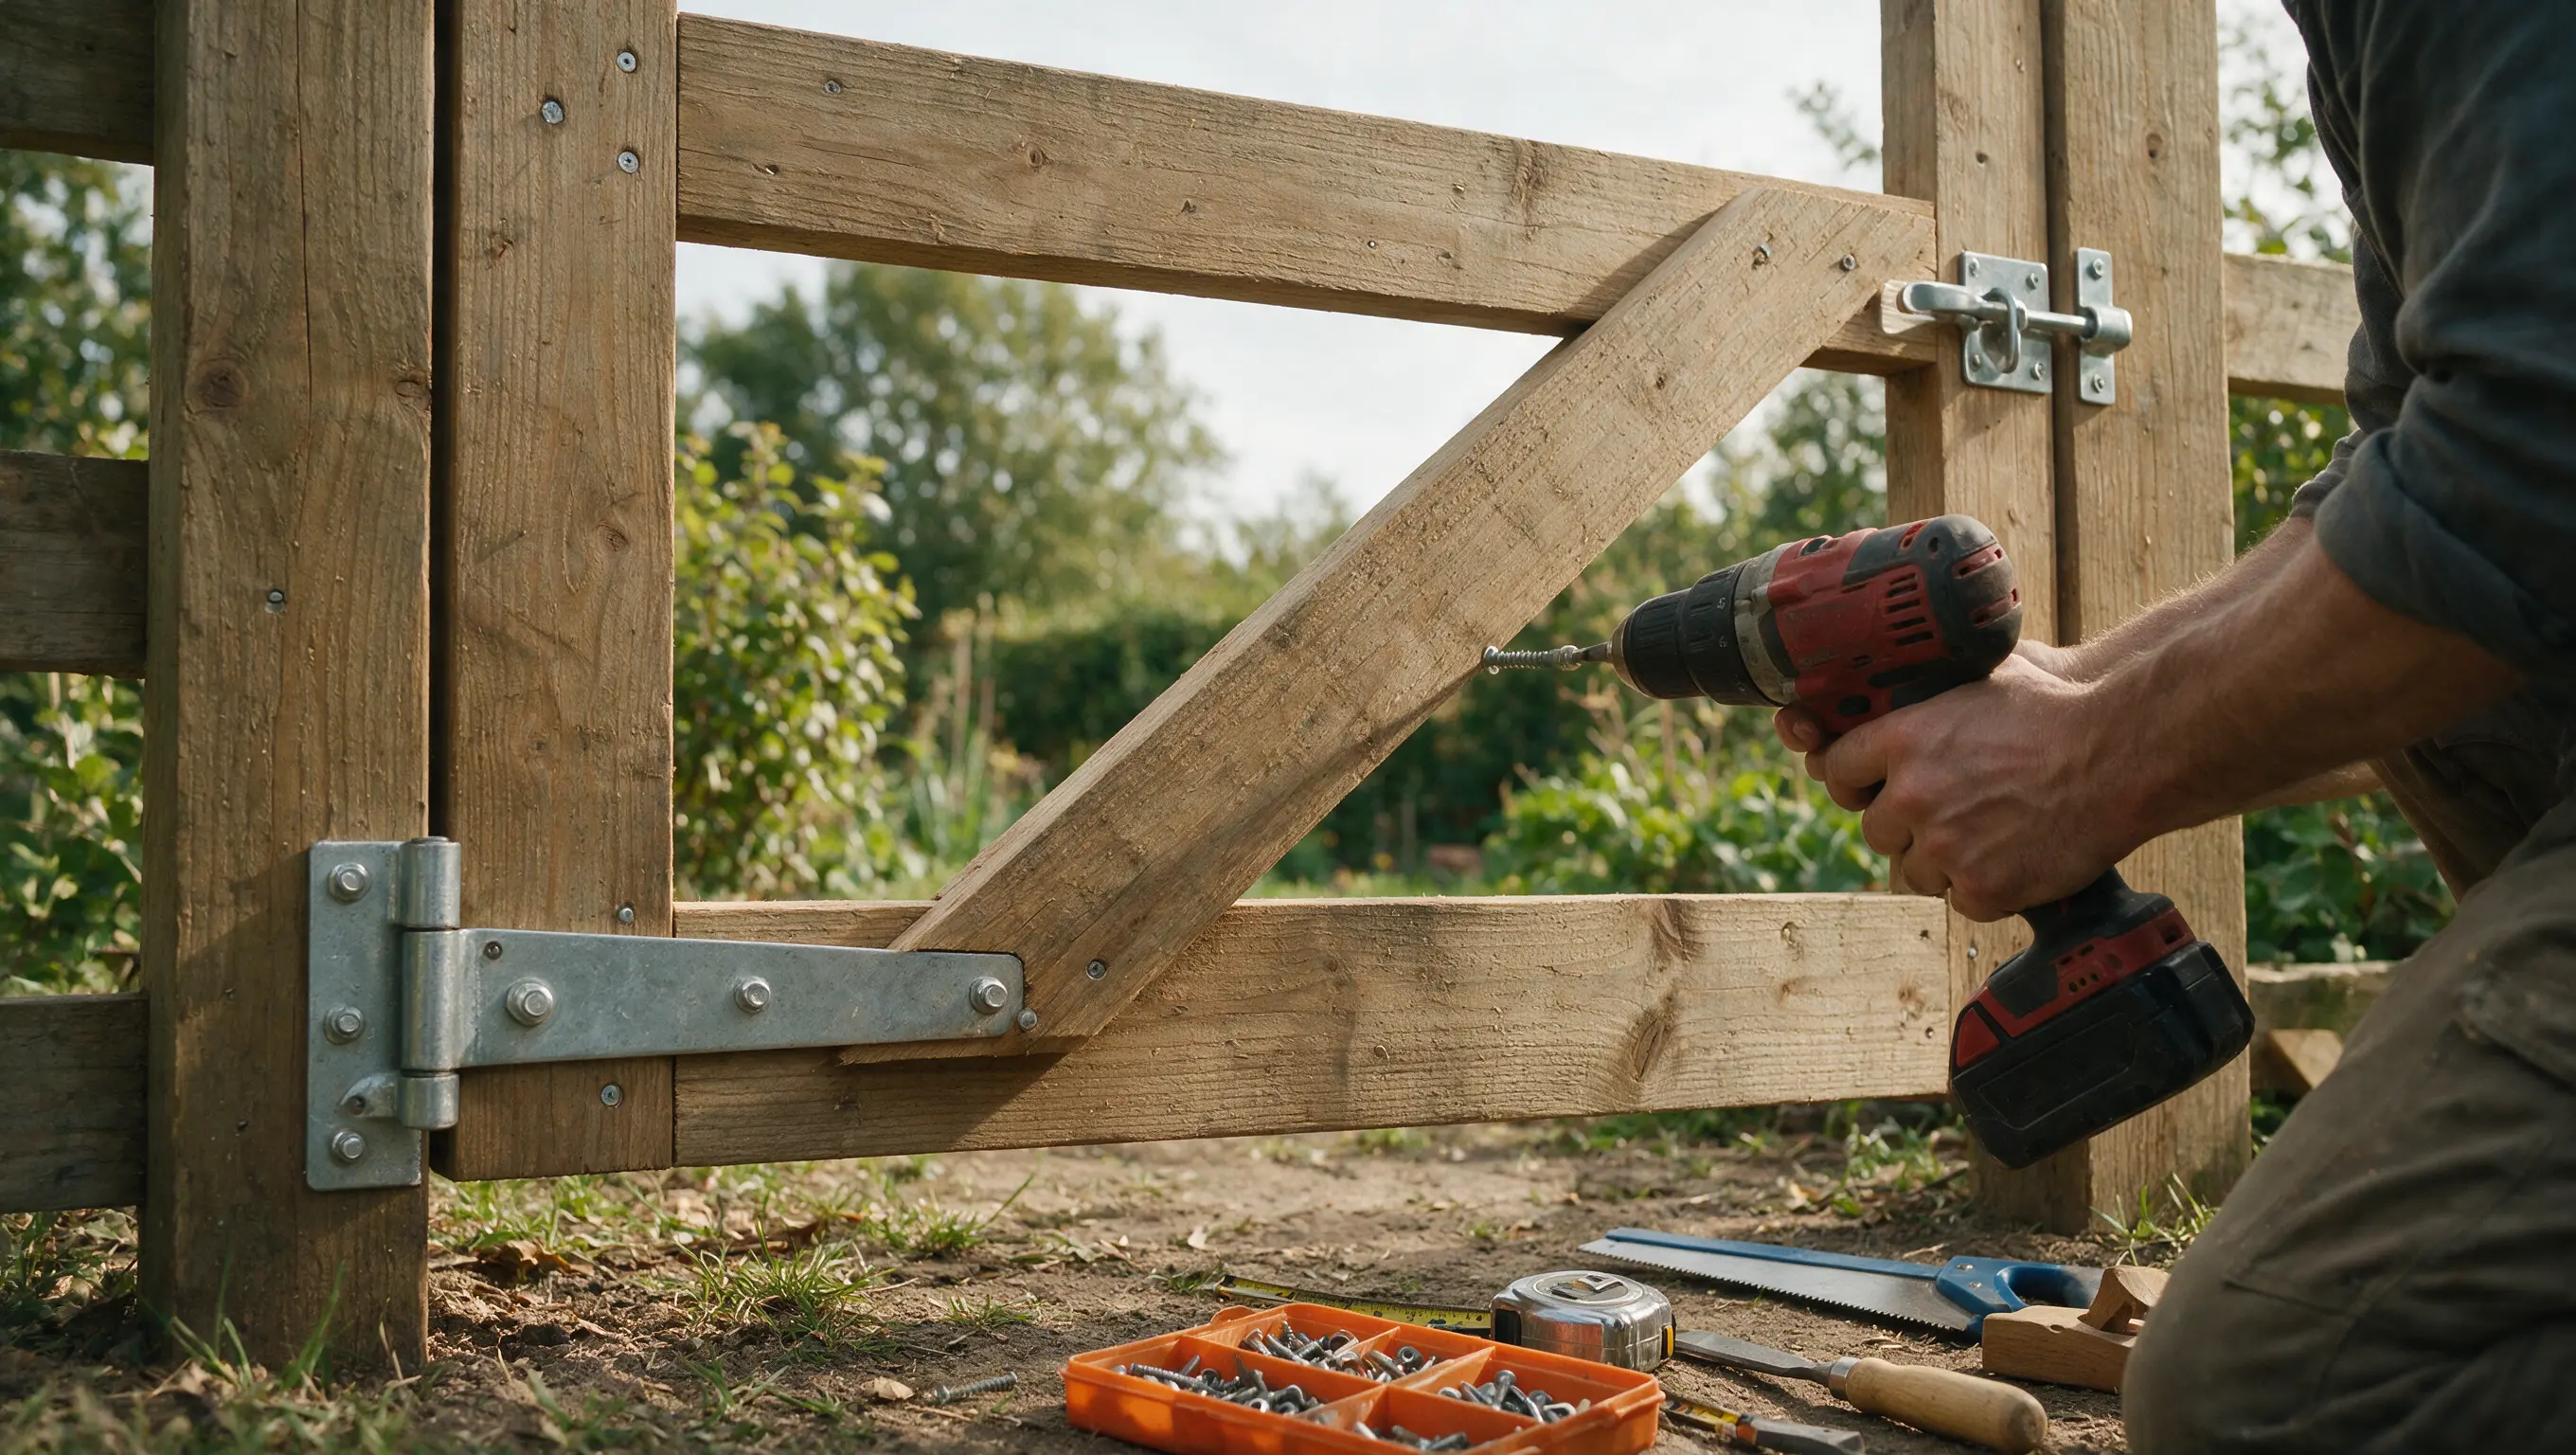
Run the brace from the bottom hinge-side corner up to the top latch-side corner. This direction pushes the weight of the gate down onto the hinges instead of pulling the frame apart.
Cut the brace to fit snugly between the two corners before screwing it in place. A properly angled brace is one of the biggest factors in preventing sag over time.
I’ve had to redo more than one gate where the brace ran the wrong way, so double-check this before you drive in a single screw.
Step 4: Attach the Fence Boards
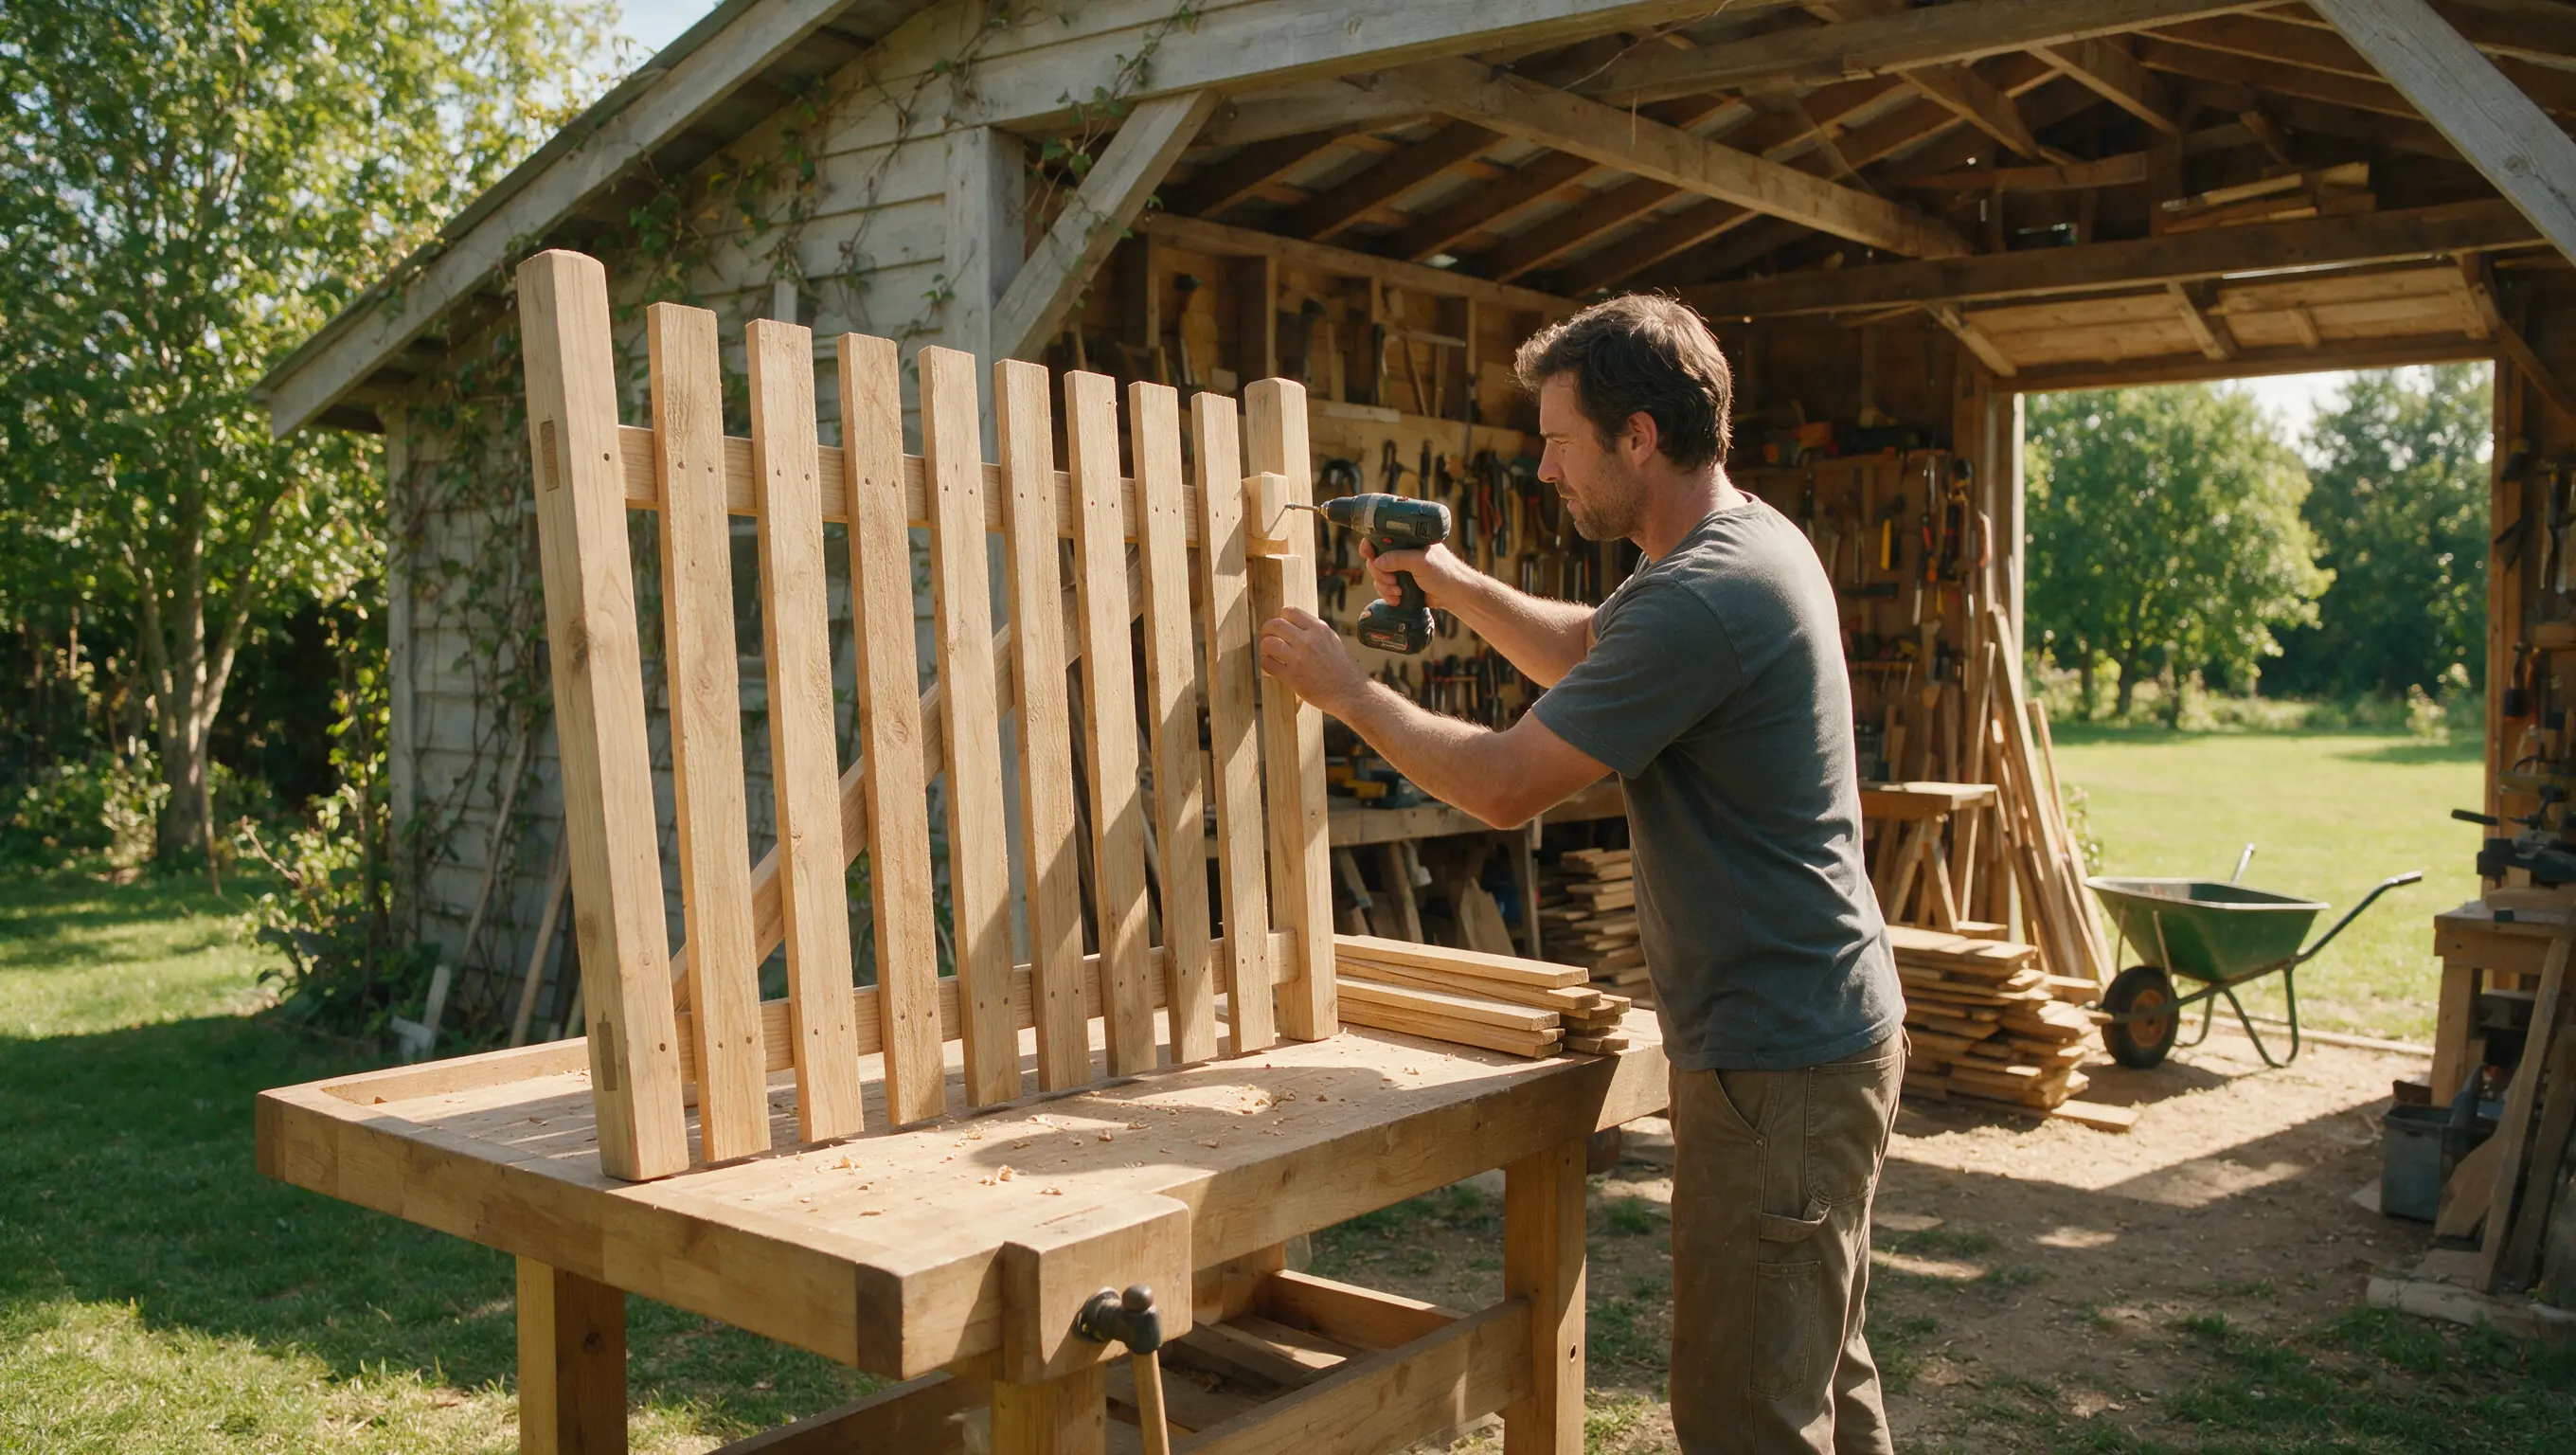
Space your boards evenly across the frame using a scrap piece of wood as a spacer. Attach each board with two screws, top and bottom, for a secure hold.
Check that each board sits flush against the frame before moving to the next one. Working from one edge to the other keeps your spacing even across the whole gate.
Step 5: Check the Gate for Square
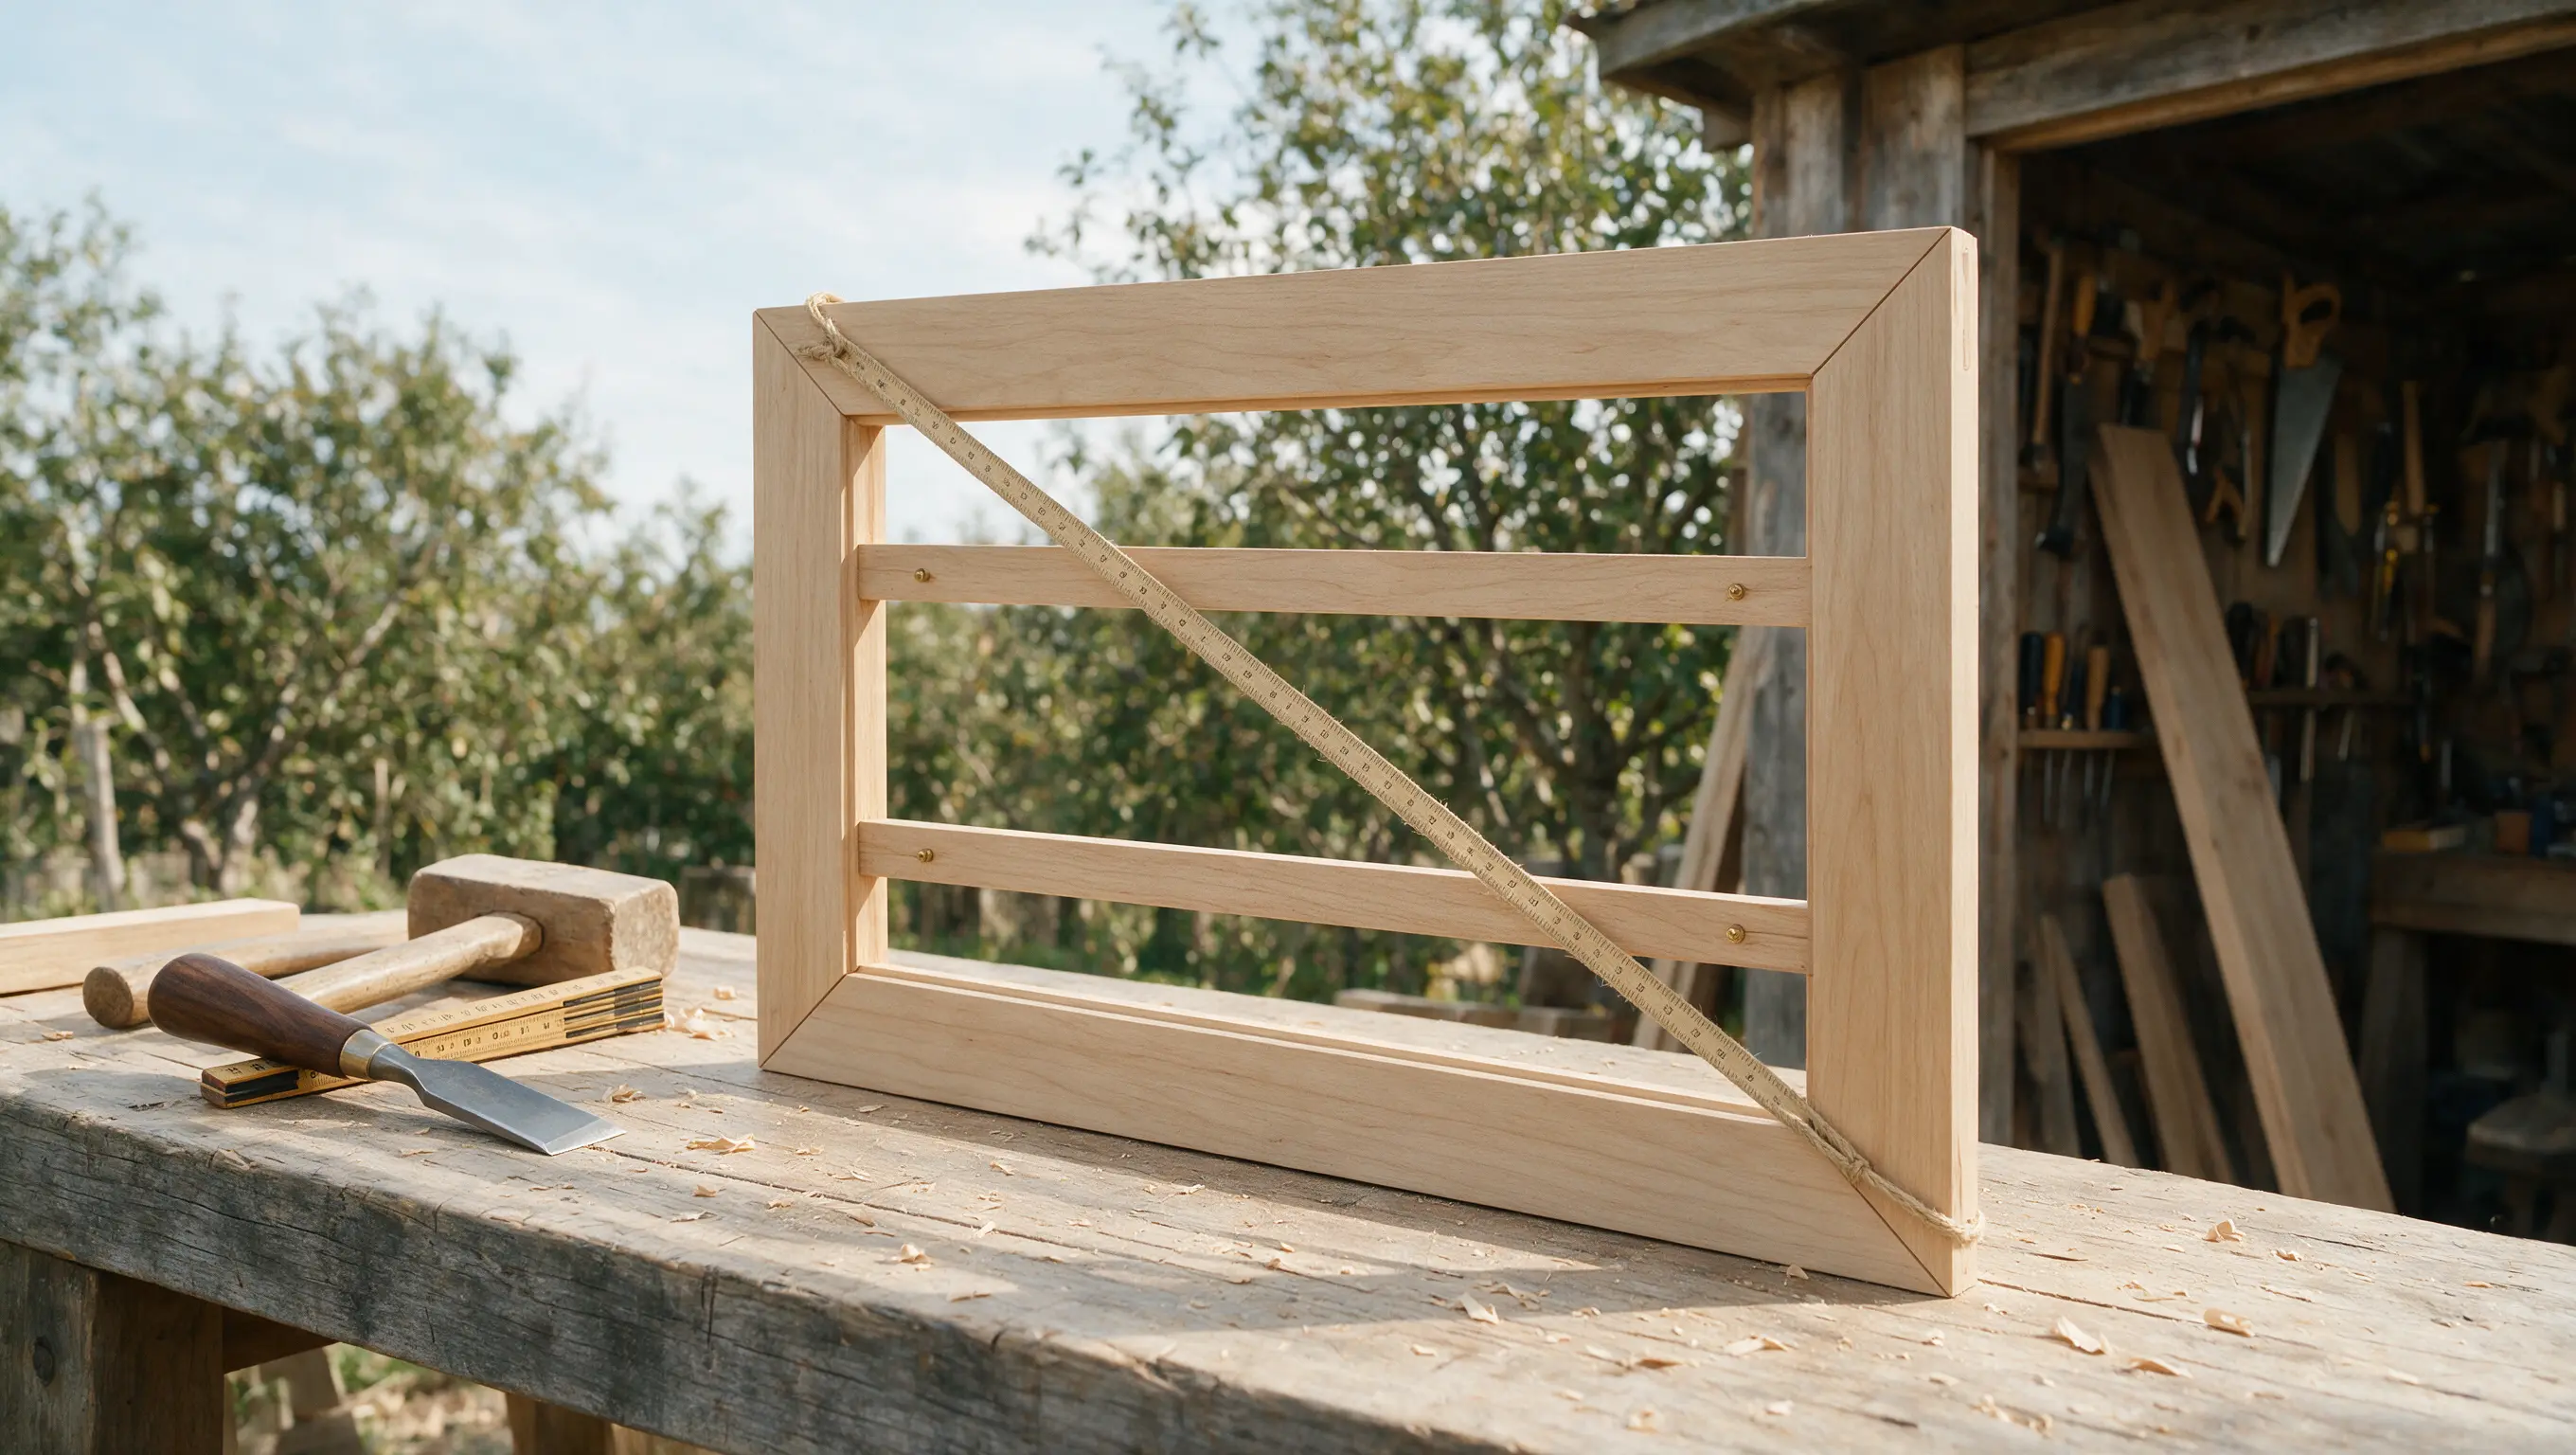
Measure both corner-to-corner diagonals again once the boards are attached. Equal measurements confirm your gate is square and ready to hang.
If the measurements are off, loosen the frame slightly and adjust before the boards fully set. Catching this now is much easier than fixing a crooked gate after it is hung.
Step 6: Sand Sharp Edges
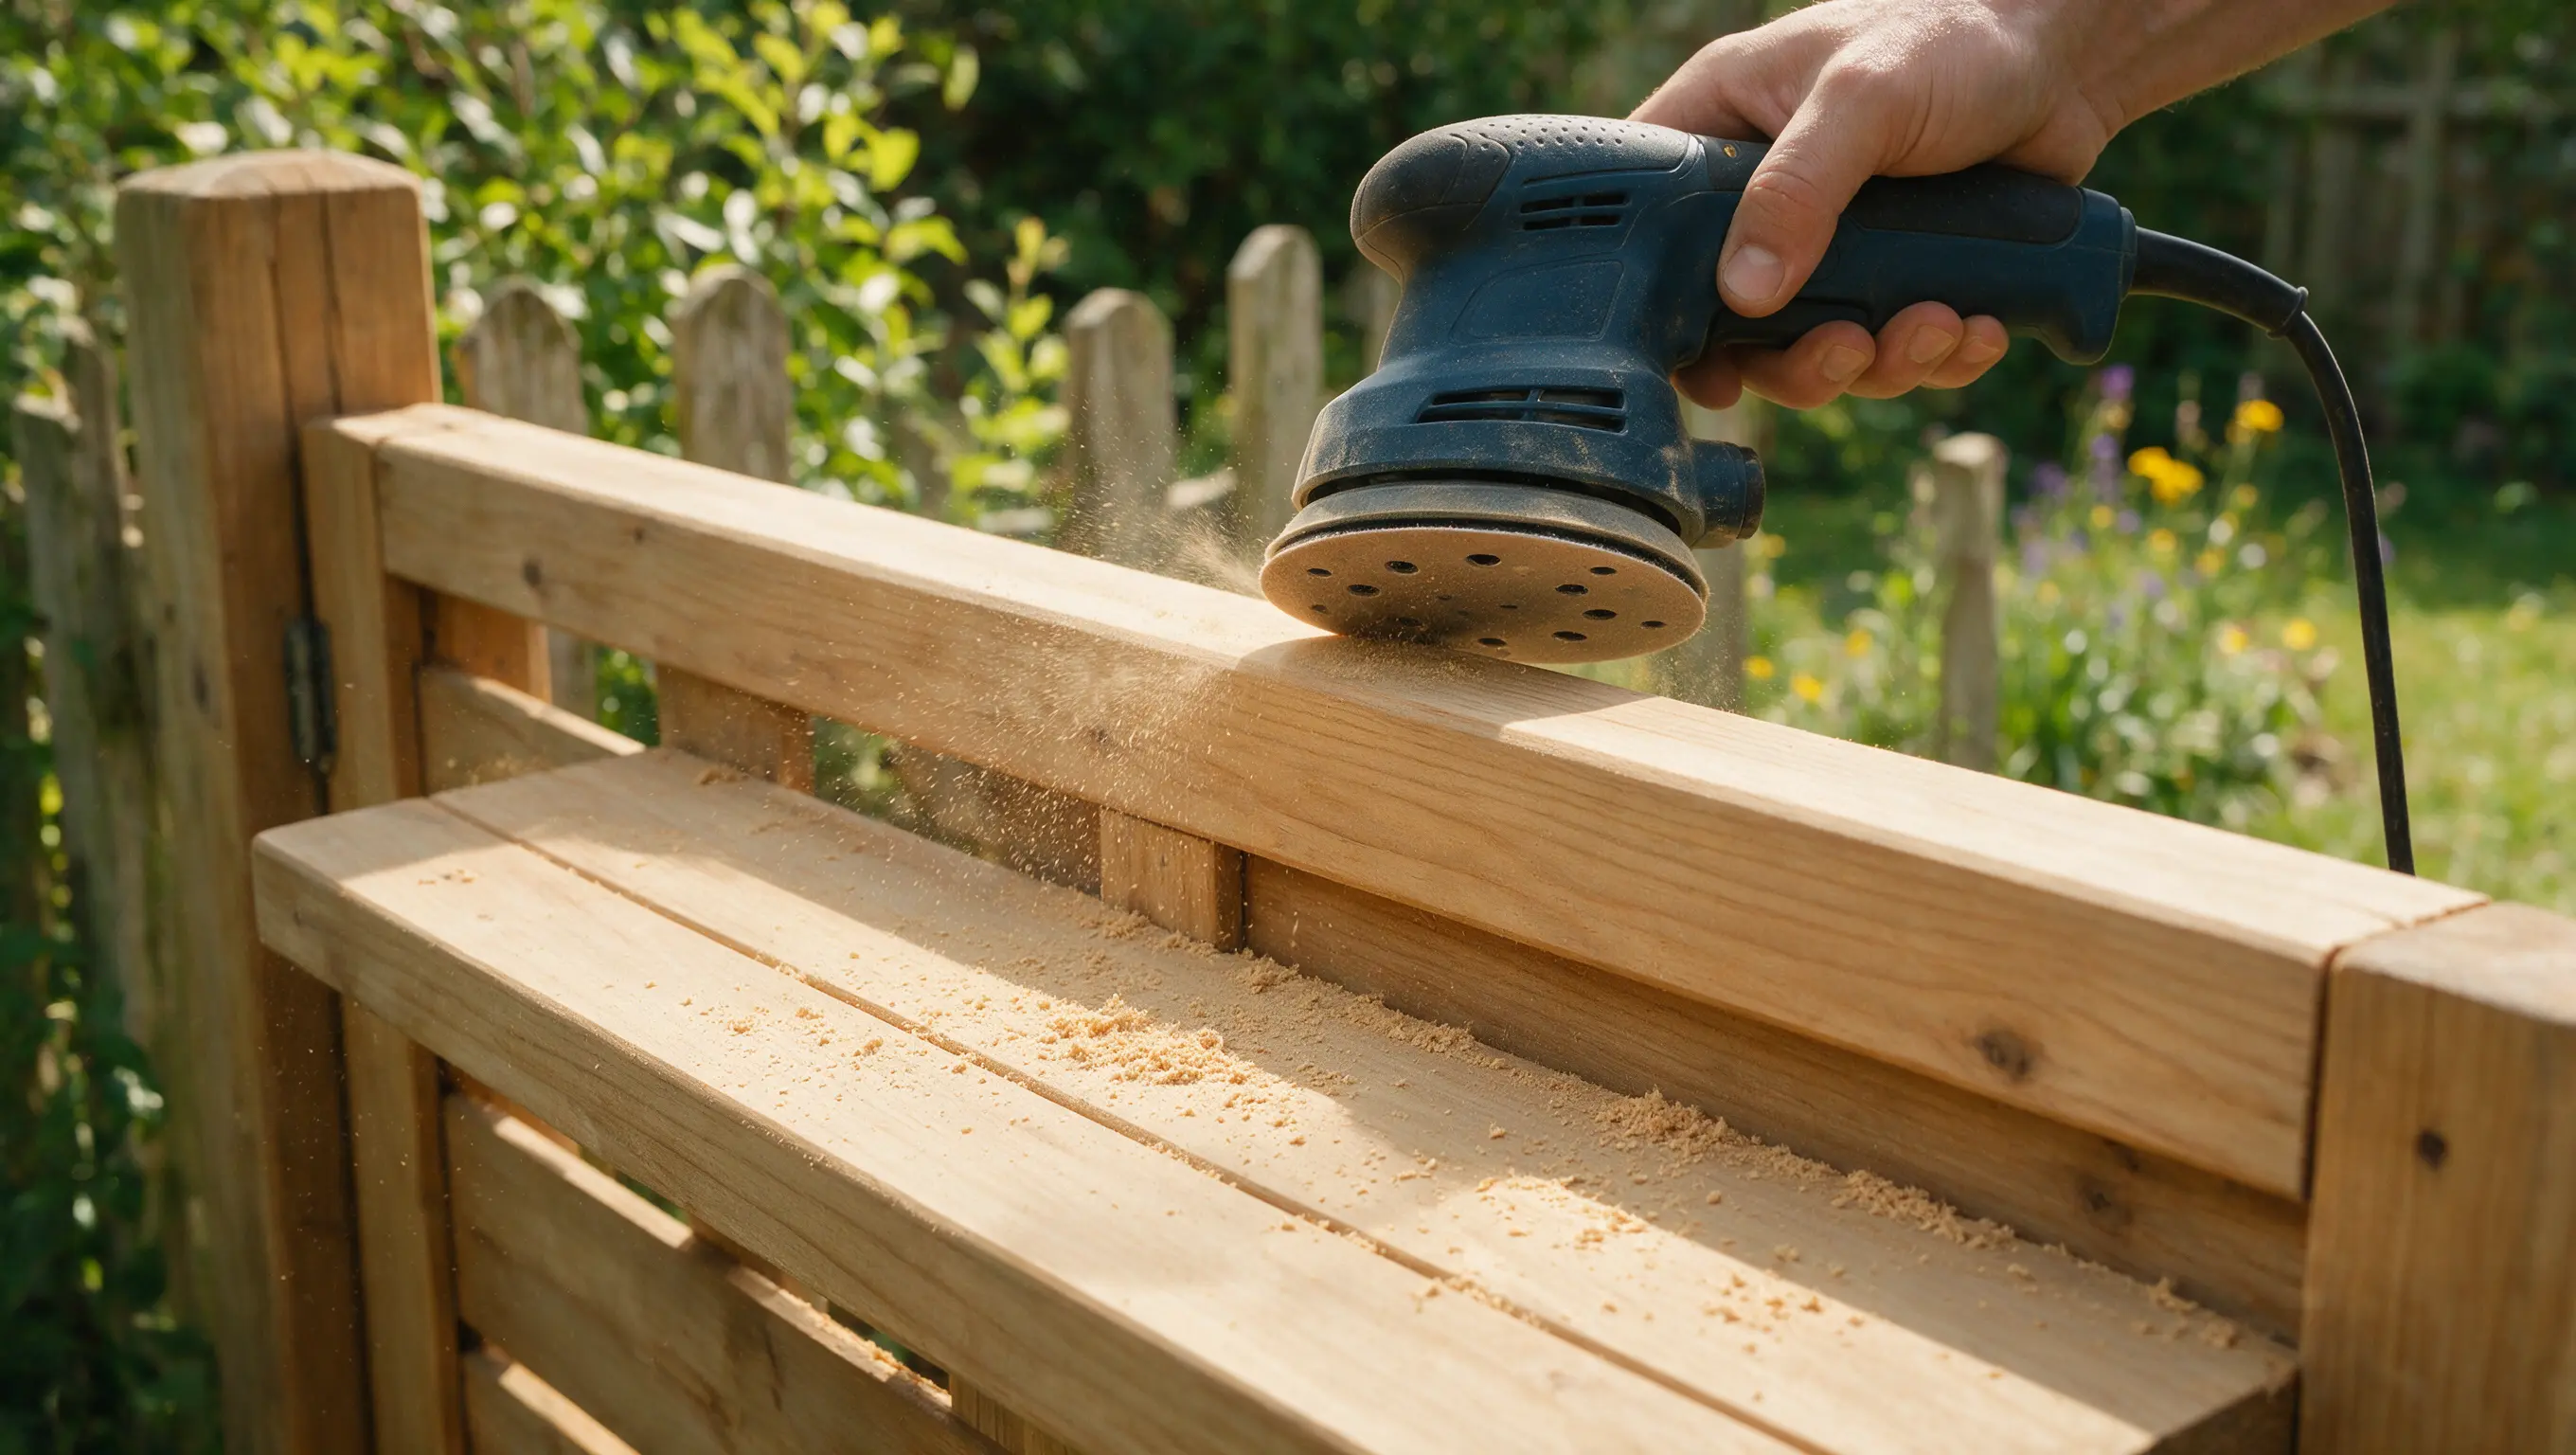
Sand down any rough spots or sharp corners, especially where hands and pets will make contact. This step also helps paint or stain go on more evenly.
Pay extra attention to cut ends, since they tend to be roughest. A quick pass with medium then fine grit sandpaper is usually enough.
Step 7: Install Hinges and Gate Latch
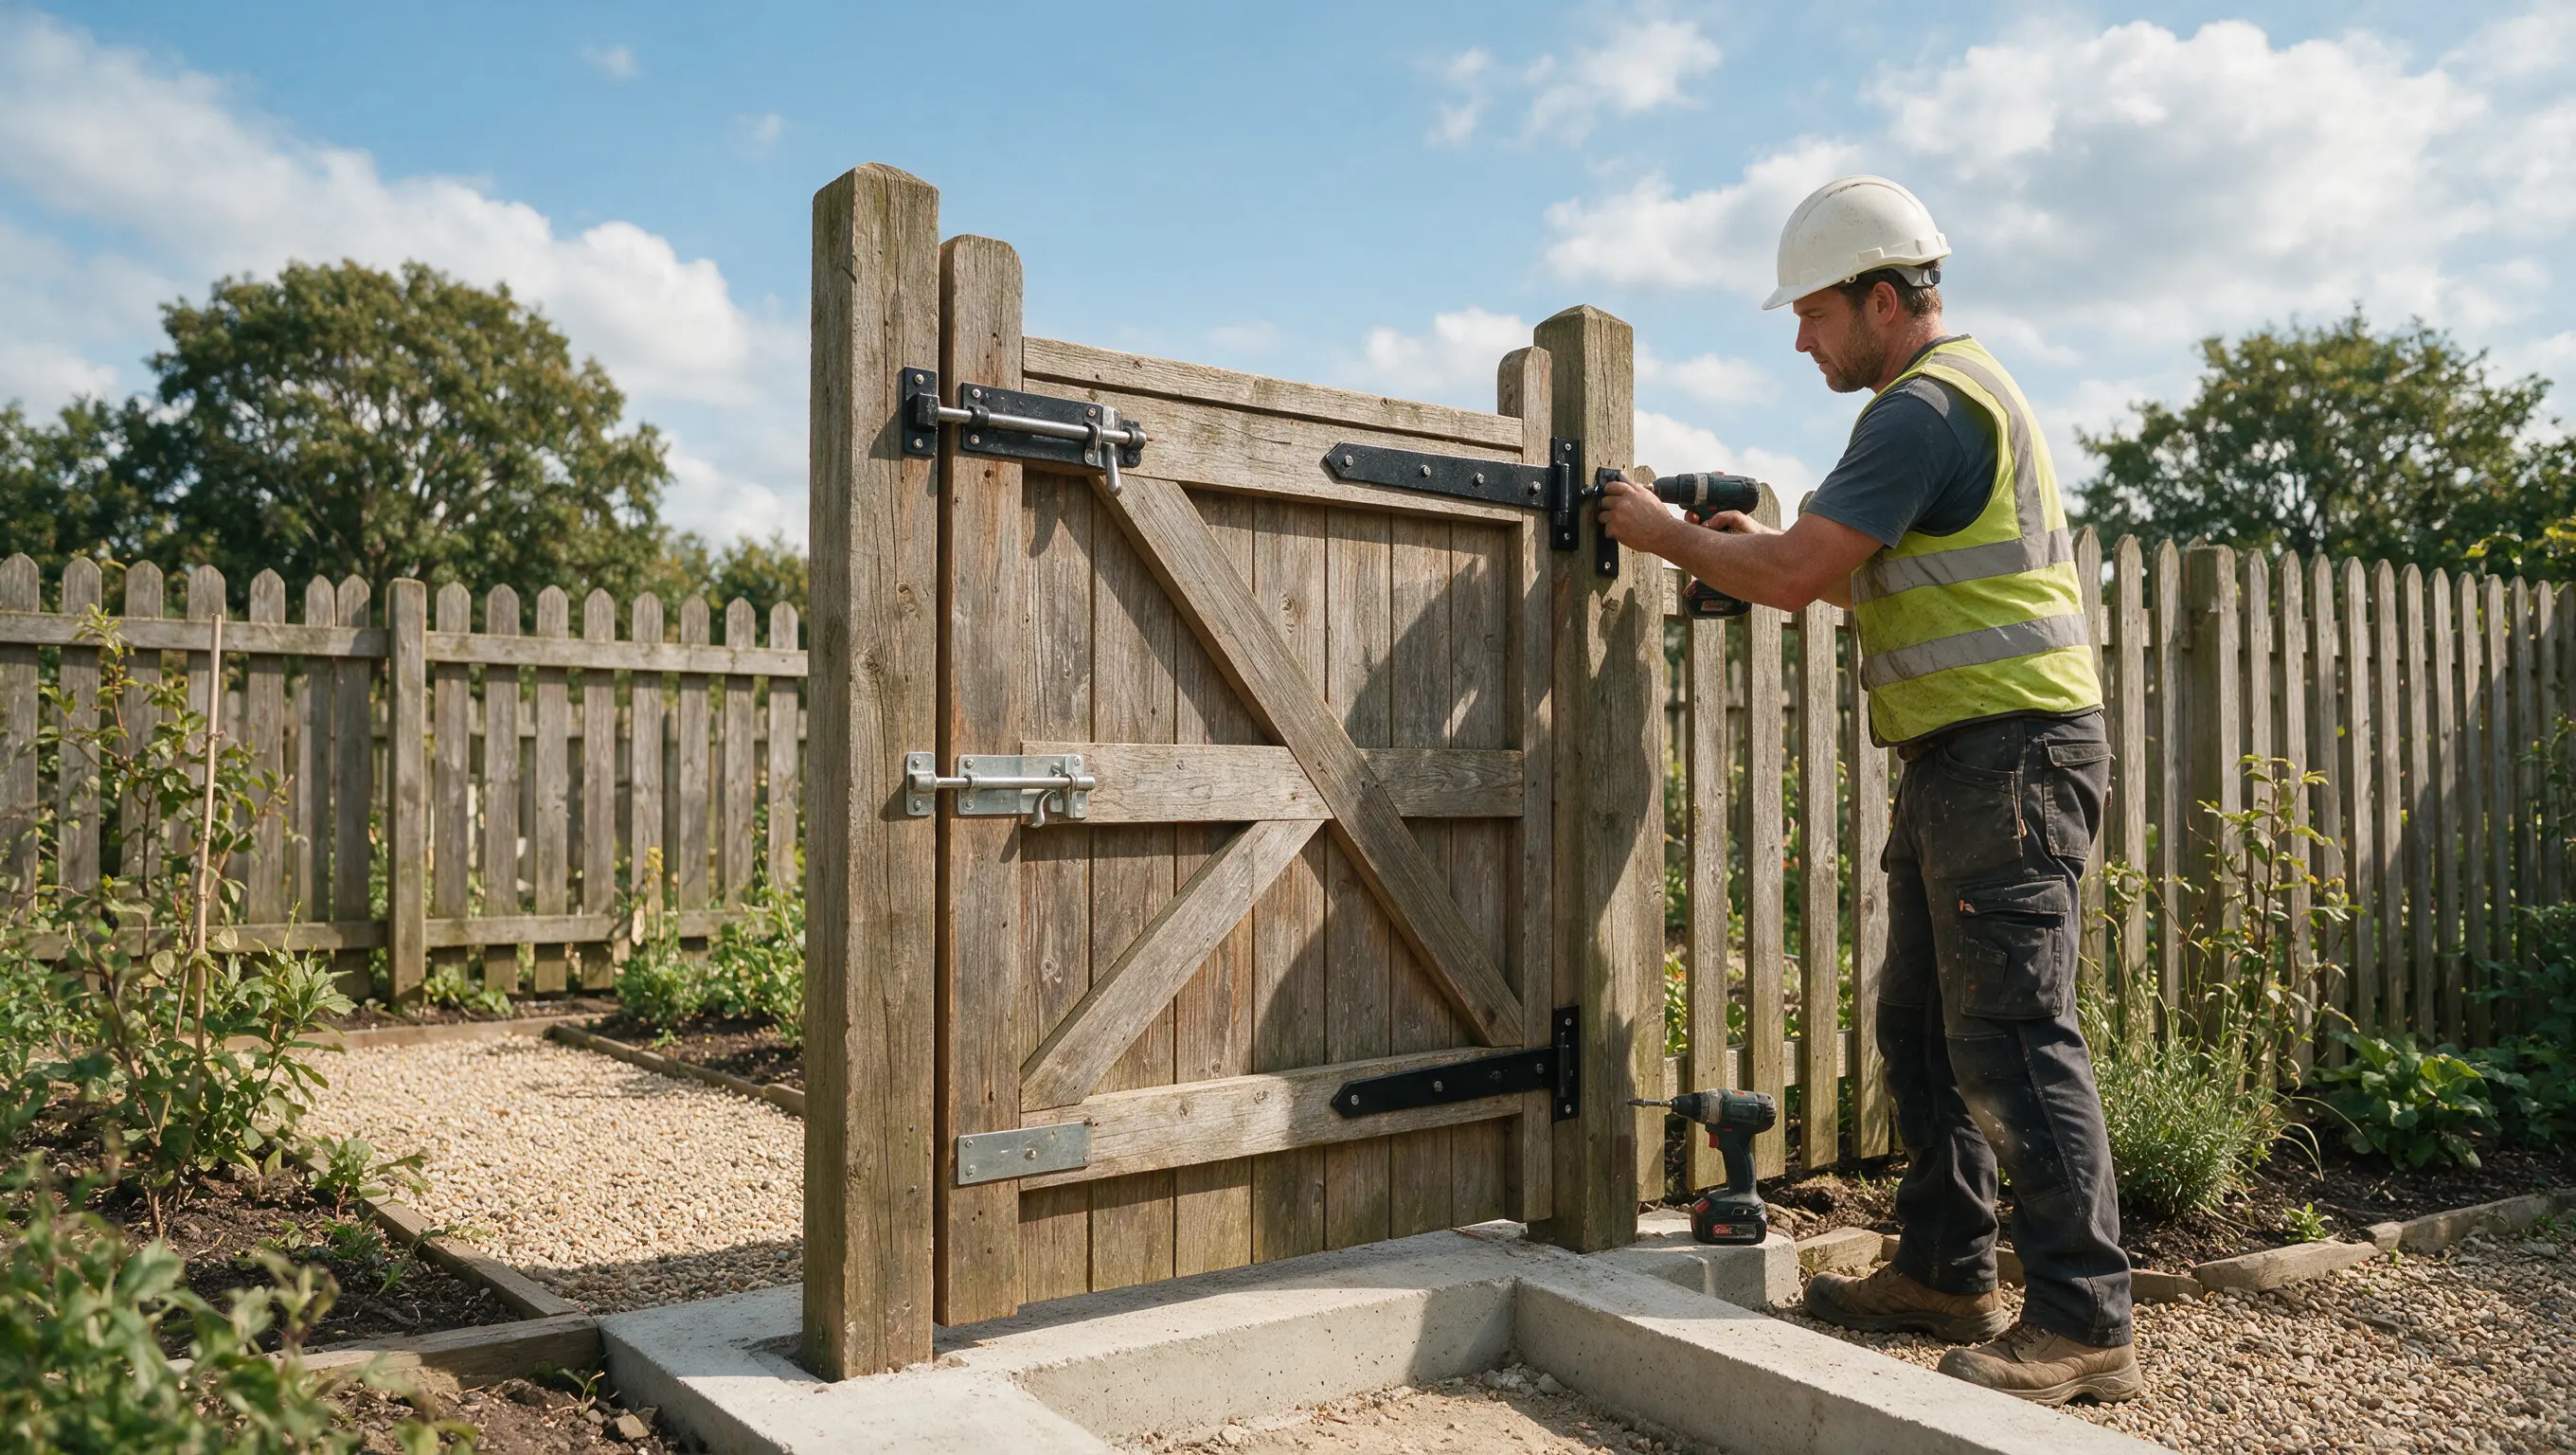
Attach the hinges to the gate frame first, then to the post, keeping them level with a helper or temporary support. Add the latch on the opposite side at a comfortable reach height.
Use a level throughout this step to make sure the gate hangs straight once it is hung. Tighten every screw fully, since loose hinges are a common cause of early wear
Step 8: Hang and Test the Gate
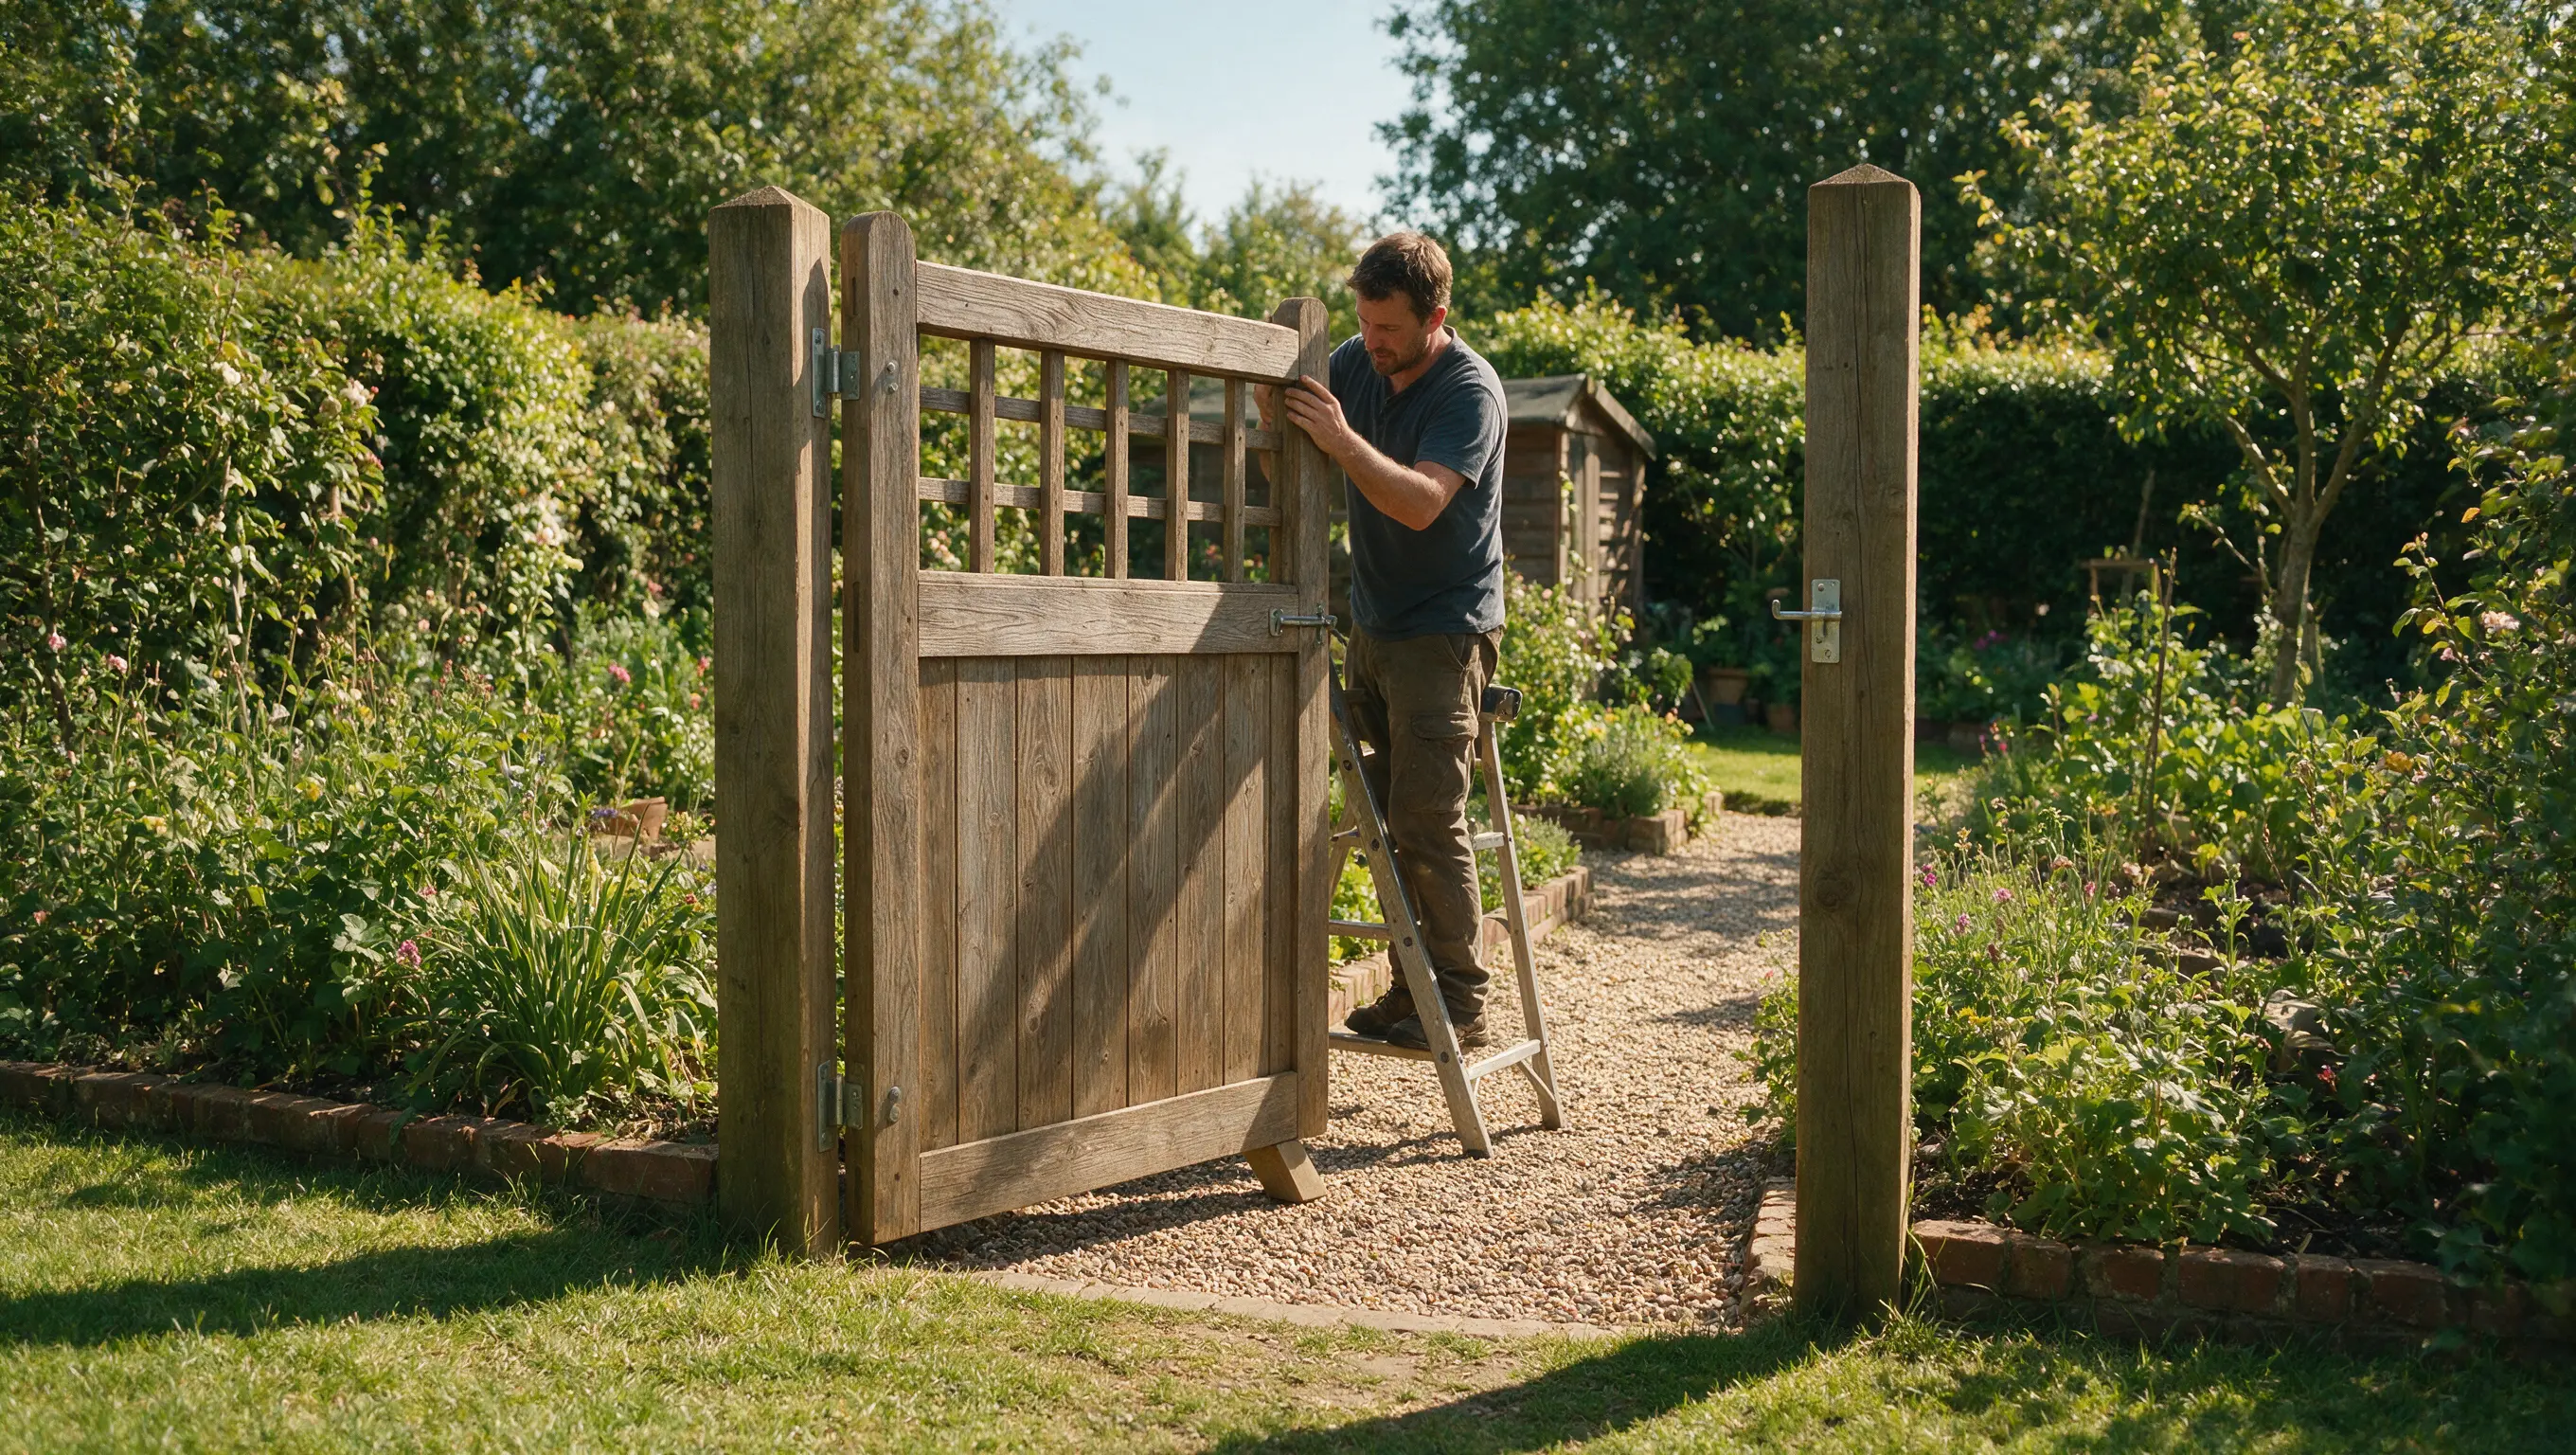
Hang the gate on the post and check that it swings freely without dragging or sticking. Adjust the hinges slightly if the gate leans or rubs against the post.
Open and close the gate several times to make sure the latch catches properly. Once everything moves smoothly, your gate is ready for its finish.
Popular Garden Gate Styles to Choose From
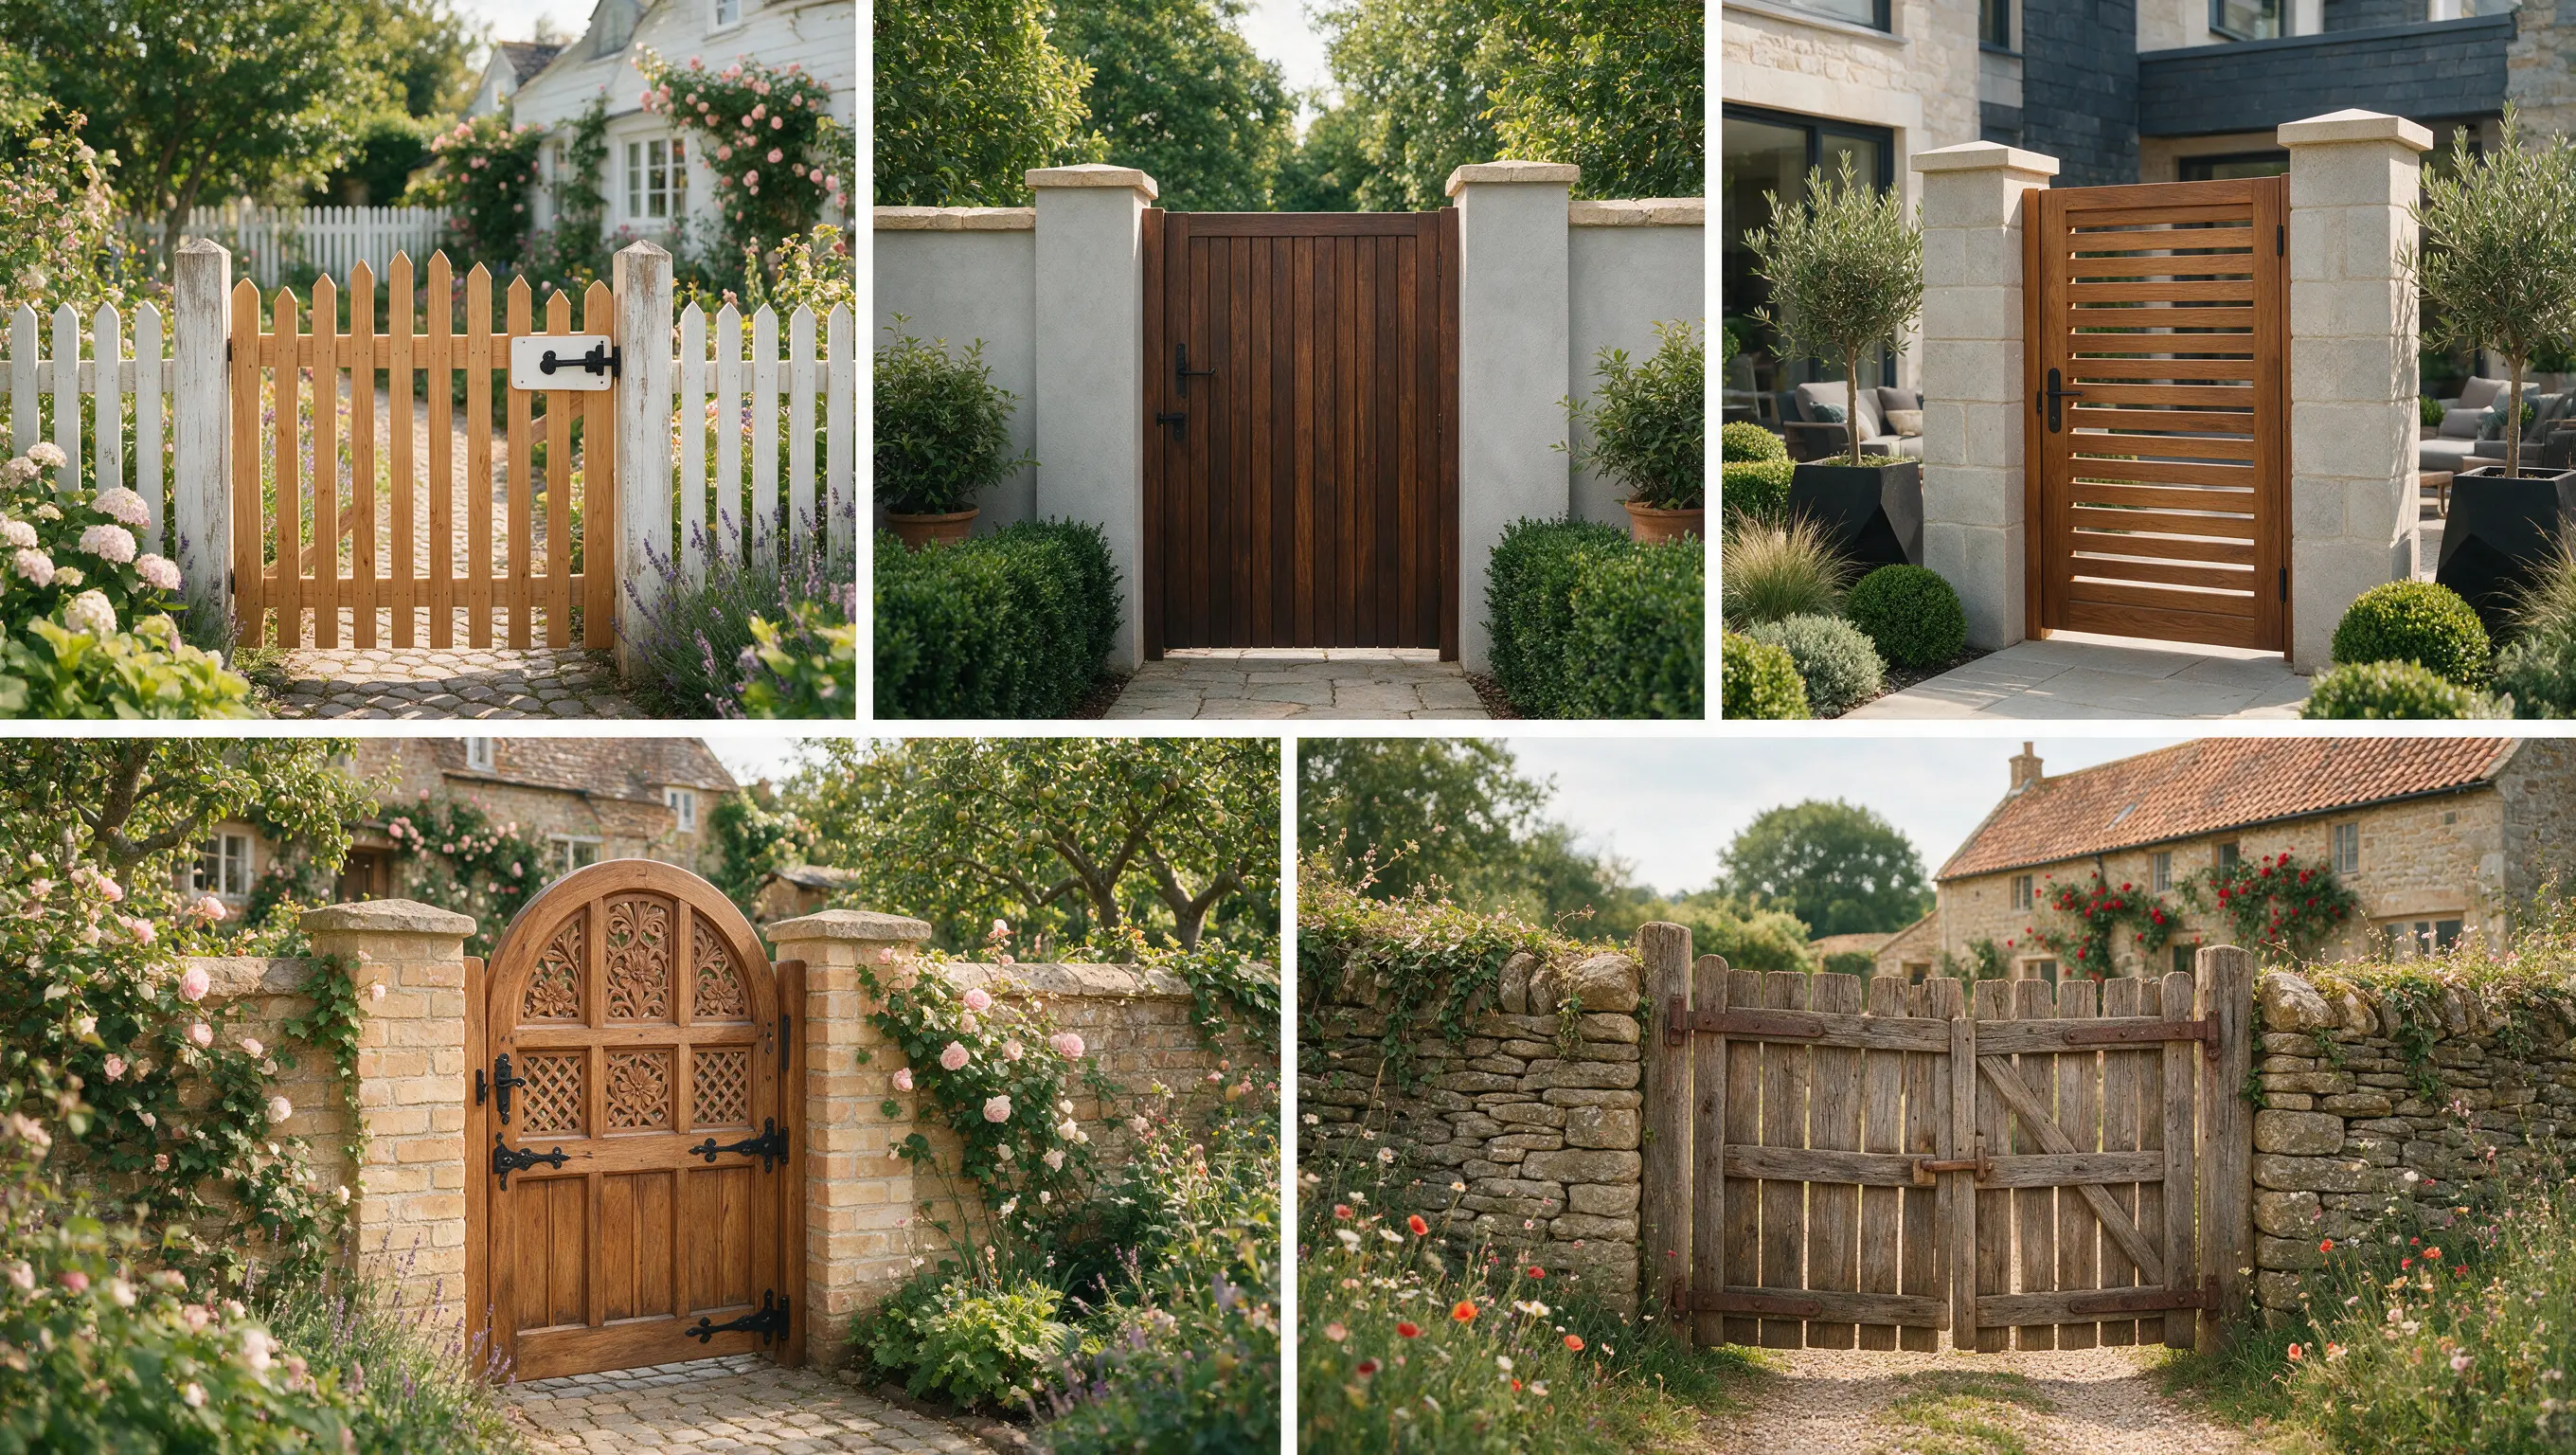
Picking a design before you cut any wood helps you buy the right amount of timber and plan your layout.
1. Picket Garden Gate
Picket gates use evenly spaced vertical boards with pointed or rounded tops. They suit cottage-style gardens and let light and air pass through, so the space feels open.
Since the boards do not touch, you can still see through to the other side.
This style works best as a friendly entrance, not a private one. Paint the pickets to match your fence for a finished look.
2. Privacy Garden Gate
Privacy gates use tightly fitted boards with no gaps between them, so no one can see through from either side.
They work well for backyard entrances where you want full coverage and a real sense of enclosure. This suits homes near busy streets or close neighbors.
They pair naturally with other garden privacy ideas if you want to shut the space off completely.
3. Horizontal Slat Gate
Horizontal slat gates use boards that run side to side rather than up and down, giving them a clean, modern look.
This style pairs well with contemporary home exteriors, especially those with flat roofs or minimal trim.
The horizontal lines make a narrow gate look wider and can help tie a new build into a modern garden design. It works well painted or left natural.
4. Arched Garden Gate
Arched gates curve at the top rather than running straight across, which gives the entrance a softer, more decorative feel.
They add real character to a garden but require more cutting and measuring than a standard square gate.
Building the curve usually involves cutting several thin strips and gluing them into a laminated arch. This style suits cottage and period-style homes best.
5. Rustic Farmhouse Gate
Rustic gates use reclaimed or rough-sawn timber with visible knots and grain, giving each gate its own character.
This style suits country properties and cottage gardens where a polished finish would look out of place.
Leaving the wood unpainted, or using just a clear oil, lets the natural texture stand out. Reclaimed barn wood works especially well here, since the weathering is already done for you.
How to Stop a Garden Gate from Sagging
Sagging is one of the most common complaints with DIY gates, but it is easy to prevent with the right setup.
- Install the brace correctly: Run the diagonal brace from the bottom hinge corner to the top latch corner to support the gate’s weight.
- Use heavy-duty hinges: Choose hinges rated for your gate’s size and weight to prevent sagging.
- Keep the gate off the ground: Leave an even gap below the gate to avoid dragging and wear.
- Tighten hardware regularly: Check and tighten screws, bolts, hinges, and the latch every few months.
- Inspect for early signs of sagging: Fix loose hardware or small alignment issues before they become bigger problems.
Garden Gate Finishing and Weather Protection
A good finish helps protect your gate from the sun, rain, and everyday wear, so it stays beautiful and functional for many years.
Paint vs Stain
Paint and stain both protect a wooden garden gate, but they create different finishes and require different levels of maintenance.
Choose the option that best suits your desired look, budget, and long-term upkeep.
| Feature | Paint | Stain |
|---|---|---|
| Coverage | Full color coverage | Shows natural wood grain |
| Touch-Up Frequency | Less frequent | More frequent in most climates |
| Best For | Bold color or matching trim | Natural, rustic look |
Waterproof Sealer and Maintenance
A waterproof sealer adds an extra layer of protection against moisture, especially on exposed end grain where water can soak in more easily.
Apply the sealer after painting or staining for the best long-term protection and a longer-lasting finish.
Inspect your gate once a year for peeling, fading, or cracks, and plan to refinish it every 2–3 years, or sooner if it is exposed to strong sunlight, heavy rain, or harsh weather.
The Most Common DIY Garden Gate Mistakes
Most gate problems trace back to a handful of avoidable errors made early in the build.
- Measure the opening correctly: Measure the top, middle, and bottom of the opening before cutting timber to ensure a proper fit.
- Use outdoor-rated timber: Choose pressure-treated or naturally rot-resistant wood that is thick enough to prevent warping.
- Install the brace in the right direction: Run the diagonal brace from the bottom hinge side to the top latch side for proper support.
- Leave expansion gaps: Allow small gaps between boards so the wood can expand and contract without sticking.
- Check the gate is square first: Match the diagonal measurements before fitting hinges to prevent sagging and binding.
Conclusion
Building your own garden gate is easier than it looks when you plan carefully, measure twice, and use quality timber and hardware.
Proper bracing and a weather-resistant finish will keep your gate working smoothly for years to come.
Grab your tools and materials and follow the steps above.
Now you know exactly how to make a garden gate that’s durable, custom-built, and worth the weekend it takes
Frequently Asked Questions
Is It Cheaper to Build or Buy a Gate?
Building a garden gate is usually cheaper if you already have basic tools and DIY skills. Buying a ready-made gate costs more but saves time and effort.
What Is the Cheapest Gate to Install?
A pressure-treated softwood gate is the most affordable option for most homeowners. It offers good strength, low cost, and can last for years with proper care.
What Is the Strongest Material for Gates?
Hardwoods like oak and iroko are among the strongest materials for garden gates. They are highly durable, weather-resistant, and can handle heavy daily use.
Can You Fix a Sagging Gate Without Rebuilding It?
Yes. Anti-sag kits, turnbuckle braces, or a support wheel under the latch corner pull the frame back square without needing to build a new gate.
How Much Gap Should You Leave Between the Gate and the Posts?
Leave roughly 10mm to a half inch on each side. This lets the gate swing freely and gives the timber room to expand in wet weather.
Why Do Wooden Gates Warp Even When Built Correctly?
Wood absorbs and releases moisture unevenly, so one face can dry faster than the other, pulling the frame slightly toward the sun.
Does the Type of Wood Affect How Much a Gate Warps?
Yes. Dense hardwoods like oak resist warping far better than thin, ready-planed softwood, especially if you machine the timber to size yourself.