Have you ever wanted to grow your own fresh asparagus but thought it was too difficult to start from seed?
Many readers worry that growing asparagus from seed takes years and is difficult.
In my own beds, growing asparagus from seed has turned out simpler than the reputation suggests. While it does require patience, the process itself is straightforward and rewarding.
Starting asparagus from seed gives you complete control over your plants from day one.
You can choose exactly which varieties to grow and ensure they develop strong, healthy root systems. Plus, seeds cost a fraction of what you would pay for established crowns.
With the right steps, even beginners can grow asparagus from seed and enjoy harvests for years.
Why Start Growing Asparagus from Seed?
Starting asparagus from seed offers several clear advantages that make it worth considering over buying established crowns.
When you handle asparagus seeds, you’re working with nature’s own packaging system.
Each seed is designed to germinate when conditions are right, creating plants that are naturally synchronized with your local growing season and soil conditions from their first day of life
The initial patience pays off with stronger plants that adapt to your garden and last for decades.
You can experiment with different flavors, colors, and growth characteristics to find the perfect match for your taste and garden conditions.
Seeds vs Crowns for Growing Asparagus
When deciding how to start your asparagus bed, you’ll face a fundamental choice between seeds and crowns.
Each method has distinct advantages and trade-offs that can significantly impact your gardening experience and long-term results.
| Factor | Seeds | Crowns |
|---|---|---|
| Cost per plant | Under $0.50 each | $3-5 each |
| Time to first harvest | 3 years | 2 years |
| Variety selection | 20+ varieties available | 3-5 common types |
| Plant strength | Stronger, better adapted | May suffer transplant shock |
| Success rate | 70-80% germination | 90%+ establishment |
| Setup required | Seed starting equipment | Just plant and water |
| Disease risk | Very low | Moderate transport issues |
| Long-term value | Excellent | Good |
Seeds prove more rewarding in the long term despite the slower start, but crowns deliver faster results for impatient gardeners.
Tools and Materials Needed
Before you begin growing asparagus from seed, gathering the right tools and materials will set you up for success from day one and ensure your seeds get their best start.
I always tell readers that having the right basic tools on hand makes any seed-starting project go more smoothly.
| Tools | Materials |
|---|---|
| Small pots or containers | Asparagus seed pods or seeds |
| Pencil or pointed tool | Quality potting soil |
| Watering can or spray bottle | Small drainage containers |
| Sharp knife or scissors | Water for soaking |
How to Germinate and Plant Asparagus Seeds?
Growing asparagus from seed starts with proper germination and careful planting.
Following these simple steps helps seeds sprout faster and gives young plants the best chance to develop into healthy, long-lasting asparagus crowns.
Step 1: Extract Seeds from Pods
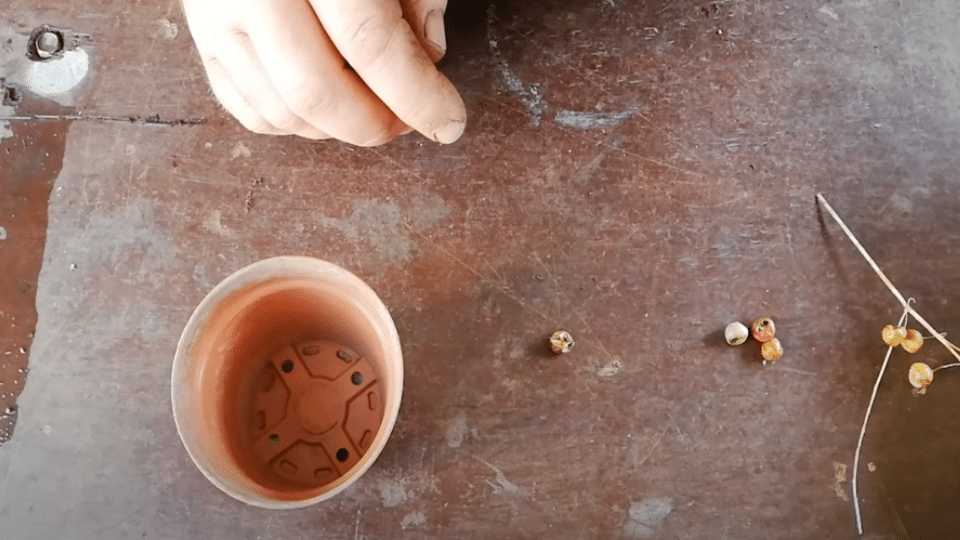
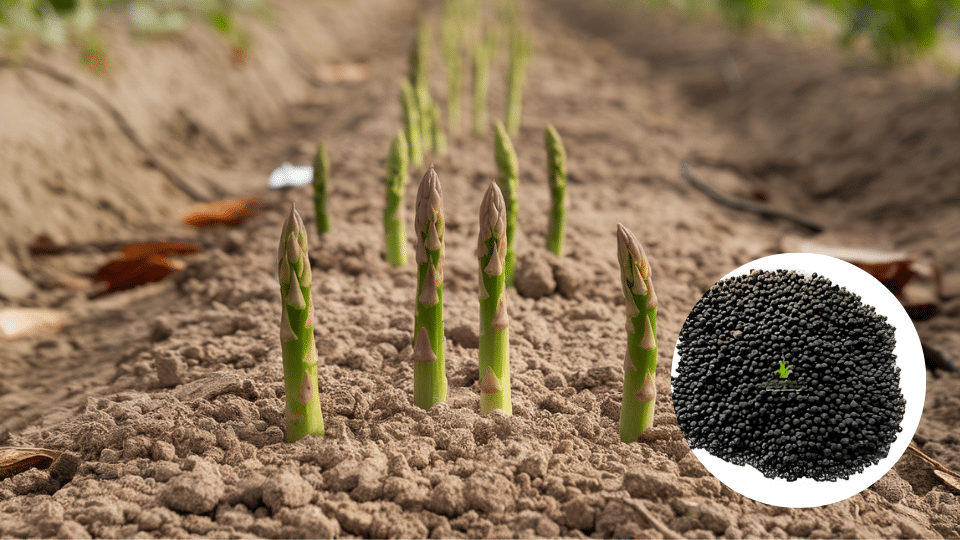
Start by carefully removing seeds from harvested asparagus seed pods. You’ll typically find 1 to 3 seeds in each pod, so examine each pod individually.
Pierce the pod gently with your fingernail and open it completely to extract all viable seeds. Handle seeds carefully as they can be delicate, and discard any that appear damaged or discolored.
Step 2: Prepare Small Containers
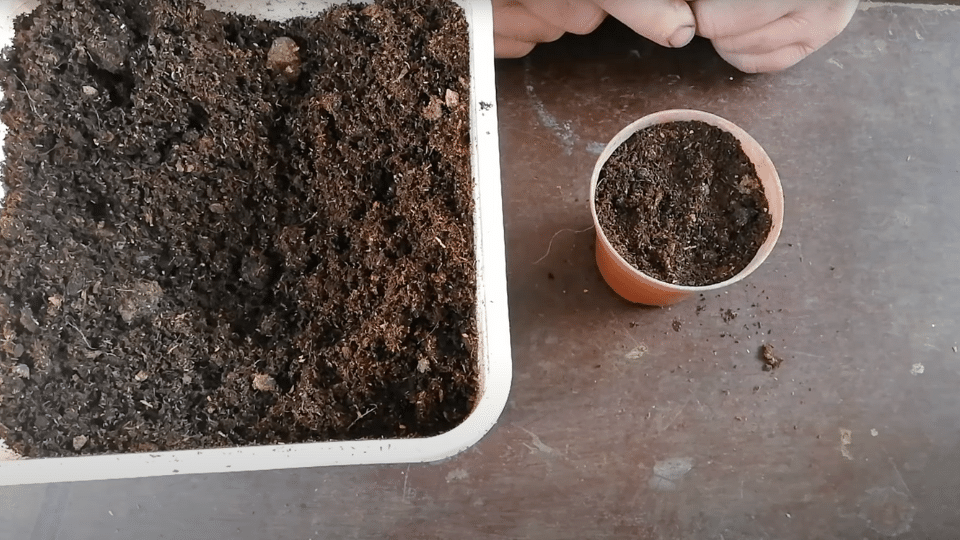
Select small pots or containers 3-4 inches deep and fill them with high-quality potting soil.
Make sure containers have proper drainage holes at the bottom to prevent waterlogged conditions that can cause seed rot.
Fill containers about three-quarters full, leaving room for watering without overflow.
Step 3: Create Planting Holes
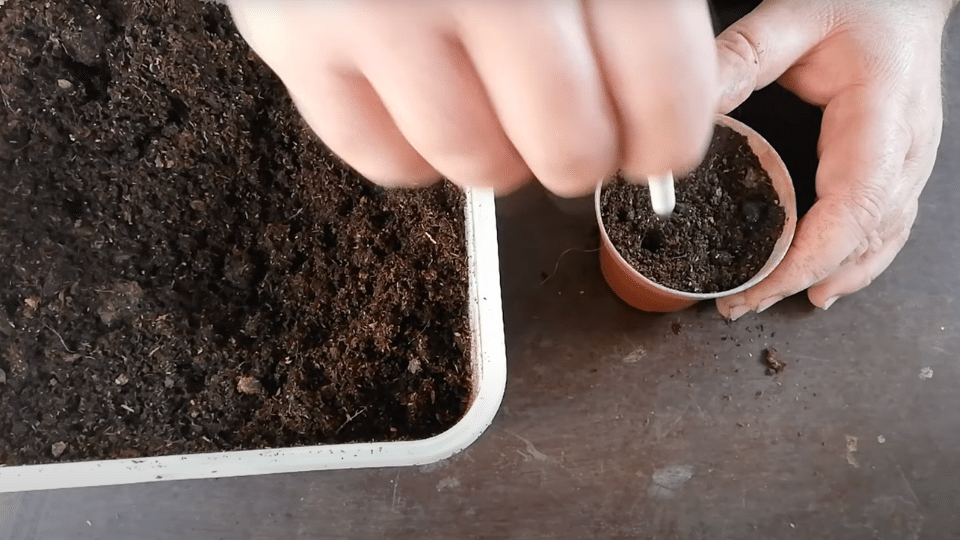
Use a pencil or similar pointed tool to make three small holes in the soil, spacing them evenly across the surface of each pot.
Make holes approximately half an inch deep, which provides adequate coverage without burying seeds too deeply.
This spacing prevents overcrowding and allows each seed adequate space to develop.
Step 4: Plant Seeds
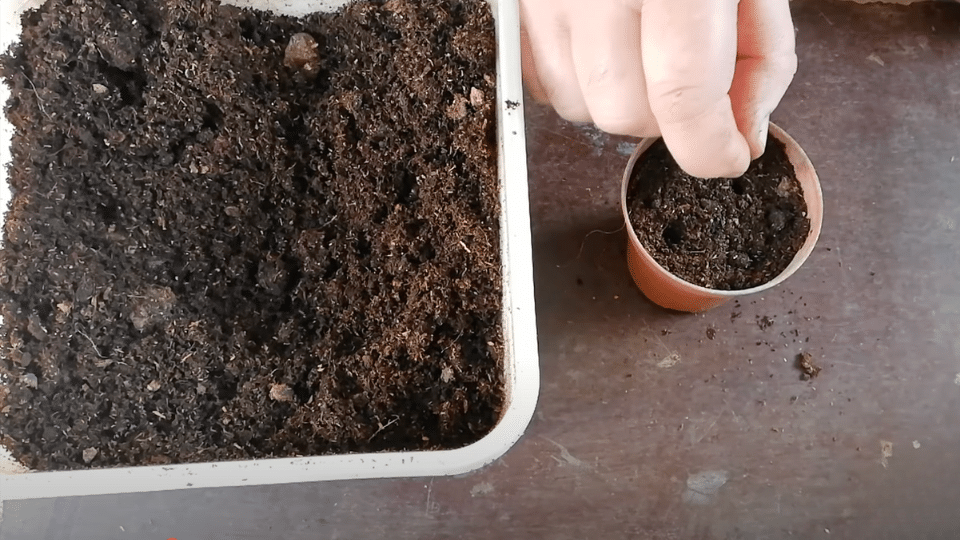
Carefully insert one seed per hole at the appropriate depth, with the pointed end facing down if you can identify it.
Gently cover each seed with a thin layer of soil and give a light tap to settle the soil around the seeds without compacting it too heavily.
The goal is to provide good soil contact while maintaining drainage.
Step 5: Initial Watering
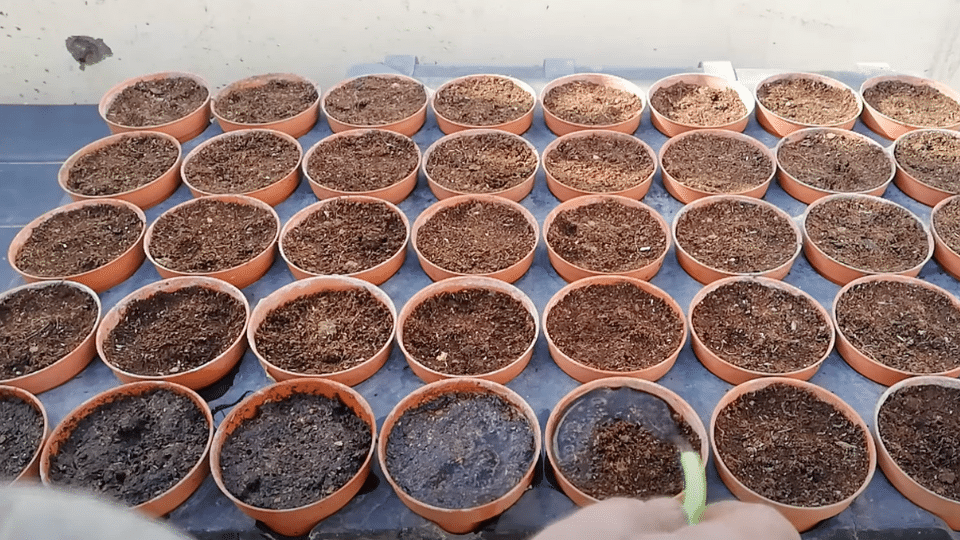
Give the planted seeds thorough but gentle watering to start their growing process.
Water slowly until you see moisture beginning to drain from the bottom holes, indicating the soil is fully saturated.
Use a spray bottle or watering can with a fine rose attachment to avoid disturbing the seeds or washing them out of position.
Step 6: Wait for Germination
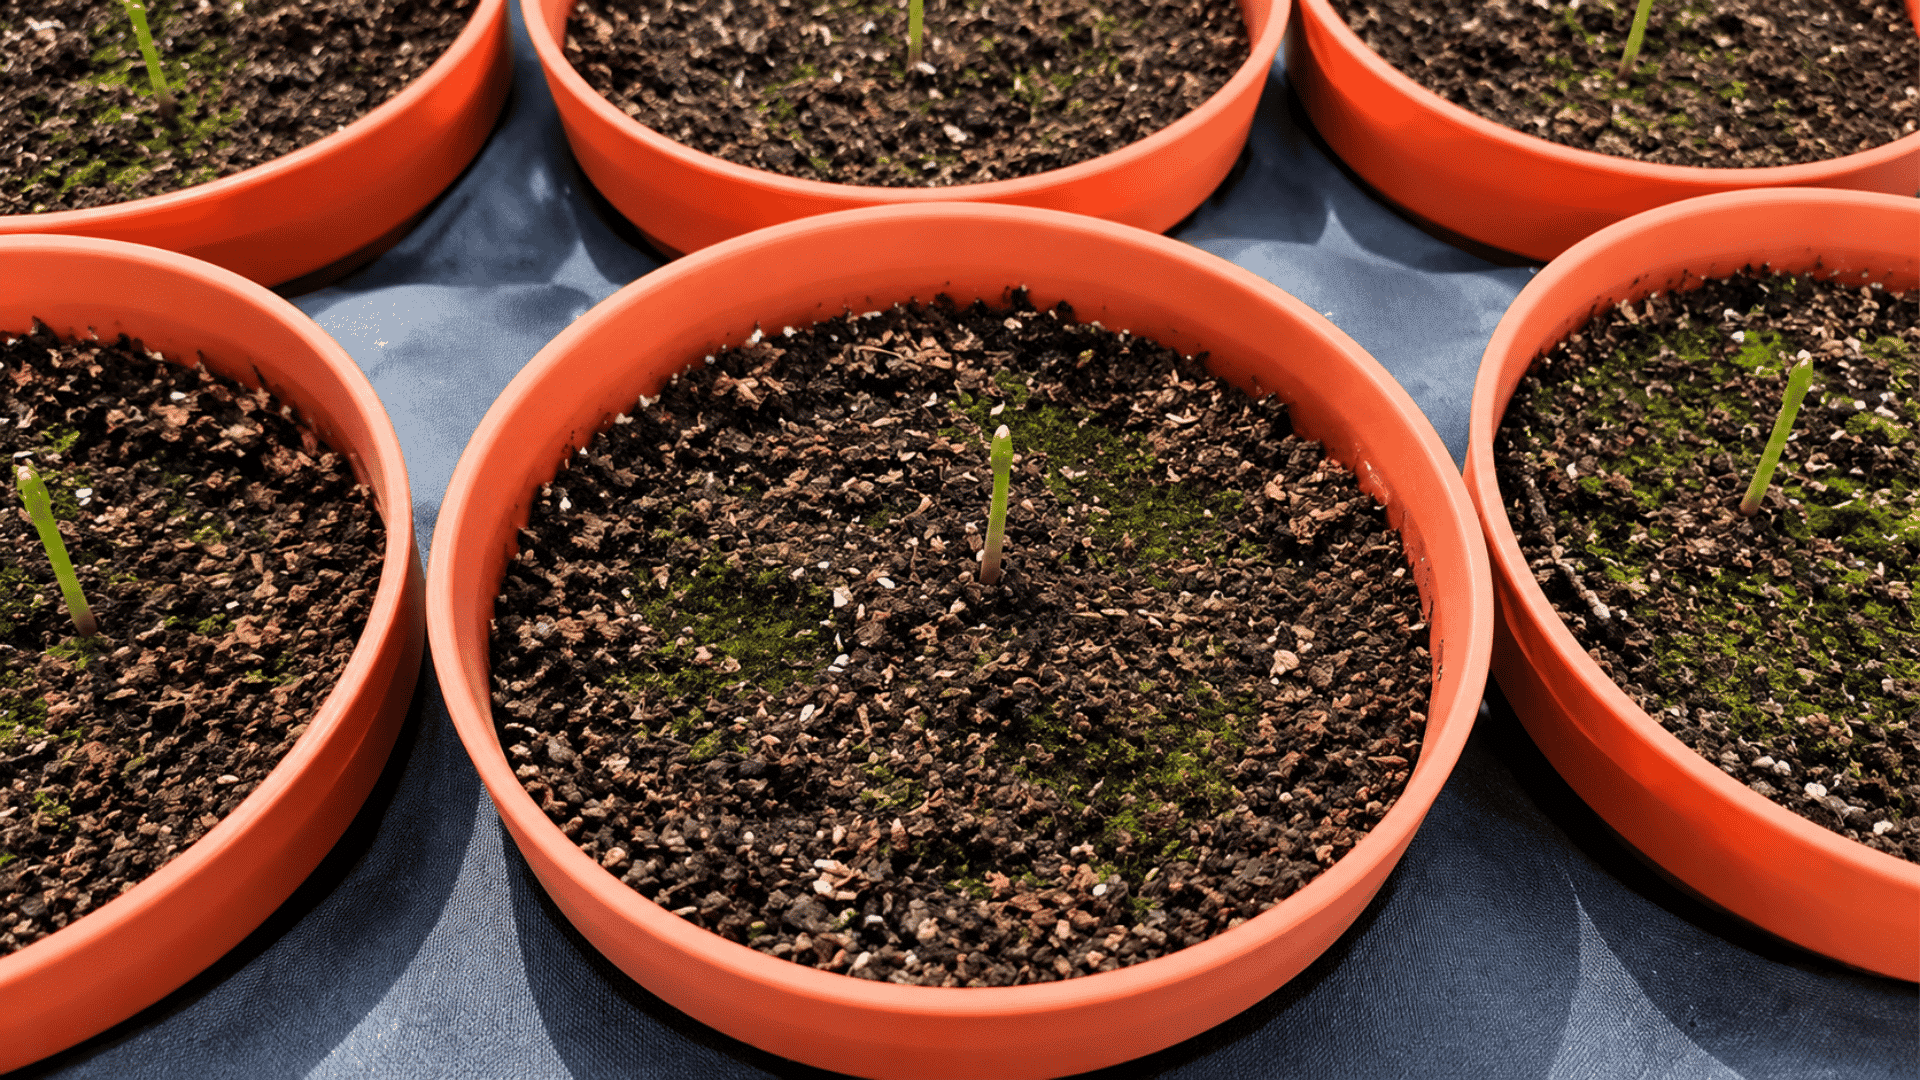
Exercise patience during the germination period, which typically takes 4-6 weeks for asparagus seeds. This extended timeframe is normal and much longer than most vegetable seeds.
In my own containers, the first seedlings usually show up as tiny green shoots after about 5-6 weeks of consistent warmth and moisture.
Step 7: Monitor and Maintain
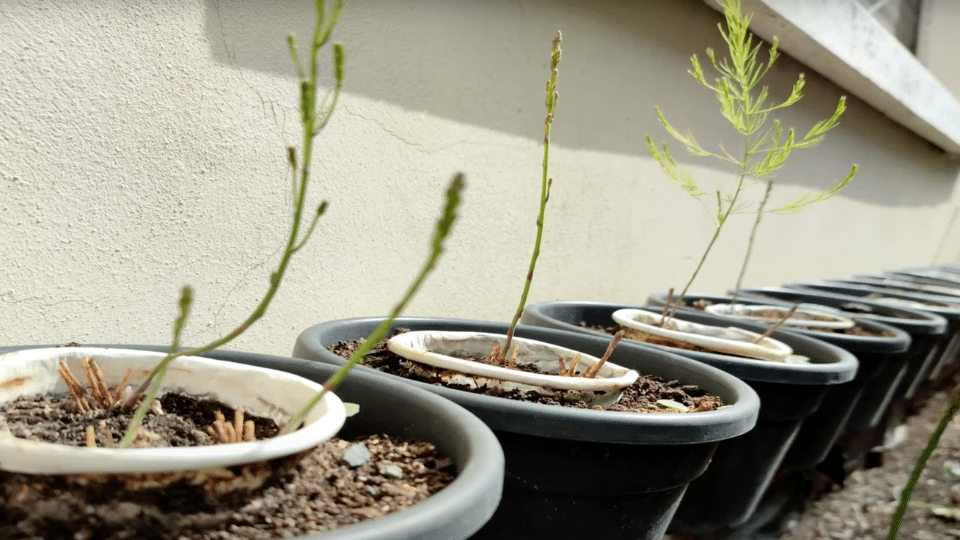
Check containers daily for moisture levels and water when the top inch of soil feels dry to the touch.
Keep containers in a consistently warm location, maintaining temperatures between 65 and 75°F for optimal results.
Not enough light at this stage is the most common cause of thin, leggy seedlings, so a sunny window or grow light matters as much as watering.
Avoid letting soil completely dry out, but also prevent waterlogged conditions that can cause seed failure.
Step 8: Harden Off and Transplant to a Permanent Bed
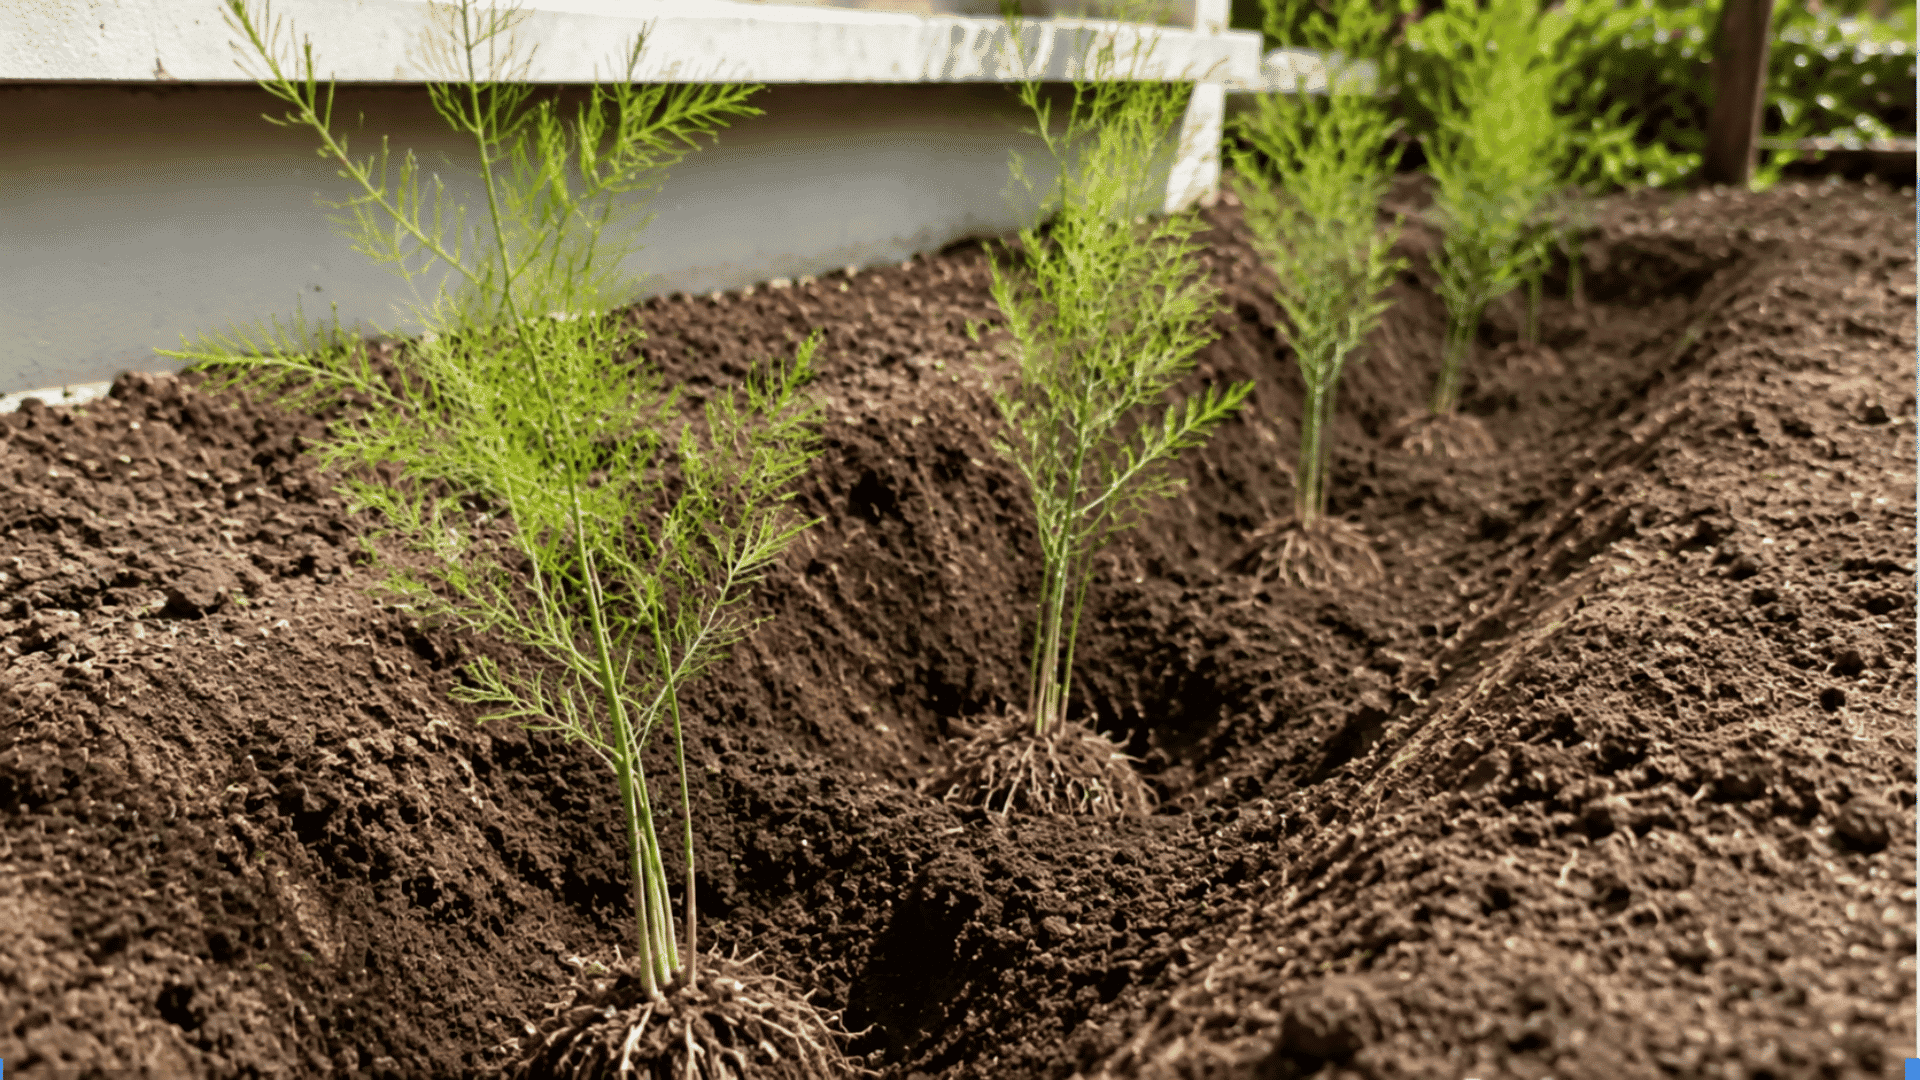
Once your seedlings are 10-12 weeks old and all frost danger has passed, they’re ready to move outdoors.
Start hardening them off by setting containers outside for a few hours a day over a week, gradually increasing exposure to sun and wind.
Choose a bed in full sun with soil enriched with compost or a balanced organic fertilizer, and a pH close to 7.0.
Dig a trench about 12 inches deep and 18 inches wide, then set seedlings 18 inches apart along the bottom. Backfill gradually as the plants grow, always leaving the top few inches of fern exposed.
Video Tutorial
I’d like to give credit to YouPlantTube for their informative video, which served as a reference for this guide.
Asparagus Care for Long-Term Success
Once established, your asparagus bed needs consistent annual care to remain productive for decades, with simple maintenance tasks that keep plants healthy and maximize spear production.
- Apply fresh mulch every spring: Add 2-3 inches of organic mulch before new growth appears to suppress weeds and retain moisture
- Feed plants with compost annually: Spread a 2-inch layer of well-aged compost in early spring for slow-release nutrients
- Remove weeds while they’re small: Hand-pull weeds regularly rather than letting them establish deep roots
- Cut back ferns at the right time: Wait until ferns turn yellow and brown in fall before cutting them down to soil level
- Clean up all plant debris: Remove cut ferns and fallen leaves to prevent overwintering disease and pest problems
- Monitor and remove asparagus beetles: Check plants weekly during spear season for small metallic beetles and their dark eggs, removing beetles and egg masses early before they multiply and cause damage. For a heavier infestation, a homemade garlic and mint spray knocks back populations without chemicals
- Encourage beneficial insects: Plant flowers nearby to attract ladybugs that eat asparagus beetle larvae naturally
The Bottom Line
Starting asparagus from seed isn’t for every gardener, but the payoff is real.
Growing asparagus from seed takes patience, but the reward is worth it. In three years, you’ll have a bed of strong, healthy plants built to last for decades.
Start with quality seeds, keep them warm and moist, and move seedlings outdoors once they’re ready.
Once established, the bed needs only yearly mulch and weeding to keep producing fresh spears for 20 years or more.
Pick up a few seed pods this season and get your bed started today.
Frequently Asked Questions
Can I Direct Sow Asparagus Seeds Outdoors Instead of Starting Them in Pots?
You can direct-sow outdoors after the last frost, but germination rates are lower, and seedlings face more weed competition. Starting seeds indoors first gives better success rates.
How Can You Tell Male and Female Asparagus Plants Apart?
Female plants grow red berries and produce fewer, thicker spears. Male plants never form berries and produce more spears overall, making them better for harvests.
Can I Eat Asparagus Spears the Same Year I Transplant Seedlings Outdoors?
No. Wait until the third year after sowing seeds before harvesting any spears. Harvesting early weakens the root system and reduces future yields.
Why Are My Asparagus Seedlings Thin and Falling Over?
Leggy seedlings usually result from too little light. Move containers to a sunnier spot or add a grow light to encourage sturdier, thicker stems.