
After planting tulips in different gardens, one mistake I see gardeners make again and again is guessing the planting depth.
A bulb planted too shallow may struggle with temperature changes, while one buried too deeply can grow more slowly, especially in heavier soils.
The confusion often starts when a bag contains bulbs of different sizes or when container planting changes the usual rules.
For most standard tulip bulbs, the base should sit about 6 to 8 inches below the soil surface, while unusually small or large bulbs are better planted at a depth close to three times their height.
Getting the depth right from the beginning helps create stronger plants and healthier spring blooms.
How Deep Should You Plant Tulip Bulbs?
Measure the bulb from its flat basal plate to the pointed tip, then multiply that height by roughly three to determine the ideal planting depth.
Dig the hole so the bulb’s base sits at the specified depth below the finished soil surface.
Planting depth is measured from the bottom of the bulb to the soil surface, not from the top of the bulb or the bottom of an empty hole.
Since loose soil can settle, check the depth after placing the bulb and before backfilling. Keep in mind that mulch added after planting does not count toward the bulb’s planting depth.
This three times the bulb height rule works as a practical guideline rather than an exact calculation.
A bulb planted slightly above or below the ideal depth can still grow, but correct placement helps protect it from temperature changes and supports healthy root development.
Tulip Bulb Planting Depth Chart
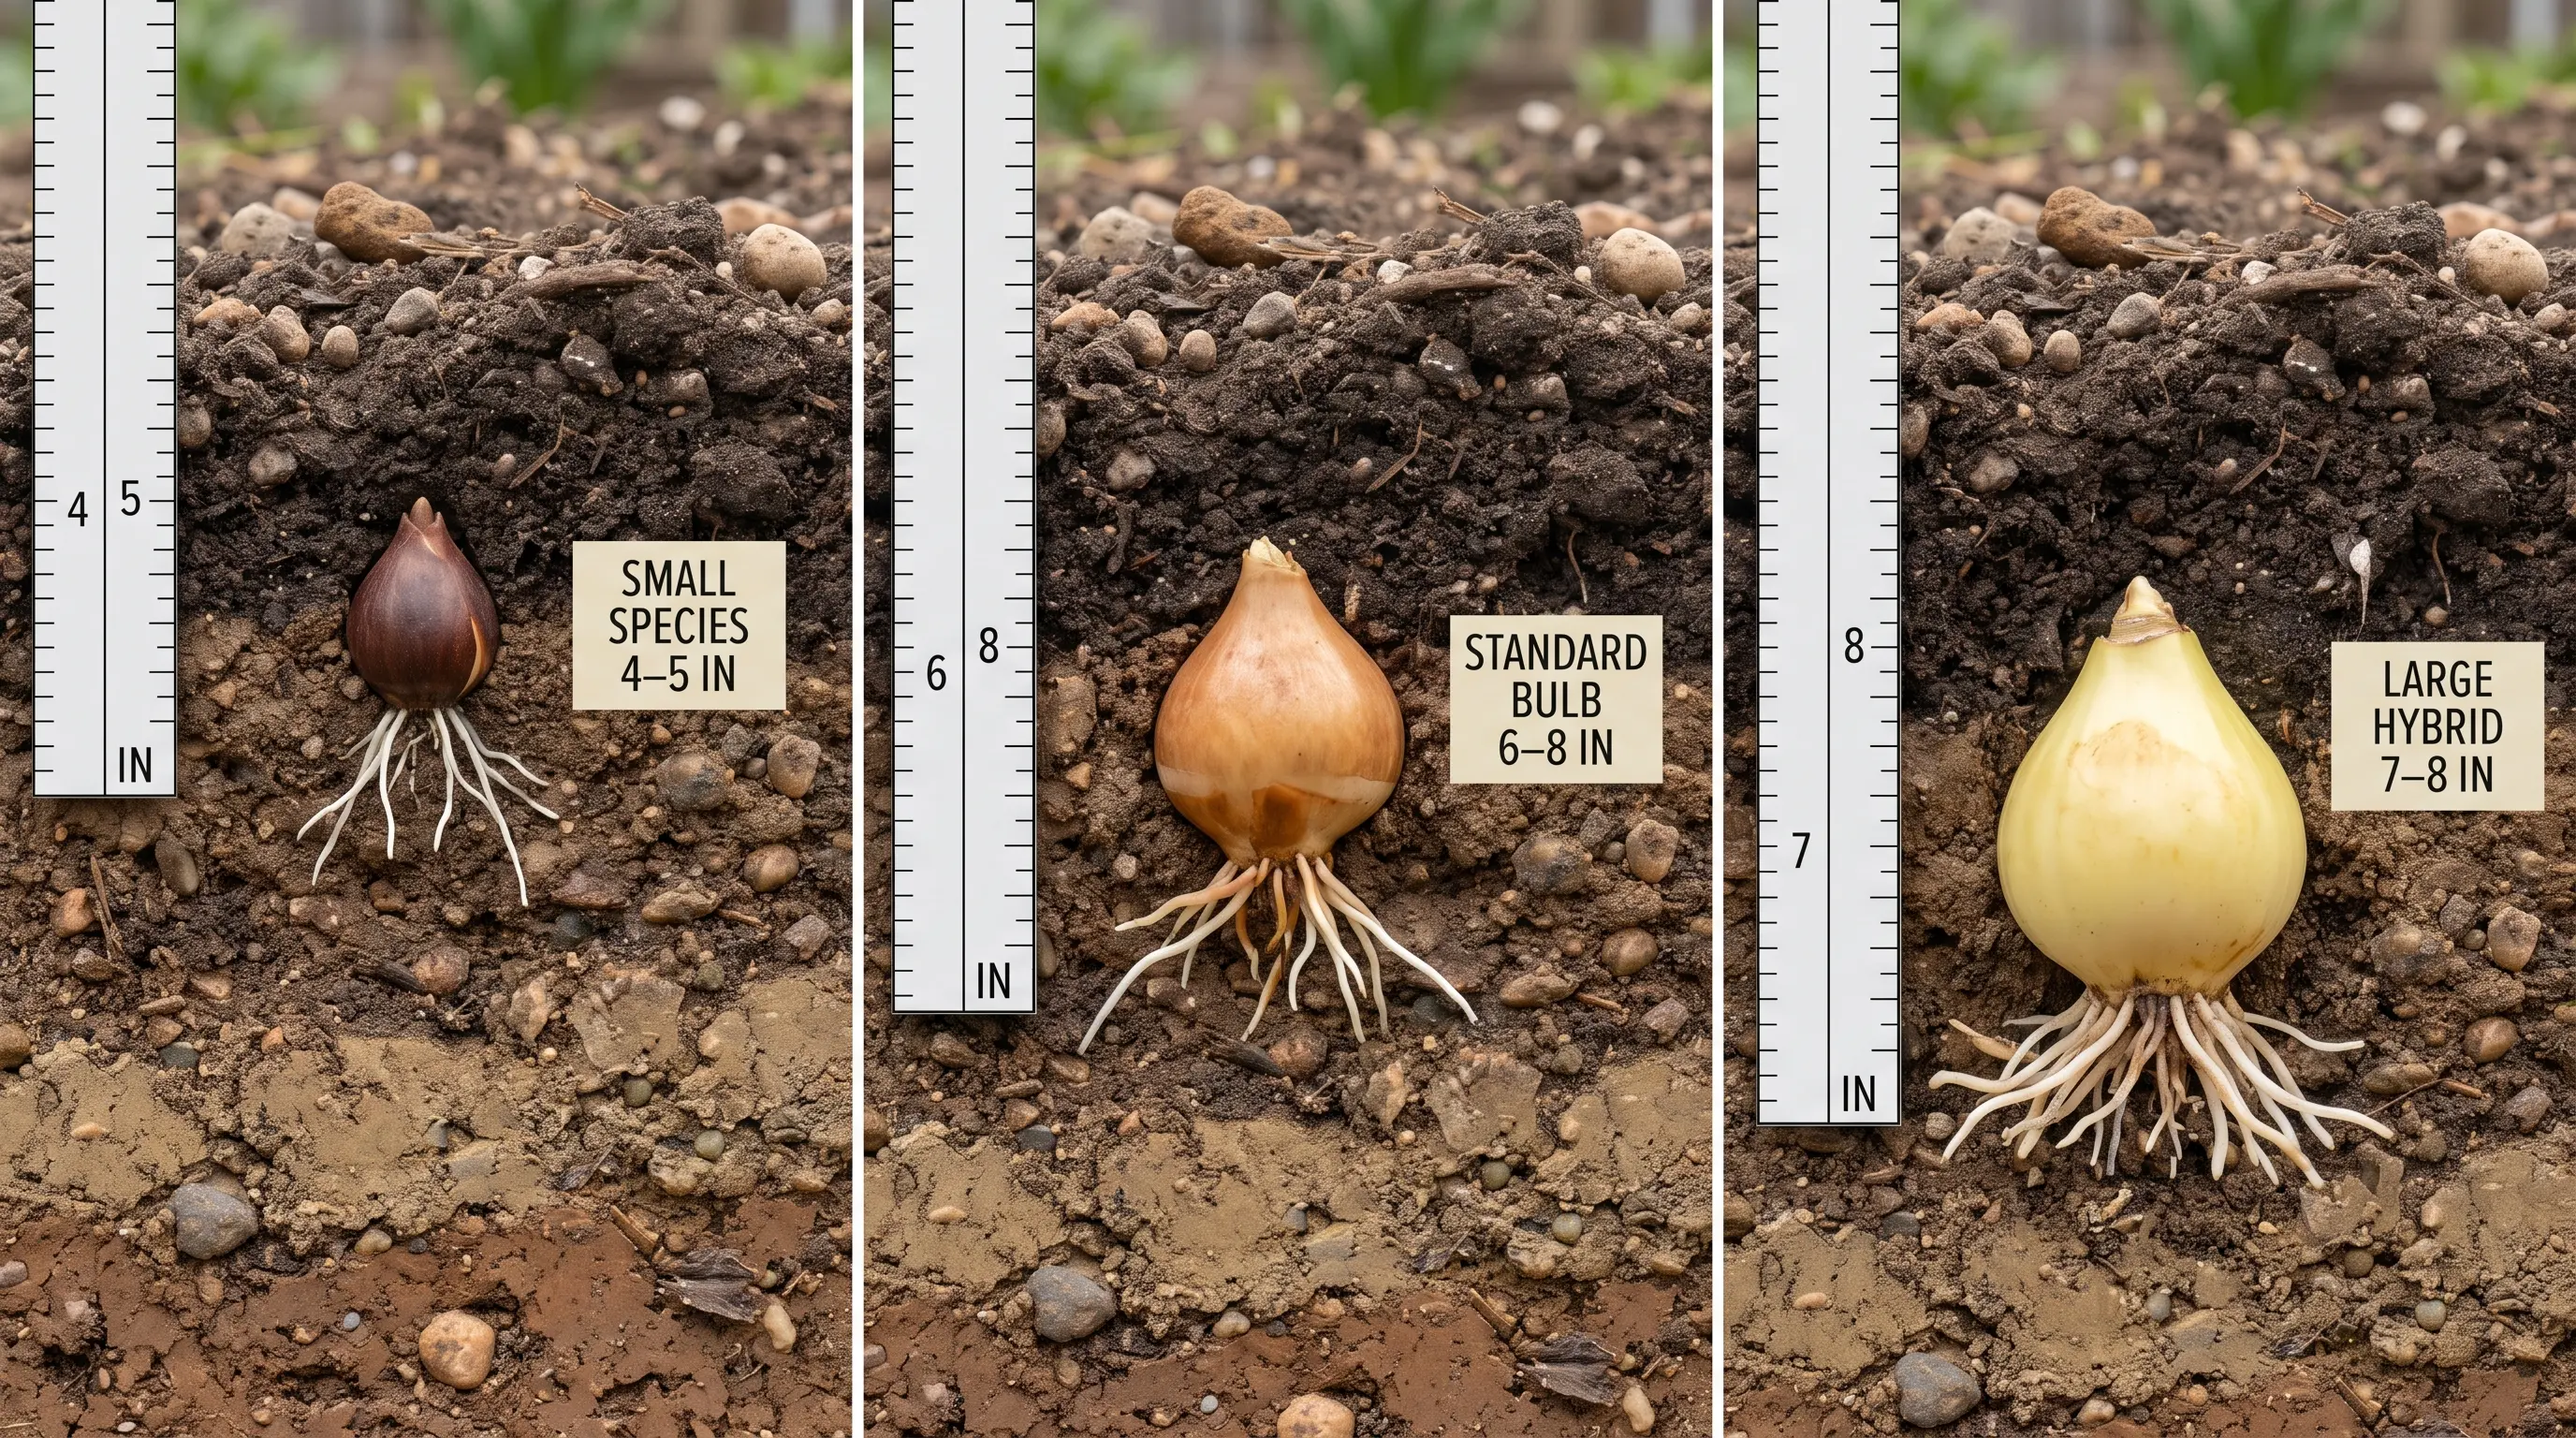
A planting depth chart makes it easier to choose the right depth based on bulb size and type.
Use these general measurements as a starting point, then adjust slightly depending on soil conditions, climate, and the specific tulip variety.
| Tulip Bulb Type | Approximate Planting Depth | Typical Spacing |
|---|---|---|
| Small species tulips | 4–5 inches | 3–4 inches |
| Standard garden tulips | 6–8 inches | 4–6 inches |
| Large hybrid tulips | 7–8 inches | 5–6 inches |
| Tulips in containers | 6–7 inches, where pot depth allows | Close but not touching |
If your bulb packaging or a cultivar-specific source provides different numbers than this chart, follow those instructions instead.
The Importance of Planting Tulips at the Right Depth
Depth affects several things happening underground at once. It moderates soil temperature swings, provides tall stems with better anchorage, and helps prevent bulbs from sitting too close to the surface.
Enough soil coverage buffers bulbs against repeated freezing and thawing cycles, which also lowers the odds of premature sprouting during a random warm spell in winter.
Deeper anchoring genuinely helps tall cultivars, like Darwin hybrids, stay upright in wind and heavy rain.
Depth can also make bulbs slightly harder for squirrels to find, though it isn’t a reliable deterrent on its own. Deeper isn’t automatically safer for every condition, though.
In slow-draining soil, extra depth can leave bulbs sitting in wet conditions longer, increasing the risk of rot, as covered in more detail in the soil section below.
Adjusting Tulip Depth for Different Soil Types
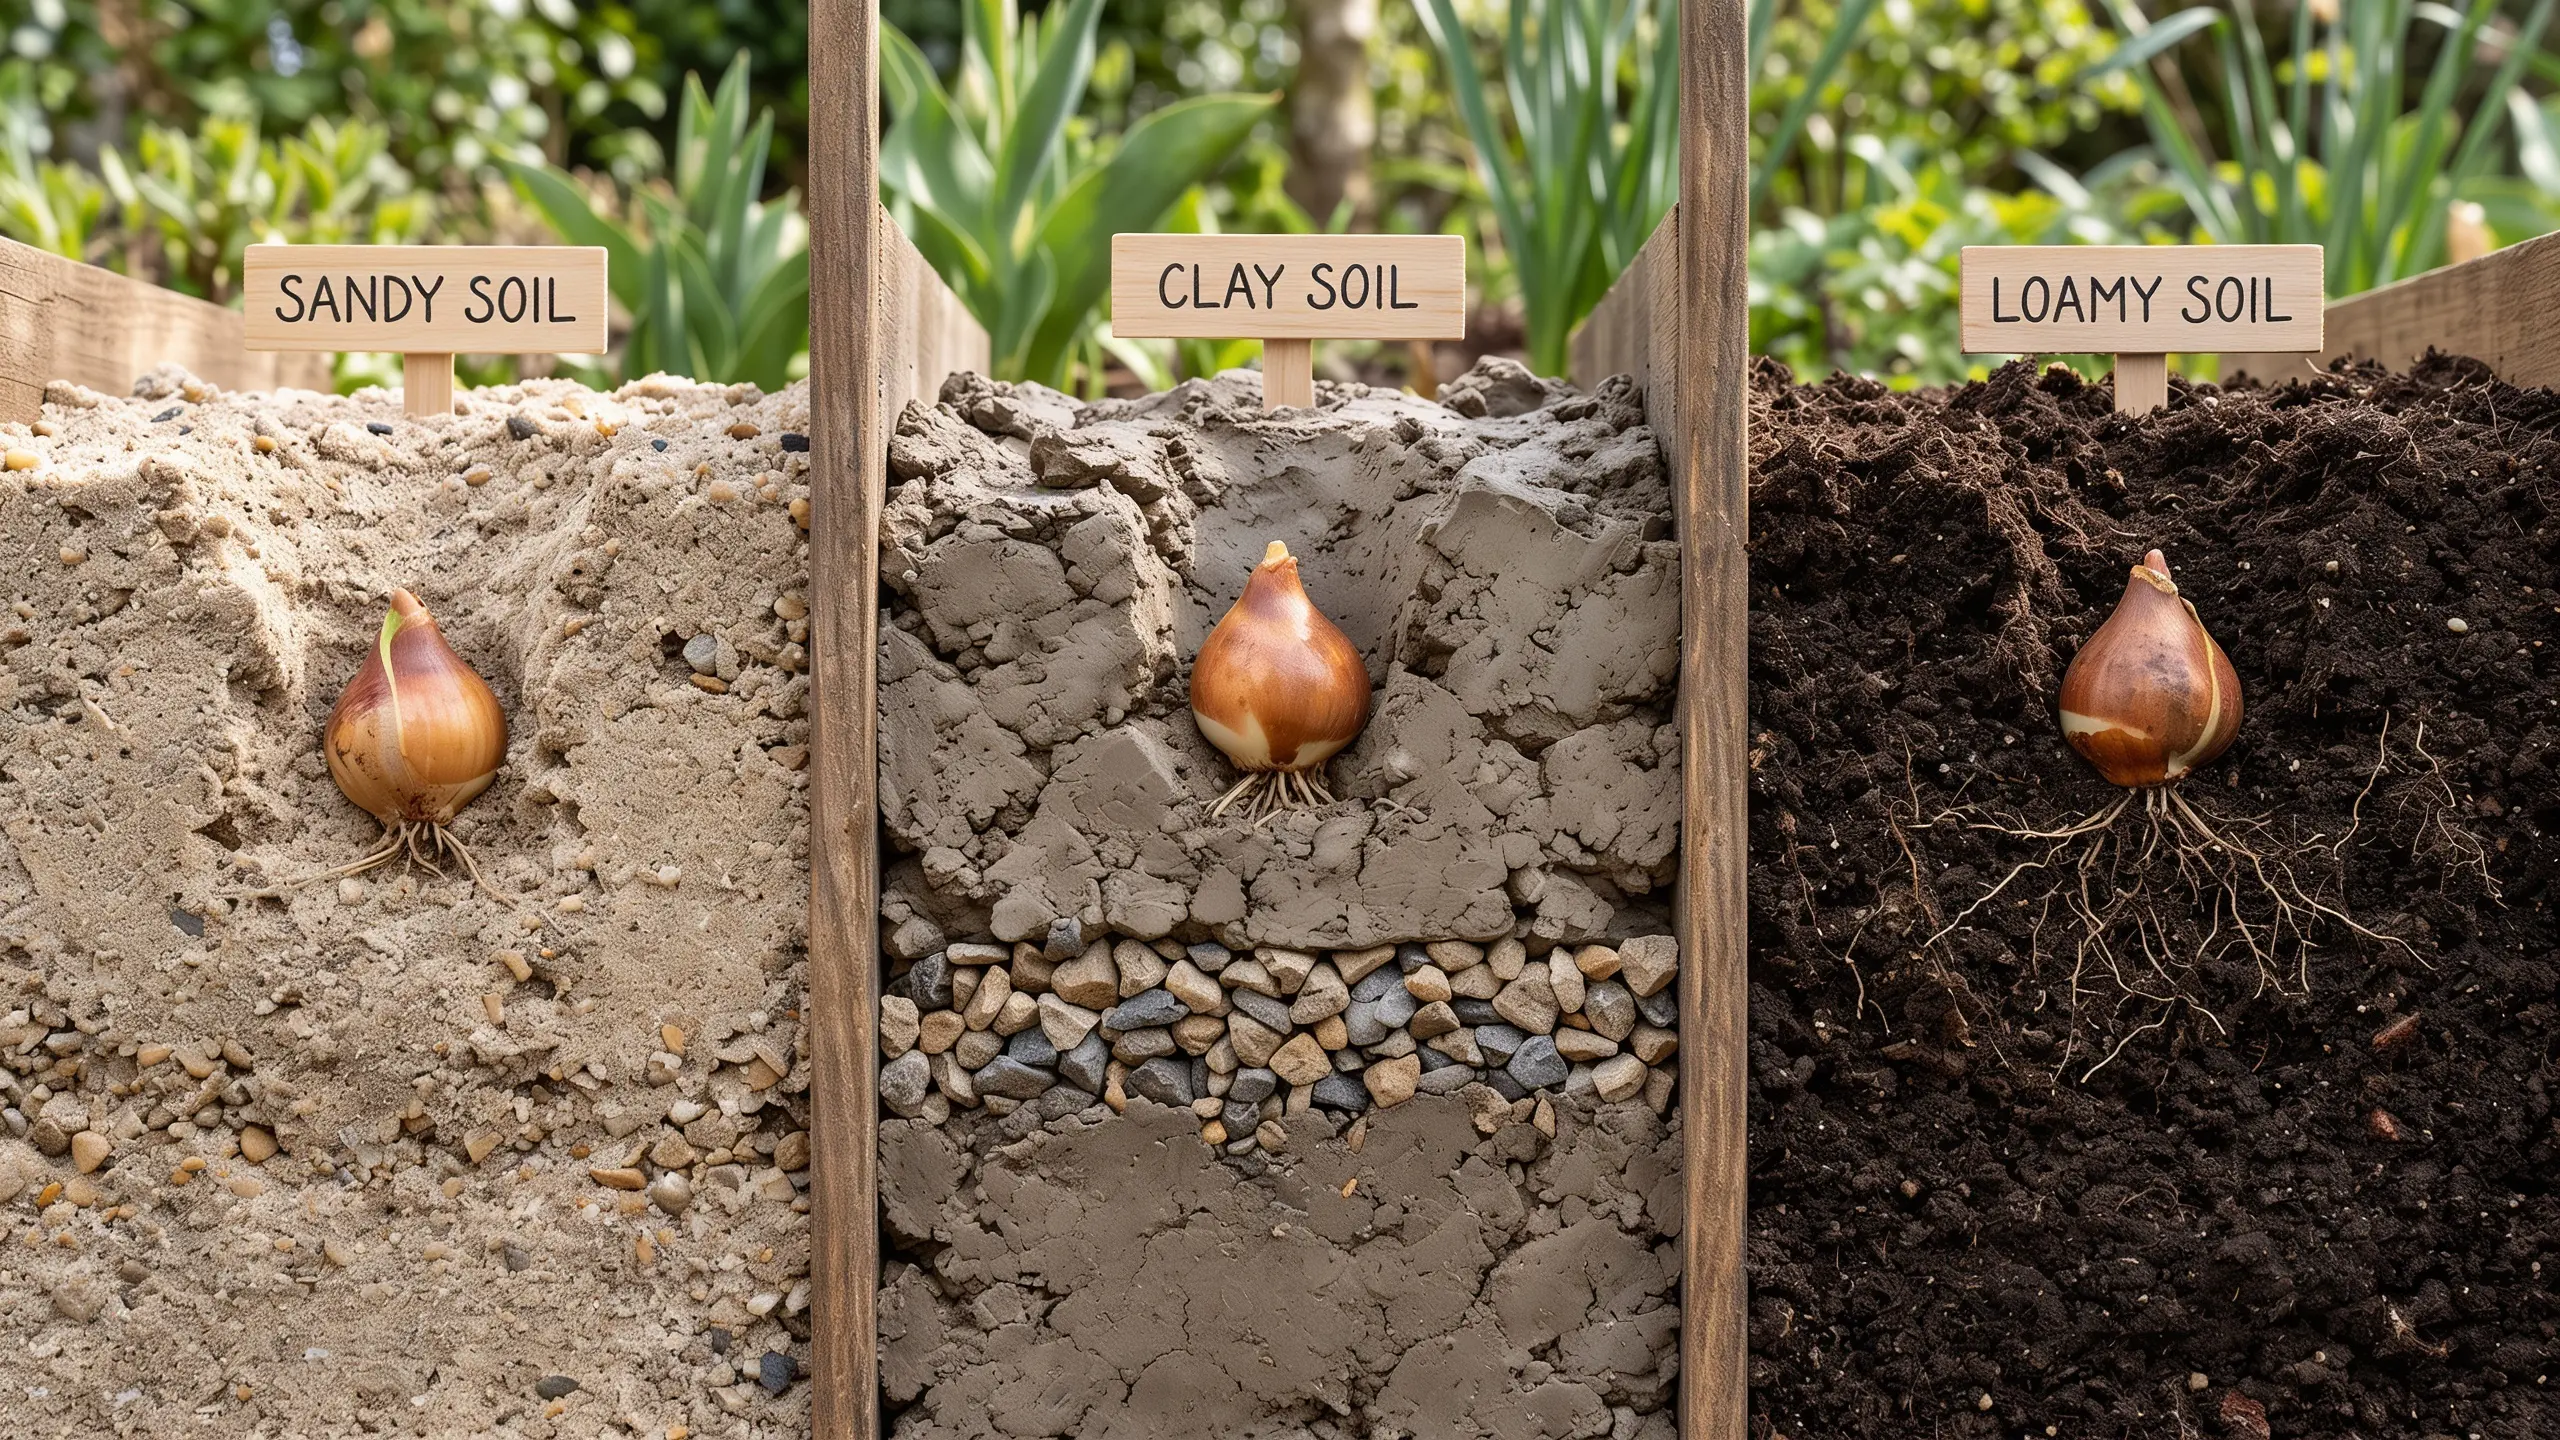
Soil texture affects how deeply tulip bulbs should be planted because drainage, moisture retention, and insulation vary between sandy, clay, and loamy ground.
Small depth adjustments can help prevent rot, improve stability, and support stronger root development.
- Sandy or Loose Soil: Plant standard tulip bulbs 7-8 inches deep because sandy soil drains quickly and offers less support around the bulb. Water thoroughly after planting so the loose soil settles around the roots, then add mulch once the ground has cooled to reduce moisture loss.
- Heavy Clay Soil: Clay holds water, so plant tulip bulbs near the shallower end of the recommended range and focus on improving drainage. Loosen compacted soil, avoid low spots where water collects, and use a raised bed if the area stays wet. A small amount of compost alone will not fix severe clay drainage.
- Loamy, Well-Drained Soil: Loamy soil is ideal for tulips because it balances drainage with moisture retention. Plant standard bulbs 6 to 8 inches deep, water once after planting, and avoid compacting the soil so roots can spread easily before winter.
How Deep to Plant Tulip Bulbs in Pots
Container planting deserves its own section, since pots behave differently than garden soil.
Tulip bulbs in containers are usually planted at roughly the same depth as those in the ground, provided the pot leaves enough room for roots and drainage beneath the bulb.
Established tulip growth guidance commonly suggests 6 to 7 inches for tulips in pots.
A workable pot provides roughly 6 inches of soil over or around the bulb, plus several inches of potting mix below it for root development.
A container around 12 inches deep is a reasonable minimum for a single layer of tulips, though deeper pots offer better insulation against temperature swings.
In terms of spacing, bulbs in containers can be planted closer together than in a garden bed, as long as they aren’t touching each other or the container wall.
Use a container with drainage holes and fill it with potting mix rather than compact garden soil. Do not let the pot sit in standing water.
How to Plant Tulip Bulbs at the Correct Depth
Planting tulip bulbs correctly starts with choosing healthy bulbs, preparing well-drained soil, and measuring the right depth.
Following each step carefully helps the bulbs develop strong roots, survive winter, and produce healthier spring blooms.
Step 1: Select Firm, Healthy Bulbs
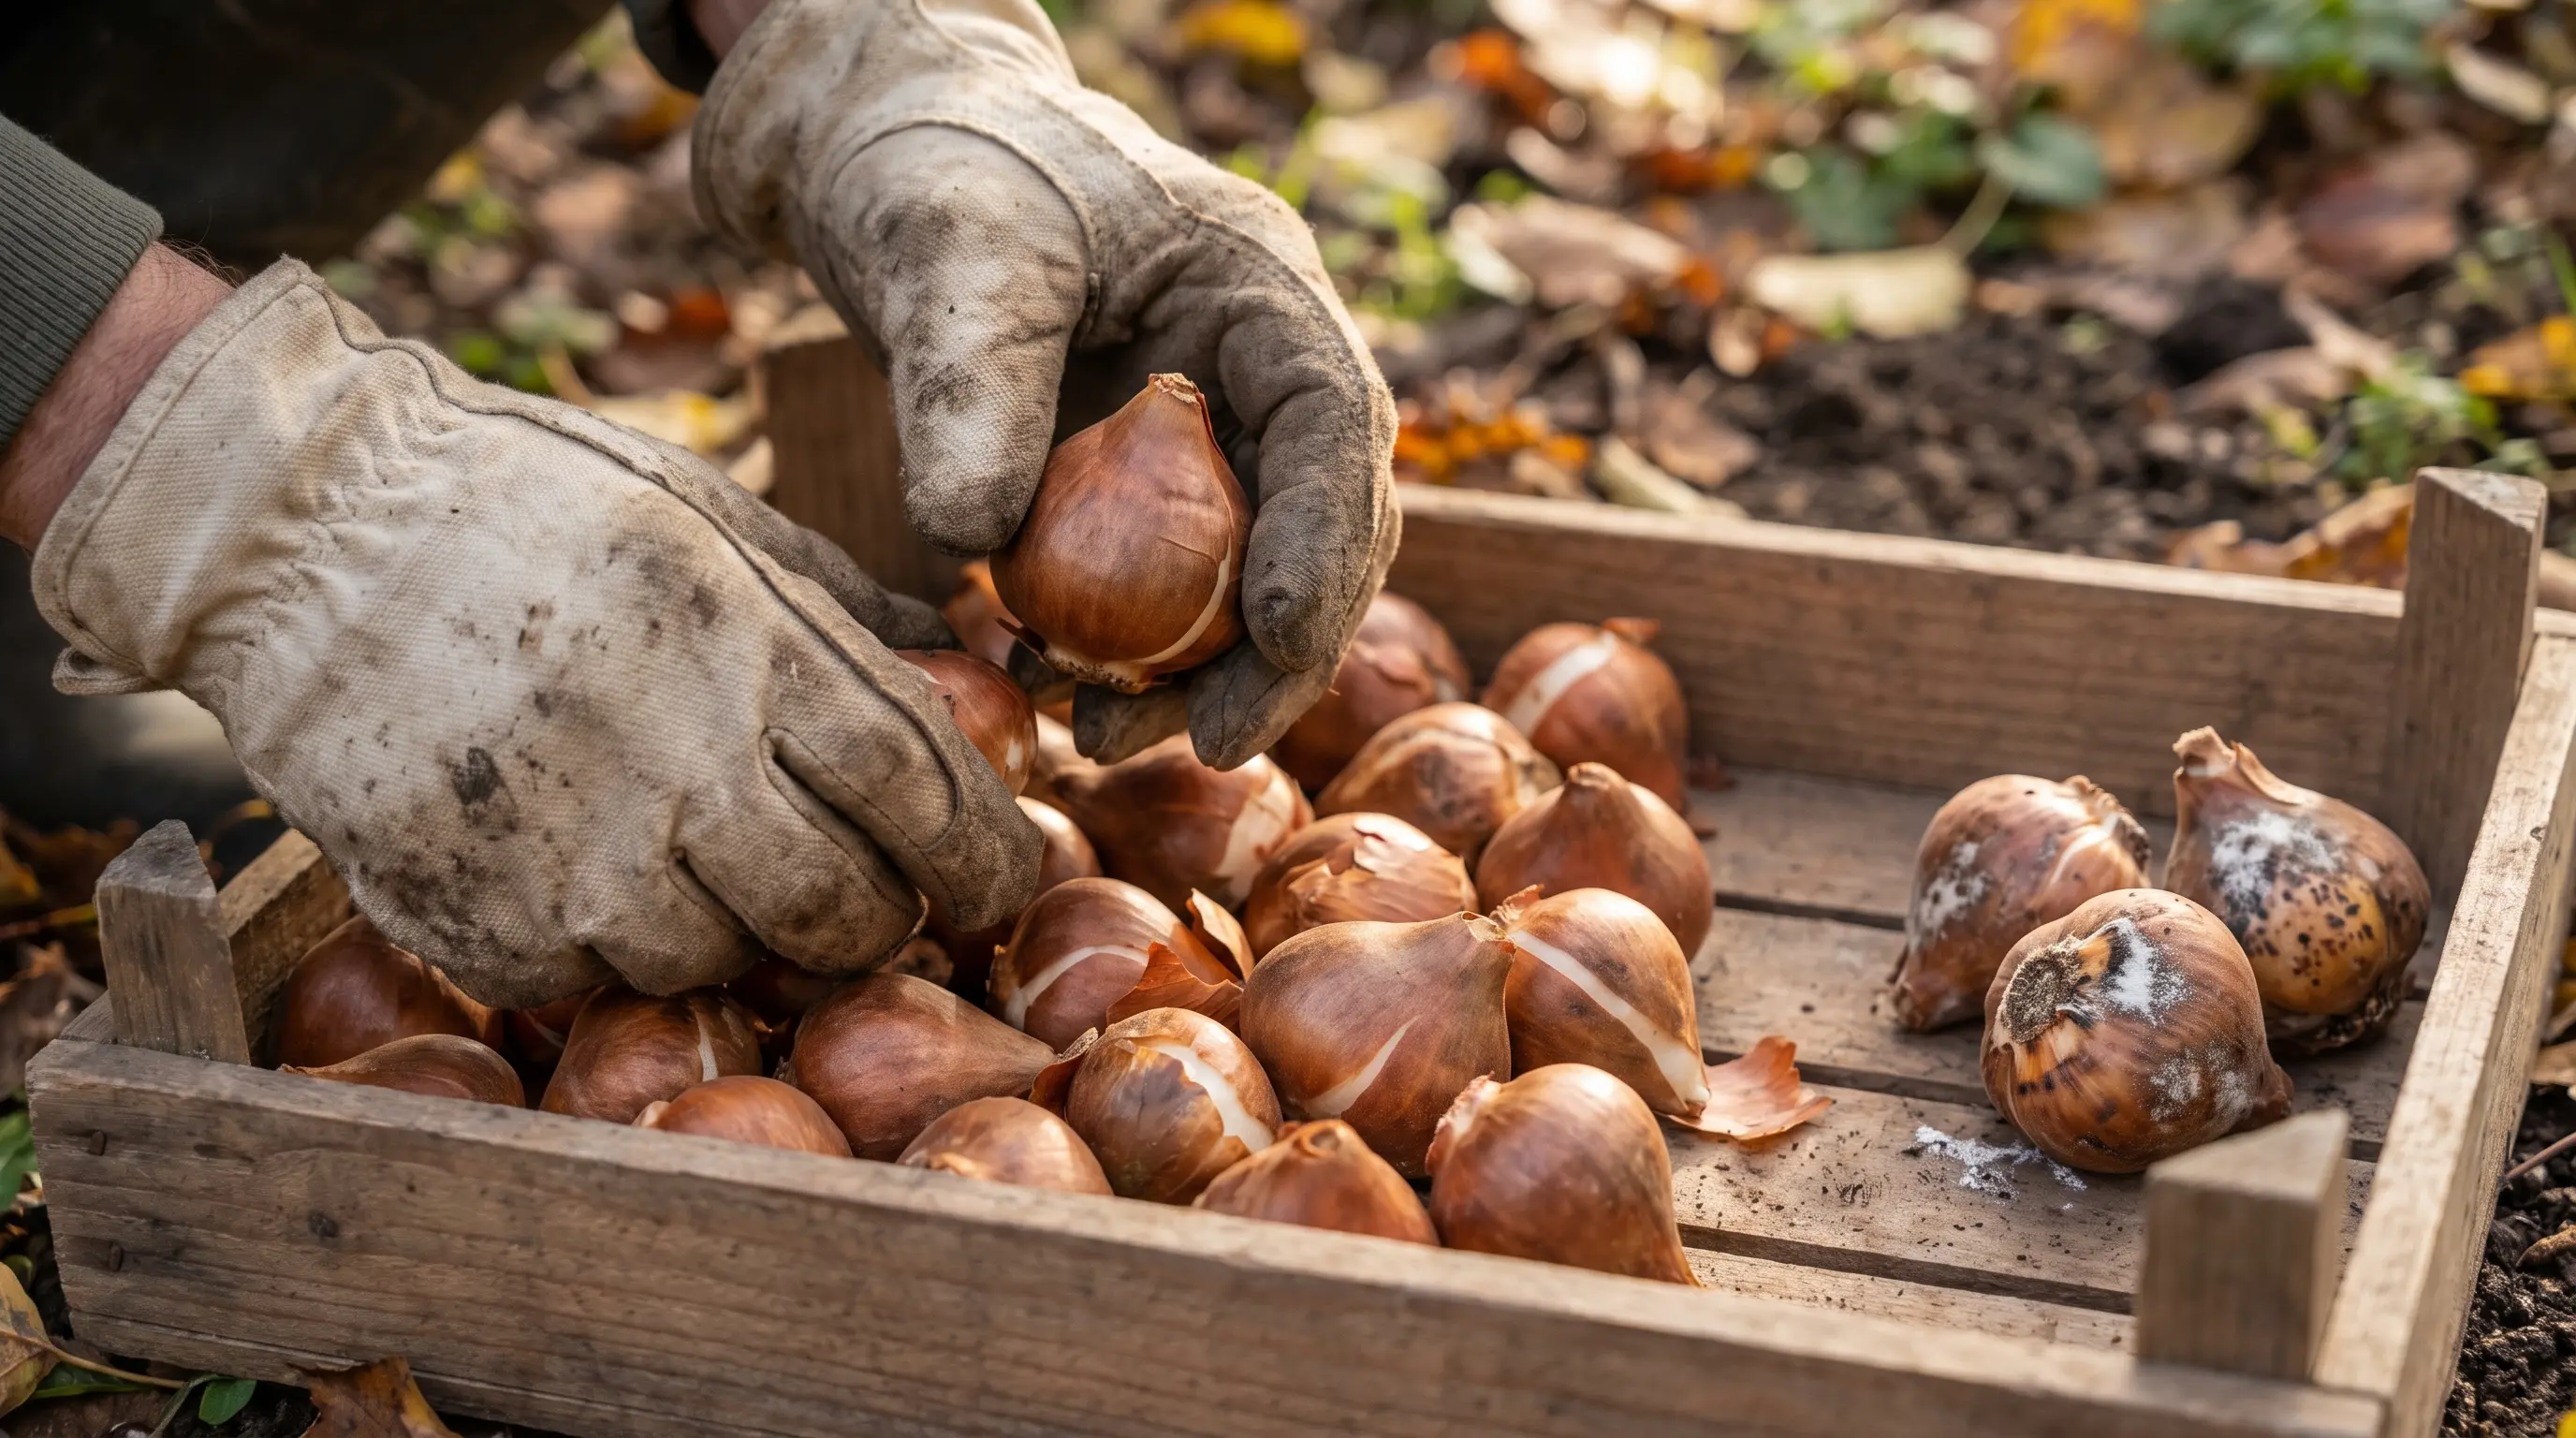
Choose bulbs that feel firm and heavy for their size, with dry outer skins and no signs of mold or damage. Avoid bulbs with soft spots, deep cuts, a sour smell, or visible rot.
Healthy bulbs contain more stored energy, which supports stronger root growth and better spring flowering.
If one bulb looks diseased, keep it away from the rest to prevent the problem from spreading during storage or planting.
Step 2: Prepare a Well-Drained Planting Area
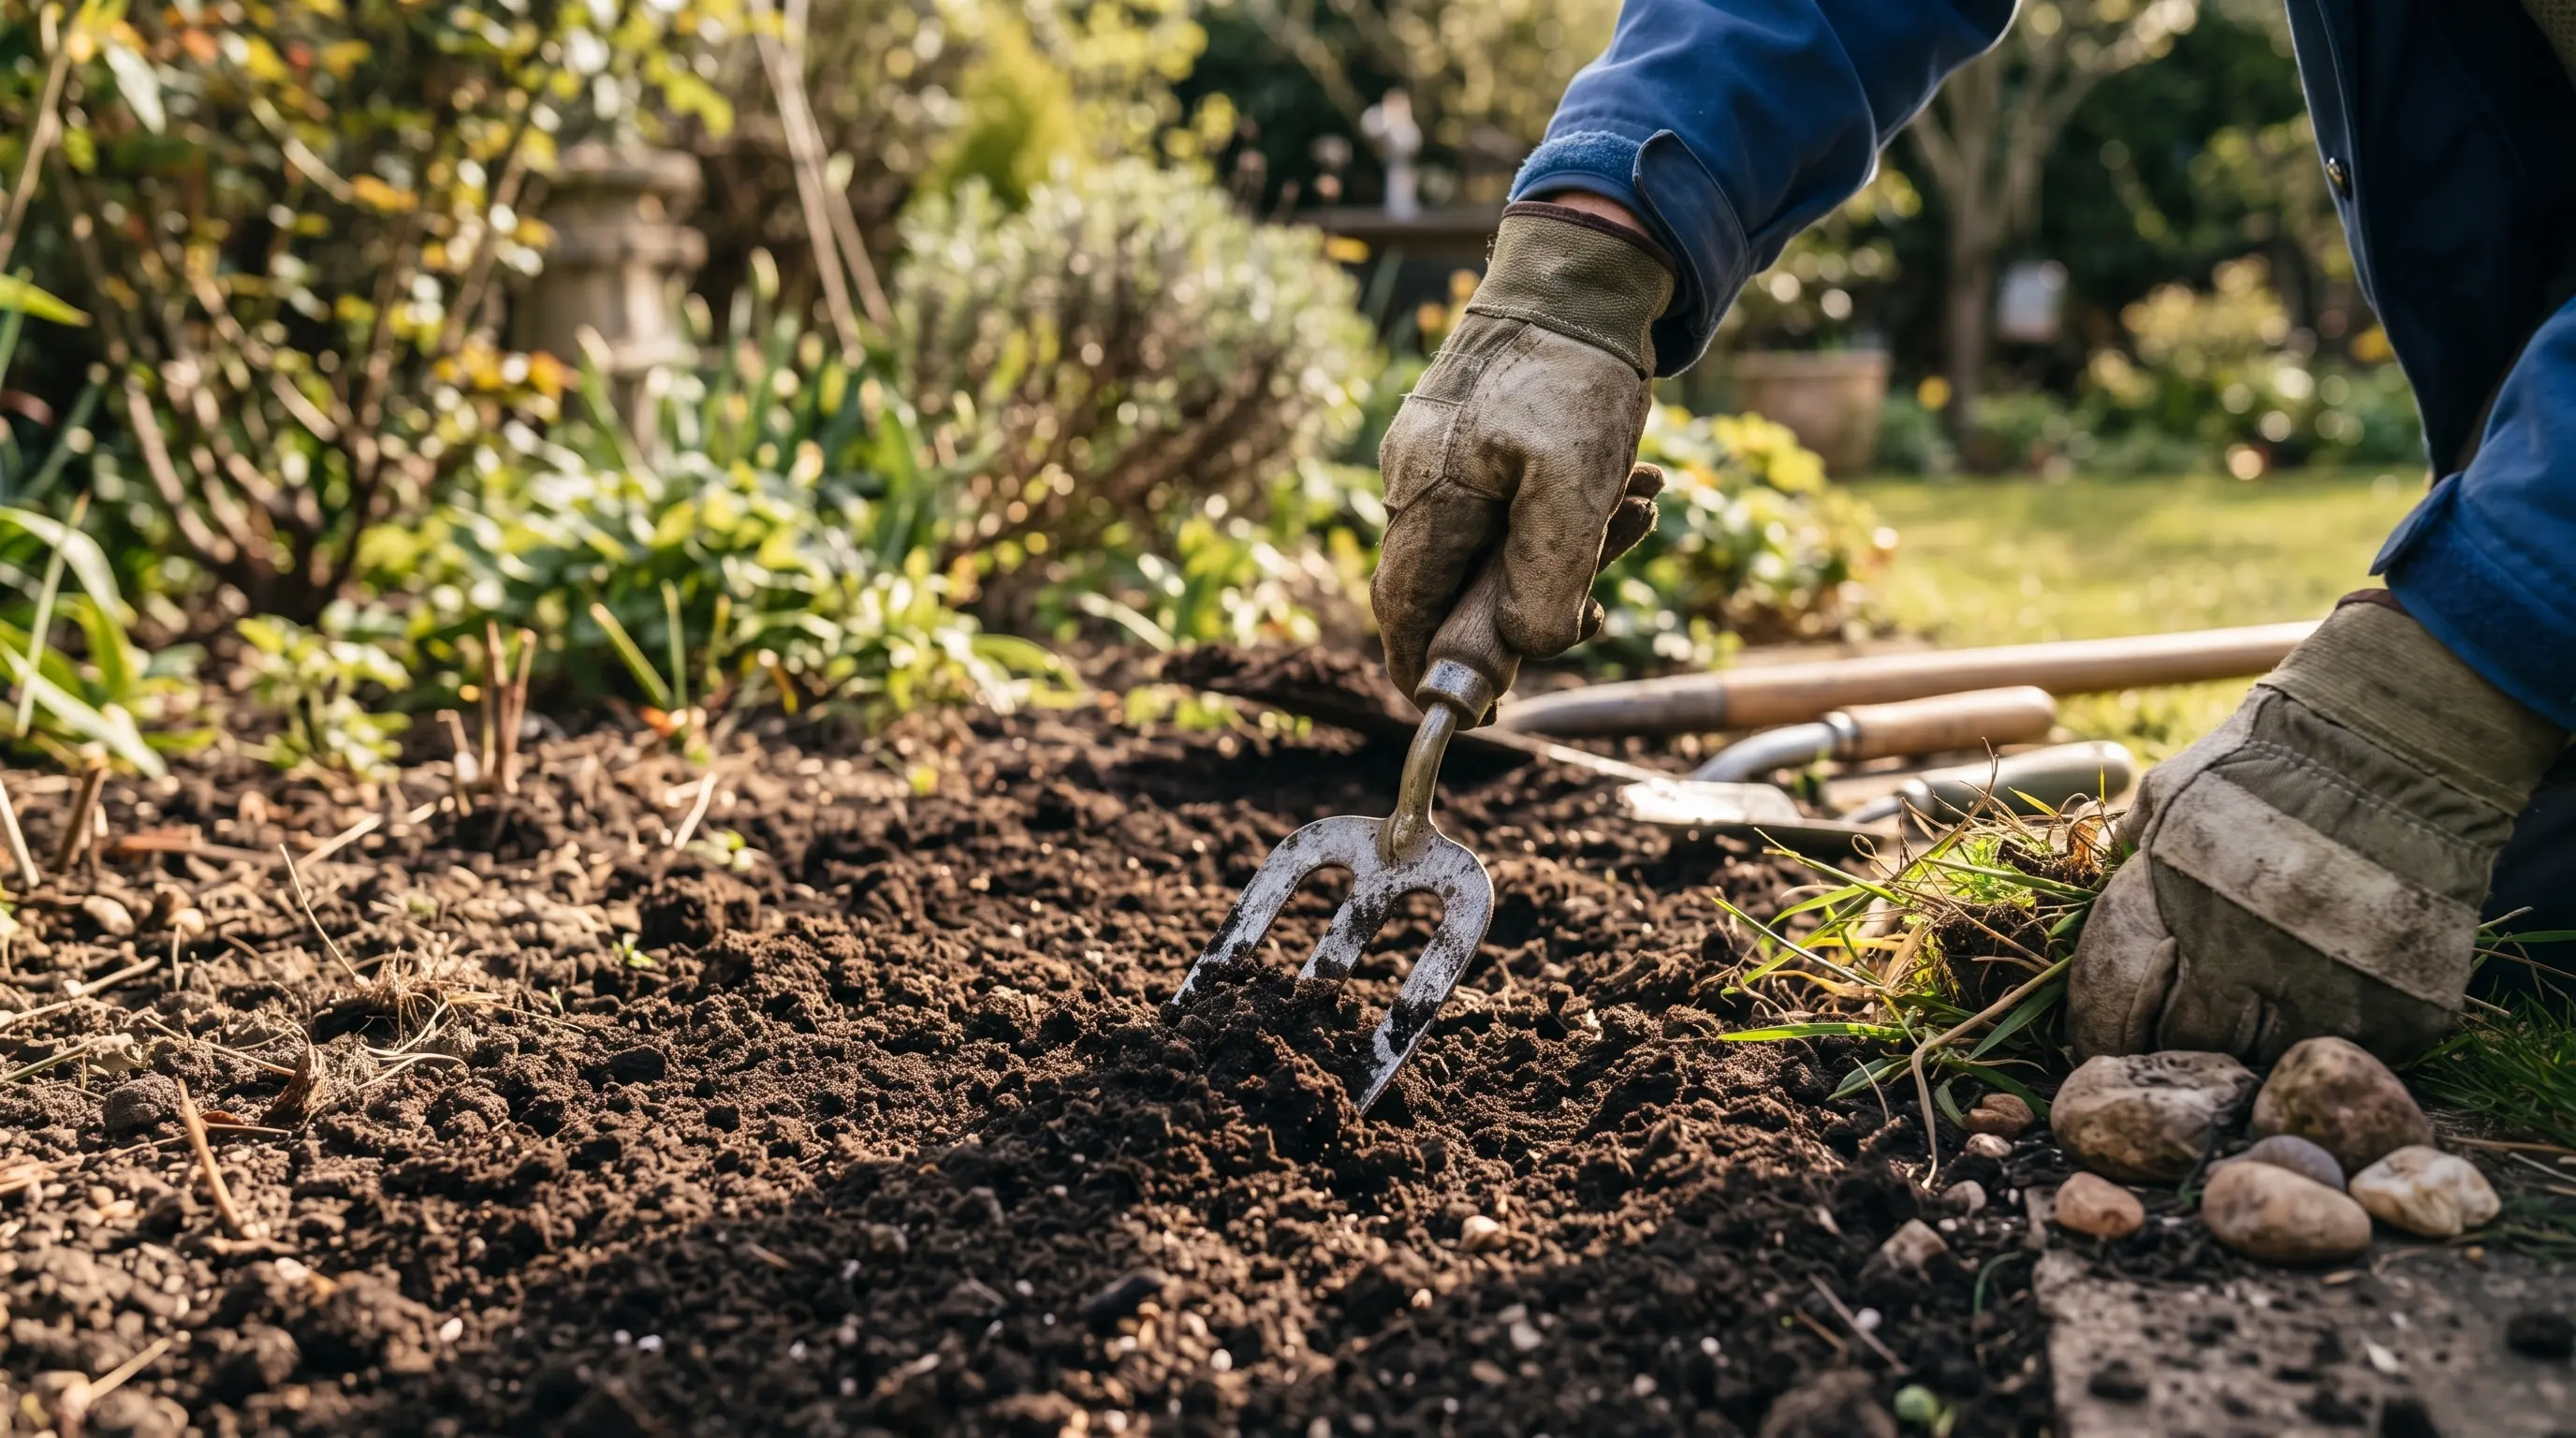
Choose a location that receives full sun or at least six hours of direct light each day. Tulips also need soil that drains well after rain because excess moisture can cause the bulbs to rot before winter ends.
Loosen compacted soil to a depth of several inches and remove rocks, weeds, and large clumps.
If drainage is poor, consider planting in a raised bed rather than relying solely on compost to amend heavy clay.
Step 3: Measure the Bulb
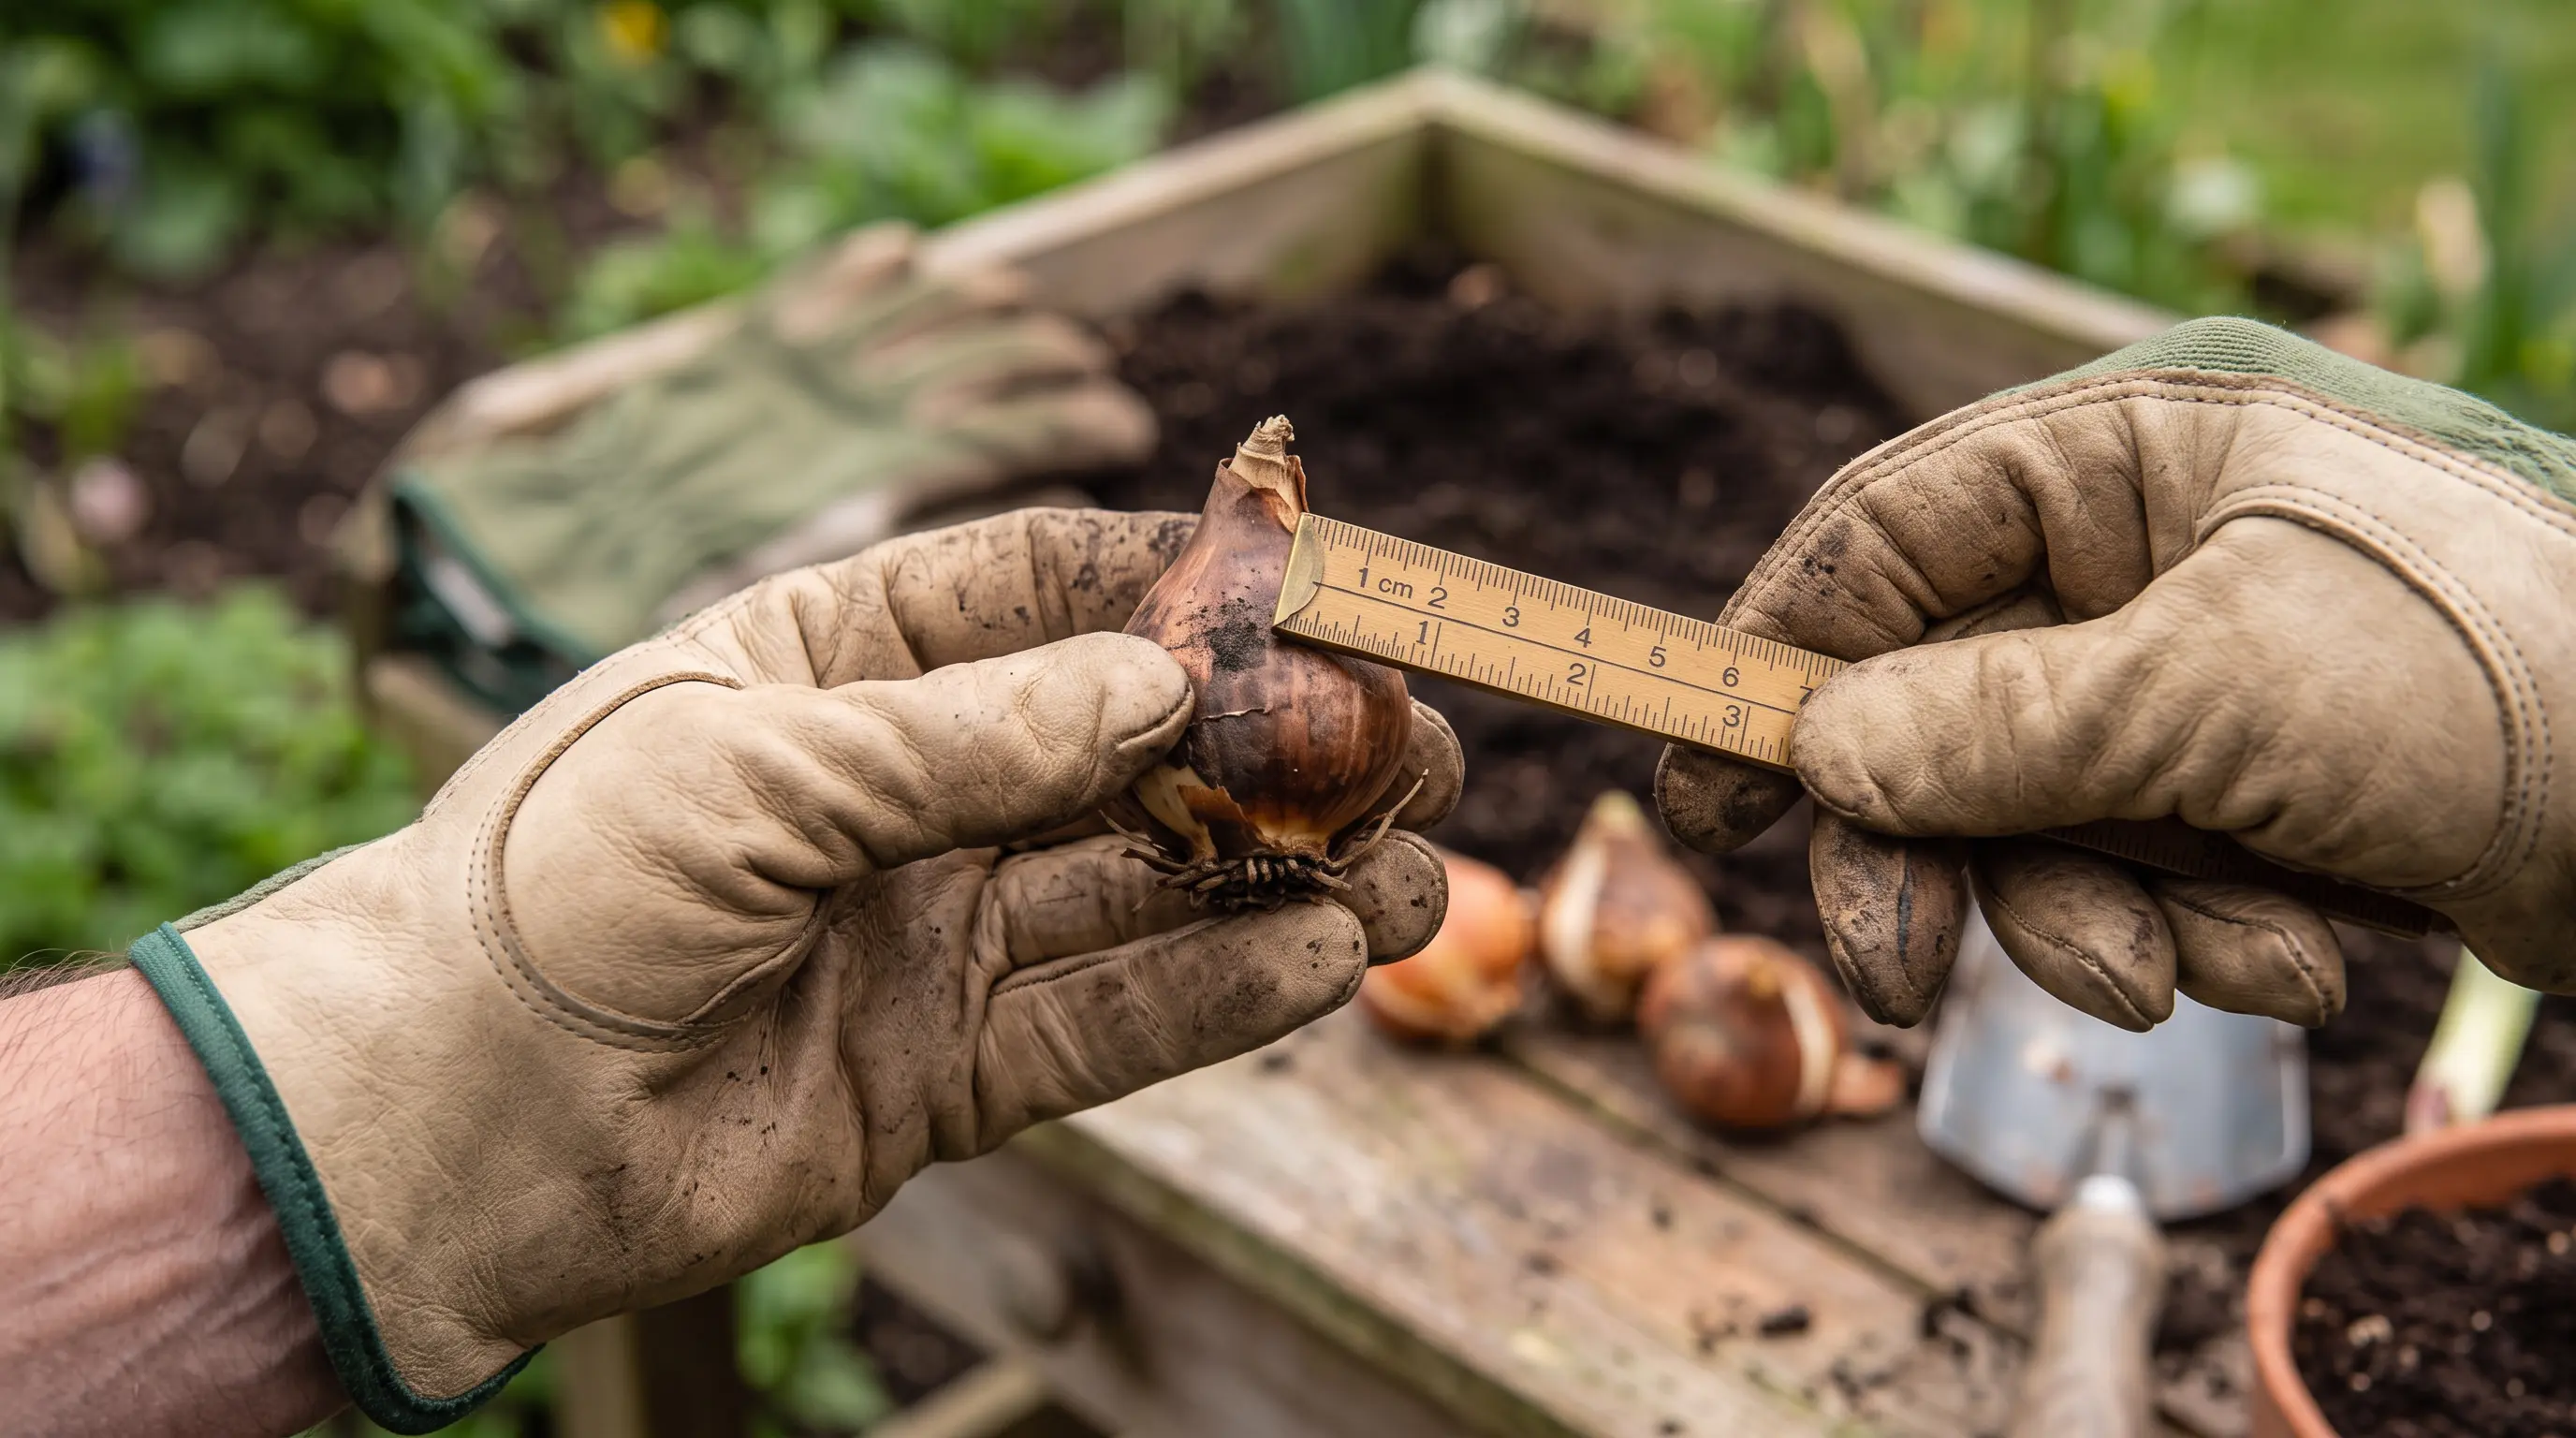
Measure the bulb from the flat basal plate at the bottom to the pointed tip.
Use this height to calculate the planting depth, especially when working with bulbs that are smaller or larger than standard tulip bulbs.
A practical rule is to plant the bulb at a depth close to three times its height.
Measure from the base of the bulb to the finished soil surface, not from the pointed tip or the bottom of an uneven hole.
Step 4: Dig the Hole or Trench
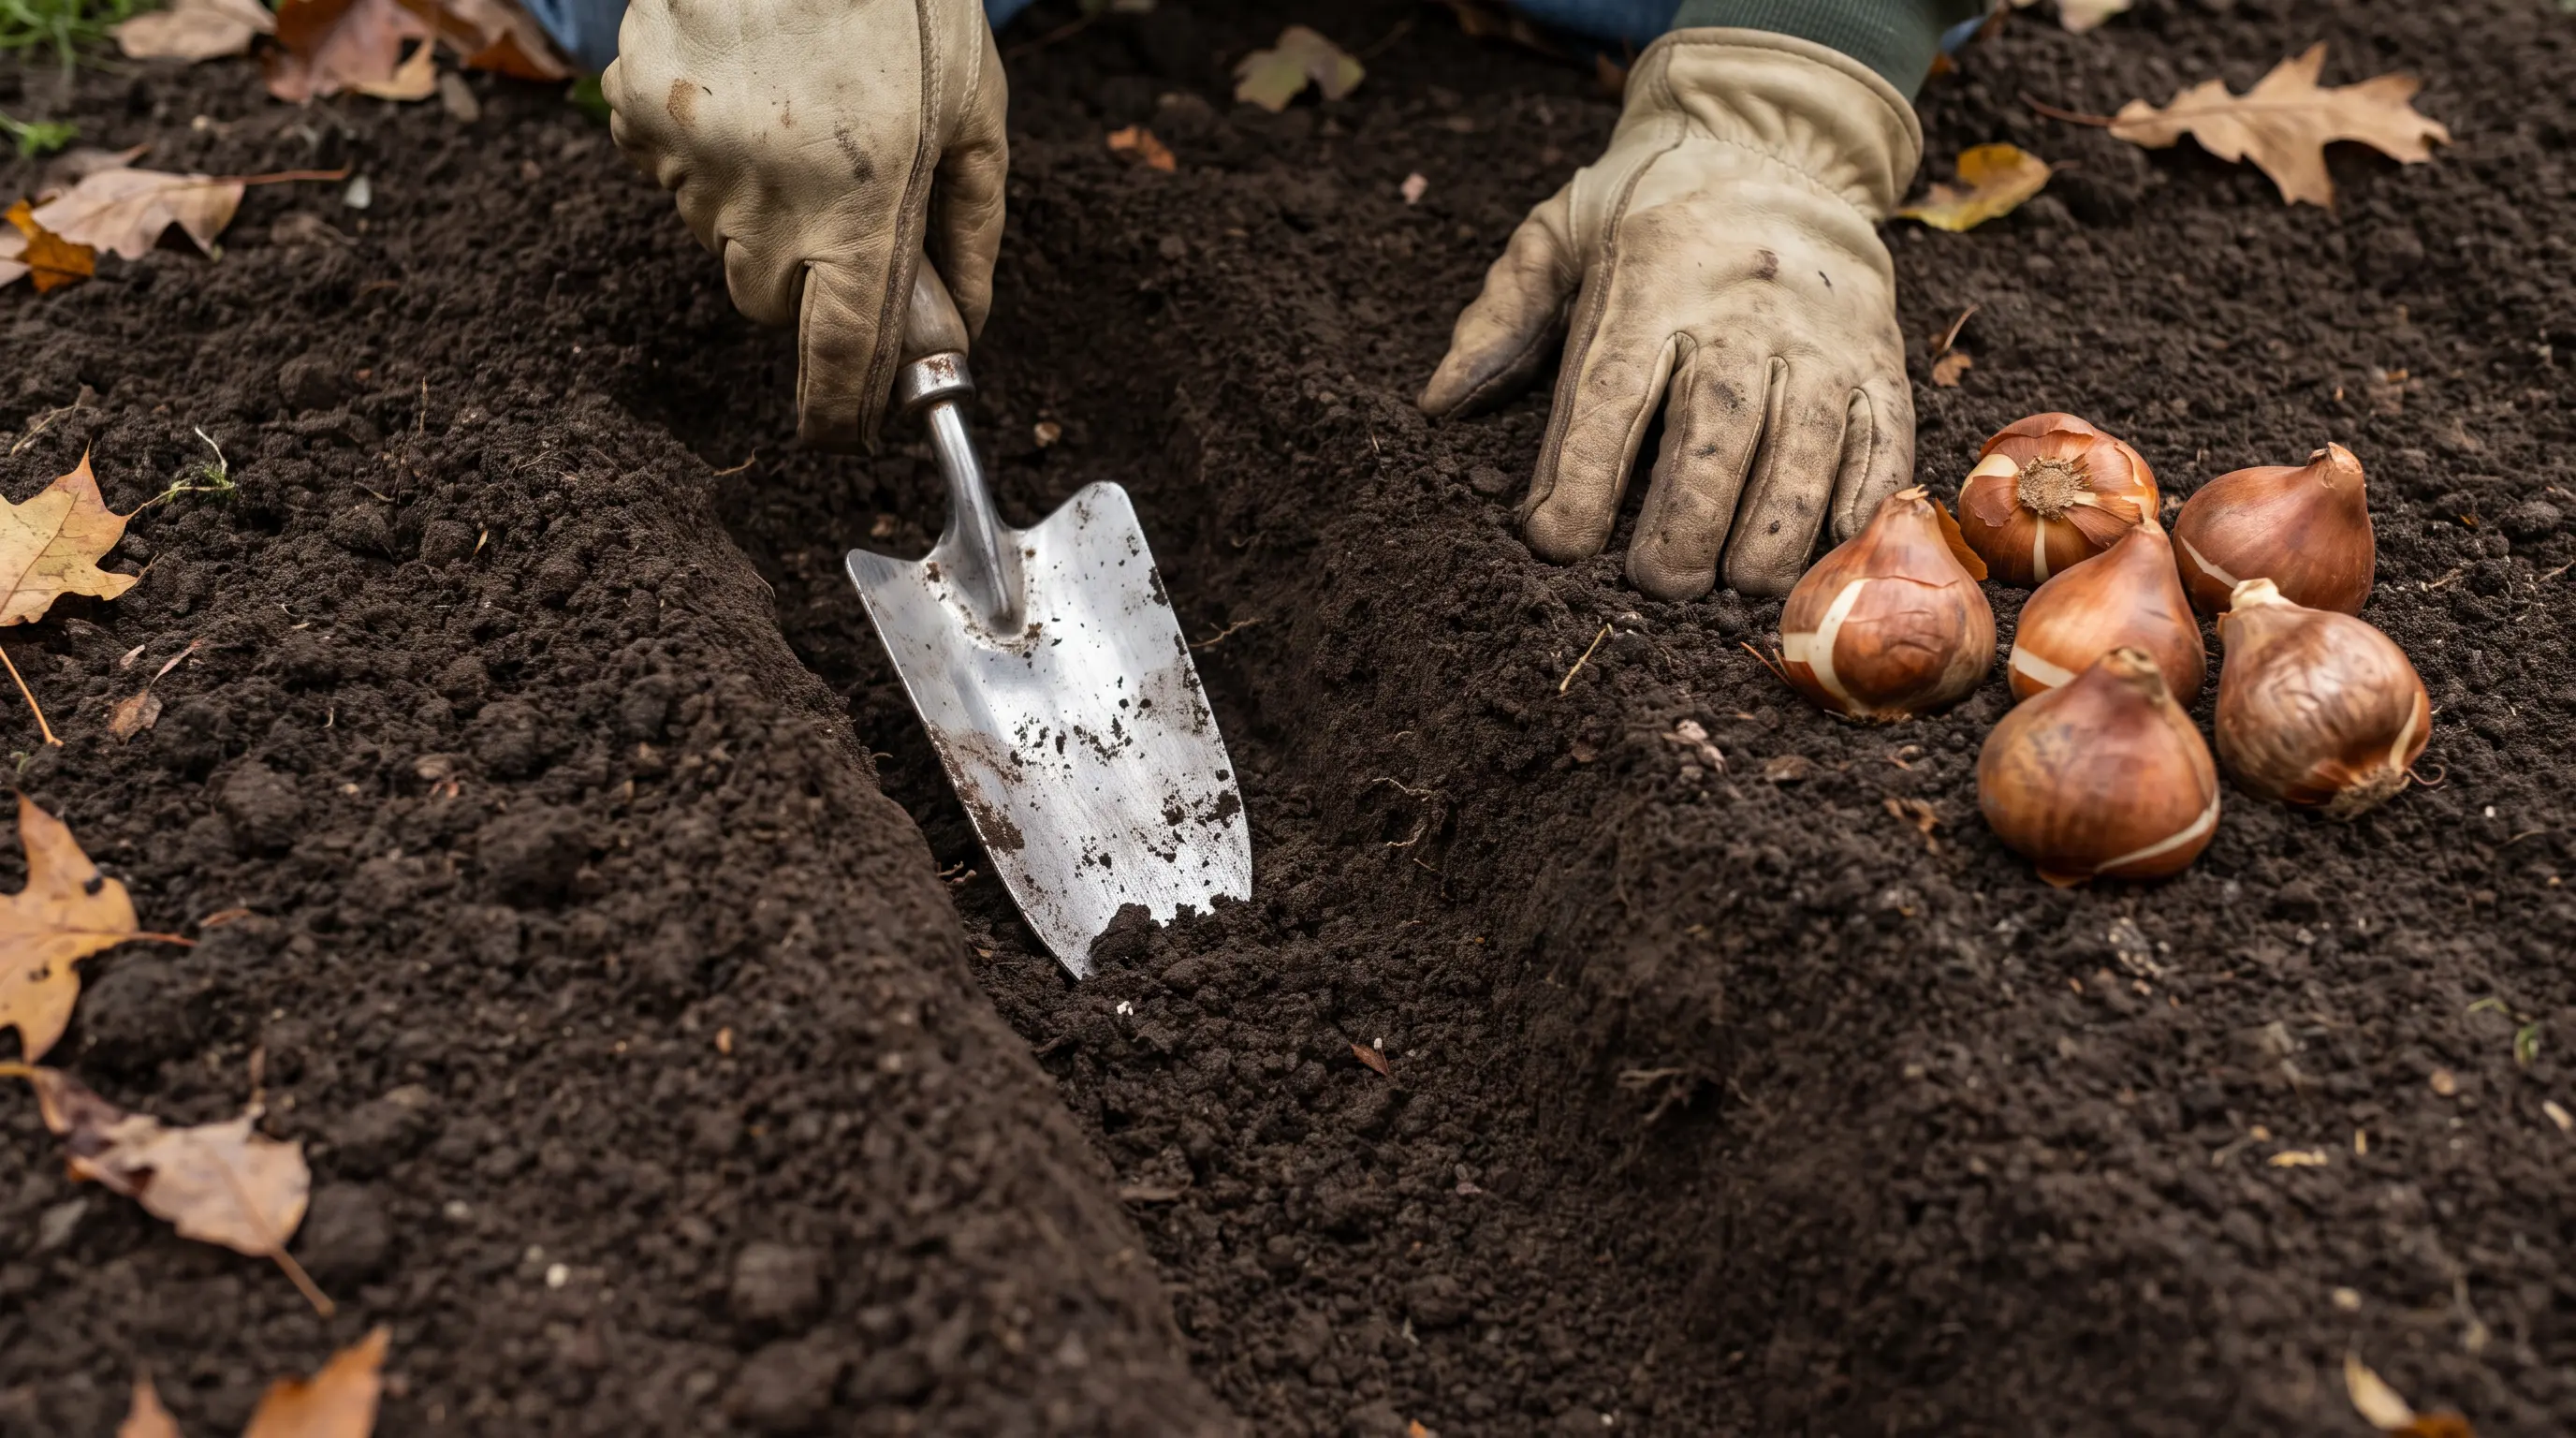
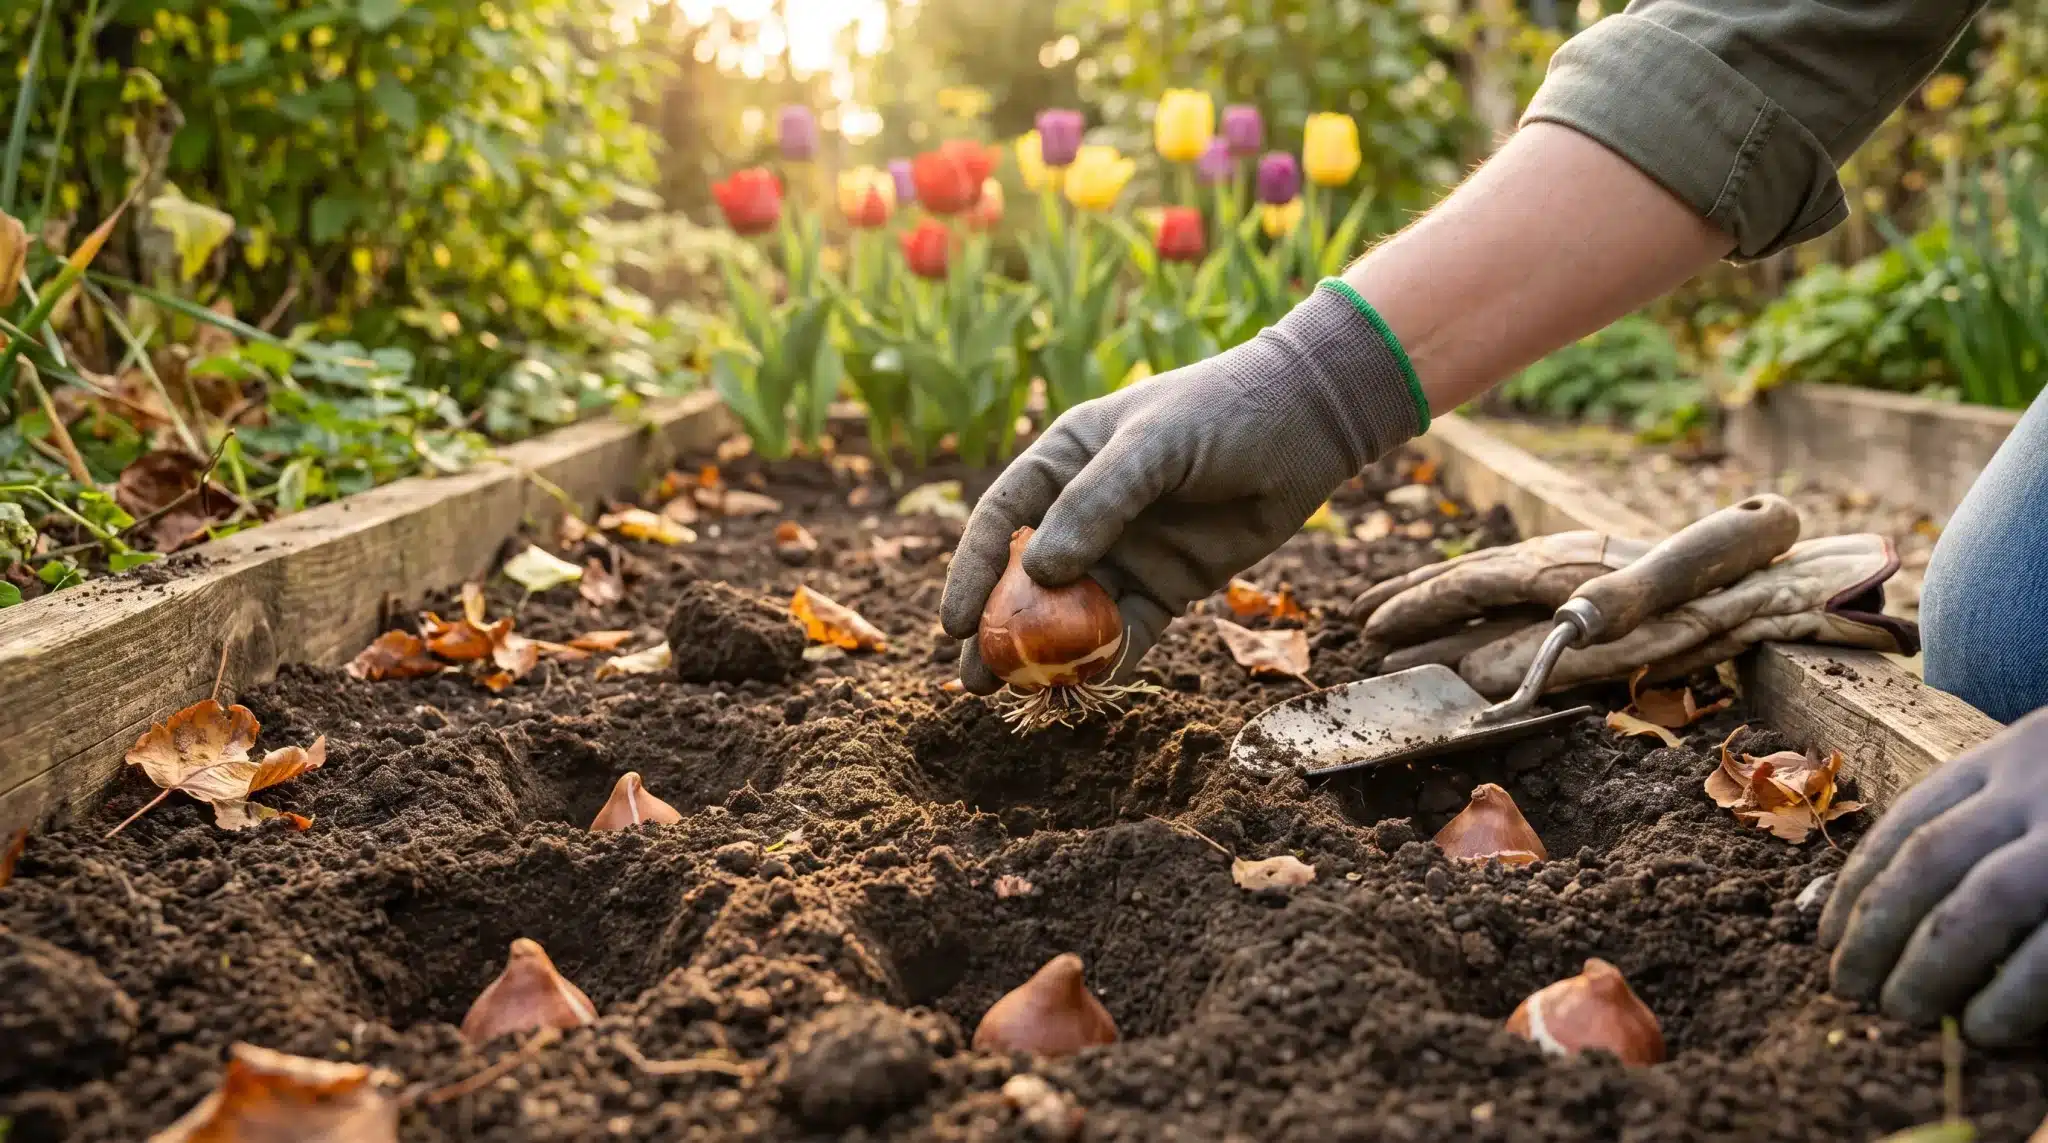
Dig individual holes when planting only a few bulbs, or prepare a wide trench when planting a larger group. A level trench makes it easier to keep every bulb at the same depth and create a more even display.
Loosen the soil at the bottom without leaving a thick layer of soft soil that may settle later. Check the depth before placing the bulbs so they do not end up shallower than planned after backfilling.
Step 5: Position the Bulb Correctly
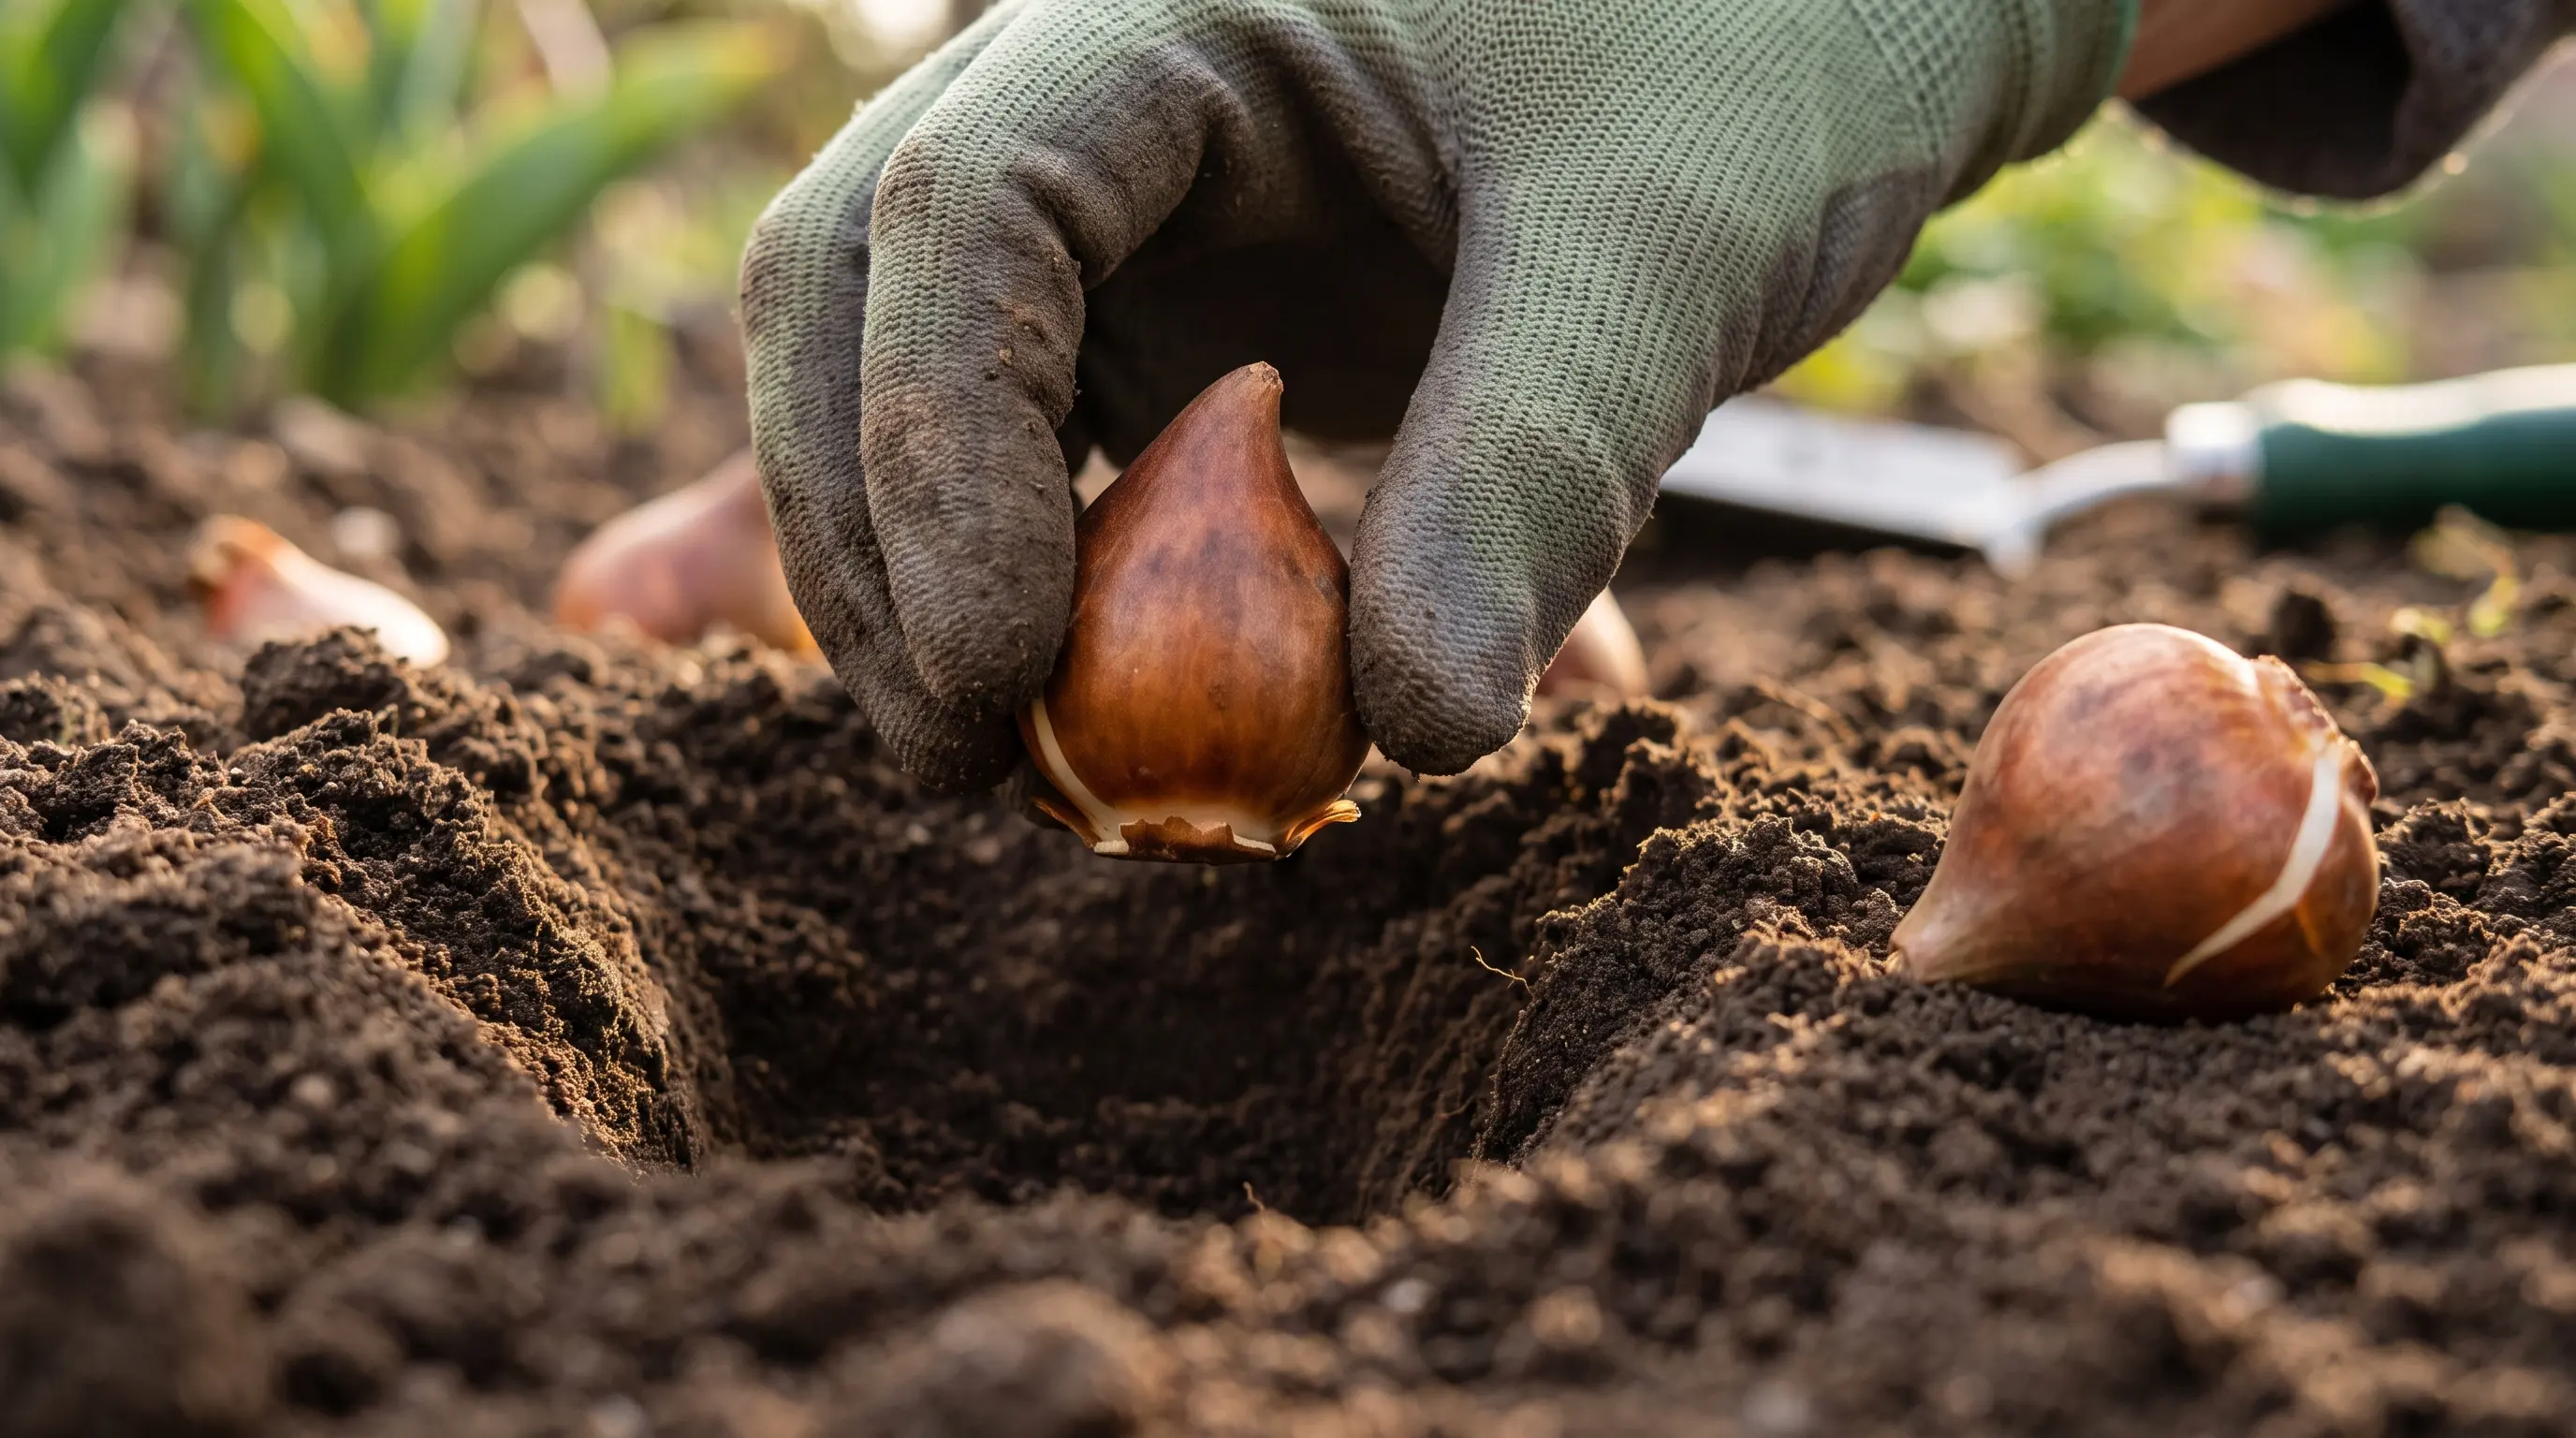
Place each bulb with the pointed end facing upward and the flat basal plate resting firmly on the soil. The roots will grow from the basal plate, so it should have direct contact with the soil beneath it.
Space the bulbs according to the look you want, usually 3 to 4 inches apart for a dense display or 4 to 6 inches apart for longer-term growth.
Avoid pressing or twisting the bulbs into the soil, as this may damage the base.
Step 6: Backfill and Water
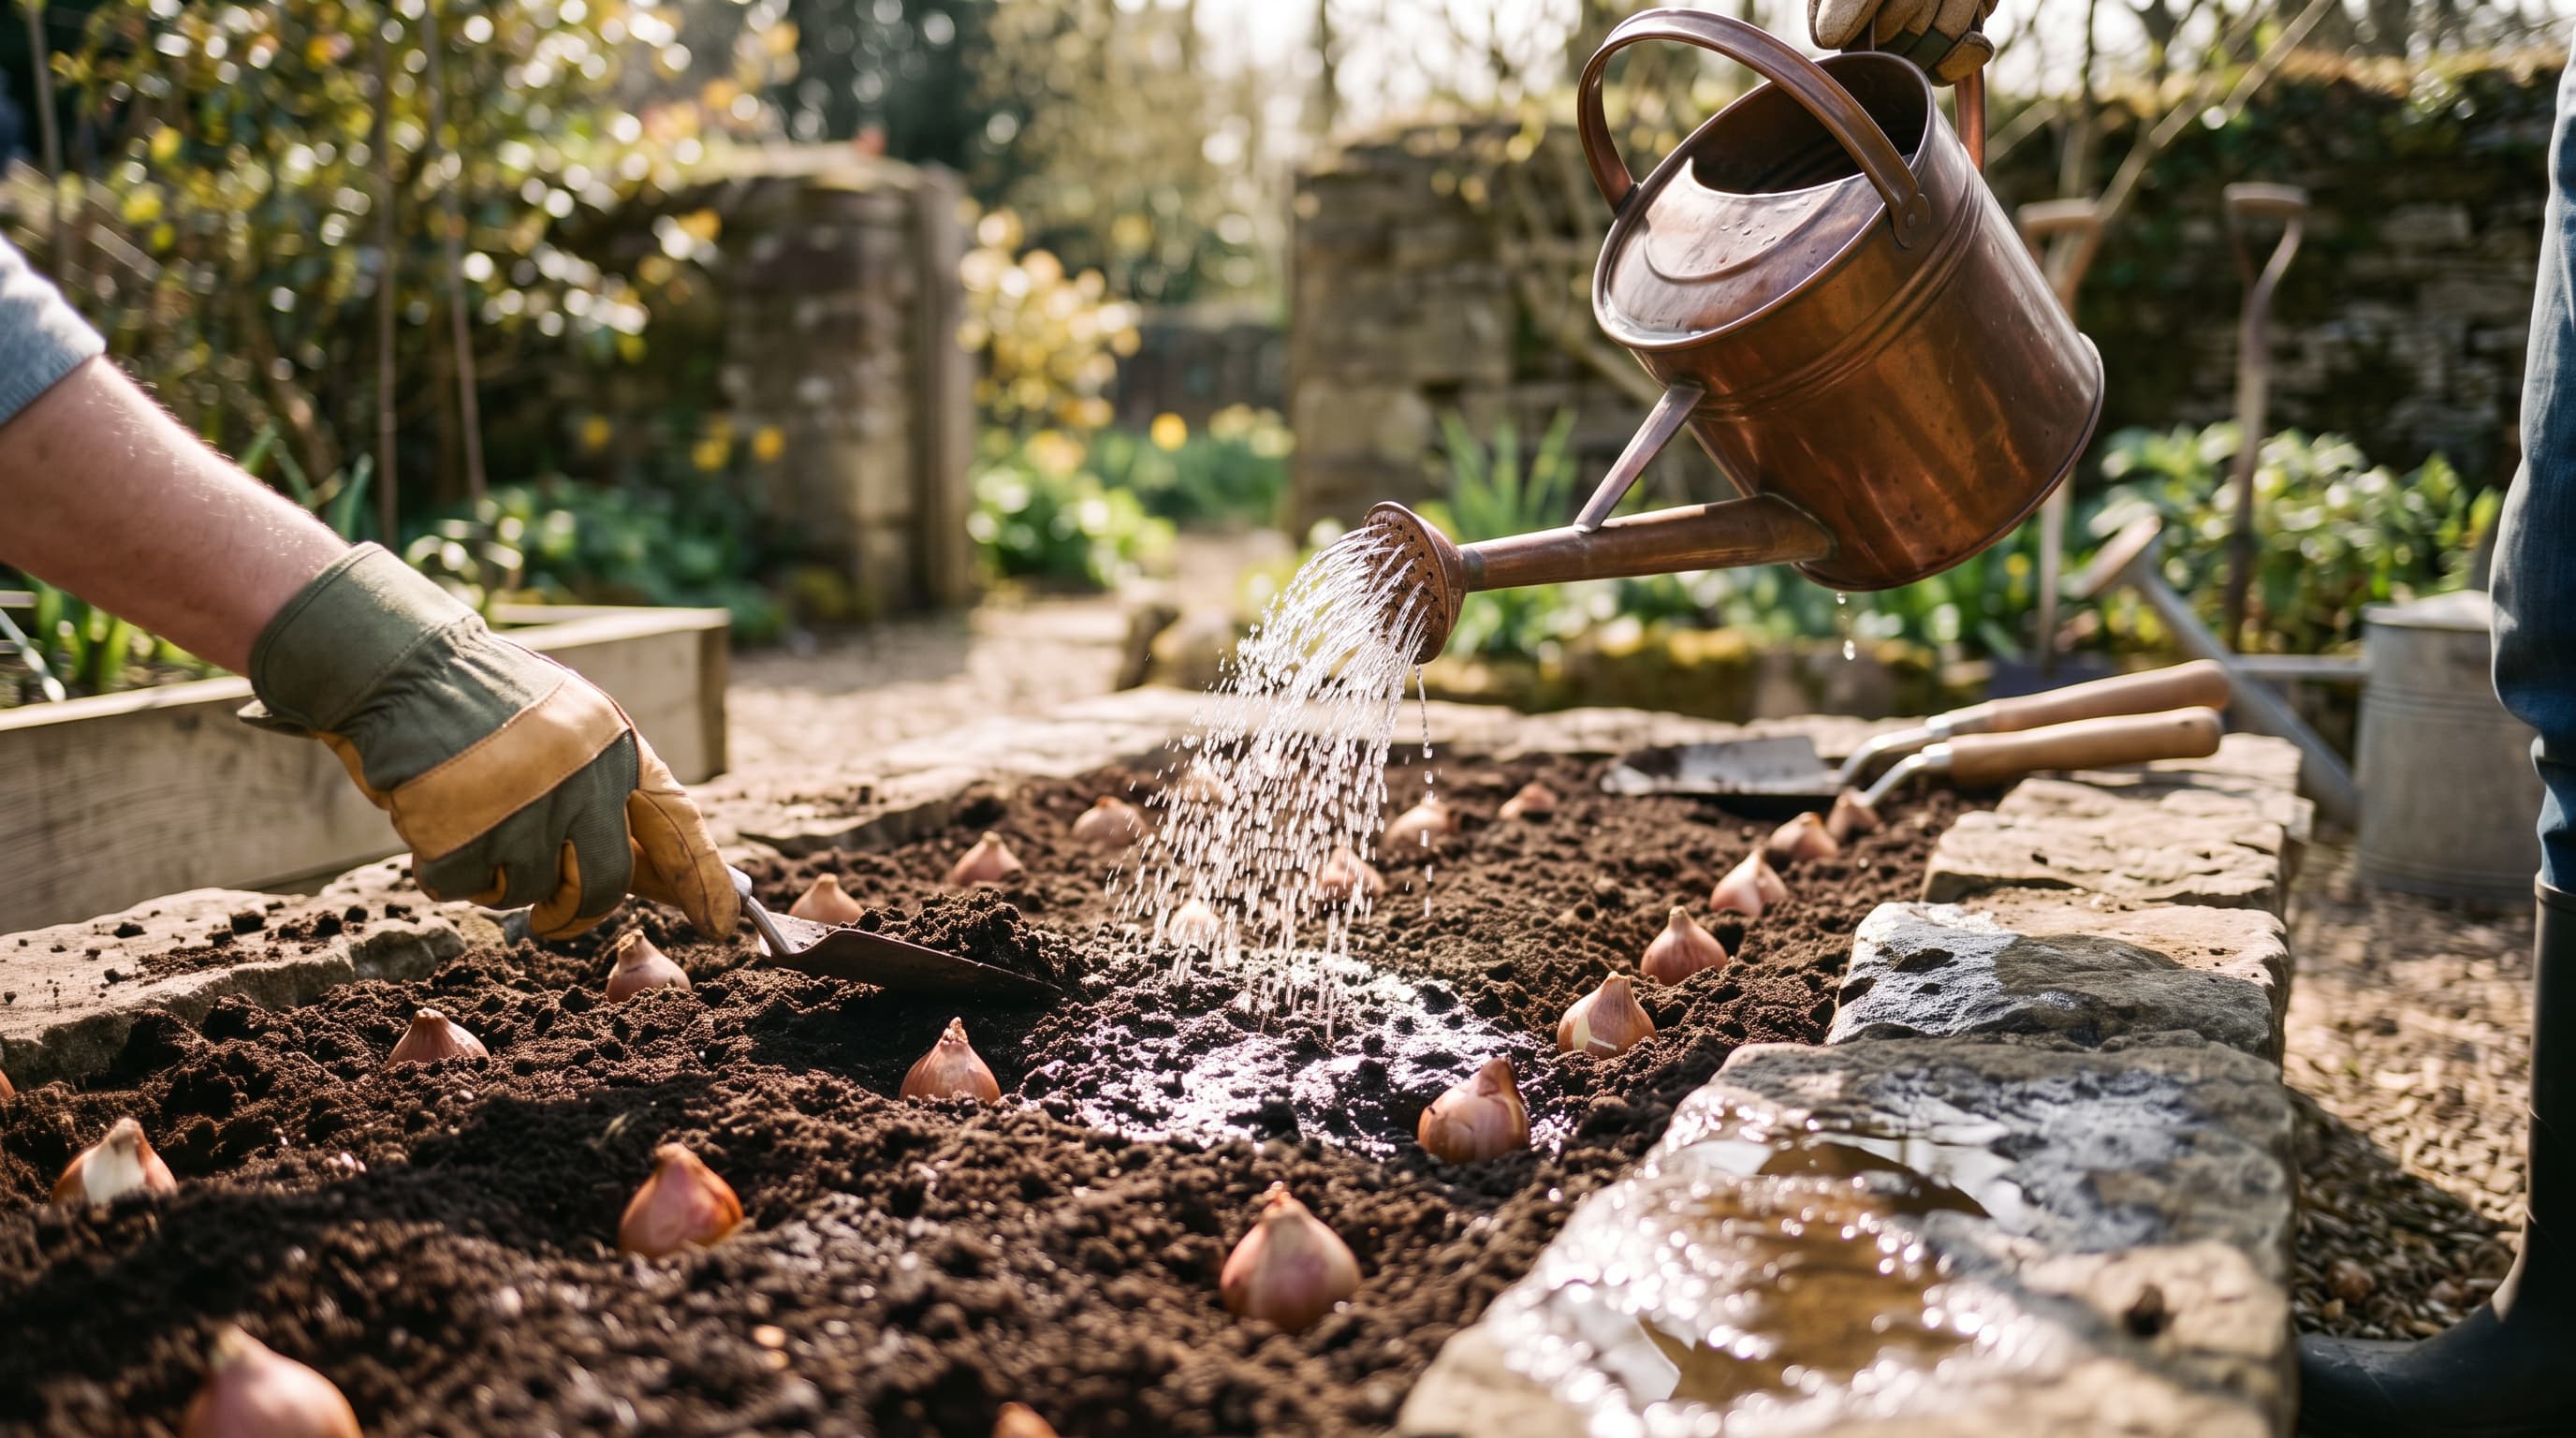
Cover the bulbs gently with the removed soil, breaking up large clumps as you work. Do not pack the soil down heavily because compacted soil can restrict drainage and make it harder for new shoots to emerge.
Water the planting area thoroughly once to settle the soil and encourage root development.
After that, avoid frequent watering unless the weather stays unusually dry, since dormant tulip bulbs do not need constantly wet soil.
How to Space Tulip Bulbs for Healthy Growth?
Depth and spacing solve two different problems, so planting deeper doesn’t mean bulbs need to sit farther apart. For a dense, full-looking bed, space bulbs around 3 to 4 inches apart.
If you’re planning to leave bulbs in place for multiple seasons, use roughly 4 to 6 inches instead, since airflow, access, and future offsets matter more over time.
Iowa State Extension recommends approximately 6-inch spacing specifically for large tulip bulbs.
This same spacing applies to bulbs in containers, just without letting them touch the pot wall.
Can Tulip Bulbs Be Planted Too Shallow?
Yes, though a slightly shallow bulb can still bloom in many cases. The likely effects include greater temperature swings, more animal disturbance, frost heaving, and bulbs becoming exposed after heavy rain or soil erosion.
If you catch the mistake before the ground freezes, carefully lift and replant the bulbs at the correct depth. Once roots have begun to develop, avoid pulling bulbs unnecessarily.
Instead, add a modest layer of soil where practical, and apply mulch once the ground has cooled.
Can Tulip Bulbs be Planted Too Deep?
Tulips can sometimes emerge from greater depths than expected, but going too deep tends to delay emergence and forces the shoot to use more stored energy just to reach sunlight.
Watch for late emergence compared with nearby bulbs, weak or absent flowering, or leaves coming up without any bloom at all.
These same symptoms can also come from poor bulb quality, insufficient chilling time, or rot, so depth isn’t always the culprit.
If a bulb turns out to be planted too deep, wait until the foliage has naturally yellowed before lifting it, unless a drainage problem creates an immediate risk of rot.
When to Plant Tulip Bulbs
Tulips are generally planted in fall, after the soil has cooled but before it freezes solid. Knowing when to plant tulips in your region helps bulbs develop roots before winter arrives.
In many US regions, that window falls between September and November, though local climate should guide the exact timing more than a calendar date.
In cold winter areas, aim to plant roughly 6 to 8 weeks before the ground normally freezes solid.
In warmer climates, tulips often need pre-chilling, commonly 8 to 10 weeks in the refrigerator, away from ripening fruit, since fruit releases ethylene gas that can damage the flower developing inside the bulb.
As long as the soil is still workable and the bulbs are healthy, planting late is generally a better option than storing bulbs until spring.
Tulip Planting Mistakes to Avoid
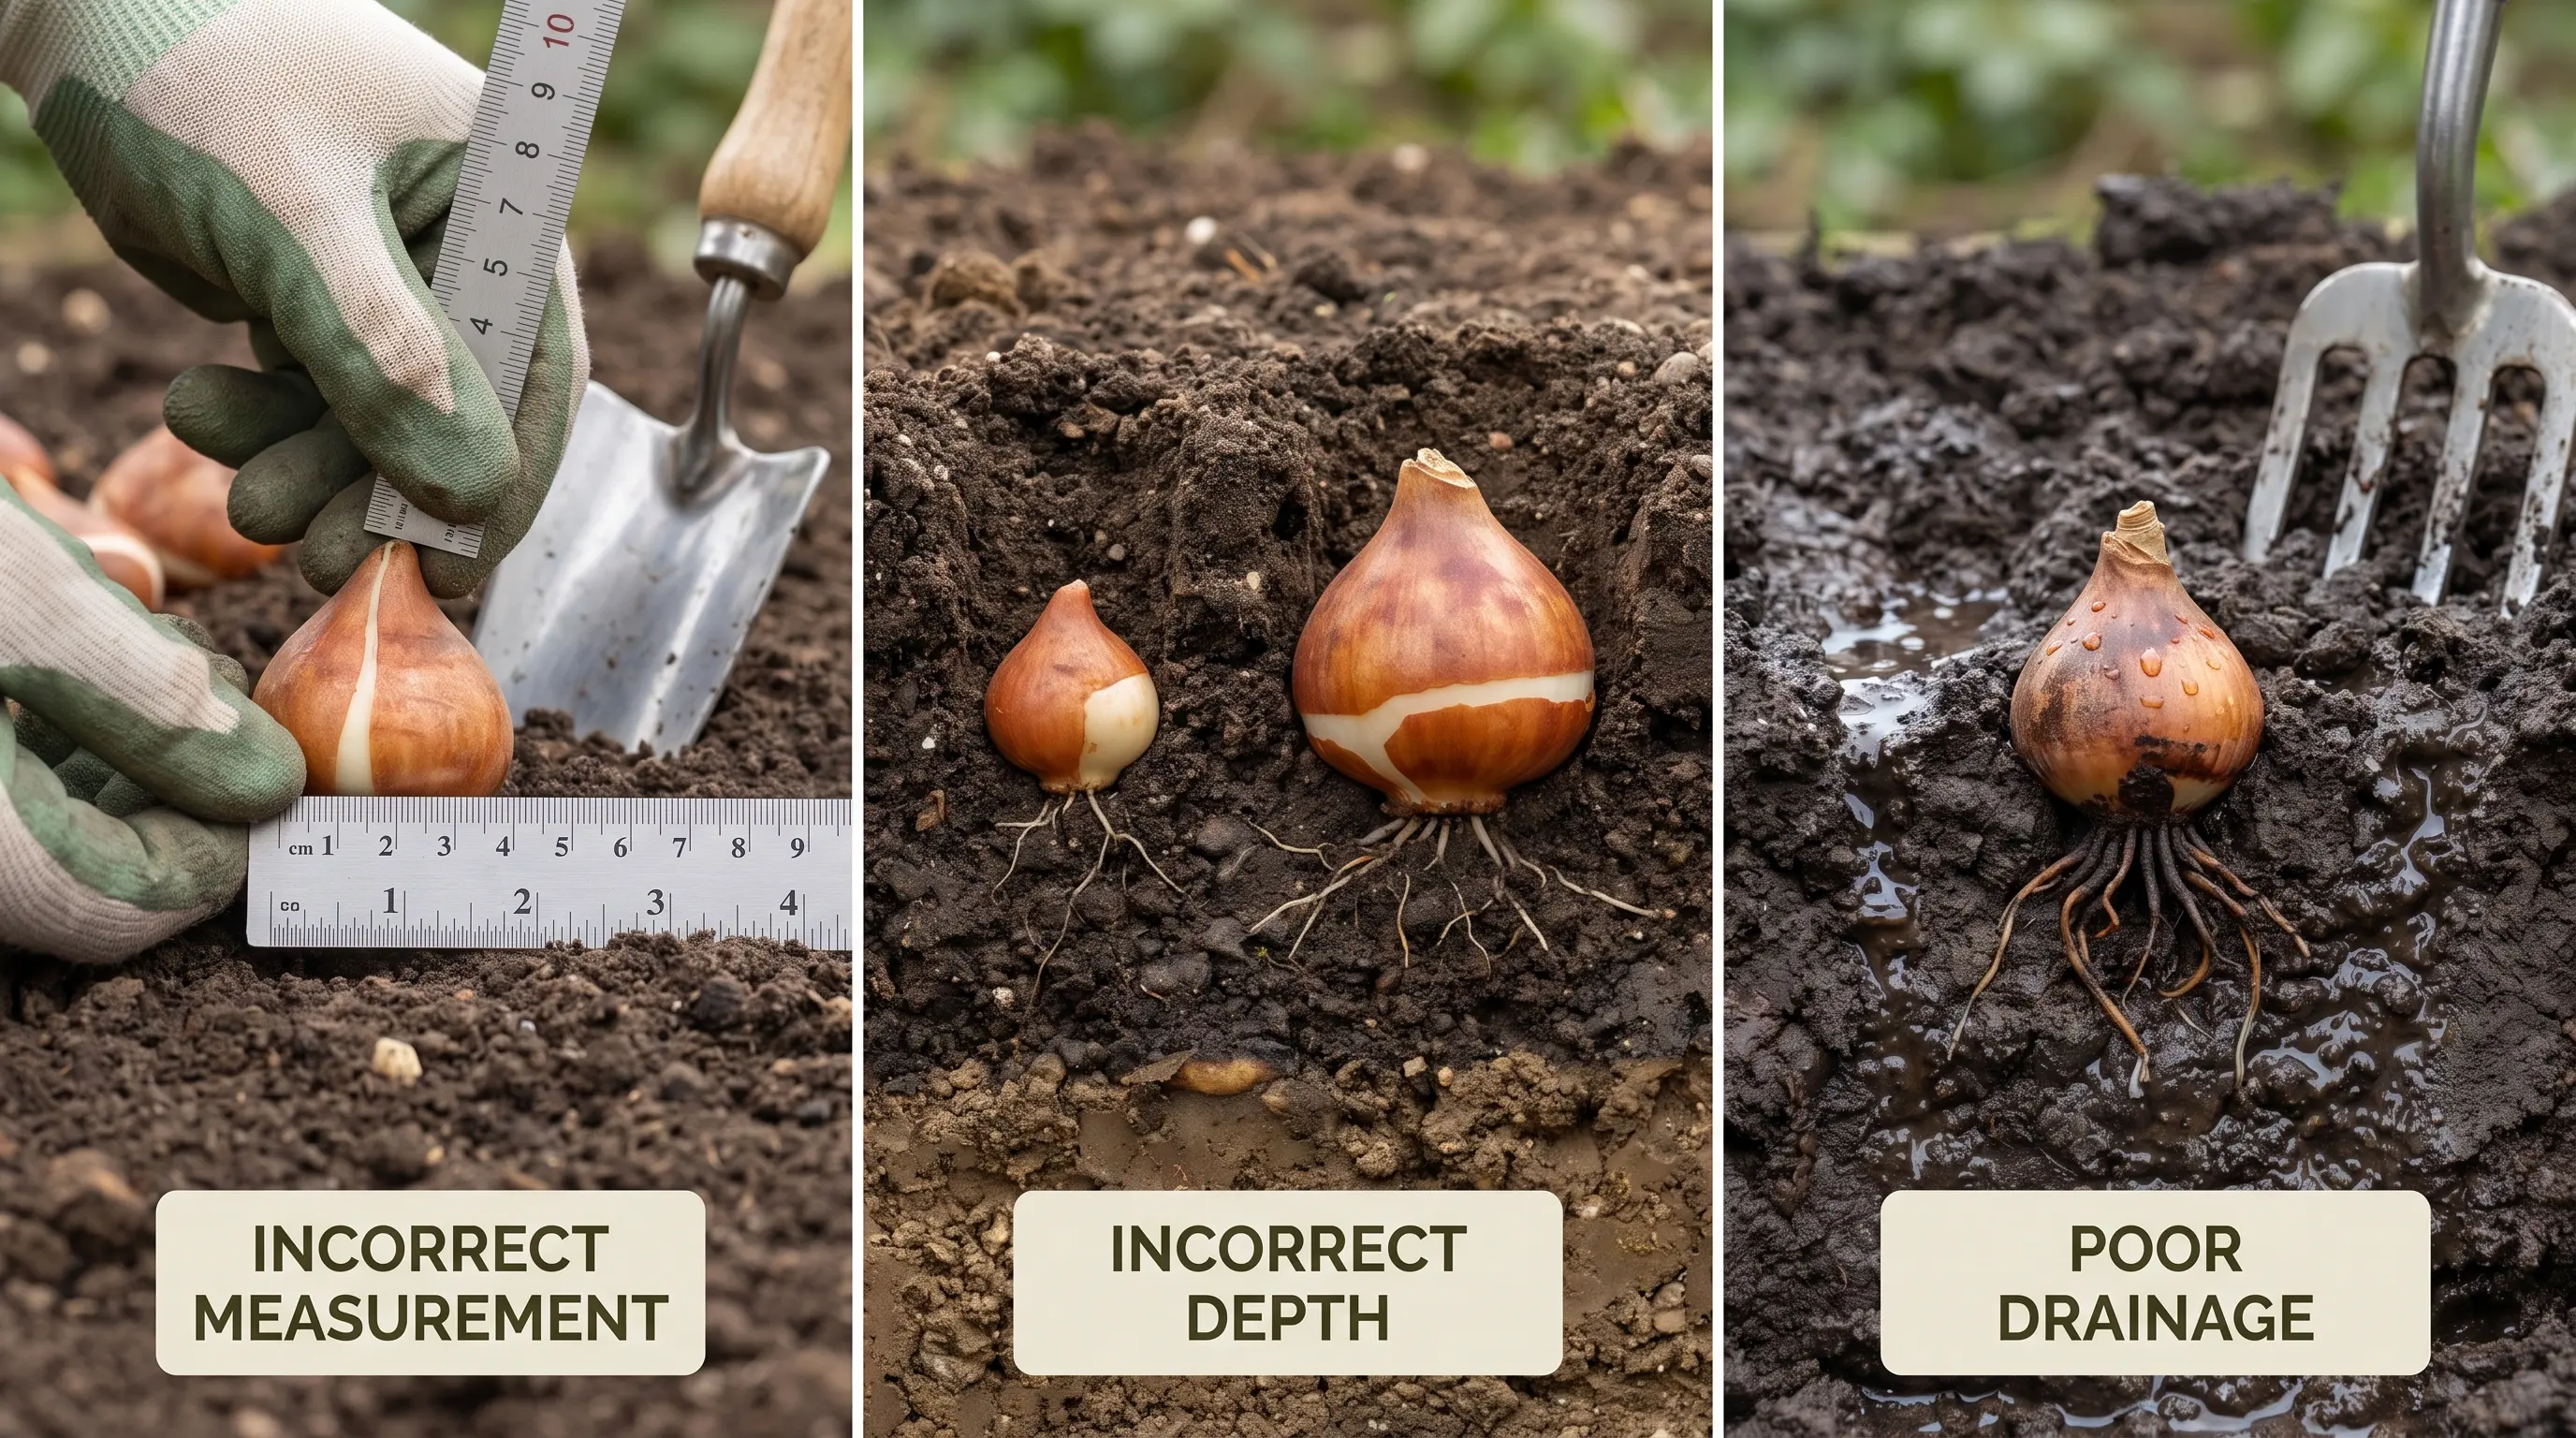
Planting tulip bulbs at the wrong depth can lead to frost exposure, delayed growth, poor drainage, or weak blooms. Avoiding a few common mistakes helps bulbs establish properly and emerge more reliably in spring.
| Mistake | Better Approach |
|---|---|
| Measuring from the bulb’s tip | Measure from the base to the soil surface |
| Using one depth for every bulb | Adjust according to bulb size |
| Planting in waterlogged soil | Improve drainage or use a raised bed |
Quick Tulip Planting Checklist
- Plant standard bulbs 6 to 8 inches deep.
- Measure from the bulb’s base.
- Place the pointed end upward.
- Use well-drained soil.
- Water once after planting.
Final Thoughts
Planting tulips is one of those quiet garden tasks where the reward arrives months after the effort.
The real joy comes when a once empty patch of soil suddenly becomes the first sign of spring, with green shoots appearing exactly where you planted them.
A little care during planting can turn a handful of bulbs into a seasonal display that feels intentional rather than accidental.
Whether you are planting your first tulips or adding more color to an established garden, paying attention to the small details now can make a noticeable difference when spring arrives.
Those first blooms are what make the time spent preparing the soil worthwhile.
Frequently Asked Questions
What is the rarest color of tulip?
True black tulips are considered among the rarest because naturally black flowers do not exist. Varieties described as black are usually very dark shades of purple, burgundy, or maroon.
Will tulips bloom twice in one year?
Tulips normally bloom only once each year, usually in spring. After flowering, the foliage gathers energy for the bulb, but it will not produce another bloom until the following growing season.
Do tulips multiply on their own?
Yes, tulips can produce small offset bulbs around the main bulb underground. These offsets may take several years to mature and flower, and some modern hybrid varieties multiply less reliably than perennial tulips.
Why are my tulips all leaves and no flowers?
Tulips may produce leaves without flowers due to insufficient winter chilling, limited sunlight, overcrowding, or small, depleted bulbs. Removing foliage too early the previous season can also reduce energy storage and prevent blooming.