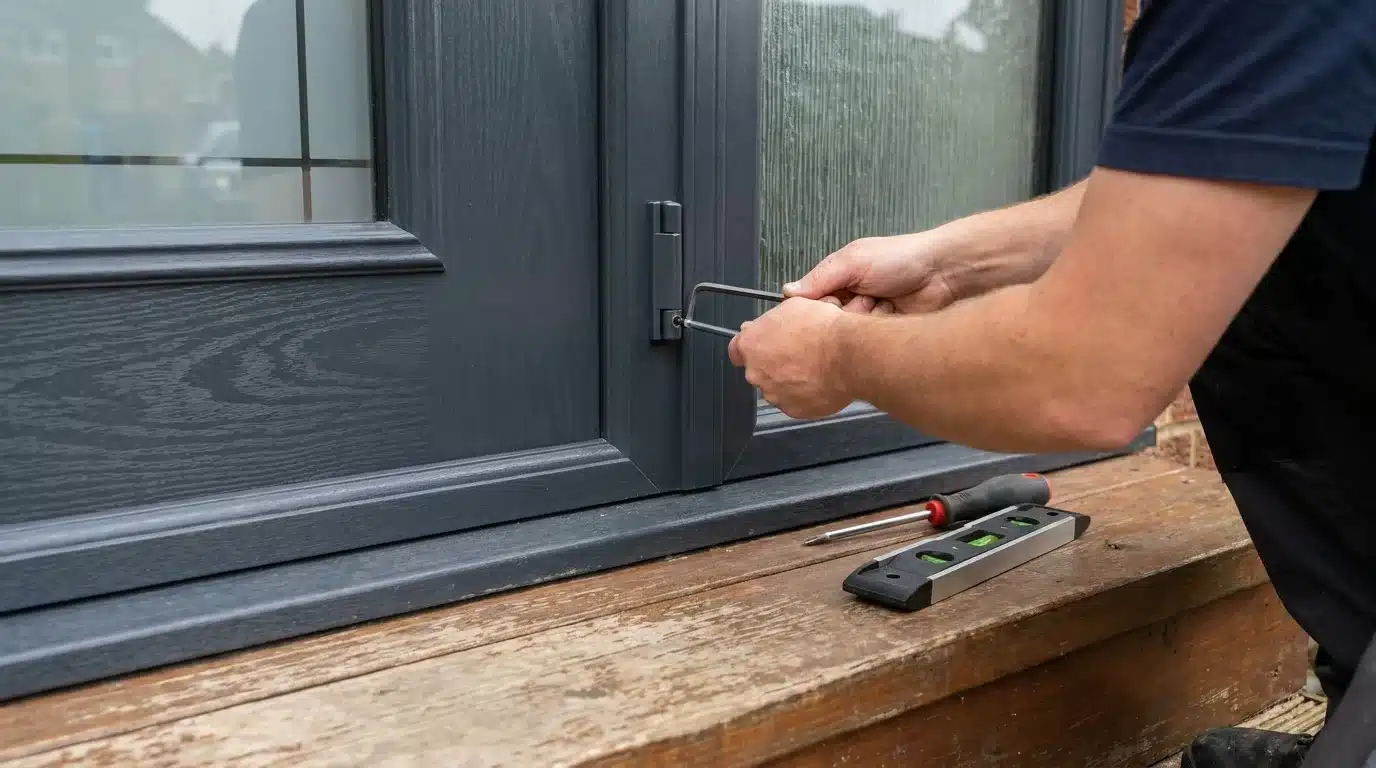

A composite door that sticks, drags, or won’t close often just needs its hinges realigned.
I’ve fixed this exact problem on job after job, and it rarely means the door itself has failed. Regular use, weather swings, and time cause slight shifts that throw off the fit.
This blog walks you through how to adjust a composite door step by step, from checking hinge type to fixing sticking, draughts, and lock trouble, using basic tools you likely already own, in an afternoon.
Why Does a Composite Door Need Adjusting?
Regular use, temperature fluctuations, and seasonal movement cause the hinges to shift slightly out of position over time.
Composite doors are built to last using durable materials like GRP, PVC, timber, and insulating foam.
Misaligned hinges can affect how the door opens and closes and may lead to further damage if left unchecked.
Fortunately, this is a normal part of home maintenance, not a sign of a faulty door, and early adjustment helps prevent bigger issues later.
This applies to composite doors and to the wider range of door styles owners choose for their entryways.
Signs Your Composite Door Needs Adjusting
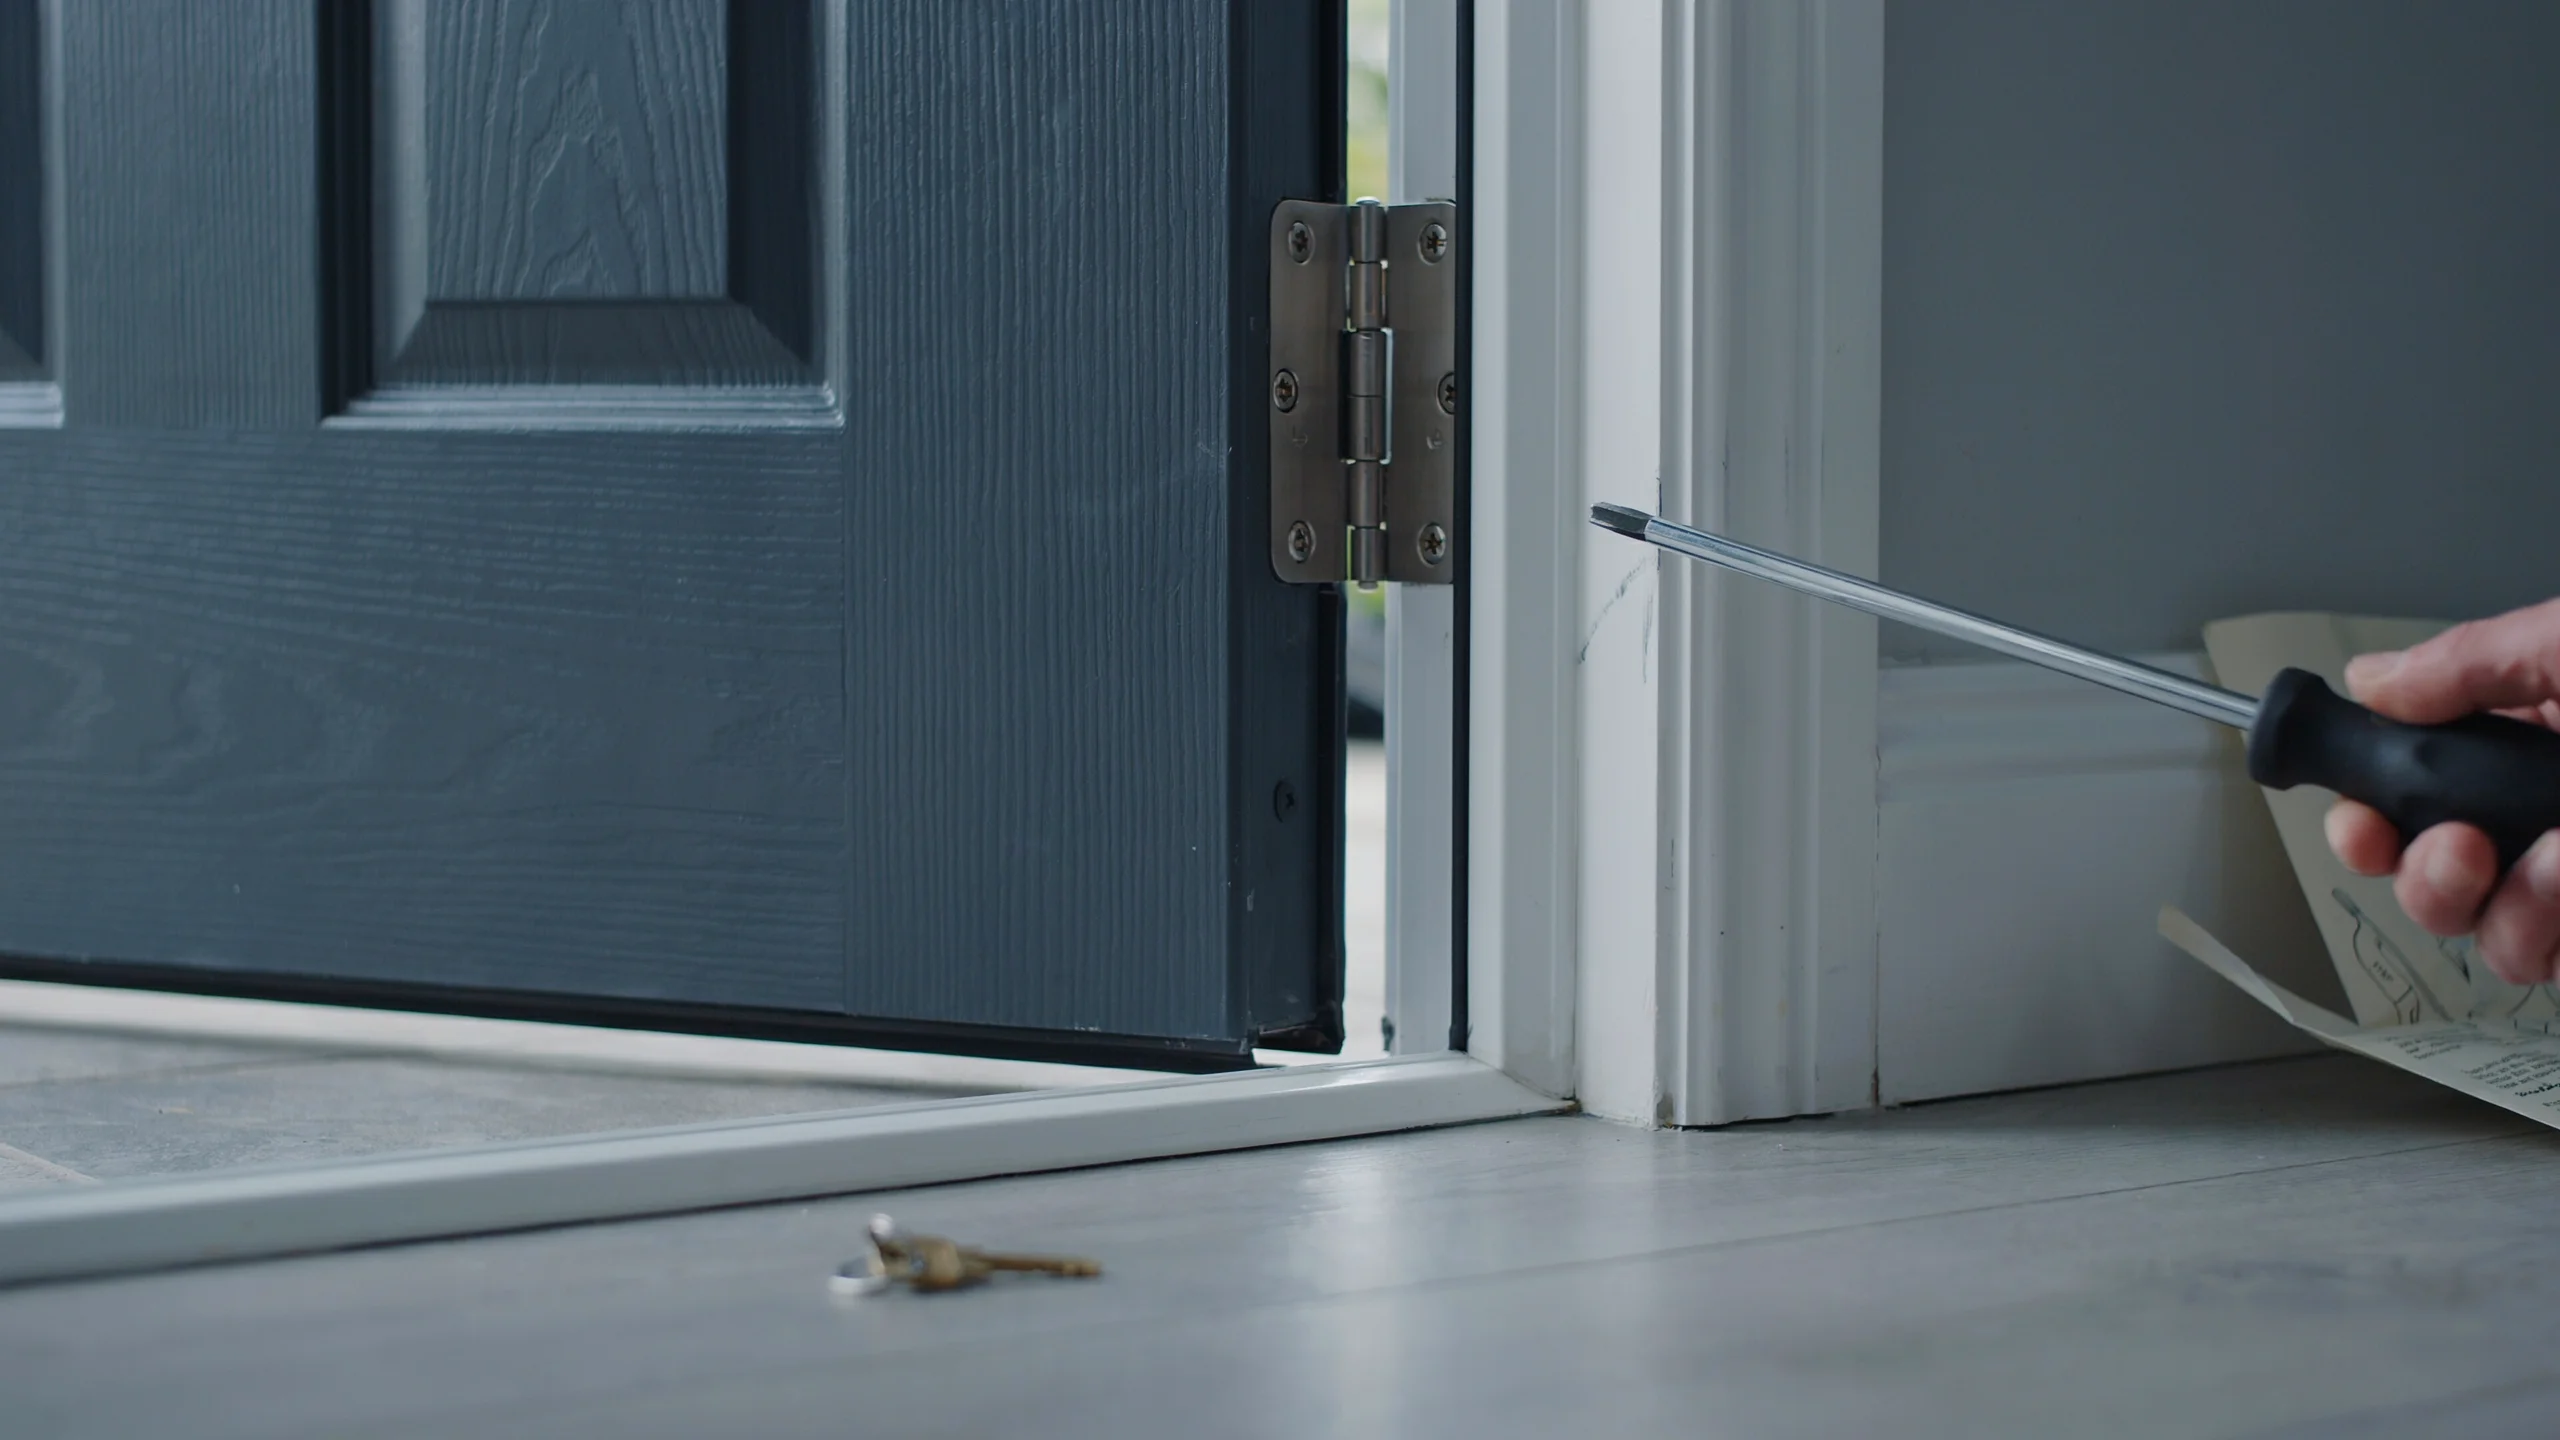
Before reaching for your tools, take a moment to identify the problem. A few simple checks can tell you whether your composite door just needs a hinge adjustment.
Common signs include:
- The door sticks or drags: If it catches on the frame or threshold, the hinges may have dropped.
- Uneven gaps: The gap around the door should be even (around 2–3mm). If it isn’t, the door is likely out of alignment, and it’s worth checking against standard door sizing and common fitting problems to rule out a frame issue.
- Draughts: Air leaking around the edges is often caused by a misaligned door rather than worn seals.
- Difficulty locking: If you have to force the handle or key, the door and lock may no longer align correctly.
- Squeaky hinges: Creaking or squeaking can be a sign the hinges need adjusting or lubricating.
If you’ve noticed any of these issues, a simple hinge adjustment may be all that’s needed to get your door working smoothly again.
Types of Composite Door Hinges
Before adjusting your composite door, it’s important to identify the type of hinge it uses, as each design offers different adjustment options.
While most modern composite doors in the UK are fitted with adjustable flag hinges, some older or traditional doors may use butt hinges or T-hinges.
- Flag Hinges: The most common hinge type on modern composite doors. They allow vertical (height), lateral (side-to-side), and compression (seal pressure) adjustments, making them the easiest to fine-tune.
- Butt Hinges: A more traditional hinge design that typically offers vertical and limited lateral adjustment. They are less flexible than flag hinges but can still correct minor alignment issues. Good hinge care matters on any hinged opening in the house, including casement windows, which use a similar swinging mechanism.
- T-Hinges: Commonly found on cottage-style or decorative composite doors. These hinges are designed primarily for appearance and usually offer little or no adjustment, often requiring the door or frame to be repositioned if alignment issues occur.
If you’re unsure which type your door has, open the door and inspect the hinges. Flag hinges have a distinctive wing-shaped design, while butt and T-hinges have a more traditional appearance.
Tools You’ll Need
Gather the right tools before adjusting shower door hinges to make the process easier and avoid alignment issues.
| Tool | Purpose |
|---|---|
| Allen keys | Adjust hinge screws and tighten fittings. |
| Screwdriver | Remove hinge covers or access screws. |
| Spirit level | Check if the door is properly aligned. |
| Tape measure | Take accurate measurements during adjustments. |
| Lubricant | Keeps hinges moving smoothly and reduces friction. |
| Soft cloth | Cleans hinges before and after adjustment. |
You may also find it useful to have a pen and paper to note which direction you’ve turned each screw and by how much; small adjustments matter, and it’s easy to lose track.
How to Adjust a Composite Door: Step-by-Step
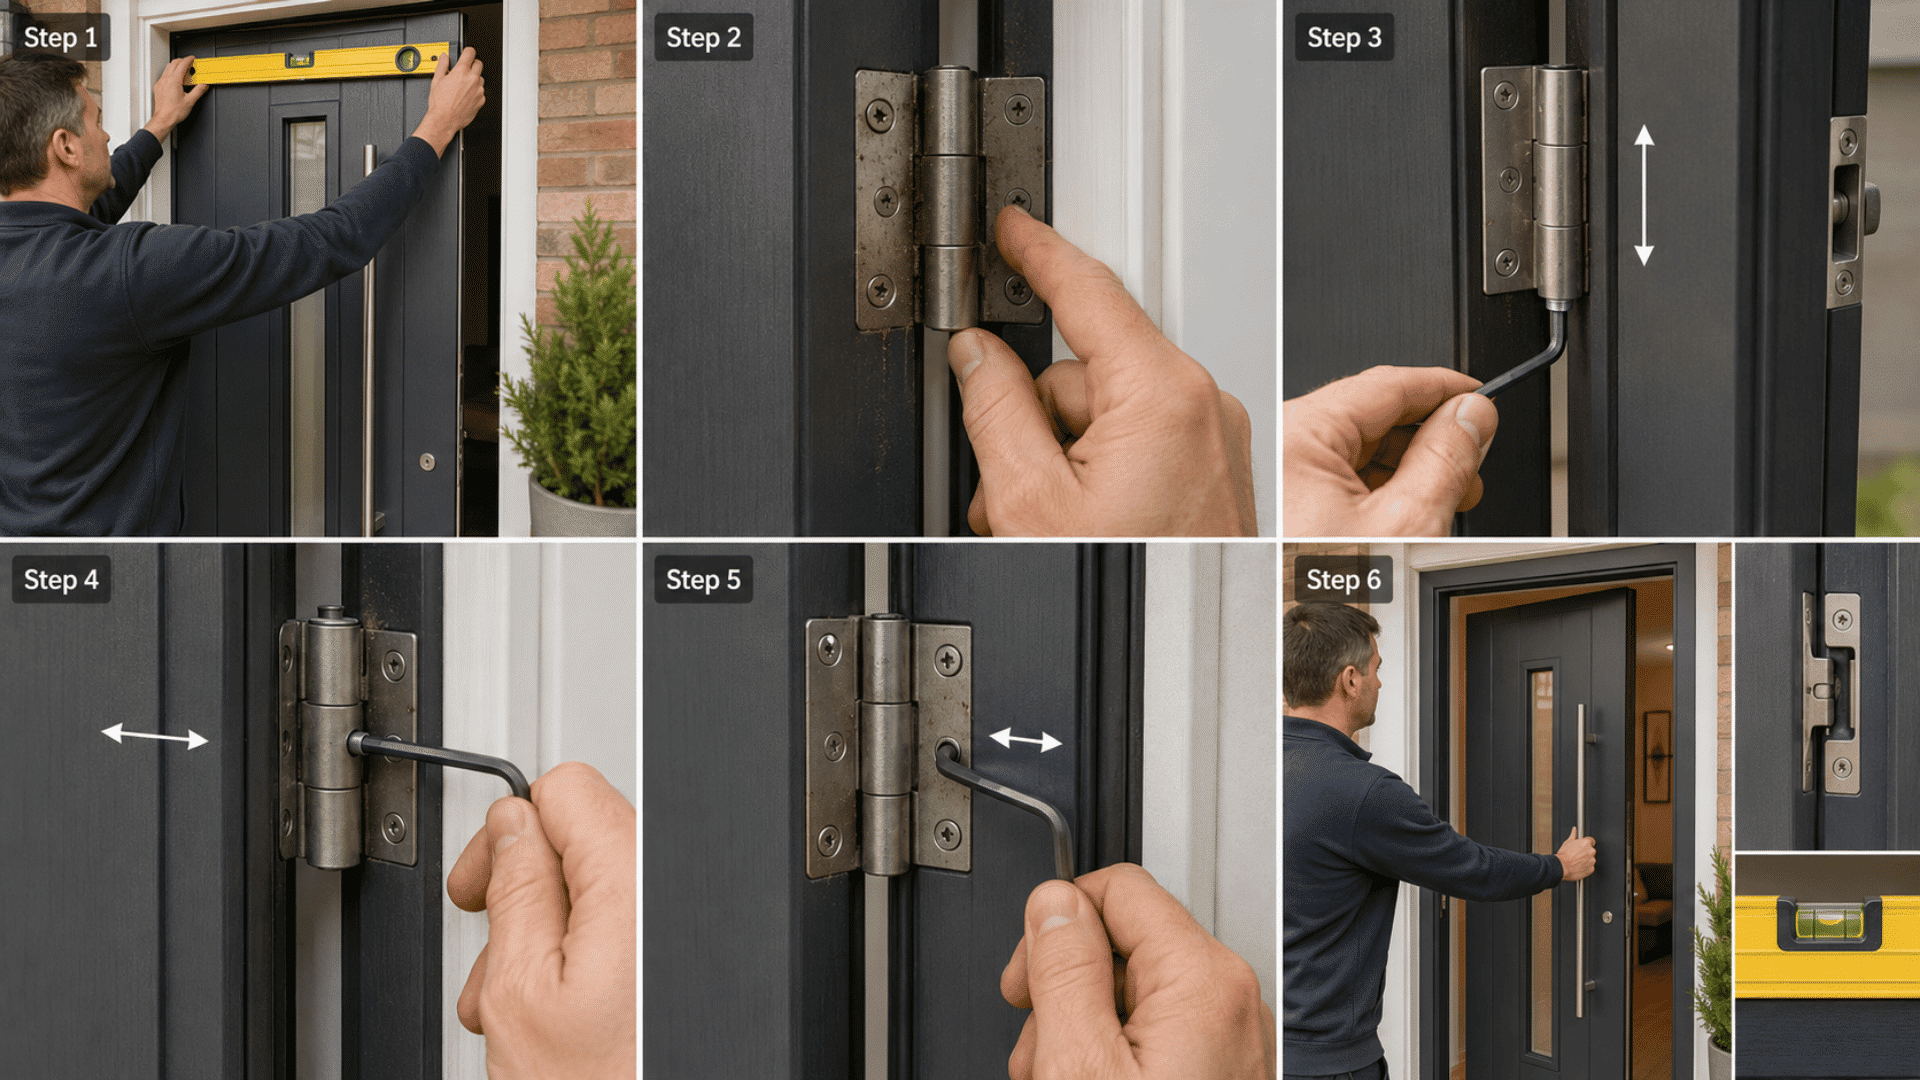
Follow these simple steps to adjust a composite door, improve alignment, and fix common fitting issues.
Step 1: Check if the Door Is Level
Before touching any screws, confirm that the door is actually out of alignment rather than just in need of a clean or lubrication.
Place a spirit level on top of the door and see if the bubble sits in the middle. If it doesn’t, it’s time to get the toolbox out and adjust your composite door hinges.
Also check that no debris has accumulated in the frame or along the threshold that might be physically obstructing the door.
Step 2: Inspect the Hinges
Start by inspecting the hinges to determine which type you have and identify any visible issues.
Look for loose screws, damaged parts, or dirt and debris that might affect the door’s operation. Loose screws are a common cause of door misalignment.
If you notice any visible signs of wear, rust, or damage, consider replacing the hinges before proceeding with the adjustment.
Step 3: Make Vertical Adjustments (Raise or Lower the Door)
If the door is dropping at the latch side or catching on the threshold, you need to adjust the height.
Locate the vertical adjustment screw at the bottom of each hinge. Insert a 5mm Allen key into the screw.
Turn clockwise to raise the door and counterclockwise to lower it. Make small half-turn adjustments, checking alignment after each change.
Step 4: Make Lateral Adjustments (Side-to-Side Movement)
If the door sits too close to one side of the frame, causing it to bind or leave a large gap on the opposite side, lateral adjustment is what you need.
Lateral adjustment moves the door side to side, helping to align it correctly within the frame and resolve problems with locking points.
Find the horizontal adjustment screw, often protected by a plastic cap on the side of the hinge facing the door. Use your Allen key and make incremental adjustments again, testing the door’s position as you go.
Step 5: Adjust Compression (In/Out Movement)
Compression adjustment controls how tightly the door presses against the weatherseal when closed, helping improve the seal and reduce draughts. It moves the door slightly in or out against the frame.
Locate the compression adjustment screw on the front of each hinge and use a 5mm Allen key to make adjustments. Turn the screw clockwise to increase compression or counterclockwise to reduce it.
Make small, even adjustments on all hinges to maintain a consistent seal and ensure the door closes smoothly.
Once you’ve made your adjustments, the testing phase is just as important as the turning of the screws.
Close and test the door to check even gaps, smooth latching, and proper alignment using a spirit level.
If the latch still doesn’t engage cleanly, you may also need to make a small adjustment to the strike plate position, loosen the retaining screws, nudge the plate to meet the latch, and re-tighten the screws.
Common Mistakes to Avoid
Even a straightforward job like this can go sideways if you rush it. Here are the pitfalls worth avoiding:
- Over-tightening screws. It’s tempting to crank everything down as firmly as possible, but this can strip screw threads or crack the hinge casing. Snug is sufficient.
- Adjusting one hinge without checking the others. Regularly inspect composite door hinges for misalignment or wear, and adjust them at least once every six months to ensure proper functionality. If you only adjust one hinge and ignore the rest, you can create a new set of alignment problems.
- Making large adjustments in one go. Half a turn at a time, test, repeat. Patience here genuinely pays off.
- Forgetting to check the threshold. A door that seems misaligned might simply be catching on a raised or damaged threshold bar. Always check the obvious things first.
How to Maintain Your Composite Door After Adjustment
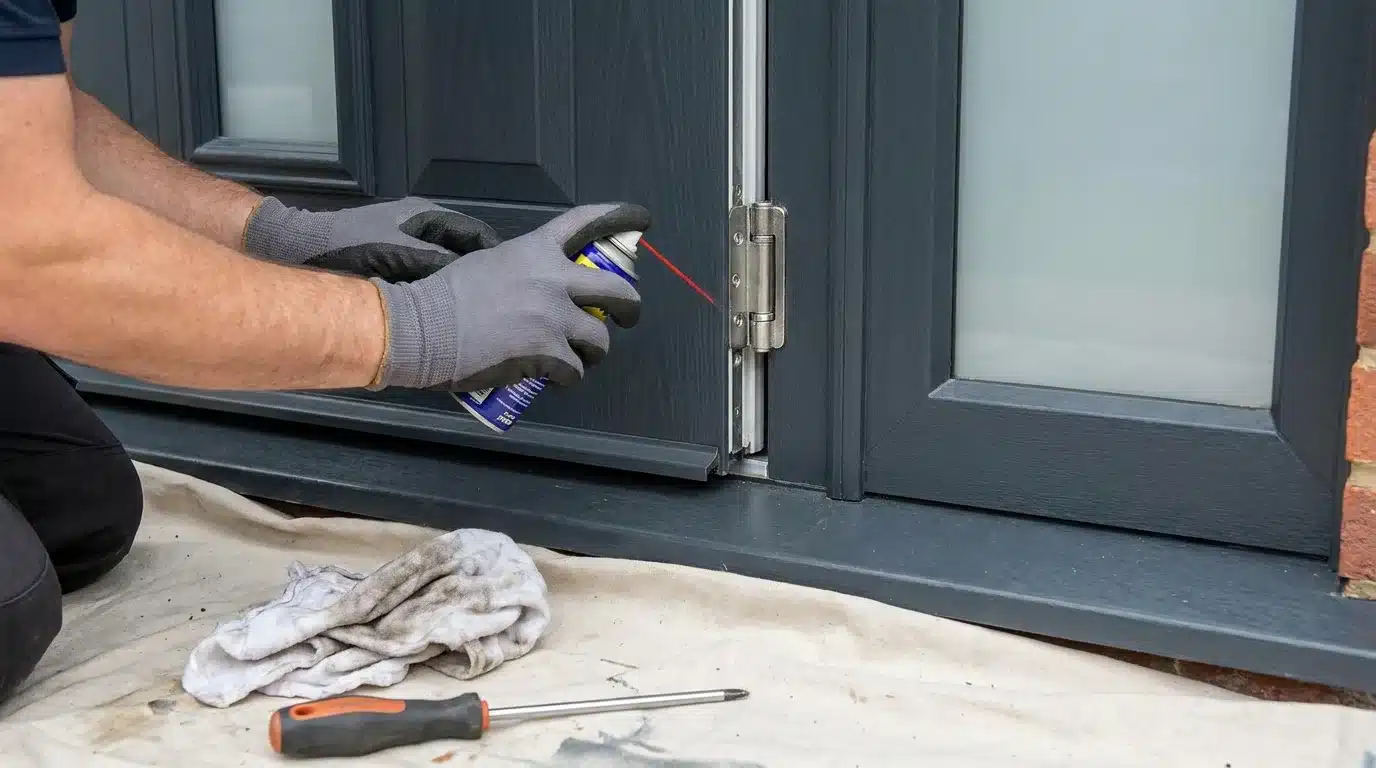
Regular maintenance keeps your composite door working smoothly and helps prevent future alignment problems.
- Clean hinges regularly: Remove dirt and debris with a soft cloth to keep them moving smoothly.
- Lubricate moving parts: Apply silicone-based lubricant to hinges every six months.
- Check screws and bolts: Tighten loose fittings and inspect hardware periodically.
- Test door operation: Open and close the door often to spot issues early.
- Protect the lock cylinder: Avoid WD-40; use a graphite- or PTFE-based lock lubricant instead.
Conclusion
Most sticking or dragging composite doors need nothing more than a small hinge tweak, not a replacement.
Work through each adjustment slowly, test the door after every turn, and you’ll usually restore smooth operation within the hour.
Keep the hinges clean, lubricated, and snug every six months to prevent the problem from returning.
If you’ve worked through this composite door hinge adjustment and the door still won’t sit right, or the frame looks warped, bring in a qualified installer before forcing anything further and risking more damage.
Frequently Asked Questions
Can a Composite Door Be Adjusted?
Yes, most composite doors can be adjusted by aligning the hinges to fix dropping, sticking, draughts, and locking issues.
What Are Door Keeps and Do They Need Adjusting Too?
Keeps are the metal plates in the frame that the locking hooks slot into. Loosen their screws and shift them slightly if the door won’t lock.
Why Won’t My Composite Door Lock Even Though It Looks Level?
The gearbox or keeps may be at fault, not the hinges. If hinge adjustment doesn’t fix locking, check the keeps or call a locksmith.
Is It Normal for a New Composite Door to Need Adjusting?
Yes, doors settle slightly as they bed into the frame, and temperature swings shift alignment. A quick hinge adjustment in the first year is common.
Why Does My Composite Door Only Stick in Certain Weather?
Heat and cold make the door slab expand and contract slightly. If it only sticks in summer or winter, a small compression adjustment usually fixes it.