Learning how to grow lavender from seed comes down to one word: patience.
Germination is slow, and it’s uneven- sometimes two weeks, sometimes six- and you’re looking at a full year before that first real bloom.
Even with decent technique, I rarely get more than 60 to 70 percent of a tray to sprout. That’s just how it goes.
It’s also why most nurseries skip seeds entirely and sell starts instead; seeds need cold stratification and a lot more patience than a nursery customer usually has. Here’s the whole process, start to finish.
What You Need Before You Start
A successful batch of lavender seedlings comes down to a short list of supplies, most of which you likely already have.
- Lavender seeds: English lavender (Lavandula angustifolia) germinates more reliably from seed than French or Spanish types, which are usually better started from cuttings instead.
- A well-draining seed-starting mix: Standard potting soil holds too much moisture. Look for a mix labeled for cactus or succulents, or make your own with equal parts potting soil and coarse sand.
- Shallow trays or small pots: Anything with drainage holes works. Seed trays with individual cells make transplanting easier later on.
- A refrigerator or a cold outdoor spot: Needed for the stratification step, covered next.
- A sunny windowsill or grow light: Lavender seedlings need strong, consistent light once they sprout, or they grow thin and leggy.
Lavender Varieties You Can Grow From Seed
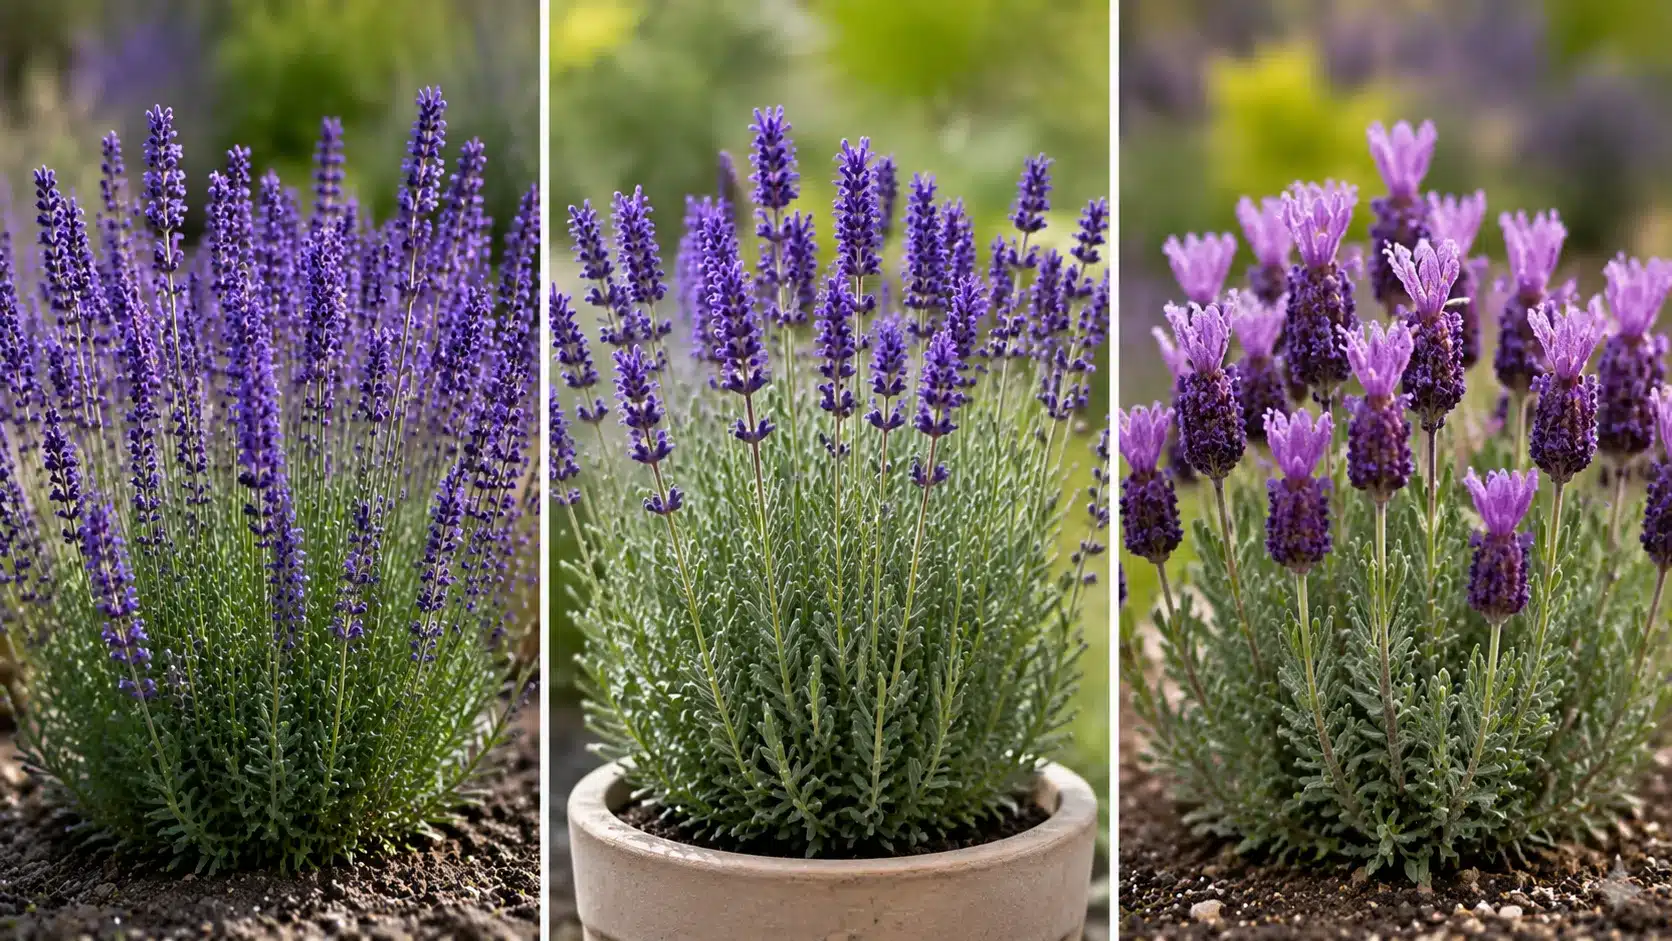
Not every lavender type is a good candidate for seed-starting, and one popular variety can’t be grown from seed at all.
| Variety | Grows From Seed? | Notes |
|---|---|---|
| Lavandin (L. x intermedia) | No | Sterile hybrid of English and Portuguese lavender; produces no viable seeds, so it must be propagated from cuttings or bought as a nursery plant |
| English (L. angustifolia) | Yes | Most reliable choice for seed-starting; germinates consistently and grows fairly true to type |
| French (L. dentata) / Spanish (L. stoechas) | Yes | Germination is slower and less consistent; seedlings don’t always match the parent plant’s color or size, so cuttings give a more predictable result |
If the goal is a specific look or bloom color, check the seed packet for the exact species and cultivar before buying. Generic “lavender seed” mixes are more of a gamble than named varieties.
Cold Stratification: The Step Most People Skip
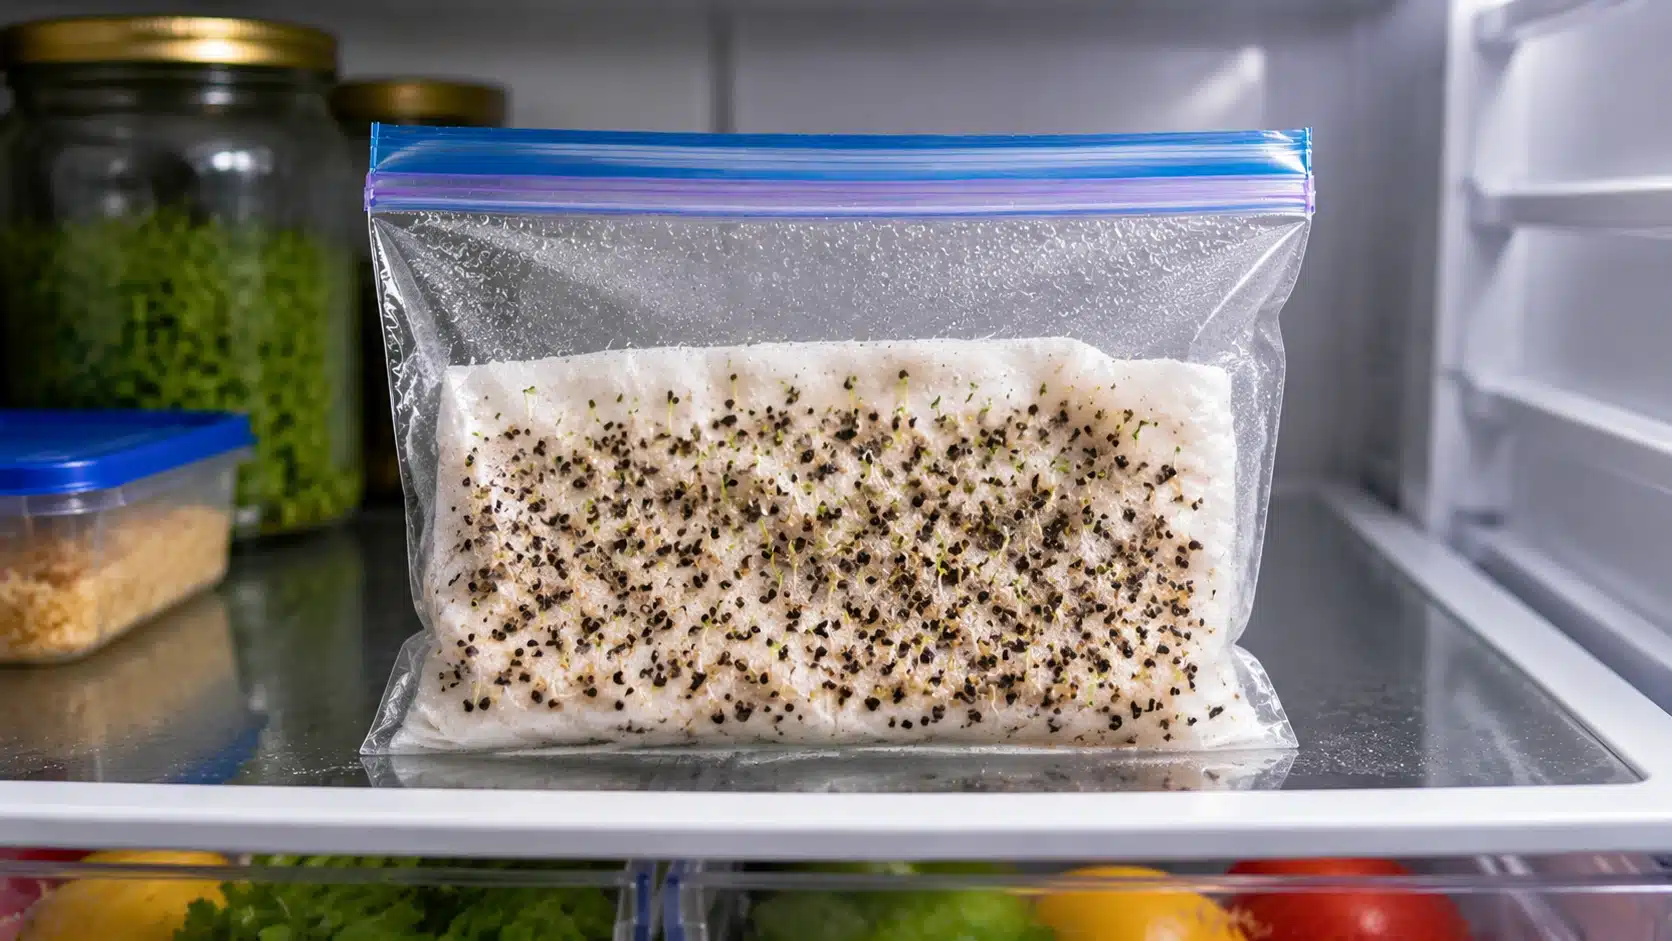
Lavender seeds evolved to survive winter in the ground before sprouting in spring. Skipping this cold period is the single biggest reason home-started seeds fail to germinate at all.
- To stratify seeds, mix them into a small amount of damp sand or moist paper towel, seal them in a plastic bag, and place the bag in the refrigerator for three to four weeks.
- Check weekly to make sure the sand or towel stays damp but not soaking wet.
This mimics the cold, moist winter conditions lavender seeds experience in nature and signals to the seed that it’s safe to sprout once warmth returns.
Seeds sown without stratification can still germinate, but rates are often cut by half or more.
When to Start Sowing the Lavender Seeds
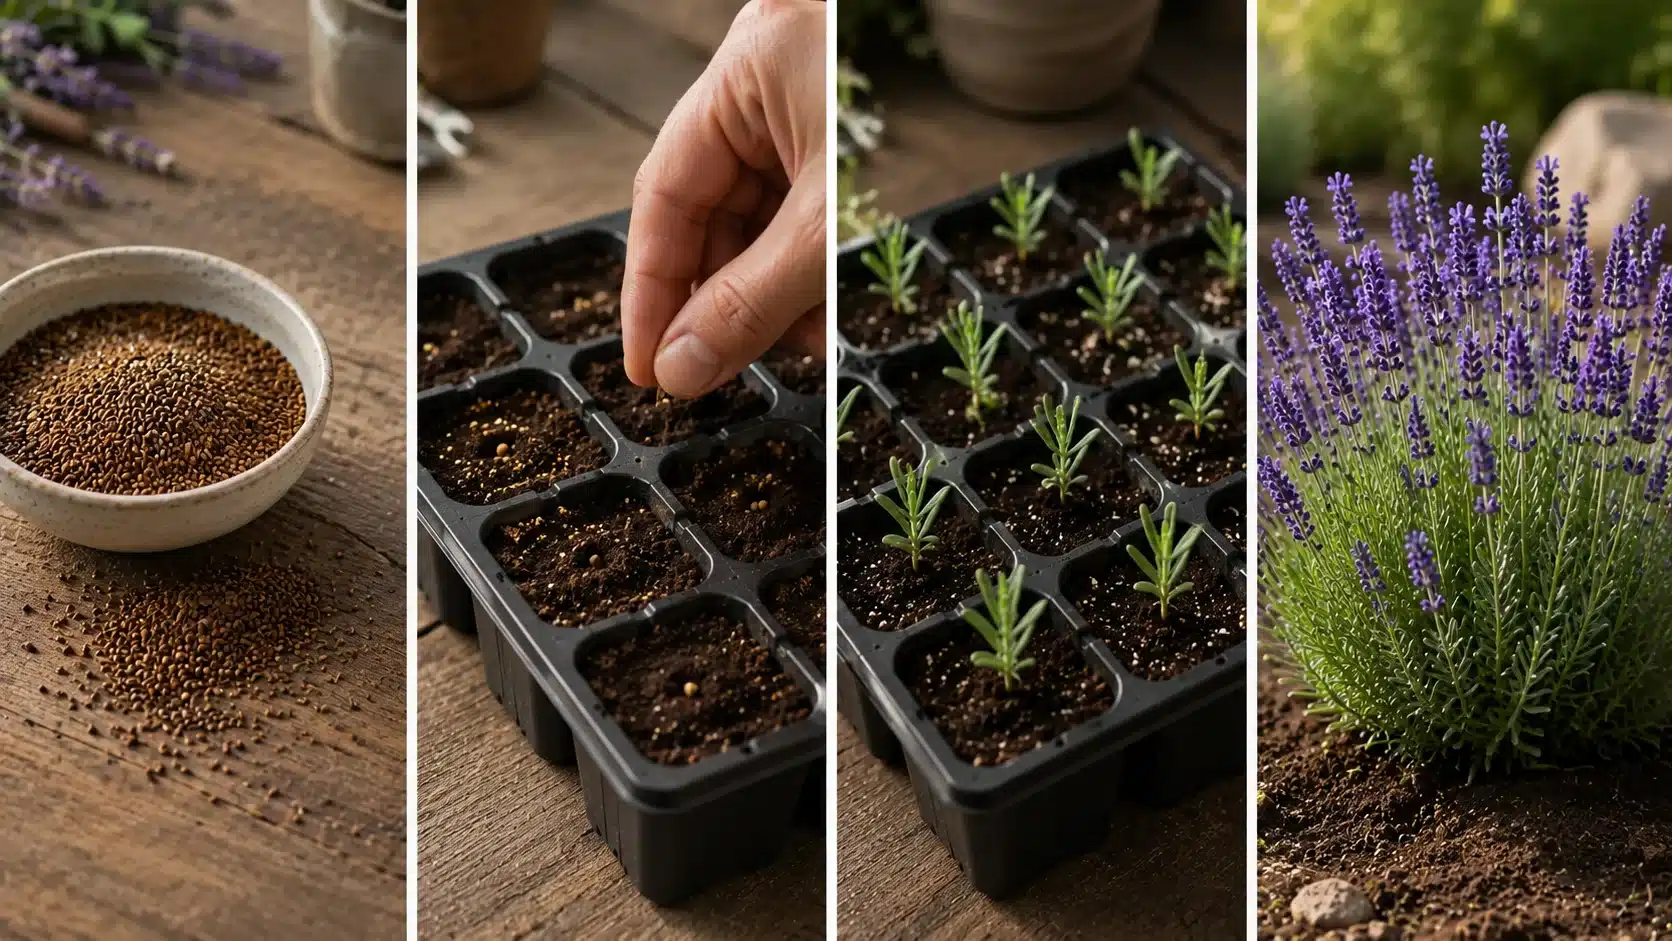
Start seeds indoors eight to ten weeks before your area’s last expected frost date. This gives seedlings enough time to grow strong roots and a few sets of true leaves before it’s warm enough to move them outside.
In mild climates with short or no winters, seeds can be sown directly outdoors in fall instead, letting natural cold temperatures handle the stratification step for you.
Timeline: From Seed to First Bloom
Growing lavender from seed is a slow process with several distinct stages. Here’s what to expect at each point.
| Stage | Timeframe | What’s Happening |
|---|---|---|
| Cold stratification | 3–4 weeks | Seeds chilled in damp sand to break dormancy |
| Sowing | Day 1 | Seeds pressed into soil surface, barely covered |
| Germination | 2–6 weeks | First sprouts emerge, uneven timing is normal |
| Seedling growth | 6–10 weeks | True leaves form, roots develop |
| Hardening off | 1–2 weeks | Seedlings adjust to outdoor conditions |
| Transplanting | Week 12 onward | Moved to final garden spot or container |
| First bloom | 10–12 months after sowing | Light flowering in the first full season |
Full-size, heavily flowering plants typically take two to three years from seed, which is why nursery starts, or cuttings, are usually the faster route when speed matters more than cost.
How to Grow Lavender Seeds
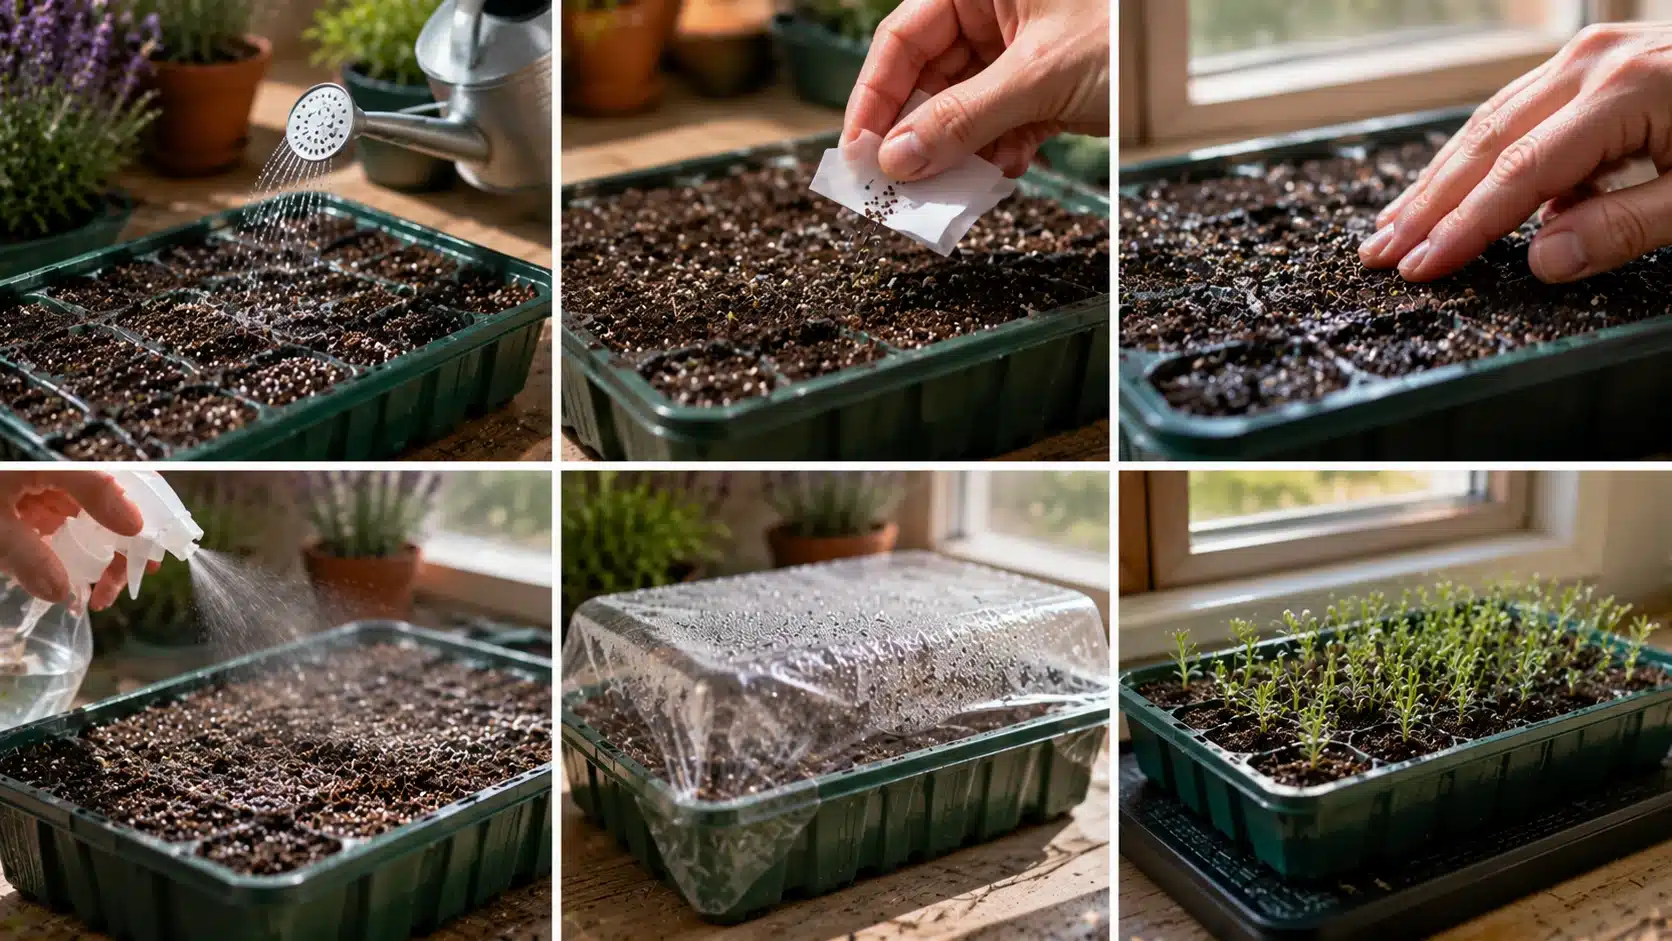
Below is the step-by-step process of how to grow a lavender plant:
- Fill trays or pots: Use your well-draining mix and water it lightly so it’s damp but not soggy.
- Scatter and press the seeds: Spread stratified seeds across the surface and press them down gently. Lavender seeds need light to germinate, so cover them with only a thin dusting of soil, no more than an eighth of an inch.
- Mist instead of pouring: Use a spray bottle rather than pouring water directly on top, which can wash seeds around or bury them too deep. Cover the tray loosely with plastic wrap or a humidity dome to hold moisture in while seeds germinate.
- Keep it warm: Place the tray somewhere that stays between 65°F and 70°F. A spot near a window with morning sun works well, or use a seedling heat mat if your space runs cooler.
Place the tray somewhere that stays between 65°F and 70°F. A spot near a window with morning sun works well, or use a seedling heat mat if your space runs cooler.
Indoor Starting vs. Direct Sowing Outdoors
Both methods work, but they suit different situations.
| Factor | Indoor Starting | Direct Sowing Outdoors |
|---|---|---|
| Best climate | Any climate | Mild winters, zones 7+ |
| Control over conditions | High | Low, weather-dependent |
| Germination rate | Higher, more consistent | Lower, more variable |
| Timeline | Start 8–10 weeks before last frost | Sow in fall, let winter stratify |
| Effort required | More hands-on | More hands-off |
Indoor starting gives you more control and a head start on the growing season. Direct sowing outdoors takes less effort but depends heavily on your local climate and weather patterns cooperating.
Caring for Lavender Seedlings
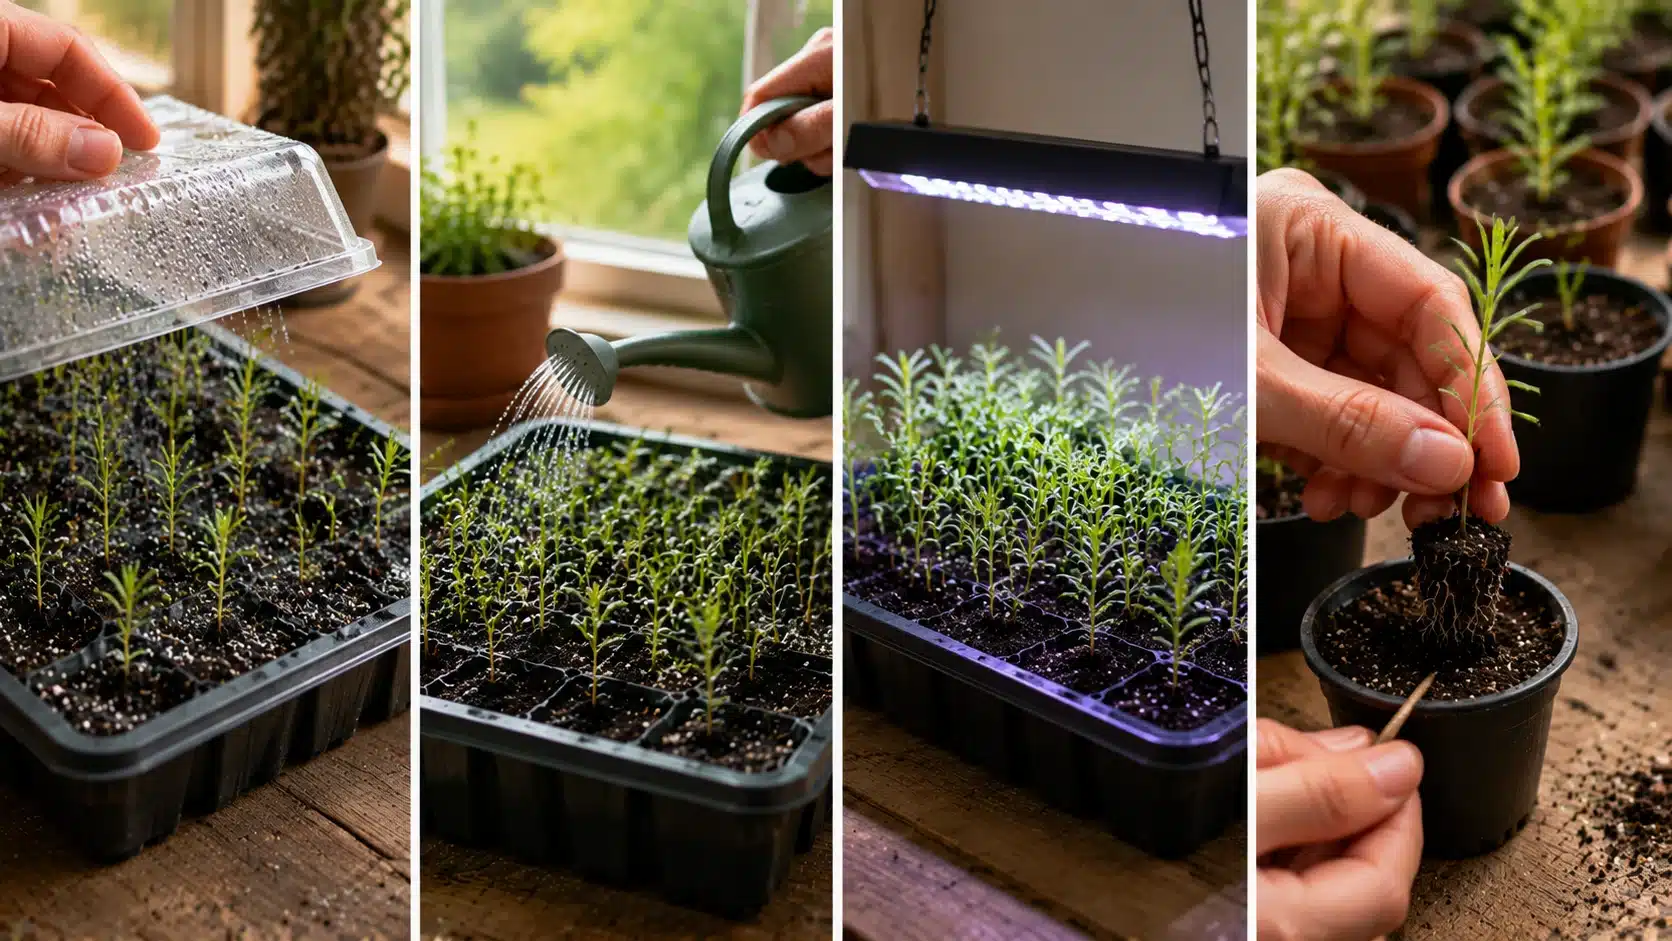
Once seeds sprout, remove the humidity cover to prevent damping off, a fungal issue that thrives in constantly wet, enclosed conditions.
- Water only when the top of the soil feels dry to the touch. Lavender seedlings are far more likely to die from overwatering than from missing a watering.
- Give seedlings at least six hours of direct light a day, either from a bright window or a grow light positioned four to six inches above the trays. Without enough light, seedlings stretch thin and fall over.
Once seedlings have two or three sets of true leaves, thin them out so each one has enough room to develop a healthy root system, or transplant them into individual small pots.
Feeding Lavender Seedlings the Right Way
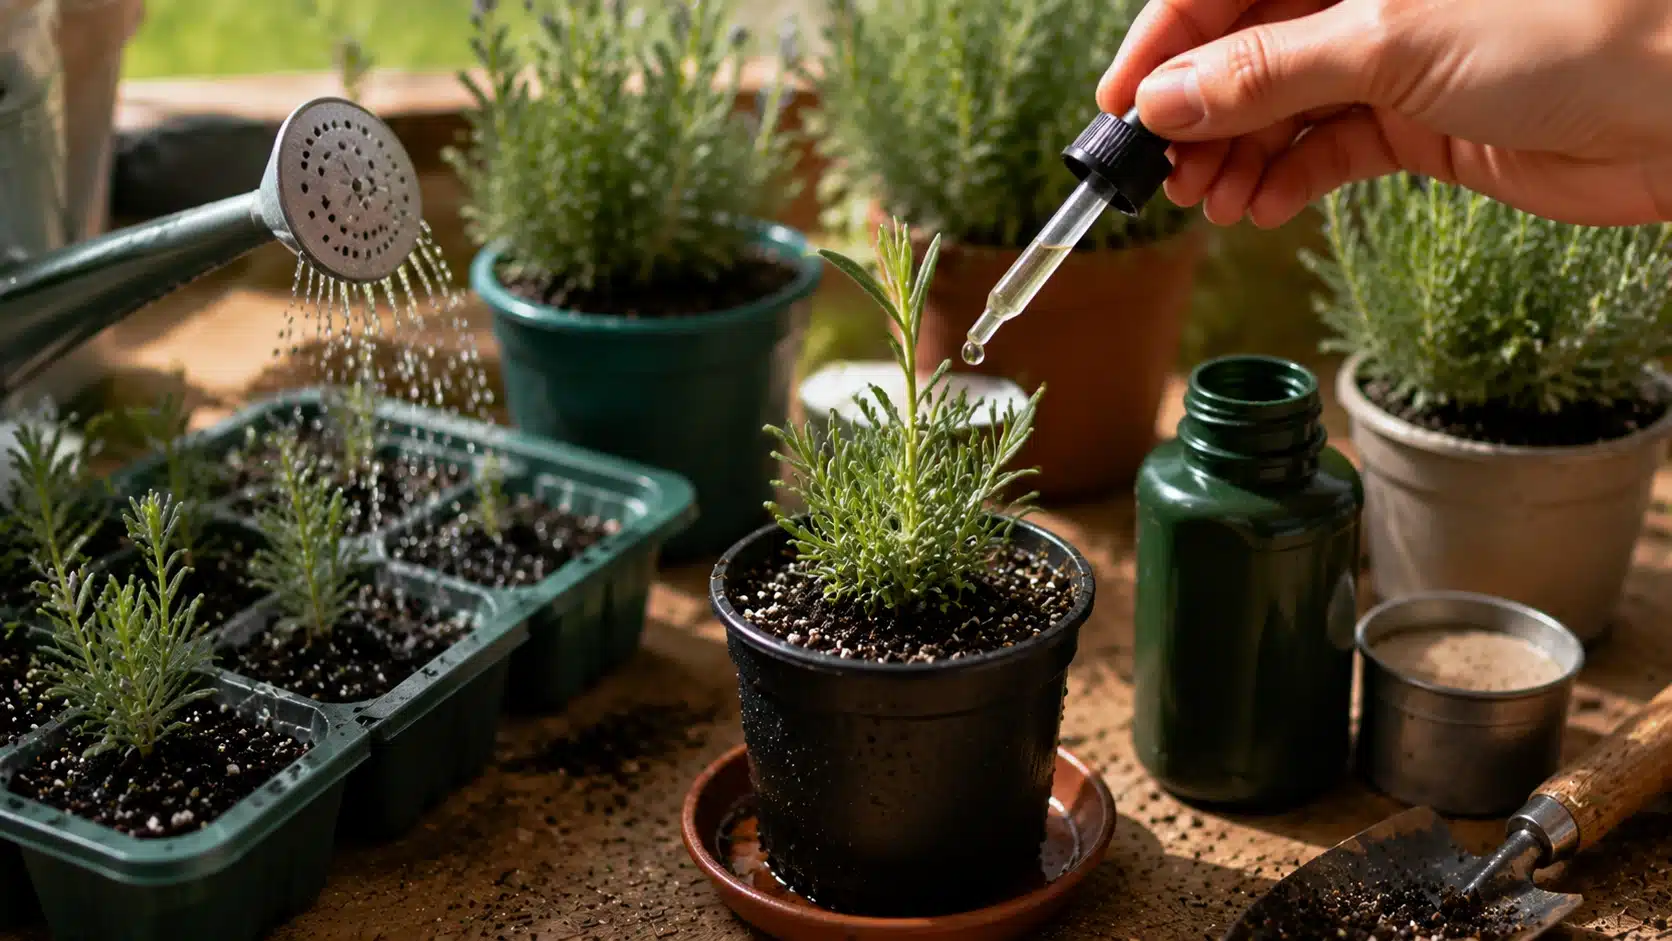
Lavender grows best in lean, low-fertility soil, and that holds even at the seedling stage. Heavy feeding does more harm than good.
- Skip fertilizer: Skip it entirely for the first several weeks after germination. A seed-starting mix usually has enough nutrients on its own to get seedlings through their first sets of true leaves.
- Transplantation: Once seedlings are a few weeks old and have been transplanted into individual pots, a single diluted feeding, mixed at half the strength listed on the label, is enough to support the move.
- Balanced Boost: A balanced liquid fertilizer works fine for this one-time boost.
After that, hold off on fertilizer until plants are settled into their permanent spot outdoors. Overfed seedlings tend to grow soft, leggy, and more prone to rot, the opposite of the compact, hardy growth lavender is known for.
Hardening and Transplanting Of Lavender Plants
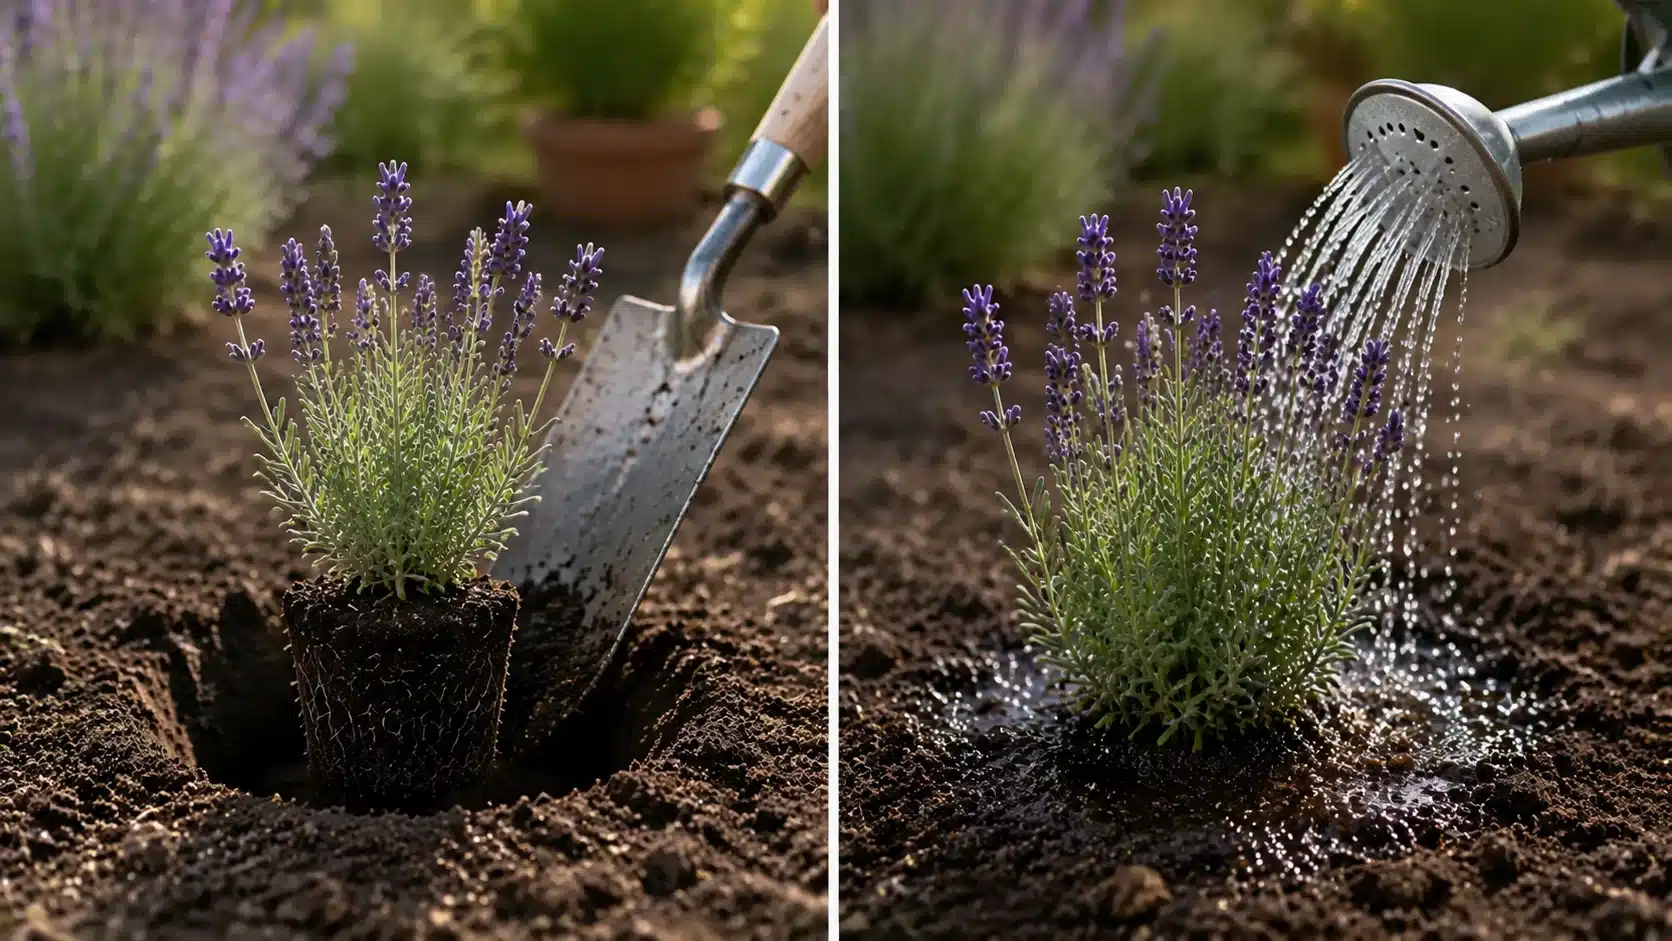
Before moving seedlings permanently outdoors, they need to adjust gradually to outdoor conditions, a process called hardening off.
- Trays for Shelter: Start by setting trays outside in a sheltered, shaded spot for an hour or two, then bring them back in. Increase the time outdoors by an hour or two each day over one to two weeks, gradually introducing more direct sun.
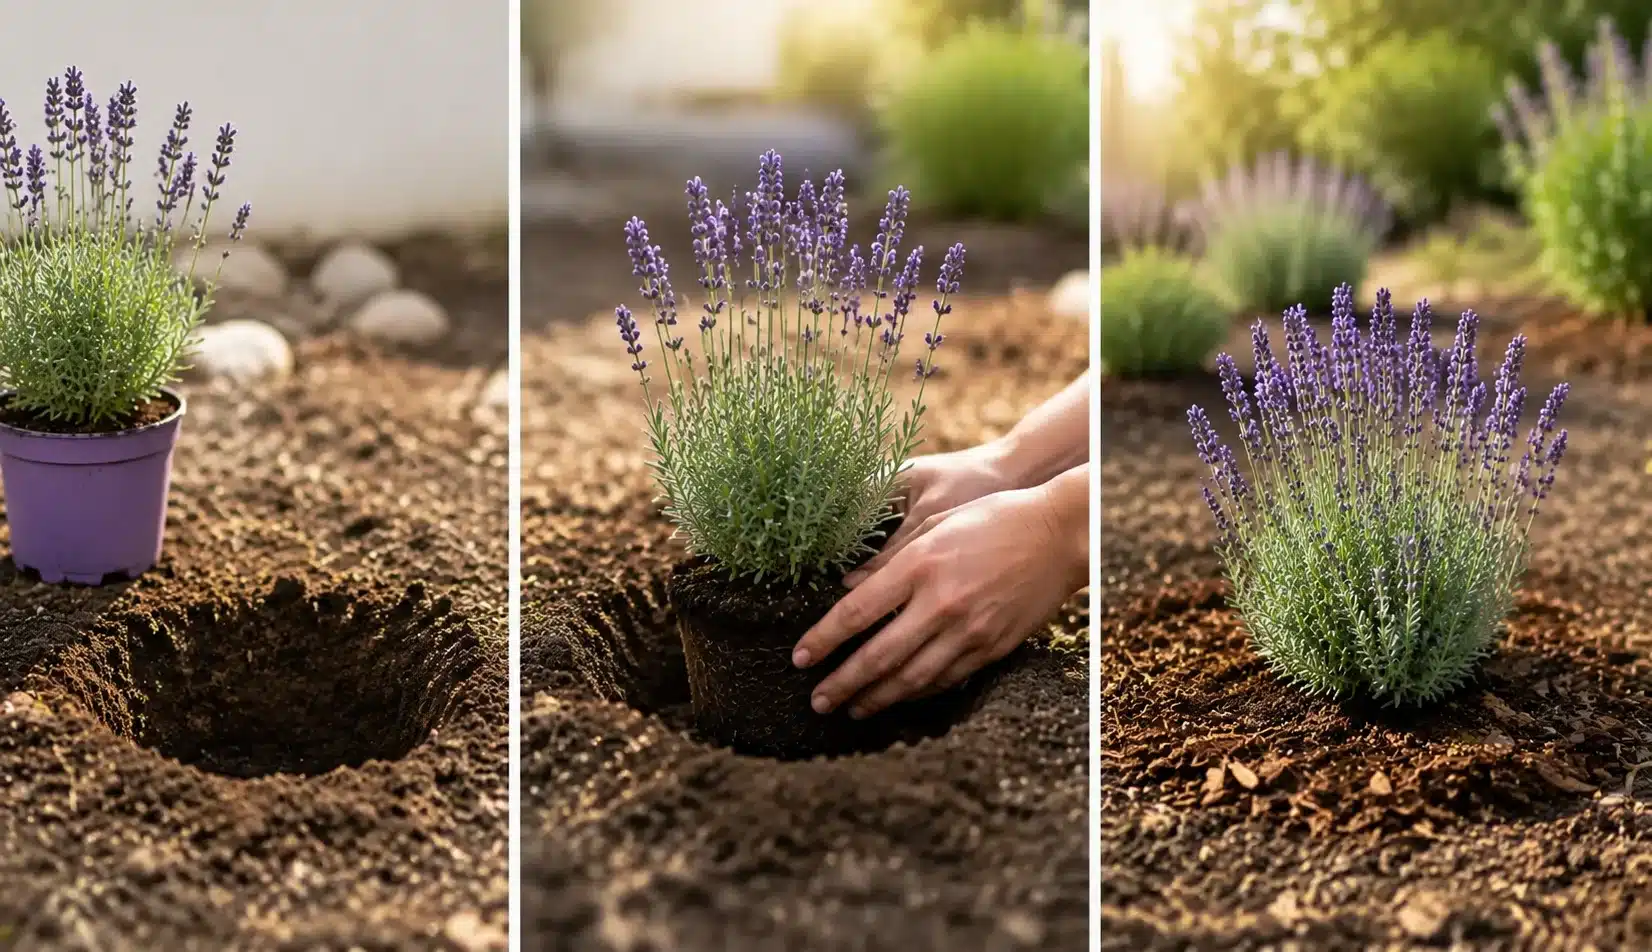
- Transplantation: Once seedlings have hardened off and outdoor temperatures stay reliably above 45°F at night, transplant them into their final spot.
- Spacing: Space plants according to variety, generally 18 to 24 inches apart, in a location with full sun and well-draining soil.
Water new transplants well, then hold back on watering afterward. Lavender establishes best in soil that’s allowed to dry out somewhat between waterings, even at this early stage.
Growing Seed-Started Lavender in Containers
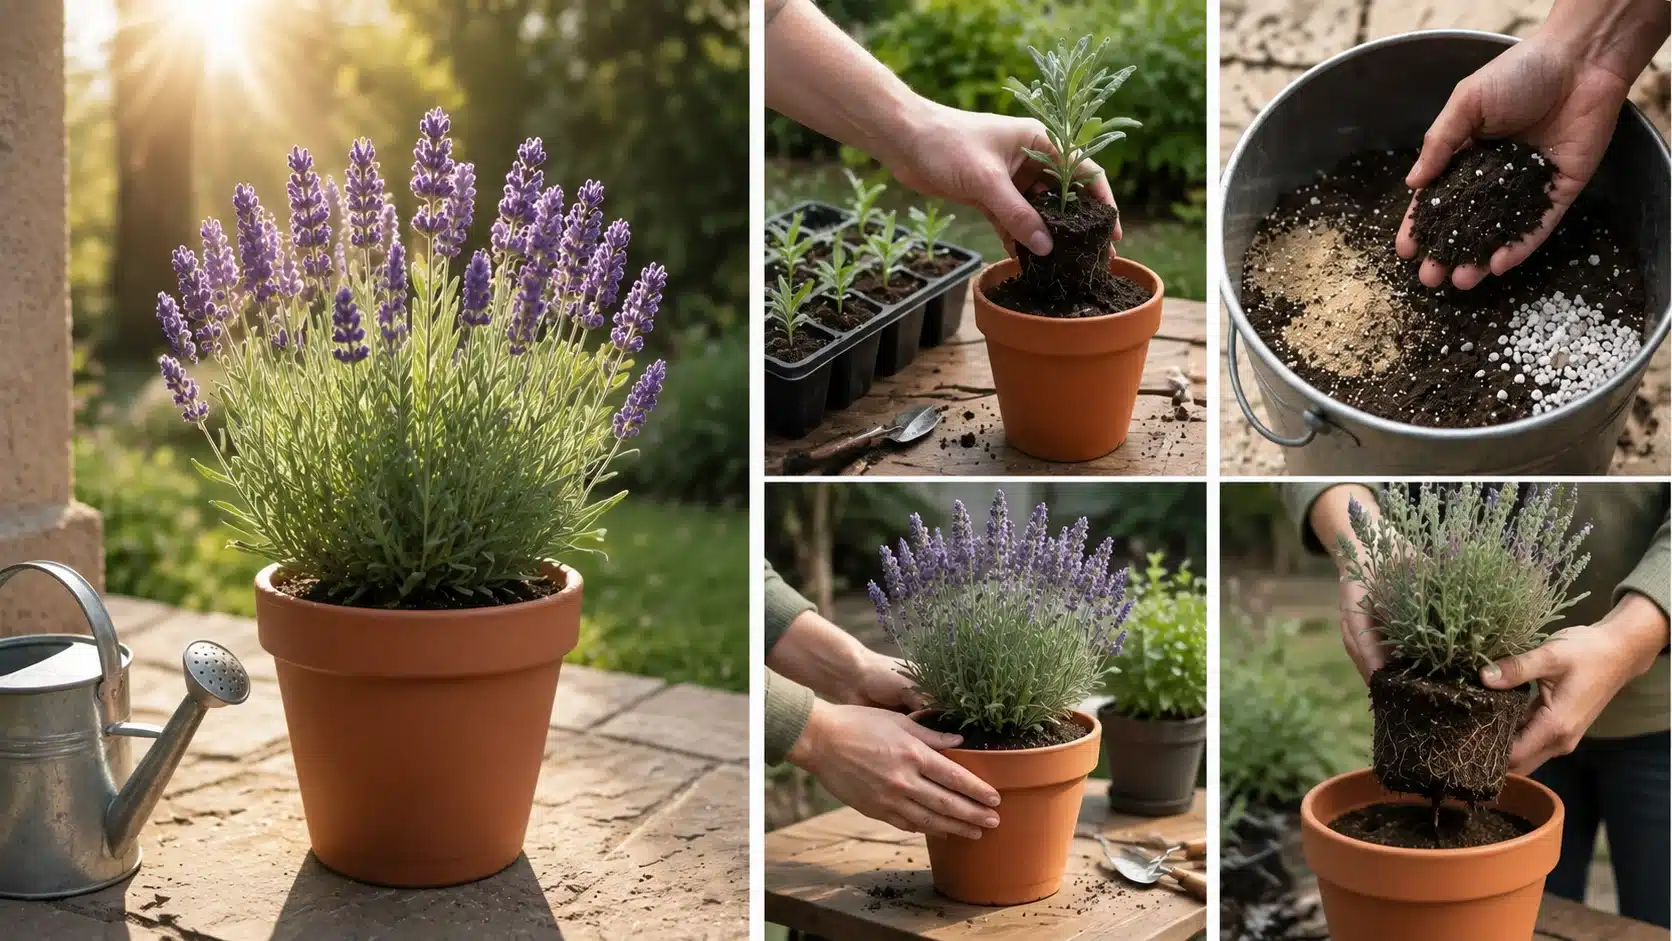
If you’d rather skip the garden bed entirely, seed-started lavender adapts well to life in a pot, and it sidesteps a few of the trickier steps above.
- Size up gradually: Move seedlings from their starting tray into a 4-inch pot once they have two or three sets of true leaves, then into a 10- to 12-inch pot with drainage holes once roots fill that space, usually a few months later.
- Use a gritty, fast-draining mix: A cactus or succulent blend, or potting soil cut with an equal amount of coarse sand or perlite, keeps roots from sitting in moisture the way they can in a garden bed.
- Skip the hardening-off timeline above if you’re keeping it potted: A plant that stays in a container year-round can move outdoors once nighttime temperatures hold above 45°F, without the same multi-week outdoor transition needed for seedlings headed into open ground.
- Bring tender varieties in for winter: French and Spanish lavender grown from seed need the same winter mulching and burlap wrapping that helps potted lavender come back year after year.
- Repot every year or two: Move plants to a slightly larger pot as they fill out, refreshing the gritty mix each time to keep drainage working the way lavender needs.
Containers also make it easy to start several seedlings from the same batch and give away or relocate the ones you don’t have garden space for, without disturbing roots the way transplanting into ground soil can.
Errors To Avoid When Growing Lavender From Seed
Most seed-starting issues come down to a handful of repeat offenders. Here’s how to spot and fix the most common ones.
- Nothing sprouts at all: Almost always a skipped or shortened stratification period. Seeds sown without enough cold exposure often fail to germinate no matter how long you wait.
- Seedlings collapse at the soil line: This is damping off, caused by excess moisture and poor air circulation. Remove humidity domes as soon as seeds sprout and avoid overwatering.
- Seedlings are tall, thin, and floppy: A sign of insufficient light. Move trays closer to a window or add a grow light positioned just a few inches above the plants.
- Germination is wildly uneven: Normal for lavender. Seeds from the same batch can sprout anywhere from two to six weeks apart, so don’t discard a tray just because some seeds haven’t come up yet.
- Seedlings die soon after transplanting: Usually transplant shock from skipping the hardening-off period, or moving plants outdoors before nighttime temperatures were reliably warm enough.
Most of these issues trace back to moisture or light, not the seeds themselves. Fix the environment, and the next batch usually does far better.
Pro tip: Start more seeds than you think you’ll need. Even in ideal conditions, lavender rarely germinates at 100 percent, so a slightly oversized batch protects you from ending up short.
Seeds vs. Cuttings: Which Should You Use?
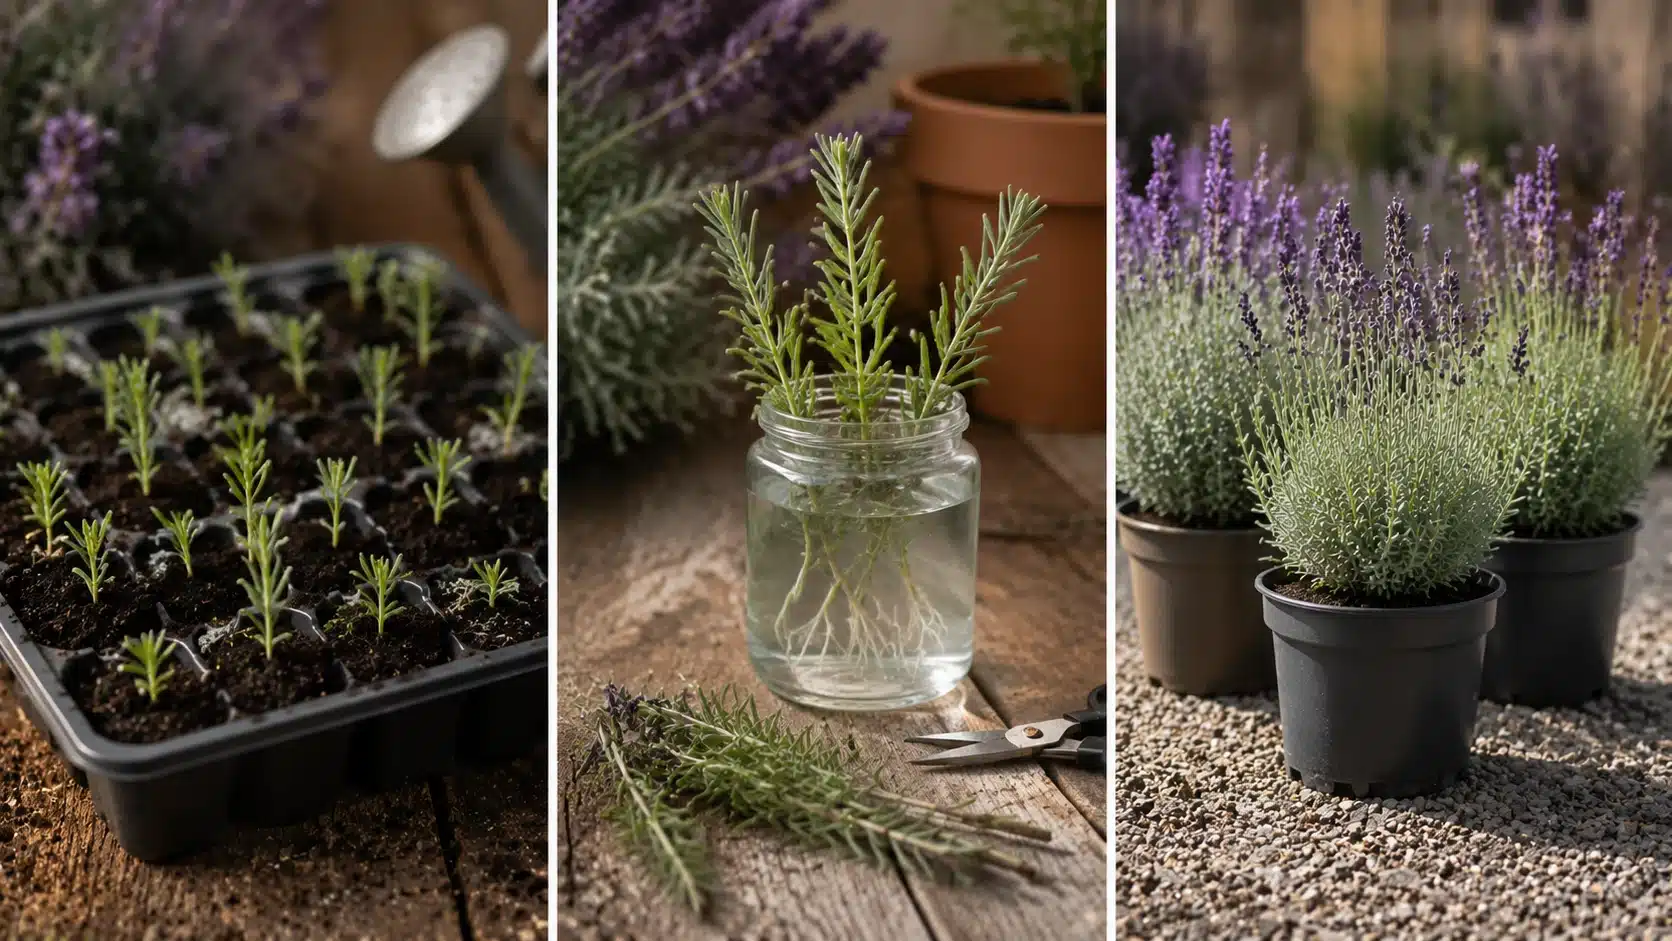
Seeds aren’t the only way to start new lavender plants, and they aren’t always the best choice depending on your goals.
| Method | Time to Established Plant | Cost | Reliability |
|---|---|---|---|
| Seeds | 2–3 years to full size | Low | Lower, uneven germination |
| Softwood cuttings | 6–12 months to established plant | Free, from an existing plant | Higher, more predictable |
| Nursery starts | Bloom-ready same season | Higher upfront cost | Highest |
Established plants also produce their own seeds naturally once flowers dry out and drop, which is a completely separate topic from intentional seed-starting covered here.
If you’ve noticed new seedlings showing up on their own near a mature plant, that’s usually seed dispersal from spent blooms rather than the plant spreading underground.
From Seed Packet to Full Bloom
Growing lavender from seed isn’t complicated, but it rewards patience over speed.
Stratify seeds properly, keep the soil barely moist rather than wet, and give seedlings strong light from the moment they sprout, and most of the common failures never show up in the first place.
It takes longer than buying a nursery start, but there’s a real payoff in growing a lavender bed from seeds you started yourself.
Give the process a full season before judging the results. With lavender, slow growth now means a sturdier, longer-lived plant later.
Frequently Asked Questions
Can I save seeds from my own lavender plant to grow more?
Yes, let a few flower heads dry fully on the plant, then rub them to release the seeds and store them somewhere cool and dry.
How long do lavender seeds stay viable in storage?
About one to two years if kept cool, dark, and dry. Germination rates drop noticeably after that.
Should lavender seedlings be watered from below instead of above?
Bottom-watering works well and lowers the risk of damping off, just don’t let the tray sit in standing water for more than 20 minutes.
Is it normal for only some seeds in a tray to sprout while others never do?
Yes, uneven germination within the same batch is normal for lavender, not a sign the seeds or the setup are bad.