
Painting a room is one of the most practical ways to improve a home without taking on a full renovation.
In my years in renovation, I’ve seen one color change alter a space.
A room can feel larger, calmer, or more structured depending on how the paint is applied and how well the process is planned.
Painting gets easier when you follow clear stages. With good prep, steady technique, and the right order, beginners can get a clean finish.
This guide shows how to paint a room with clear, practical steps.
It focuses on practical execution rather than theory, helping you complete a room with a smooth finish and consistent coverage from wall to trim.
Choose the Right Paint and Finish Before You Start
Choosing the right paint finish helps the room look better and last longer. Some finishes hide marks well, while others are easier to clean in busy areas.
- Flat or Matte: Best for low-traffic rooms; hides wall flaws but is harder to clean.
- Eggshell or Satin: Best for bedrooms and living rooms; soft shine, cleans more easily.
- Semi-Gloss: Best for trim and doors; durable, shiny, and easy to wipe.
- Low-VOC Paint: Best for indoor rooms; a cleaner choice for indoor air quality.
Tools and Materials Needed to Paint a Room
Having the right tools before starting a painting project reduces mistakes, improves consistency, and helps maintain control during each stage of the process.
Interior painting does not require complex equipment, but applying the basics correctly creates a noticeable difference in finish quality.
| Tools and Materials | Purpose |
|---|---|
| 2-inch angled brush | Used for edges, corners, and trim lines |
| Paint roller with cover | Covers large wall areas evenly |
| Paint tray with liner | Holds paint for controlled rolling |
| Painter’s tape | Protects edges and keeps lines clean |
| Drop cloths | Protects flooring and nearby surfaces |
| Paint stir stick | Mixes paint evenly before use |
| 5-in-1 tool | Opens cans and helps with minor prep |
| Small bucket for paint | Easier handling during cutting in |
| Rubber mallet | Seals paint cans without damage |
Roller selection depends on surface texture. A 3/8 inch nap is standard for smooth plasterboard walls found in most modern bedrooms.
Thicker naps are used when walls have texture or uneven surfaces that require deeper paint coverage.
How to Paint a Room from Start to Finish
A structured sequence is important when painting interior walls. Working in the correct order prevents uneven coverage, reduces cleanup, and improves the final finish.
The steps below reflect a process commonly used in residential painting projects.
Step 1: Choose the Right Paint Color and Finish
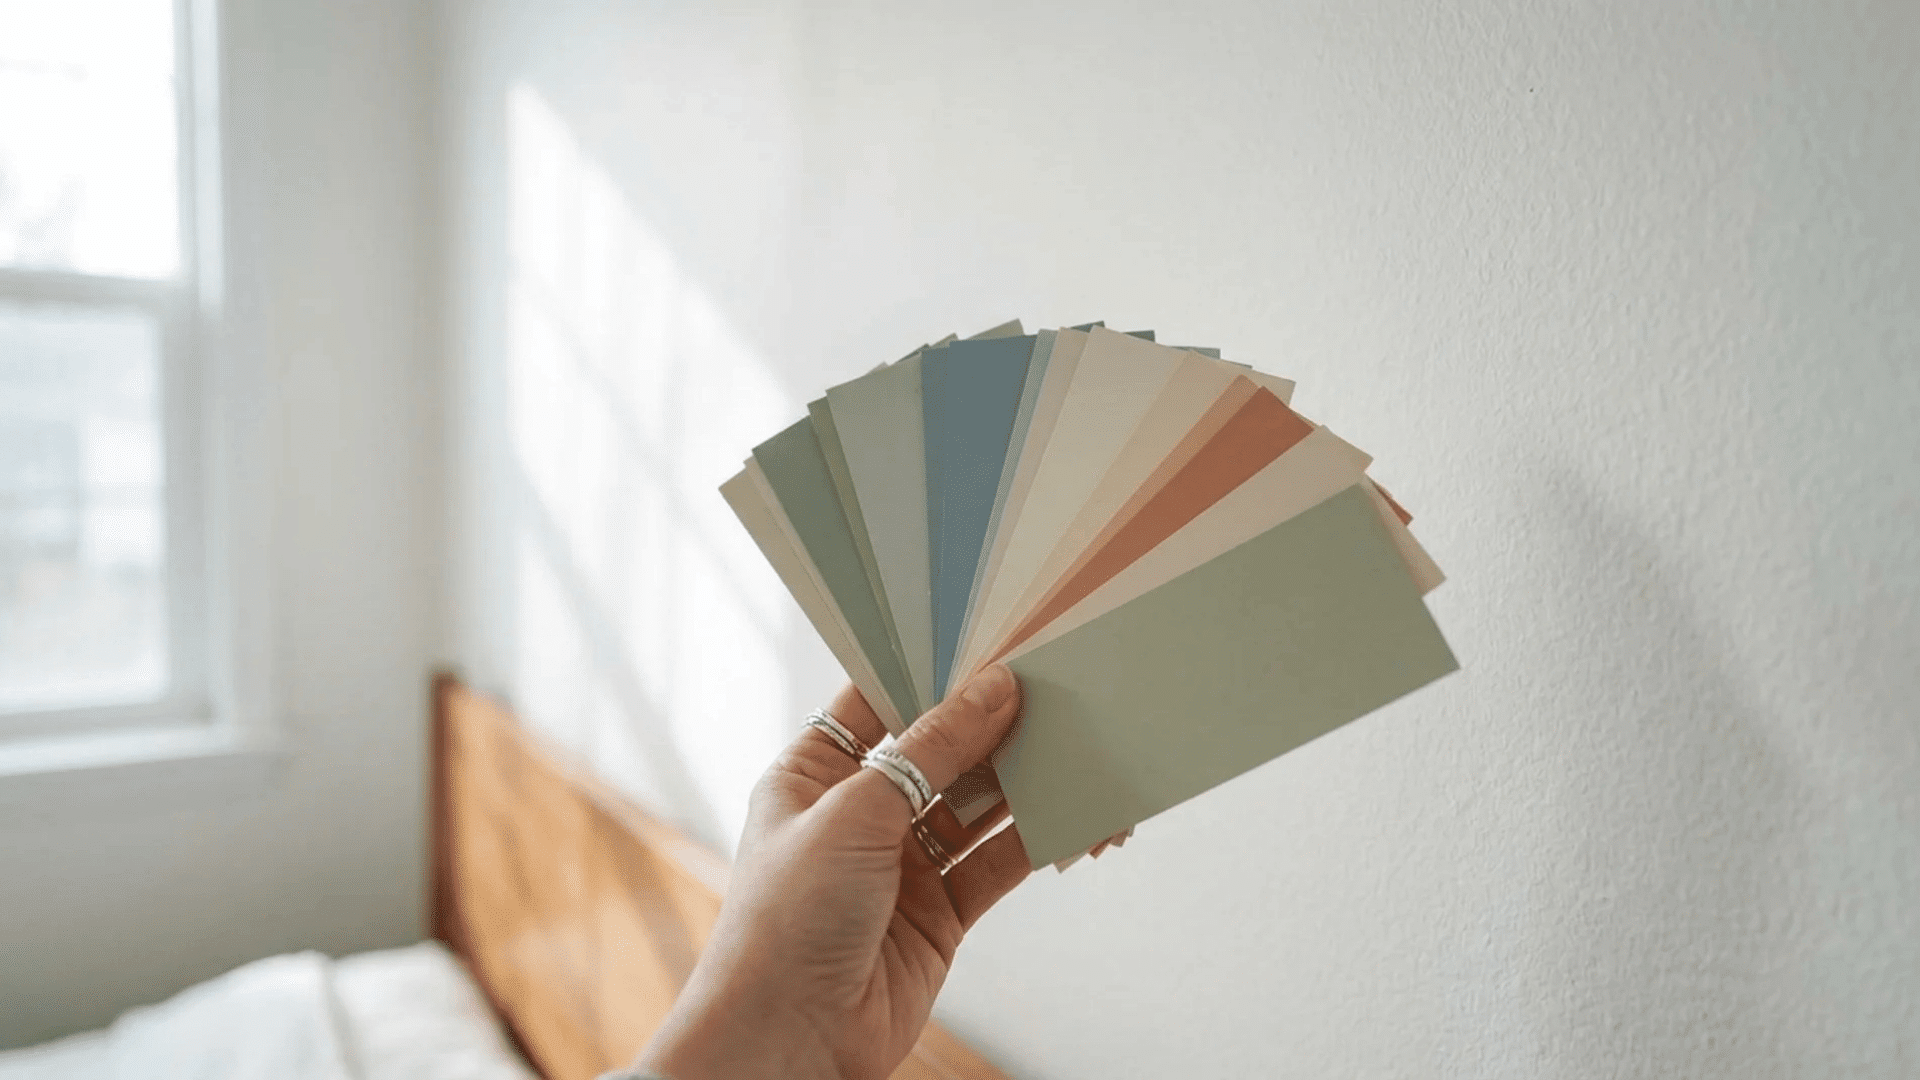
Color selection should always begin with the room’s real lighting conditions.
Paint often looks different in stores compared to home environments due to variations in artificial lighting. For accurate selection, samples should be tested directly on the wall.
Apply multiple swatches and observe them throughout the day. Morning light, afternoon sunlight, and evening indoor lighting affect how the color appears. This prevents unexpected results once the full wall is painted.
Choosing the right paint finish helps the room look better and last longer. Some finishes hide marks well, while others are easier to clean in busy areas.
Step 2: Measure Paint Requirements
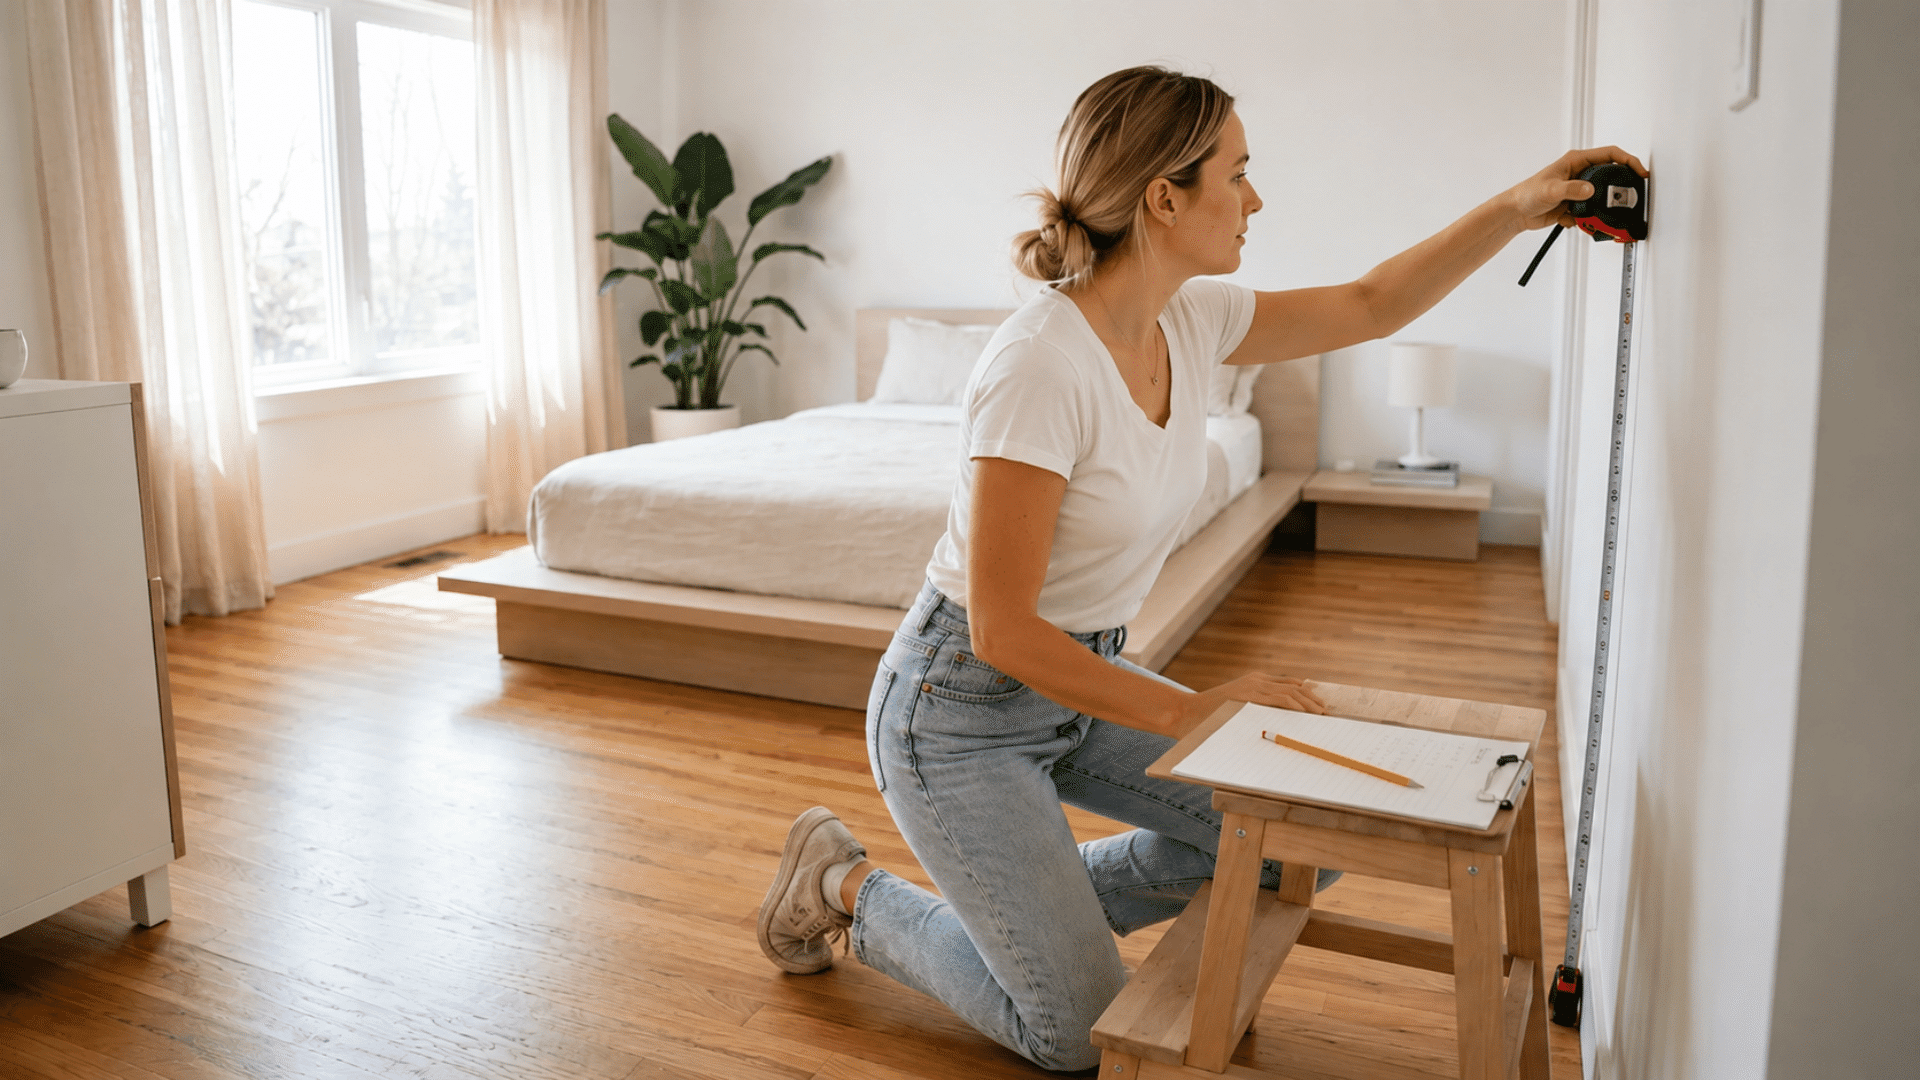
Accurate paint estimates help avoid interruptions during the project. A standard 2.5-liter tin of interior paint covers roughly 25 square meters of wall space per coat.
To calculate paint needs, measure the perimeter of the room and multiply it by the ceiling height.
Next, subtract the areas of doors and windows to obtain a more precise estimate of the surface area. This step helps ensure your measurement is as accurate as possible.
When more than one tin of the same color is required, combining them in a larger container helps maintain a consistent tone across all walls.
This prevents minor shade differences between separate cans.
Step 3: Prepare the Paint Properly
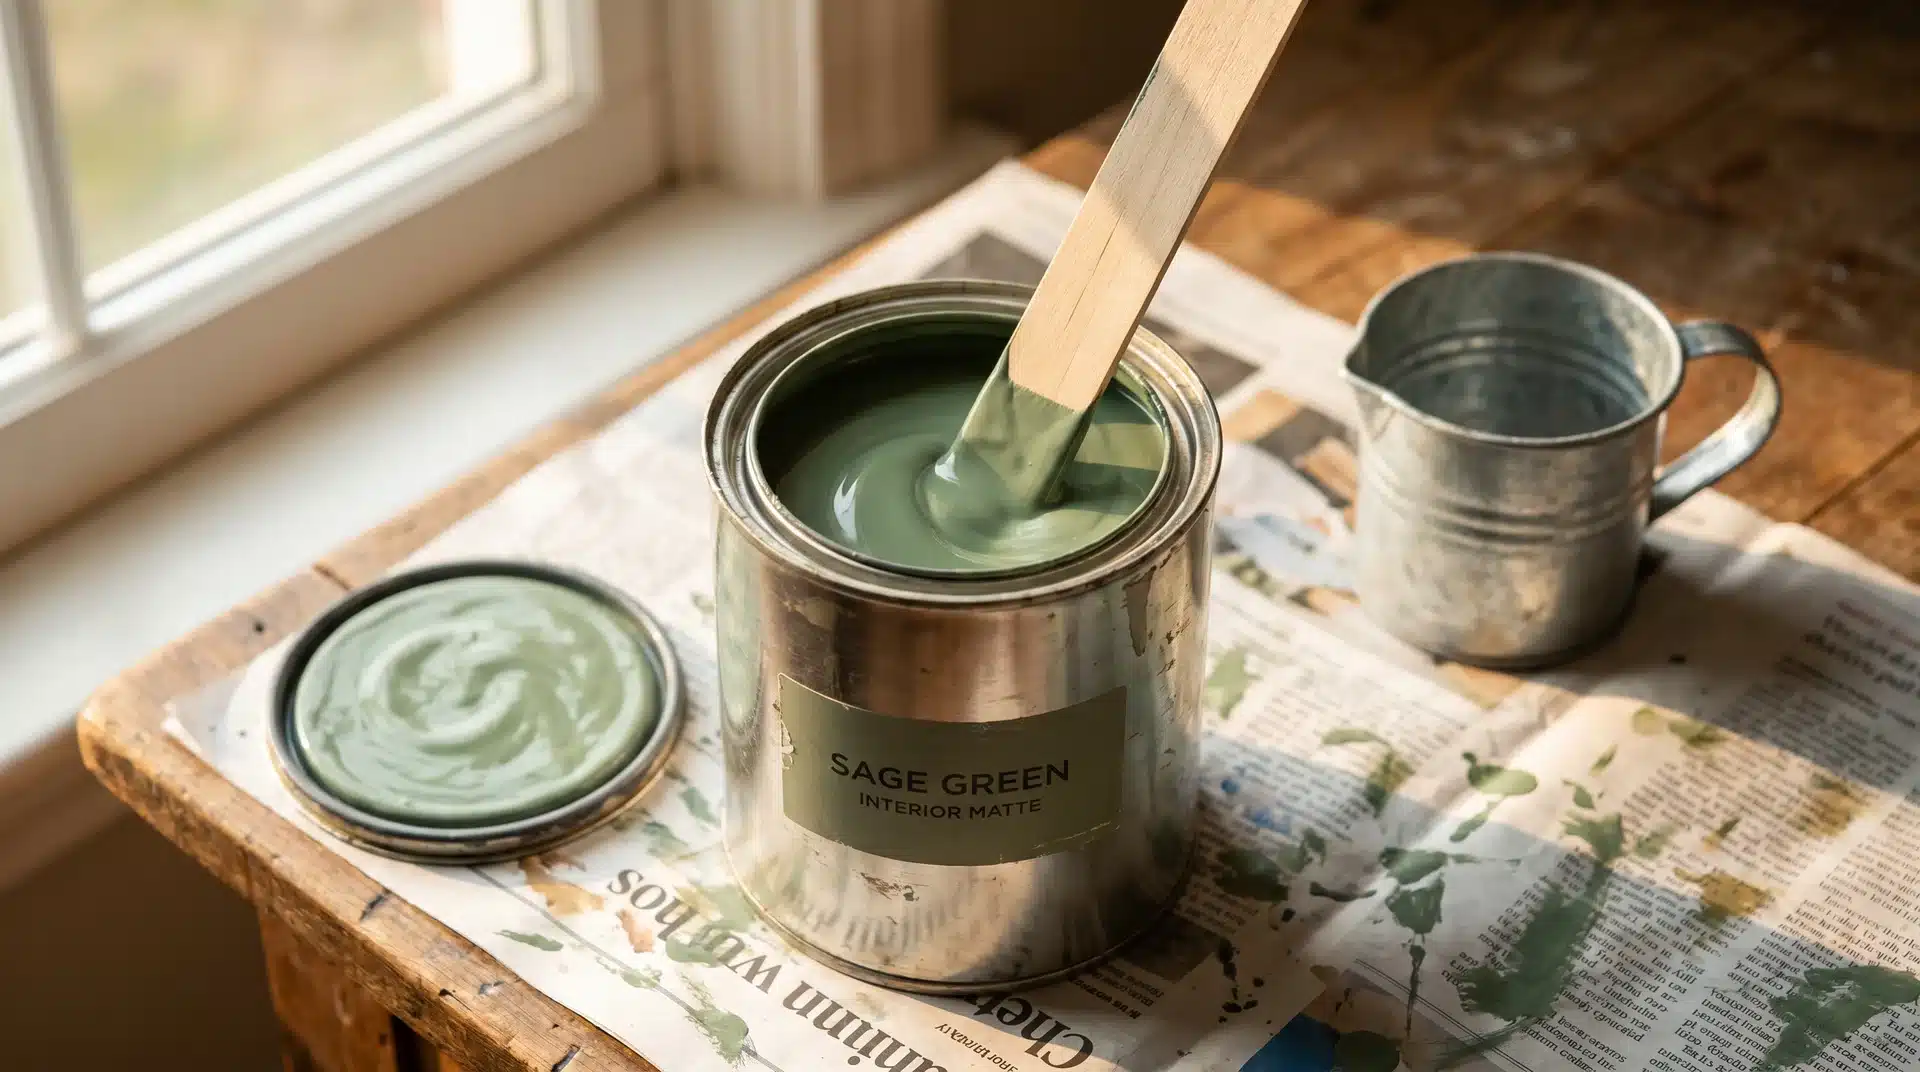
Paint must be properly mixed before application. Over time, pigments can separate from the base, especially if the can has been sitting unused.
Stirring from the bottom ensures that color and consistency are even throughout.
Most interior paint sold today is water-based latex paint, which settles faster than oil-based formulas and needs a thorough stir before use.
Once mixed, pouring a portion into a smaller container improves control during application.
This reduces trips back to the main can and helps maintain a steady workflow while cutting in edges or working along trim.
Step 4: Protect Surfaces and Mask Edges
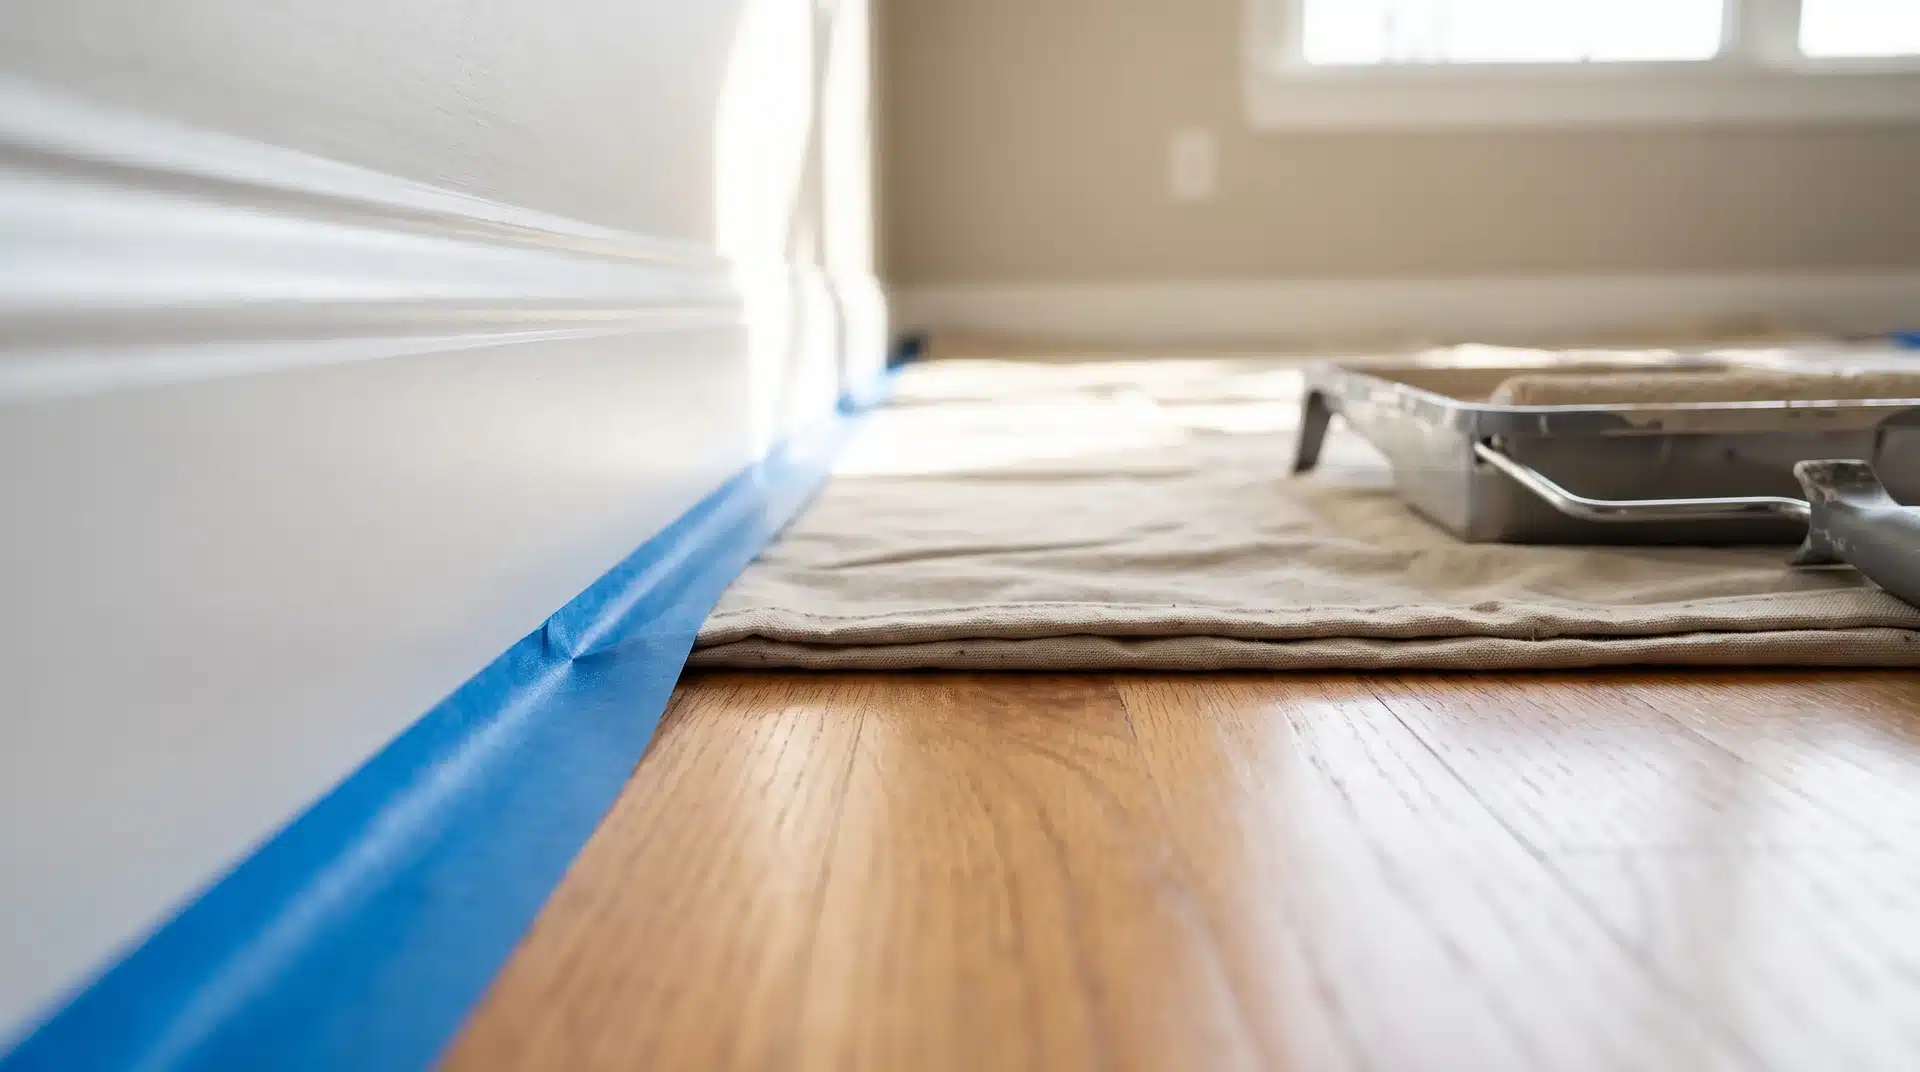
Before any paint is applied, the room should be properly protected.
Flooring, baseboards, trim, and adjacent surfaces need to be covered to prevent accidental marks or splatter.
Painter’s tape should be applied along clean, dry edges. It should be pressed firmly to prevent paint from bleeding underneath. Drop cloths should fully cover floor areas where paint will be applied.
Good masking reduces the need for later correction work and helps maintain clean lines throughout the room.
Step 5: Cut Along the Room Edges
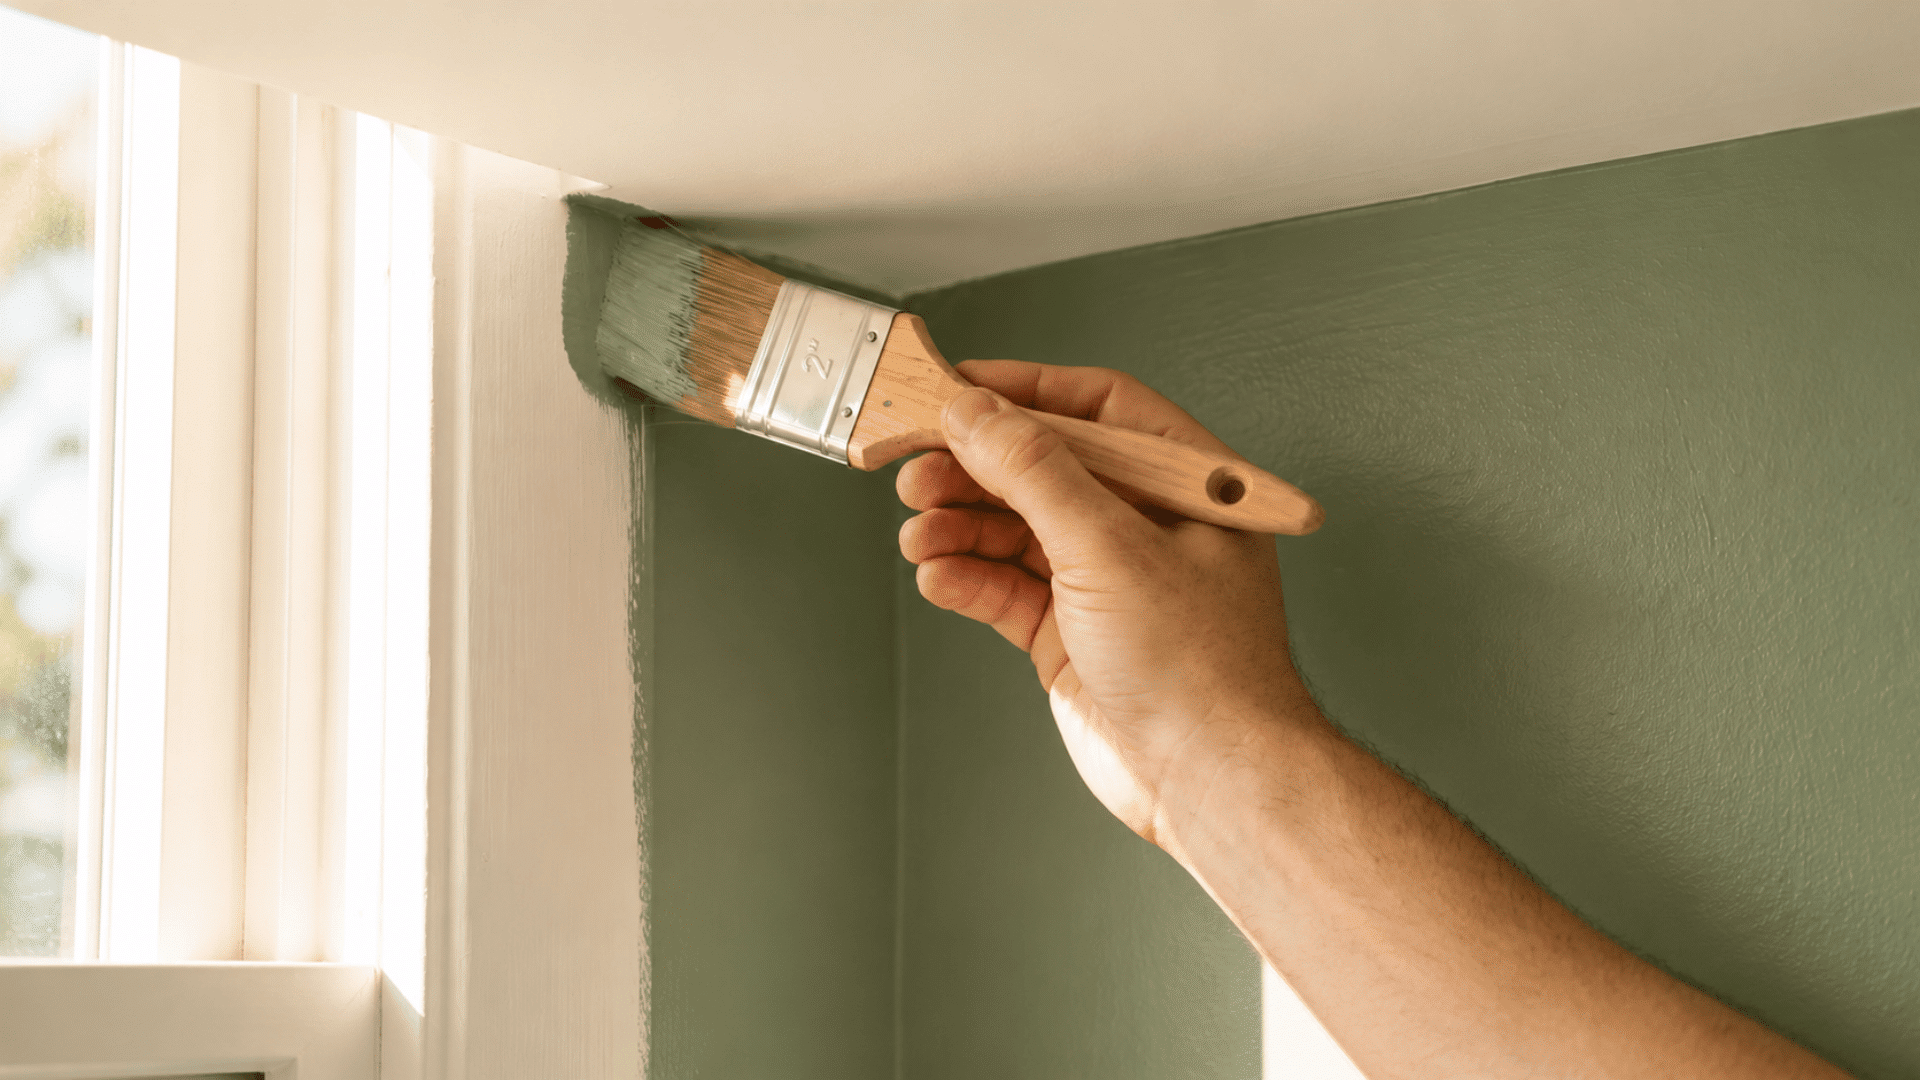
Cutting in refers to painting the edges of the room where rollers cannot reach.
This includes corners, ceiling lines, window frames, and baseboards. A 2-inch angled brush provides control in these tight areas.
The brush should be loaded lightly to avoid dripping. Excess paint should be removed before application.
Work in small sections to maintain wet edges so the brushed areas blend smoothly with the rolled sections later.
Precision at this stage defines the overall sharpness of the finished room.
Step 6: Apply Paint Using a Roller
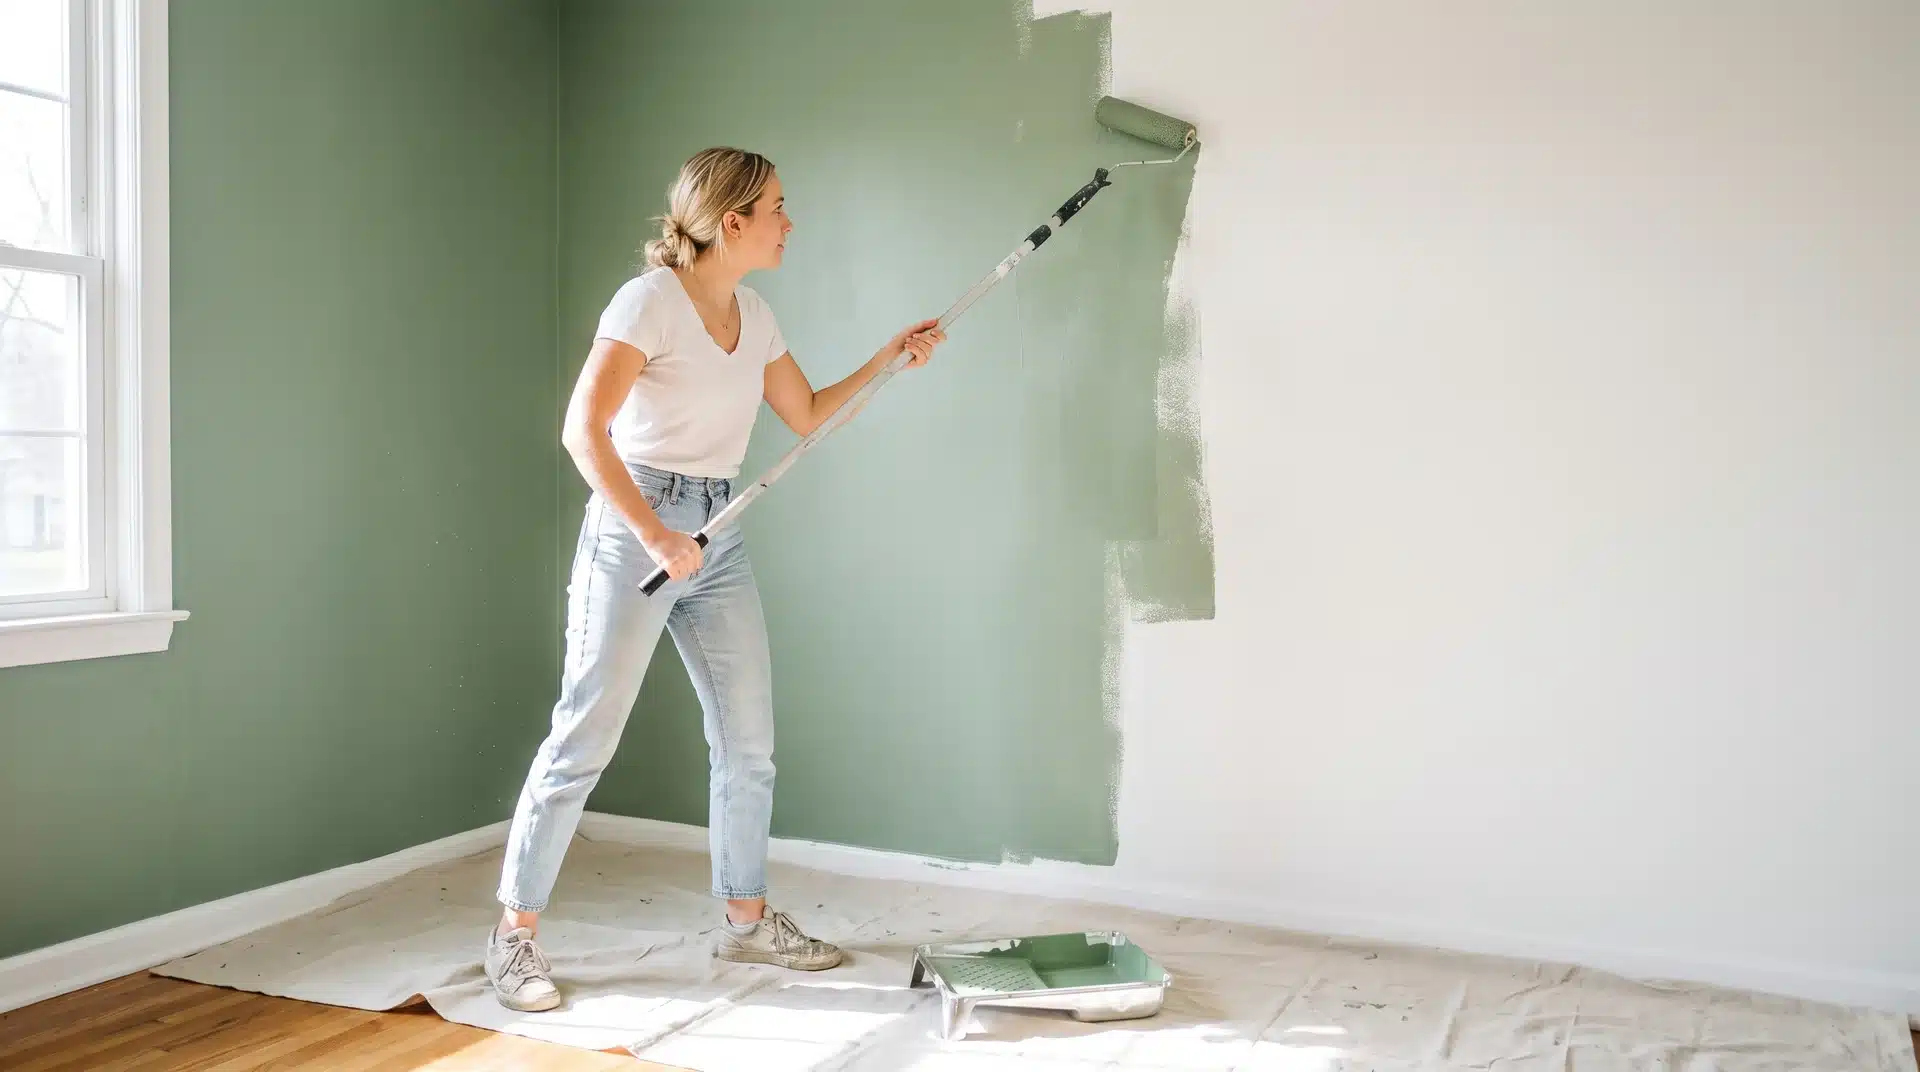
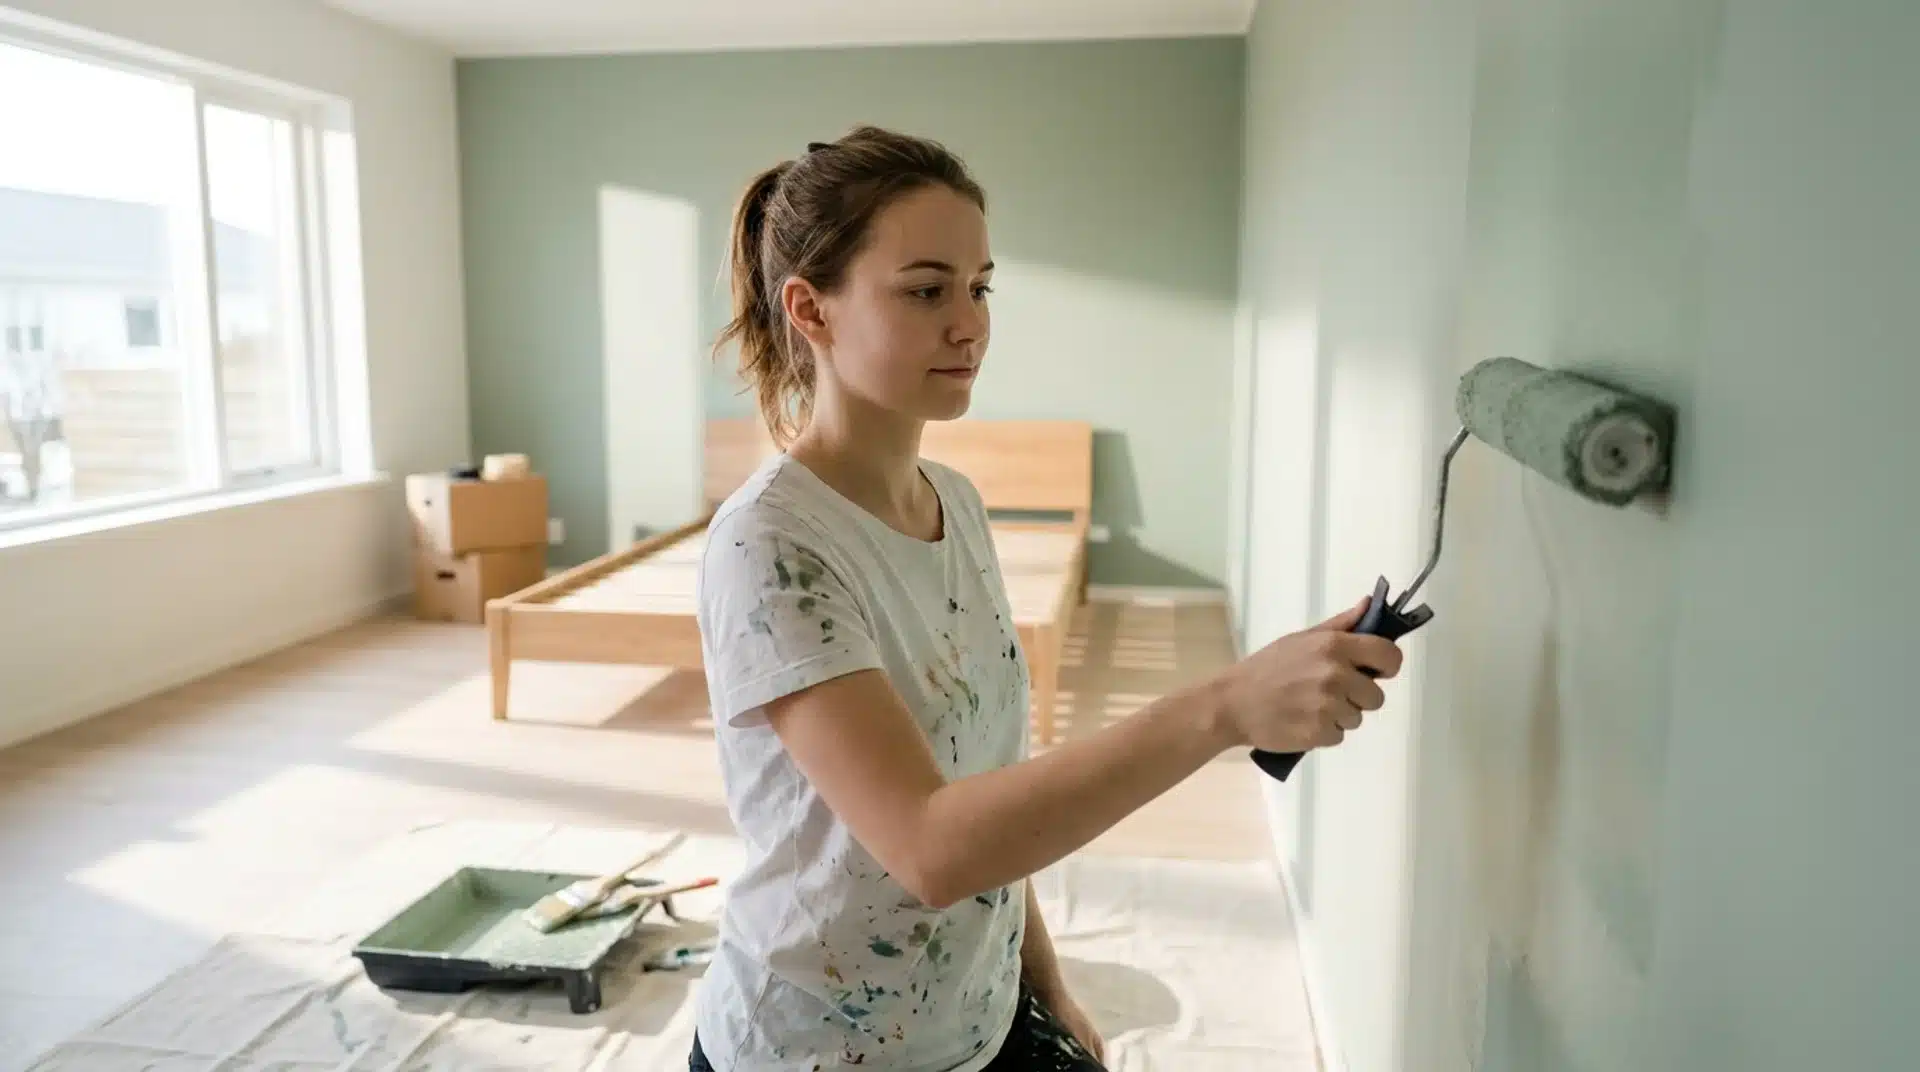
Once edges are complete, the roller is used for the main wall surfaces. The roller should be loaded evenly without being oversaturated. Too much paint can cause streaks and uneven texture.
Apply paint in overlapping vertical sections. Common methods include W patterns, full vertical strokes, or blocking sections.
The goal is consistent coverage without visible roller marks. Light pressure is important.
Heavy pressure can create ridges, and overloading the roller is a common cause of a bubbled finish once the paint dries.
Step 7: Apply the Second Coat
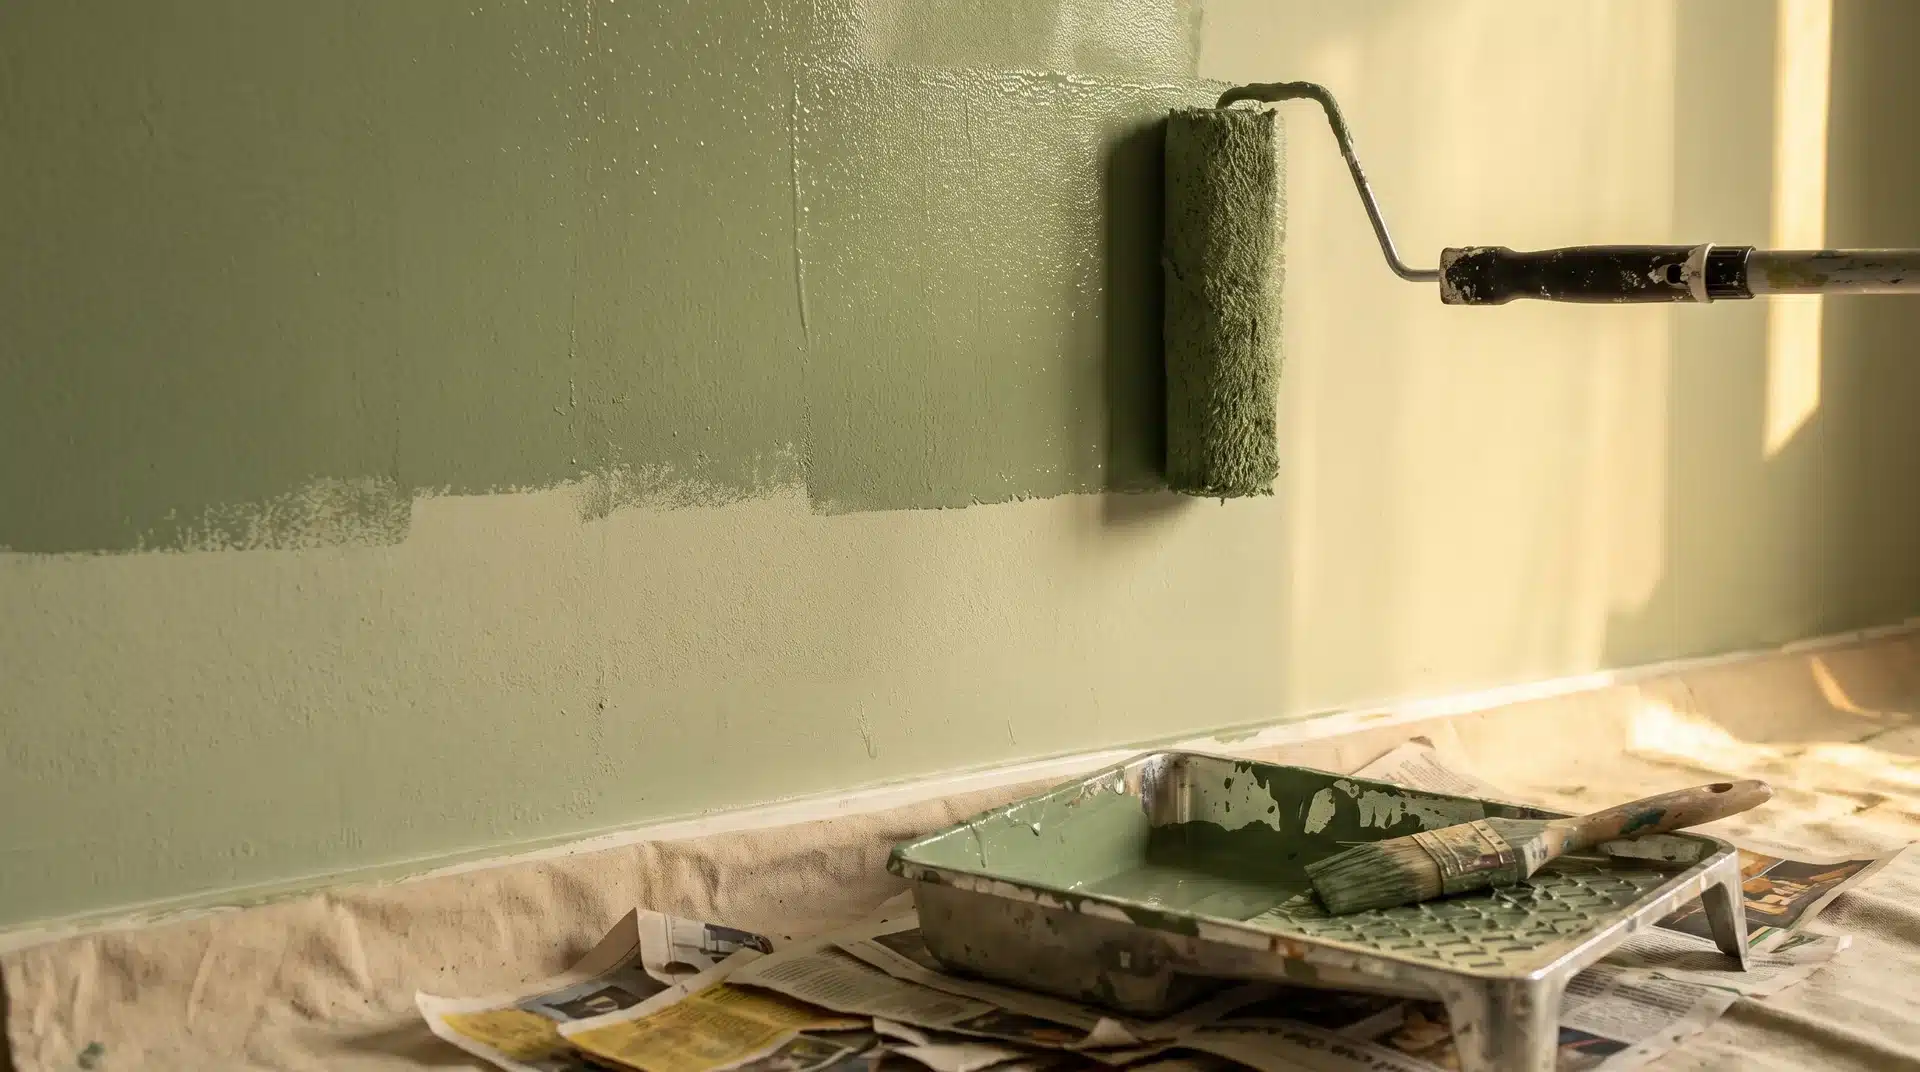
After the first coat dries fully, a second coat is applied using the same method. Drying time varies depending on paint type and room conditions, but most interior paints require a few hours before recoating.
The second coat strengthens color depth and corrects any uneven areas from the first application. It also ensures consistent coverage across all wall surfaces, especially in areas exposed to natural light.
Step 8: Remove Tape and Inspect Edges
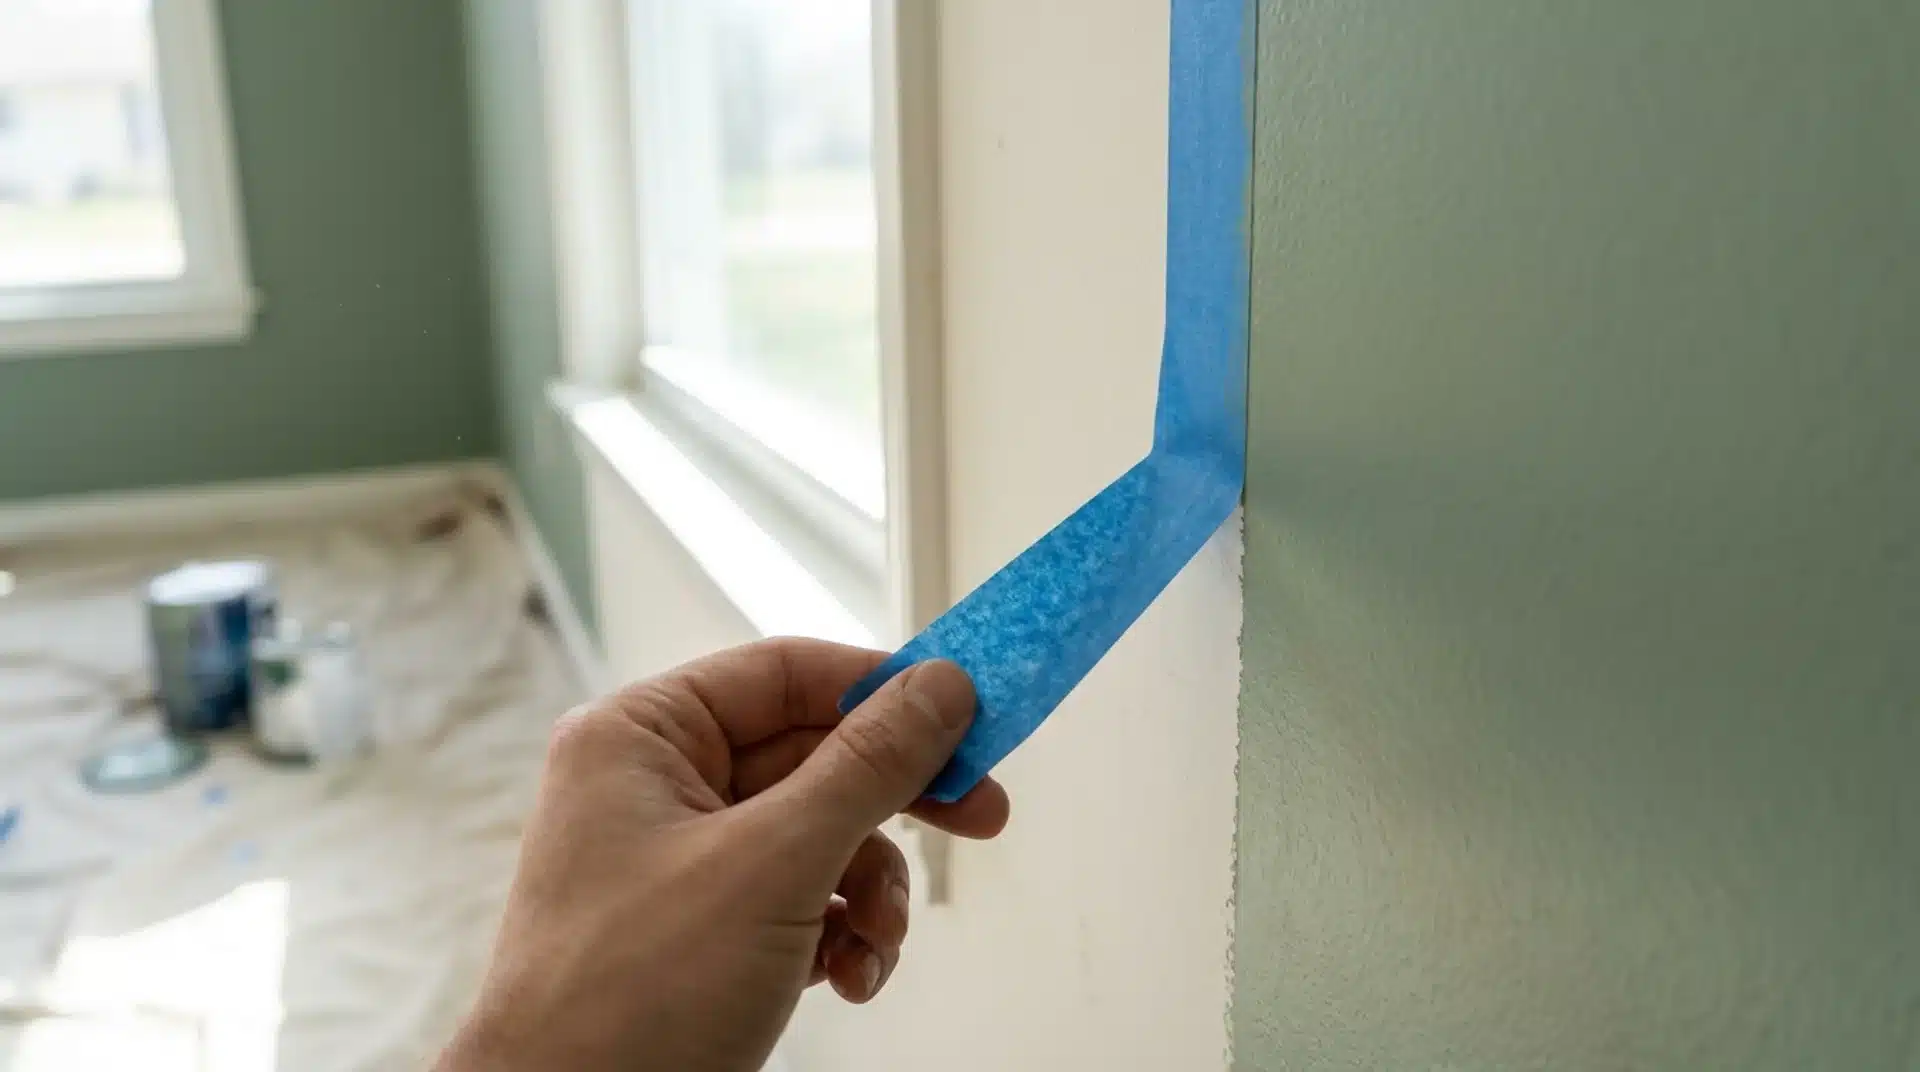
Painter’s tape should be removed carefully once the paint is dry to the touch. It should be pulled slowly at an angle to maintain clean edges.
After removal, inspect all transitions between wall, ceiling, and trim.
It’s a good idea to gently check for any tiny imperfections before making those final touch-ups. This way, everything will look perfect and polished!
Step 9: Paint Trim and Finish Details
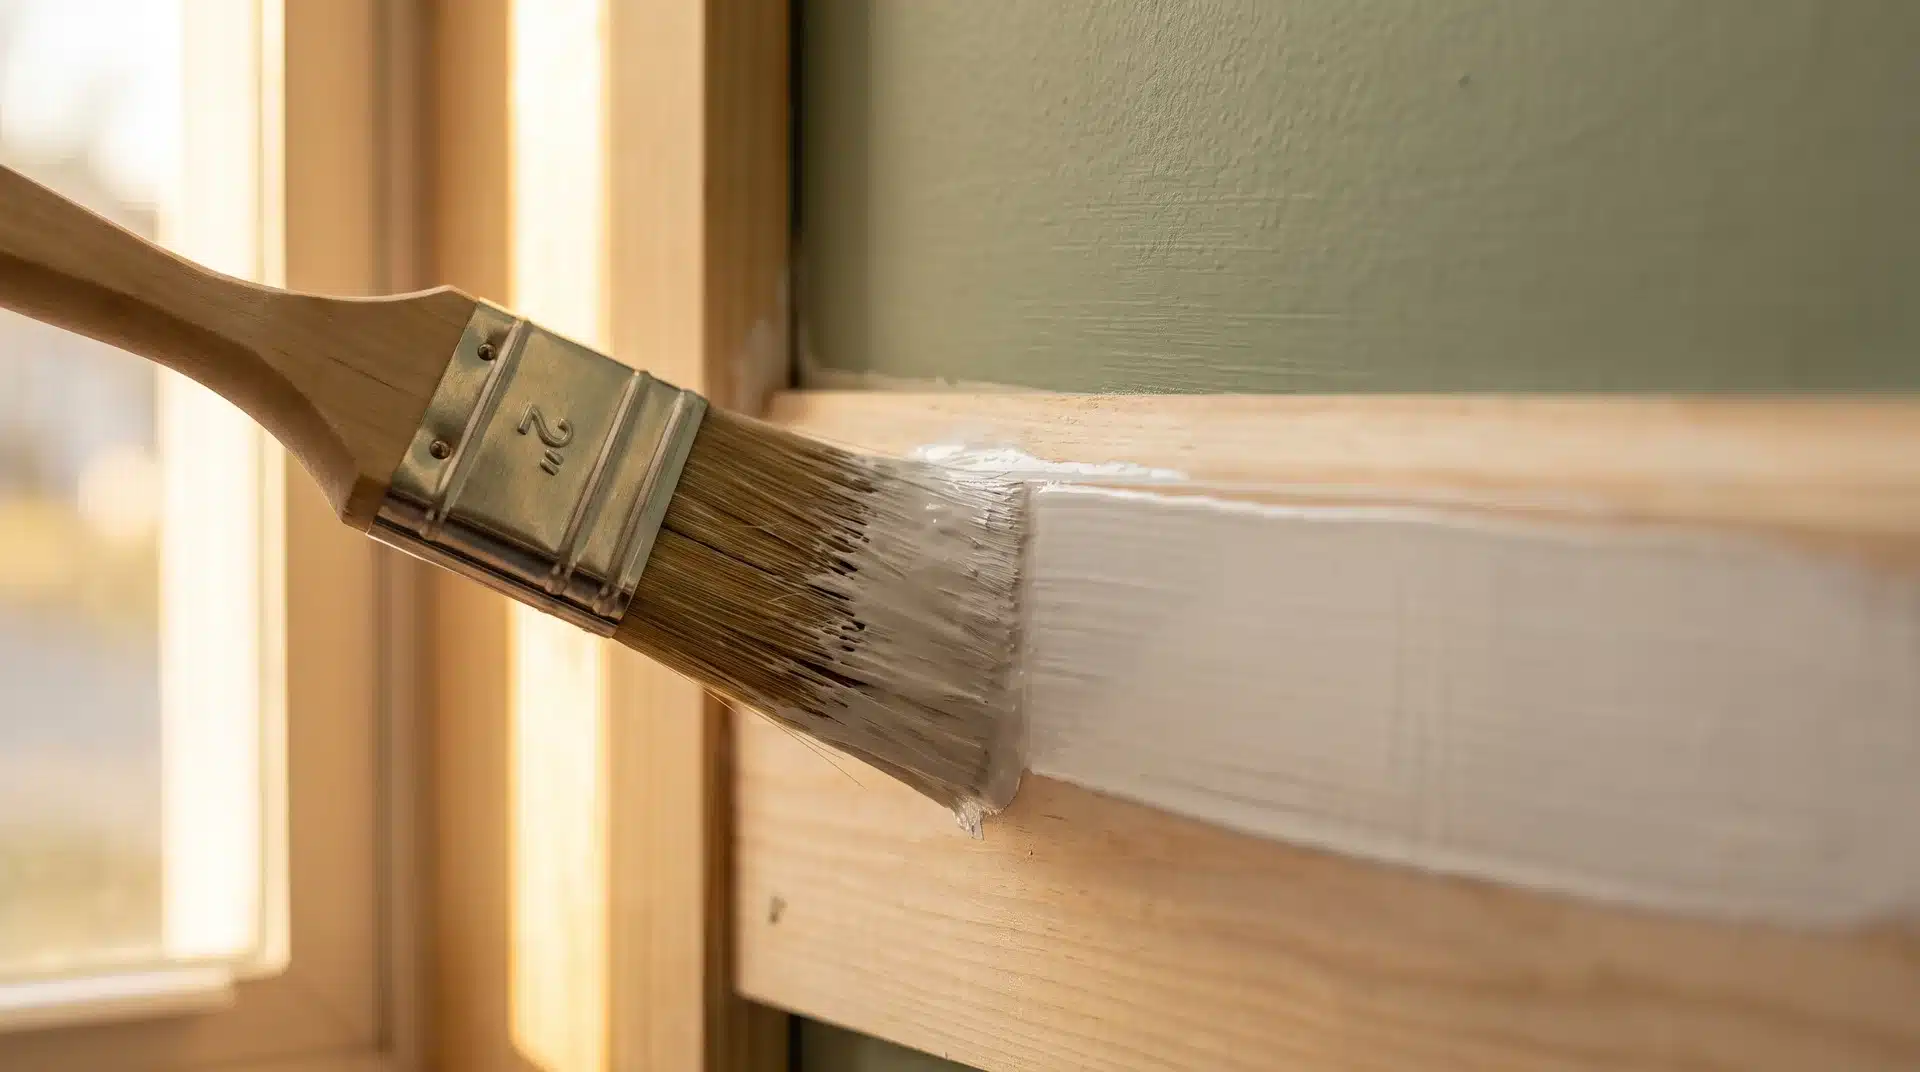
Trim painting is completed after walls are fully dry. A clean, angled brush should be used with semi-gloss paint for a crisp, wipeable line
Long, steady strokes are preferred over short, uneven movements. Trim areas should be checked closely for drips, since semi-gloss paint dries with visible texture if not applied evenly.
This stage adds definition to the room and frames the wall color.
Step 10: Final Inspection and Cleanup
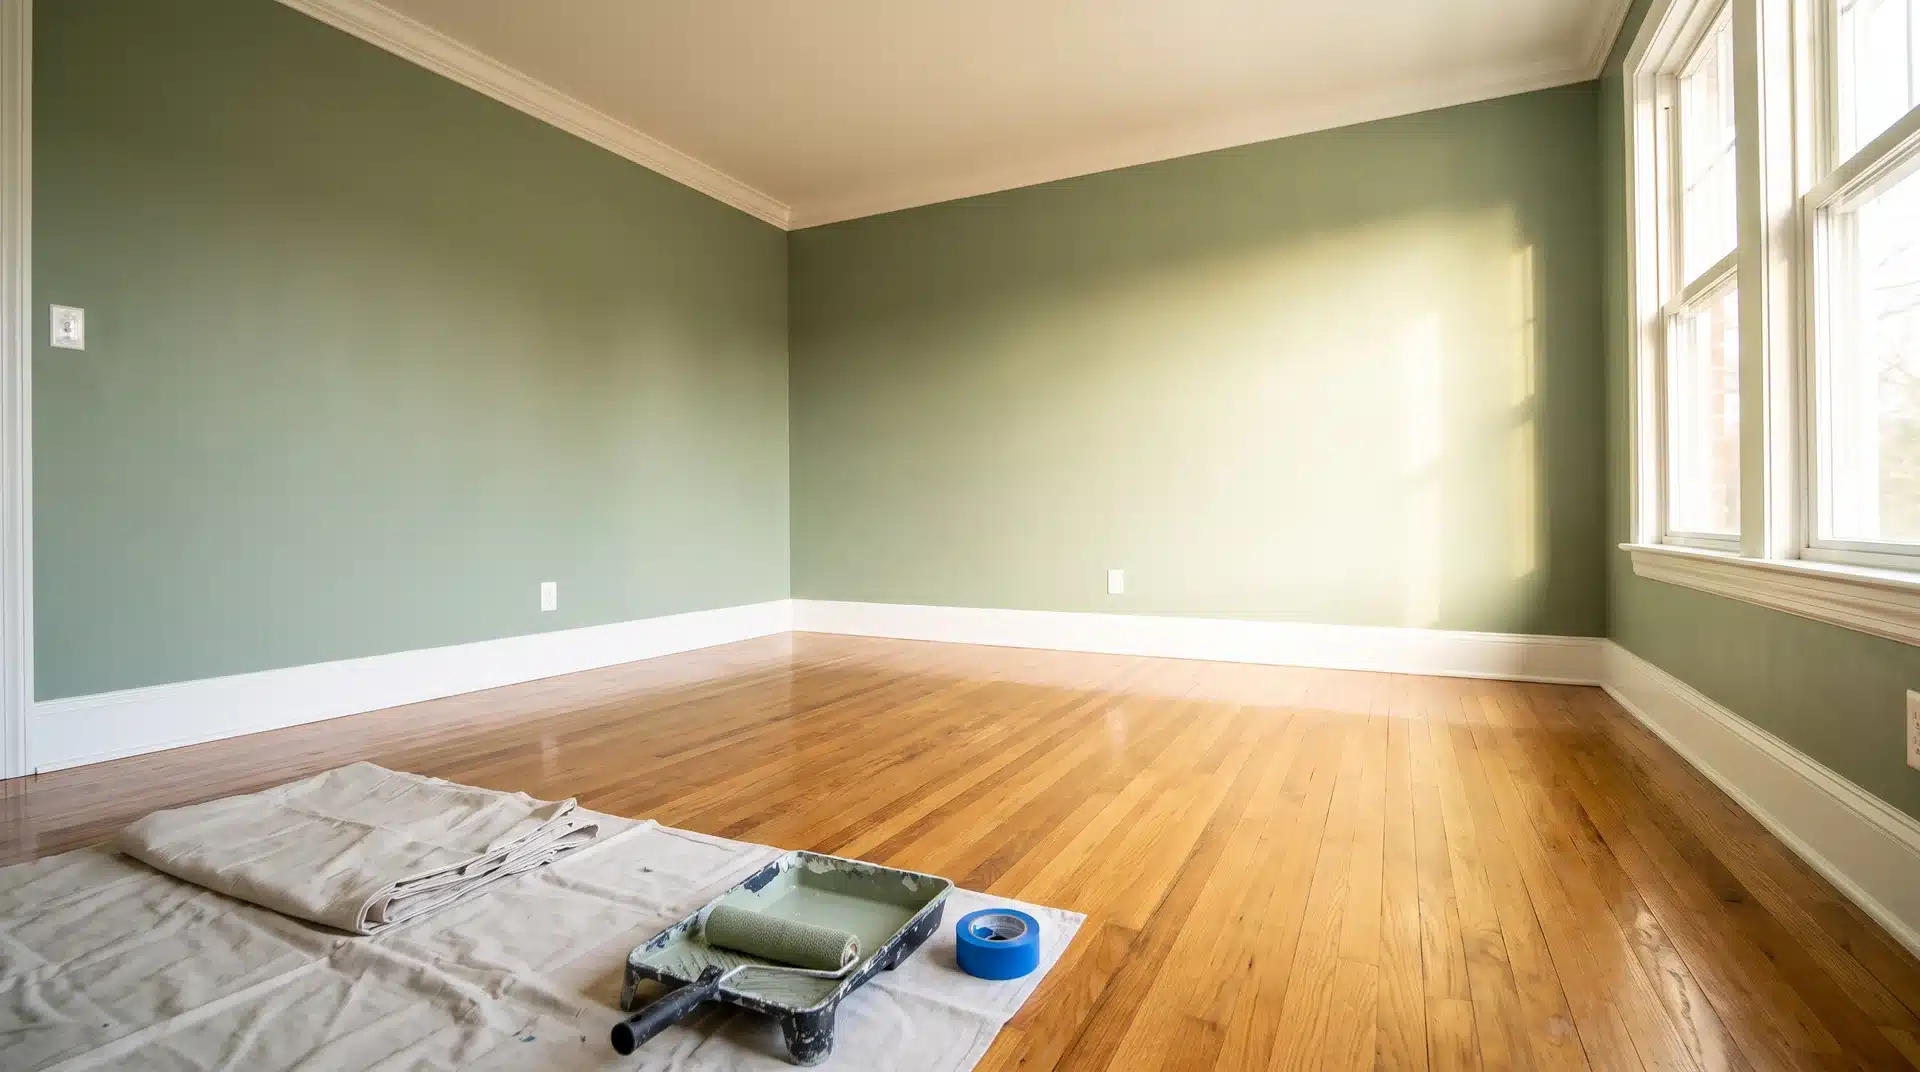
The final step involves reviewing the entire room under natural light. This helps identify missed spots, uneven coverage, or areas that need minor correction.
Touch-ups should be completed while paint is still accessible and tools are nearby. Once finished, brushes and rollers should be cleaned thoroughly, and leftover paint should be sealed and labeled for future use.
Proper storage ensures the color can be matched later if repairs are needed without noticeable variation.
Video Reference
Special thanks to Lowe’s Home Improvement for providing valuable insights in their video, which I referenced while creating this guide.
Common Mistakes to Avoid When Painting a Room
Most paint jobs go wrong before the roller ever touches the wall. These are the mistakes that cause the most rework.
- Skipping the swatch test: Paint often dries darker or more saturated than the sample chip suggested.
- Overloading the roller: Too much paint causes drips and can leave a bubbled finish once it dries.
- Painting over dirty or greasy walls: Paint won’t adhere properly, leading to peeling later.
- Removing tape too late: Dried paint tears away with the tape, leaving a jagged edge.
- Recoating before the first coat is fully dry: Traps moisture underneath and causes a patchy finish.
Conclusion
Painting a room is a structured process that becomes easier when broken into clear stages.
Each step, from selecting color to final cleanup, contributes to the overall finish. Preparation ensures control, while technique determines consistency.
The second room typically takes less time, and the workflow becomes more natural with experience.
A well-painted room does more than change appearance. It influences how the space feels and how it is used day to day.
With the right approach, any interior can be improved using simple tools and steady application.
Frequently Asked Questions
Do You Need to Sand Walls Before Painting a Room?
Yes, light sanding helps paint grip glossy or uneven surfaces. Clean, previously painted walls usually just need a wipe-down and a quick scuff-sanding first.
Can You Paint Over Old Paint without Priming?
Yes, you can paint over existing paint if the surface is clean, dry, and in good condition. Priming is needed only for stains, drastic color changes, or damaged walls.
What Temperature is Best for Painting a Room?
Interior paint performs best between 10°C and 29°C. Extreme heat or cold slows drying and can affect the finish, so aim for a mild, stable room temperature
Should You Paint the Ceiling or Walls First?
Paint the ceiling first, then the walls, then the trim last. Working top to bottom stops drips from landing on finished surfaces and keeps edges clean where they meet.
How Long Does It Take to Paint a Room?
A single room takes about a weekend: one day for prep, one day for two coats of paint, with drying time between coats.