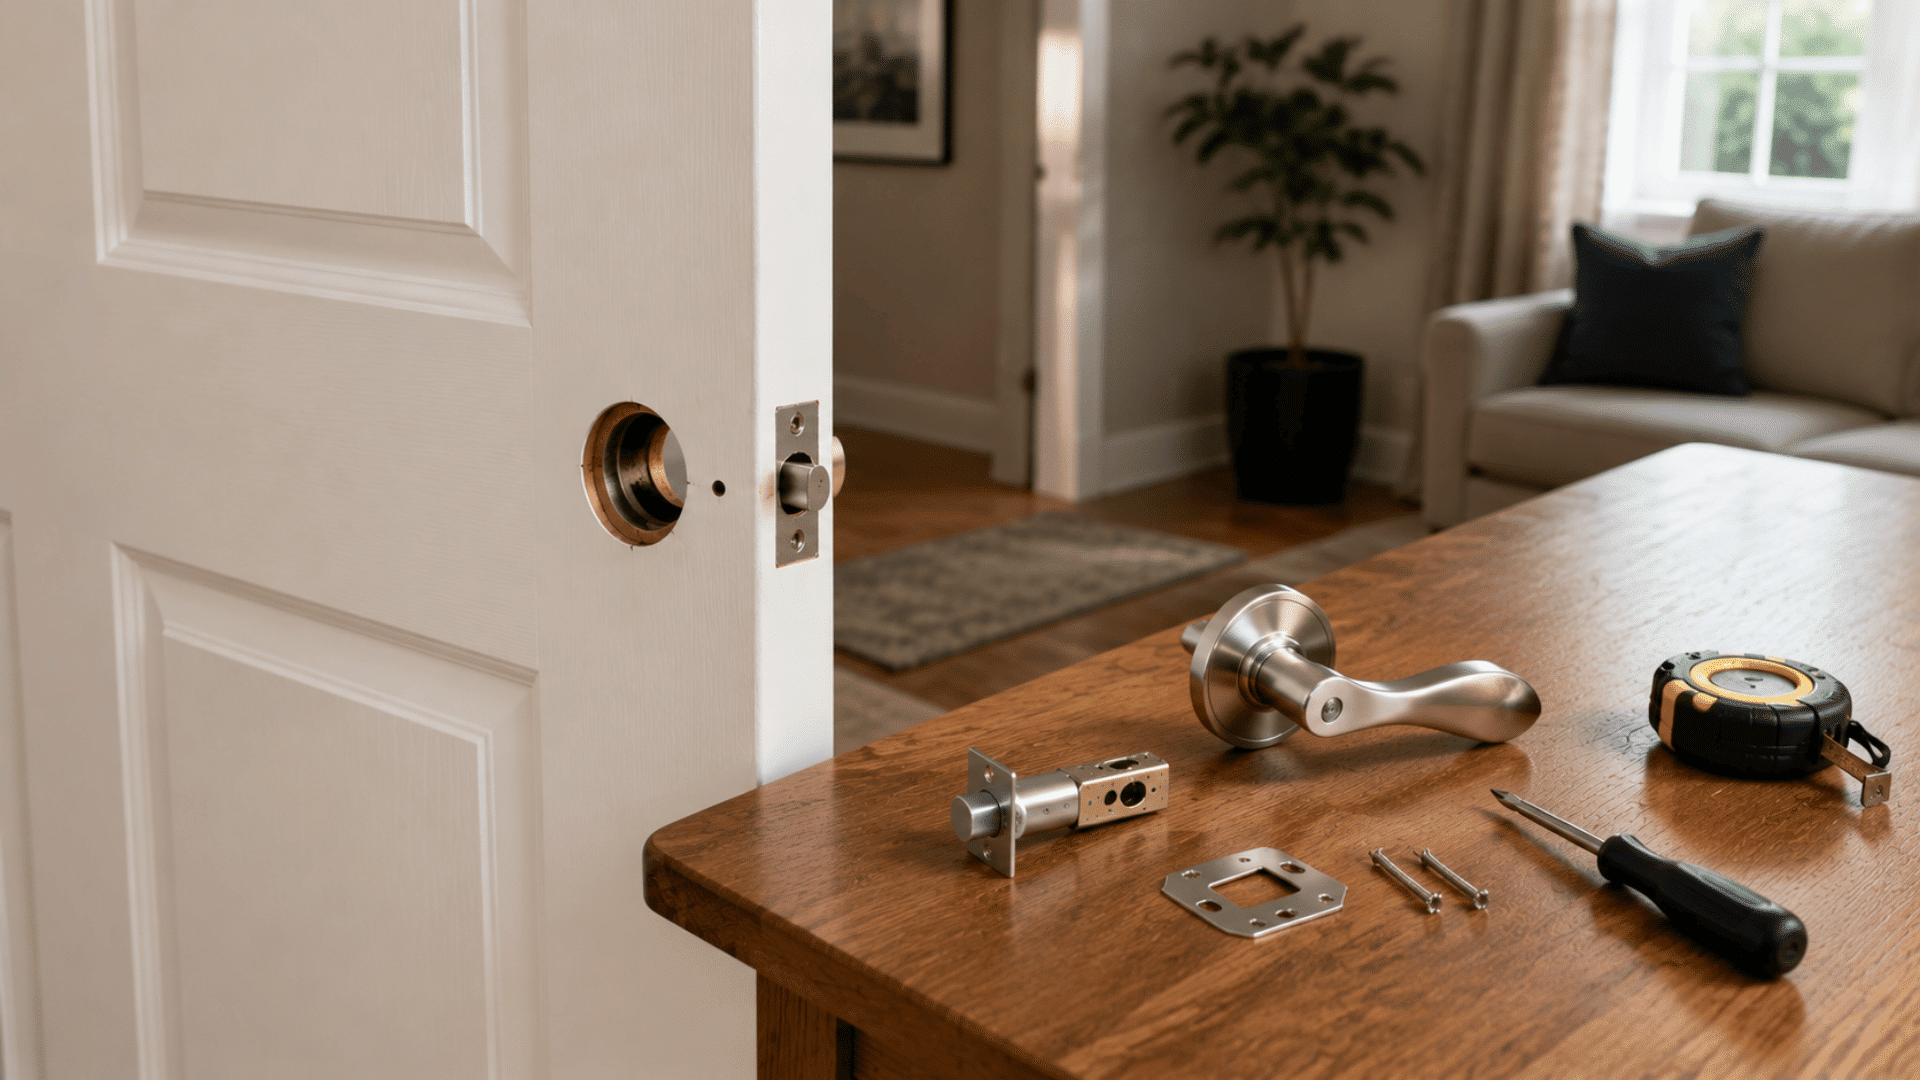

Got a door handle that sticks, rattles, or just looks tired? You don’t need a locksmith or a Saturday appointment to fix it.
After years of hands-on renovation work, I can tell you that replacing a door handle is one of the simplest jobs in the whole house.
Most swaps take less than an hour with tools you already own.
Whether it’s a bedroom door or your front entry, the same process works for nearly every cylindrical handle or knob set out there.
Grab a screwdriver and tape measure, and follow these simple steps to replace a door handle.
What to Check Before You Replace a Door Handle
Before removing the old handle, check the door and existing hardware. Knowing the handle type and how the latch is fitted can make replacement easier.
Check whether the door uses a passage, privacy, keyed-entry, or dummy handle. Also inspect the surrounding wood for cracks, loose screws, or other damage around the existing hardware.
Measure the door thickness and backset before buying new hardware.
These measurements help ensure the replacement handle and latch fit the existing holes without extra drilling or adjustments.
Essential Tools You Need To Replace A Door Handle
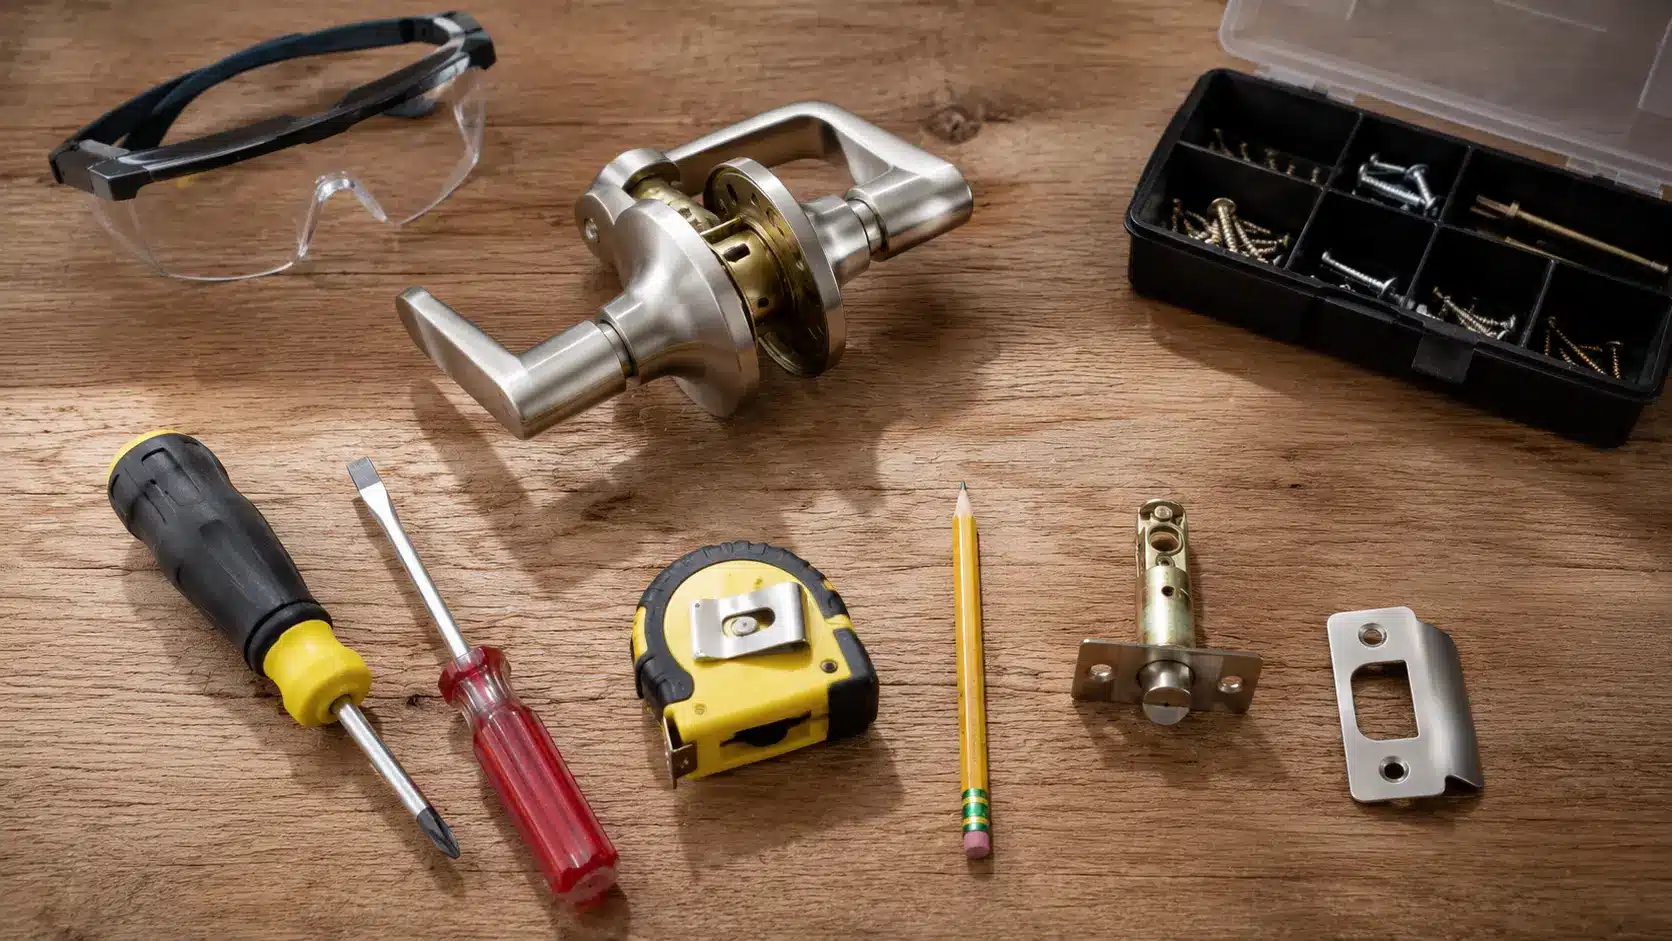
A few basic tools make replacing a door handle much easier. Having everything ready before you start helps prevent delays.
| Item | Purpose |
|---|---|
| Phillips-head screwdriver | Removes most mounting screws |
| Flat-head screwdriver | Releases hidden clips and covers |
| Tape measure | Checks door thickness and backset |
| Pencil | Marks measurements |
| New door handle set | Replaces the existing hardware |
| Safety glasses | Protects eyes from dust and debris |
How to Replace a Door Handle Correctly
With the right handle in hand and the measurements confirmed, the actual swap comes down to a short list of steps done in order.
Work through them one at a time, and the old handle will be off and the new one on before the coffee gets cold.
Step 1: Remove the Interior Handle Screws
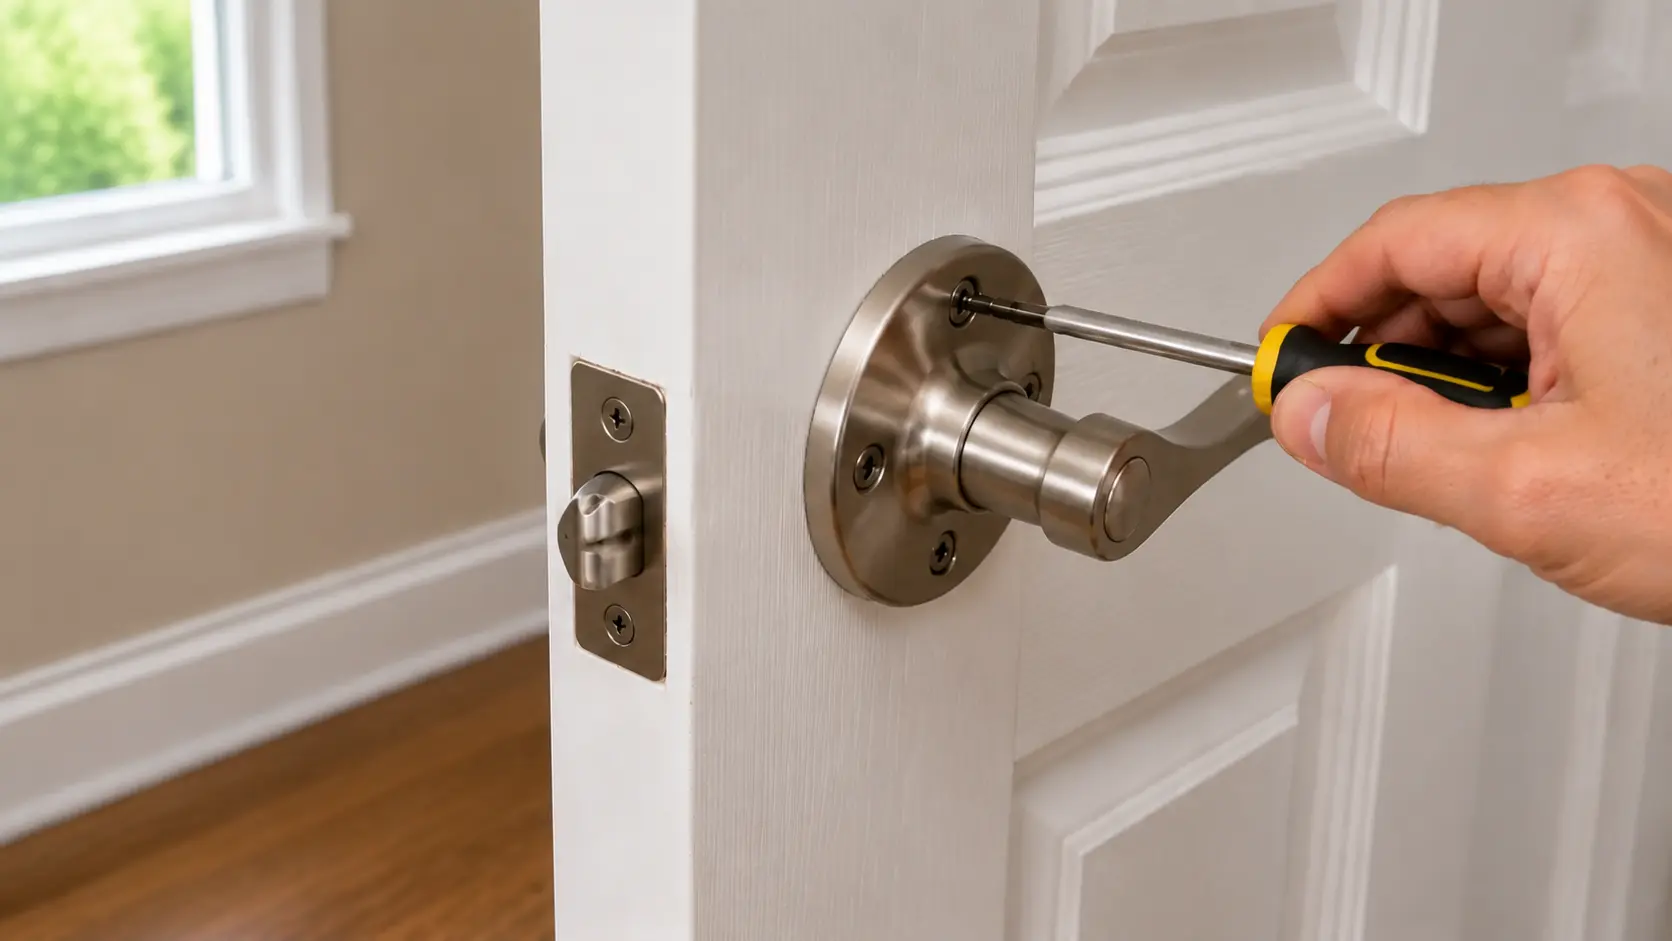
Place a doorstop under the door so it cannot swing shut while you remove the handle. Locate the screws on the inside handle or mounting plate.
Turn them counterclockwise and set them aside somewhere they won’t get lost. A small dish or magnetic tray works well, since loose screws have a habit of rolling under furniture.
Step 2: Pull Apart the Old Handles
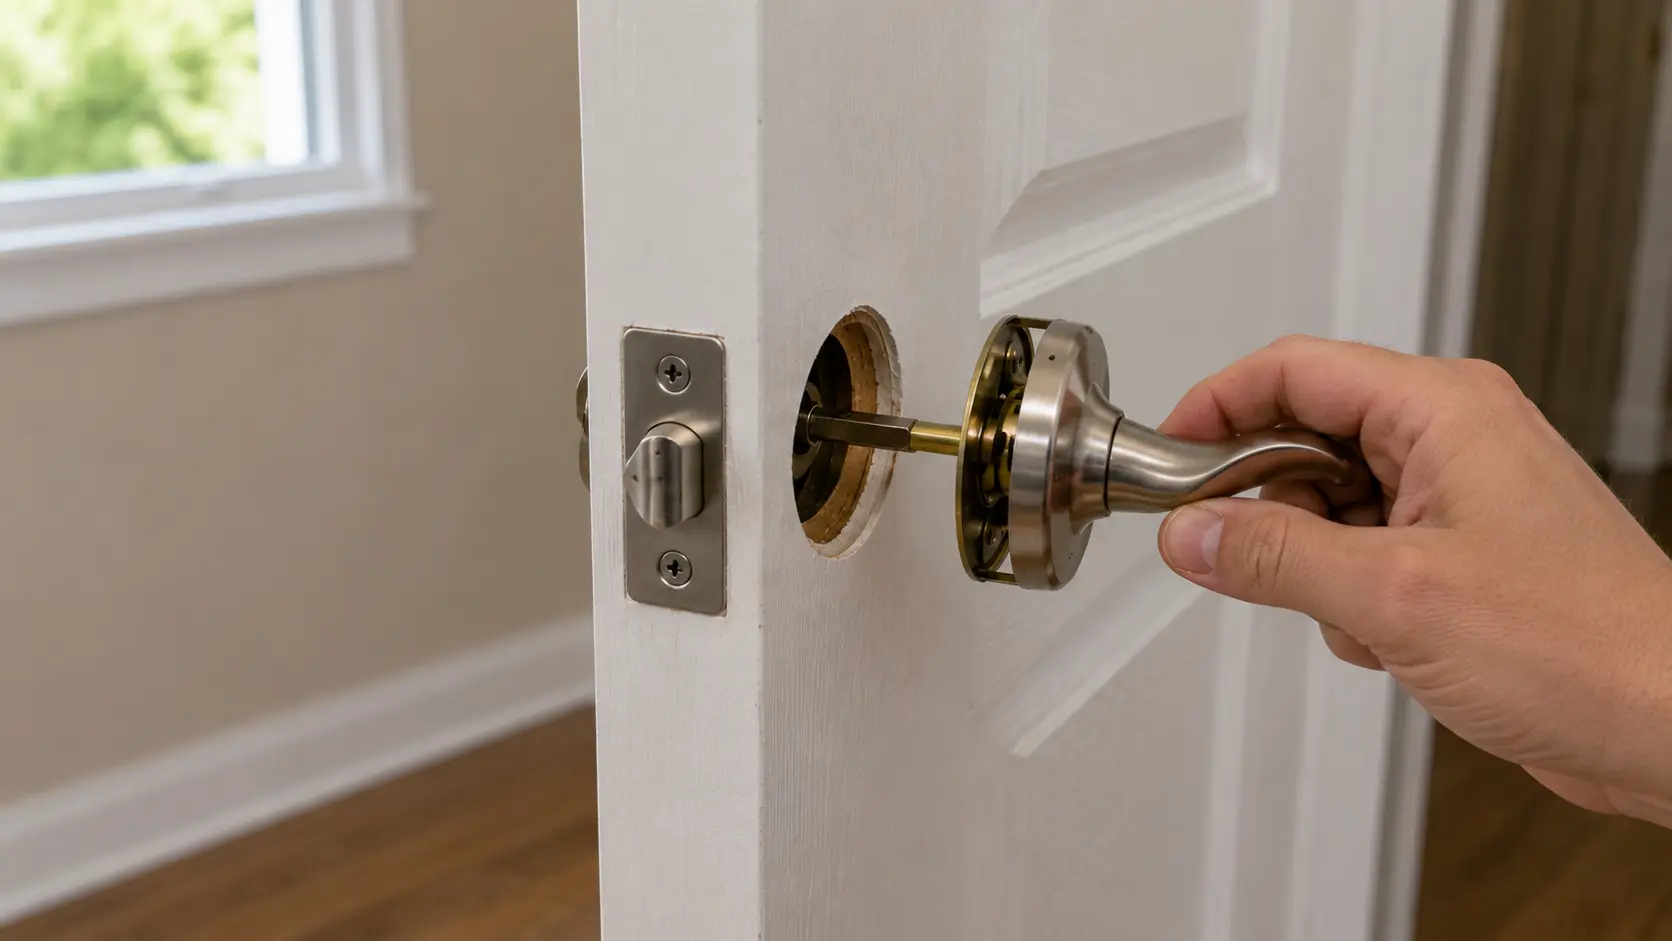
Remove a handle with hidden screws. Hold both sides of the hardware and gently pull them away from the door.
Remove the spindle or connecting mechanism from the center hole. Set the old hardware aside for now in case any parts need to be checked against the new set.
Step 3: Remove the Old Latch
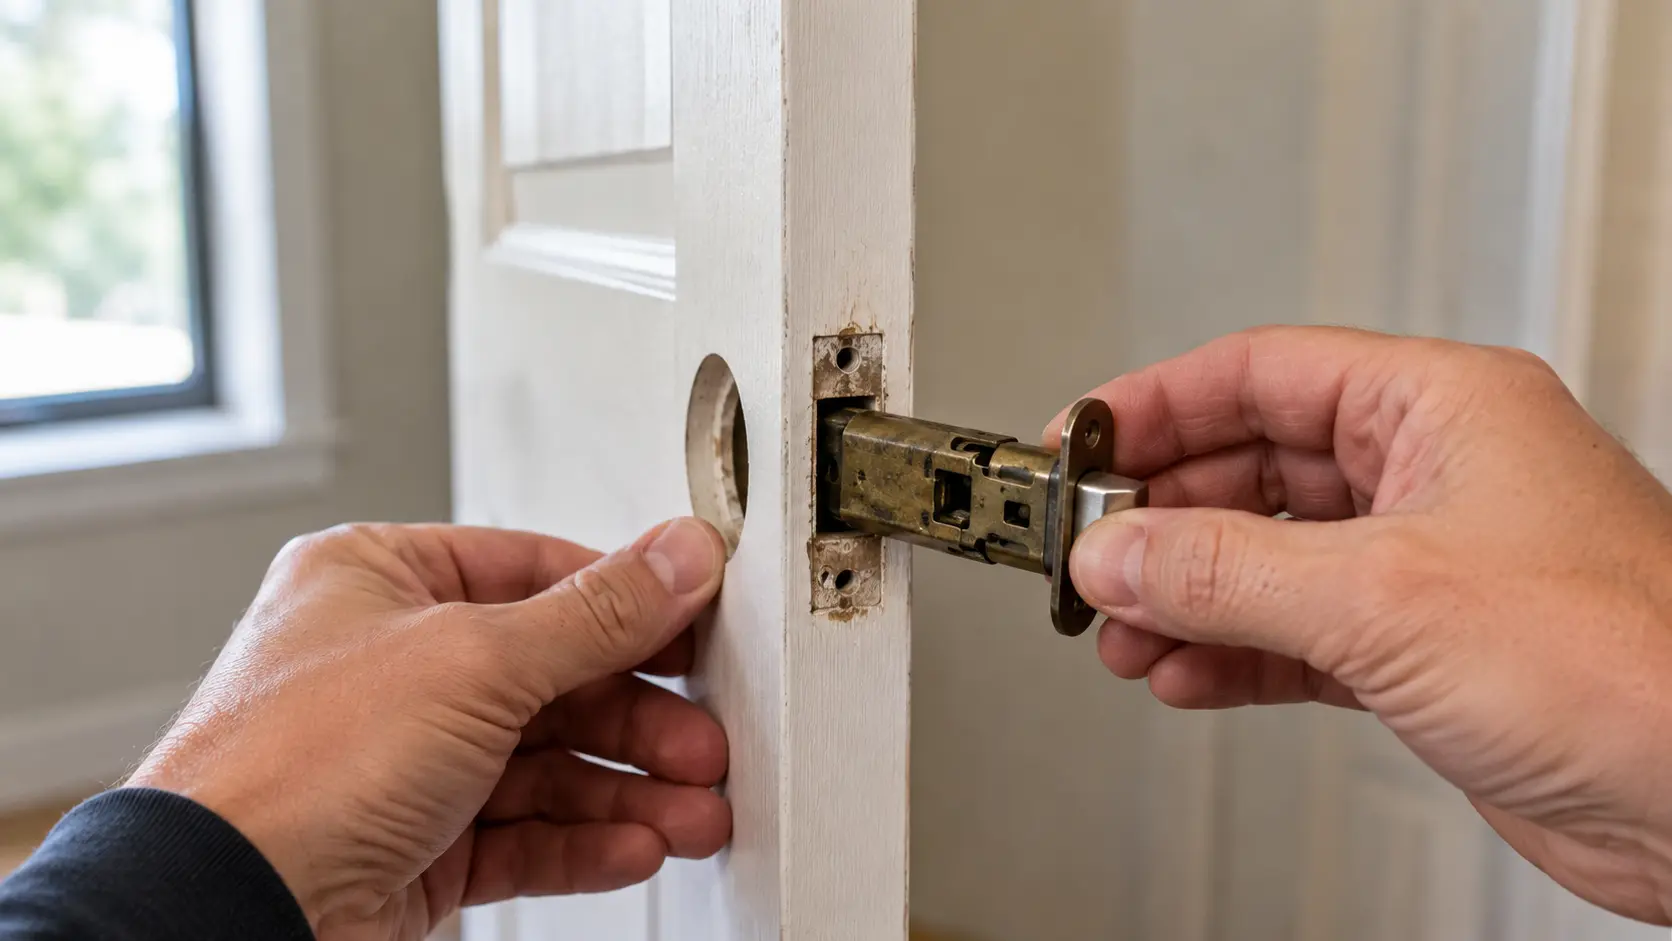
Unscrew the latch faceplate from the door edge, then pull the latch assembly straight out of the cross bore, regardless of how wide the door is.
If the latch feels stuck, wiggle it gently side to side rather than forcing it, since yanking too hard can damage the surrounding wood.
Step 4: Remove the Strike Plate
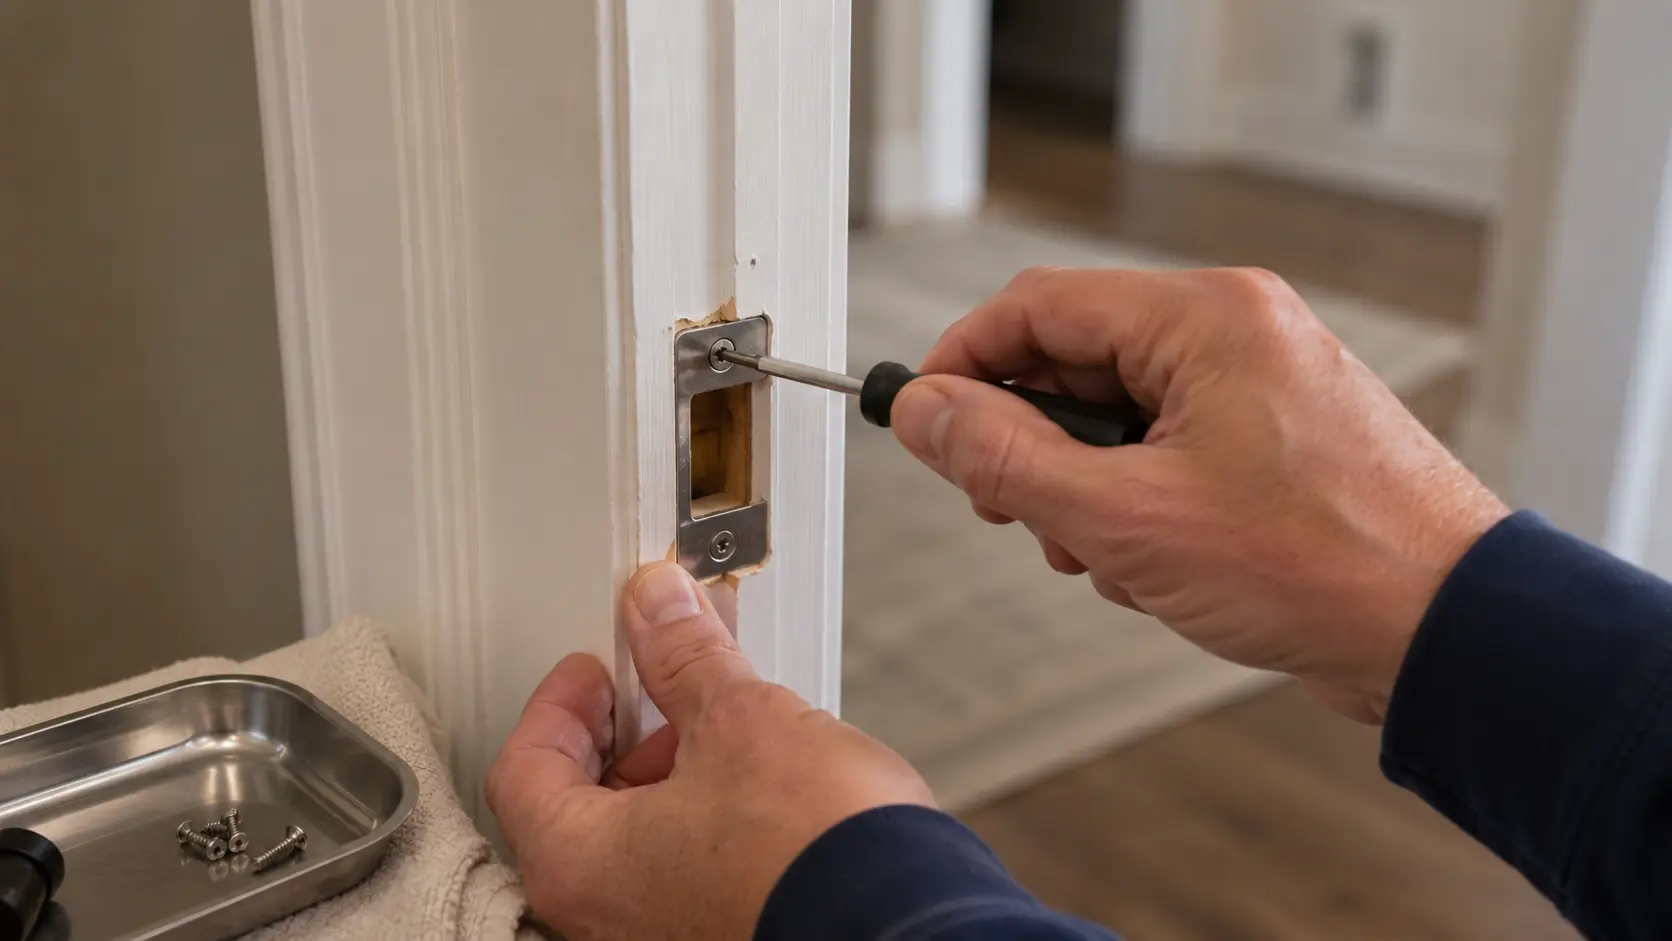
Unscrew the strike plate from the door frame if the new handle includes a matching replacement. Inspect the surrounding wood for loose screws, cracks, or enlarged holes before moving forward.
If the old plate is still in good shape and fits the new latch, you can simply reuse it instead of swapping it out.
Step 5: Prepare the New Latch
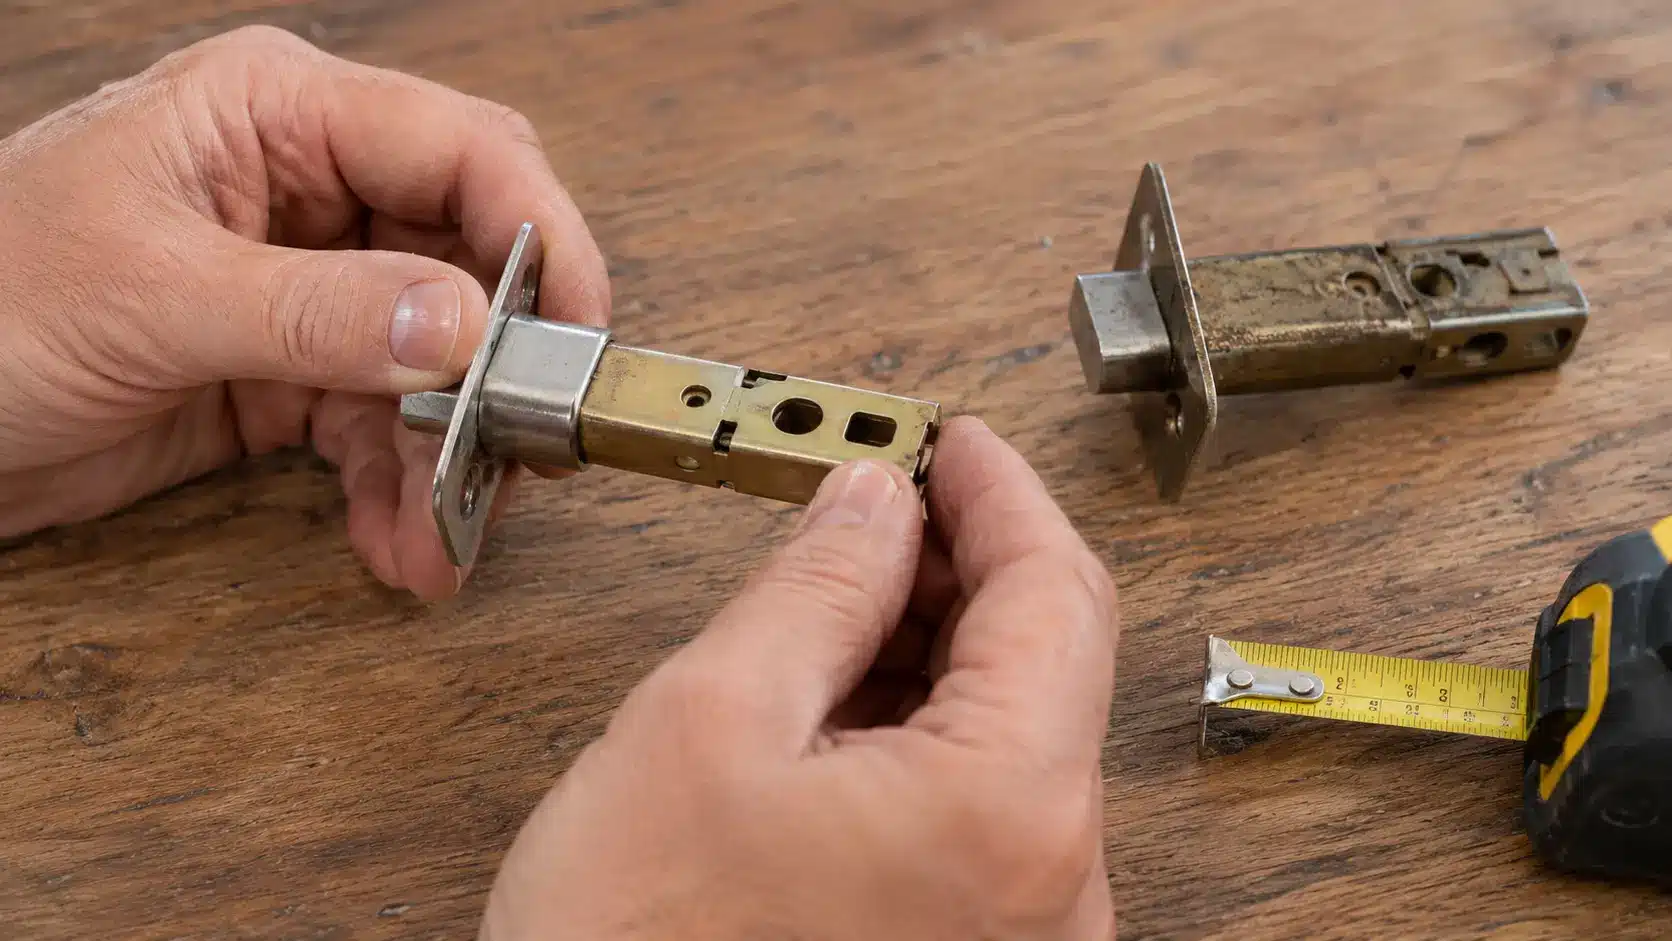
If the new latch has an adjustable backset, set it to match the measurement you took earlier. Compare it with the old latch if needed to confirm the size.
Before installation, check the latch bolt direction carefully. The angled side should face the door frame so it can slide smoothly over the strike plate when the door closes.
Step 6: Install the New Latch
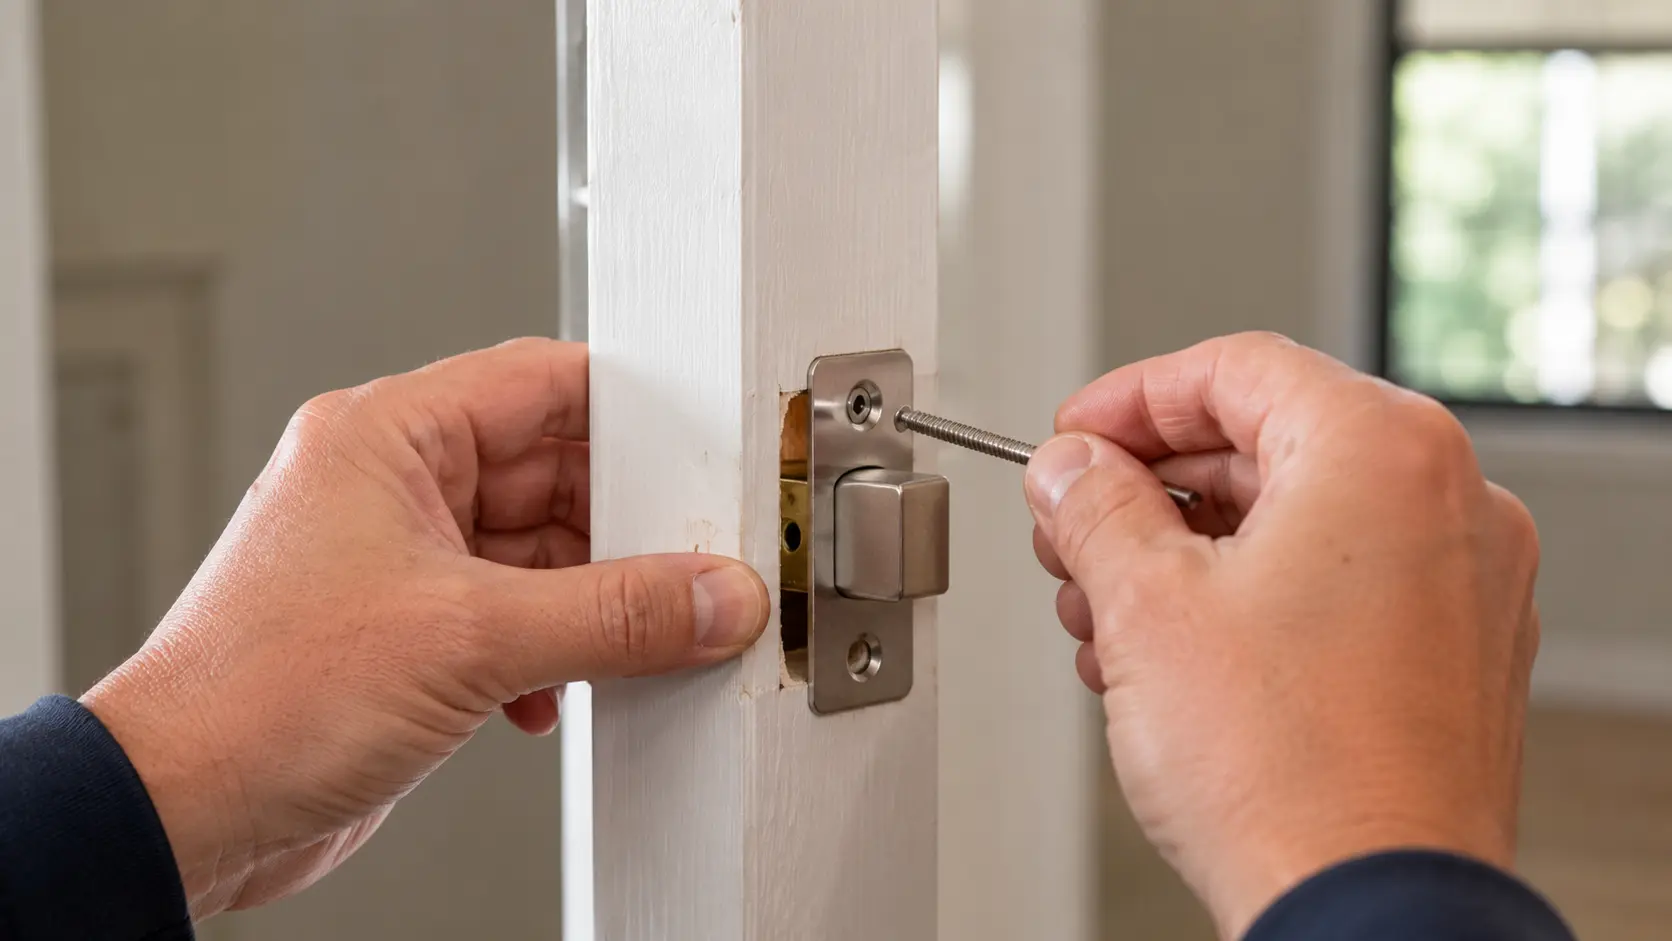
Slide the latch into the hole along the door edge, keep the faceplate level, and secure it with the supplied screws.
Avoid overtightening, since this can bind the latch or damage the screw holes. Check that the faceplate sits flush with the door edge rather than raised or recessed before moving on.
Step 7: Insert the Exterior Handle
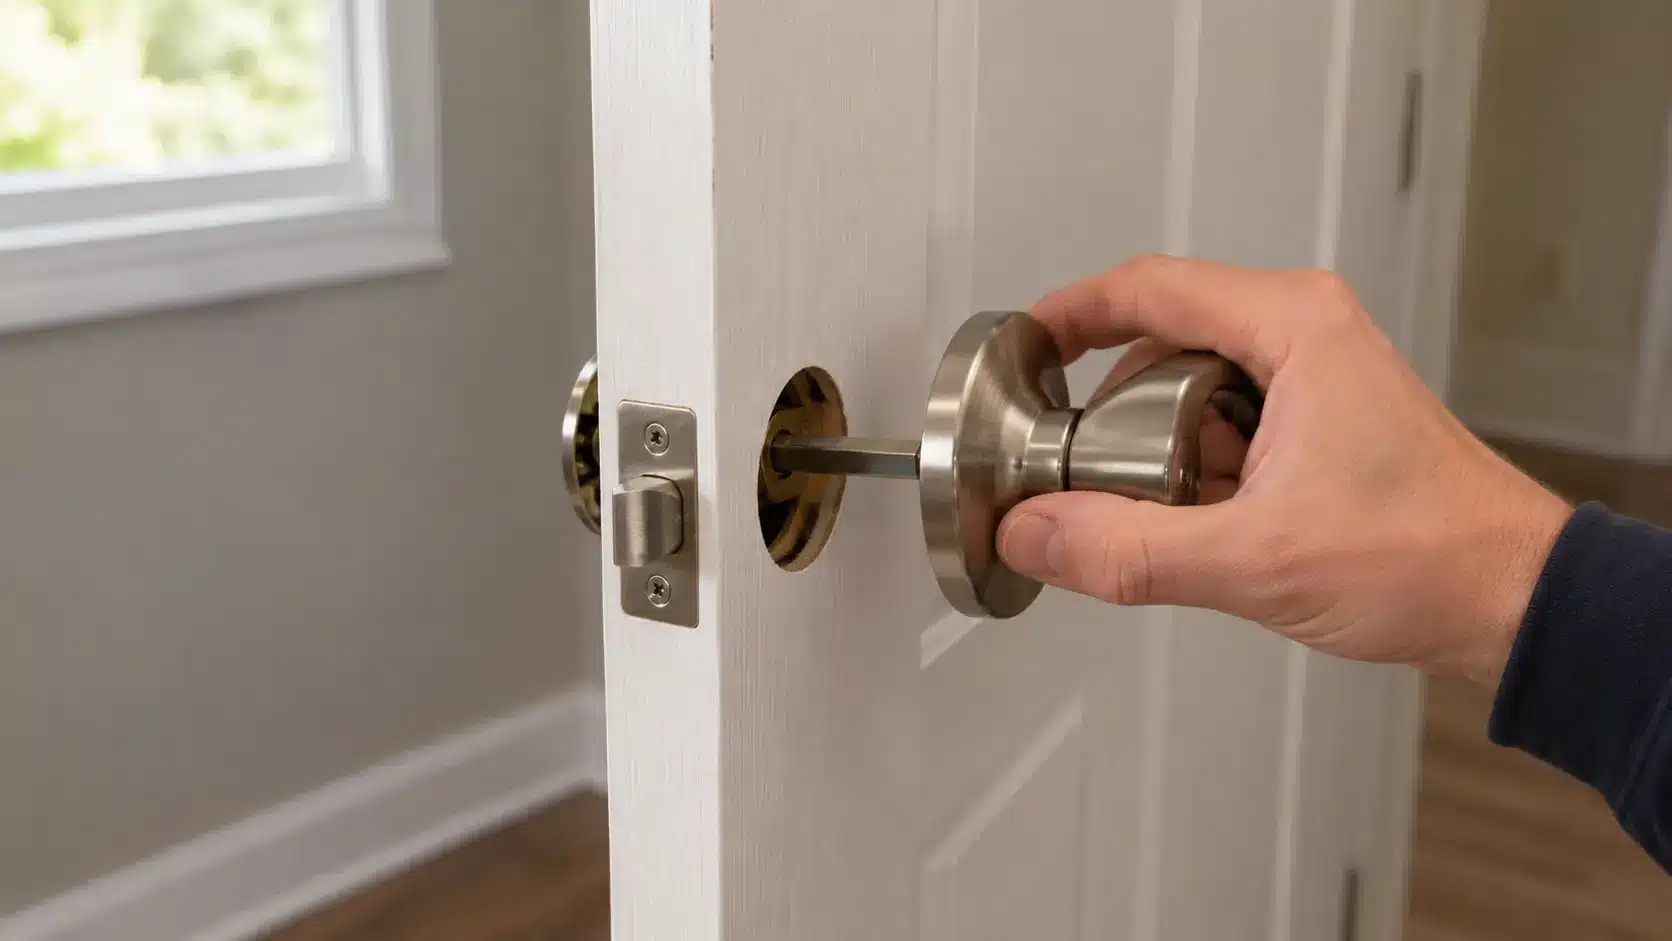
Guide the spindle through the latch mechanism. For a keyed handle, make sure the key cylinder stays on the exterior side of the door.
Align the mounting holes with the posts on the exterior handle, then insert the screws and tighten them gradually, alternating between them to keep the handle straight.
Step 8: Install the Strike Plate and Test the Handle
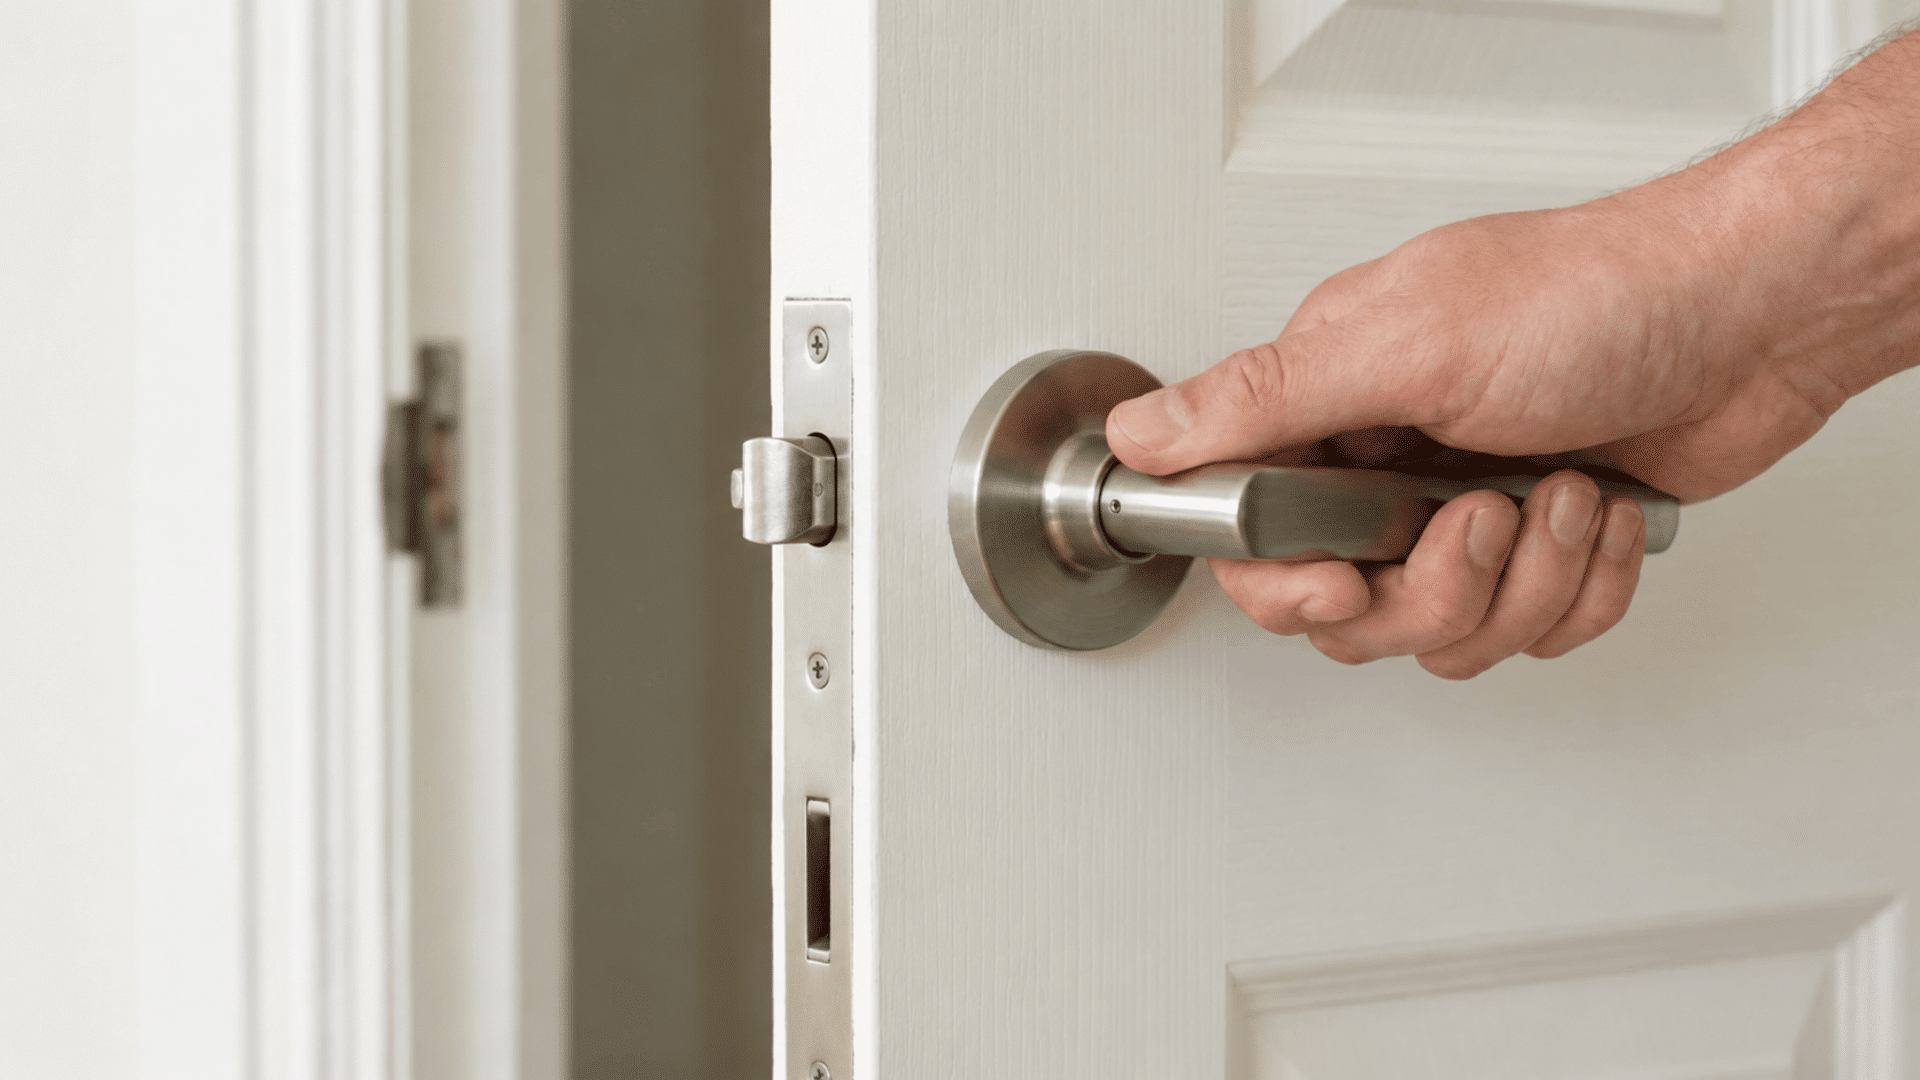
Fit the strike plate into the recess on the door frame, tighten the screws, and check that the latch lines up correctly.
A thin shim or light chisel pass can square up a shallow or deep recess.
Then test the handle: turn it several times, confirm the latch retracts fully, and check keyed or smart locks engage from outside before closing the door.
How to Replace a Door Handle Without Visible Screws
This setup causes more confusion than any other step, so it deserves its own section. Many modern interior handles are designed to look clean and seamless, which means the mounting screws are tucked out of sight rather than missing entirely. Look for:
- A slot beneath the handle
- A small pinhole near the base
- A removable rose or trim plate
- A set screw under a lever
For the pinhole style, insert a small flat-head screwdriver or a straightened paperclip and press firmly to release the internal spring clip.
For a rose or trim plate, look for a thin seam around the edge and gently pry with a flat-head screwdriver or a plastic trim tool to avoid marking the finish.
A set screw under a lever usually takes an Allen wrench, and loosening it just enough lets the lever slide off the spindle.
Choose the Right Replacement Door Handle
Picking the correct handle matters more than many shorter guides suggest, since the wrong function or size can cause fit and alignment problems later.
| Factor | What to Check |
|---|---|
| Passage handle | Works for hallways and closets with no lock |
| Privacy handle | Fits bedrooms and bathrooms with a push-button or turn lock |
| Keyed-entry handle | Secures exterior doors with a key cylinder |
| Dummy handle | Decorative only, used on doors that do not latch |
| Door thickness | Measure face to face and compare against the new handle’s specs, since most doors run 1 3/8 or 1 3/4 inches |
| Backset | Measure from the door edge to the center of the handle hole, typically 2 3/8 or 2 3/4 inches, and match it or use an adjustable latch |
| Door handing | Confirm whether the door swings left or right before buying a lever handle or exterior handleset |
Common Issues When Replacing a Door Handle
Even after careful installation, a door handle may need a few small adjustments. Most common problems can be fixed quickly without reinstalling the entire set.
- Handle feels stiff: Loosen the mounting screws slightly and test the handle again.
- Latch does not retract: Realign the handles and spindle so the mechanism moves freely.
- Door will not latch: Adjust the strike plate until it lines up correctly with the latch.
- Handle feels loose: Tighten the mounting screws evenly on both sides.
- Latch or faceplate is misaligned: Rotate a backward latch or adjust the recess so the hardware sits flush.
When Should You Call a Professional?
Most swaps are well within DIY reach, but a few situations are worth handing off rather than pushing through. Professional help makes sense when:
- The door contains an old mortise lock
- The replacement needs new boreholes
- The door edge is cracked or split
- The frame is badly misaligned
- The exterior lock does not secure properly
- The key becomes stuck
- The door has electronic or smart-lock wiring
- The new hardware does not match the existing preparation
How Much Does a New Door Handle Cost?
Prices vary widely depending on the style, finish, and brand. A new door handle can cost anywhere from a few dollars to over $200, depending on its type, finish, and features.
| Door Handle Type | Typical Cost |
|---|---|
| Basic Passage or Privacy Handle | $10–$30 |
| Keyed-Entry Set | $40–$100 |
| Exterior Handleset + Matching Deadbolt | $40–$150+ |
| Designer Finishes (Matte Black, Brushed Brass, etc.) | $50–$200+ |
| Smart-Lock Handle/Set | $100–$200+ |
| Multi-Pack (2–3 matching handles) | Often lower cost per handle |
Note: Prices vary by style, finish, and brand. Buying multiple matching handles at once can reduce the cost per unit, especially for a whole-house refresh.
Mistakes to Avoid When Replacing a Door Handle
A few small oversights account for most of the headaches with this project. Avoiding these keeps the install smooth the first time.
- Buying a handle without measuring the backset
- Choosing the wrong privacy or locking function
- Installing the latch bolt backward
- Reversing the inside and outside handles
- Tightening screws too much
- Using a drill at full power
- Closing the door before testing the lock
- Forcing mismatched hardware into existing holes
- Ignoring damage around the latch or strike plate
Frequently Asked Questions
Is It a Security Risk if My Exterior Handle’s Mounting Screws Are on The Outside?
Yes, exposed screws let anyone remove the handle from outside. Choose a handle with screws on the interior face only for exterior security doors.
Do Fire Doors Need a Special Fire-Rated Handle?
Yes, fire doors should be fitted with a fire-rated handle that is certified for their specific rating, rather than a standard handle.
What if My Door is Thicker than The Handle Set is Designed for?
Look for a handle rated for extra-thick doors, usually up to 2 1/4 inches, or use an extended spindle and longer screws.
Do I Need to Replace the Deadbolt when I Replace the Door Handle?
No, a deadbolt is a separate lock and can stay in place unless it’s worn out or you want matching hardware.
Wrapping It Up
A new door handle sounds small, but it’s one of those fixes you notice every day, every time the door opens smoothly instead of sticking or squeaking.
Now that you know how to replace a door handle, the job comes down to picking hardware that fits, keeping the latch aligned, tightening the screws evenly, and testing everything before you close the door for good.
Ready to get started? Measure your door today, pick up a compatible handle, and give that tired hardware the upgrade it deserves.
Your door will feel brand new from the very first turn.