
You killed your first orchid, not from neglect, but from treating it like every other houseplant you own. You water it on a schedule, pot it in regular soil, and wonder why it collapses within months.
Here’s what changes everything: orchids are not soil plants. They are air plants. In the wild, they grip tree bark with exposed roots, drinking from passing rain and drying out completely between showers.
The moment you understand that, every care decision starts to make sense.
This guide is written for real home conditions, apartments with awkward light, centrally heated rooms, and busy people who want their orchid to survive and actually bloom again.
If you have been searching for a way to care for orchids without overcomplicating things, this is the place to start.
What Kind of Orchid Do You Actually Have?
Before anything else, knowing your orchid type matters. Care rules that work brilliantly for one type can slowly harm another.
The most common one you’ll find in shops, supermarkets, and garden centers is Phalaenopsis, also called the moth orchid.
It has flat, oval leaves and long, arching flower spikes, and it tolerates home conditions better than almost any other variety. Most of this guide applies to Phalaenopsis, but the table below provides a quick overview of the main types.
| Type | Light | Watering | Temperature | Key note |
|---|---|---|---|---|
| Phalaenopsis | Bright indirect | When roots turn silver | 18–25°C | Best for beginners |
| Dendrobium | Bright | Let dry fully | 10–25°C | Needs cool winters |
| Cymbidium | High | Keep slightly moist | 10–20°C | Great for outdoors in summer |
| Cattleya | High | Dry between waterings | 18–30°C | Needs good airflow |
| Oncidium | Medium | Let dry slightly | 15–25°C | Tolerates lower humidity |
If you are not sure which type you have, Phalaenopsis is the safe assumption for anything bought at a shop without a label.
Light: The Reason Most Orchids Never Bloom Again
Insufficient light is the single most common reason a healthy-looking orchid refuses to flower. The plant stays alive, stays green, and does absolutely nothing else.
How to Test Your Room’s Light Right Now
Hold your hand about 30cm above a white sheet of paper near your window on a bright day.
A sharp, clear shadow means you have enough light for most orchids. A faint, blurry shadow means you are in low-light territory, and your options narrow considerably.
What Your Orchid Leaves Are Telling You
Dark green leaves mean the plant is not getting enough light. It is spending energy staying alive, not making flowers.
Yellowing leaves with a slightly bleached look mean too much direct sun. The target is a medium, grassy green plant, getting exactly what it needs.
No Good Window? Use a Grow Light
This is the section most guides skip entirely. If you live in a north-facing flat, or your only windowsill is blocked by a building or a large tree, a full-spectrum LED grow light solves the problem.
The same principle applies to leggy seedlings that stretch towards any scrap of light they can find.
Phalaenopsis needs roughly 1,500 to 2,000 foot-candles of light. A decent LED panel, positioned 30–45cm above the plant and set to run on a timer for 12–14 hours a day, replicates this well.
Set the timer to match daylight hours so the plant still gets a sense of season; that rhythm matters for blooming.
When to Water Your Orchid
“Water once a week” is repeated in almost every orchid article online. It is not wrong — but it is incomplete. The real answer is: water when your orchid tells you it needs water.
The Root Color Method
Phalaenopsis roots change color in response to moisture levels. This works because the roots have a layer of cells called velamen that absorb and release water.
- Bright green roots, the plant is fully hydrated. Do not water yet.
- Silver-grey roots, the plant is ready for water. This is your cue.
- White, shriveled roots the plant is dehydrated. Water immediately.
- Brown, soft, or mushy roots indicate root rot. These need to be cut back.
Check the roots through the pot rather than relying on a schedule. In winter, when the plant uses water slowly, you might water every 10–14 days. In summer, every 5–7 days. The roots will show you.
How to Water an Orchid Properly
Place the pot in a bowl of lukewarm water for 20–30 minutes, allowing the roots to absorb moisture from below. Lift it out, let it drain fully, and return it to its spot.
Never leave it sitting in a saucer of water. Alternatively, pour water slowly over the bark until it drains freely from the bottom; just avoid getting water into the crown of the plant where the leaves meet, as this can cause crown rot.
Does Water Quality Matter?
Tap water in many areas contains chlorine and dissolved minerals that build up in the bark over time. You will notice a white crust on the surface when this happens.
If your tap water is particularly hard, try leaving it out overnight before watering so the chlorine can evaporate. Rainwater or filtered water works well as an alternative, especially for sensitive types like Paphiopedilum.
Avoid using softened water, as the sodium it contains can damage roots.
Temperature and Airflow for Orchids
Orchids fall into three temperature groups: warm-growing (like Phalaenopsis and Vanda), intermediate (Cattleya, Oncidium, Paphiopedilum), and cool-growing (Cymbidium, Miltoniopsis, some Dendrobium).
Most homes sit in the 18–24°C range during the day, which suits Phalaenopsis perfectly.
The problem is consistency. Modern homes maintain the same temperature day and night, year-round. For many orchids, that sameness is exactly what stops them from blooming.
The Night Temperature Drop That Triggers Flowering
Phalaenopsis needs a drop of around 8–10°C between day and night temperatures for several weeks in autumn to set a new flower spike.
When temperatures remain consistently warm, the plant lacks a seasonal cue to trigger flower production.
You do not need a greenhouse to do this. Move the plant close to (but not touching) a single-glazed window on autumn evenings. Crack a window slightly in a cool room overnight.
Even a consistent drop from 22°C during the day to 14°C at night for four to six weeks is often enough to start a new spike. Once you see the spike emerging, move the plant back to its usual warm spot.
Why Airflow Is as Important as Humidity
Most guides tell you to raise the humidity for orchids and leave it there. What they miss is that without airflow, high humidity creates the exact conditions for bacterial rot and fungal disease. The two work together, not separately.
A small desk fan running on its lowest setting nearby — not blowing directly at the plant, but creating gentle movement in the room — reduces moisture pooling on leaves and around the base. Leaves should barely move. If they are fluttering, the fan is too close or too strong.
Central Heating in Winter
A radiator directly below or beside an orchid dries the air, bakes the roots, and creates temperature swings the plant finds stressful. Move the plant away from direct heat sources in winter.
If that is not possible, a pebble tray with water underneath the pot, not touching the drainage holes, raises local humidity around the plant without the risk of root rot.
Feeding Your Orchid: The Seasonal Shift Most People Miss
What to Use and When
During active growth, roughly from spring through early autumn, feed with a balanced orchid fertilizer at about quarter-strength once a week.
A 20-20-20 NPK ratio (nitrogen, phosphorus, potassium in equal parts) works well for this phase. The quarter-strength rule matters: concentrated fertilizer burns orchid roots faster than almost anything else.
Once a month, water with plain, unfertilized water to flush any mineral or salt build-up from the bark. If you see a white crust forming on the surface of the bark, that is salt accumulation. Flush it immediately.
The Autumn Switch
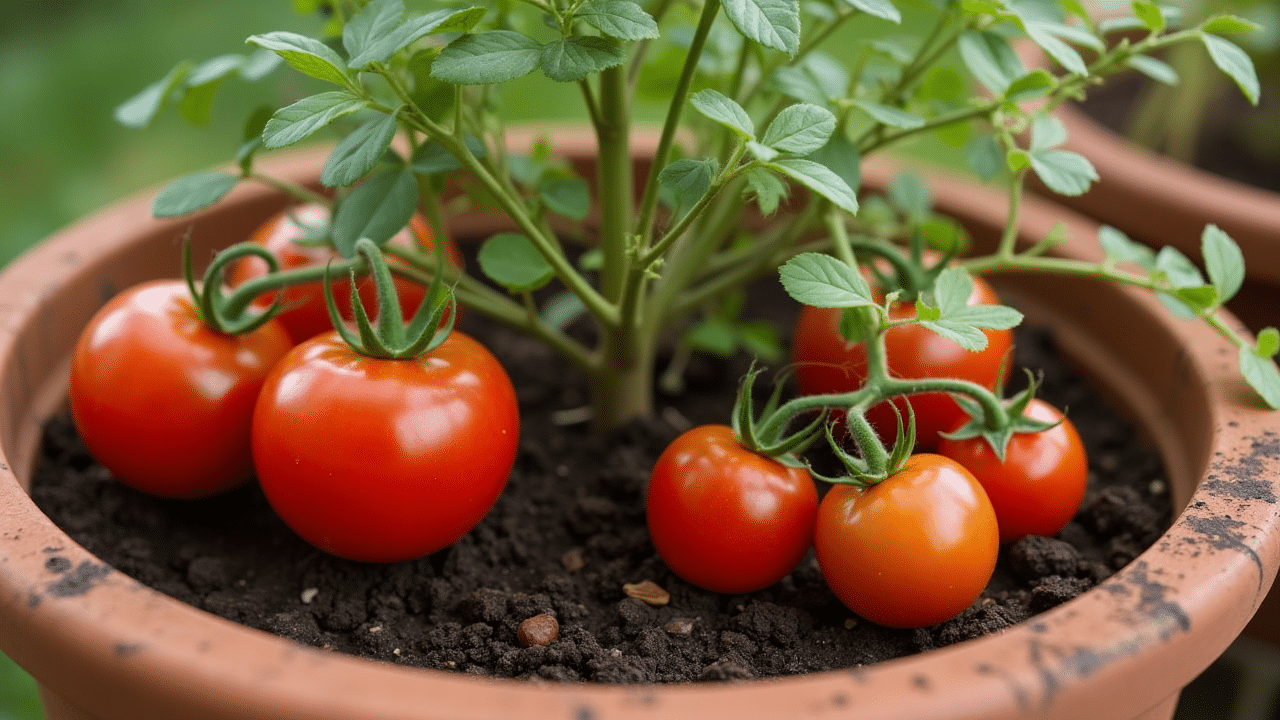
From late September through winter, switch to a fertilizer with higher phosphorus and potassium and lower nitrogen. Tomato fertilizer at half the recommended strength works well and is easy to find.
This shift supports the development of flower spikes rather than leafy green growth. Some growers call these “bloom boosters.” the ratio you are looking for is something like 10-30-20.
Do not feed during full bloom or when the plant is in deep dormancy. The roots are not actively absorbing at those times, and excess fertilizer just sits in the bark, causing damage.
How to Repot an Orchid Properly

Forget repotting on a fixed yearly schedule. Repot when the plant tells you it needs it. There are two clear signals.
The first is roots escaping the pot, pushing out through drainage holes, or growing in thick coils above the surface.
The second is bark breakdown. Orchid bark breaks down over time, becoming dense and wet-retaining rather than airy.
When you water, and the medium stays soggy for more than a few days, it is time for fresh bark.
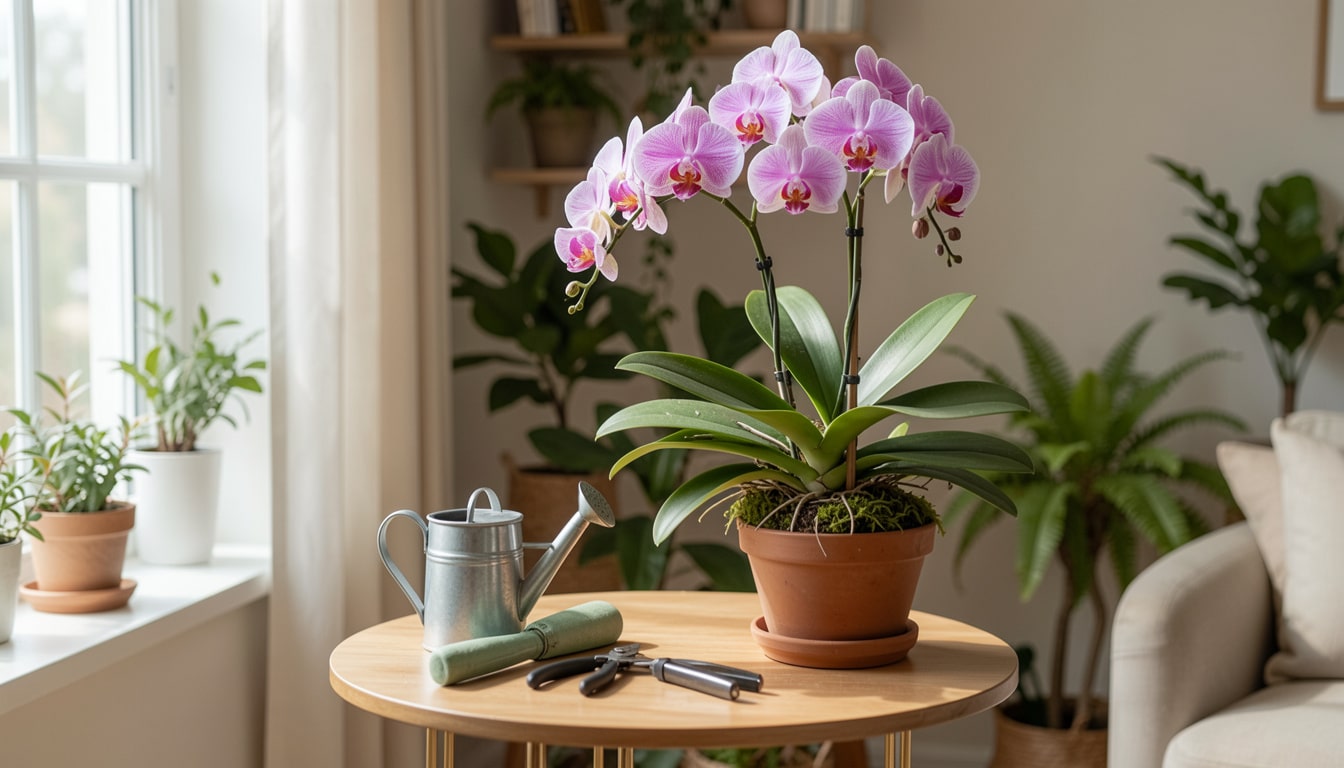
How to Repot Without Damaging the Roots
- Gently remove the plant from its pot.
- Pull away the old bark and rinse the roots in lukewarm water.
- Trim any brown, soft, or hollow roots using sterile scissors, making a clean cut.
- Dust the cut ends with cinnamon powder, which acts as a natural antifungal.
- Choose a pot that fits the root ball with about 2–3cm of space around it, not much larger.
- Avoid excess empty bark around the roots as it holds moisture the plant cannot use, leading to rot.
- Use clear plastic pots to monitor root color and moisture levels without disturbing the plant.
- Fill around the roots with coarse-grade orchid bark (8–15mm) for Phalaenopsis and fine-grade (5–8mm) for smaller types.
- Do not pack the bark tightly; the roots need air to move around them.
What to Do After Your Orchid Stops Blooming
Once the last flower falls, the plant enters a rest phase. This is normal. Many people assume the orchid is dying at this point, but it is actually redirecting energy back into its roots and leaves.
The flower spike itself gives you a clue about what to do next. If the spike is still green and firm, cut it back to just above a visible node (a small bump along the stem).
A secondary branch of flowers sometimes grows from that node within a few months. If the spike has turned brown and dried out, cut it all the way down to the base. The plant has finished with it and will produce a completely new spike when it is ready.
During this resting period, keep watering when the roots turn silver and reduce fertilizer to once every two to three weeks. The plant is not inactive; it is building the strength it needs for the next bloom cycle.
Diagnosing Common Orchid Problems
1. Yellow Leaves
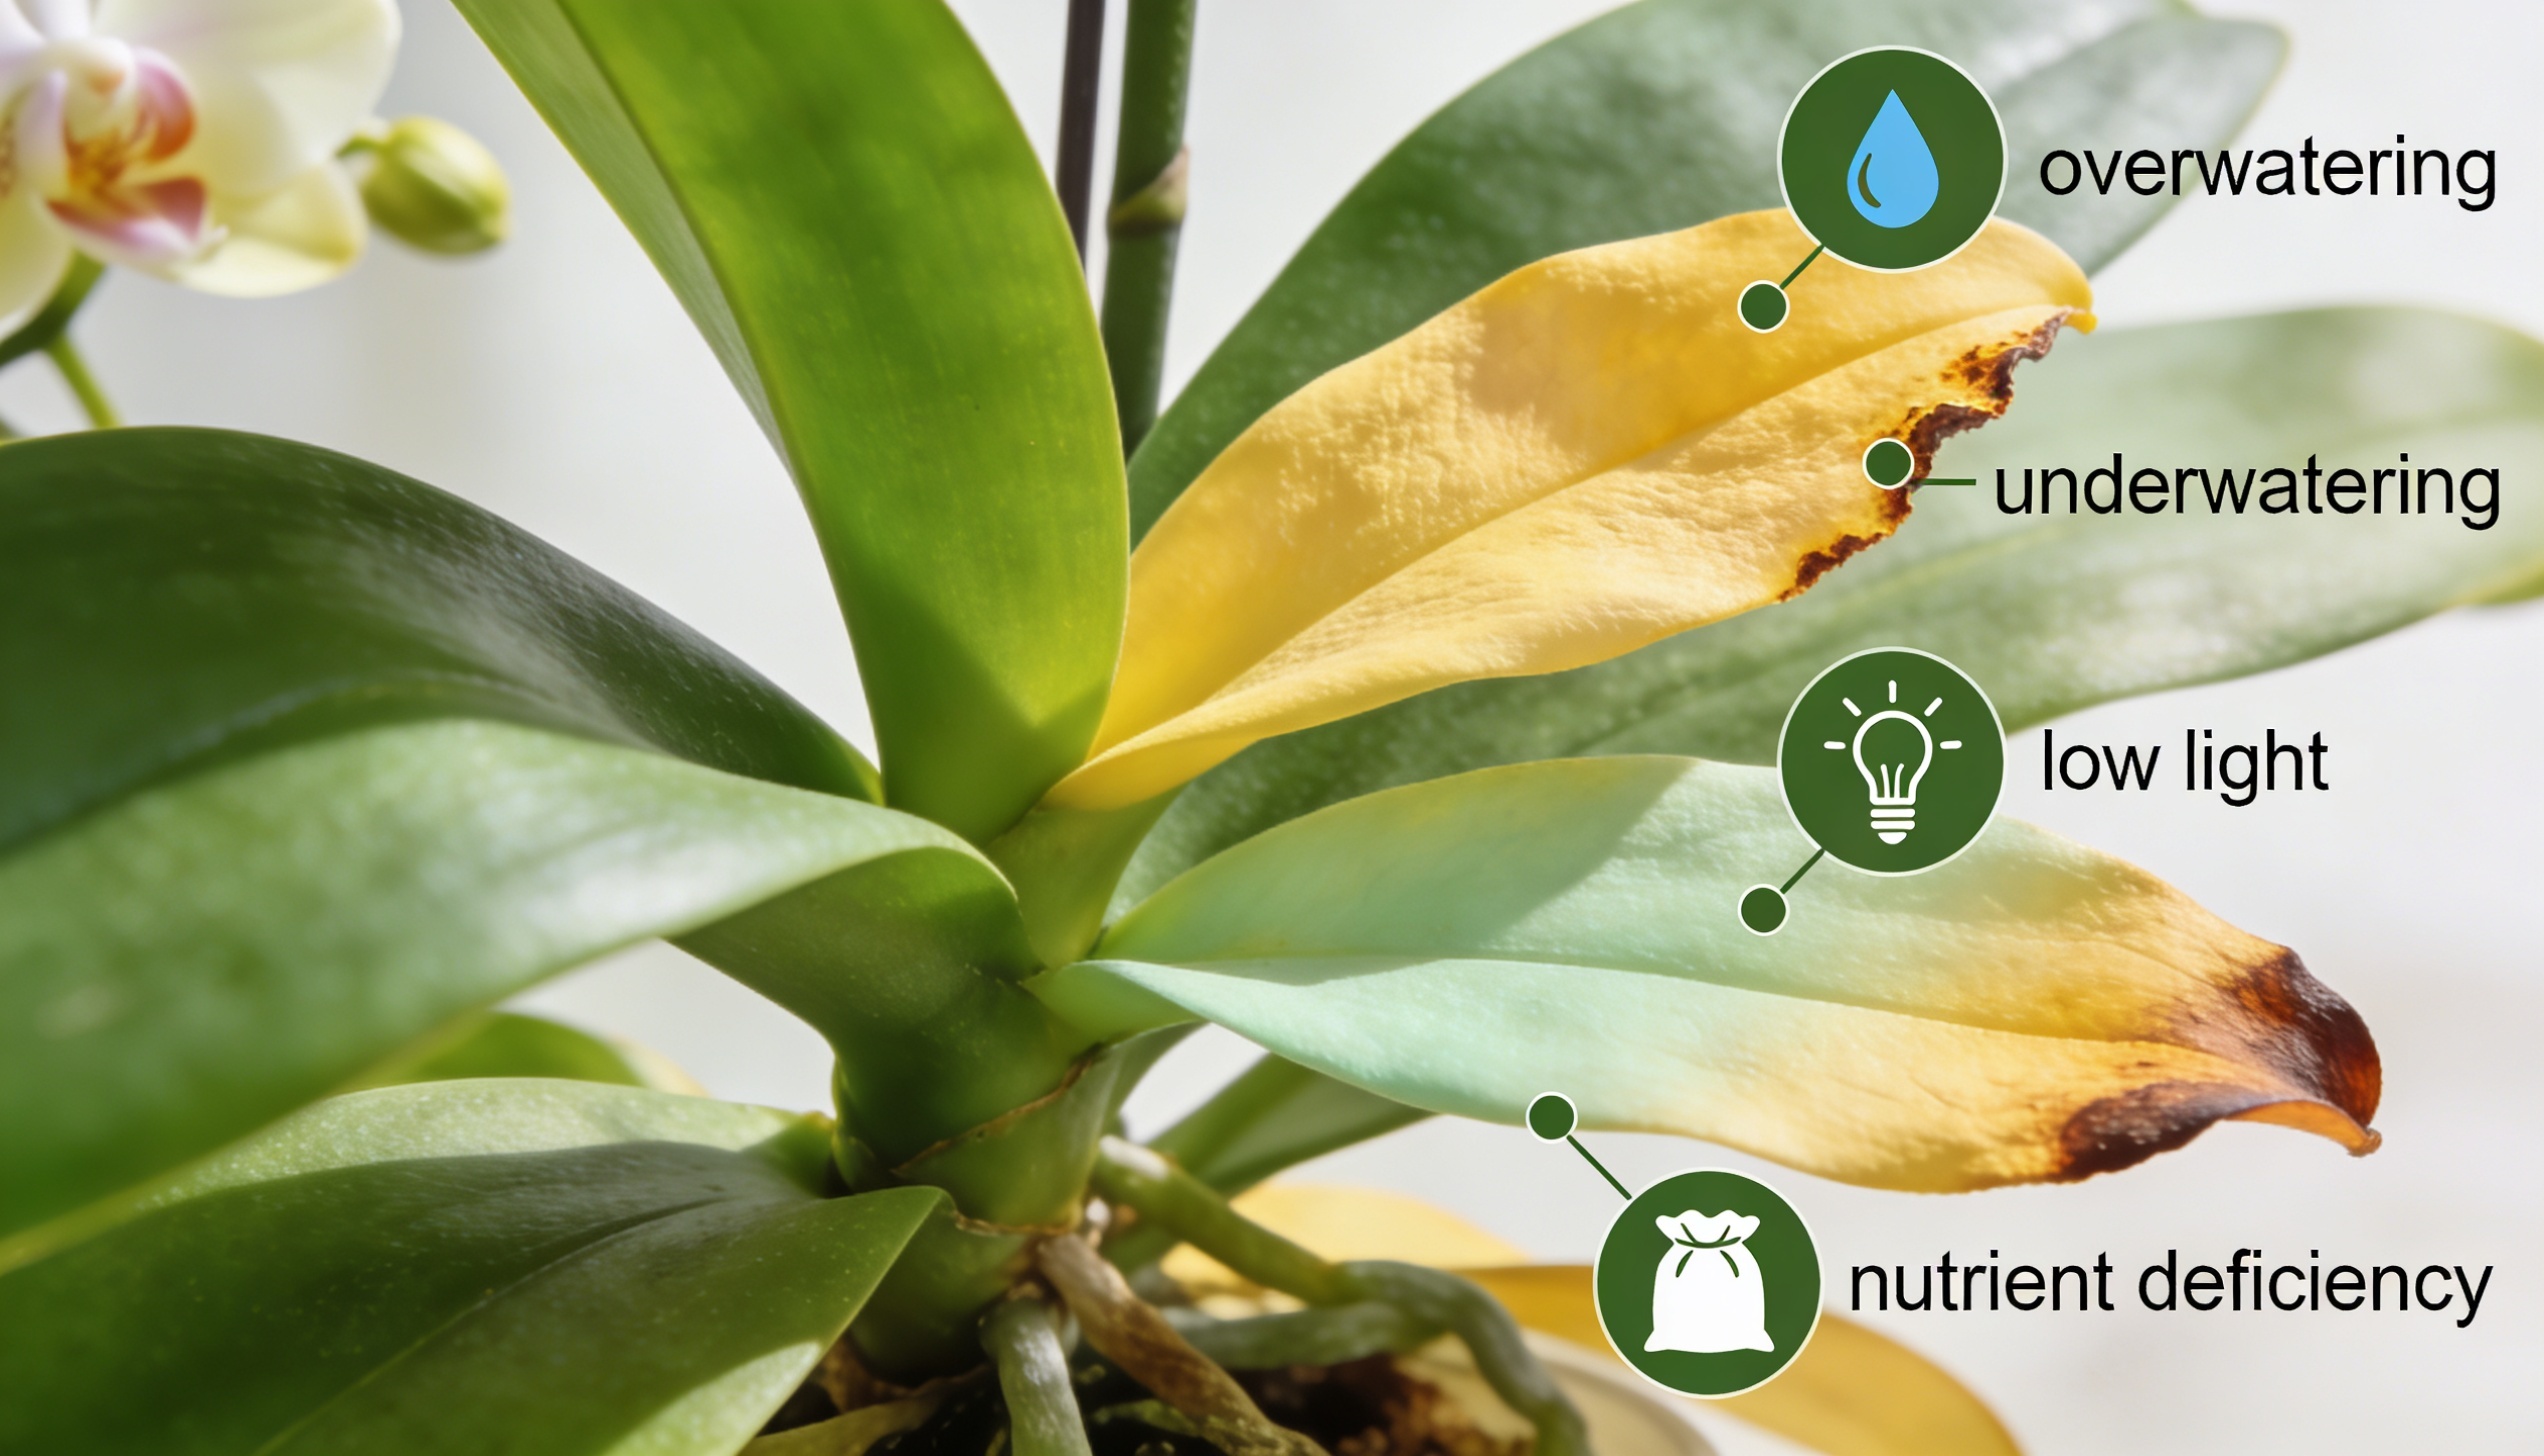
Yellow leaves can result from four factors. Natural aging causes the oldest leaves to yellow, which is normal.
Overwatering leads to yellowing with soft, mushy roots, while underwatering causes yellowing with dry, shriveled roots.
Too much direct sun can bleach the leaves, turning them yellowish-white with brown patches. Check the roots to determine the cause.
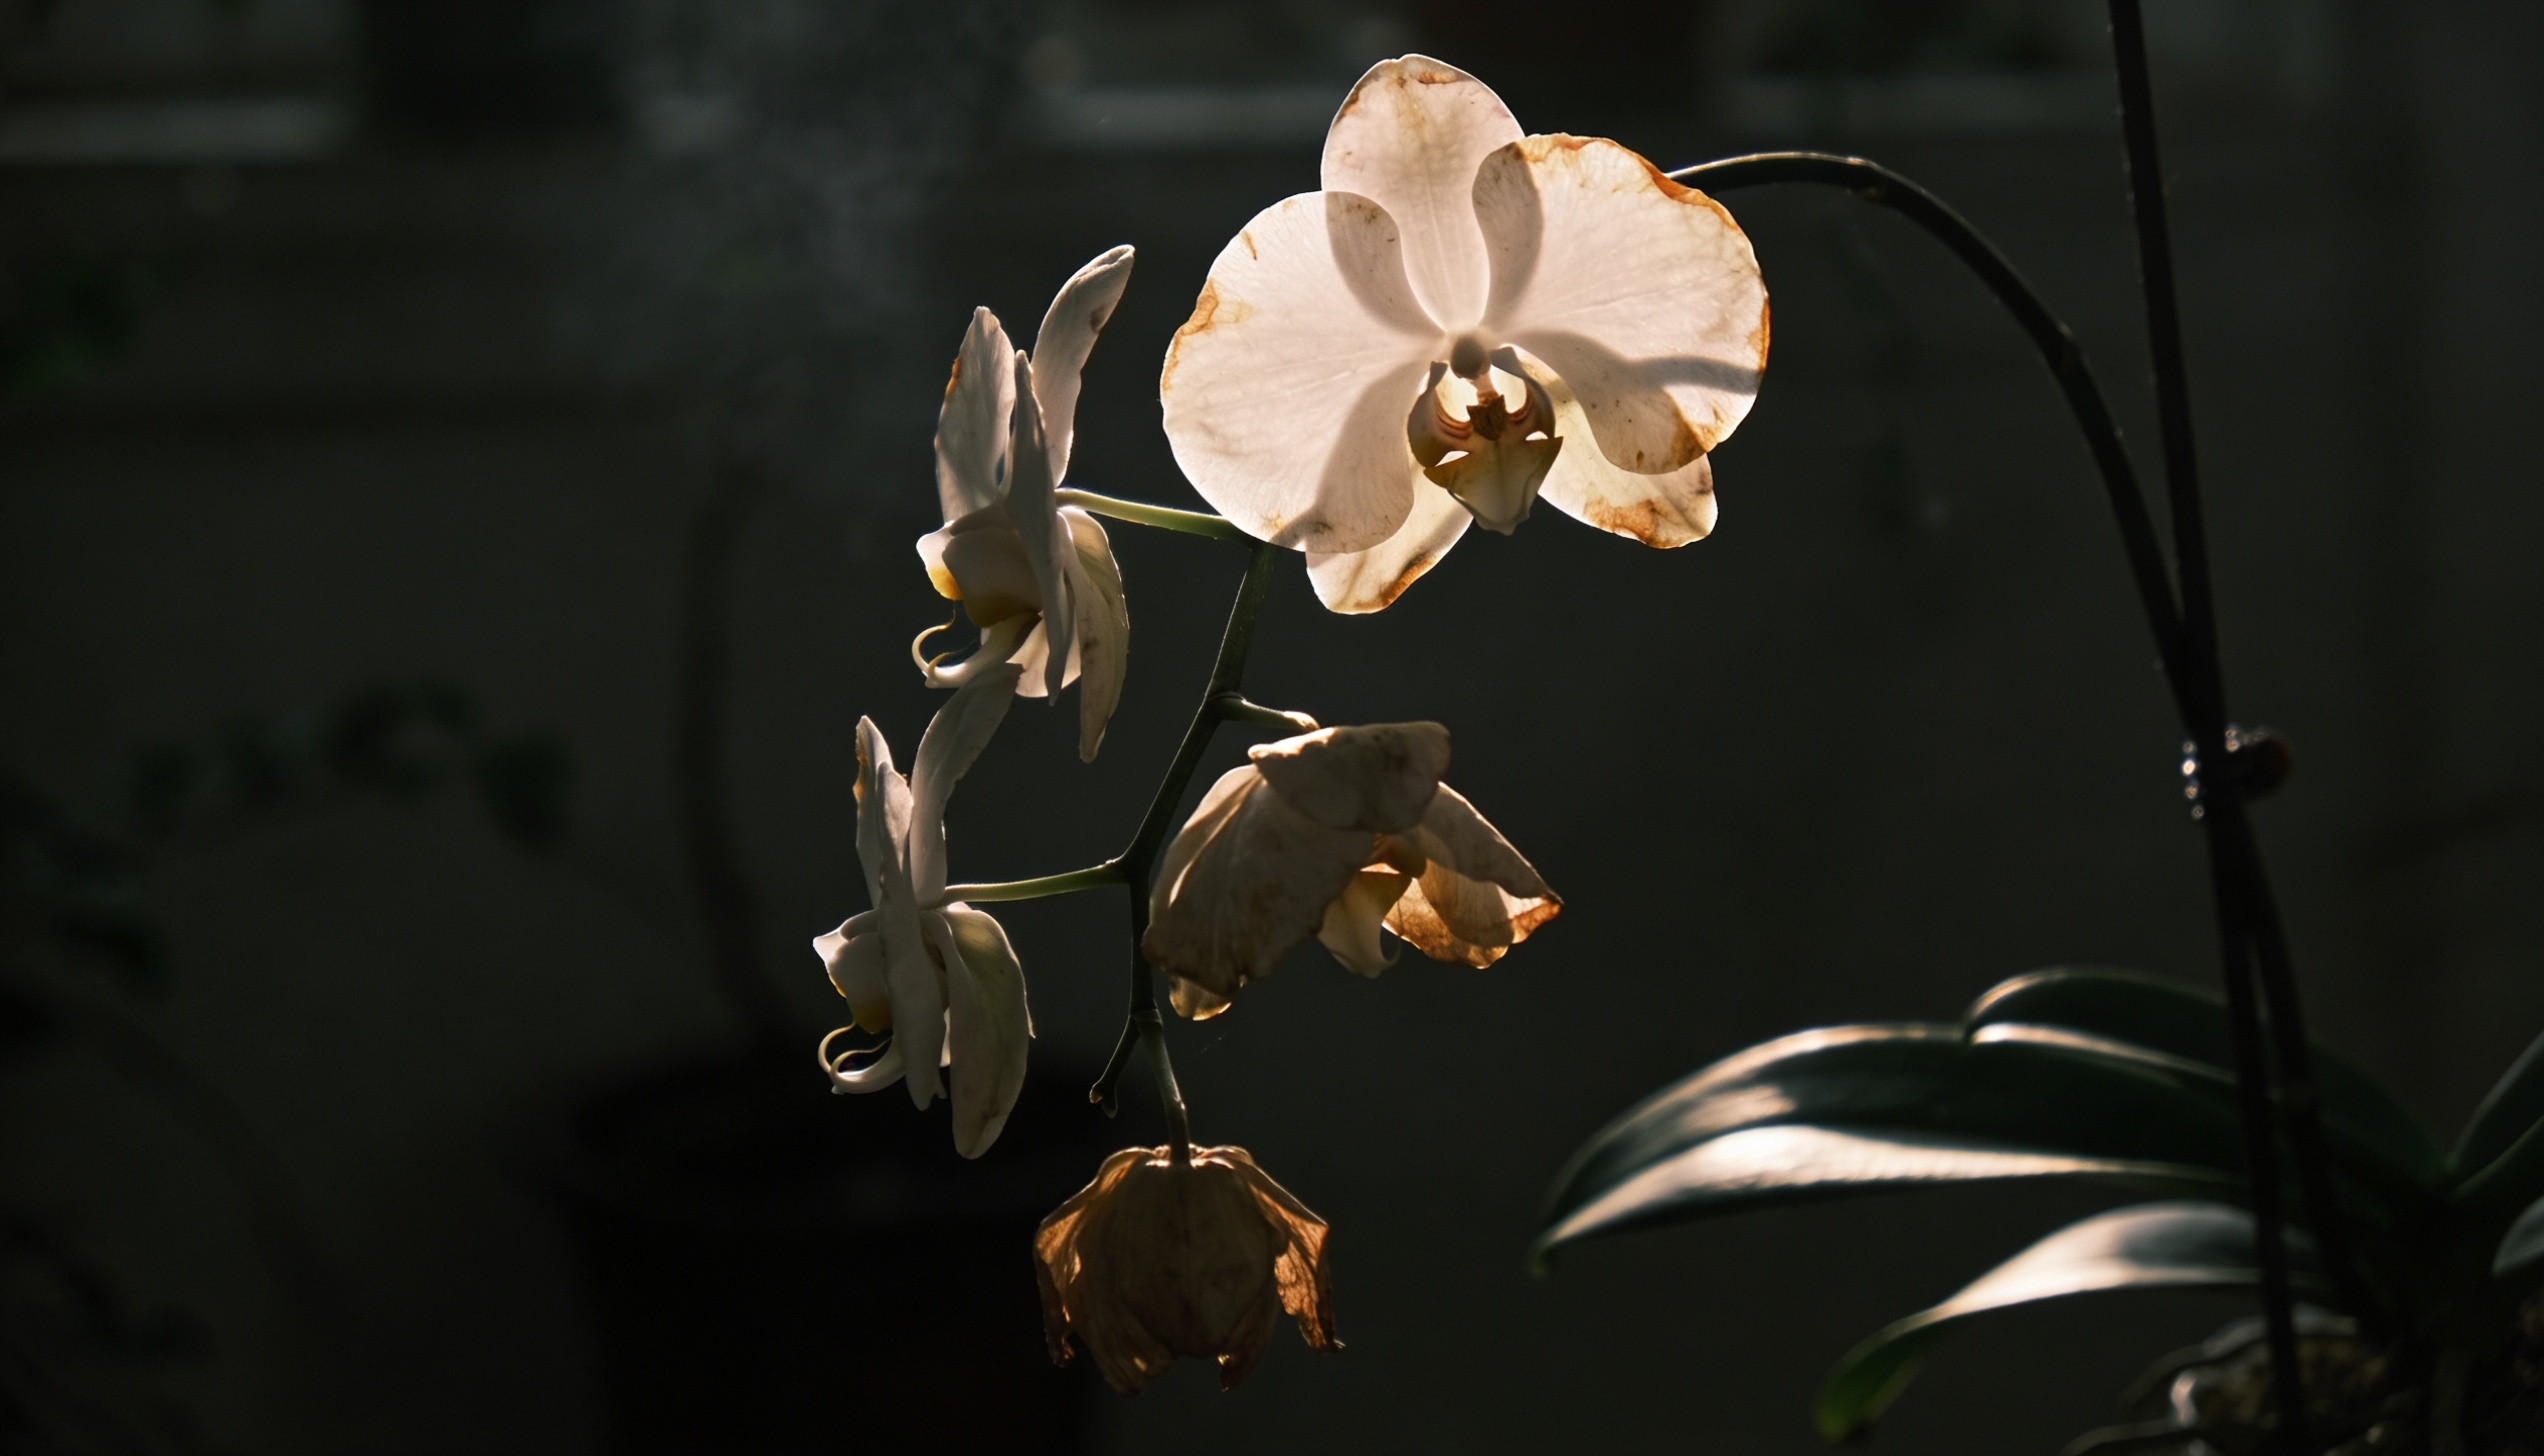
2. Brown Leaf Tips and Spotted Flowers
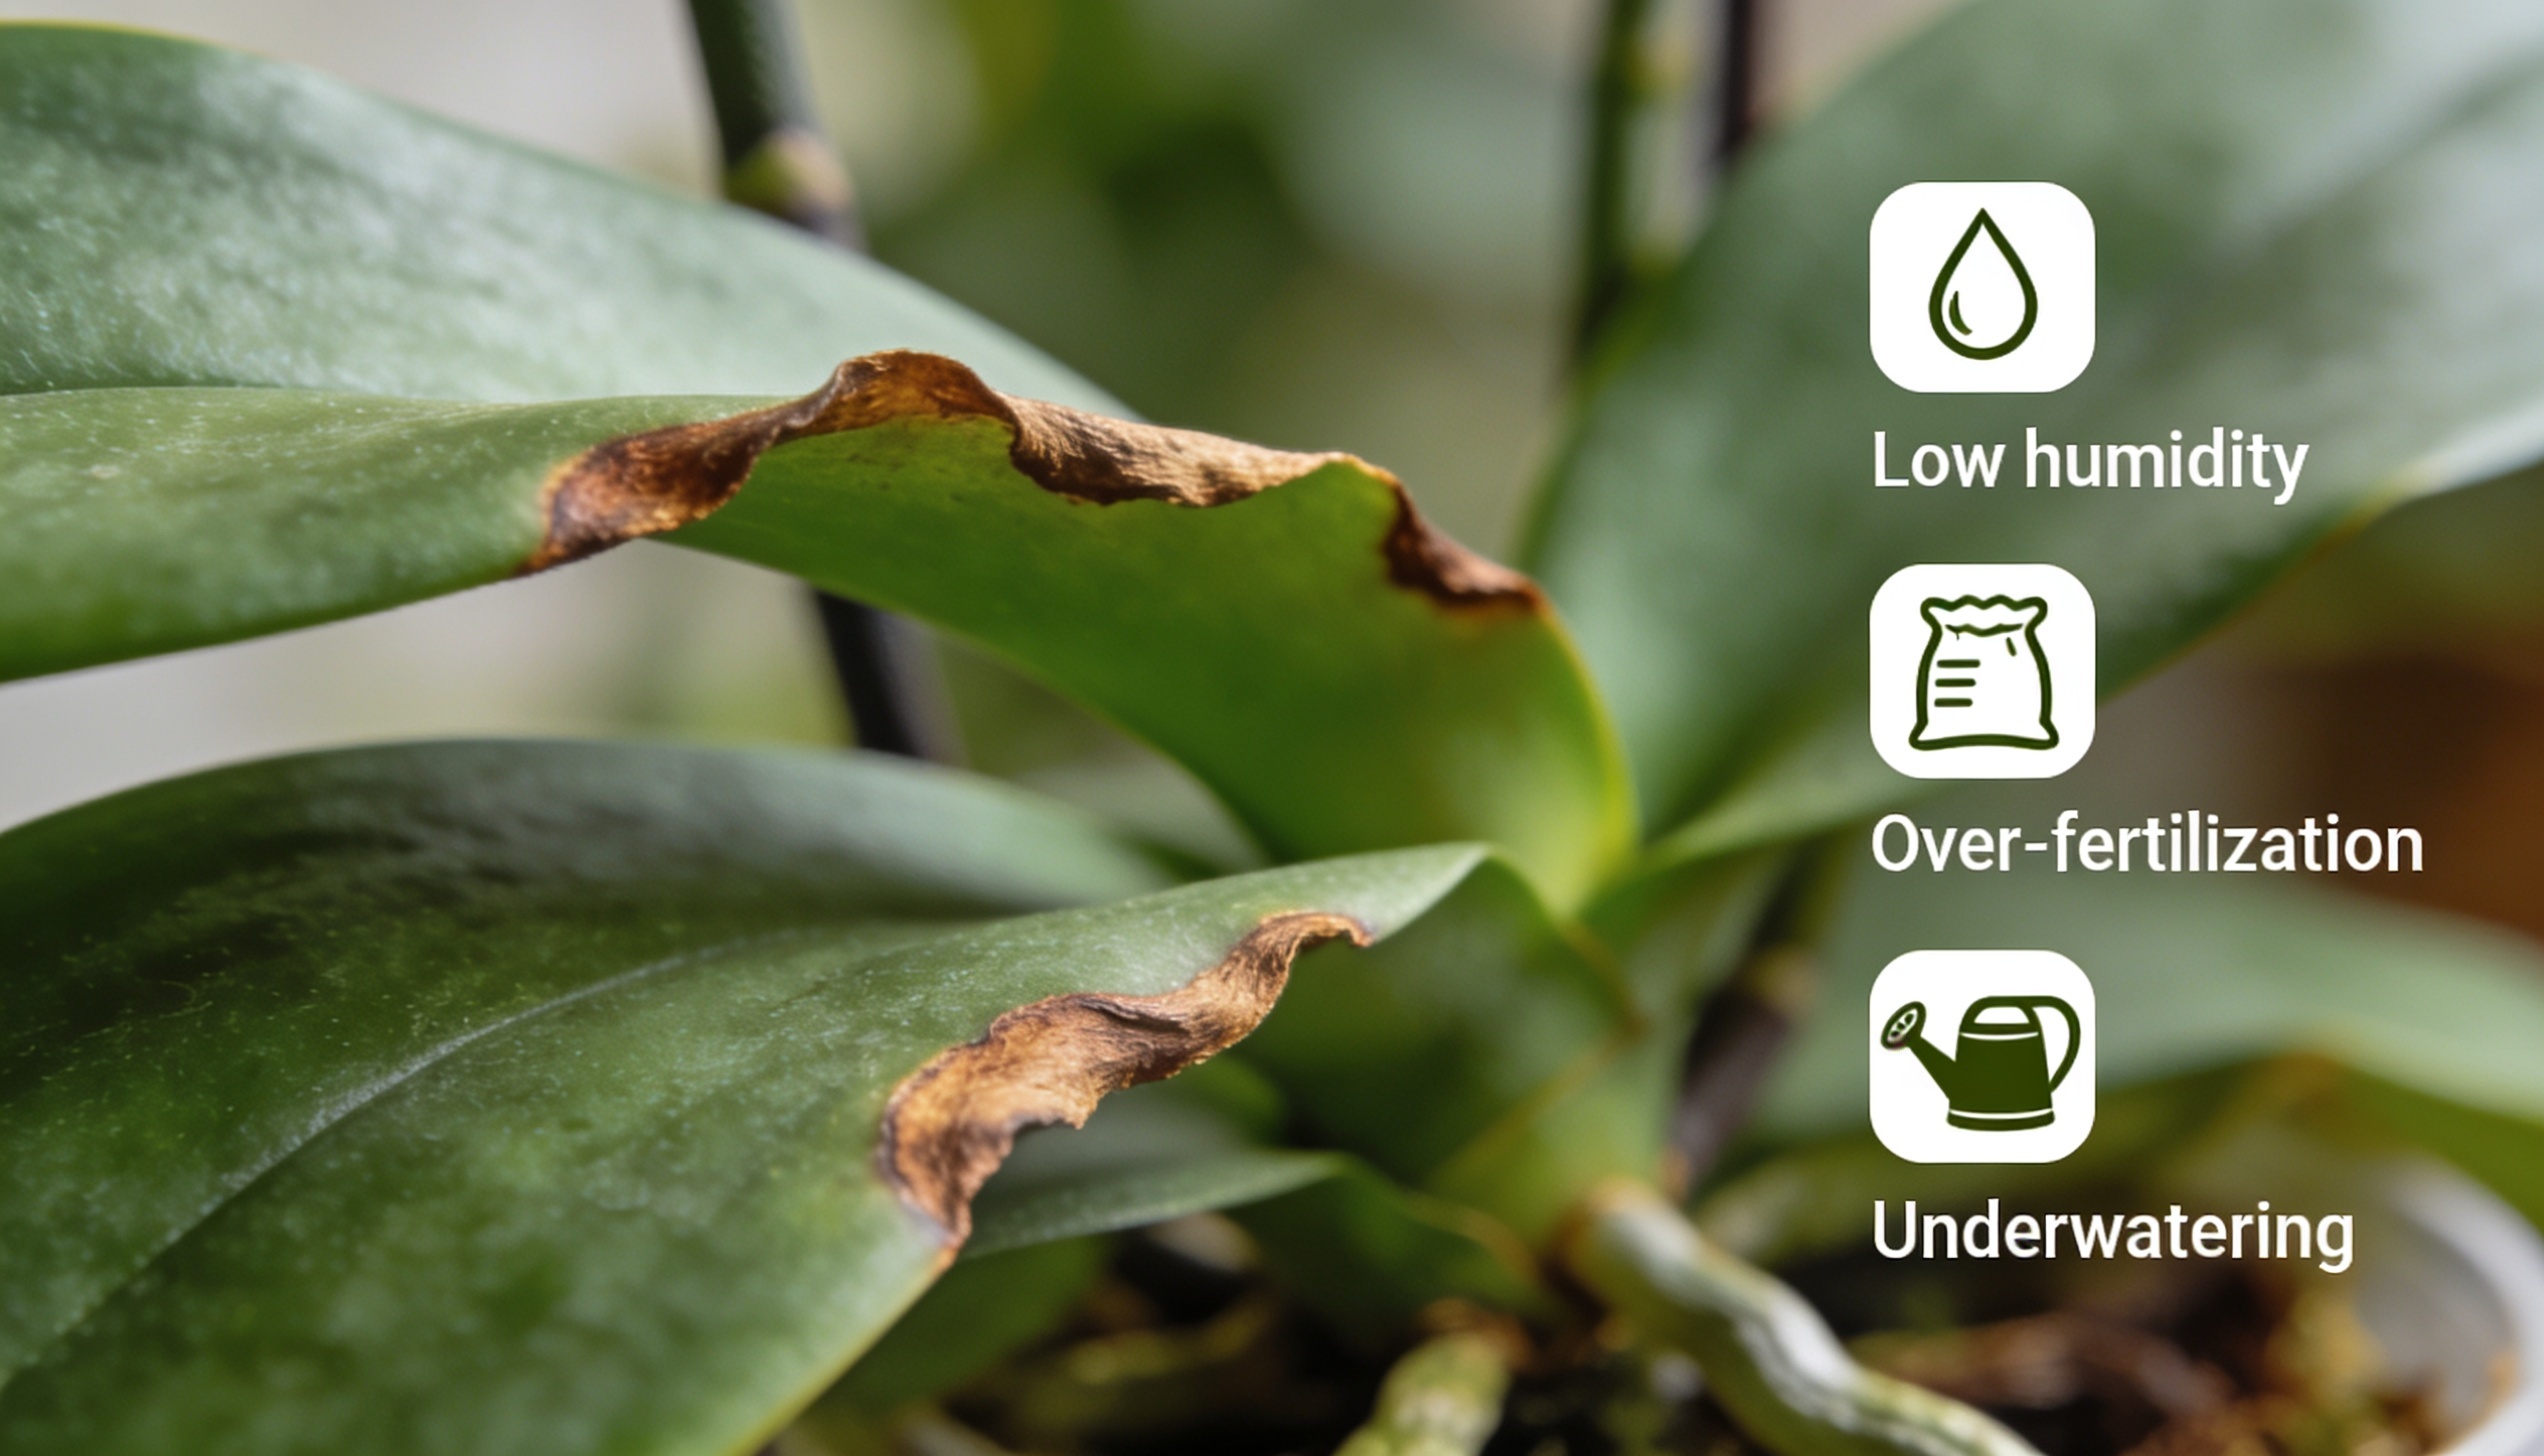
Brown tips on leaves usually mean low humidity or irregular watering. Small brown spots on the flowers a problem called Botrytis are caused by water droplets sitting on the blooms.
Never mist the flowers directly. If you mist the plant at all, do it in the morning and only on the leaves and aerial roots, not the open flowers.
3. Root Rot
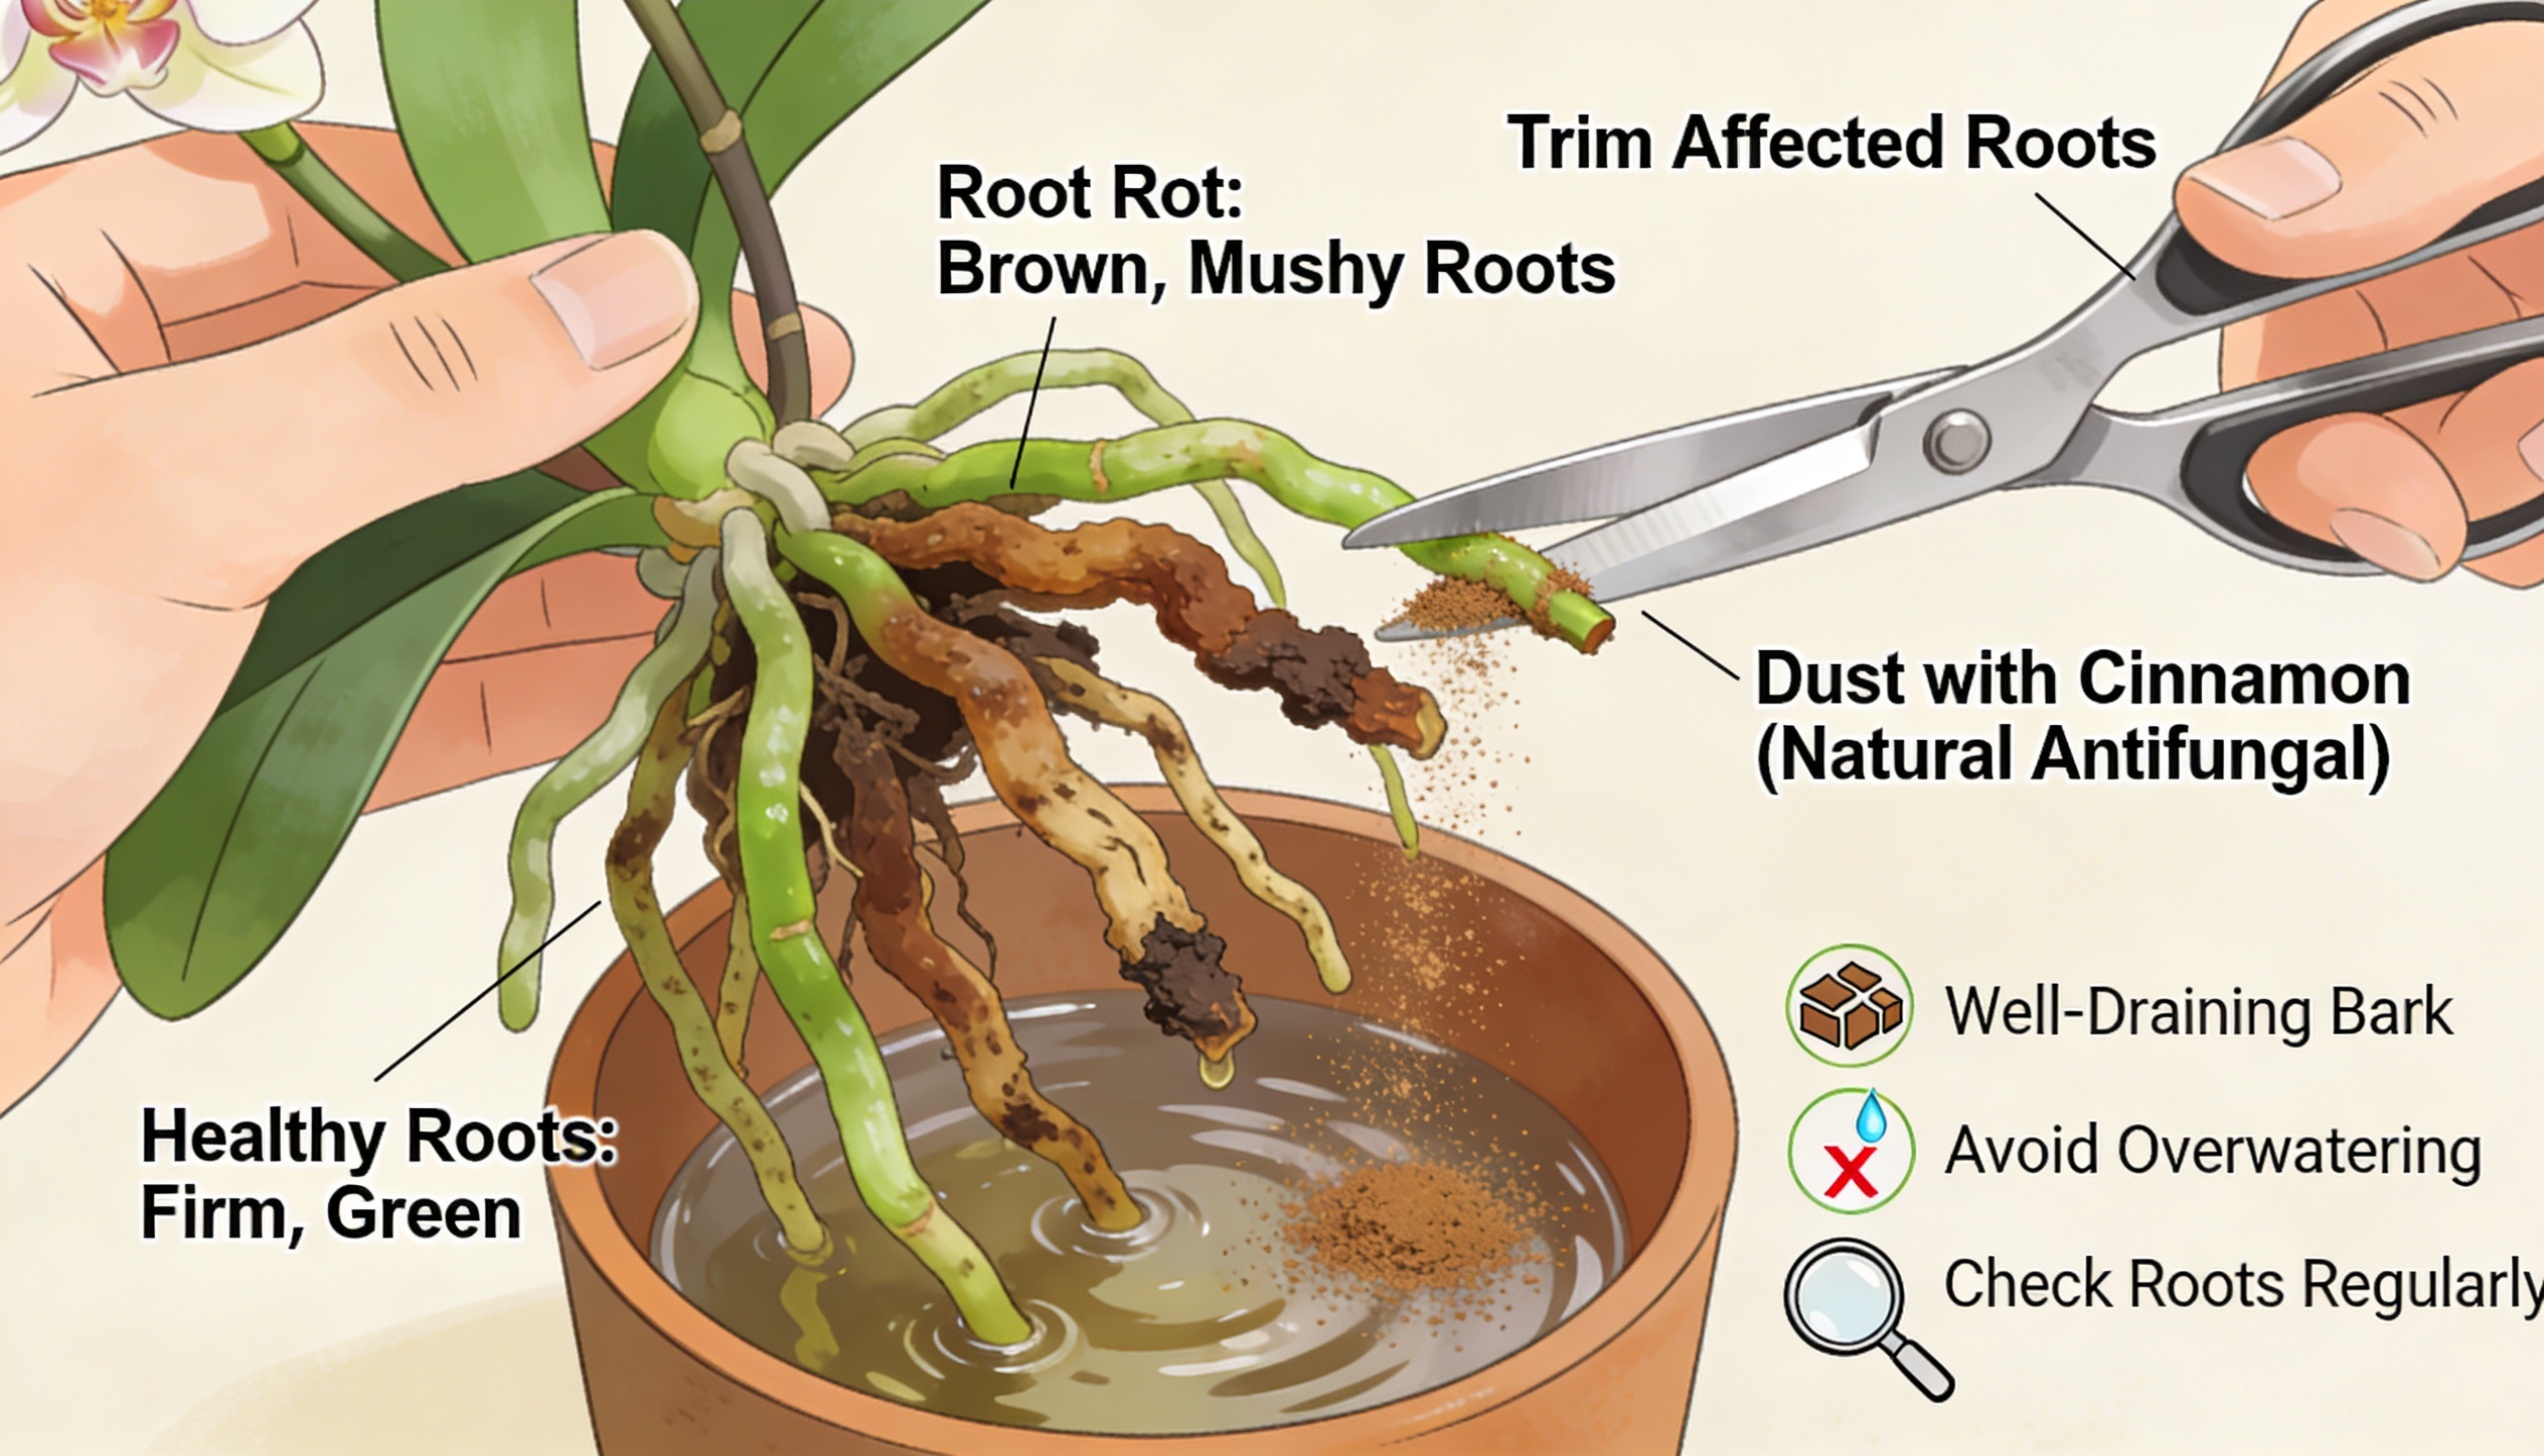
Rotten roots have a distinctive look and smell. They are brown or black, soft when pressed, hollow rather than firm, and in advanced cases smell faintly like decay.
Remove the plant from the pot, cut away every affected root back to healthy white tissue, and treat the cuts with cinnamon.
Let the roots air-dry for an hour before repotting in fresh, dry bark. Reduce watering significantly while the plant recovers.
4. Pests
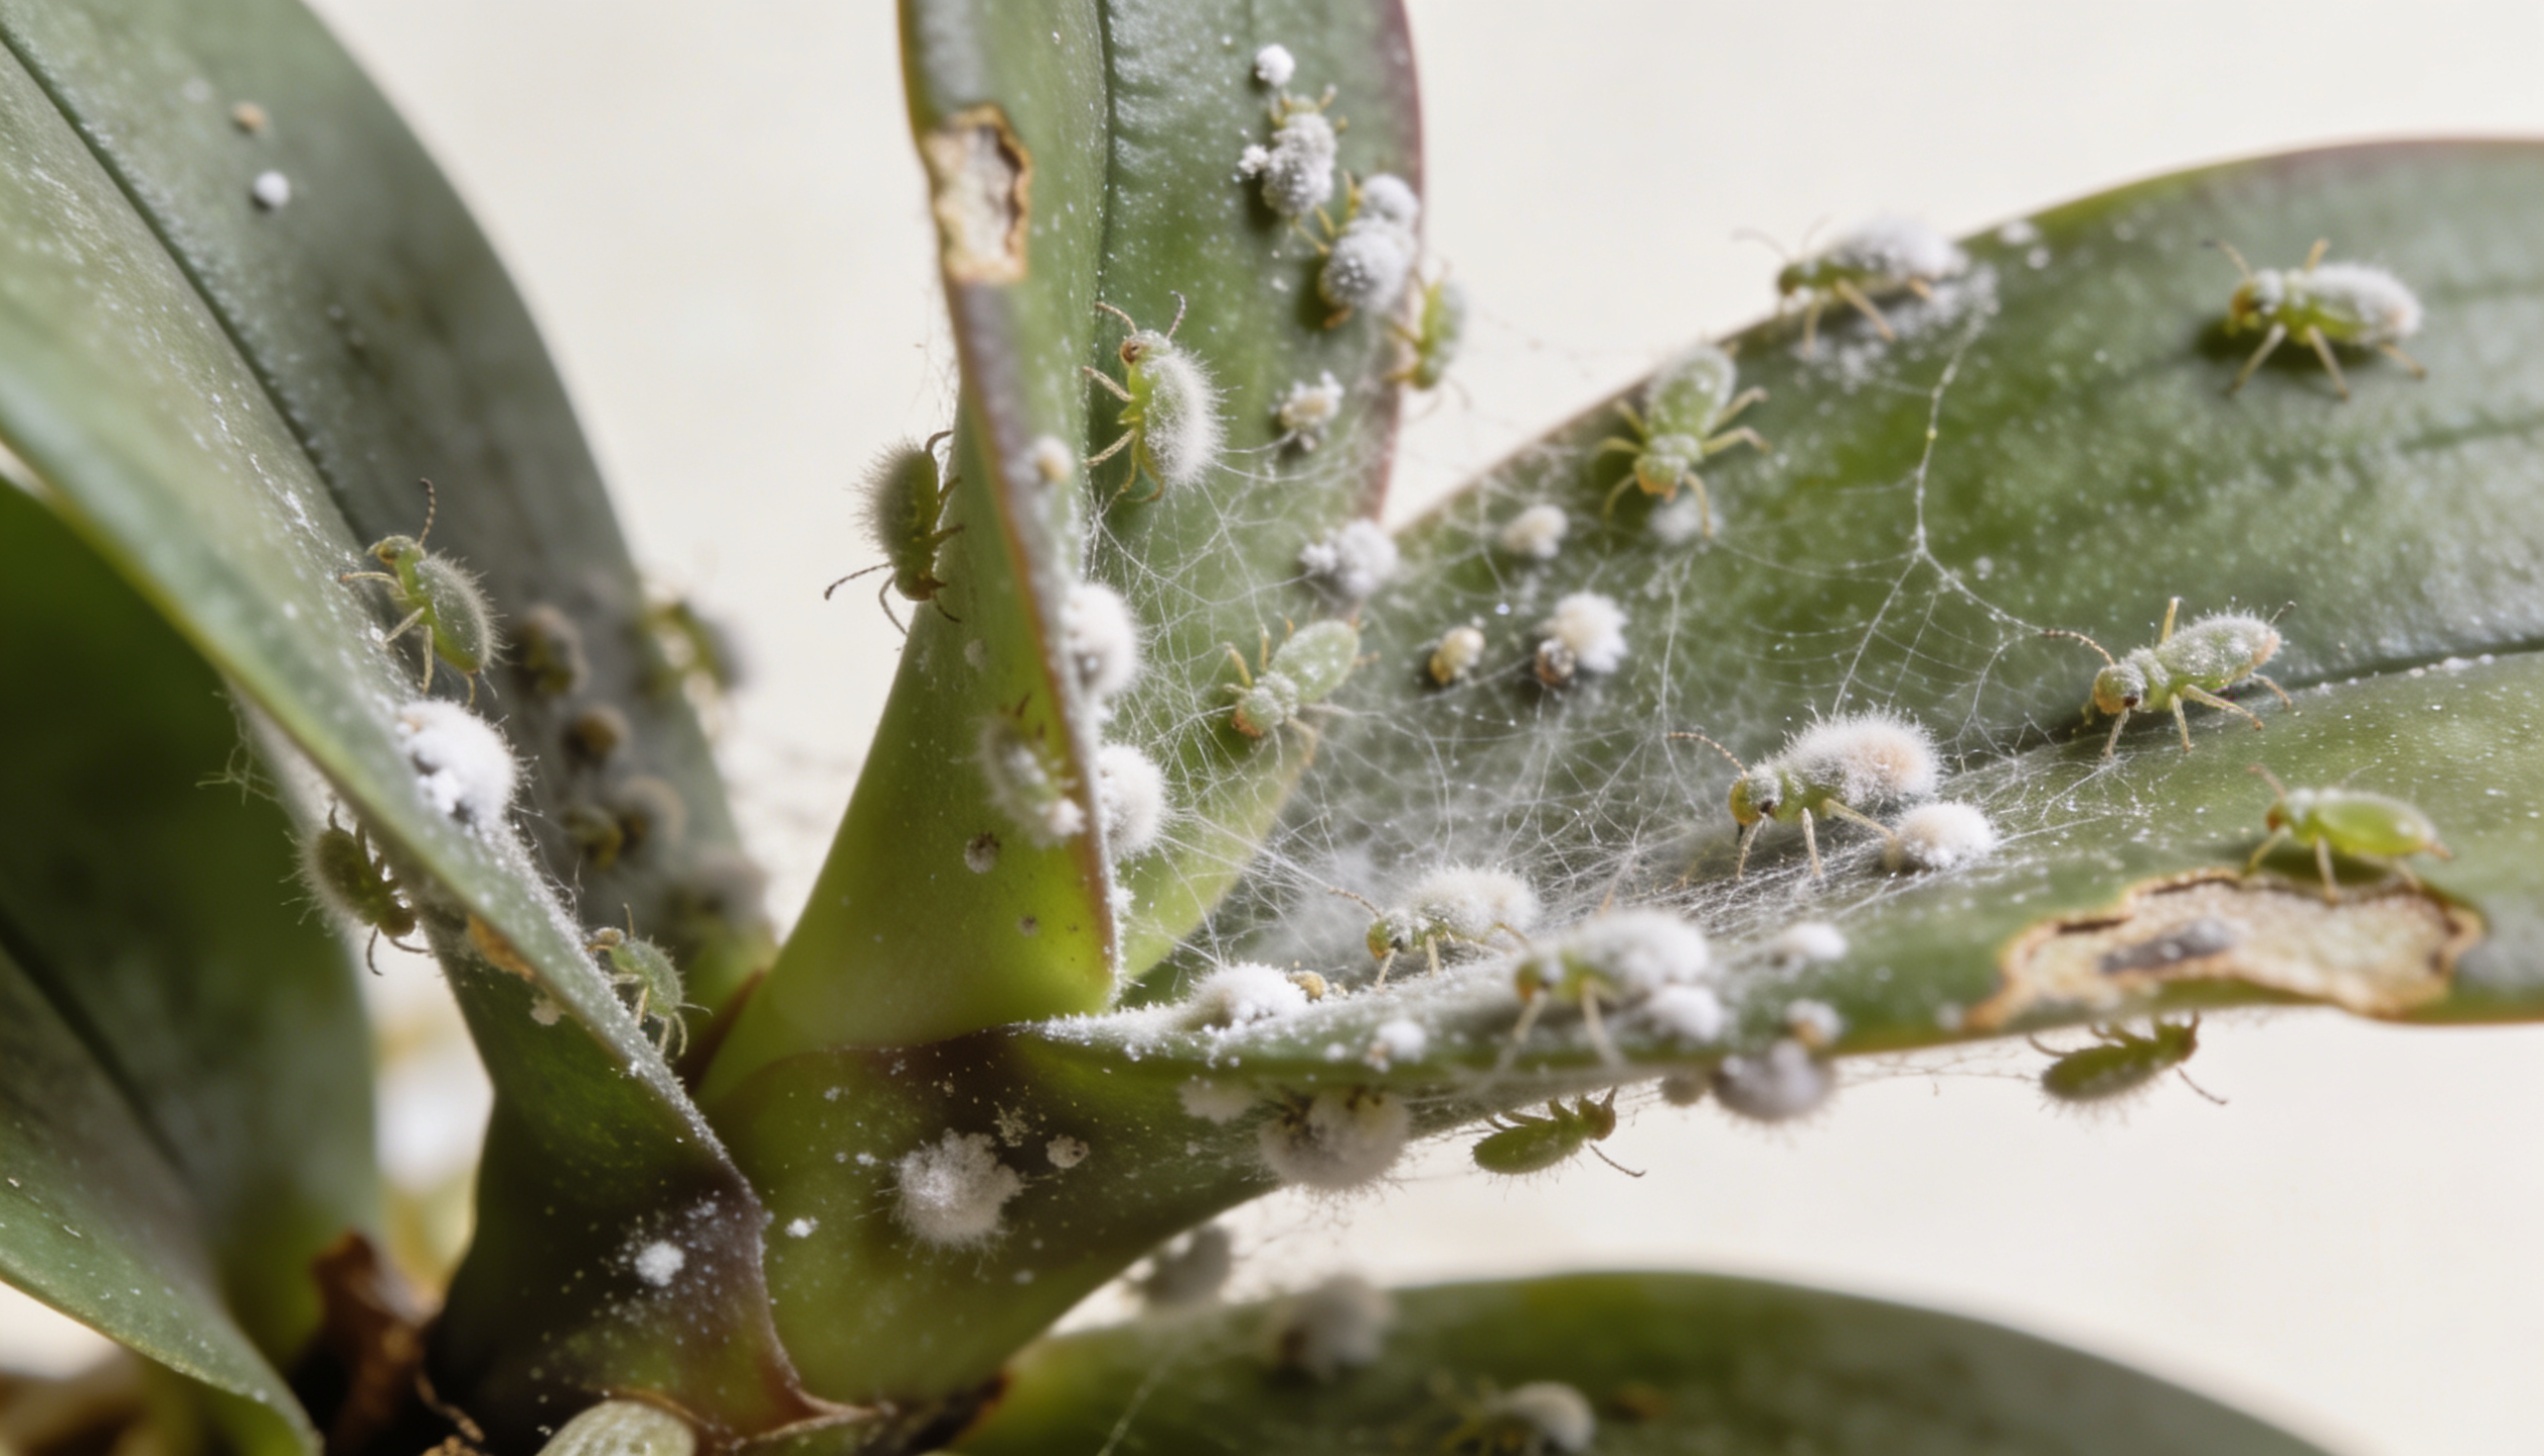
Mealybugs appear as small, white, fluffy patches, often hiding at the base of leaves or in the crown.
Scale insects look like small brown or tan shells stuck to leaves and stems. Fungus gnats are tiny flies that hover around the bark surface, a sign that the medium is too wet.
These small black flies on plants thrive in damp conditions and disappear once you let the bark dry properly between waterings.
For mealybugs and scale, wipe the affected areas with a cotton pad dampened with diluted isopropyl alcohol, then spray with insecticidal soap. For fungus gnats, let the bark dry out more fully between waterings; the larvae cannot survive in dry conditions.
A Quick-Reference Care Summary

Conclusion
Orchids have a reputation they do not deserve. They are not fragile, temperamental, or reserved for experienced gardeners.
They simply follow different rules than the plants most of us grew up with.
Once you stop treating yours like a standard houseplant and start reading what it is actually showing you, root color, leaf shade, and the timing of its rest, the guesswork disappears.
Water quality, airflow, that autumn temperature drop: small adjustments that most guides never mention make the real difference between a plant that survives and one that blooms year after year.
Give it the right conditions, trust the process during the quiet months, and your orchid will reward you for years to come. Possibly decades.
Frequently Asked Questions
Can I Water My Orchid with Ice Cubes?
No. Cold water stresses roots adapted to warm tropical conditions. Use room-temperature water instead.
My Orchid Has Lost All Its Flowers. Is it Dead?
Almost certainly not. It has entered its rest phase. If the roots are firm and the leaves are healthy, the plant is alive and preparing for the next bloom cycle.
What Soil Should I Use for Orchids?
Do not use regular potting compost. Orchids need bark-based orchid mix that allows air to circulate around the roots. Regular soil stays too wet, suffocating them.
How Long Does It Take for an Orchid to Rebloom?
Most Phalaenopsis orchids take two to three months to produce a new flower spike after their rest period, provided they get enough light and a few weeks of cooler night temperatures. Some plants take up to six months.
Should I Cut the Aerial Roots Growing Outside the Pot?
No. Aerial roots are healthy and normal for orchids. They absorb moisture and nutrients from the air, just as they would in the wild. Only remove roots that are completely brown, dry, and hollow.
Can I Keep My Orchid in a Bathroom?
Yes, if the bathroom has a window that provides bright, indirect light. Bathrooms offer higher humidity, which orchids enjoy. Without a window, the space will be too dark for blooming.
Why Is My Orchid Growing Leaves but No Flowers?
The most likely cause is not enough light. Orchids that sit in dim rooms produce leaves but lack the energy to form flower spikes. Move the plant to a brighter spot and provide a night temperature drop in autumn to trigger blooming.