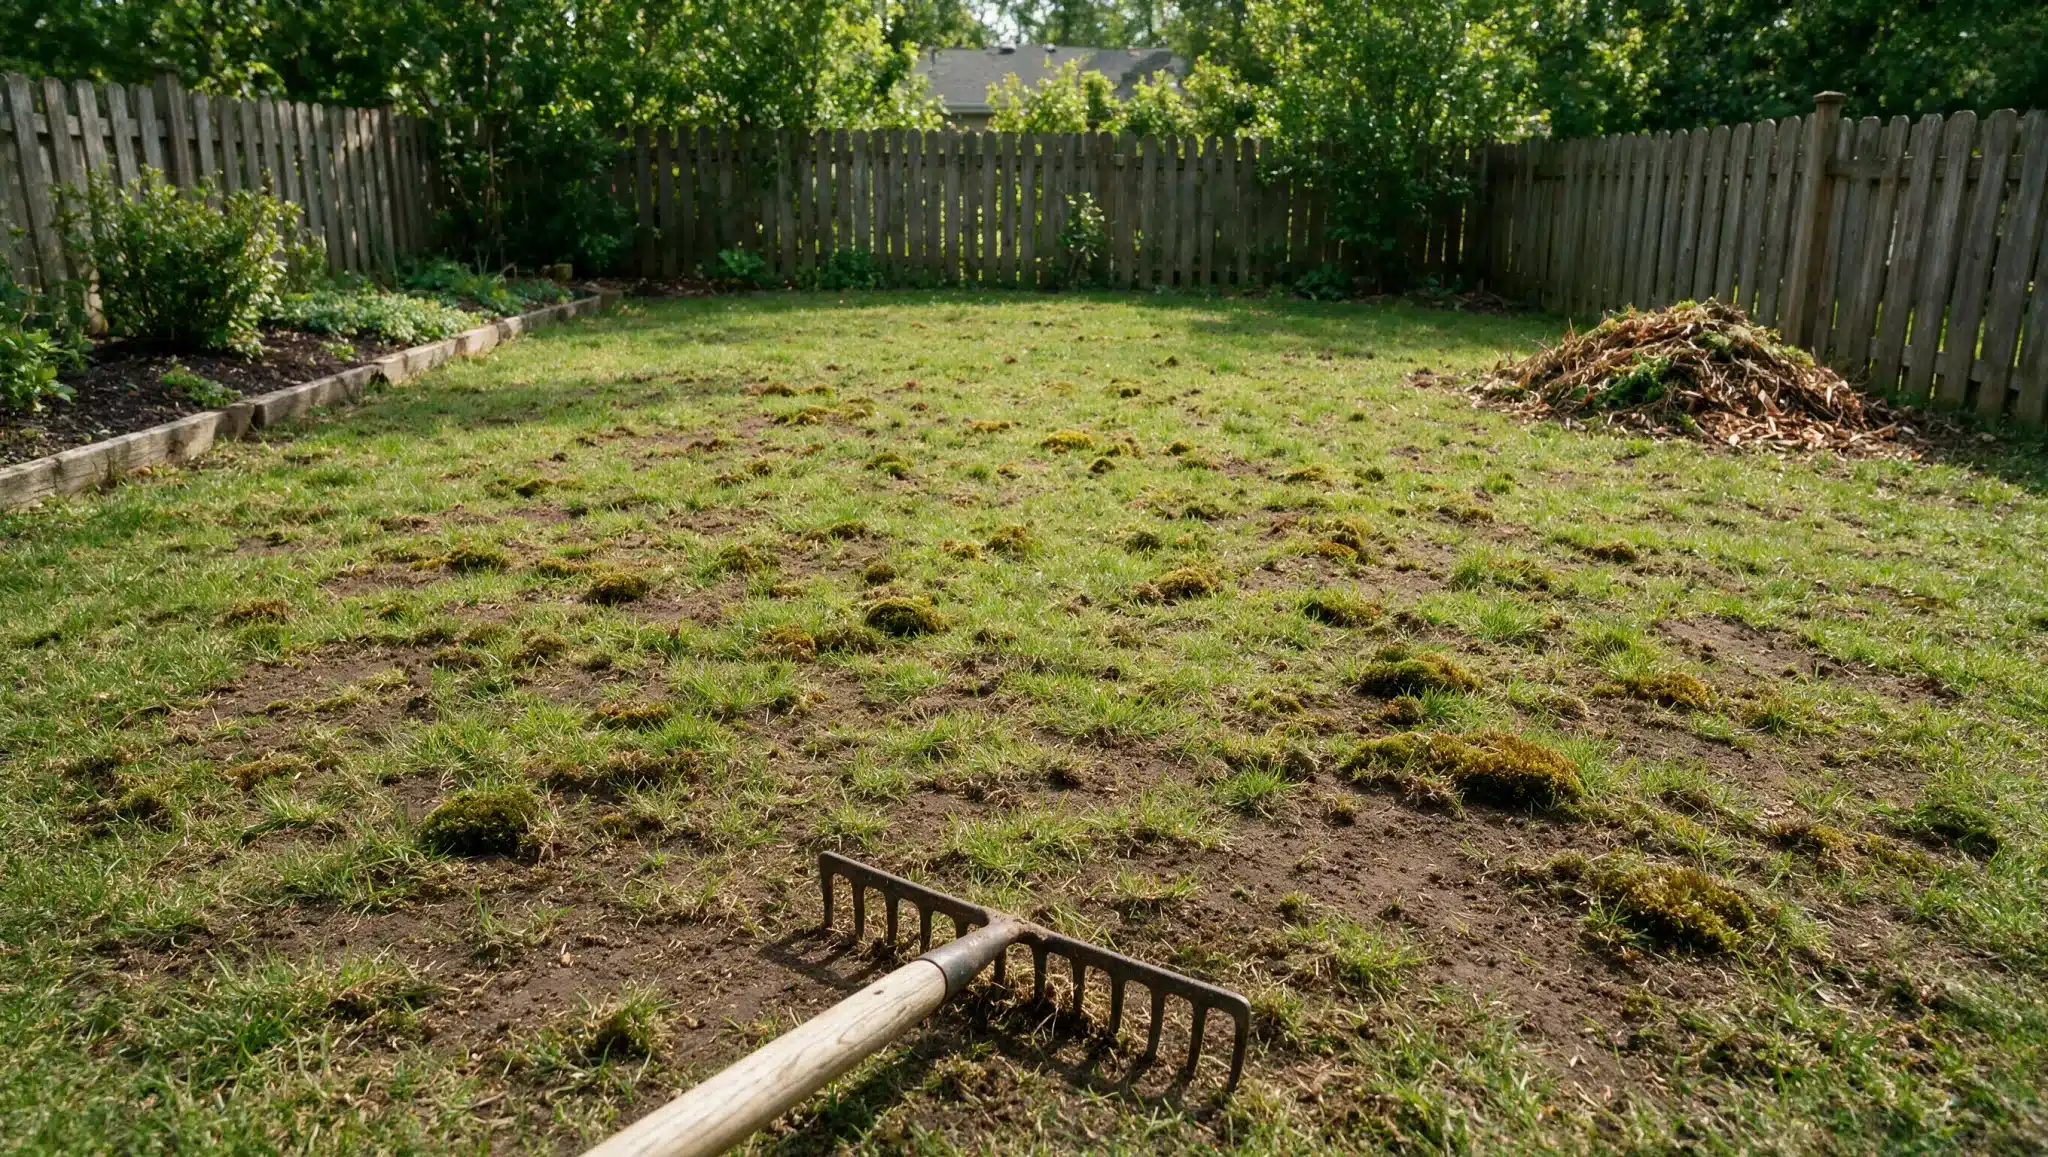

A patch of bare soil after scarifying looks worse than it usually is.
In most cases, that’s normal. Scarifying rips out old thatch and moss, not healthy grass, though the two can look alike once the rake’s done its job.
What actually matters is whether your lawn still has enough left to bounce back, or whether the blades went in too deep.
This blog walks through how to tell whether there’s no grass left after scarifying due to normal thinning or an actual mistake, and how to fix either.
Is It Normal to Have No Grass Left After Scarifying?
Yes, a lawn often looks worse before it looks better after scarifying. Removing years of built-up thatch and moss exposes bare soil, which can look more dramatic than expected. Scarifying clears thatch, not healthy grass, though some thinning is normal along the way.
Your lawn is usually still recoverable if the roots hold firm, some green grass remains between patches, and there’s no large pulled-up turf.
Rake and clear the debris, water lightly, and keep foot traffic off the area until new growth appears.
Why Grass Disappears After Scarifying
A few common causes explain why a lawn ends up properly bare after scarifying, rather than just a bit thinner.
| Cause | Why It Happens |
|---|---|
| Lawn was already weak | Grass under stress has shallow roots and thin coverage, which makes it far less likely to survive scarifying intact. |
| Poor soil | Compacted or nutrient-poor soil struggles to support strong root growth. Roots that can’t push down deep have little to hold onto once the surface is raked. |
| Shade | Grass in heavy shade grows thin and patchy even without scarifying. Reduced light slows photosynthesis, leaving less energy for the grass to recover afterward. |
| Drought stress | Dry, dehydrated grass has weaker roots that pull out easily. A lawn that’s already fighting for moisture has little reserve left to withstand raking. |
| Heavy foot traffic | Paths and play areas often have thinner grass to begin with. Repeated compaction from footsteps weakens the same areas that scarifying tends to expose. |
| Wrong timing | Scarifying outside of spring (March–April) or autumn (September–October) catches grass when it isn’t actively growing, so it has less energy left to recover quickly. |
Signs of a Healthy Lawn After Scarifying
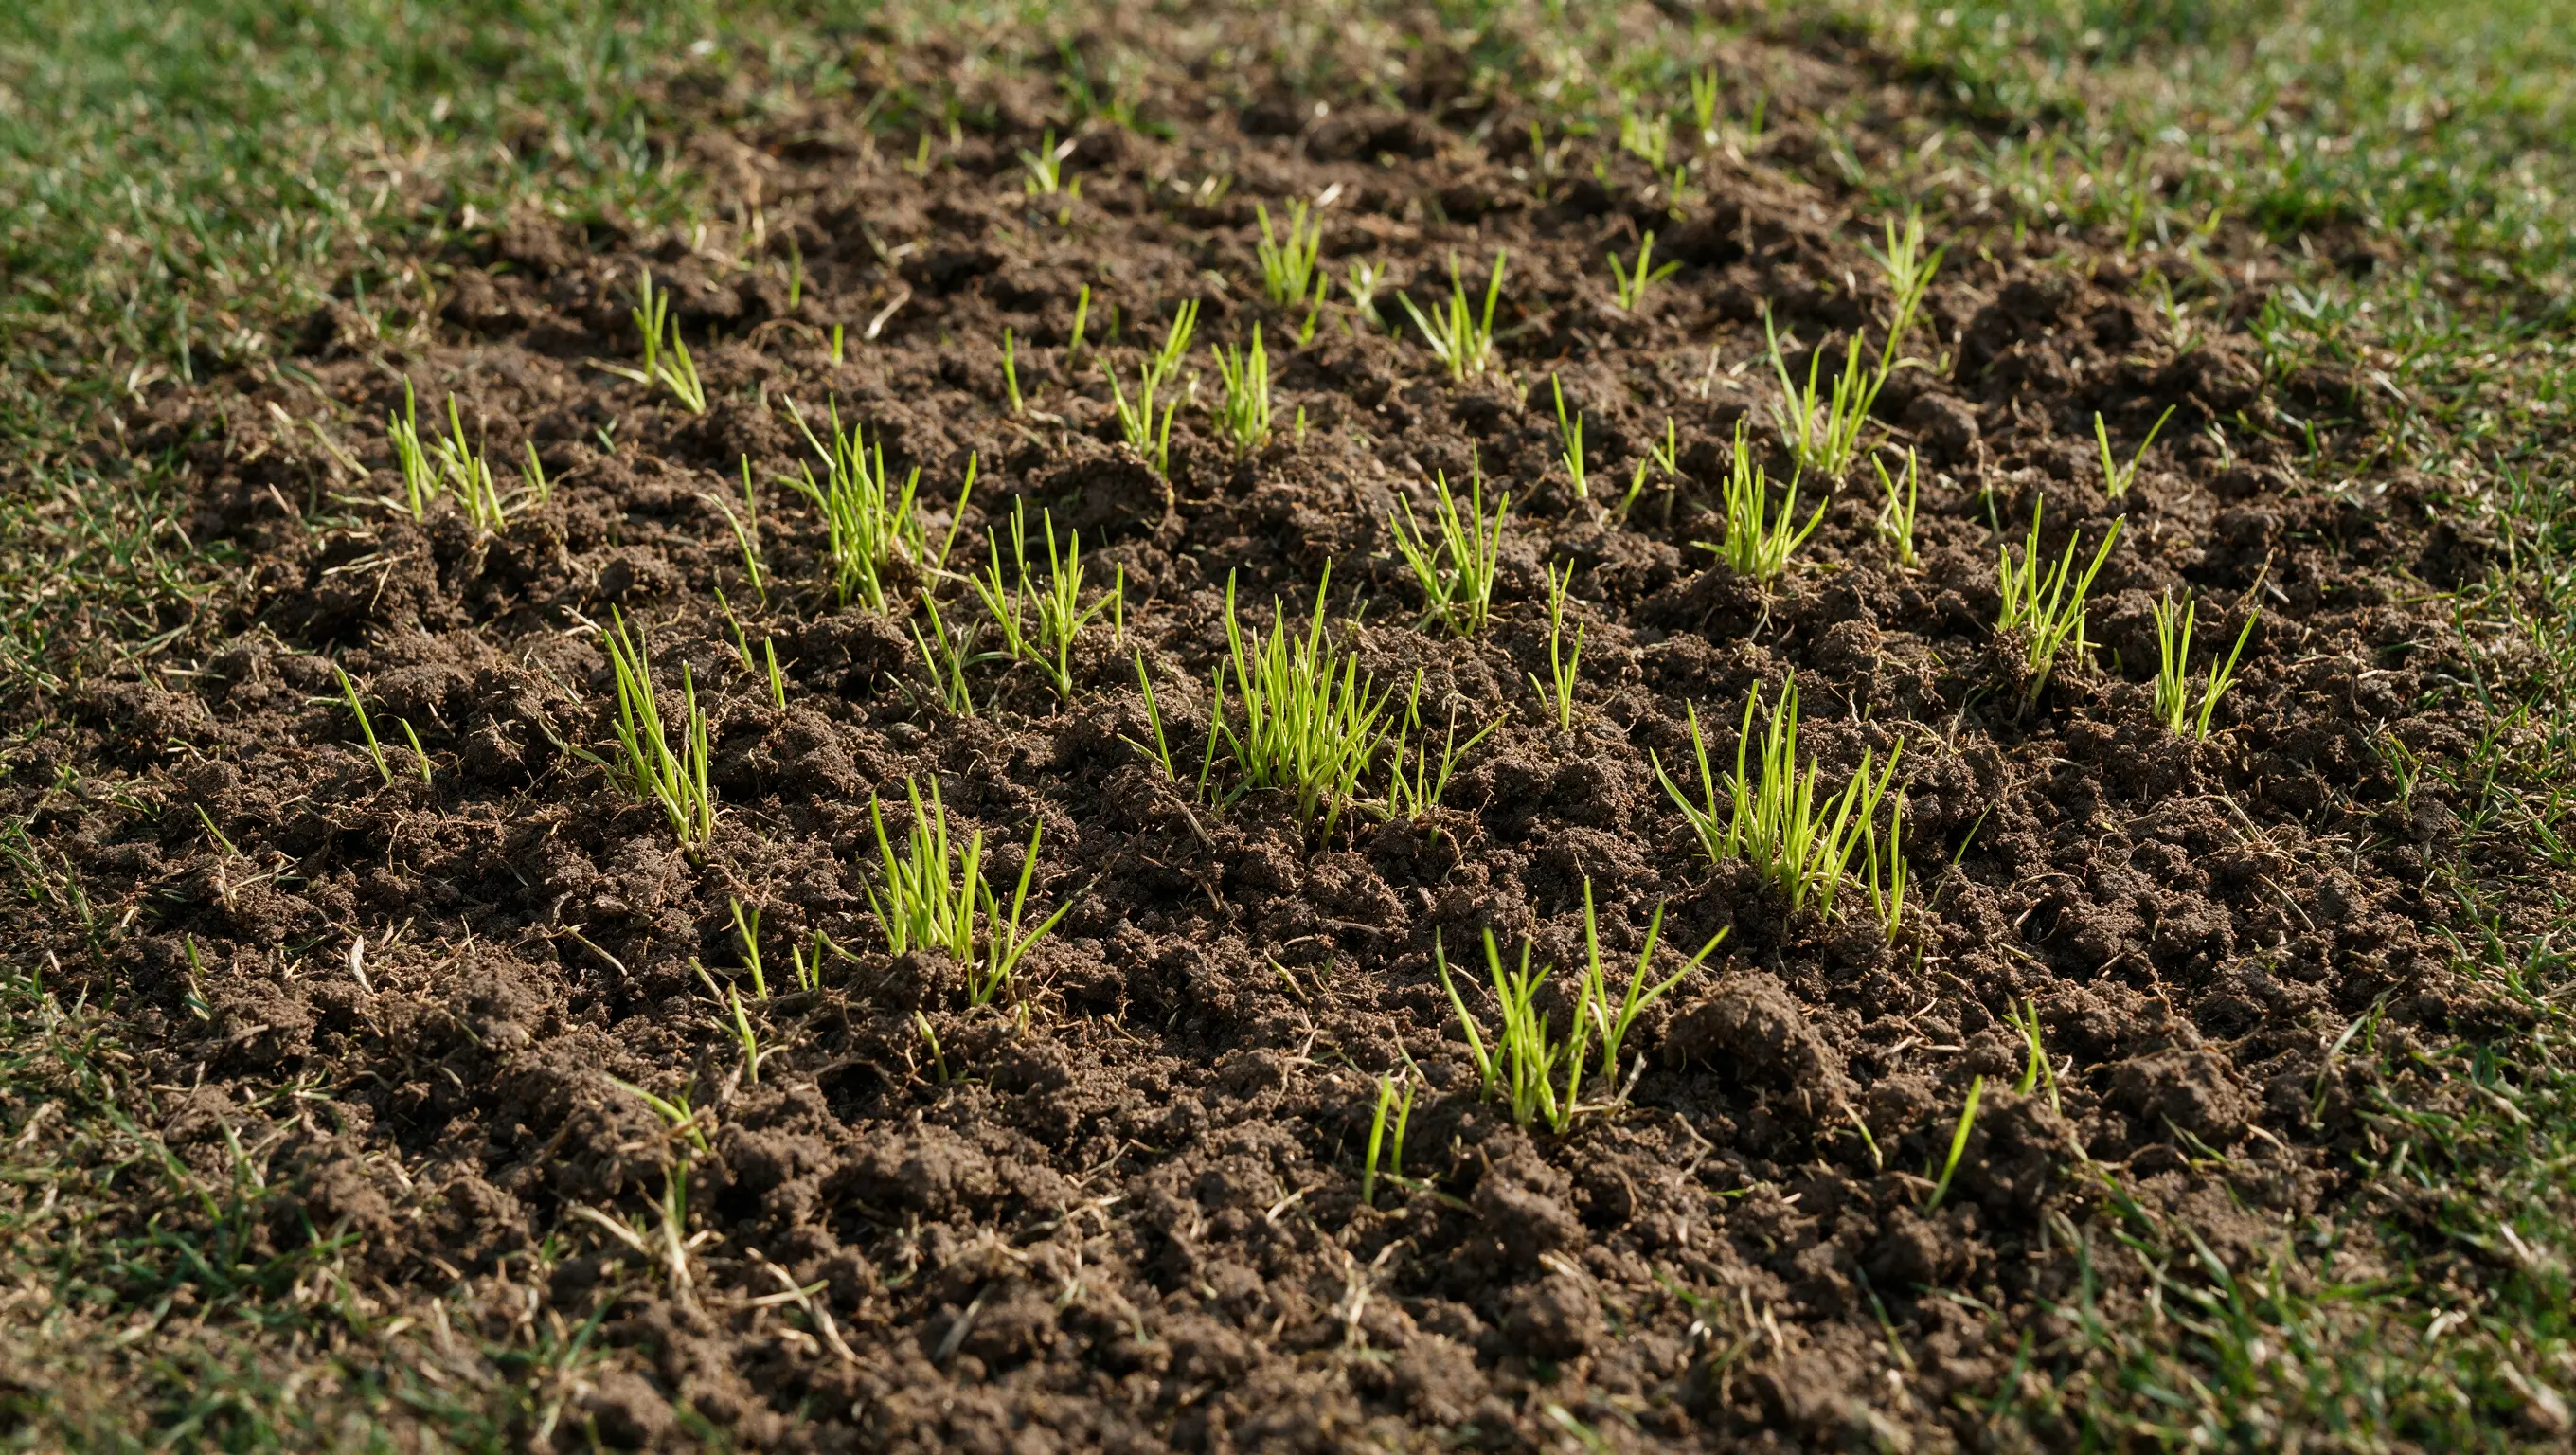
A lawn that’s recovering normally shows a few clear signs within the first few weeks:
- Small, even flecks of soil: bare bits show through evenly rather than as large stripped patches. This kind of light, scattered thinning is a normal part of recovery rather than a warning sign.
- Grass perking back up: the remaining grass looks fuller and greener within about a week. A quick return of color and density is one of the clearest signs the lawn is on track.
- Sideways spread: existing grass starts creeping into the gaps rather than staying static. Healthy grass naturally fills in bare soil as it spreads, reducing the amount of reseeding needed.
- Regrowth within two to three weeks: if a bare section shows no green at all by this point, the damage likely goes beyond normal thinning.
At that stage, it’s worth checking for compaction, drainage issues, or failed germination.
How to Repair a Bare Lawn After Scarifying
Once the immediate aftercare is complete, the actual repair work follows a set order, from clearing the ground to establishing new seed. Work through these steps in sequence for the best results.
1. Rake and Clear the Bare Area
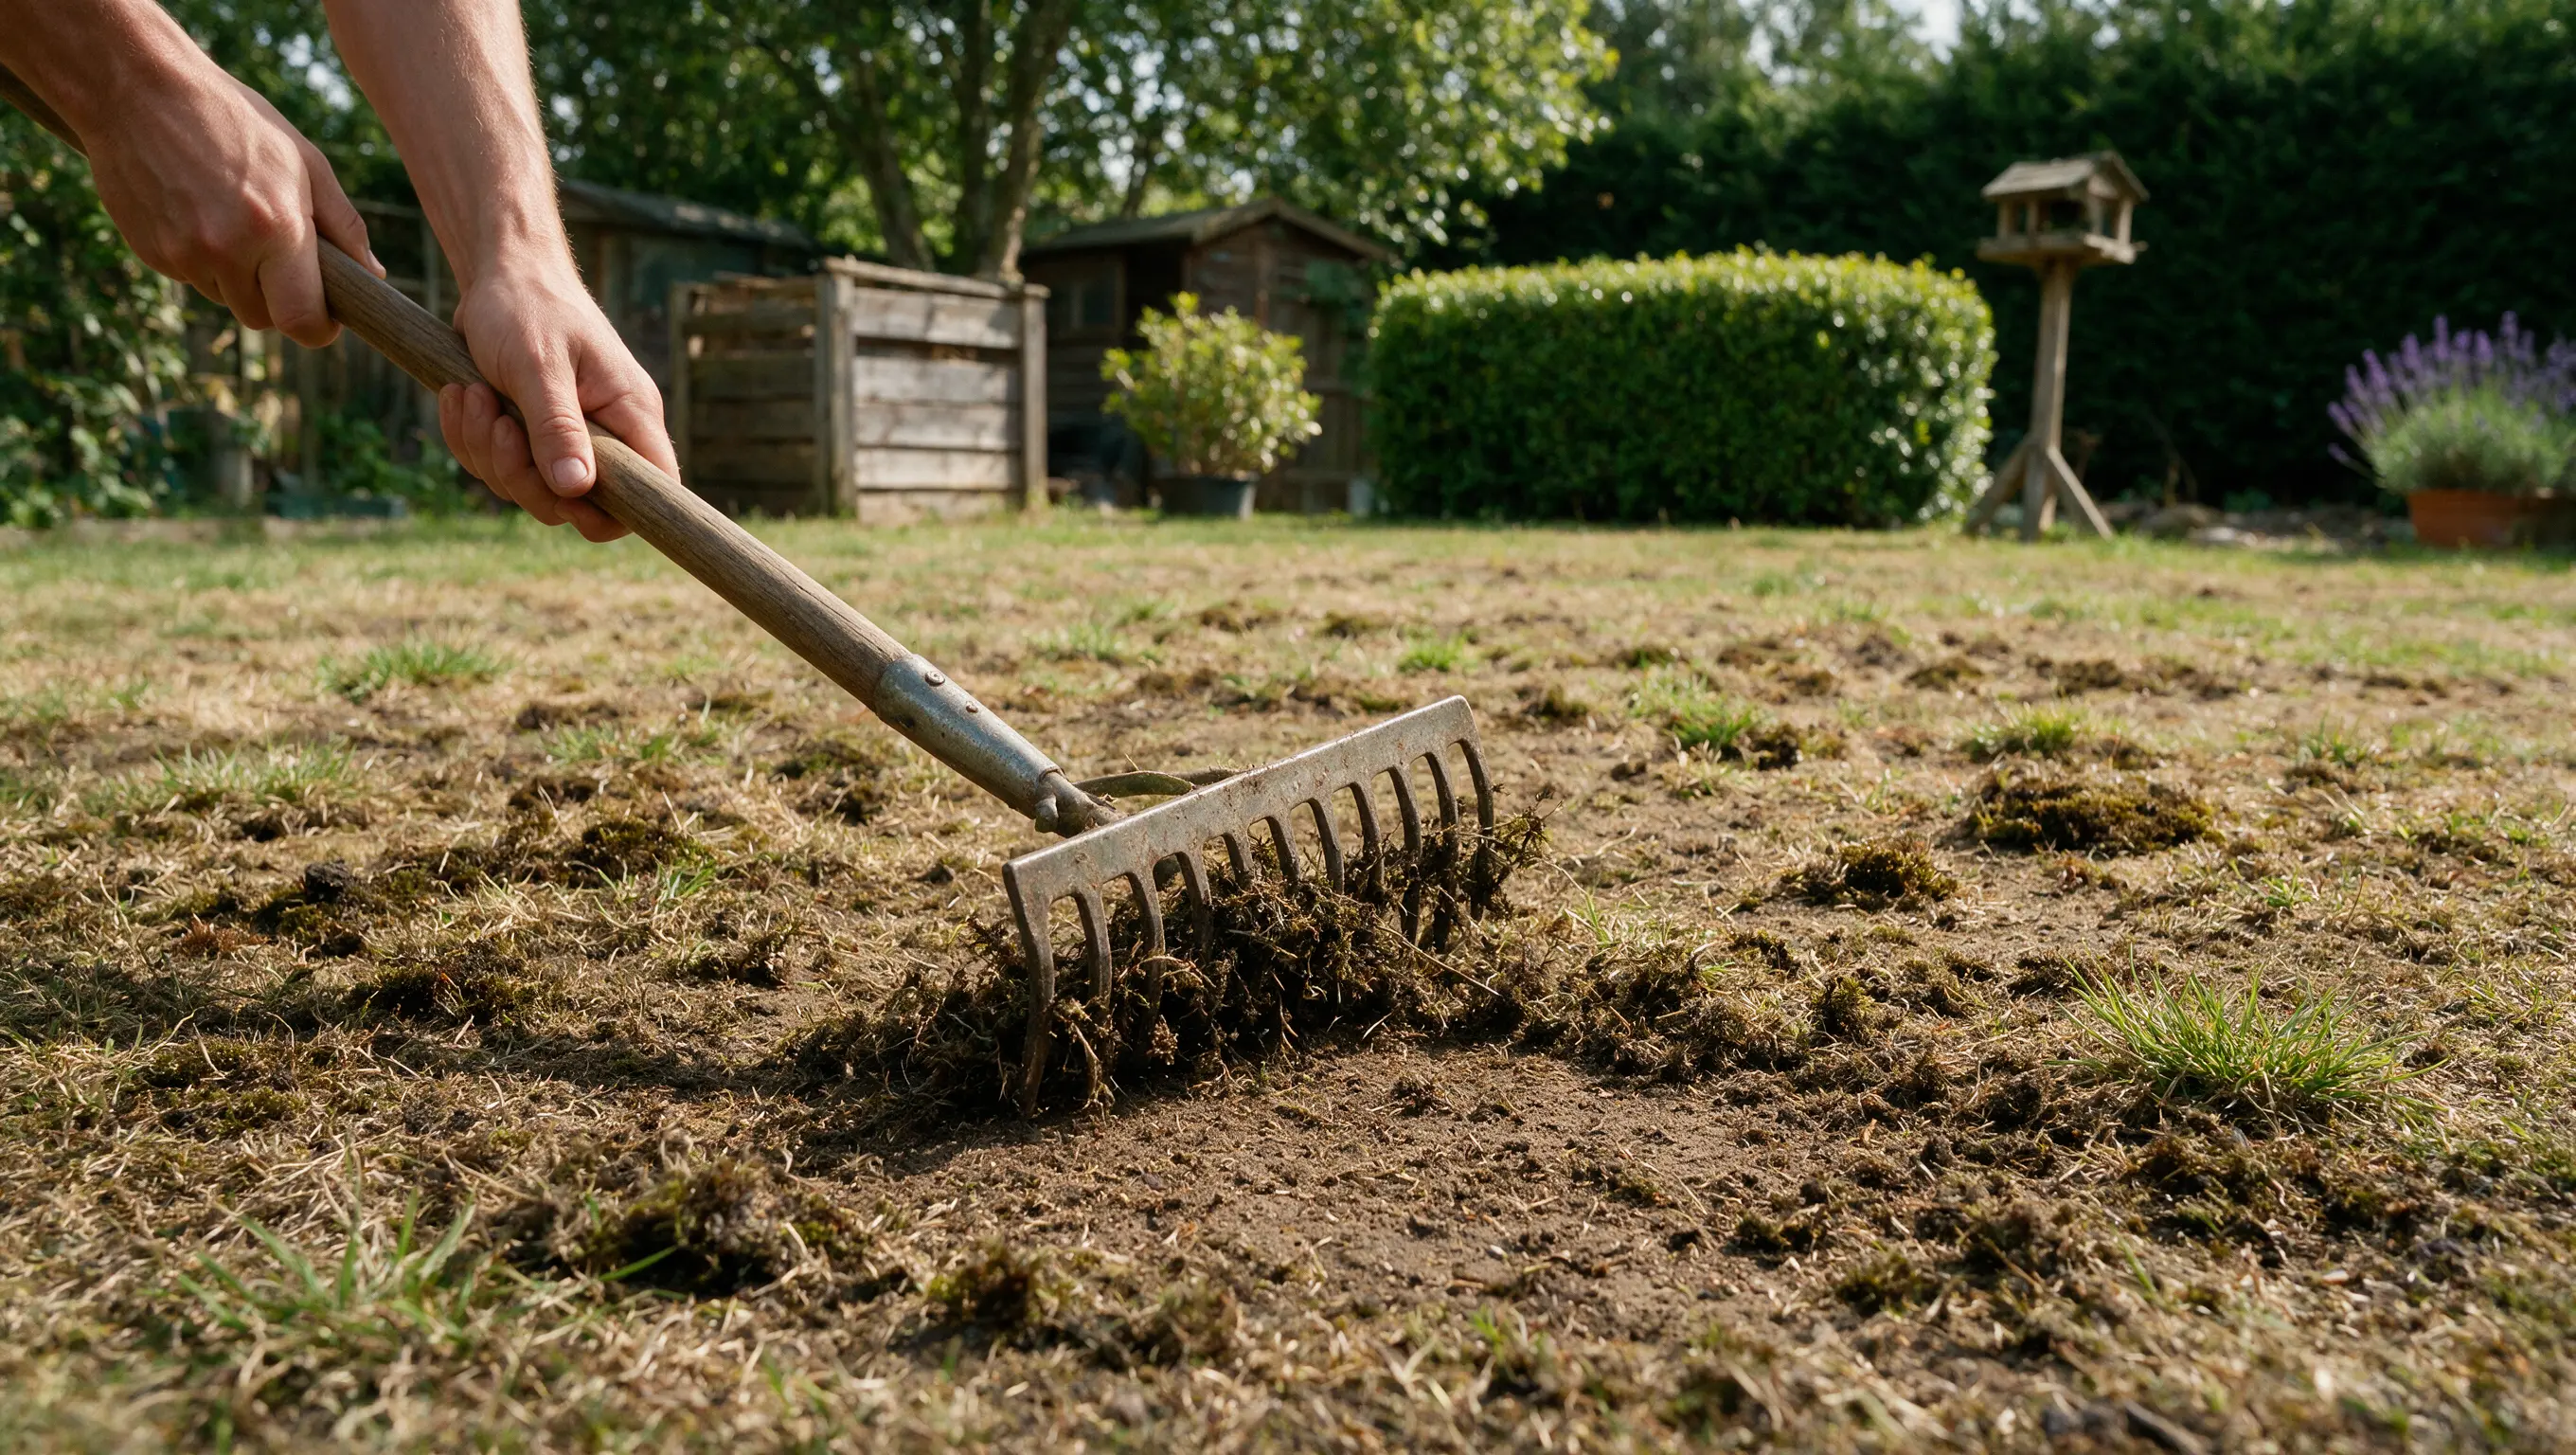
Before doing anything else, clear away any dead moss, loose thatch, or leftover debris sitting on the soil.
Seed needs direct contact with soil to germinate, and anything sitting on top of it will block that contact and slow down or stop new grass from establishing.
2. Loosen the Soil Surface
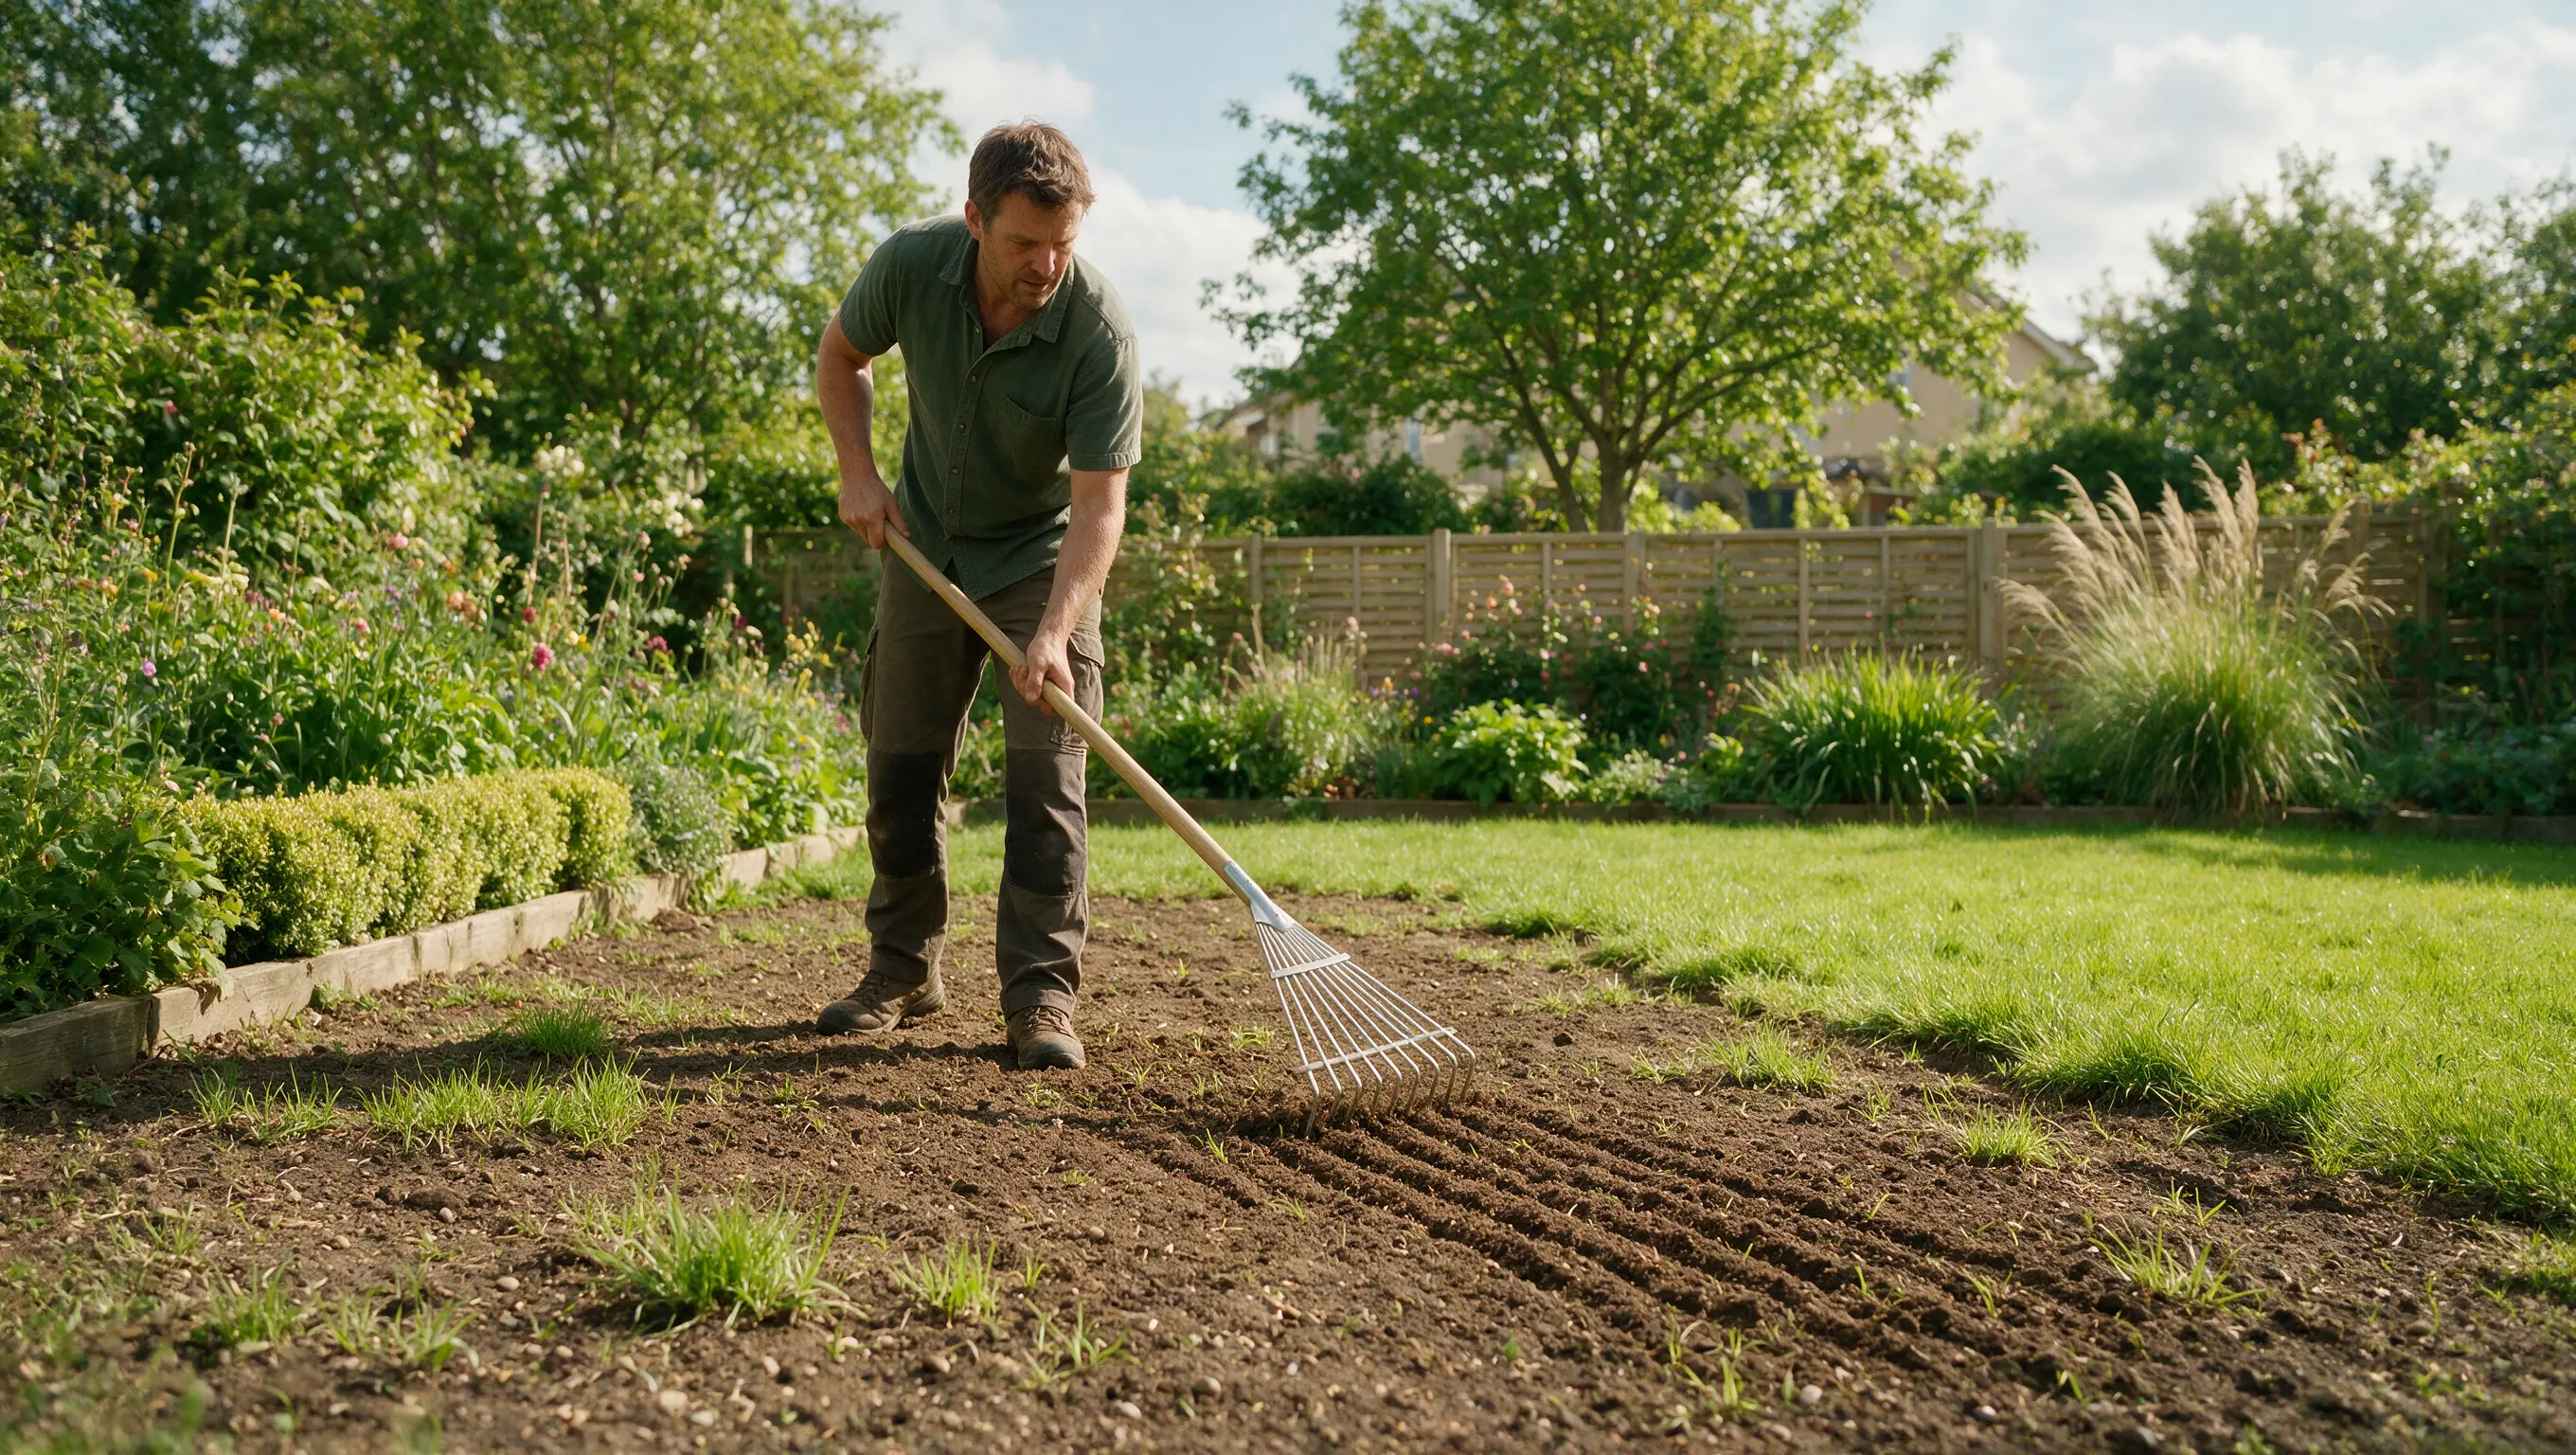
A light scratch across the top layer of soil, using a rake or the edge of a garden fork, creates small grooves that seed can settle into.
This step makes a real difference to germination rates and takes only a few minutes on most bare patches.
3. Check for Underlying Problems
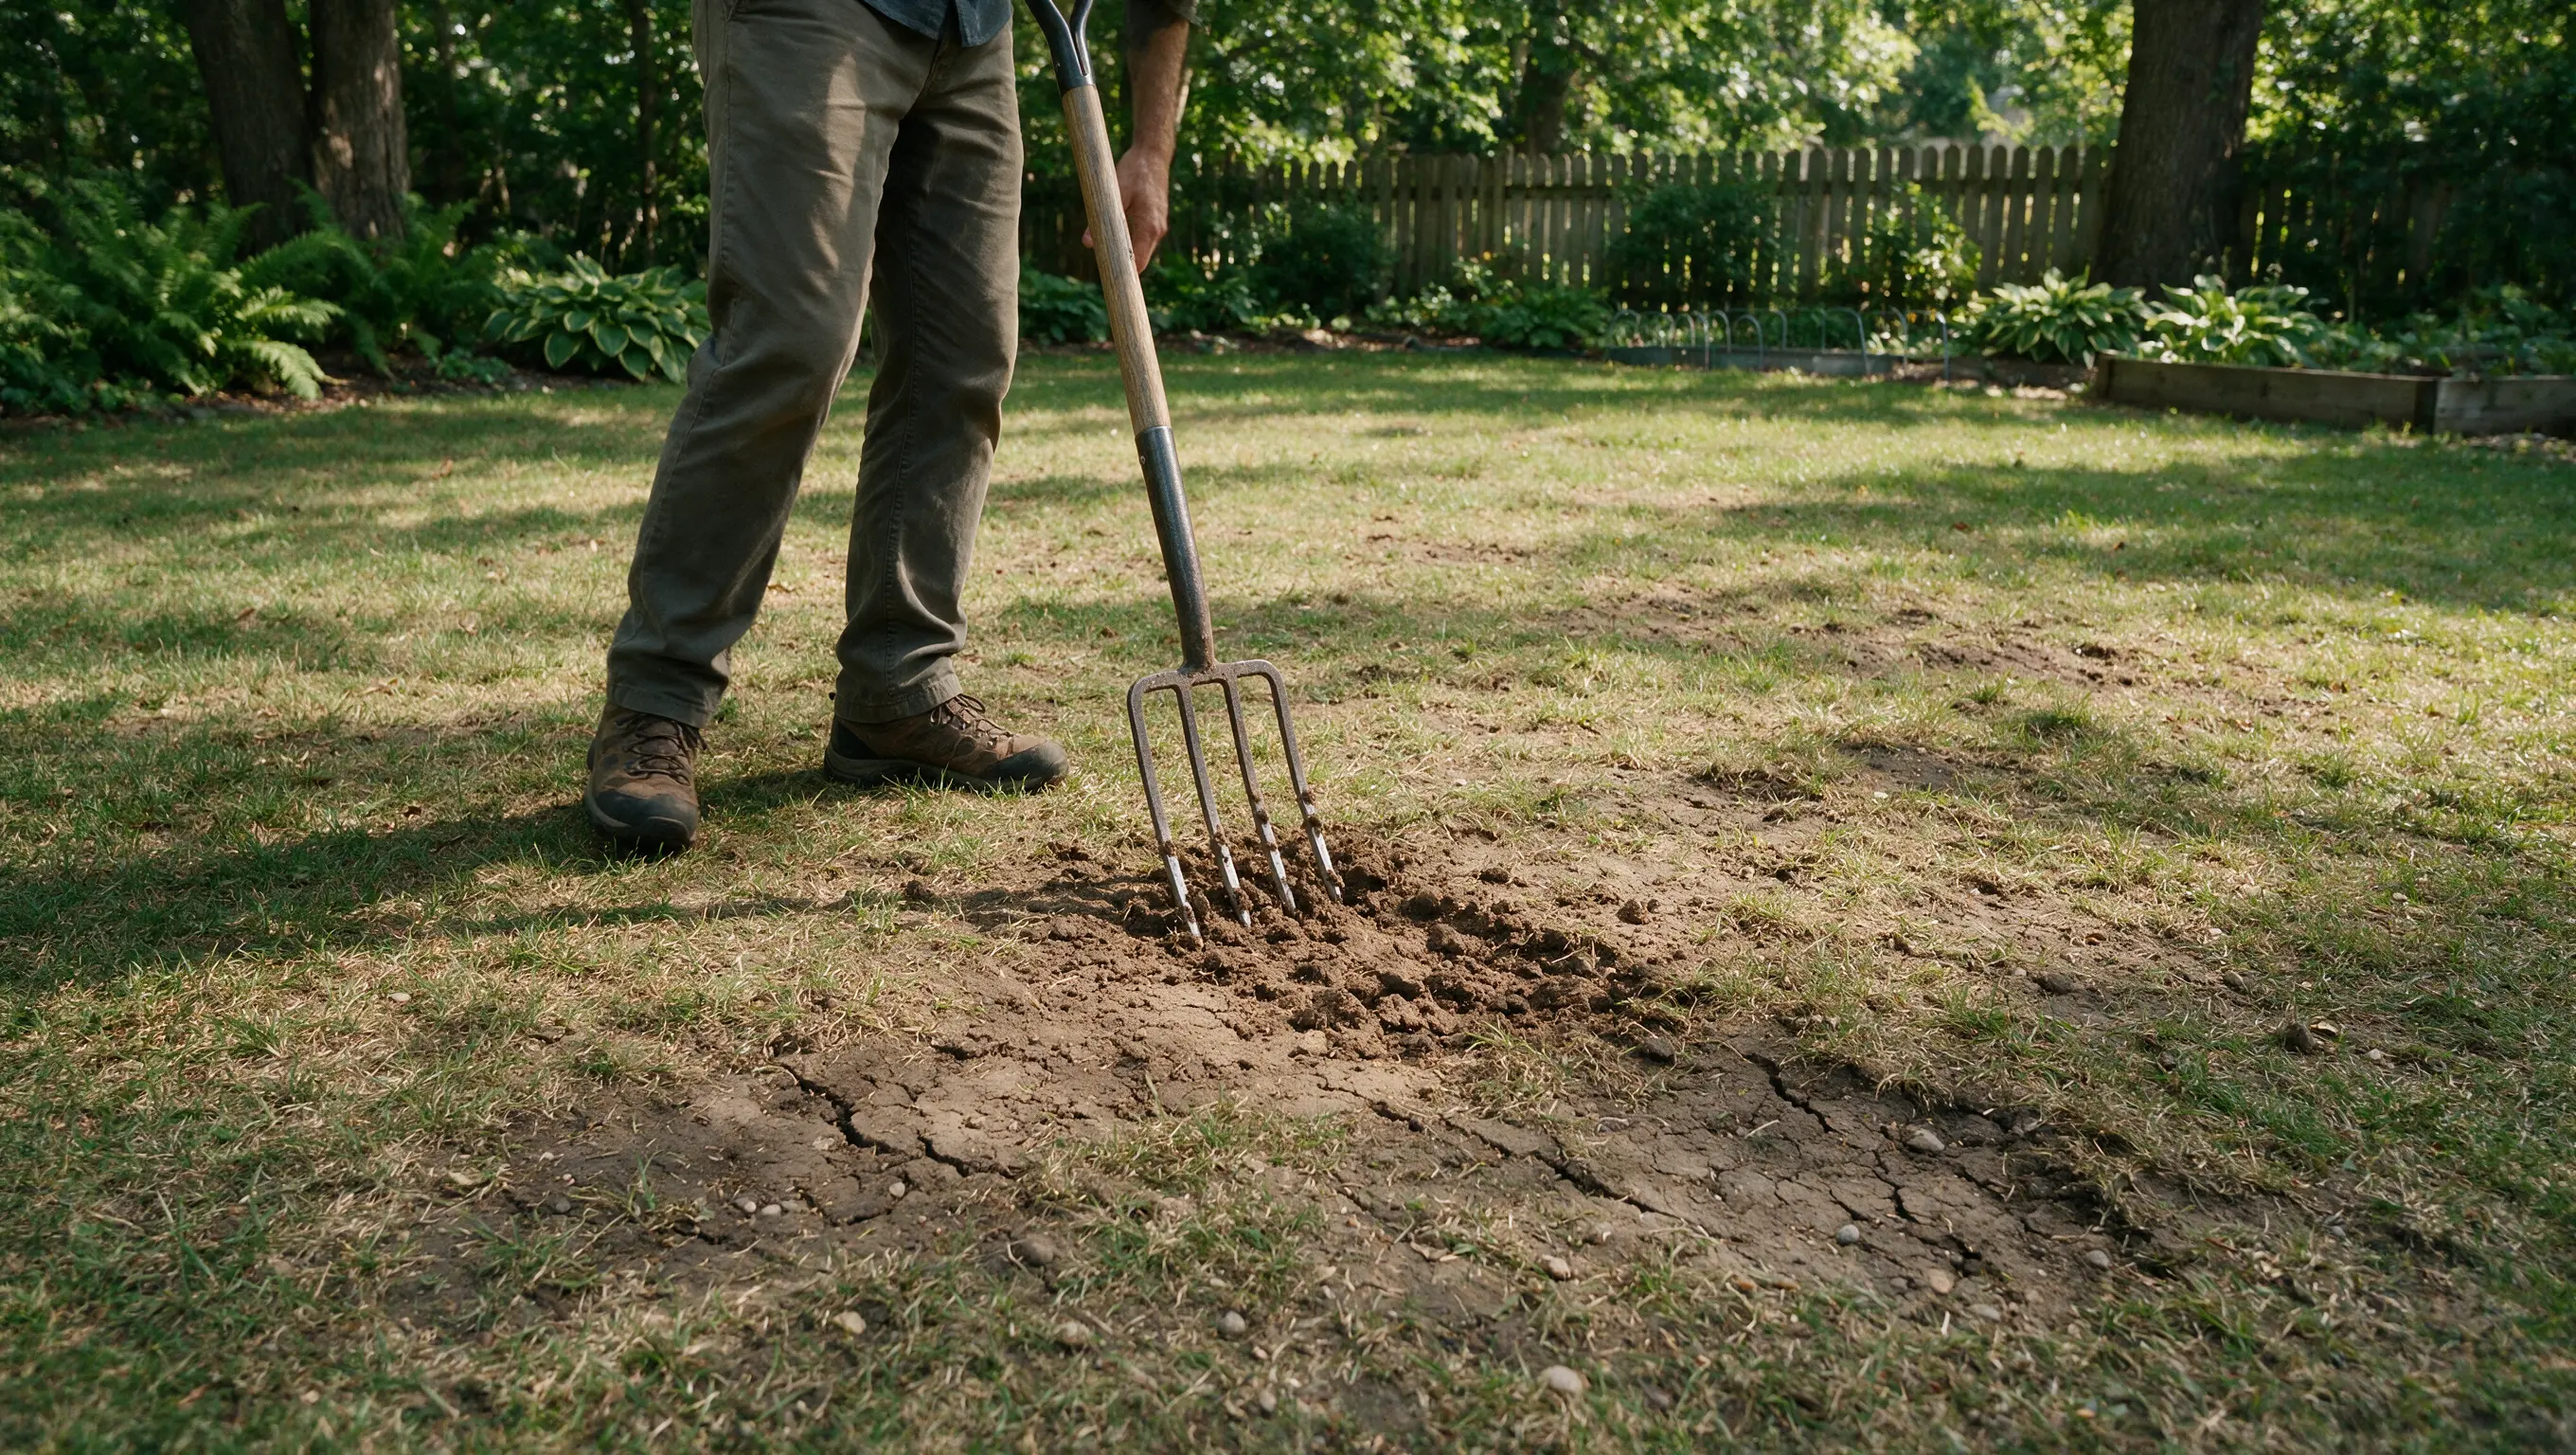
Before you reseed, take a moment to check why that patch struggled in the first place.
If you’re not sure, it’s worth checking the usual warning signs of a struggling lawn before you write it off as scarifying damage.
Push a fork in to test for compaction, look for heavy shade or drainage issues, and aerate compacted soil if the fork barely goes in.
Fixing the underlying cause now stops the same bare patch from reappearing later.
4. Add Topsoil or Lawn Dressing
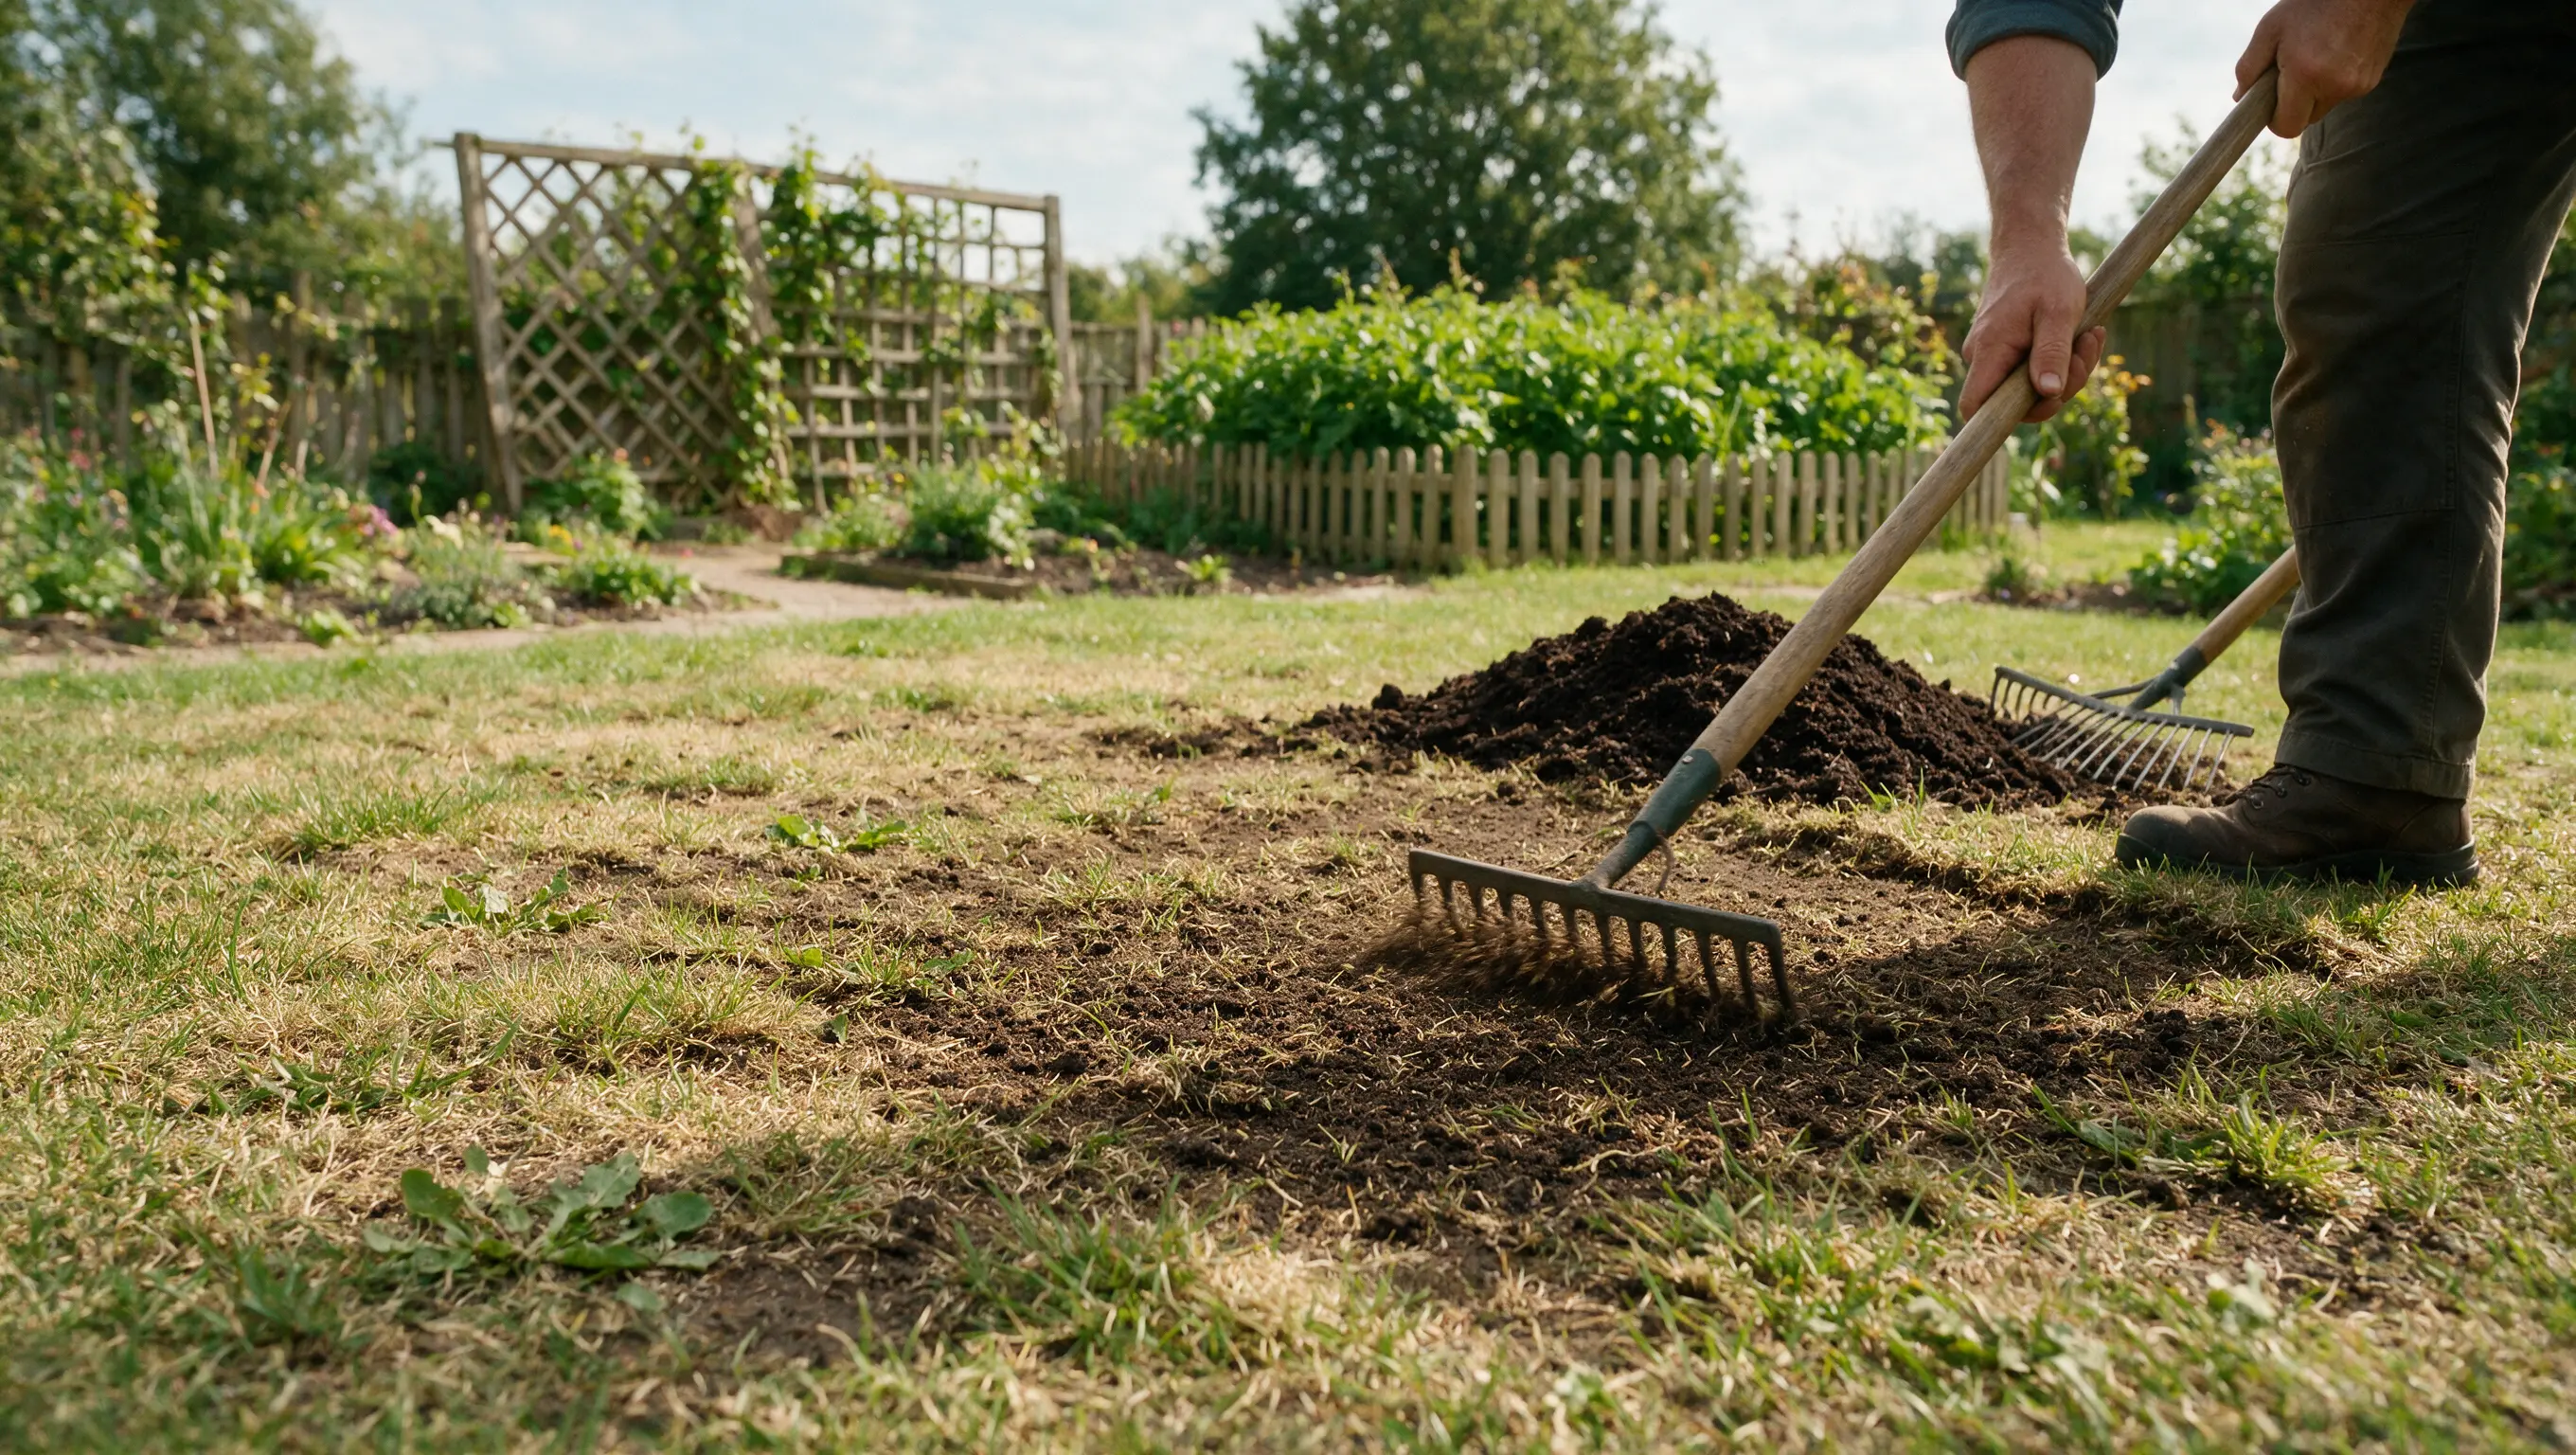
A thin layer of compost or lawn dressing helps when the exposed soil is compacted, poor quality, or uneven.
Spread it no more than a centimeter or two deep so seed can still reach the soil underneath, then rake it in lightly before overseeding.
5. Overseed the Lawn
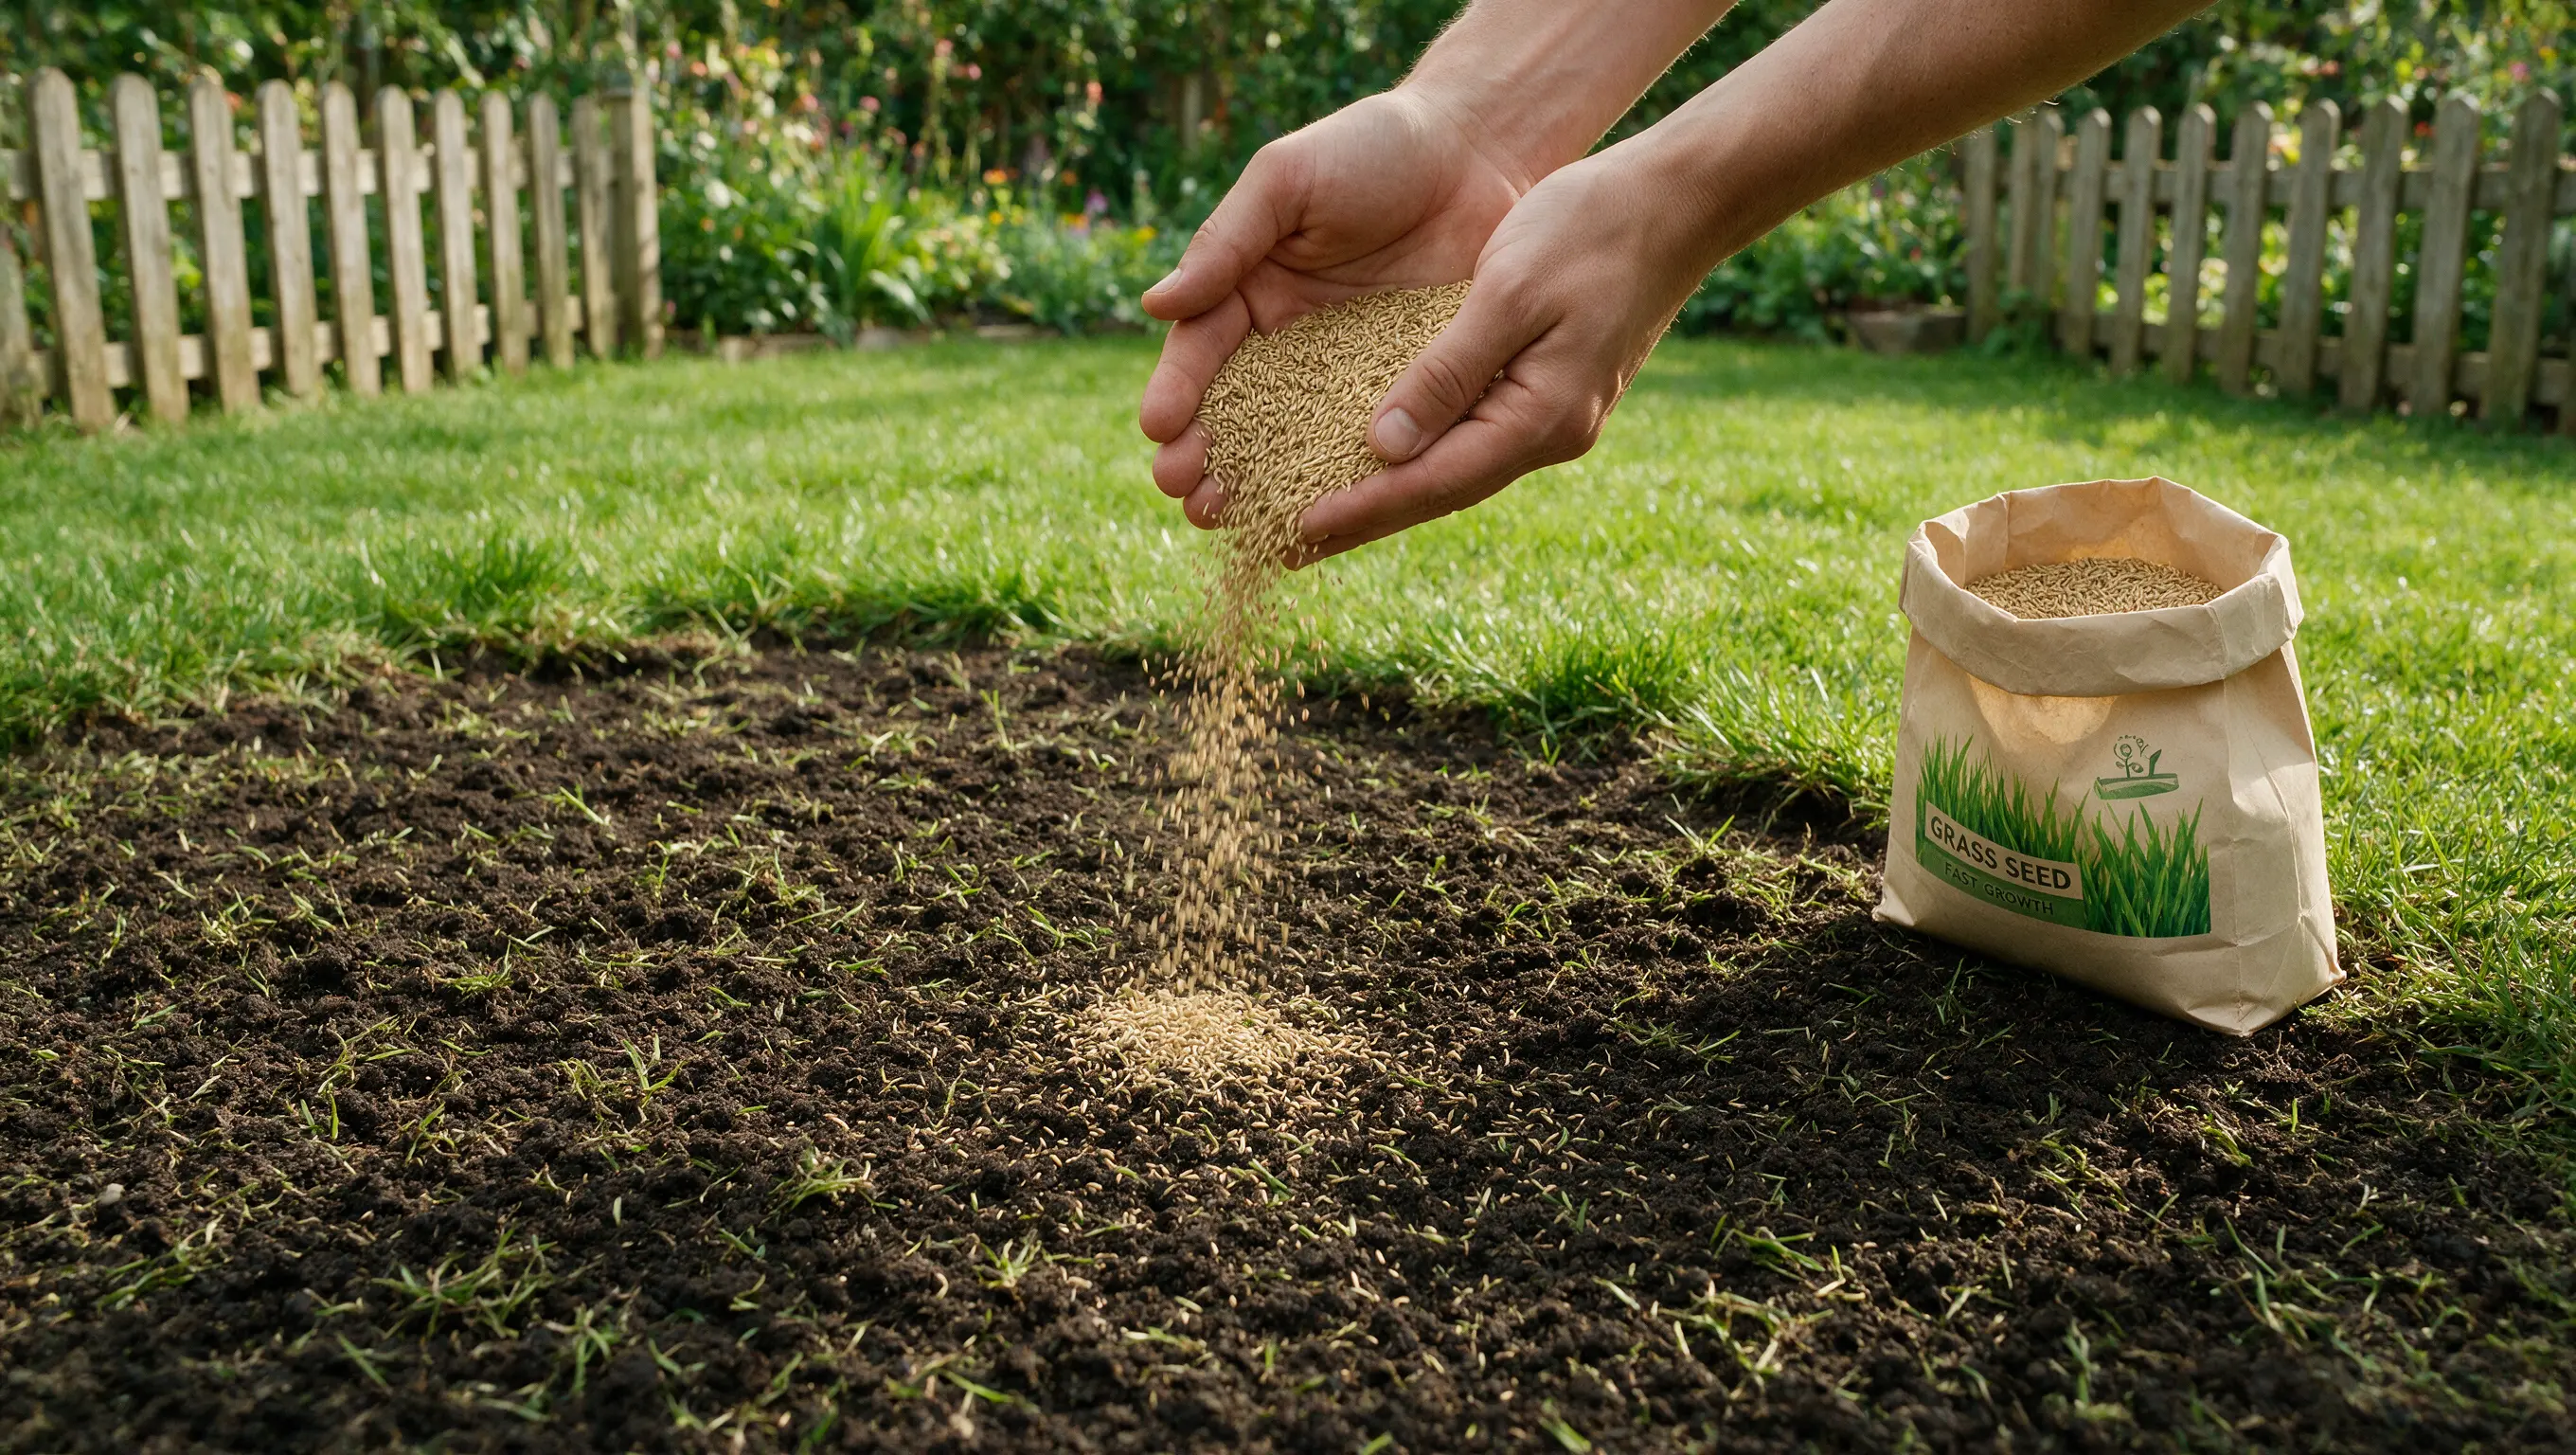
Choose a grass seed mix based on your lawn’s conditions and climate. Options include:
- Sun mixes: Best for open lawns that get full sun for most of the day.
- Shade mixes: Formulated for use in areas under trees or near fences and walls.
- High-traffic mixes: Bred to handle paths, play areas, and other heavily used spots.
Most mixes take one to three weeks to germinate, so keep the area protected and don’t judge the results too early.
6. Cover or Protect the New Seed
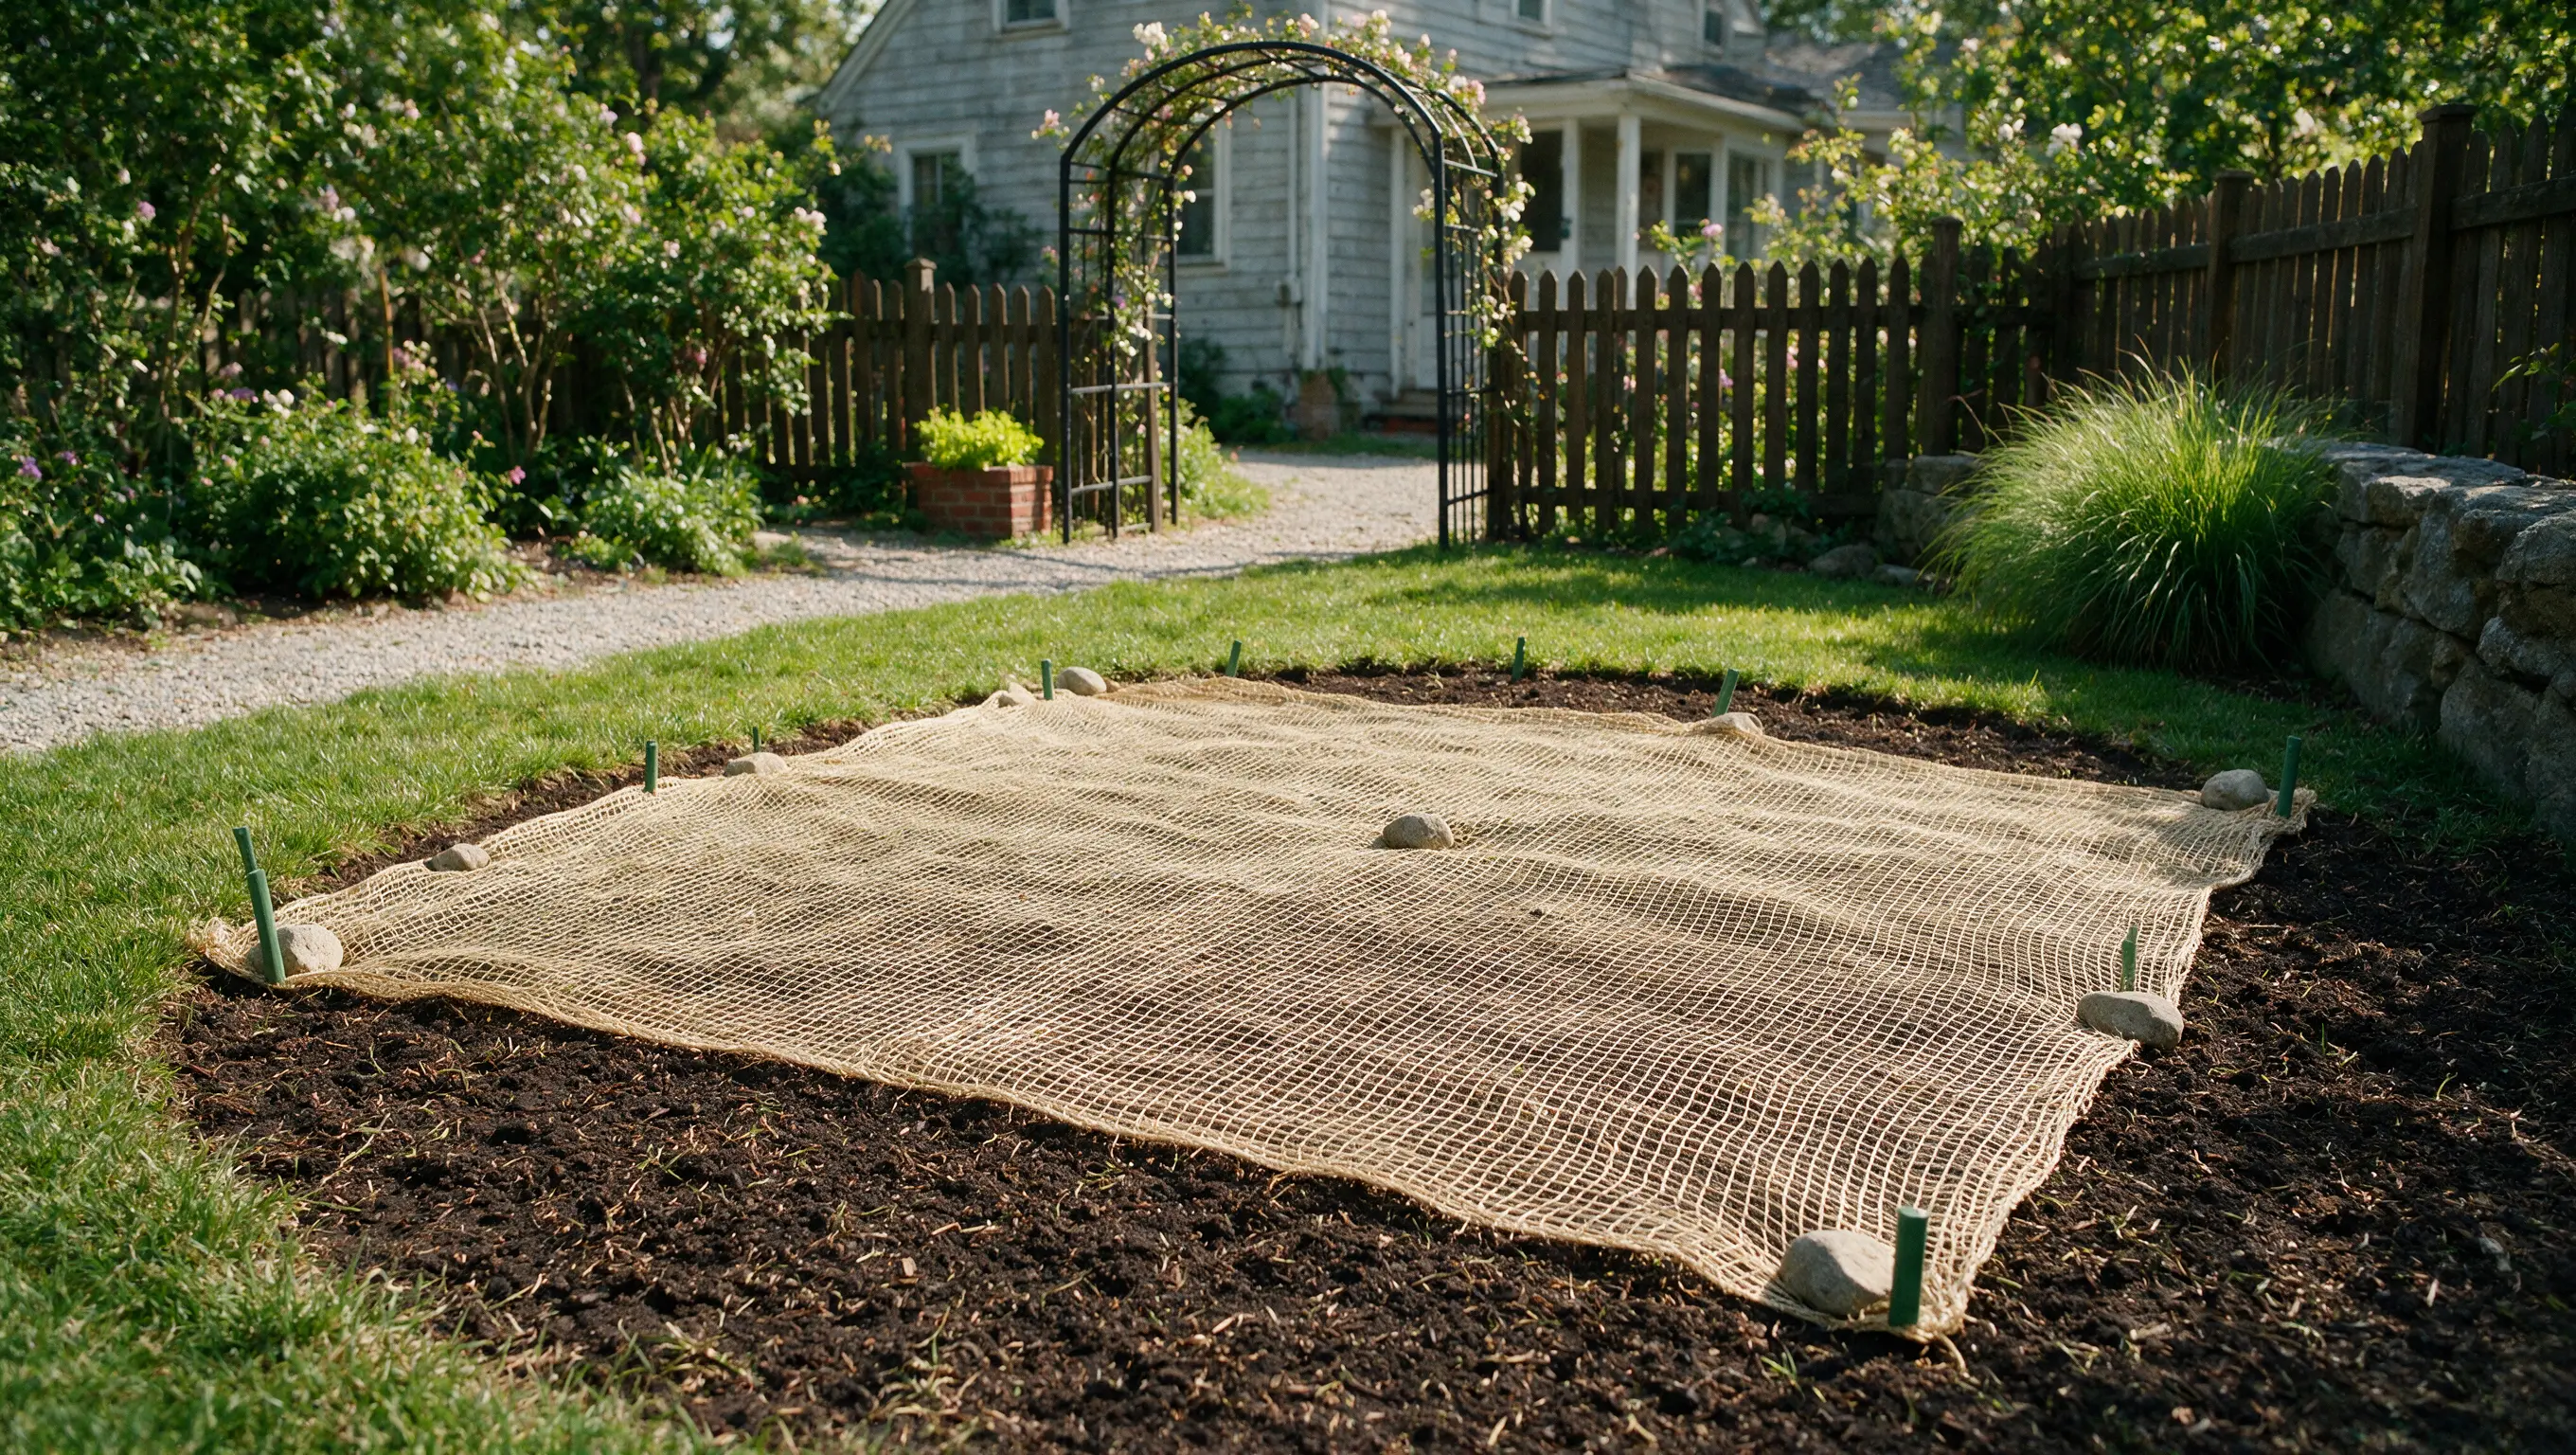
Freshly sown seed is an easy target for birds and pets before it has a chance to root.
A light layer of garden fleece or thin mesh over the bare area keeps seed in place and protects it while it germinates, and it can come off once you see the first green shoots pushing through.
Common Mistakes to Avoid After Scarifying
A few aftercare mistakes are responsible for most lawns that struggle to recover. Watch for these once the seed is down.
- Mowing too short: Cutting grass too low stresses new growth before it’s established. The blades lose too much surface area to photosynthesize effectively. Keep the mower on a high setting until the grass is thick and rooted.
- Walking on the lawn too soon: Foot traffic compacts soil and damages fragile new grass. Repeated paths across the same area can crush seedlings before they’ve rooted. Rope off or fence high-traffic zones until growth is established.
- Skipping watering: Dry soil can slow or stop seed germination entirely. A seed that dries out partway through sprouting rarely recovers on its own. Sticking to a proper watering schedule matters more than one heavy soak.
- Not feeding the lawn: New grass needs nutrients to establish strong roots. Underfed seedlings stay thin and are slower to fill in bare patches. A light feed once seedlings are established gives them the boost they need.
Can You Scarify a Lawn That Already Has Bare Patches?
You can, but it needs a lighter touch than a full, healthy lawn. Set the blades shallower than usual, since thin grass has less root strength to withstand aggressive raking.
It’s often better to overseed the existing bare patches first and let them establish before scarifying the whole lawn again the following season.
If you do need to scarify sooner, work around the worst patches rather than dragging the rake straight across them, since they have the least root strength to spare.
A hand rake gives you more control here than a powered scarifier, letting you back off in the thin spots while still clearing thatch from the nearby healthy grass.
Once you’ve finished, treat any newly exposed soil the same way you would after a full scarify, with fresh seed and a light, even watering routine.
Is It Better to Scarify by Hand or With a Machine?
Hand raking works best for a thin or patchy lawn, since you can keep better control and won’t tear up weak grass. It just takes longer on a big lawn.
A powered scarifier covers ground fast and pulls out more thatch, but it’s easy to set the blades too deep without noticing.
Save the machine for a larger, healthier lawn that needs a deep clean.
If your lawn already has bare spots, hand raking or a machine set to its lightest depth is the safer choice.
Wrapping It Up
No grass left after scarifying is rarely something to lose sleep over.
Nine times out of ten it’s moss that was hiding the bare ground, blades set a touch too deep, or grass that was already struggling before you started.
Clear the debris, loosen the soil, overseed, and keep it watered, and you’ll see green shoots within a few weeks.
Next time, set the blades lighter and pick a day when the grass is actively growing. That’s the real fix.
Frequently Asked Questions
Can You Over-Scarify a Lawn?
Yes, scarifying too often or too deeply can damage healthy grass and roots. Most lawns only need scarifying once or twice a year.
Should I Fertilize After Scarifying?
Yes, fertilizer can help grass recover faster after scarifying. Clear debris first, then feed, water, and overseed bare patches if needed.
Is It Better to Dethatch or Scarify?
Dethatching is better for light buildup, while scarifying works better for thick thatch and moss. Scarifying is deeper and more aggressive.