
You buy a knob of ginger at the store. You use a small slice. The rest dries out in the fridge and gets thrown away.
Sound familiar?
Here is the good news. You can grow ginger at home using that very piece from the grocery store. A pot, a warm spot, and a little patience are all you need.
Homegrown ginger has thinner skin, a stronger flavor, and no chemical treatments that store-bought versions often carry.
This post walks you through everything from picking the right rhizome and planting ginger to caring for your ginger plant and knowing exactly when to harvest.
What Makes Homegrown Ginger Better Than Store-Bought?
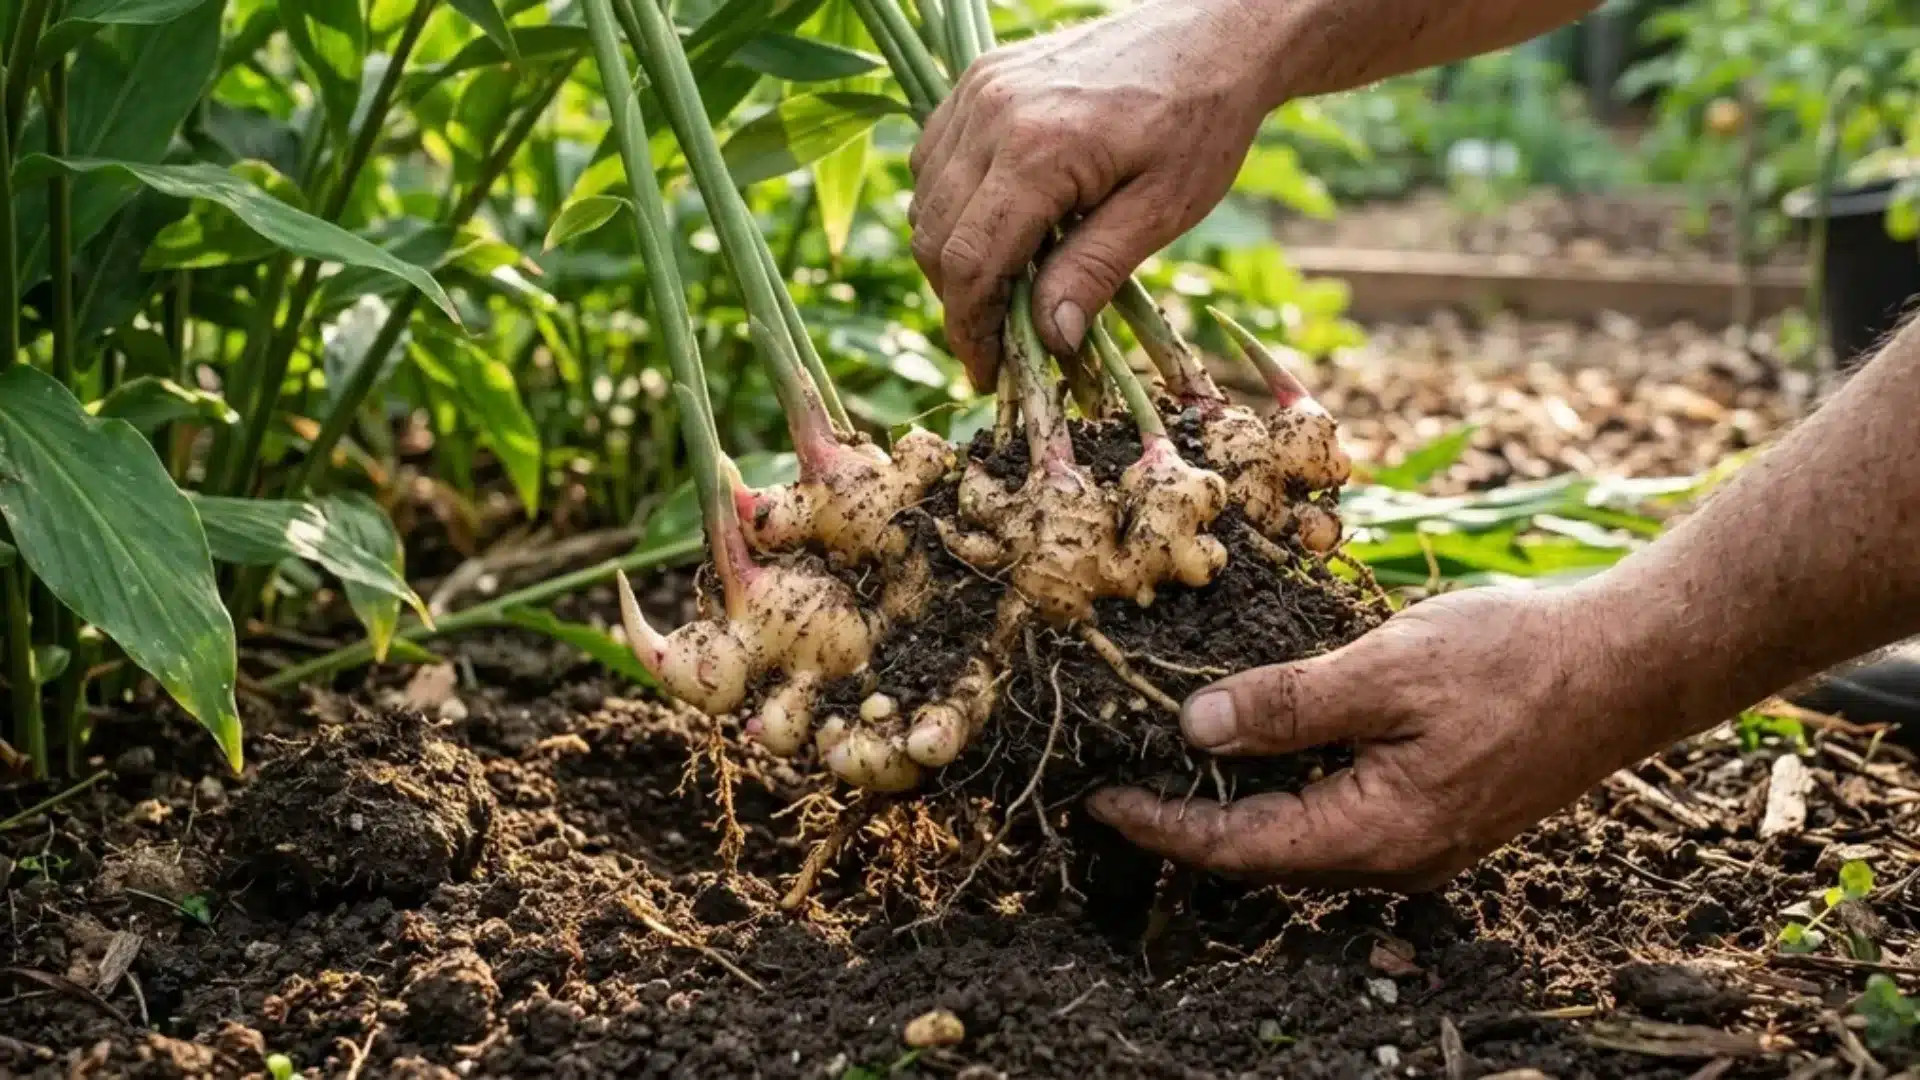
Ginger sold in supermarkets is often grown in tropical climates and shipped long distances. By the time it reaches your kitchen, it has thick, tough skin and a muted flavor.
Ginger you grow at home is different. According to the Old Farmer’s Almanac, homegrown ginger is thinner-skinned and more flavorful than the mature roots available at grocery stores.
Because the skin is so soft, you do not need to peel it before cooking. There is another practical reason to grow your own. Ginger plants are perennial in warm climates (USDA Zones 9 to 11).
In cooler zones, you grow it as an annual in a container and bring it indoors before frost. Either way, one planting gives you a fresh, usable harvest for months.
Scientifically known as Zingiber officinale, ginger is a flowering plant that grows from underground rhizomes. The plant itself is tall and leafy, reaching 60 to 90 cm in height.
It adds a tropical look to any patio or garden bed while quietly producing the root you actually want.
How to Choose the Right Ginger Rhizome for Planting
The rhizome you start with decides how well your ginger plant grows. A bad rhizome means a slow or failed start.
Here is what to look for:
- Buy organic ginger when possible. Non-organic ginger is often treated with a growth inhibitor that prevents sprouting.
- Choose firm, plump pieces with visible “eyes,” small bumps on the surface where shoots will emerge.
- Avoid shriveled, soft, or moldy pieces. These will not sprout reliably.
- Soak your rhizome in water overnight before planting. This removes any residual chemicals that slow growth.
If your rhizome is large, cut it into 1 to 2-inch sections. Each piece needs at least one eye to grow. After cutting, leave the pieces out in a warm, dry spot for one to two days.
This drying step seals the cut surface and reduces the chance of rot once planted.
Pro Tip: The most common early mistake is planting straight from the packet without soaking it first. That overnight soak makes a real difference, especially with supermarket ginger.
Best Soil and Container Setup for a Ginger Plant
Ginger roots spread horizontally, not downward. This changes how you think about your pot.
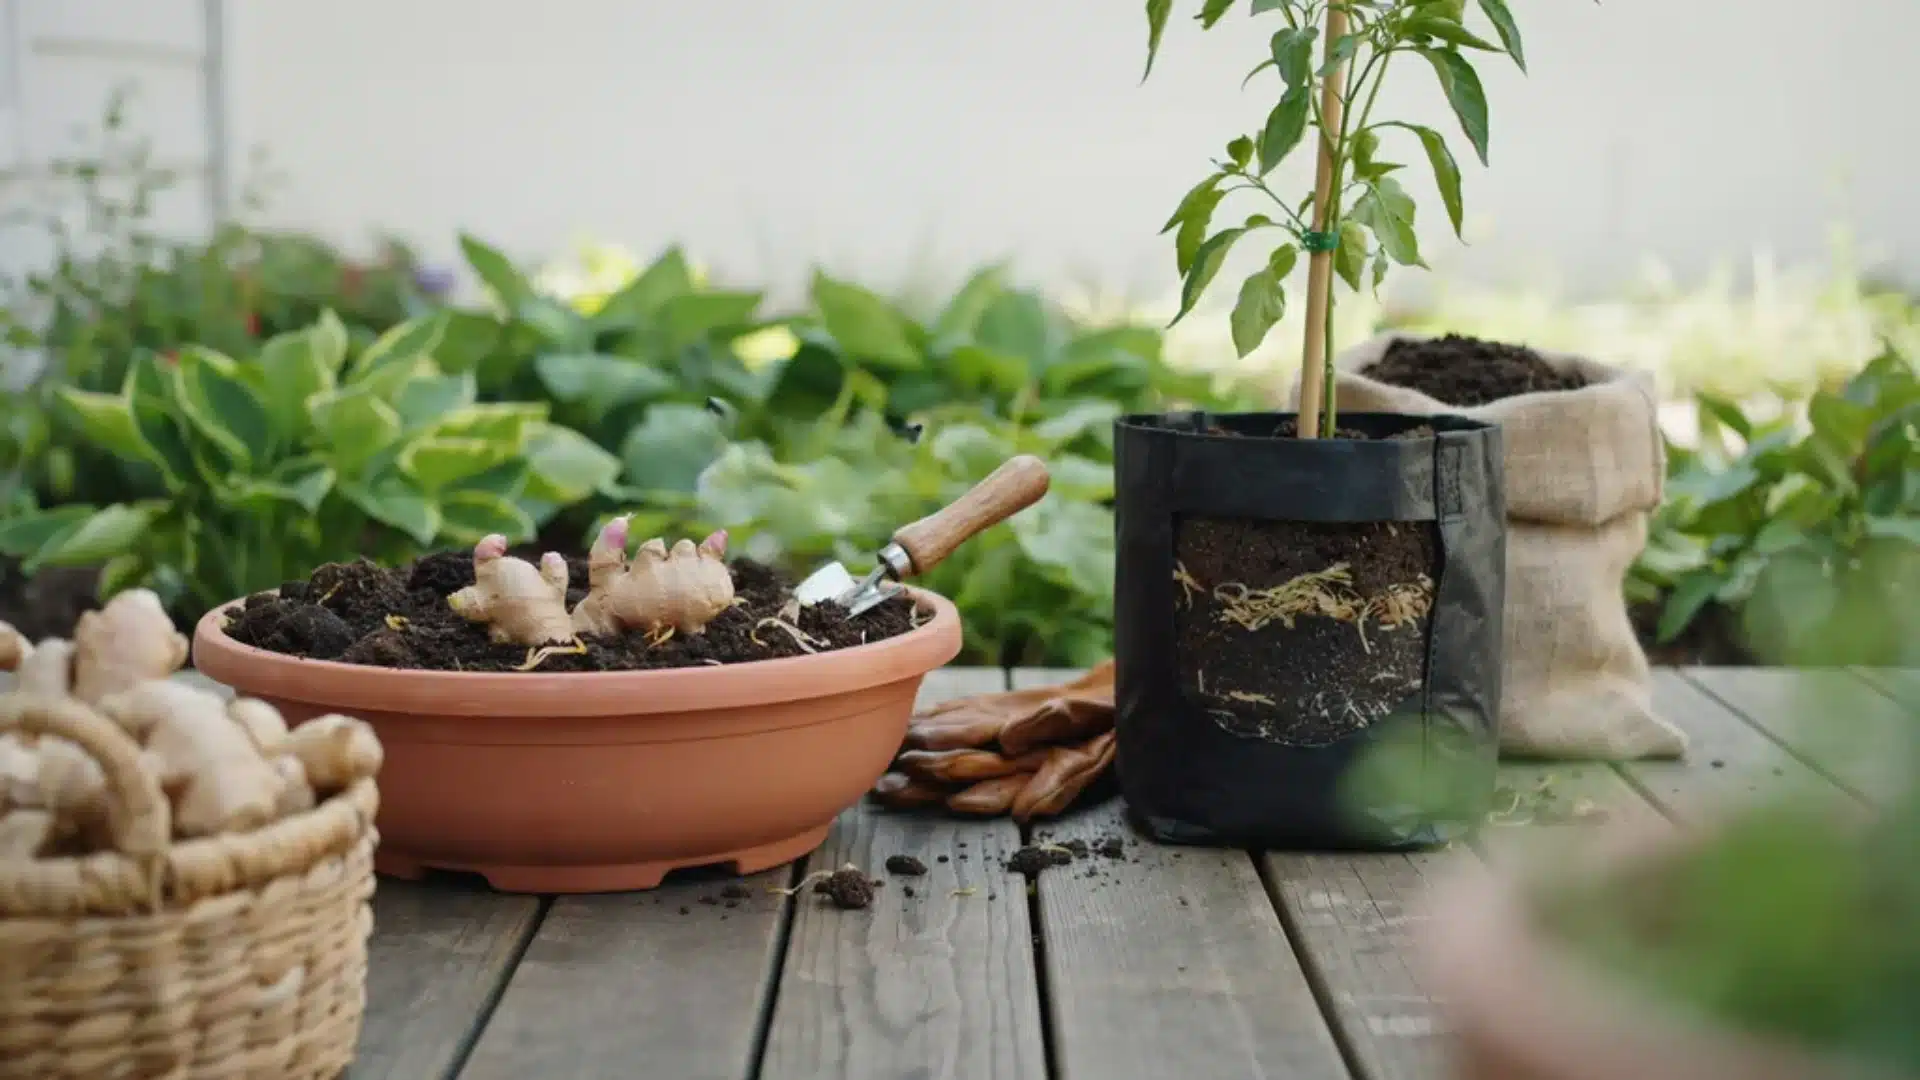
Choose a wide container over a deep one: A single rhizome can spread up to 36 inches wide at full maturity. A container that is at least 12 inches wide and 8 to 12 inches deep gives your ginger plant enough room to grow.
Fabric grow bags and wide bowl-shaped planters both work well. Just make sure the container has drainage holes at the bottom. Without drainage, the soil stays wet, and the roots rot.
For soil, ginger needs something loose, rich, and well-draining.
A practical mix that works well in containers is:
- 70% compost
- 20% regular garden soil
- 10% coconut coir (for moisture retention)
Adding vermiculite to this mix improves both aeration and water retention at the same time. If planting directly in a garden bed, work plenty of compost into the soil before you begin.
How to Plant Ginger: A Step-by-Step Process
This is where the actual growing begins. Follow these steps for the best results.
Step 1: Soak your rhizome overnight in warm water.
Step 2: If the rhizome is large, cut it into 1 to 2-inch sections. Each piece needs at least one eye.
Step 3: Let the cut pieces sit in a warm, dry spot for one to two days.
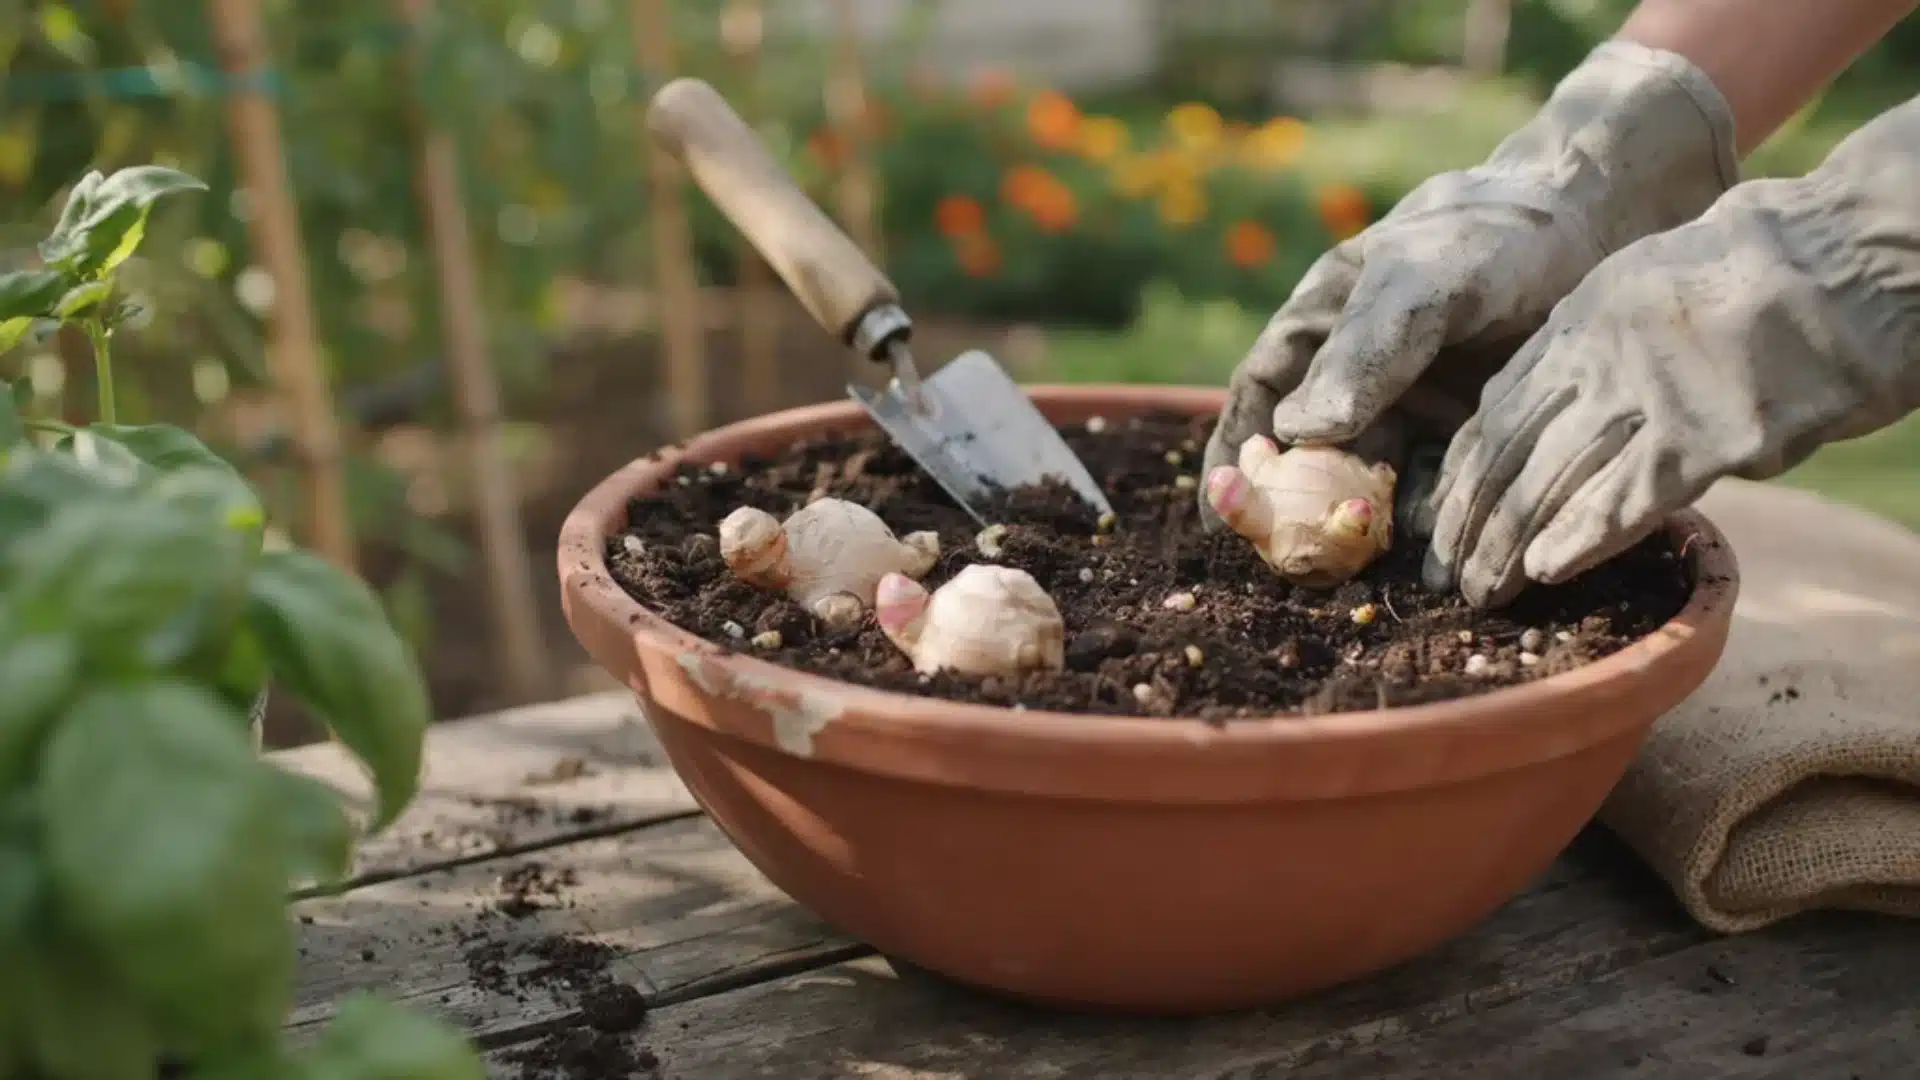
Step 4: Fill your wide container with the soil mix described above.
Step 5: Place rhizomes with the eyes facing upward, just 1 inch below the soil surface. Do not plant them deep.
Step 6: If planting multiple pieces, space them 8 to 12 inches apart.
Step 7: Water lightly after planting. The soil should feel moist, not wet.
Step 8: Place the container in a warm spot that gets indirect light.
Step 9: Wait. Shoots typically take 3 to 8 weeks to appear above the soil.
When to plant ginger: Spring is the right time to plant ginger. Wait until nighttime temperatures stay consistently above 55°F (13°C). For in-ground planting, soil temperature should be above 75°F (24°C).
Sunlight, Temperature, and Watering Needs for a Ginger Plant
Ginger does not want harsh, direct sun. In its natural tropical habitat, it grows under the canopy of taller plants with filtered light. Replicate this at home, and your ginger plant will respond well.
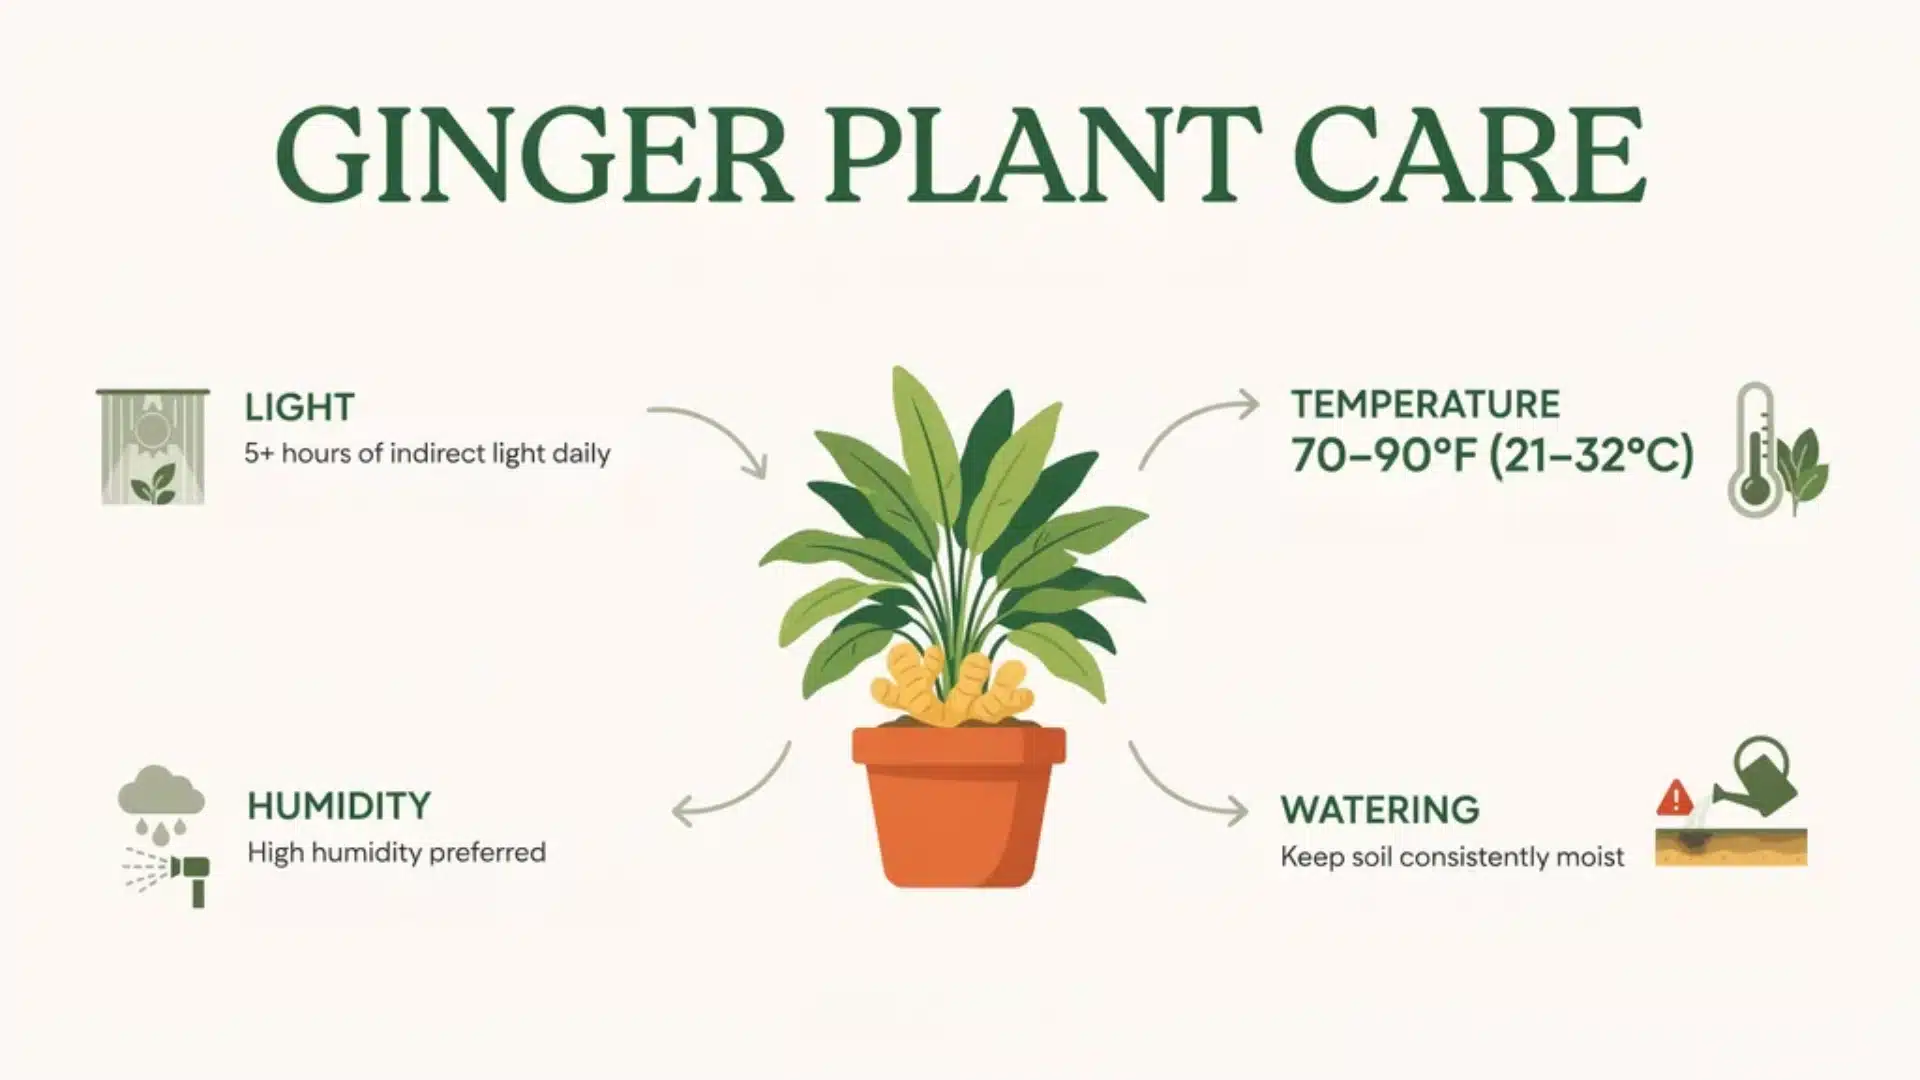
1. Sunlight: Give your plant at least 5 hours of indirect or filtered light each day. A spot with morning sun and afternoon shade works well. In cooler climates like the UK, ginger can handle more direct sun without stress.
2. Temperature: Ginger grows best between 70°F and 90°F (21°C to 32°C). It cannot survive frost. Bring container plants indoors before temperatures drop below 50°F (10°C).
3. Humidity: Ginger loves warm, moist air. During dry spells, mist the leaves with a spray bottle. Grouping pots also helps maintain humidity around the plants.
4. Watering: Keep the soil consistently moist but never waterlogged. Check the top inch of soil water when it begins to dry out, but before it dries completely.
Overwatering is the most common mistake beginners make. Soggy soil leads directly to root rot.
Fertilizing Your Ginger Plant for a Better Root Harvest
Ginger is a heavy feeder. It pulls many nutrients from the soil over its 8- to 10-month growing cycle.
Use a balanced fertilizer with a 1-3-1 NPK ratio (nitrogen, phosphorus, potassium).
The reason for keeping nitrogen low is important: too much nitrogen pushes the plant to grow more leaves and stems. A lower nitrogen formula directs the plant’s energy toward the rhizome, which is exactly what you want.
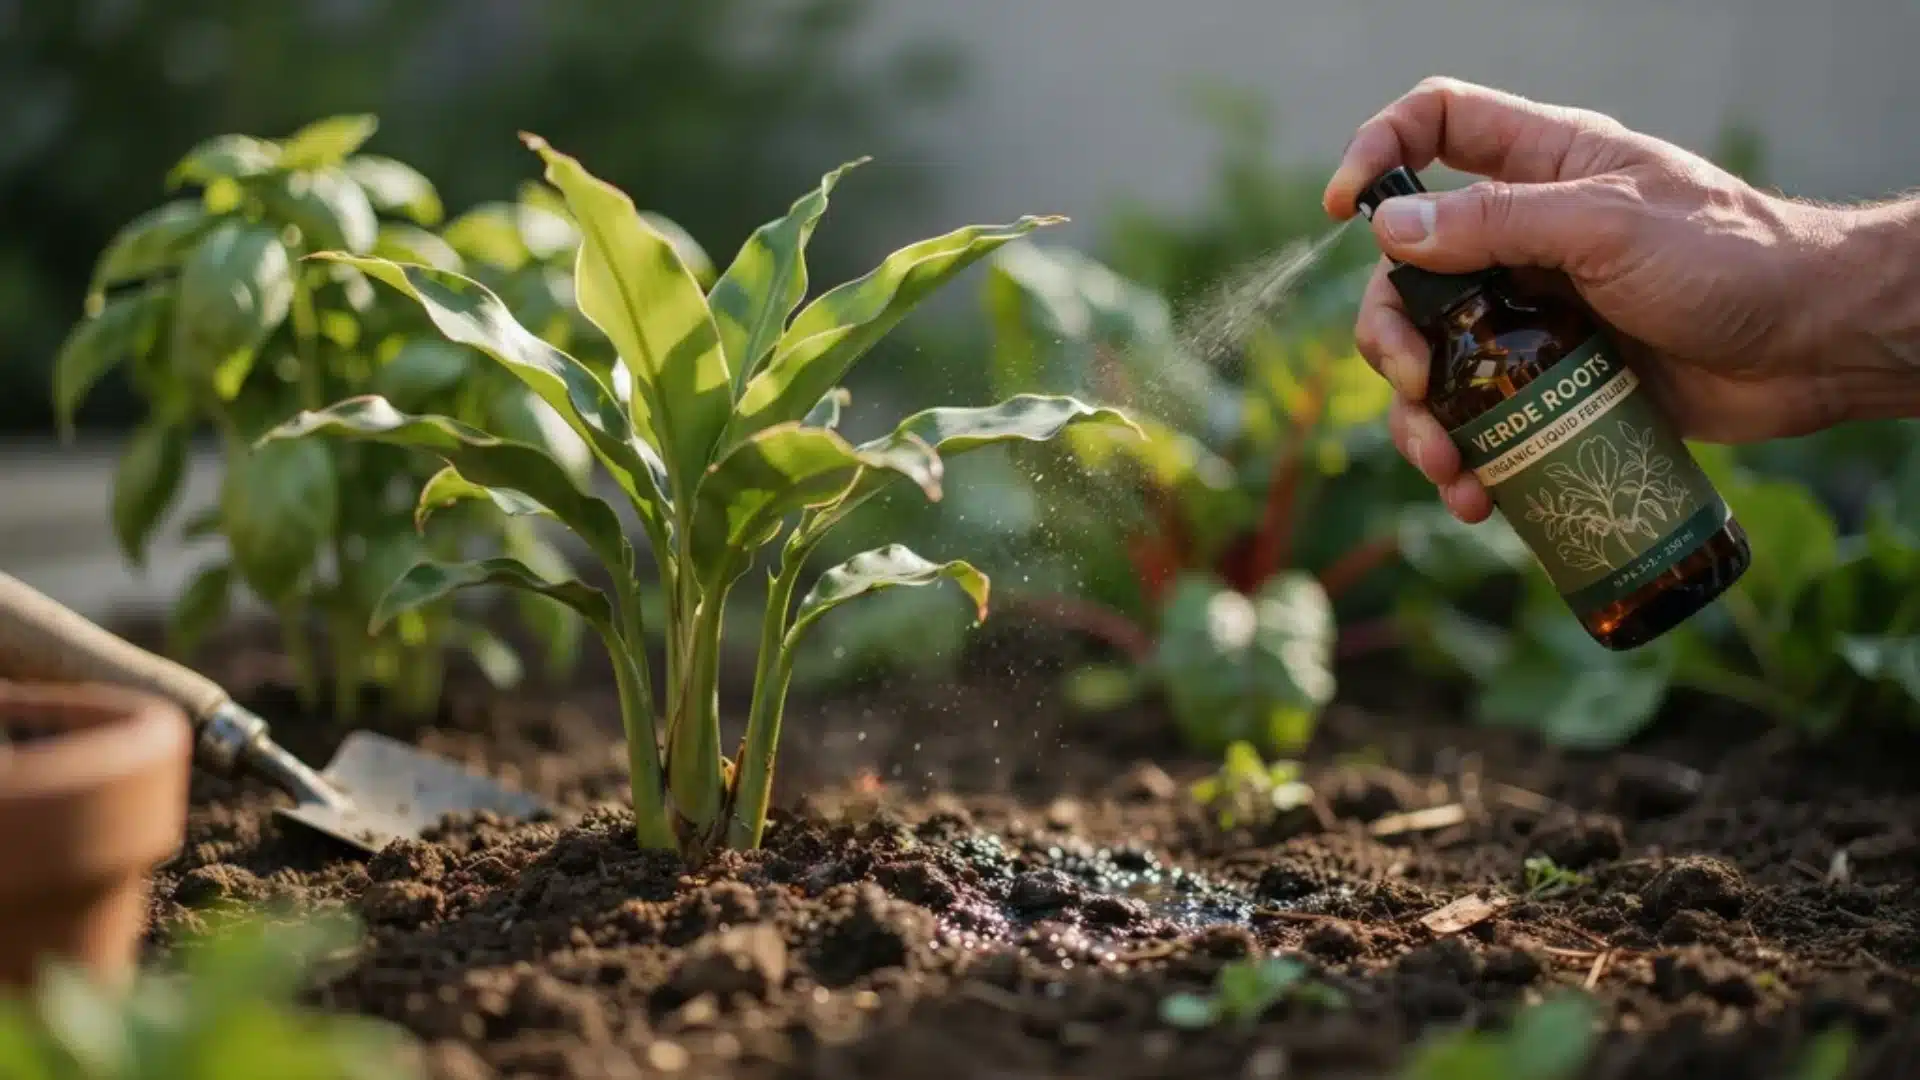
Organic liquid fertilizers are the safest choice for container-grown ginger. They release slowly and do not risk burning the roots.
When to fertilize:
- Start when the first shoots appear above the soil
- Continue every 2 to 3 weeks through the growing season
- Stop as the leaves begin to yellow in late summer (this signals the plant is wrapping up growth)
If your ginger plant shows yellowing leaves during the growing season, it often means it needs more nutrients. Adjust your fertilizing schedule before assuming another cause.
Growing Ginger Indoors: Tips for Any Climate
One of the best things about growing ginger is that you do not need a garden. A bright room and a wide pot are enough.
For indoor growing, placement matters most. Put the container near a window that receives at least 5 hours of indirect light per day. Avoid south-facing windows where midday sun can scorch the leaves.
A few practical tips from working with indoor ginger plants:
- Use a portable container so you can move it outdoors in summer and back in before temperatures drop.
- Place the pot on a tray with small stones and water: As the water evaporates, it creates a gentle layer of humidity around the plant.
- Start indoors in early spring if you live in a colder climate. This gives your ginger the full 8 to 10 months it needs before the cold returns.
- A heat mat under the container speeds up sprouting by keeping soil temperatures consistently warm.
Shoots may take up to 8 weeks to appear indoors. Do not dig up the rhizome to check on it. Keep the soil moist and be patient.
How to Store Homegrown Ginger After Harvest
Knowing how to store ginger correctly means you get the most out of your effort.
- Short-term storage: Keep the whole unpeeled rhizome in a cool, dry, dark place. It lasts up to 2 weeks this way. A paper bag works well. Keep it completely dry.
- Refrigerator storage: Place in a paper bag in the crisper drawer. This extends shelf life by a few more weeks.
- Freezer storage: Peel and slice or grate the ginger, then freeze in airtight containers. Frozen ginger keeps for several months.
- Dried ginger powder: Slice the rhizome thinly and dry in an oven at a low temperature or in a food dehydrator. Blend the dried slices into powder.
- Replanting: Save a few rhizomes from each harvest. Let them cure on a countertop for 3 to 4 weeks until the skin becomes leathery. Once cured, they are ready to be planted the following spring.
Common Problems When Growing Ginger
Even with good care, problems come up. Knowing what to look for helps you act fast before damage spreads.
1. Root Rot: This is the most common problem, caused by overwatering or poor drainage. Once root rot starts, you cannot save the rotten section.
Cut off the affected area, let the remaining rhizome dry out completely, then replant it as you would a new piece.
2. Bacterial Wilt: Caused by soil-borne bacteria. Early signs include water-soaked spots on leaves and curling. Remove damaged leaves and stems immediately. Apply an organic bactericide and monitor the entire plant closely.
3. Yellow Leaves During Growing Season: Usually a sign of a nutrient shortage. Increase your fertilizing frequency. If you have been fertilizing regularly, reduce watering slightly and check for drainage issues.
4. Aphids and Spider Mites: These pests attack the leaves. Spray the plant with neem oil or insecticidal soap. Check plants regularly so you catch infestations before they spread.
5. No Sprouting After 8 Weeks: The soil is likely too cold, or the rhizome was too old. Add a heat mat and try a fresher rhizome if the current one has not shown any activity.
6. One crop rotation note: Do not grow ginger in soil where tomatoes, peppers, or eggplant have recently been grown. These crops share soil-borne pathogens with ginger that can carry over.
Conclusion
Learning how to grow ginger at home is one of the most rewarding things a home gardener can do.
The steps are clear: start with a good organic rhizome, plant it in warm, loose soil, give it indirect light and consistent moisture, and feed it every few weeks.
After 8 to 10 months, you will have fresh ginger that is far better than anything from a store shelf. The thin skin, the bold flavor, and the ability to replant from your own harvest make it worth every bit of the wait.
Ready to give it a try this spring? Drop your questions or share your first harvest in the comments below.
Frequently Asked Questions
Does Ginger Come Back Every Year?
Yes, edible ginger is a perennial plant, meaning it can come back year after year.
Can You Plant Ginger in October?
Yes, you can plant ginger in October, but only if you are growing it indoors in a containeror if you live in a warm, frost-free climate.
Will Growing Ginger Spread?
Yes, ginger spreads when planted. It propagates horizontally just beneath the surface through modified stems called rhizomes.