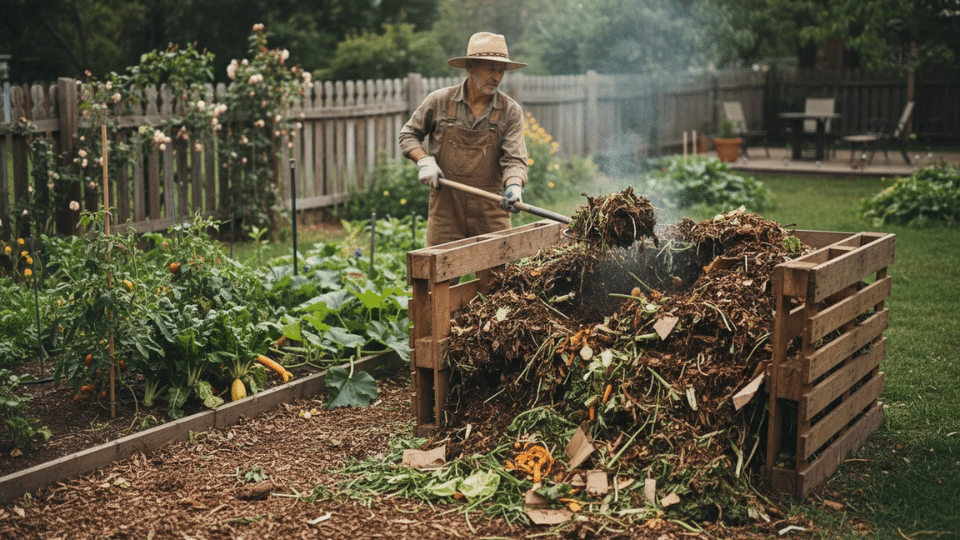

People who try composting and quit didn’t fail because they were lazy. They failed because they started with the wrong system for their life.
They bought a big outdoor bin with no yard, set up a worm bin, and then traveled for work, or tried a garden pile that turned into a smelly, pest-ridden mess their neighbors noticed before they did.
This blog won’t tell you that composting is easy (it is, once you pick the right method).
Below, you’ll find out how to start composting no matter how much space you have, plus a separate walkthrough if a tumbler is the method you land on.
It explains what layering means and why it matters, without assuming you have outdoor space.
By the time you finish reading, you’ll know exactly which composting method fits your actual life, and you’ll be ready to start today.
What Happens Inside Compost?
Before picking a bin, it helps to know what’s inside.
Composting works because bacteria and fungi break down organic waste into nutrient-rich humus. The right balance of moisture and air lets them do that job.
That finished humus improves soil health. It retains water, drains better, and slowly releases nutrients back to your plants.
Unlike synthetic fertilizers, compost benefits plants in the long term.
In landfills, food scraps break down anaerobically, releasing methane, a greenhouse gas 25 times more potent than CO₂.
Composting instead of landfilling cuts those emissions by 38 to 84 percent, according to Project Drawdown’s analysis of composting facilities.
Drawdown separately ranks cutting food waste itself as one of the most effective climate strategies available today.
Composting isn’t just for better gardens; it’s a powerful climate action.
How to Start Composting Step by Step at Home
The right method depends on two things: how much space you have and how much time you’re willing to spend on maintenance each week. Here’s how to think about it.
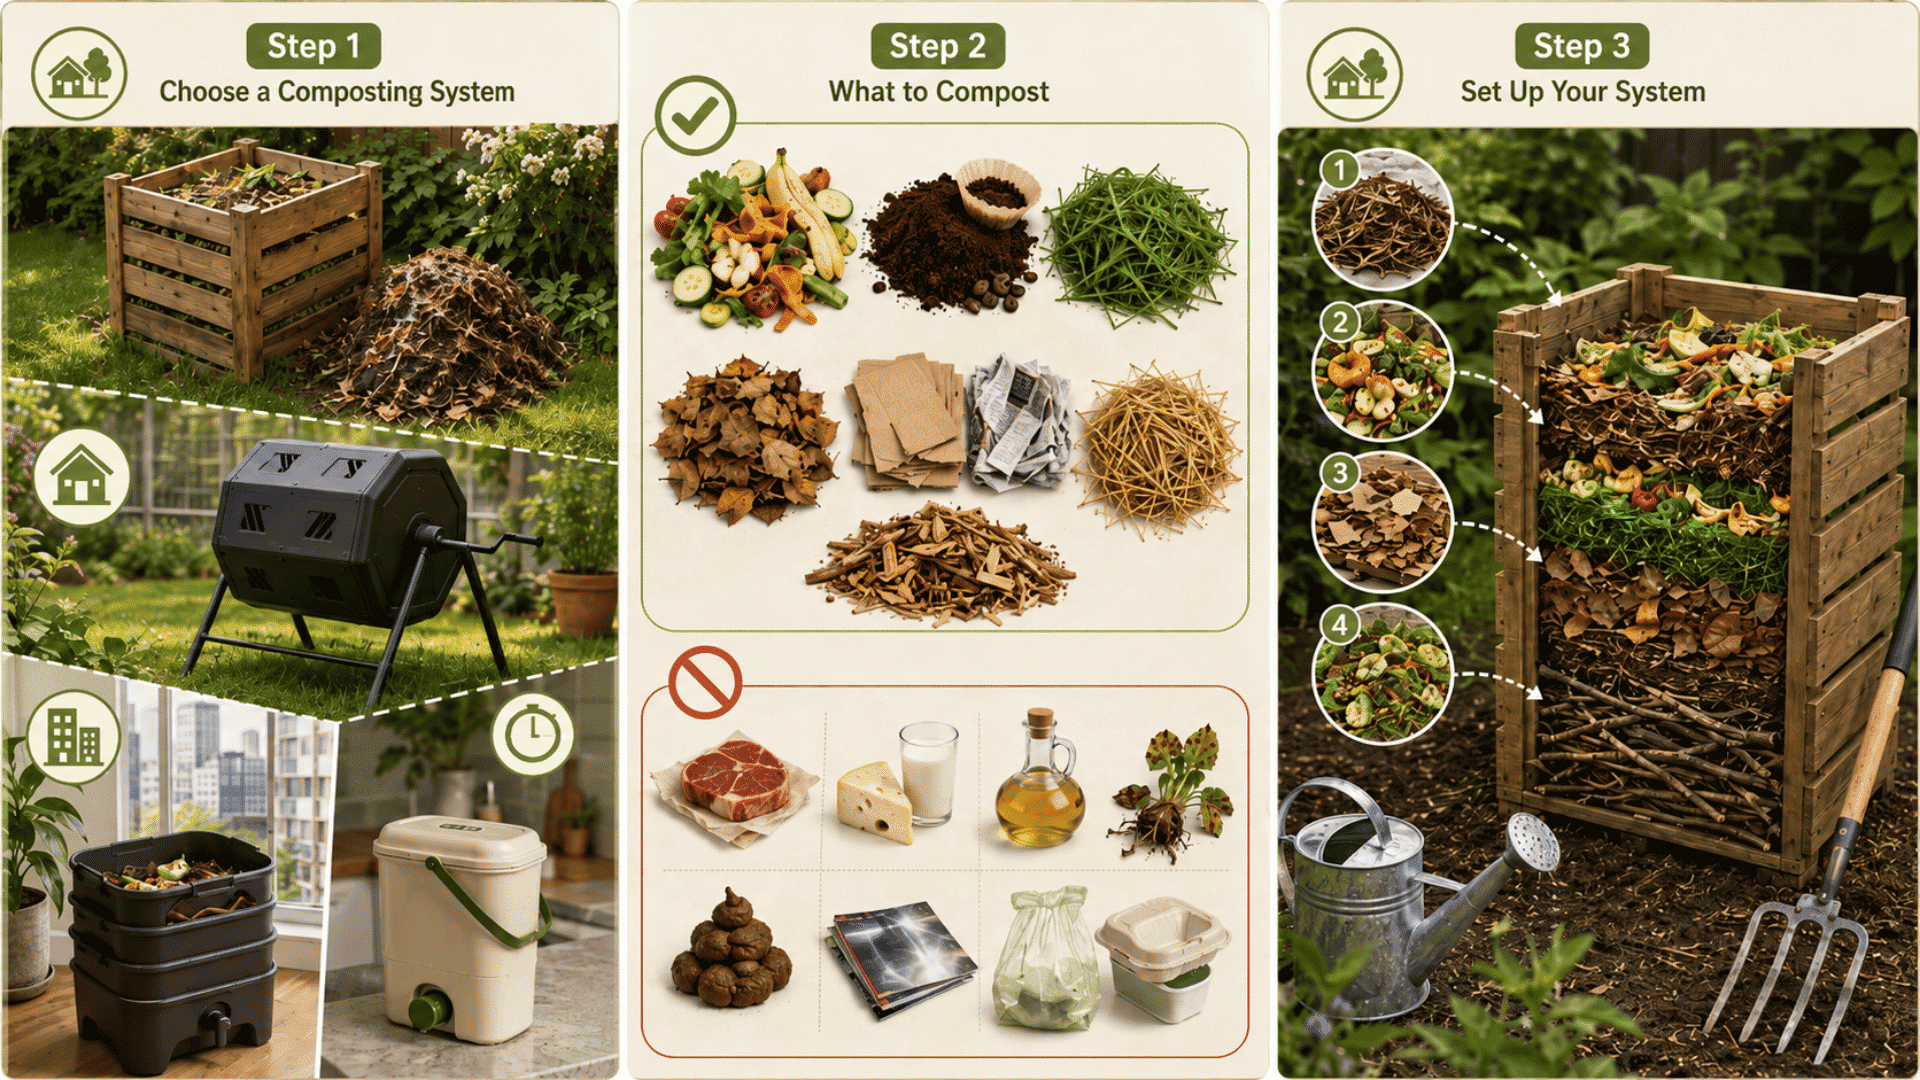
Step 1: Choose Your Composting System
The best composting method depends on your space, lifestyle, and the amount of organic waste you produce. Explore different systems to find one that fits your home and routine.
| Composting Method | Best For | Key Details |
|---|---|---|
| Outdoor Bin or Pile | Gardeners with yard space | Use a soil-based bin with enough space for proper decomposition. |
| Compost Tumbler | Faster, cleaner composting | Works well for moderate kitchen and garden waste with fewer pests. |
| Vermicomposting | Apartments and small spaces | Red wigglers turn food scraps into nutrient-rich worm castings. |
| Bokashi | All food waste | Handles meat and dairy but needs a second composting stage. |
| Electric Composter | Quick indoor composting | Speeds up breakdown but does not create finished compost. |
| Community Programs | Homes without space | Drop off organic waste at local composting facilities. |
Step 2: What to Compost
Knowing what belongs in your compost bin is the first step to creating healthy compost. Learn which kitchen scraps, yard waste, and materials break down well and what to keep out.
- Greens (Nitrogen-rich): Fruit and vegetable scraps, coffee grounds, fresh grass clippings.
- Browns (Carbon-rich): Dry leaves, cardboard, newspaper, straw, and untreated wood chips. If you’re also deciding what to put down in the beds themselves, it’s worth comparing wood mulch against rubber mulch first, since only one of them ever breaks down.
- What to Avoid: Meat, dairy, oils, diseased plants, and pet waste. Never compost “compostable” packaging or glossy paper.
Step 3: Set Up Your System
A proper composting setup creates the foundation for healthy decomposition.
From choosing the right location and container to adding the first layers of materials, these simple steps help you build a system that stays balanced and easy to manage.
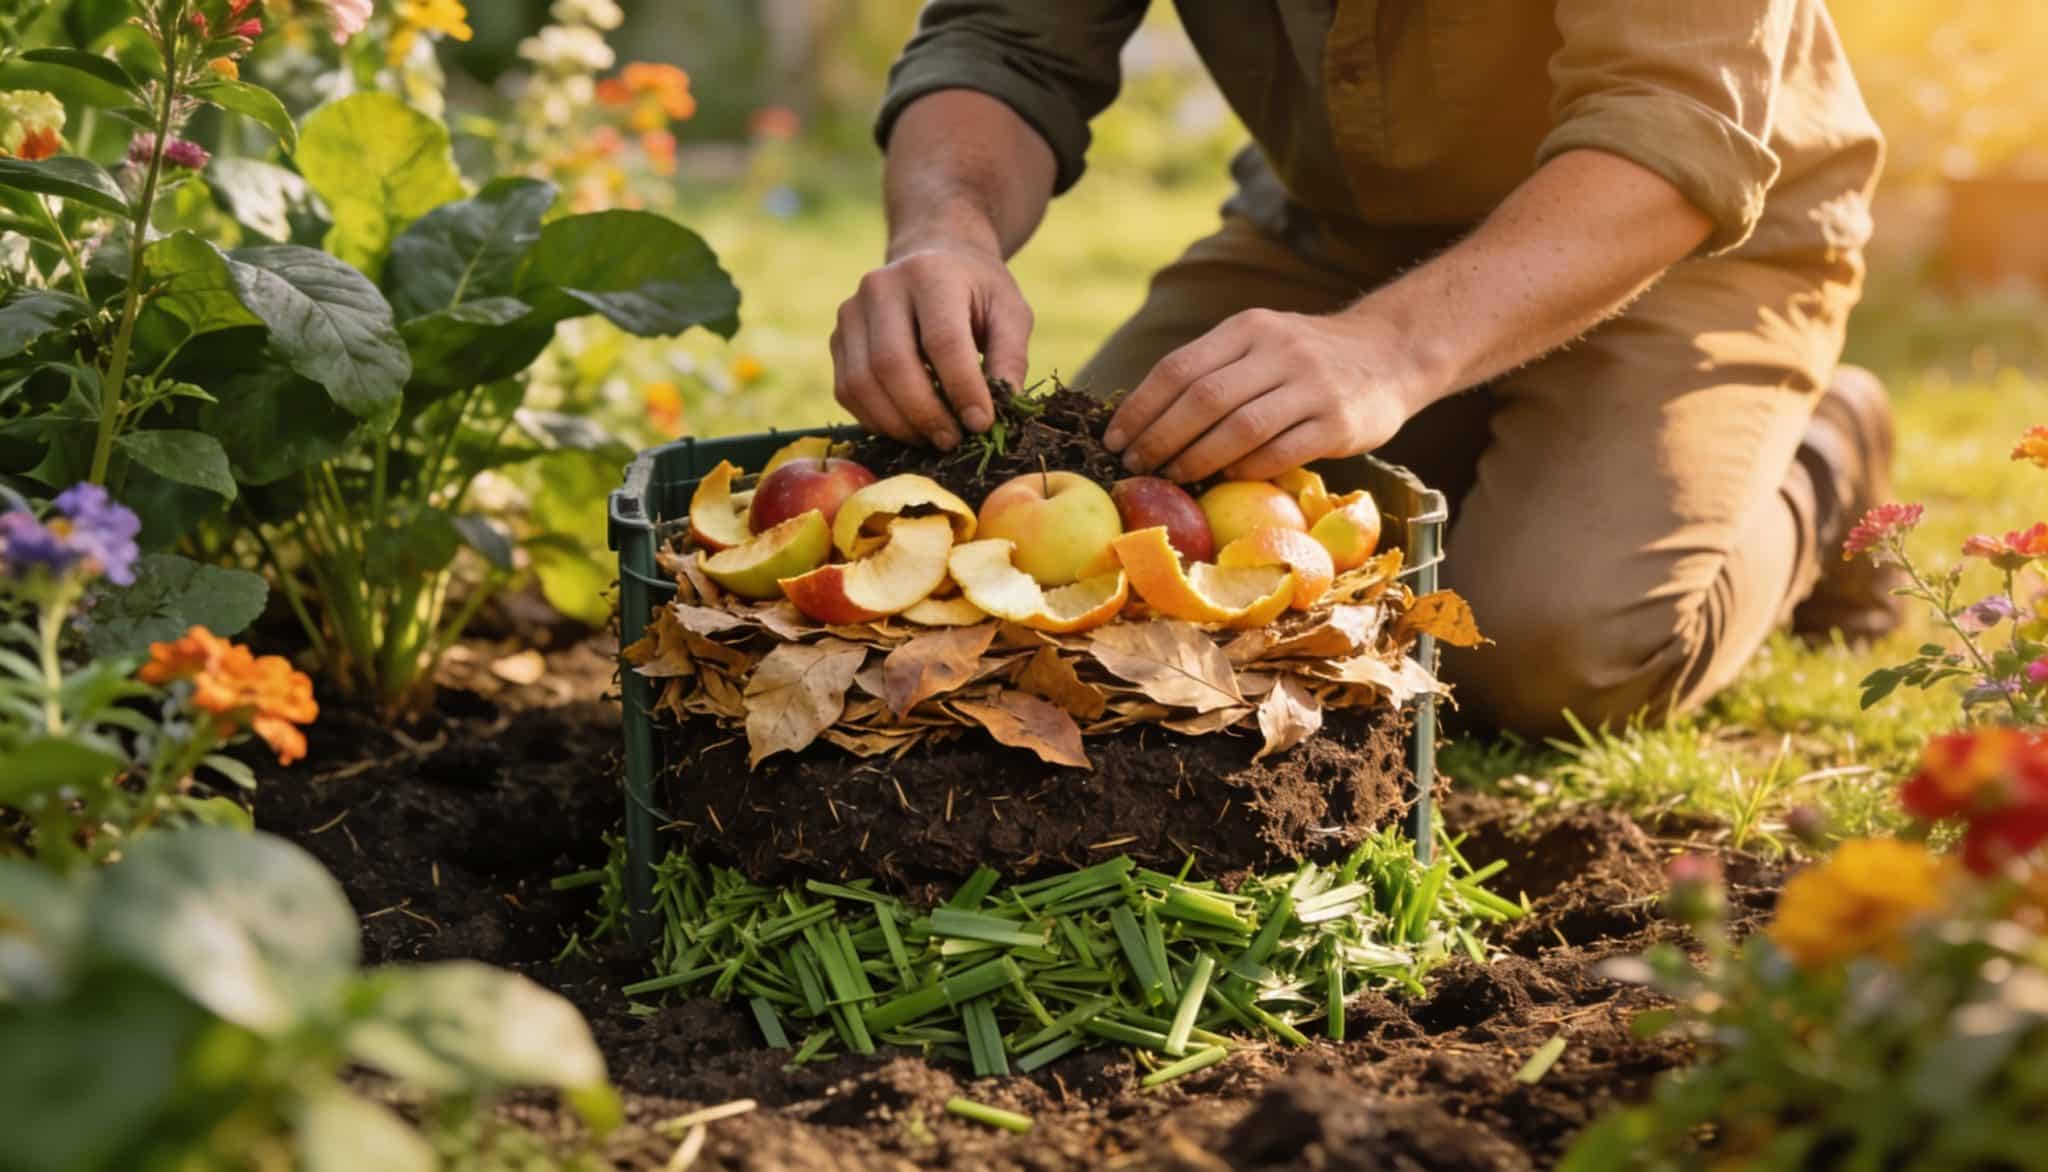
- Outdoor Bin: Start with a 4–6-inch base layer of coarse material, such as sticks or wood chips. Alternate layers of green and brown.
- Worm Bin: Add damp newspaper strips as bedding, then place worms on top. Feed them small batches of food scraps.
- Bokashi: Layer food scraps with Bokashi bran, pressing down to minimize air pockets. Drain the liquid regularly.
How to Start a Compost Tumbler
A tumbler works the same way as an outdoor pile, just faster and with less mess. Here’s how to get one running.
- Pick your size: A 2- to 4-gallon tumbler covers a household of 1 to 4 people. Go bigger, 6 to 8 gallons, if you generate more yard waste than kitchen scraps.
- Choose the spot: Dappled sun or partial shade keeps plastic tumblers from warping and stops the pile from drying out too fast.
- Add a starter: A handful of old compost, garden soil, or aged manure introduces the microbes that get decomposition going faster than starting from nothing.
- Layer and fill: Browns first, then greens, at roughly 3 parts browns to 1 part greens. Keep filling until the drum is full, then let it finish.
- Turn it often: A few rotations every few days keep oxygen moving and prevent the odor associated with an anaerobic pile.
I’ve run both a stationary bin and a tumbler in my own yard, and the tumbler is the one I hand to first-time composters.
It’s harder to get wrong, and you can’t really forget to turn it since the crank is right there on the side.
What Can and Cannot Go Into Your Compost?
Not everything that breaks down naturally belongs in a compost pile. Knowing which materials to add and which ones to avoid helps maintain a healthy balance, prevents odors and pests, and keeps your compost safe to use.
Use this quick comparison to understand what works best for your system.
| Compost-Friendly Materials | Materials to Keep Out of Compost |
|---|---|
| Fruits and vegetable scraps | Meat and fish |
| Coffee grounds and tea bags | Dairy products |
| Eggshells | Oils and grease |
| Grass clippings | Pet waste |
| Dry leaves | Diseased plants |
| Shredded paper and cardboard | Coal or charcoal ash |
| Untreated sawdust and wood chips | Glossy or plastic-coated paper |
How to Know When Your Compost Is Ready
Finished compost is dark, crumbly, and smells like fresh earth, with no scraps left recognizable. Knowing what to look for keeps you from harvesting too early or letting it sit longer than needed.
- Check the texture and smell: Finished compost is dark brown to black, has a crumbly texture similar to coffee grounds, and smells like fresh earth after rain.
- Look for leftover scraps: You should not be able to identify any original food scraps or plant material. If parts of the pile are still recognizable, those sections need more time; screen them out and return them to the active pile.
- Harvest from the bottom: The lower sections of a static outdoor bin finish first. Scoop material from the bottom while the upper, unfinished layers continue working.
- In garden beds: Spread 1-2 inches across the bed and work it into the top 4-6 inches of soil before planting. This is the most impactful use, since you’re improving the entire growing medium rather than just feeding the surface.
- As a top dressing: Spread a 0.5-1-inch layer around established plants during the growing season. Watering carries nutrients down to the root zone over time.
- In potting mix: Don’t use pure compost as a container medium, since it can compact and burn roots. Blend it at roughly 20-30% compost with 70-80% potting mix for containers and raised beds.
- Compost tea: Steep a few cups of finished compost in water for 24-48 hours, strain, and apply as a liquid drench or foliar spray. It introduces beneficial microorganisms to the soil and provides a mild nutrient boost.
- Worm leachate: The liquid from a worm bin should be diluted 10:1 with water before applying to plants. Undiluted, it can be too concentrated. When diluted, it’s one of the most effective liquid fertilizers available at no extra cost.
How to Maintain a Compost
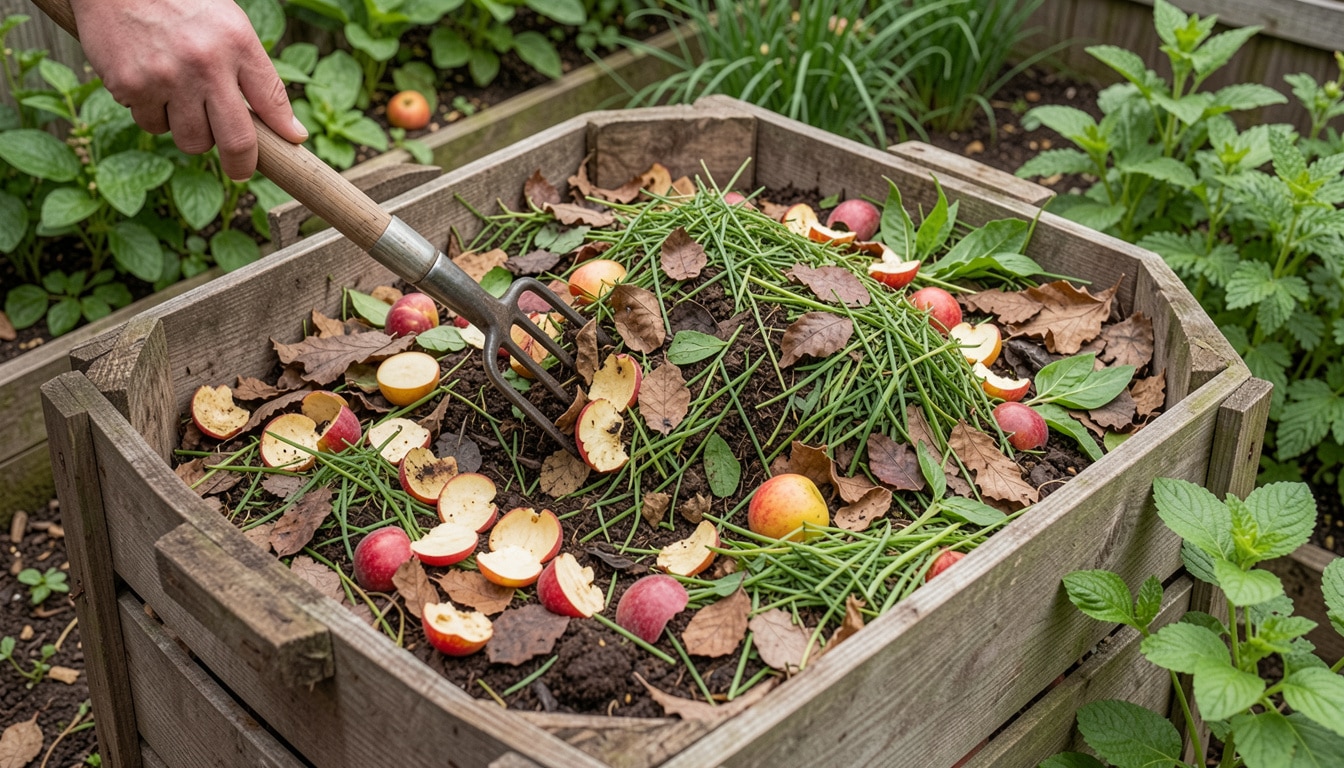
A pile you set up correctly but never touch will eventually produce compost. Active maintenance makes it happen faster and without problems.
The three variables to monitor are moisture, aeration, and balance.
- Moisture: Pick up a handful of pile material and squeeze it. You want a few drops of water to achieve the consistency of a wrung-out sponge. If water streams out, the pile is too wet. Add browns and turn it. If it feels bone dry and crumbly, add water and greens.
- Aeration: Outdoor piles need to be turned to introduce oxygen. Turning once every two to four weeks is enough for most backyard composters.
- More frequent turning (every few days) significantly accelerates decomposition if you’re trying to produce compost quickly. Tumblers make this easier; a few rotations per week are all it takes.
- Balance: If the pile stops producing heat, it usually means there’s not enough nitrogen (add greens), not enough moisture (add water), or it’s too small to retain heat (add more material overall).
If it smells like ammonia, add browns and turn it. If it smells like sulfur or rotten eggs, it’s gone anaerobic; turn it aggressively and add dry carbon material.
Diagnosing Composting Problems
Composting problems are usually signs of an imbalance, not a failed system. Learn how to identify common issues like odors, pests, slow breakdown, and excess moisture.
| Symptom | Likely Cause | Fix |
|---|---|---|
| Smells like ammonia | Too much nitrogen | Add browns, turn the pile |
| Smells like rotten eggs | Anaerobic (no oxygen) | Turn aggressively, add dry browns |
| Pile not heating up | Too dry, too small, or too much carbon | Add water and greens, add more material |
| Attracting fruit flies or pests | Food scraps are exposed on the surface | Bury scraps deeper, cover with browns |
| The pile is soggy and compacted | Too much wet material, poor aeration | Add dry browns, turn to break it up |
| Nothing is breaking down | Too dry, too cold, or the pile is too small | Water it, insulate it, or add a nitrogen source |
A Note on the “Compostable” Label ConfusionOne emerging issue worth flagging directly: the word “compostable” on food packaging, cutlery, and coffee cups does not mean “safe to add to your home compost bin.” Almost all commercially labeled compostable packaging is certified for industrial composting facilities that maintain temperatures above 140°F, precise moisture levels, and long processing times. At home, that fork or bowl will sit largely unchanged for months. If you want to divert these items from the landfill, look for a local commercial composting drop-off that accepts packaging. Many municipal organics programs do. Don’t add them to your backyard pile expecting results. |
Conclusion
Start small, stay consistent. The composting system that works is the one you’ll actually maintain.
A worm bin under the sink or a drop-off bag in your freezer both count. You don’t need a perfect setup, a big yard, or a memorized ratio to start.
Just pick the method that fits your space and schedule, and set it up this week.
If you’re building out other self-sufficient habits at home, composting fits right alongside the basics covered in getting started with homesteading.
The soil gets better. The food waste no longer goes to the landfill.
And six months from now, you’ll have something genuinely useful growing in a pile that used to be last Tuesday’s vegetable scraps. That’s a return worth the effort.
Frequently Asked Questions
Does Composting Attract Rats and Other Pests?
Composting can attract rats and pests if not managed properly, especially if food scraps are exposed. Using a sealed compost bin and avoiding meat or dairy helps prevent pest issues.
Can I Start Composting in Winter?
Yes. Keep adding material through the cold months; it stacks up and processes rapidly once temperatures rise in spring
How Do I Know if My Compost is Actually Finished?
Finished compost is dark brown, crumbly, and smells like soil after rain. No original food scraps or plant material should be identifiable.