You just finished an avocado, and the pit is sitting on your counter. Can you actually grow it into a tree? The short answer is yes.
Growing an avocado from a seed is an easy project that needs no garden or special tools.
In my years growing houseplants from kitchen scraps, avocado pits are the most forgiving starting point I hand to beginners.
This blog covers seed preparation, three growing methods, and essential aftercare.
If you are growing an avocado plant indoors or outdoors, one good pit and a little patience are all it takes to get started.
How to Pick the Right Avocado Seed?
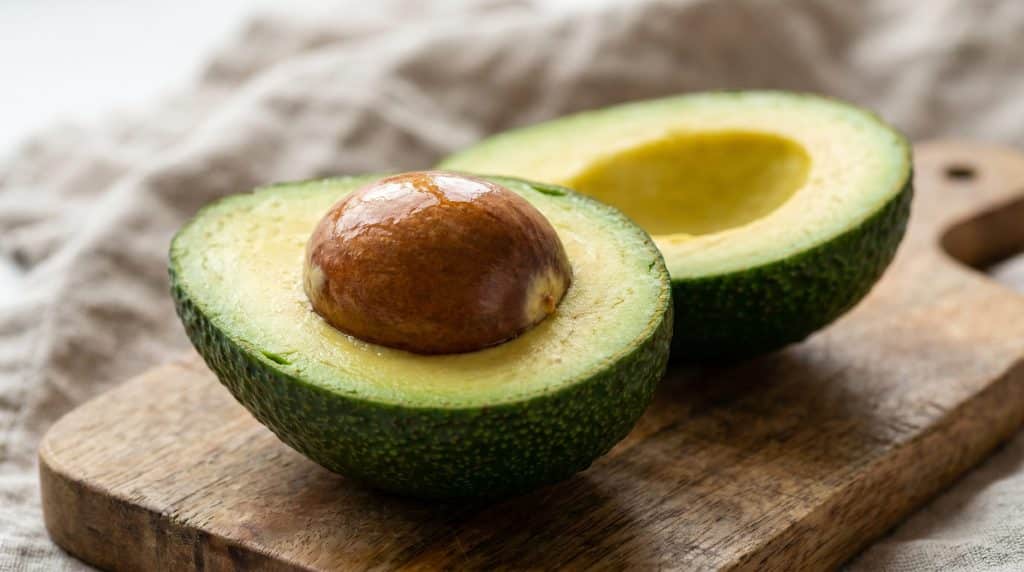
Not every avocado pit is worth planting. Here is what to look for before you start.
- The variety does not matter much; the condition of the seed inside counts.
- Start with a ripe avocado. If the fruit tasted creamy and good, the seed is likely healthy.
- Overripe avocados with blackened or mushy flesh often have seeds that have already begun to break down inside.
- A seed-grown tree is not a clone of the parent; it will develop its own unique genetics.
Seed Inspection: Is Your Seed Viable?
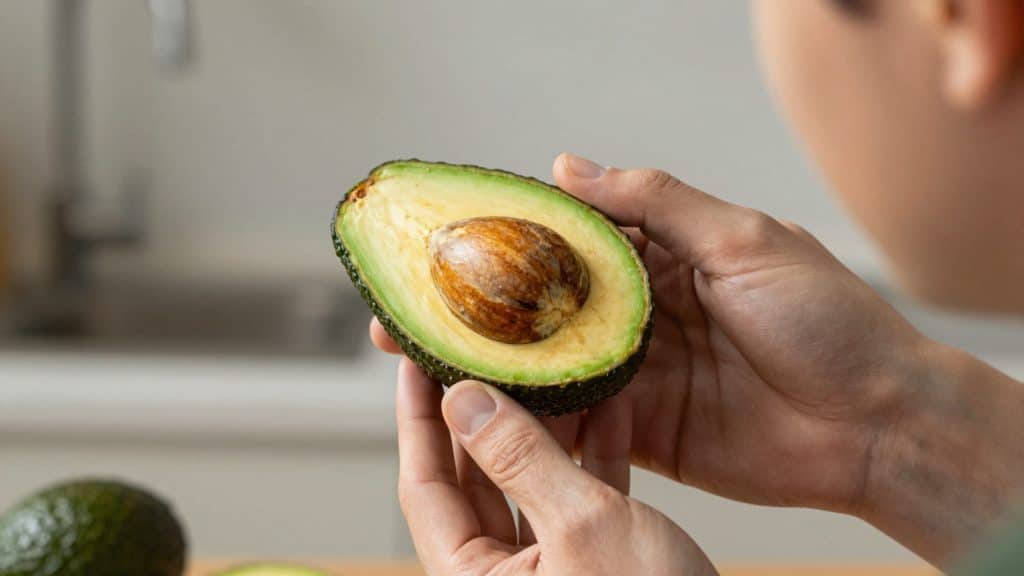
Skipping this step is the single biggest reason a seed never sprouts.
Most beginners drop the seed in water and wait, then wonder why nothing happened after 10 weeks. Before you do anything else, check the seed properly.
Visual Check:
- Large, firm, and smooth all around
- Creamy tan or light brown color
- No grey patches, black spots, or soft areas
- No cracks, mold, or knife nicks from cutting the avocado open
Quick Viability Tests:
- Float test: Drop it in a bowl of water. A seed that sinks is denser and generally more viable. Floaters can still sprout, but sinkers do better.
- Smell test: A sour or fermented smell means it’s already rotting inside.
- Press test Firm all the way around. Any soft spots are a bad sign.
One more thing: use the seed within 48 hours of eating the avocado. After that, it starts losing moisture fast, and germination rates drop noticeably.
Materials and Tools You’ll Need
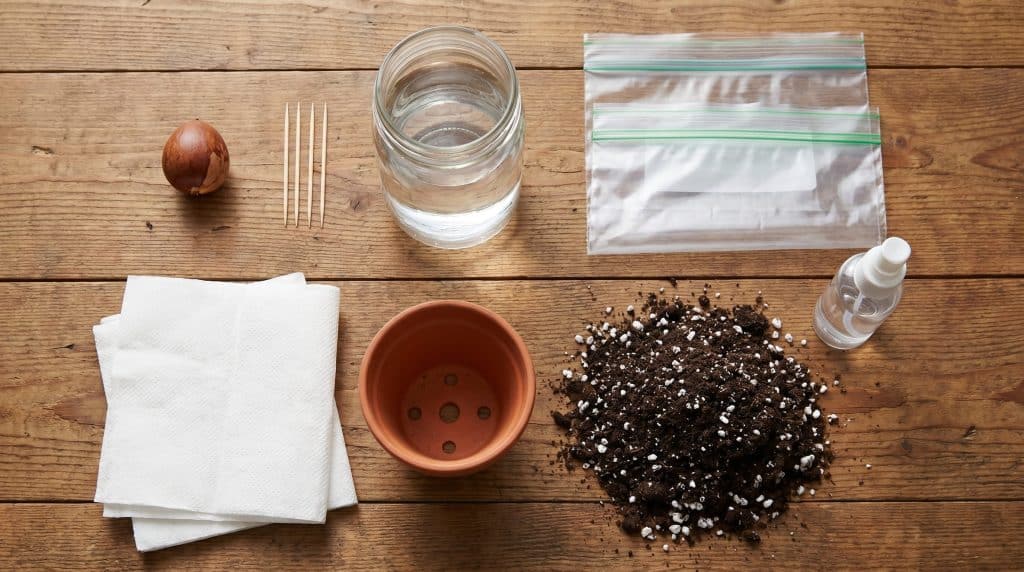
Most avocado-growing supplies are common household items. Gather everything before you start to make the process smoother.
| Item | Purpose |
|---|---|
| Fresh avocado seed | The seed used for growing |
| Toothpicks + glass/jar | Supports the seed in water |
| Zip-lock bag + paper towel | For the paper towel method |
| 4–6-inch pot with drainage | Prevents root rot during soil planting |
| Potting mix + perlite | Improves drainage and root growth |
| Spray bottle | Gently waters young seedlings |
How to Prepare the Avocado Seed for Planting
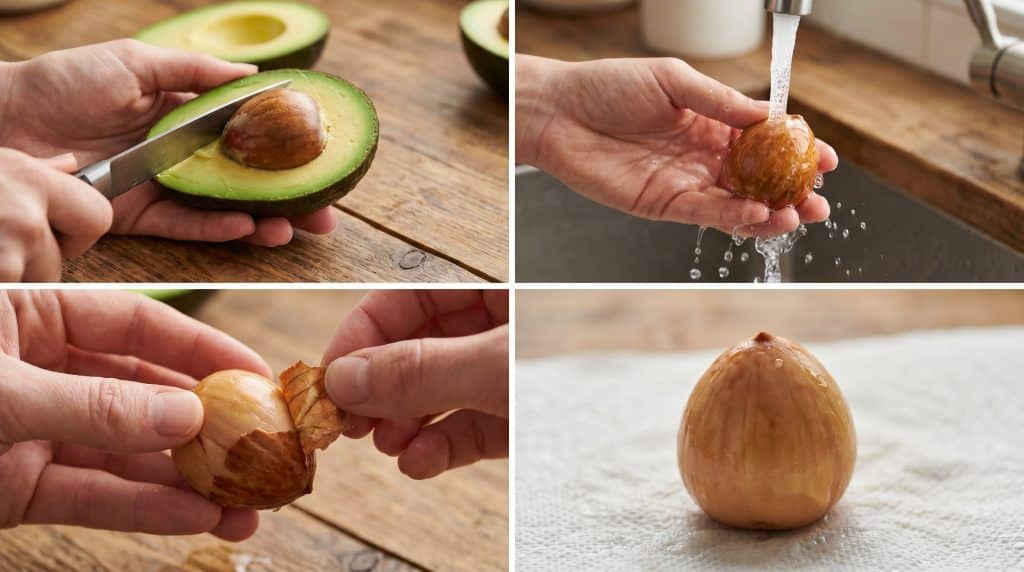
Preparing the seed correctly improves your chances of successful germination. Follow these simple steps before using any planting method.
Step 1: Remove the Seed Without Damaging It
Cut the avocado lengthwise, rotating the knife around the seed. Twist the two halves apart.
To get the seed out, scoop it with a spoon or tap it gently with the knife blade so it lodges slightly, then twist it free.
The spoon method is slower but safer. One knife slip and you have nicked the seed, which damages the embryo inside.
Step 2: Clean It Properly
Rinse the seed under warm running water. Use your fingers or a soft brush to scrub off any avocado flesh still stuck to the surface. This part matters more than most people think.
Leftover flesh sitting on the seed invites mold, and mold kills a seed fast. Get it completely clean before moving on.
Step 3: Peel the Skin Off
Once clean, you will notice a thin papery brown layer covering the seed. Peeling it off is not strictly necessary, but leaving it on can delay sprouting by 1 to 2 weeks.
Start with your fingernail at the top or bottom,m and it comes off in strips fairly easily.
Step 4: Identify the Top and Bottom
The flat, wider end is the bottom. This is where the roots come out. The slightly more pointed end is the top, where the stem and leaves will grow from.
Getting this wrong is the single most common beginner mistake. If the seed goes in upside down, it simply will not sprout correctly. Flat end always faces down, pointed end always faces up.
Proven Methods to Grow an Avocado from Seed
No single method works for everyone. Choose the one that best fits your space, supplies, and how hands-on you want to be.
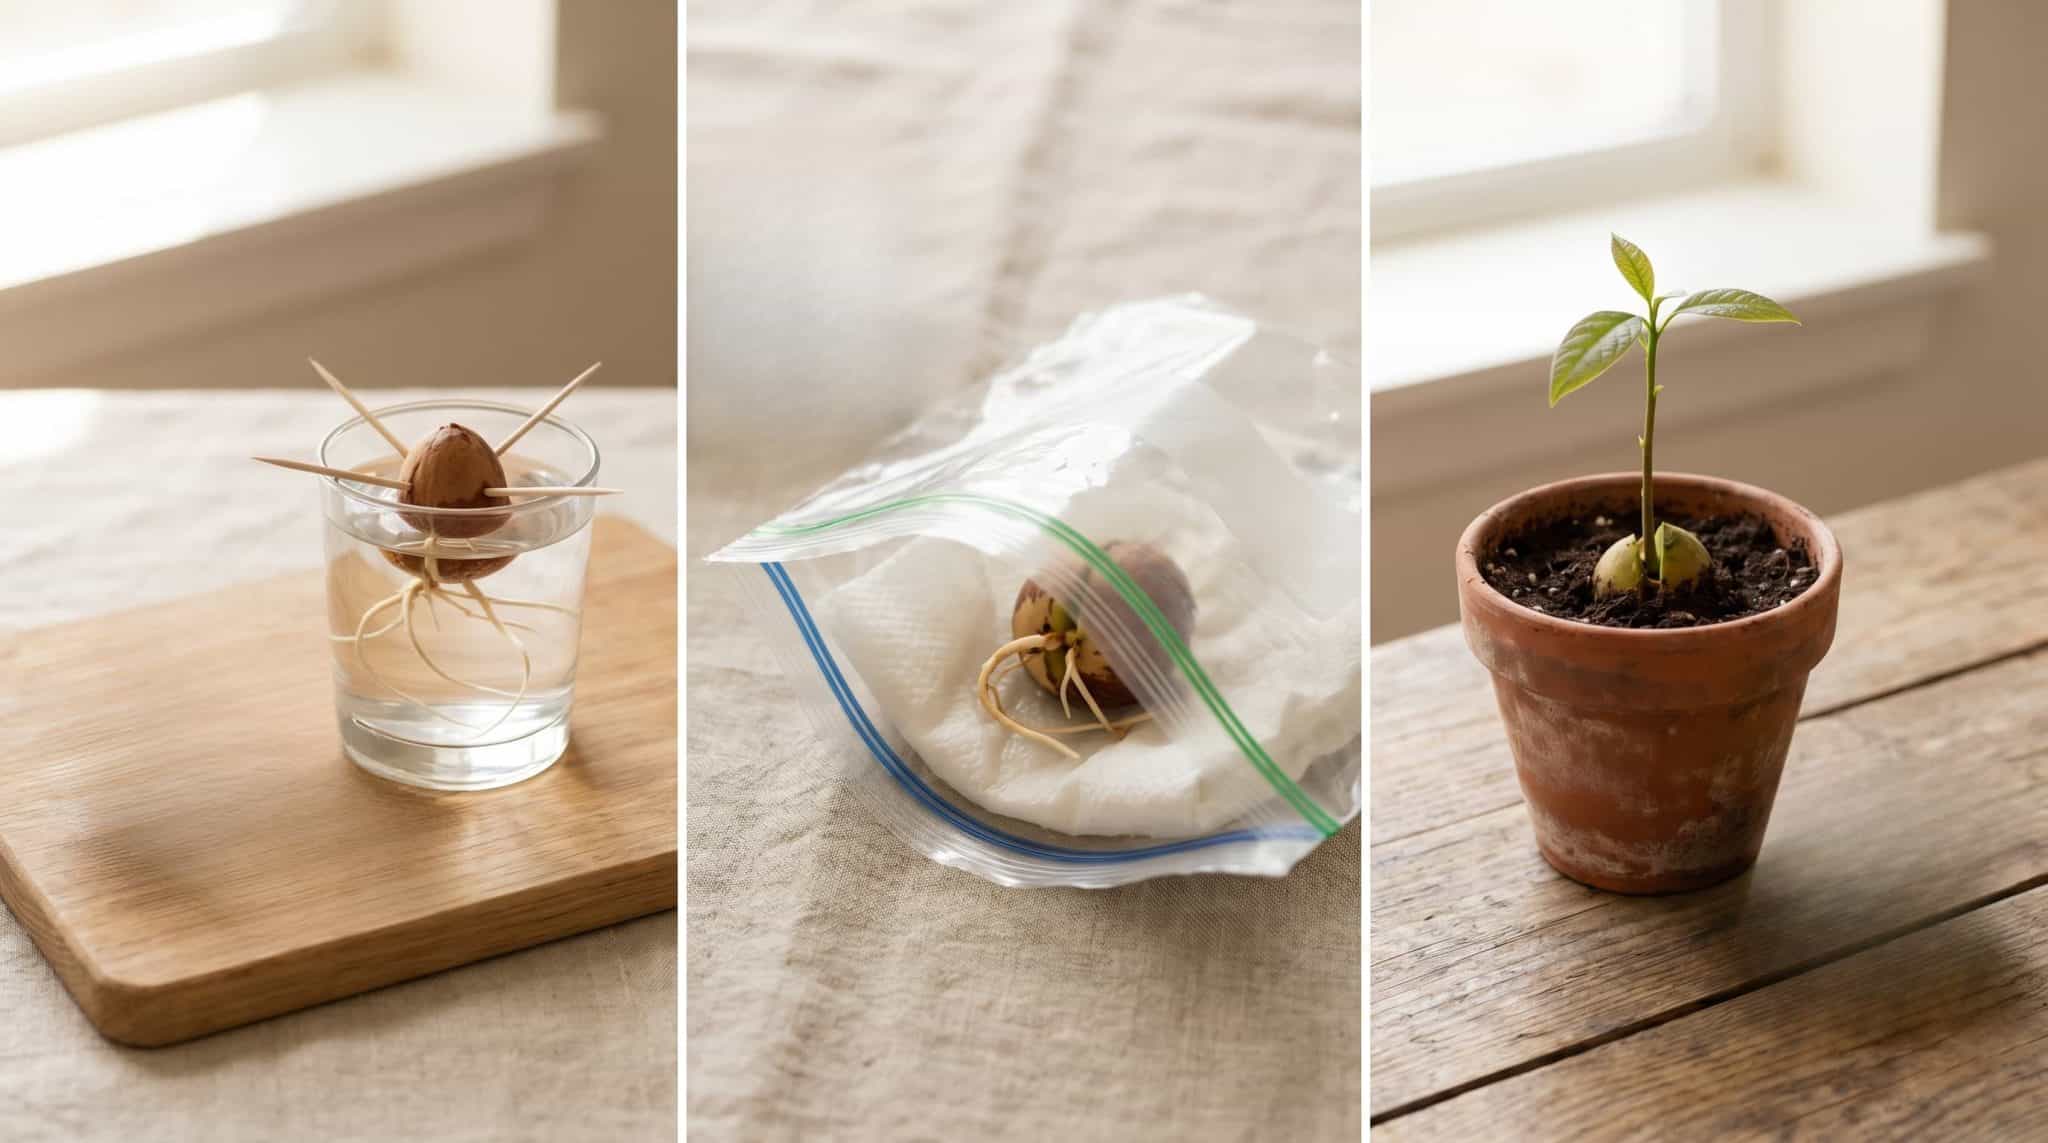
Method 1: The Toothpick and Water Method
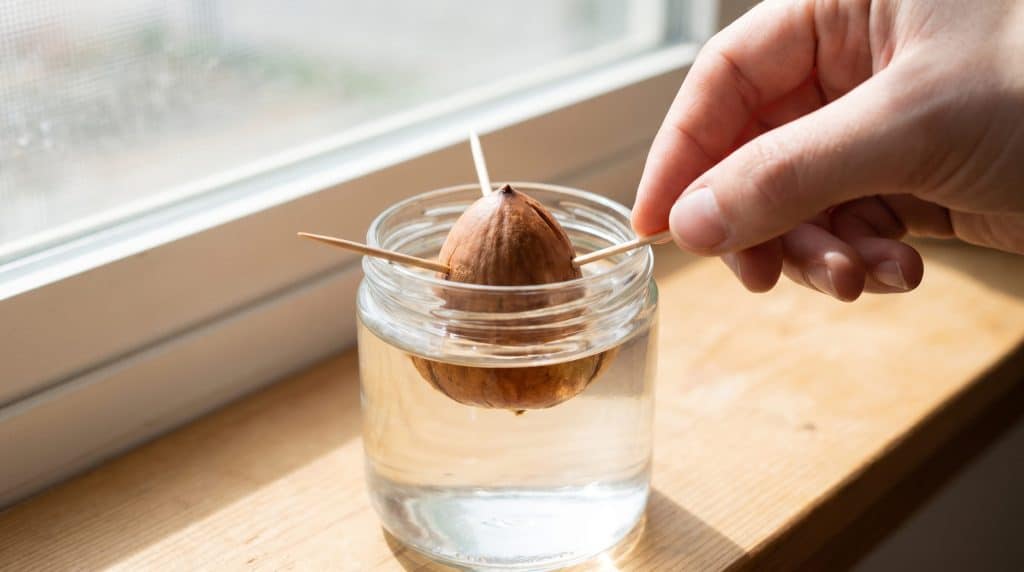
This is the method most people have seen at least once. Three toothpicks, a glass of water, a bright windowsill. It works, but it needs more attention than people expect.
The water evaporates faster than you think, humidity drops, and if the temperature in your home runs cool, the whole process slows down significantly.
Steps:
- Insert 3 to 4 toothpicks into the widest part of the seed, evenly spaced and angled slightly downward.
- Rest the toothpicks on the rim of a clear glass with the flat end of the seed facing down into the water.
- Fill with water until the bottom inch of the seed is submerged, and place in a warm spot with bright indirect light.
- Change the water completely every 5 to 7 days; do not just top it off
- Wait for a crack at the base; a white root will follow, then a stem from the top. Once the root hits 2 to 3 inches, move it to the soil
|
Best for: Beginners who want to watch the roots develop |
Method 2: The Direct Soil Planting Method
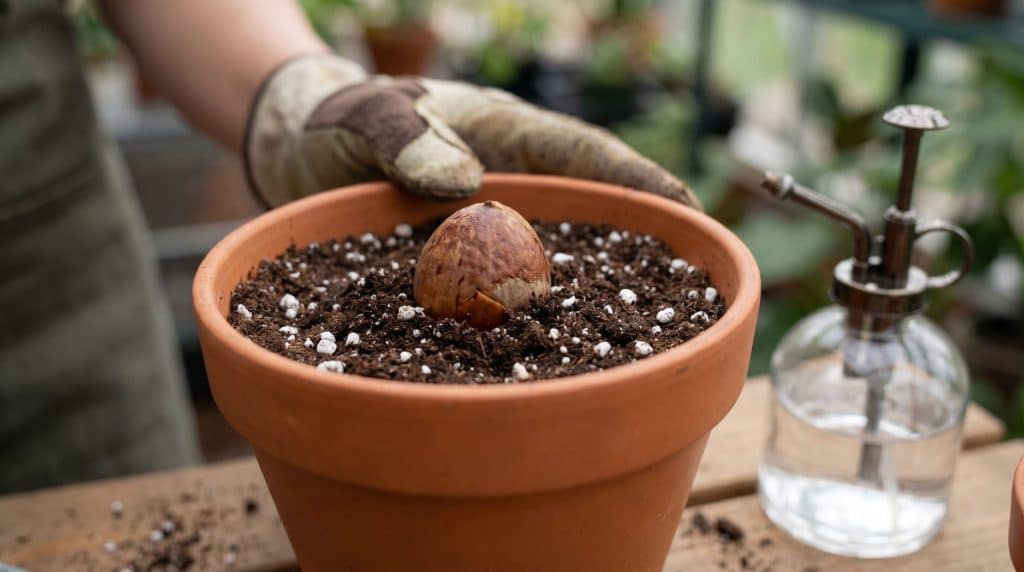
Planting straight into the soil avoids the tricky water-to-soil transfer that trips up many people. The downside is that you cannot see what is happening underground.
You are working on trust until a stem pushes through the surface, which can take longer than the water method.
Steps:
- Fill a 4- to 6-inch pot with equal parts potting mix and perlite for good drainage.
- Plant the seed flat-end down, with the top third of the seed above the soil surface.
- Water thoroughly until the water drains from the bottom, then loosely cover the pot with plastic wrap to retain moisture.y
- Keep in a warm spot between 65 and 85°F and water only when the top inch of soil feels dry
- Remove the plastic wrap once the stems appear, and move the pot to bright indirect light.
|
Best for: People who want to skip the water stage entirely |
Method 3: The Damp Paper Towel Method
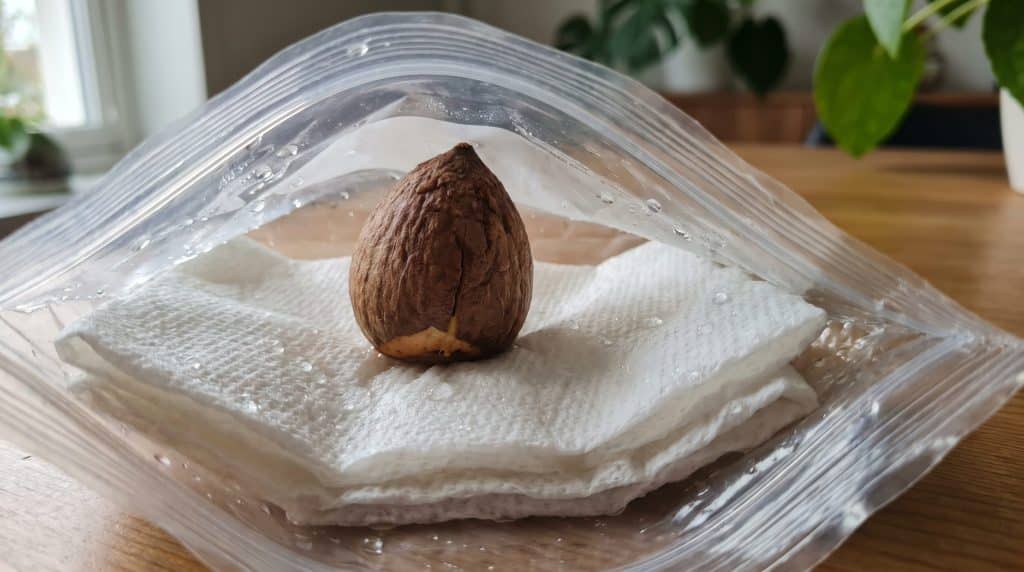
This method consistently outperforms the toothpick approach.
A warm, humid, dark environment is much closer to what the seed experiences underground in nature; most growers who switch to this method after trying toothpicks return to toothpicks.
Steps:
- Peel the brown skin off the fruit completely and then immerse it n warm water for 24 hours.
- Wrap the seed in 2 to 3 damp paper towels, moist but not dripping wet
- Seal it in a zip-lock bag with a small gap left open for airflow,w and store somewhere warm and dark
- Check every 3 to 4 days and re-wet the paper towels if they start drying out
- Once the root reaches 1 to 2 inches, carefully transfer the plant to the soil. The taproot is fragile; handle it with your fingers or a spoon and never pull it directly
|
Best for: Fastest germination and testing multiple seeds at once |
Avocado Plant Aftercare
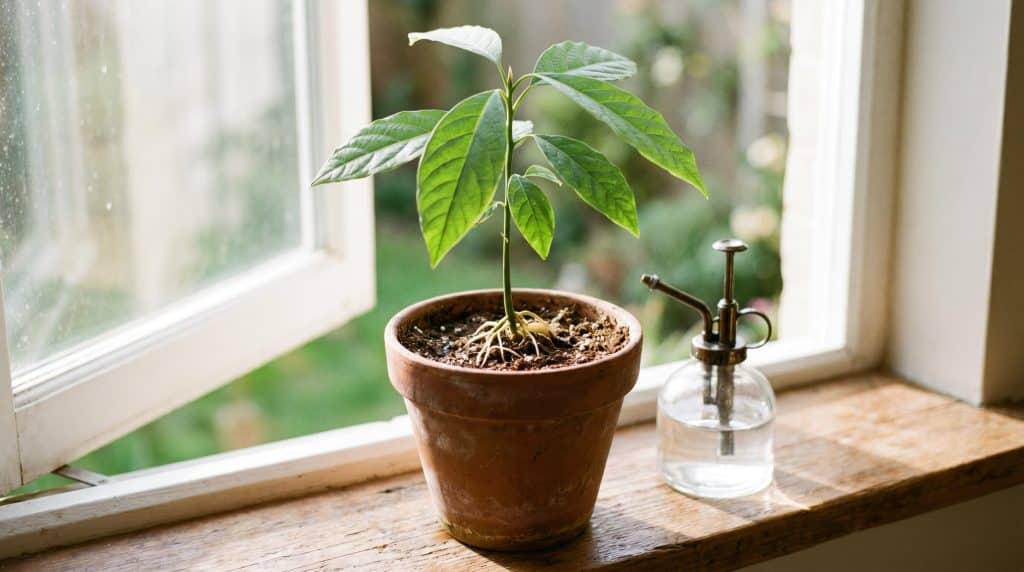
Getting the seed to sprout is the satisfying part. Keeping the plant alive long-term is where most people start making mistakes without realizing it.
1. Light
Avocados need at least 6 hours of bright indirect light daily. A south-facing window is the best spot indoors. If the leaves turn red, it is getting too much direct sun.
If the stem grows tall and thin with few leaves, it is not getting enough. This leggy, stretched-out growth shows up in seedlings of all kinds when light is too weak, not just avocado.
A basic grow light fixes low-light rooms without spending much.
2. Watering
Check the top inch of soil before watering. If it feels dry, water thoroughly until it drains from the bottom. If it still feels moist, wait.
Overwatering kills more young avocado plants than anything else. Yellow leaves and a soft stem mean too much water. Droopy leaves and bone-dry soil mean too little.
3. Temperature
Keep the plant between 60 and 85°F (15 to 29°C). Below 50°F, growth slows down. Frost will kill it outright. Average indoor humidity is fine for most of the year.
Brown leaf tips in winter usually mean dry air or tap water with too much fluoride. Filtered water and occasional mistings sort this out.
4. Fertilizing
Skip fertilizing for the first 4 to 6 months. The seed has enough nutrients to get going on its own. After that, use a balanced 10-10-10 fertilizer every 4 to 6 weeks through spring and summer.
Getting the dosing right matters more than the brand; too much too soon burns young roots before they’ve had a chance to establish. Stop completely in winter.
5. Pruning
When the stem hits 12 inches, cut it back to 6 inches just above a node. It feels wrong after weeks of watching it grow. Do it anyway.
The plant will branch out and fill in within a few weeks. Skipping this step is why most indoor avocado plants end up as a single long stick.
6. Repotting
When roots circle the inside of the pot or poke out of the drainage holes, move up to the next pot size.
The same root-bound signals appear in most container plants; tomato seedlings give the same cues when they’ve outgrown their containers.
Do not jump too big, too soon. Spring is the best time to repot.
Common Problems and How to Fix Them
Most avocado-growing problems trace back to one of five recurring mistakes. Here is what to watch for and how to fix it quickly.
- If the seed has not sprouted after 10 weeks, check that the flat end faces down and the water level still touches the seed. If everything looks right, the seed is not viable. Start fresh.
- Mold on the seed almost always comes from not replacing the water often enough. Swap it out fully every 4 to 5 days; do not just top it off.
- Yellow leaves usually mean overwatering. Let the soil dry out more between waterings and make sure the pot drains freely.
- Brown leaf tips point to low humidity or fluoride in tap water. Switching to filtered water and misting the leaves occasionally clears this up within a few weeks.
- A tall, thin stem with very few leaves means not enough light. Move it to a brighter window or add a grow light. If growth has stalled completely and light is not the issue, check the roots: a root-bound plant stops growing quickly and needs a bigger pot.
Conclusion
Growing an avocado from seed is slow, but that first crack in the pit when the white root pushes through makes the wait worth it.
Pick a healthy seed, choose the method that suits you, and do not skip the pruning cut at 6 inches, even though it feels wrong.
The plant will not fruit indoors anytime soon, and that is fine.
Give it decent light, water it carefully, and within a year, you will have a proper leafy avocado plant growing at home from something you nearly threw away.
Frequently Asked Questions
Do I Need Two Avocado Trees to Get Fruit?
You can grow fruit with one tree, but two trees improve pollination and increase yield. It’s a simple way to enhance your harvest and make it more rewarding.
How Long Until a Seed-Grown Avocado Tree Produces Fruit?
Five to 13 years, and only if it gets enough winter chill to flower. Grafted nursery trees fruit in 3 to 4 years instead.
Is It Bad if the Avocado Seed Splits Completely in Half?
Yes, a full split usually means the seed has died. A shallow crack at the base with a root emerging is normal and expected.
Can I Just Leave the Avocado Growing in Water Forever?
No. Water only gets it started. Once the stem reaches 6 to 7 inches, it needs soil the access nutrients and keep growing.
What Is the 5 Day Rule for Avocados?
Keep a firm avocado at room temperature for about 5 days, until it becomes soft and ready to enjoy. This simple tip helps you enjoy perfect, ripe avocados whenever you’re ready to indulge.