
I have watched small pots kill more tomato plants than bad weather ever could.
The seeds germinate perfectly in my seed trays. The soil and light are right, but if seedlings sit too long in starter cells, they become stunted by the time they reach the raised bed.
Knowing when to repot tomato seedlings completely changed my results.
This guide explains the signs your seedling is ready, my spring repotting process, and how to care for plants after repotting
What Does Repotting Mean for Tomato Seedlings?
Repotting means moving a seedling from a small container into a bigger one so the roots have room to keep growing.
Most plants can skip this step, but if you’re growing tomatoes, it’s definitely a good idea to include it.
Tomato roots grow aggressively. In a 72-cell seed tray, they can fill the available space in as little as two weeks after germination.
When that happens, the roots begin to circle the inside wall of the cell. Gardeners call this being rootbound, and it leads to yellowing leaves, weak stems, and stalled growth
Tomatoes differ from other seedlings because they can produce adventitious roots directly from the stem.
Repotting by burying stems encourages buried nodes to grow new roots, expanding the root system. This improves water and nutrient intake, supporting plant health.
How to Tell When Tomato Seedlings Are Ready to Repot
Tomato seedlings are not shy about showing you they need more room. The signs are visual, and once you have seen them a few times, you will catch them early without second-guessing.
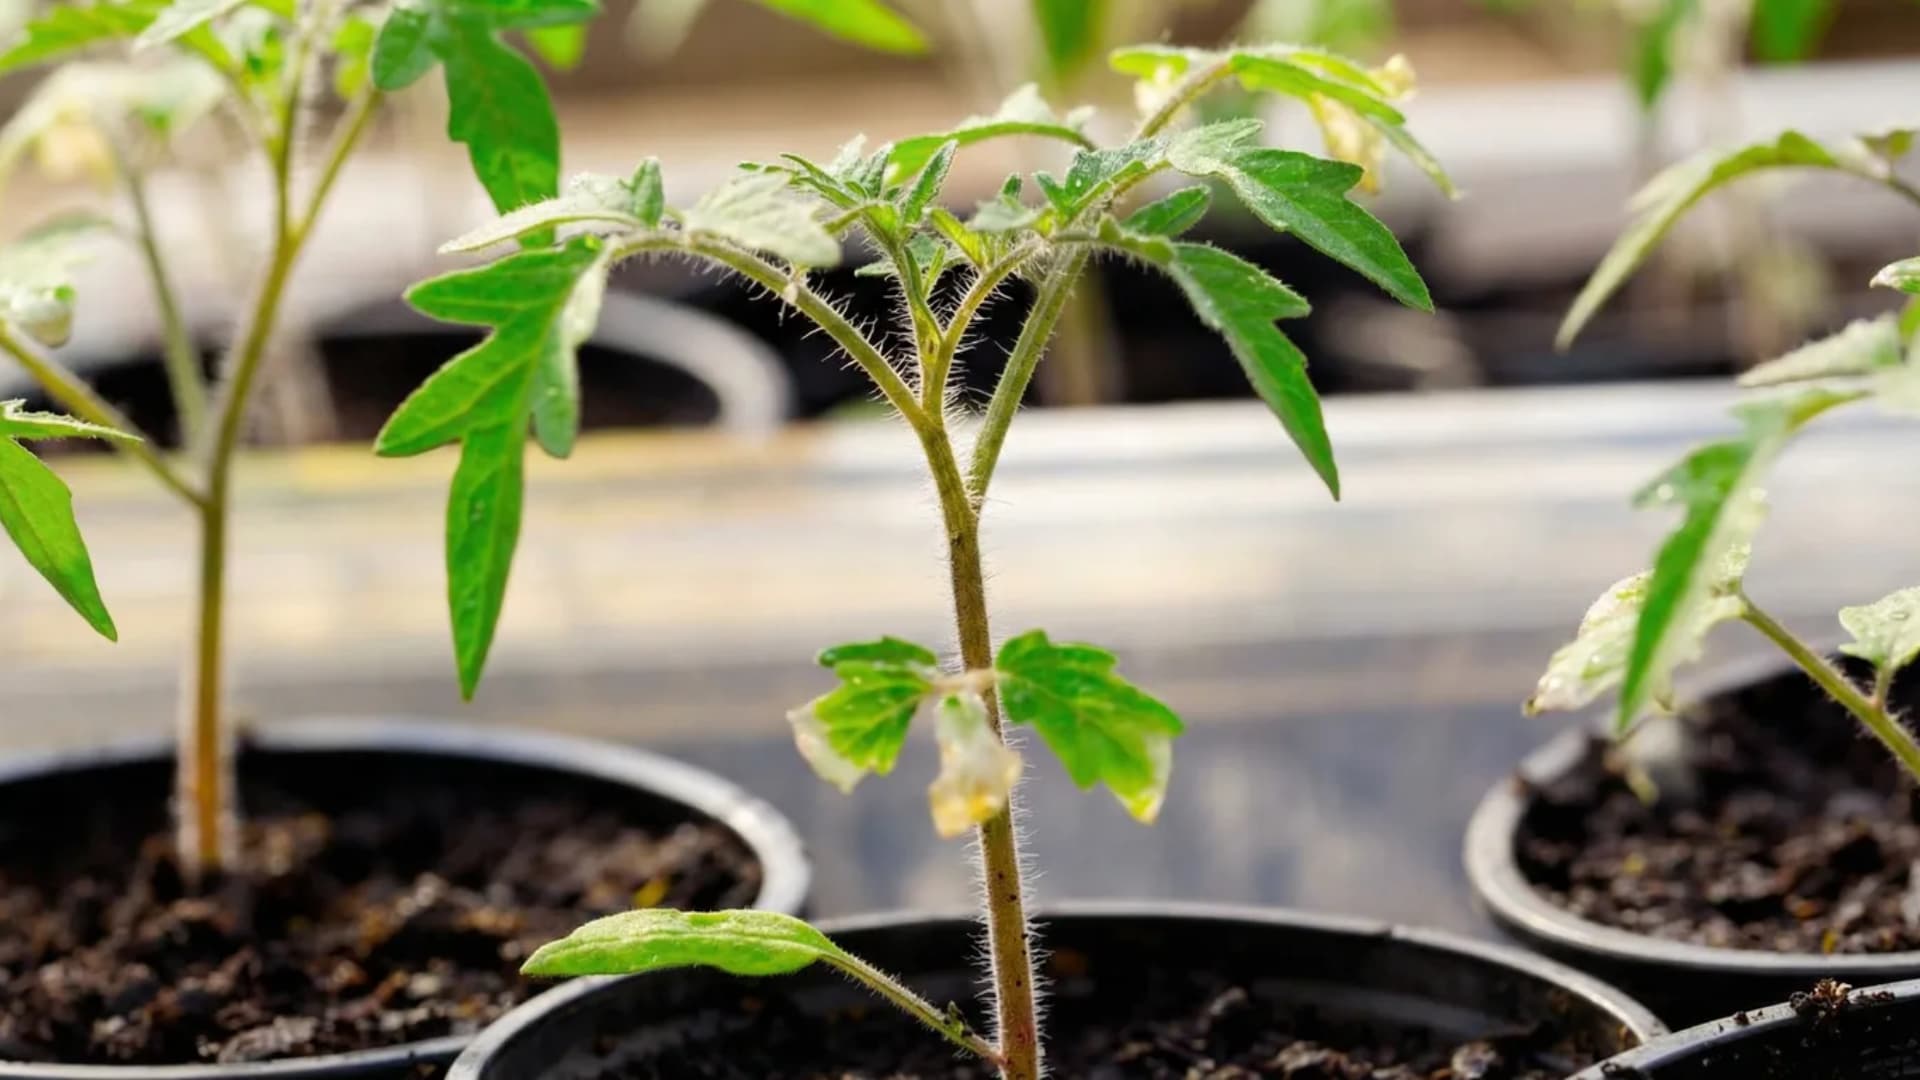
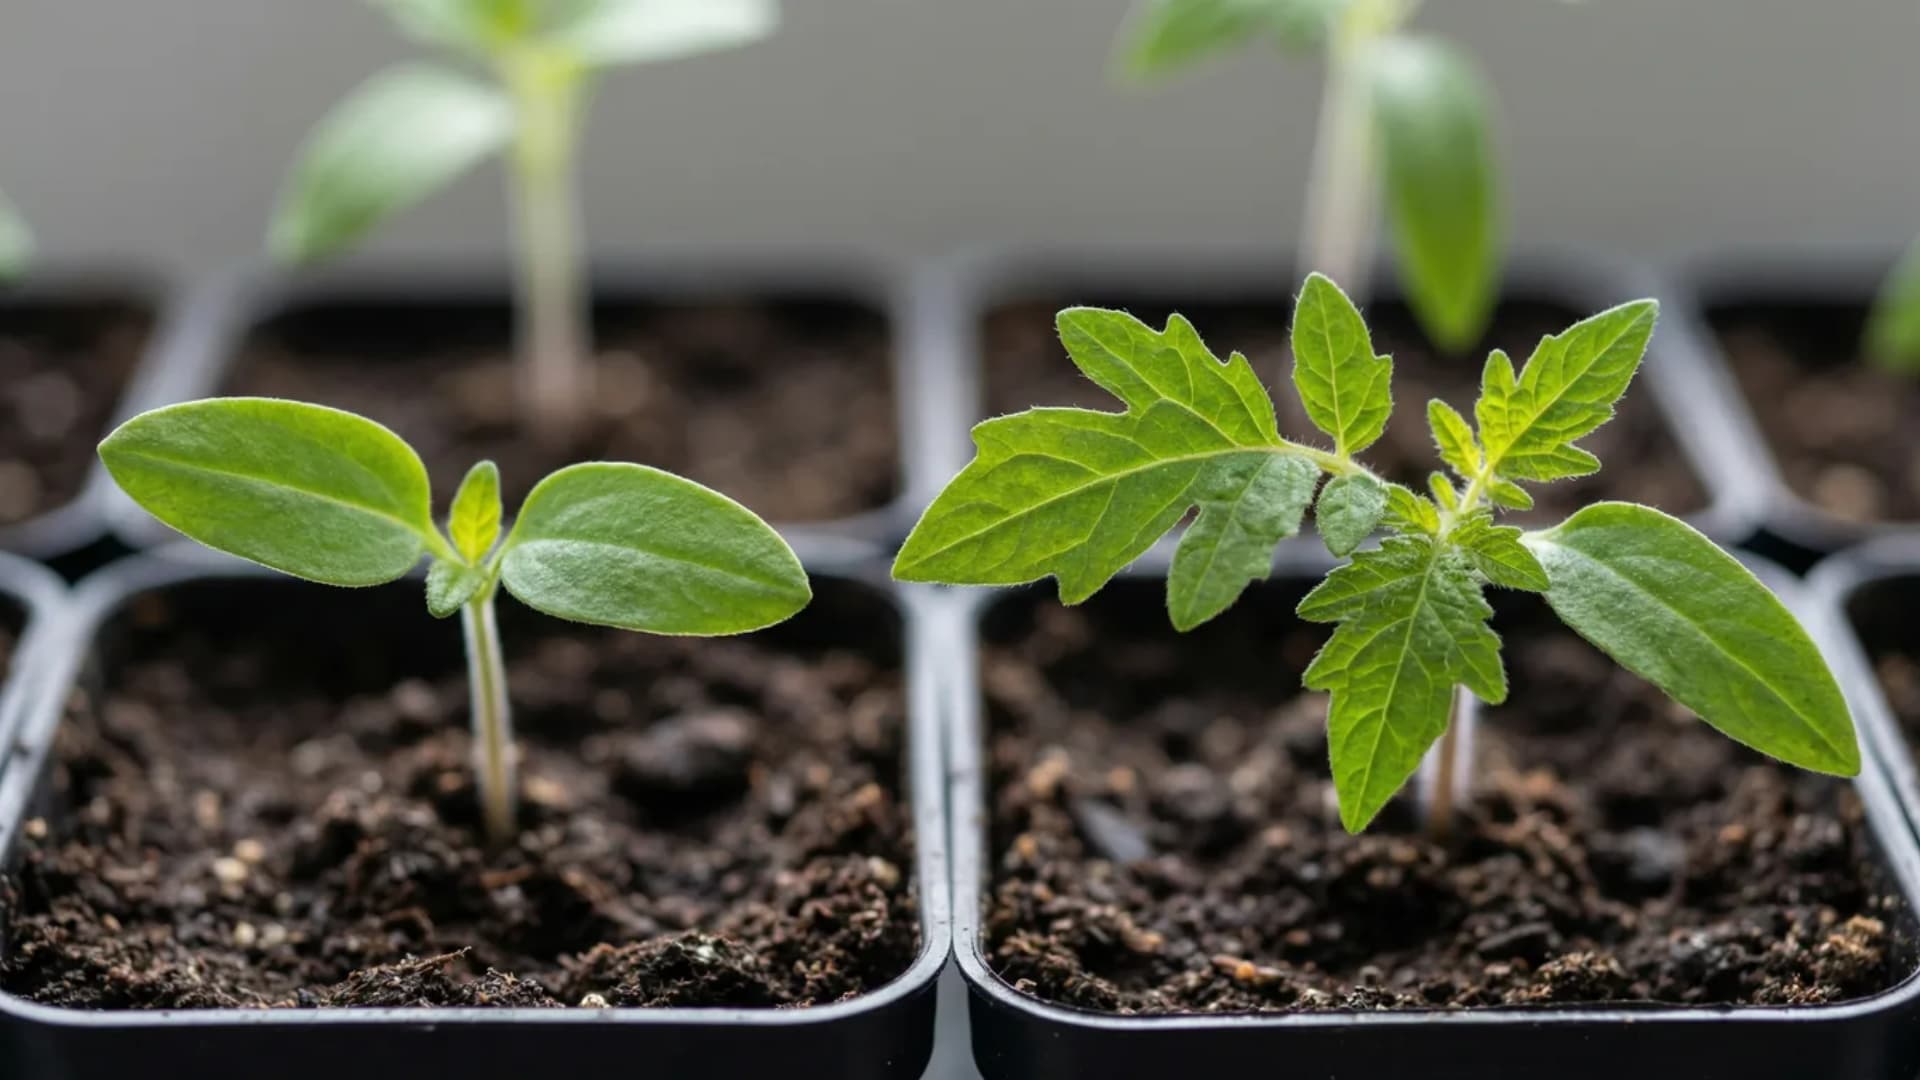
1. Check the Leaves First
The first pair of leaves that appears after germination is not a true leaf. Those are cotyledons, sometimes called seed leaves, and they are smooth, rounded, and oval.”
True leaves come next and resemble an adult tomato leaf, with jagged edges and a slightly fuzzy texture. Once your seedling shows two full sets of true leaves, it is ready to move up.
2. Measure the Height
A seedling that is 2 to 3 inches tall with two sets of true leaves is at the ideal stage. For most varieties I grow, this happens around four weeks after germination.
But seasons vary. A cooler spring slows things down. A heat mat speeds things up. Always trust what you see over the calendar
3. Look at the Roots
Flip the pot or cell and check the drainage holes. If you see white roots poking through, that seedling has already run out of space and needs to move today, not next weekend
You can also carefully slide the soil plug out of the pot. Healthy roots that are ready for more room will be white, firm, and starting to wrap along the edges of the plug.
What Happens If You Wait Too Long or Move Too Soon?
Getting the timing right matters more than most gardeners realize. I have made both mistakes, and the results were obvious within a day.
Waiting Too Long
A rootbound seedling cannot take in water efficiently, even if the soil is moist. The circling roots form a dense mat that sheds water instead of absorbing it.
You will see the lower leaves turn yellow first, then the growth rate drops noticeably.
In my experience, a plant that spends more than a week past its repotting window in a tight cell never fully catches up to one that was moved on time. It produces fewer trusses and sets fruit later
Moving Too Soon
If your seedlings are already showing signs of leggy growth on top of being rootbound, the damage compounds quickly.
If your seedlings haven’t yet developed two sets of true leaves, repotting puts them at serious risk. The plant has not yet developed a sufficient root system to anchor itself in new soil.
In a large pot with a tiny root ball sitting in the middle, the soil dries unevenly. The seedling can also physically shift or lean, and without enough stem thickness to hold itself upright, it struggles.
Moving too soon rarely kills the plant outright, but it slows the very growth you were trying to speed up.
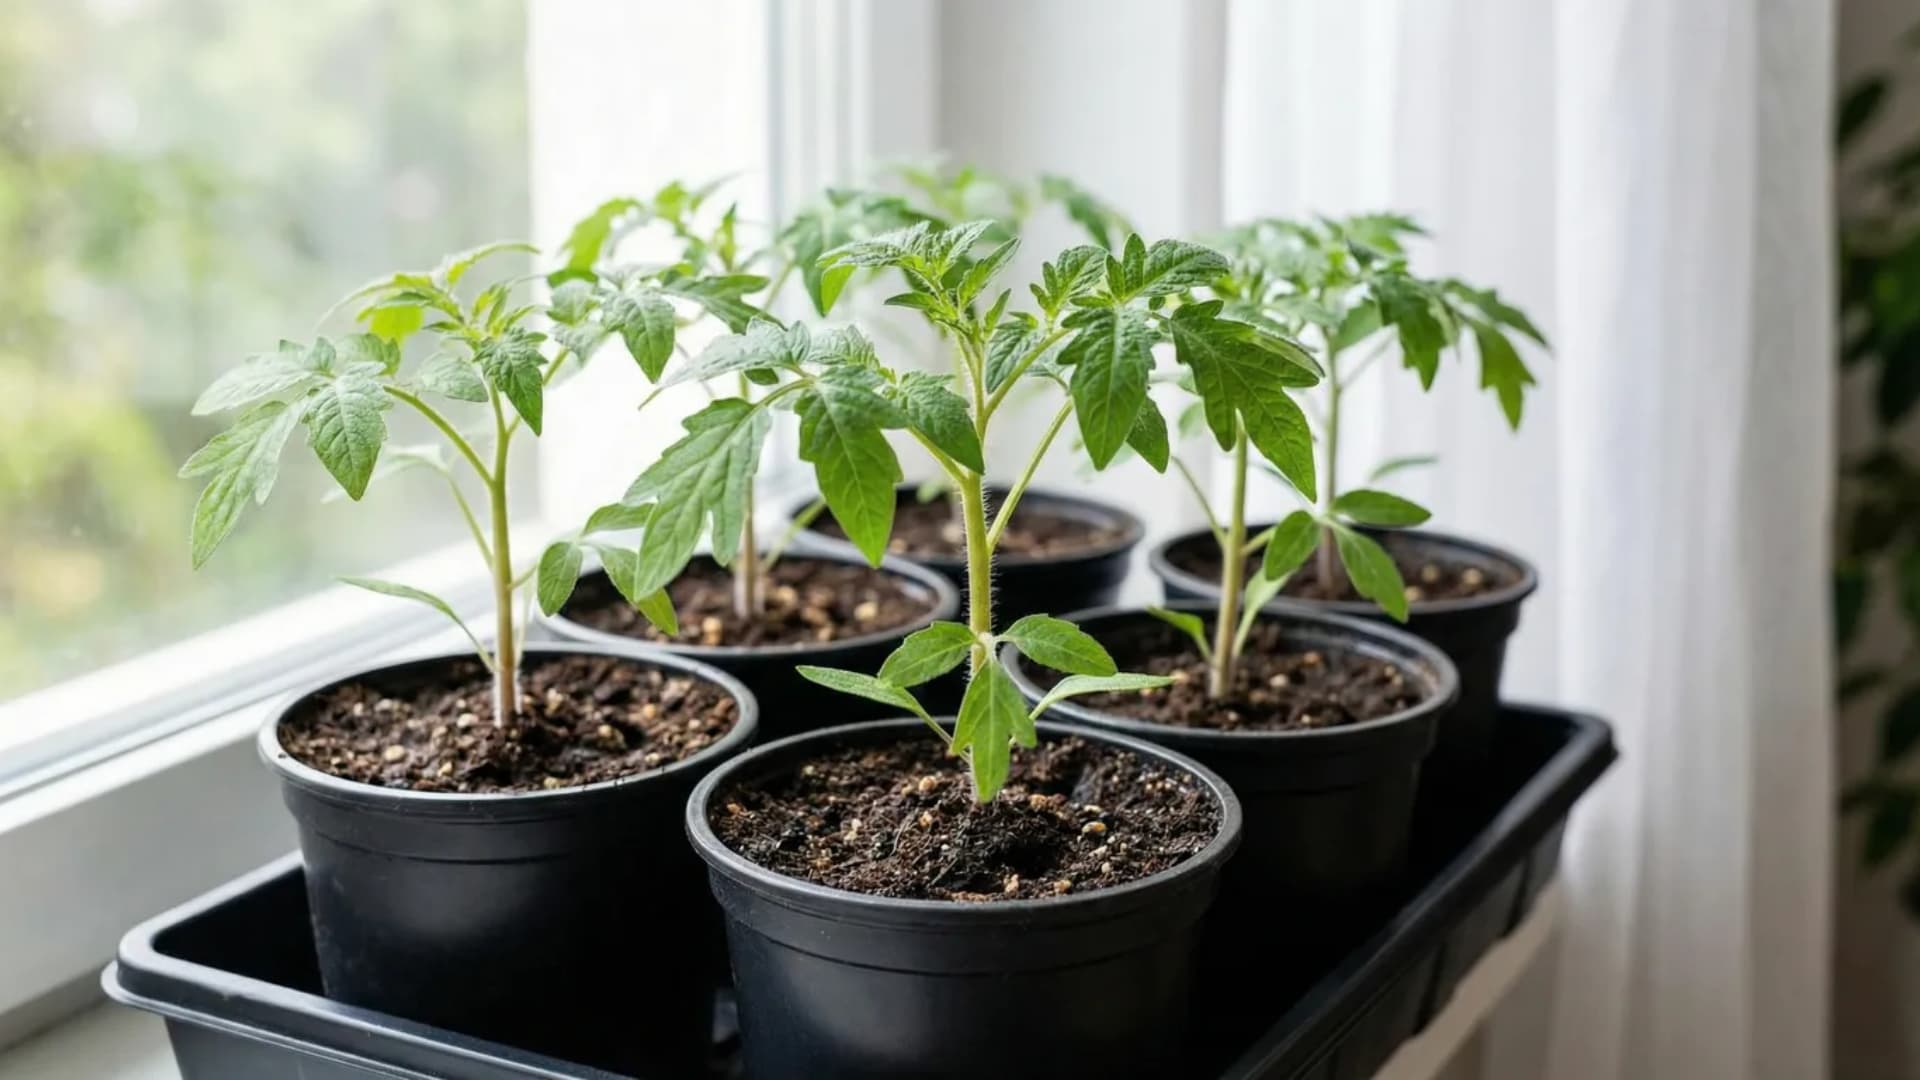
How to Repot Tomato Seedlings Step by Step

Line everything up before you start. Once a root ball is out of its container, the clock is running. Exposed roots dry out fast, and even a few minutes of air exposure on a warm day can stress the plant
What You Need
You will need:
- A 4-inch pot for the first repot
- Fresh potting mix, pre-moistened
- A butter knife or a thin tool for loosening the soil plug
- A watering can with a gentle spout
Step 1: Water Seedlings an Hour Before
Moist soil holds together around the roots. Dry soil crumbles, leaving roots exposed. Water your seedlings thoroughly about an hour before you plan to start.
This simple step can help you avoid most of the transplant damage that beginners often encounter.
Step 2: Loosen and Remove the Soil Plug
Slide a butter knife along the inside wall of the cell to loosen the soil. Then push up from the drainage hole to pop the plug out in one piece. If the plug resists, tap the bottom of the cell a few times.
If you need to pull the plant, always hold it by the leaves, not the stem. A torn leaf will grow back. A crushed stem will not
Step 3: Prepare the New Pot
Fill the 4-inch pot with pre-moistened potting mix to about one-third full. Press a hole in the center deep enough to bury the seedling up to its lowest set of true leaves.
This depth is deliberate. The buried stem section will push out new roots within a week, and those extra roots give the plant a stronger foundation than seedlings repotted at the surface.
Step 4: Place the Seedling and Firm the Soil
Lower the plug into the hole and fill around it with potting mix. Press gently so the soil contacts the root ball, but avoid compacting it.
The first set of true leaves should sit just above the soil line. If cotyledons will end up buried, pinch them off first so they do not rot underground
Step 5: Water and Settle
Water the seedling from above right after planting to help the soil settle around the roots. This removes any air pockets sitting near the root ball.
After this first watering, switch to bottom watering. Set the pot in a shallow tray of water and let the soil absorb moisture from below. This encourages roots to grow downward.
Getting the repot right is only half the job. What you do in the hours and days after matters just as much, especially if you’re planning to eventually transfer these seedlings to outdoor tomato beds.
Caring for Seedlings After Repotting
The first few days after repotting are the most critical. The plant is adjusting to new soil, a bigger space, and a slightly disrupted root system.
Get these three things right, and your seedlings will bounce back fast.
- Light: Move pots to indirect light for the first two days. Direct sun is too harsh on a plant that is still settling in. Return to normal light conditions on day three.
- Watering: Wait until the top of the soil feels dry before watering again. Set the pot in a shallow tray of water for 20 to 30 minutes and let the soil absorb moisture from below.
- Fertilizer: Skip it for the first two weeks. Fresh potting mix already has enough nutrients. Wait until you see new leaves pushing out before adding any feed.
For many gardeners, one repot is enough. But depending on how your season is going, your tomatoes might need to move up one more time before hitting the ground.
Do Tomato Seedlings Ever Need a Second Repot?
Sometimes, yes. And it is more common than most gardeners expect.
If you started your seeds early, your seedlings may spend several more weeks indoors before the outdoor temperatures warm up enough.
According to tomato planting timing guidelines, tomatoes need soil temperatures of at least 60°F and air temperatures consistently above 50°F at night before going outside
Extra indoor time promotes growth, risking the plant outgrowing its pot. Watch for height: when your seedling is three times as tall as its current pot, transfer it to a 1-gallon container.
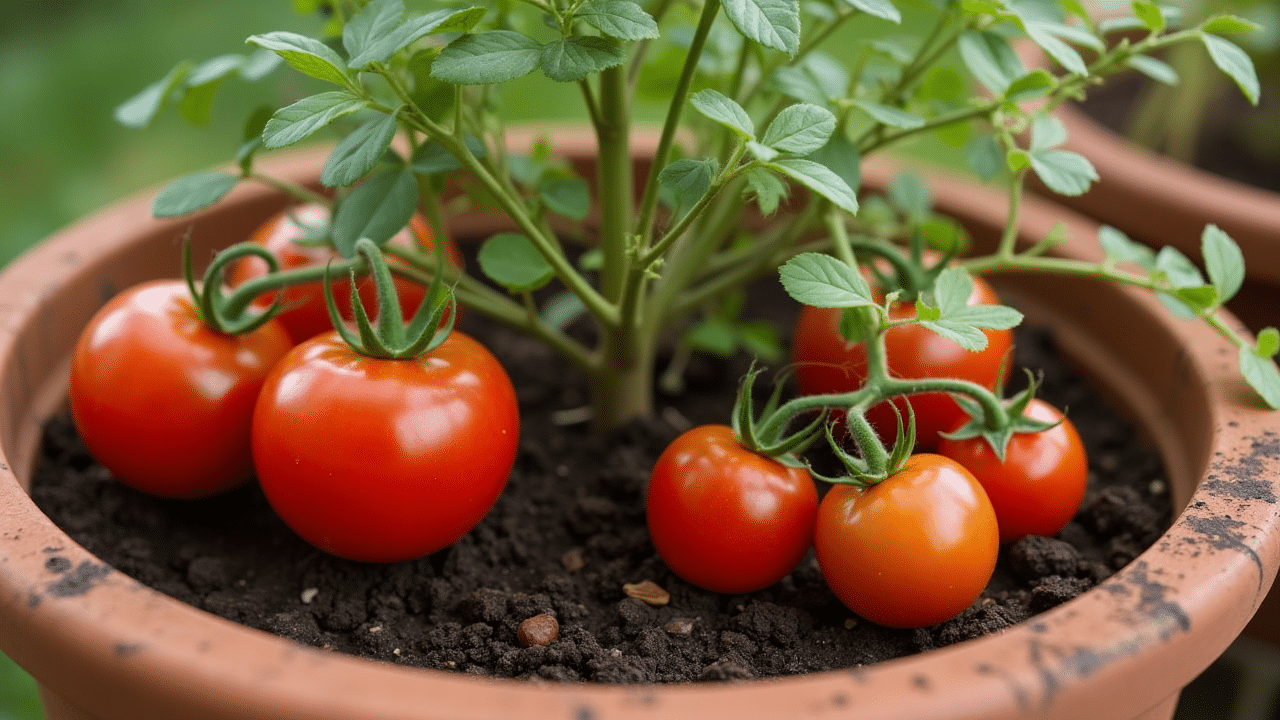
For permanent tomato growers, container size is crucial. Determinate varieties need at least 10 gallons, while indeterminate ones require at least 20 gallons to produce well.
Repotting tomato seedlings at the right time is one of the simplest things you can do for a stronger harvest.
Conclusion
Knowing when to repot tomato seedlings is one of the simplest things you can do for a stronger harvest.
The signs are easy to read once you know them. Two sets of true leaves, a seedling that is 2 to 3 inches tall, and roots starting to peek out from the bottom. That is your window.
Move at the right time, bury the stem deep, and give your plant a few quiet days to settle in. Do that consistently, and you are already ahead of most home gardeners.
Now it is your turn. Go check on your seedlings today and see where they are at. Have a tip from your own garden? Drop it in the comments below.
Frequently Asked Questions
Can You Repot Tomato Seedlings Into Garden Soil?
Avoid it. Garden soil compacts easily in containers and drains poorly. Always use fresh potting mix for repotting to keep roots healthy and well-aerated.
Can You Repot Tomato Seedlings That Are Already Flowering?
Yes, but do it carefully. Minimize root disturbance, avoid burying the stem too deep at this stage, and water immediately after to reduce stress on the plant.
Should You Repot Tomato Seedlings on a Cloudy Day?
Yes, if possible. Overcast conditions reduce heat and light stress on freshly repotted seedlings, giving them a gentler start as they settle into their new container.