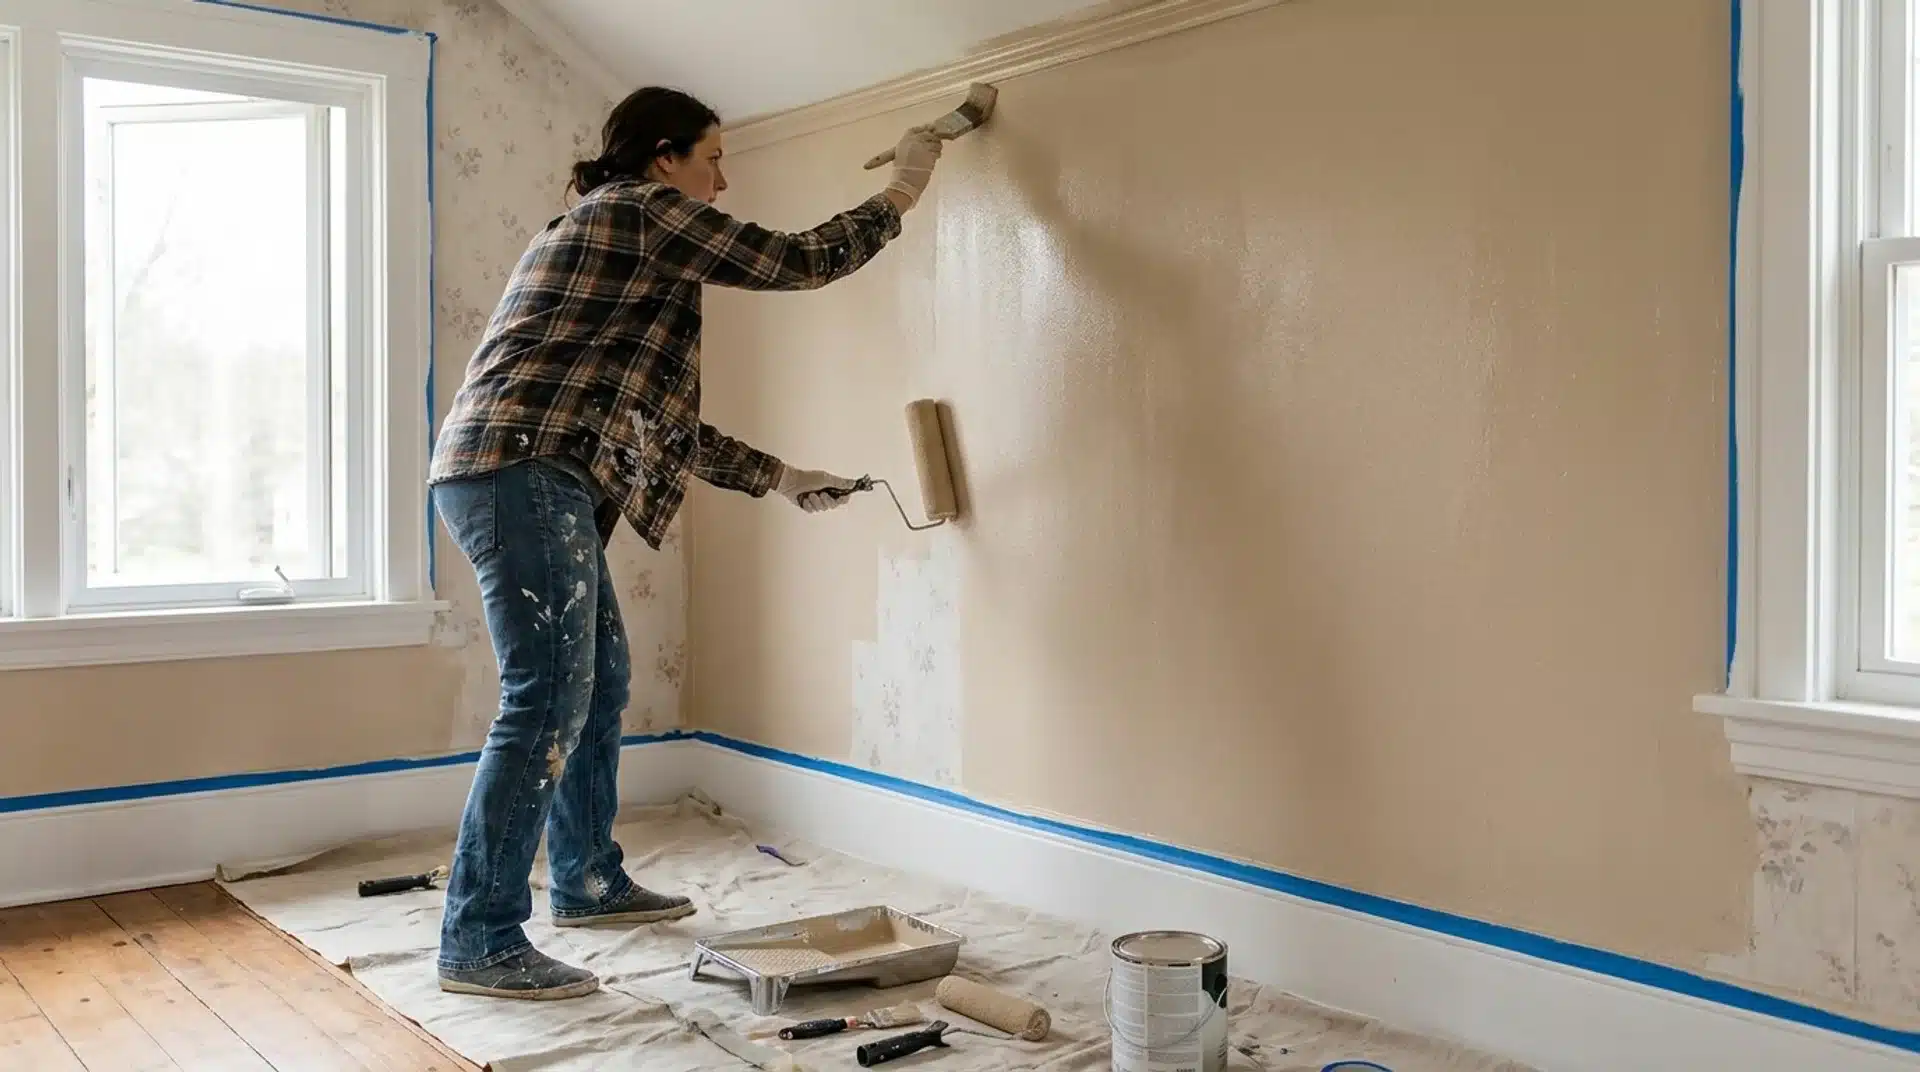

You are standing in a room with dated floral wallpaper, wondering if you can just roll paint over it and call it a day.
I have been in that exact spot, both literally and professionally. The short answer is yes, you can paint over wallpaper.
Painting over wallpaper is misunderstood; the real answer is to keep walls from bubbling later.
Done with the right prep and the right sealer, it holds up for years. Done carelessly, it fails fast and expensively.
This blog covers when painting over wallpaper works, when it does not, and how to do it right.
Can You Paint Over Wallpaper?
Yes, if the wallpaper is smooth, firmly stuck, and undamaged. Run your hand across the surface.
If nothing lifts, bubbles, or shows through at the seams, it is a good candidate, especially traditional paper-based wallpaper, older plaster walls, or a quick refresh before selling.
Skip it if the corners are peeling, the edges are curling, or the pattern is heavily textured, foiled, or fabric.
Those need to be stripped first, since the texture will show through no matter how many coats you apply.
If the wall underneath is rough once stripped, dry lining is often faster than hand-patching plaster.
Tools and Materials to Paint Over Wallpaper
Get everything in one place before you start. Prep is where this project is won or lost.
| Materials | Tools | Quantity |
|---|---|---|
| Oil-based or shellac-based primer (Zinsser B-I-N or Kilz Original) | Seam roller or plastic card | 1 can per room |
| Interior latex paint (matte or eggshell) | 3/8-in nap roller and extension pole | 1 gallon per 400 sq ft |
| Wallpaper seam adhesive | 2-in angled brush | 1 small tube |
| Lightweight spackle | Putty knife | 1 small container |
| Mild dish soap or TSP substitute | Sponge and bucket | As needed |
| 120-grit and 220-grit sandpaper | Roller tray with liner | 2 sheets each |
| Clear paintable caulk | Painter’s tape | 1 tube |
| Drop cloths and garbage bags | Ventilation fan | As needed |
| Mineral spirits (for oil primer cleanup) | N95 respirator and nitrile gloves | 1 pair of gloves |
One thing I tell every owner I work with: buy the right sealer before anything else. That single product decision determines whether this project holds up or falls apart within the year.
How to Paint Over Wallpaper Step-By-Step
Follow these steps in order, and you will avoid the most common reasons painted wallpaper fails.
Step 1: Inspect and Secure All Seams and Edges
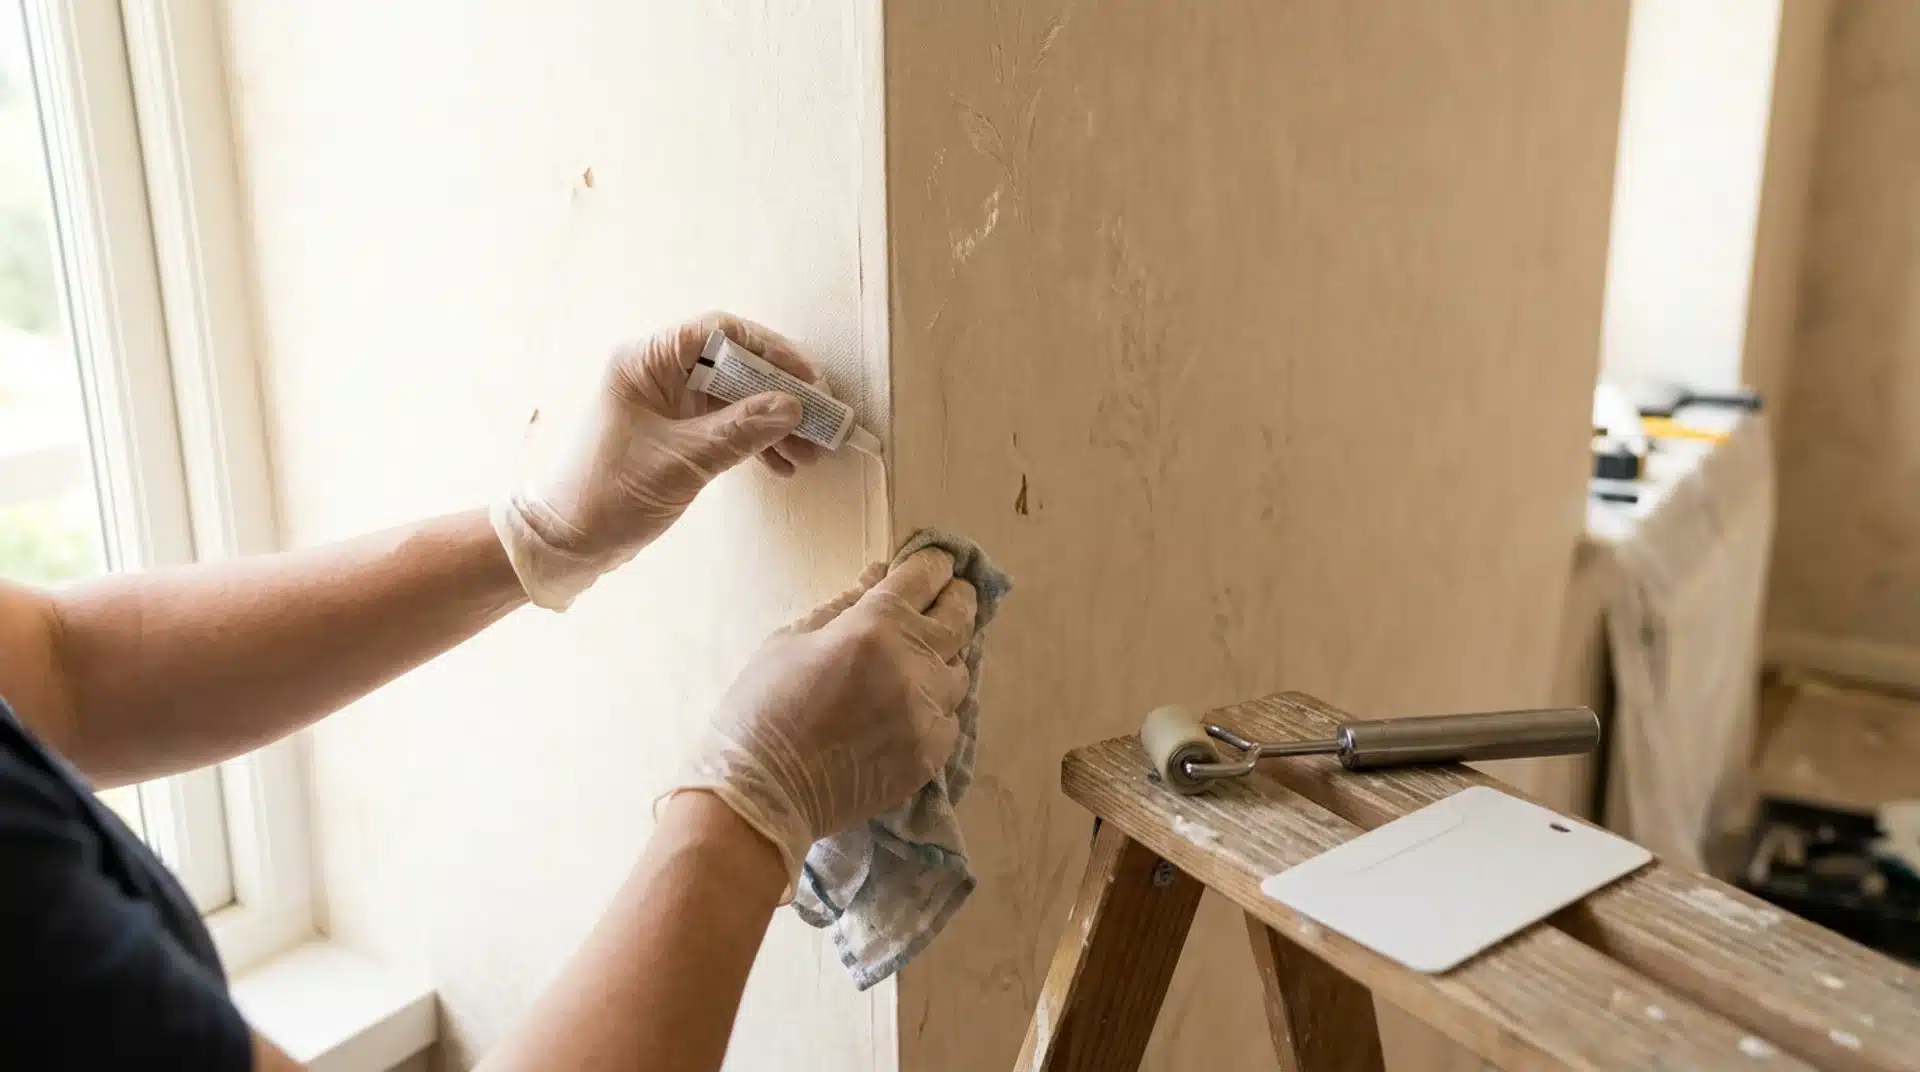
Before anything else, go over every inch of the wall by hand. Press along every seam, corner, and edge.
Anywhere the paper lifts even slightly, inject wallpaper seam adhesive into the gap, press flat with a seam roller or the back of a plastic card, and wipe off any excess with a damp cloth.
Let it dry completely before moving on. Seams that are not glued down before sealing will lift further when the product hits them, and no amount of paint will cover a bubbling seam.
Step 2: Patch Tears and Holes Before Painting Over Wallpaper
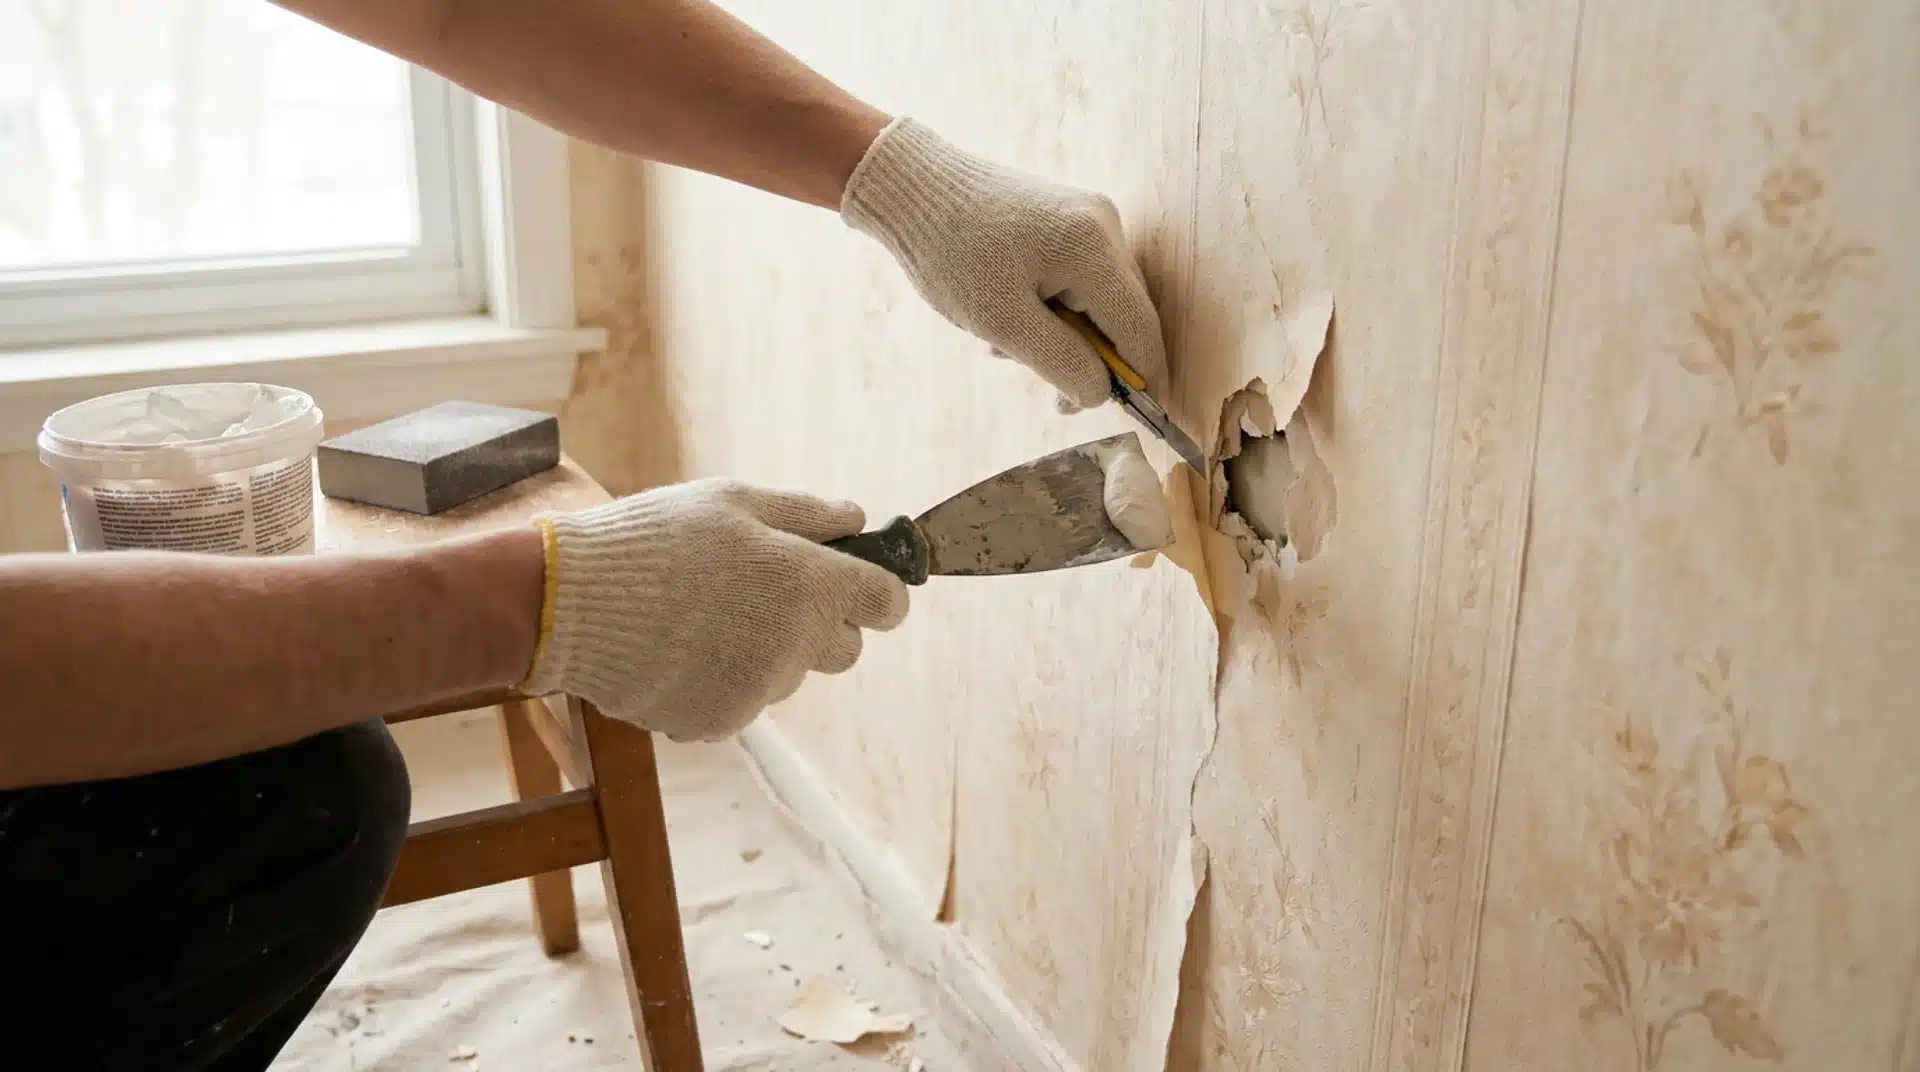
Small tears and punctures need to be addressed before anything else goes on the wall.
Slice away any loose paper around the damaged area with a utility knife, fill the gap with lightweight spackle, and feather the edges outward with a putty knife so the patch blends into the surrounding surface.
Once dry, sand with 220-grit until smooth. Run your hand over the patch. If you can feel it, sand more. If you cannot, you are ready to move forward.
Step 3: Clean the Wallpaper Surface Thoroughly
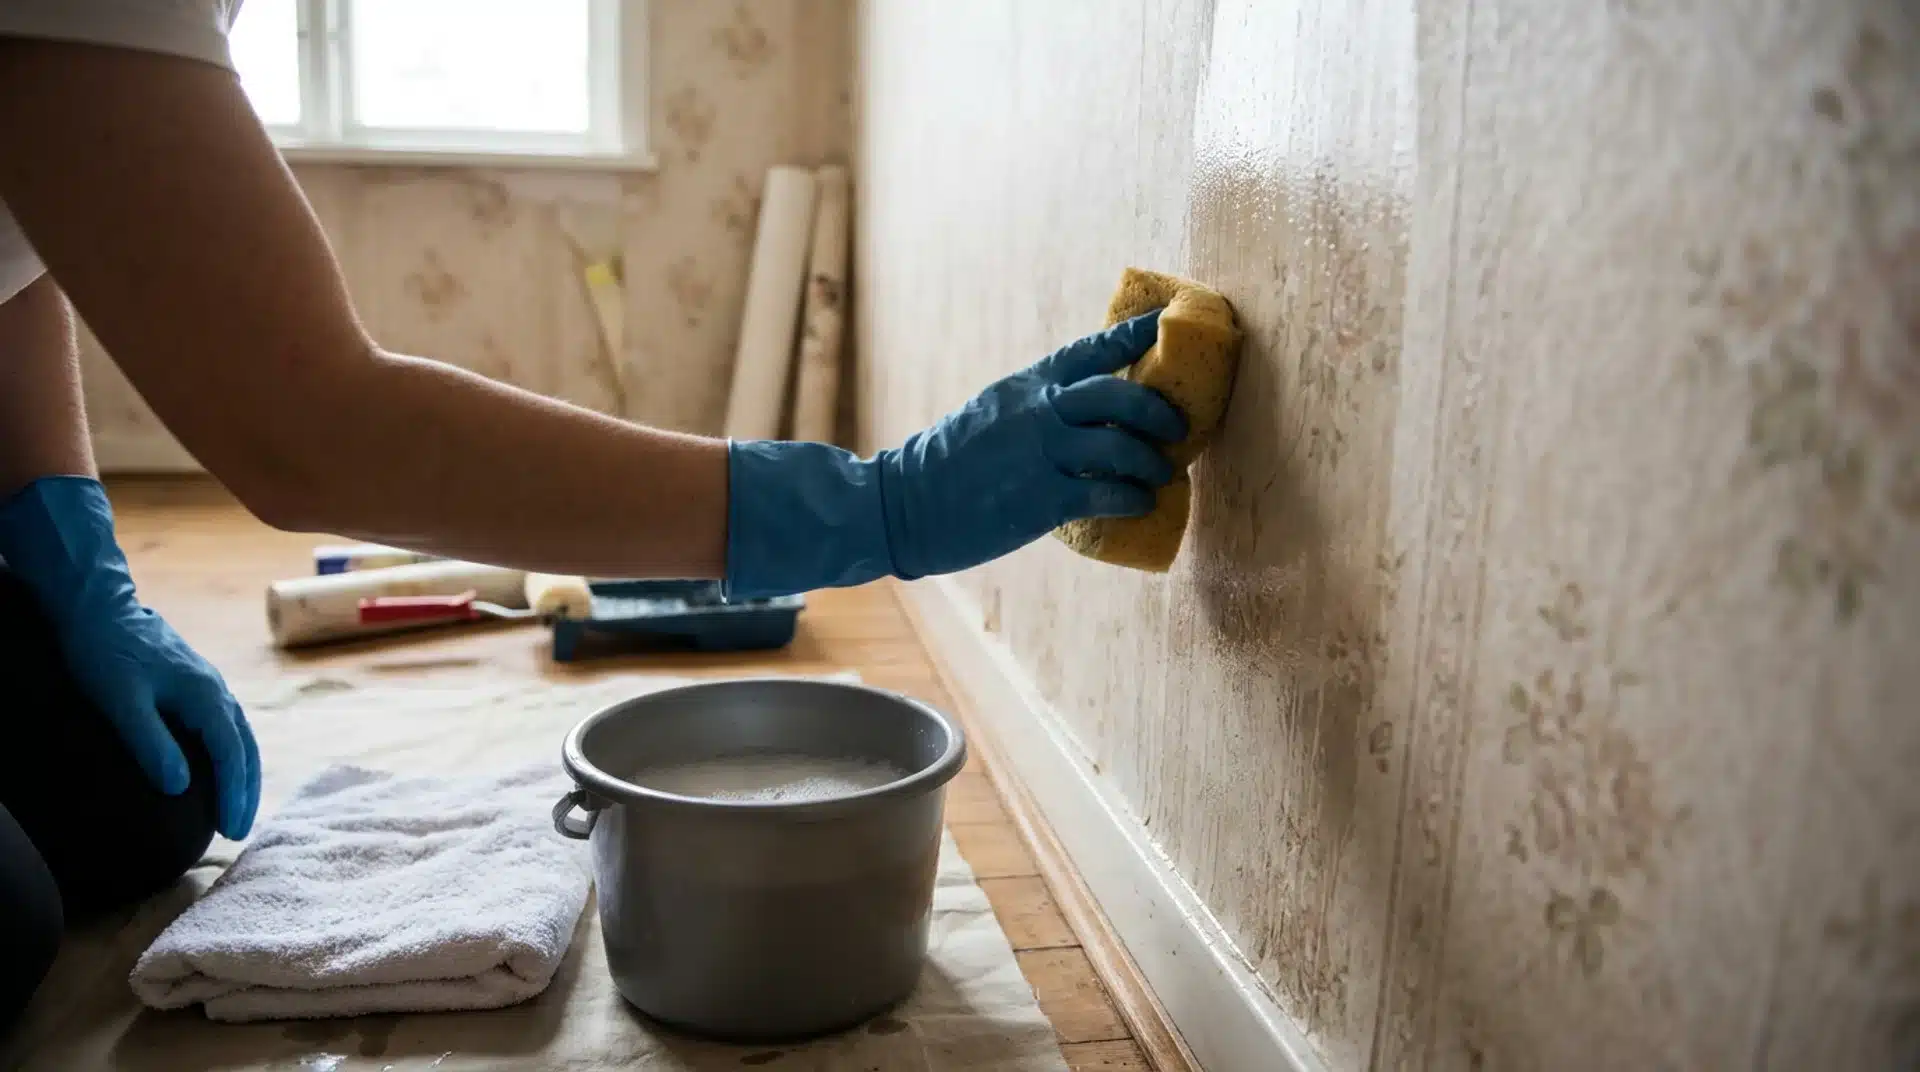
Grease, dust, and residue will prevent anything from bonding properly. Mix warm water with mild dish soap or a diluted TSP substitute and wipe the walls down from the bottom up.
Follow with a clean water rinse and dry with a towel. Use water sparingly.
Too much moisture can loosen the adhesive behind the paper, which creates the exact problem you are trying to avoid. Let the walls dry for at least eight hours before moving to the next step.
Step 4: Sand Glossy or Textured Areas
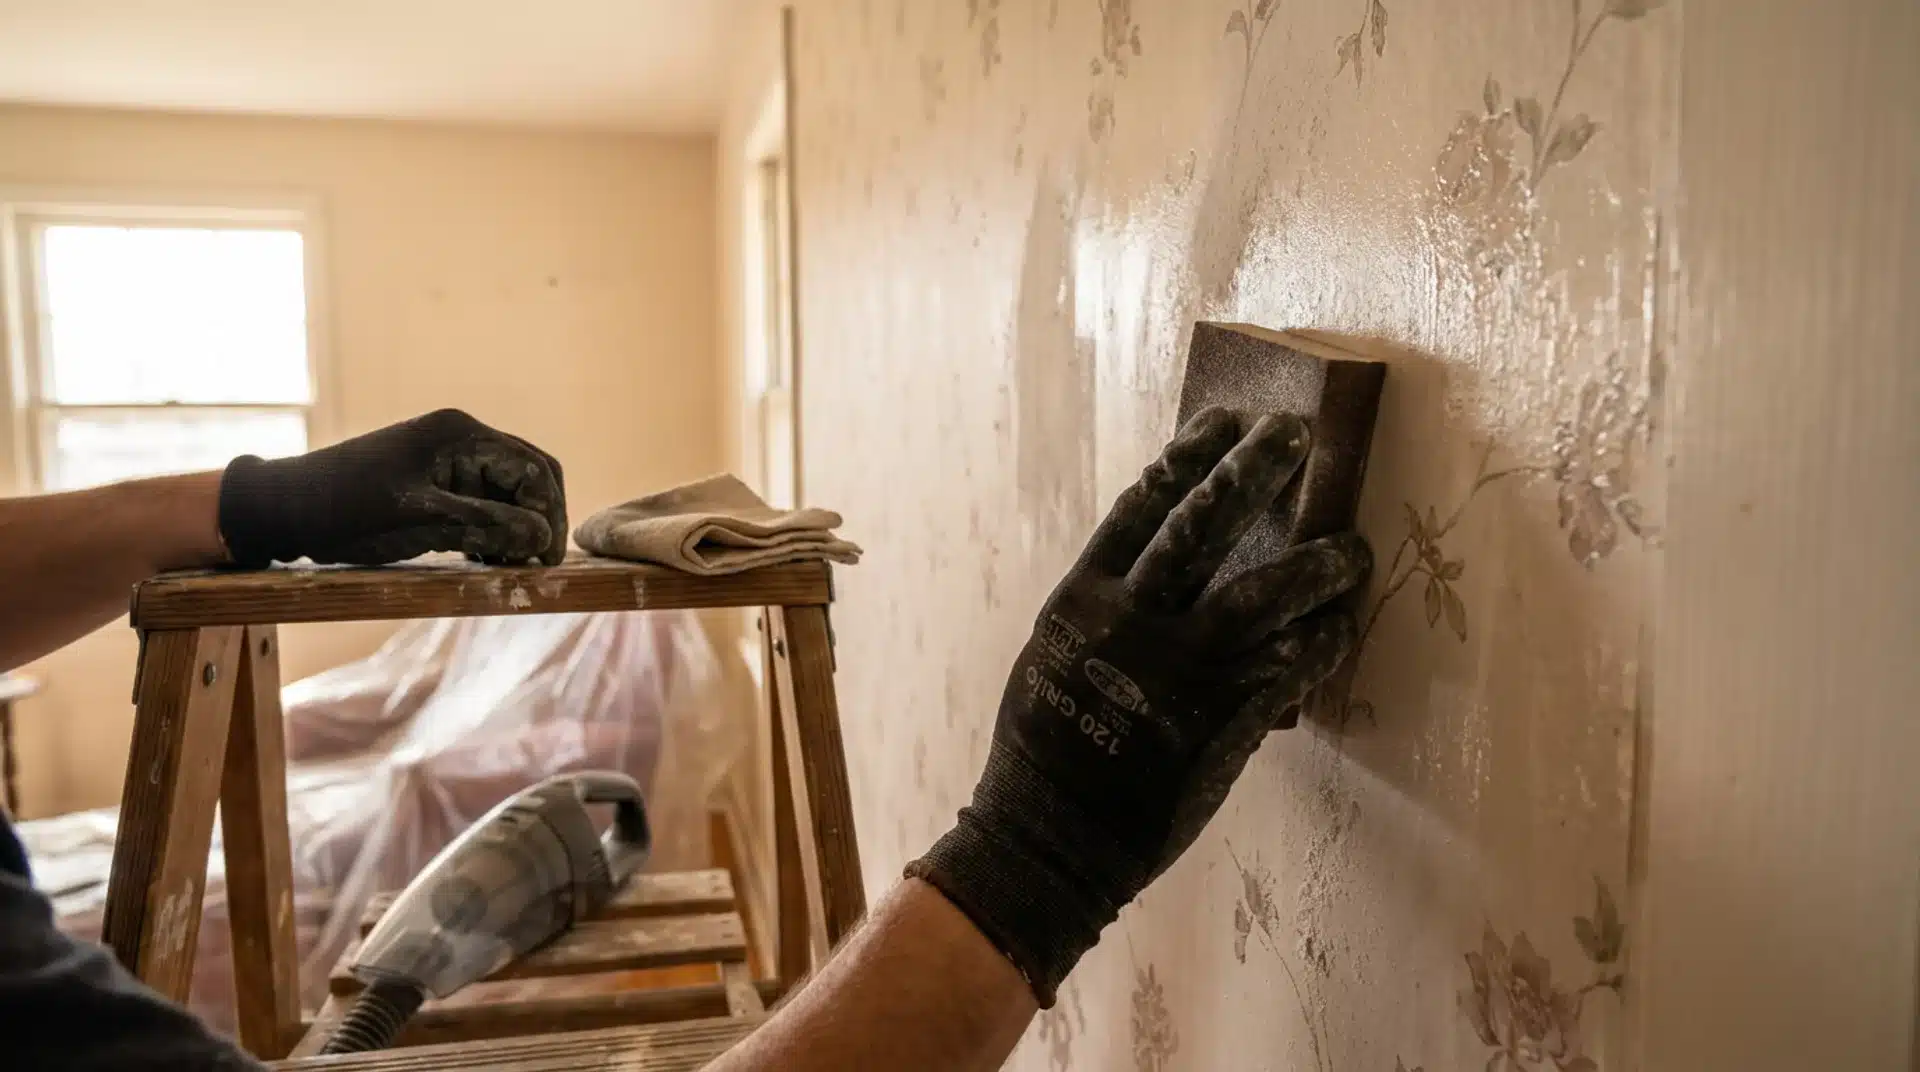
Vinyl-coated wallpaper and glossy printed patterns have slick surfaces that oil-based products struggle to adhere to.
A quick scuff-sand with 120-grit paper gives the surface enough texture for proper bonding.
You do not need to sand the entire wall, just areas that feel slick or shiny to the touch. Vacuum up the dust or wipe with a dry tack cloth before applying anything.
Dust left on the surface causes adhesion problems that show up weeks later.
Step 5: Apply Oil-Based or Shellac-Based Primer
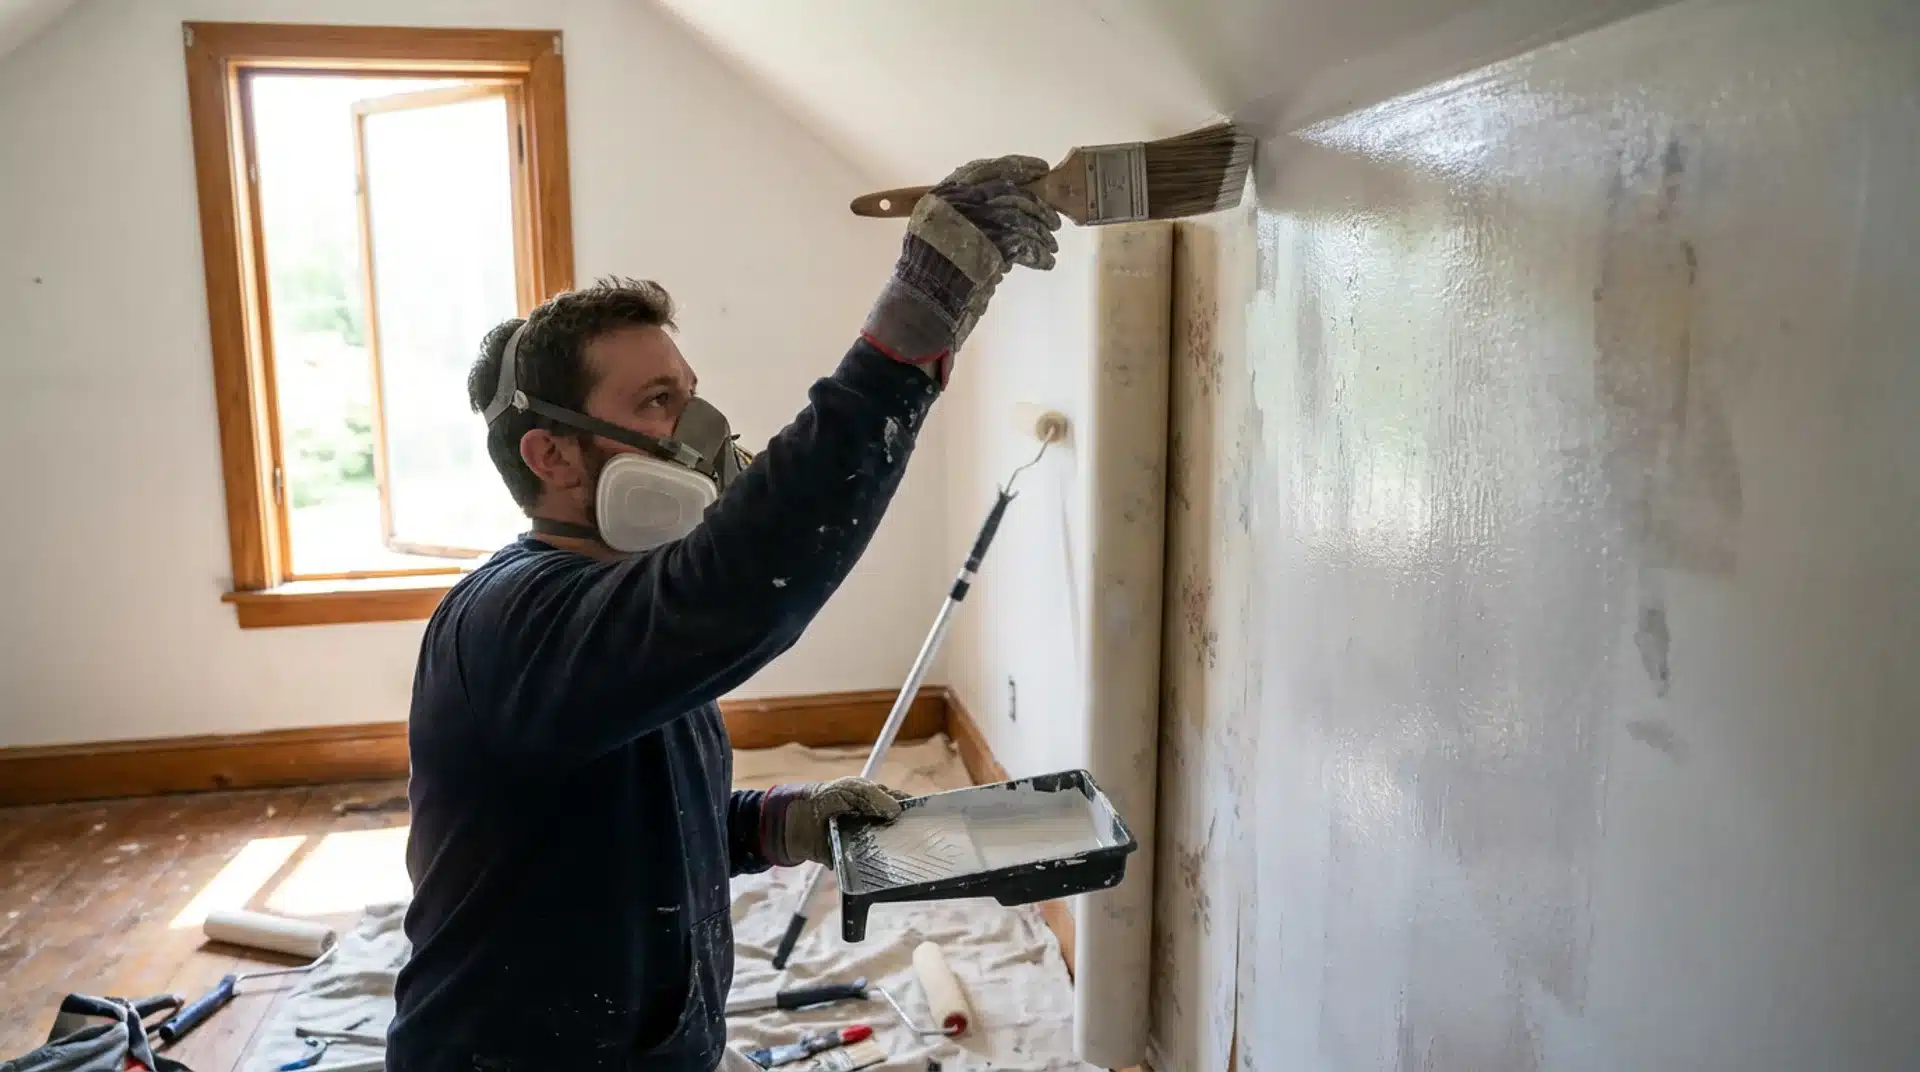
This is the most important step in the whole process. Never use a water-based latex primer on wallpaper.
Use oil-based Kilz Original or shellac-based Zinsser B-I-N instead, since water-based primer reactivates adhesive and causes bubbling.
Oil-based needs about six hours before the next coat. Cut in the edges with an angled brush first, then roll the walls in 4×4-foot sections. A second coat may be needed over dark or bold patterns.
Step 6: Apply Two Coats of Latex Paint
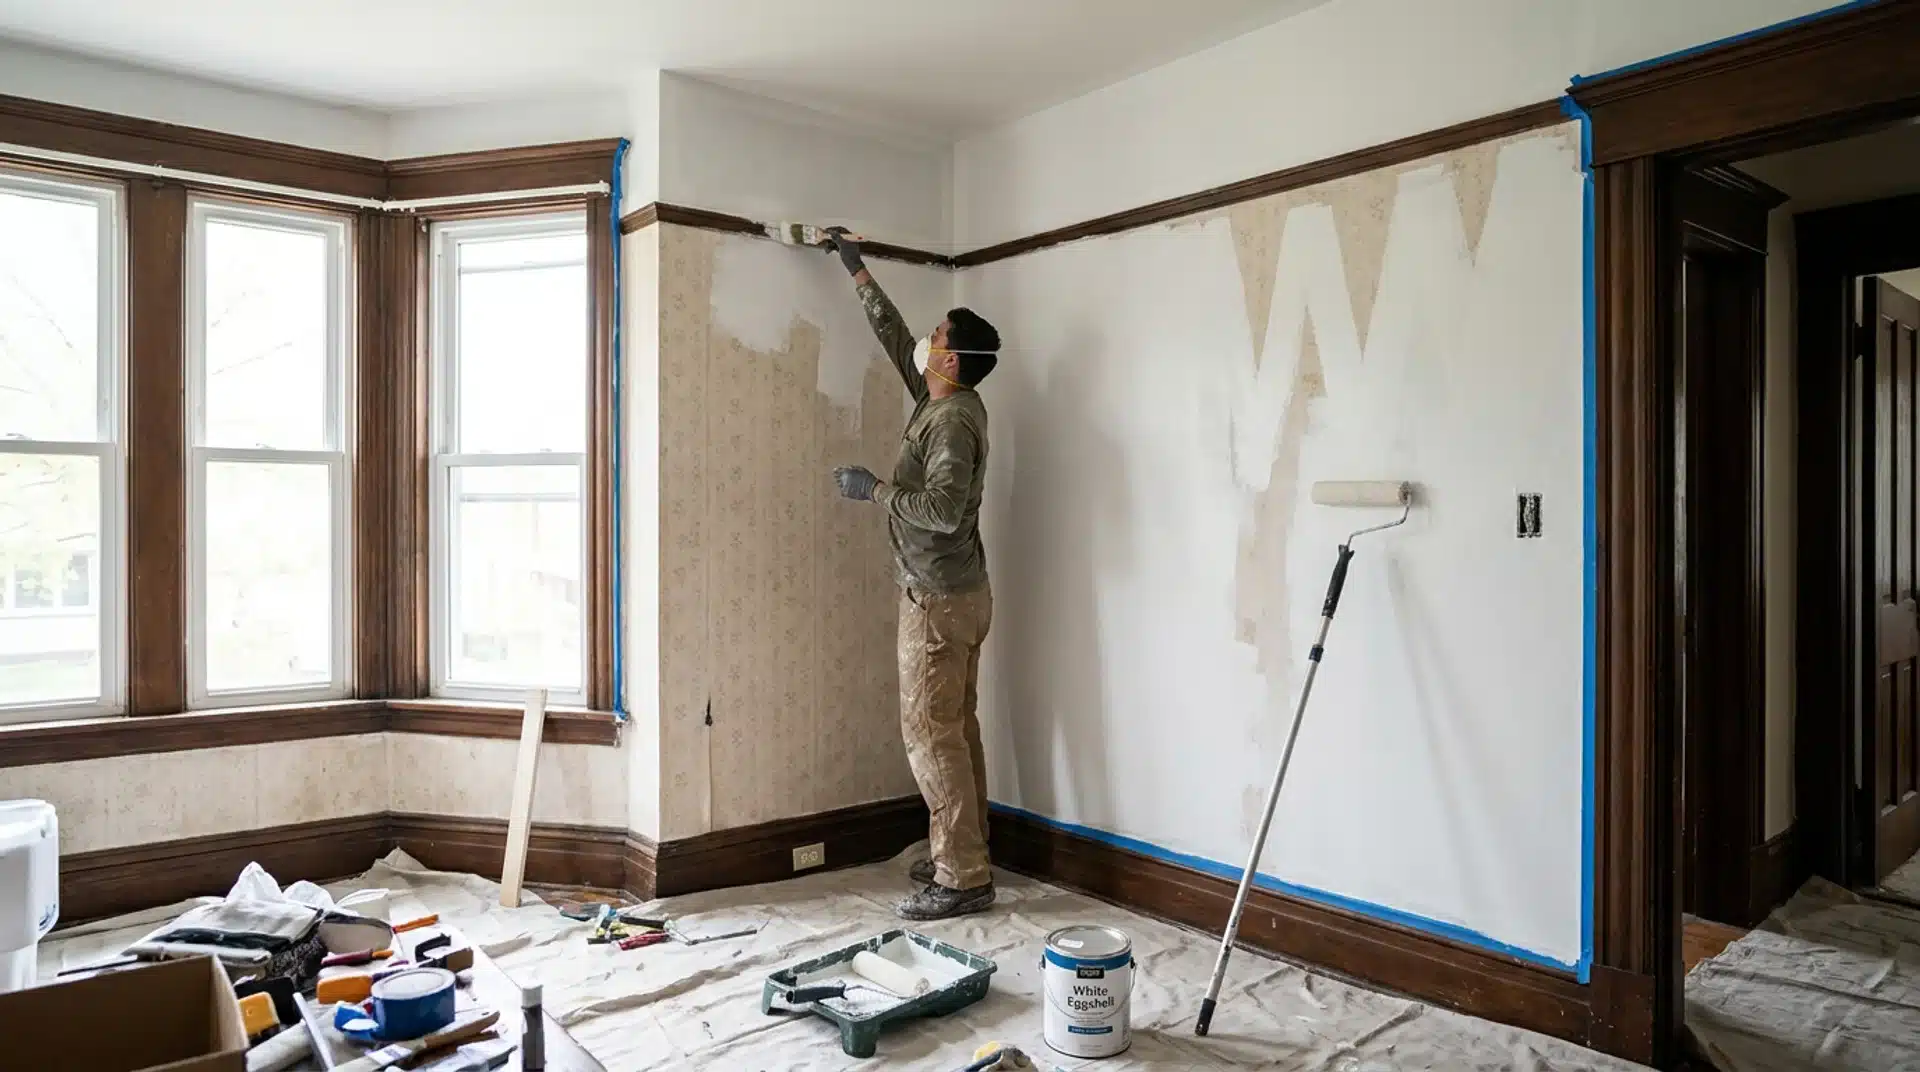
Once the sealer dries, use matte or eggshell paint; they absorb light rather than reflect it, hiding seams and texture better.
Semi-gloss and high-gloss do the opposite. Cut in the edges first with an angled brush, then roll the field using a W-pattern to spread paint evenly before filling in.
Thin, even coats beat thick ones every time. Two coats cover most patterns.
Three may be needed for very dark or saturated wallpaper colors. Peel painter’s tape while the last coat is still slightly tacky for the cleanest edge.
Painting Over Wallpaper vs Removing It: Cost Breakdown
The cost difference is smaller than most homeowners expect, but the time savings are significant.
| Task | Materials Cost | DIY Labor Hours | Drywall Damage Risk |
|---|---|---|---|
| Paint over wallpaper (12×12 ft room) | $60 sealer + $40 paint + $30 supplies = $130 | 8–10 hours | Low |
| Remove wallpaper, then paint | $25 stripper + $60 patching + $40 paint = $125 | 16–24 hours | Medium to high |
The material cost is nearly identical. The real difference is time. Painting over wallpaper can be done in a single day for most standard rooms.
Removal typically takes two to three days, including stripping, wall repair, drying time, and repainting.
For older US homes with plaster walls or single-layer drywall, the risk of wall damage during removal makes painting over the paper an even more sensible choice.
Pro Tips for Painting Over Wallpaper Correctly
Small choices in prep and product make the difference between a smooth finish and one that peels. These tips help you get it right the first time.
- Tint your sealer 50 percent toward your final wall color before starting. It reduces the number of topcoats needed and is a step most DIYers skip entirely.
- Feather seams with a thin layer of joint compound before sealing. Sand smooth once dry. It practically erases visible lines and takes about 20 minutes per wall.
- Use an extension pole on your roller and apply paint in full floor-to-ceiling strokes. It blends coverage better and prevents lap marks where strokes overlap.
- Work in temperatures between 50 and 85 degrees Fahrenheit with humidity below 70 percent. High humidity slows dry time and affects how well the topcoat bonds.
- Wait at least 8 hours after cleaning the wall before applying any sealer. Moisture in the paper or adhesive at that stage is one of the most common causes of project failure.
Common Mistakes when Painting Over Wallpaper
Even careful painters run into trouble here, since small missteps show up fast once paint goes on. Knowing them ahead of time saves you a repaint.
- Using water-based latex primer directly on wallpaper: It reactivates the adhesive, causing it to bubble, the same way paint bubbles on any wall once moisture gets trapped underneath. Always use an oil-based or shellac-based product on wallpapered surfaces.
- Skipping seam repair before sealing: Any seam that lifts before the first coat goes on will be worse afterward. Fix every seam without exception.
- Overloading the roller: Thick coats drip, dry unevenly, and make the texture more visible. Two thin coats always outperform one heavy one.
- Painting over loose or peeling areas: Paint does not stick to unstable surfaces. Those sections will pull away, taking the finish with them.
- Choosing high-gloss or semi-gloss paint for the walls: Gloss finishes amplify every seam and surface flaw. Matte and eggshell are the right choices for wallpapered walls.
- Not ventilating during oil or shellac application: Both products release strong fumes. Open windows, run a box fan, and wear a respirator for the full job.
What Owners Are Saying: Real Stories From Home Improvement Forums
I read through home improvement forums the same way I read a job site: looking for the failure pattern before it happens to me.
Here are three real threads that show exactly why prep and primer matter this much.
Bubbling plaster walls, decades later: Houzz
A homeowner bought a 1920s farmhouse and found the walls in several rooms bubbling under the paint. The previous owner had painted straight over plaster wallpaper with no prep. Other posters suggested wetting the bubbles and pressing them flat, which only holds for a while.
Thirty years, no problems: Hometalk
On a Hometalk thread about wallpaper hidden under paint, one commenter said she sanded, primed, and painted over paper-backed wallpaper because she was afraid stripping would gouge the drywall. She did it about thirty years ago, and the wall still holds up fine today.
Peeling paint traced back to old wallpaper: Quora
A Quora user asked why paint kept peeling off an exterior-facing wall after they moved in. The top answer traced it back to oil-based paint sitting over wallpaper that had never been sealed properly, with regular paint unable to grip the oil-based layer underneath. Stripping back to bare wall was the only lasting fix.
Conclusion
Painting over wallpaper works. I have seen it hold up for a decade in well-prepped rooms and fail in a month in rooms where someone skipped the sealer.
The two things that matter most are seam repair and the right oil-based or shellac-based product.
Get those right, and the rest of the process is clean, predictable painting. Skip them, and no number of extra coats will fix what follows.
Painting over decent wallpaper saves time and holds up well for most owners.
If you are ready to get rid of that dated pattern without tearing the room apart, start with the prep, respect the dry times, and pick your sealer before anything else touches the wall.
Frequently Asked Questions
How Many Coats of Paint Do You Need Over Wallpaper?
Most walls need two coats of latex paint over a properly primed surface, though dark or heavily patterned wallpaper may require a third coat for full coverage.
Can You Paint Over Wallpaper in a Bathroom?
Bathrooms are not recommended for painting over wallpaper, as steam and humidity cause the paper to bubble and peel away from the wall more quickly than in dry rooms.
Will Painting Over Wallpaper Hide the Seams?
Paint alone will not hide seams. Feathering joint compound over each seam and sanding it smooth before priming is the only way to make them less visible under paint.