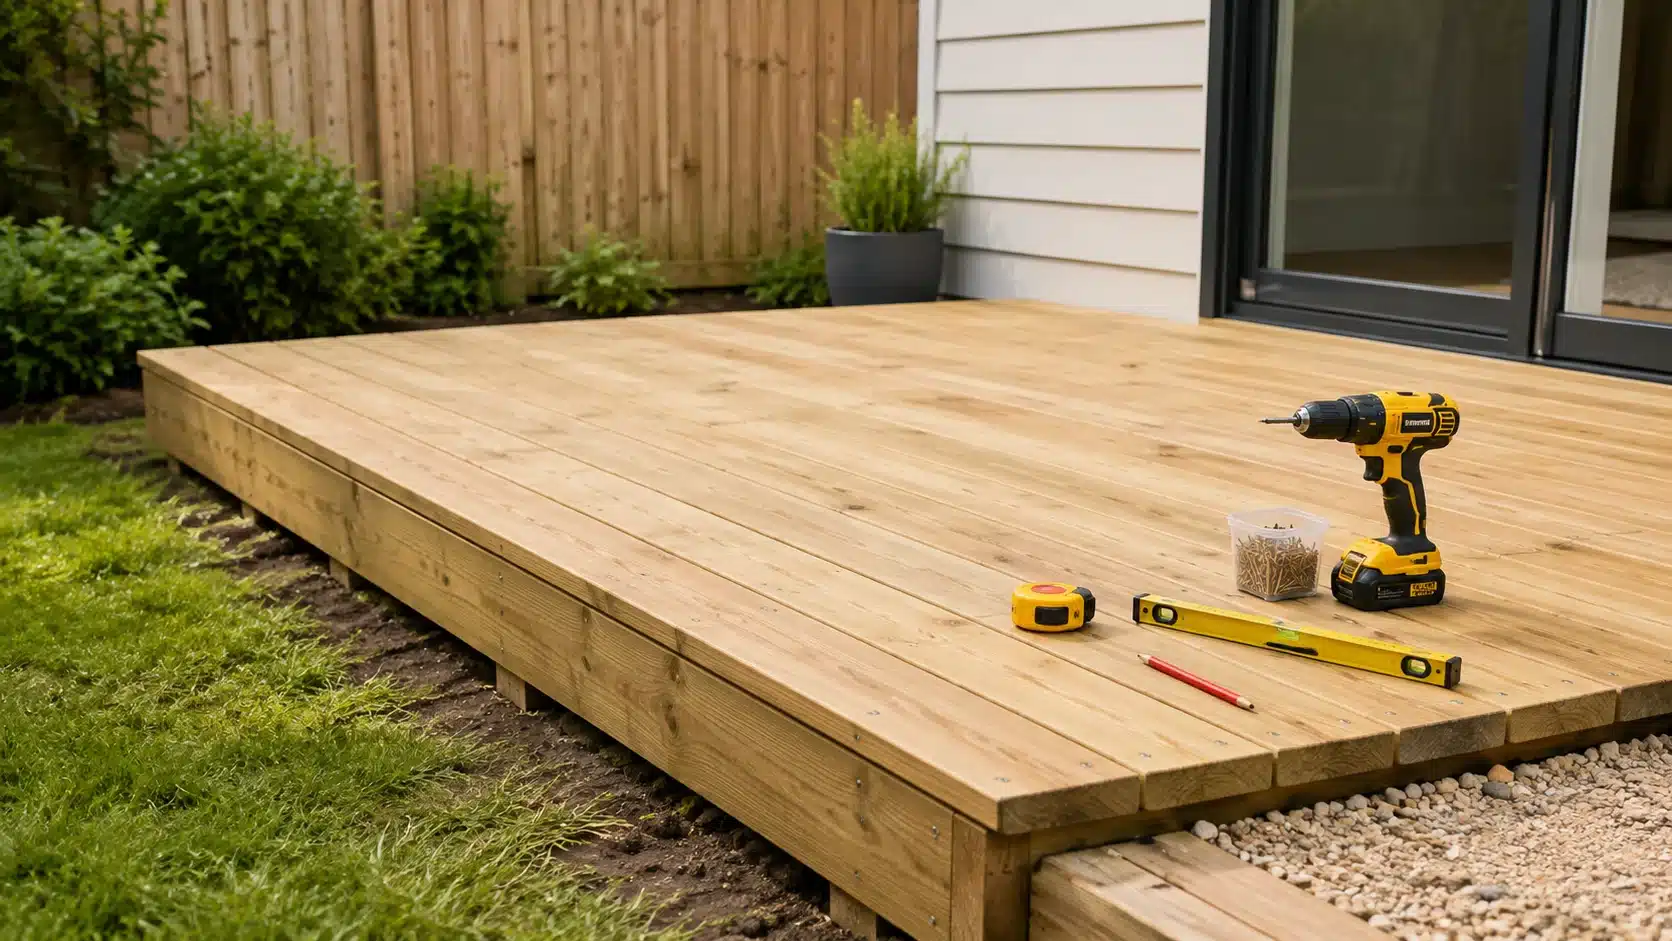

I still remember staring at my own patchy backyard and wondering if I could actually build something usable out of it without hiring a contractor.
If you’re in the same spot, staring at an uneven patch of grass or an outdoor space that never gets used, you’re not alone.
Contractor quotes usually put people off, though the job’s more manageable than it looks.
Learning how to build decking properly from the start, planning carefully and following the right order, is what separates a deck that lasts decades from one that needs rework within a year.
You’ll walk through design, materials, foundation work, framing, board installation, and finishing touches, along with the mistakes that trip up most first-time builders.
What Do You Need to Know Before Building A Deck?
Before you pick up a single tool, there’s some groundwork to sort out. Skipping it is one of the fastest ways to end up with a deck that doesn’t pass inspection or fit your yard.
Check Planning Permission and Building Regulations
In most of the UK, decking that’s kept low and modest can go ahead under permitted development, without a formal planning application. Worth checking before you start:
- Whether your deck is raised more than 30cm above ground level, since that’s usually the point planning permission kicks in.
- Whether your deck, combined with any other extensions or outbuildings, would cover more than 50% of your garden.
- Whether the decking would sit forward of your house’s principal elevation, or within a conservation area.
- Whether an inspector needs to sign off on footings before you frame.
Your local council’s planning department is the most reliable source, since these rules can vary by area, and Scotland’s permitted development thresholds differ slightly from England and Wales.
Once your deck is over the height that triggers planning permission, building regulations apply too, which typically means balustrades become mandatory.
Tools and Materials Needed to Build Decking
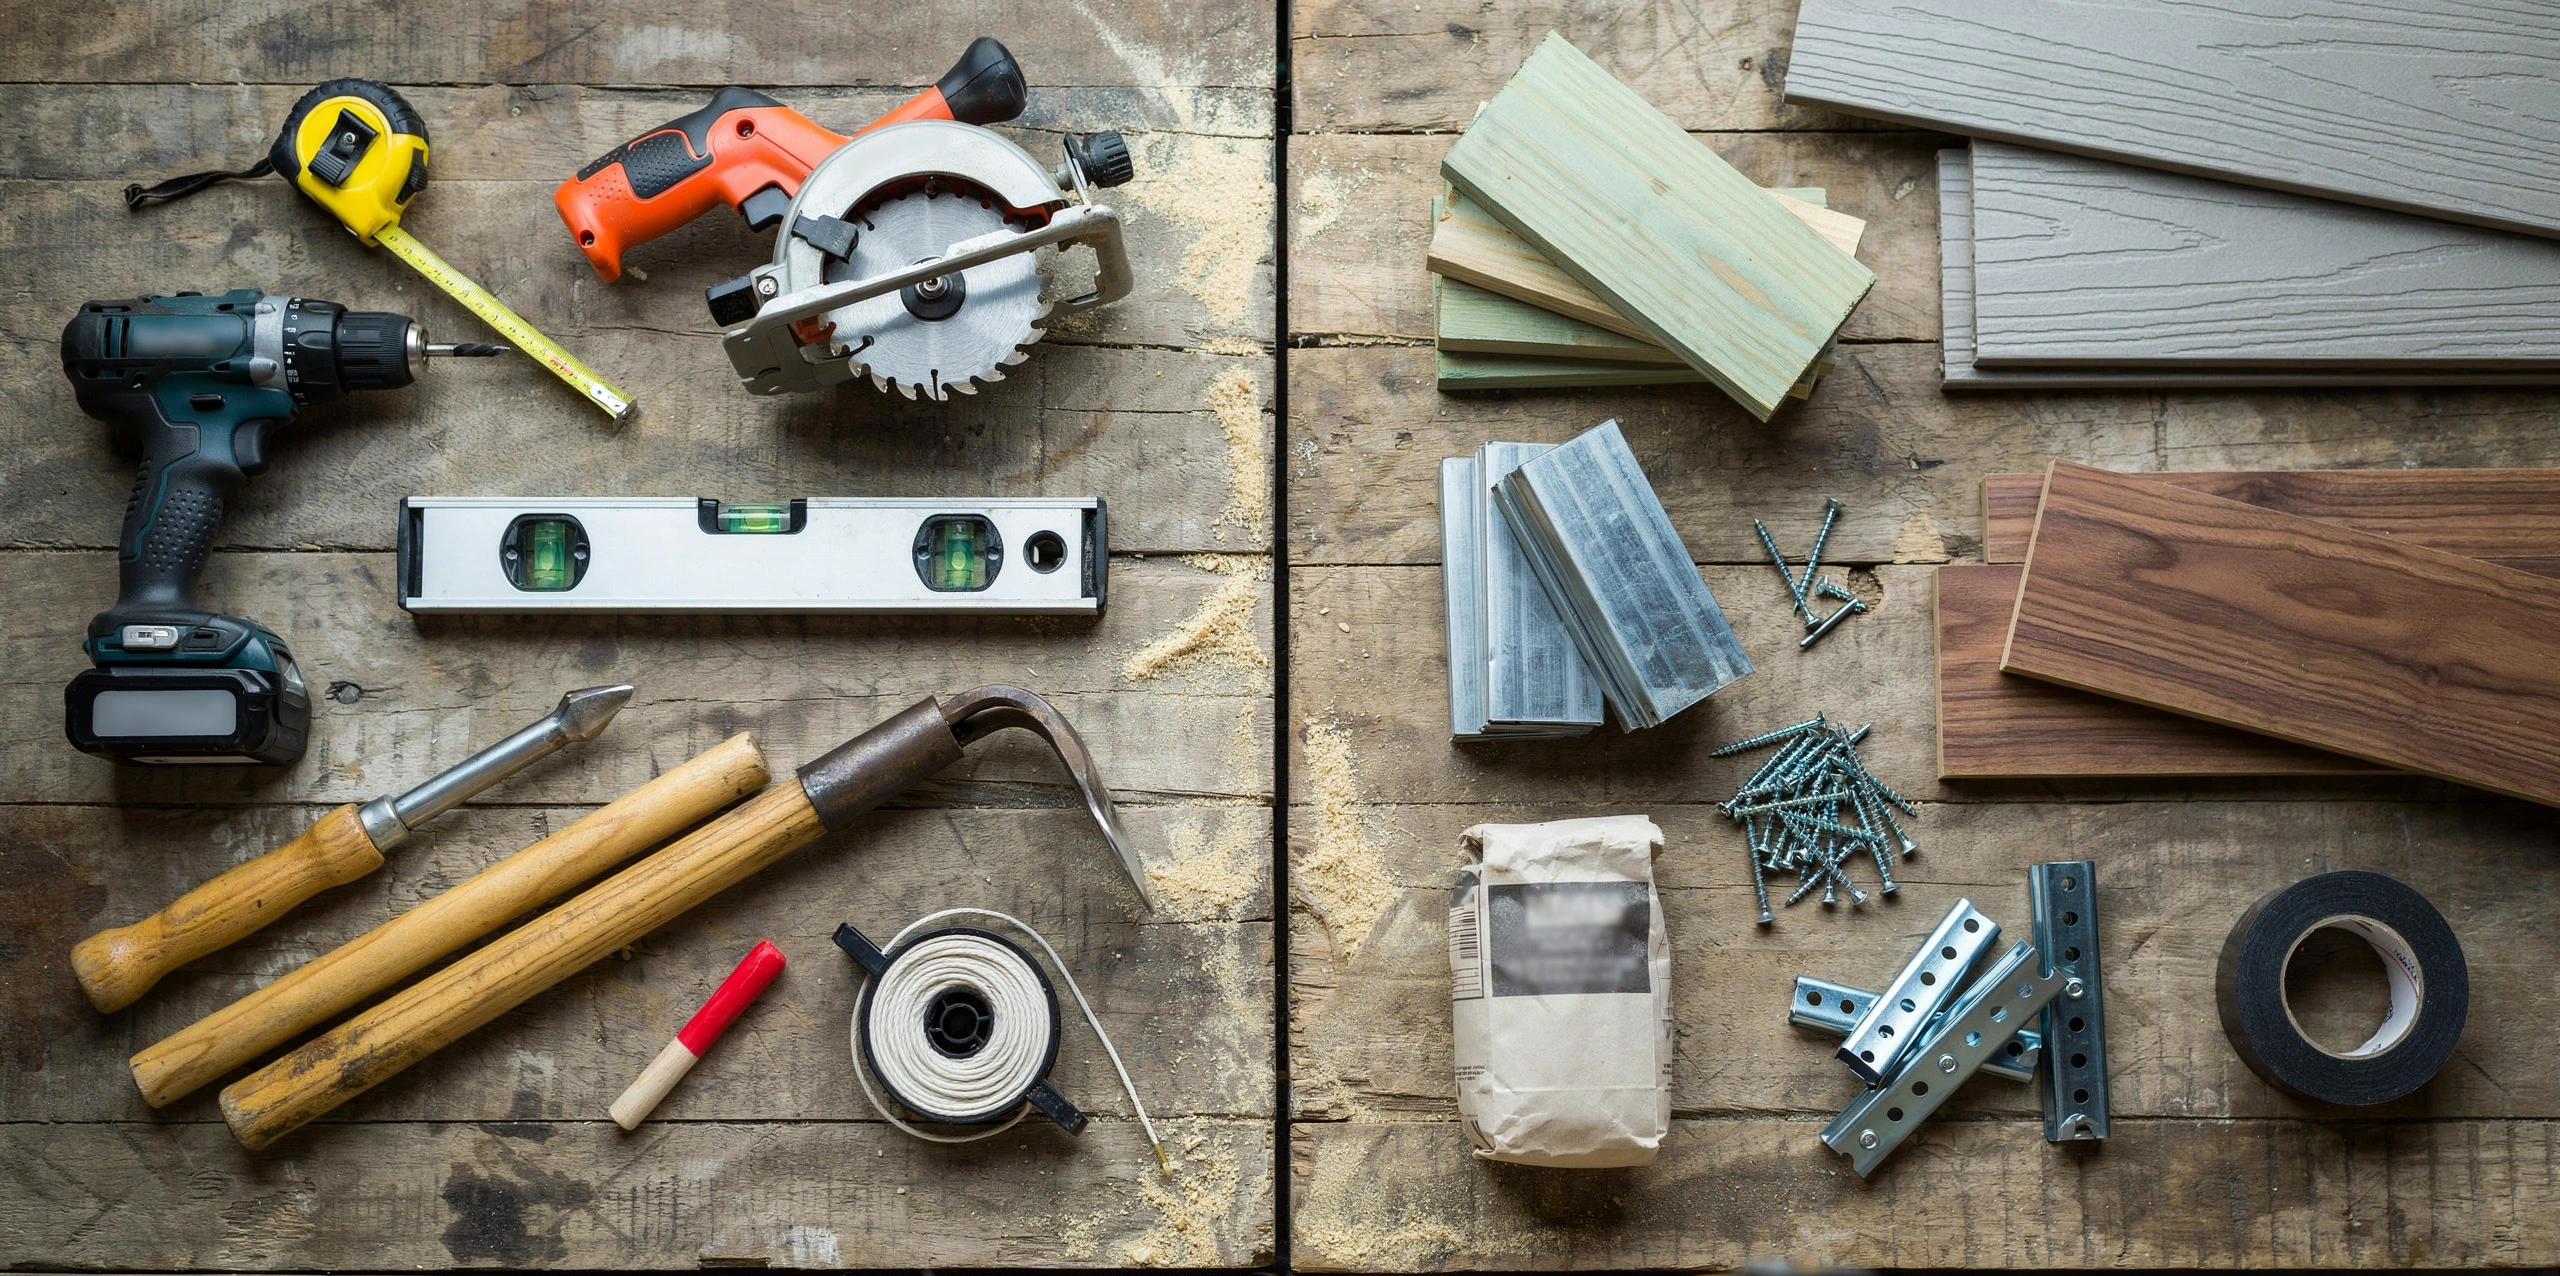
Half the frustration on a first build comes from stopping mid-task to run to the shop, so it pays to have the full list sorted before you start.
Must-Have Tools
None of these need to be expensive or specialist, but skipping one usually means an uneven frame or a trip back to the shop halfway through.
| Tool | Purpose |
|---|---|
| Tape measure | Accurate measurements |
| Circular saw | Cutting decking boards |
| Drill/driver | Installing screws |
| Level | Checking alignment |
| Post-hole digger | Installing footings |
| String line | Keeping framing straight |
Decking Materials
Flashing tape, for example, isn’t optional trim. It’s what keeps moisture from working its way into ledger board (usually called a wall plate in the UK) and rotting your frame from the inside out.
- Pressure-treated wood, typically graded C16 for structural framing
- Composite decking
- Hardwood decking
- Joists and beams
- Deck screws
- Concrete footings
- Joist hangers
- Flashing tape
Joist hangers aren’t just a shortcut, either. They distribute weight properly at connection points, which regular nails or screws alone can’t do safely.
How Much Does It Cost to Build Decking?
Budget is usually the first thing that shapes what kind of deck you end up building, so it helps to know what drives the price before you start shopping for materials.
| Material | Cost Range (per m², boards only) | Lifespan |
|---|---|---|
| Pressure-treated wood | £15–£30 | 10–15 years |
| Composite | £40–£90 | 25+ years |
| Hardwood | £65–£110 | 20–30 years |
These figures cover boards only. Add roughly £25–£45 per m² if you’re paying someone else to install it, plus more again for steps, balustrades, or lighting.
Ways to Reduce Decking Costs
Your total cost depends on the deck’s size, the material you choose, how much ground prep is needed, whether you’re adding railings and stairs, and labour if you hire out any part of the job.
The easiest ways to bring the total down:
- Stick to standard lumber sizes instead of custom cuts.
- Keep the layout simple; rectangular shapes waste less material.
- Compare prices across a few suppliers before committing.
- Build smaller sections yourself and hire help only for tricky parts.
How to Build Decking Step by Step
This is the part most people are here for. Follow these steps in order, from marking out the area to fastening the final board, and you’ll end up with a solid, code-compliant deck.
Step 1: Plan Your Deck Design and Mark the Area
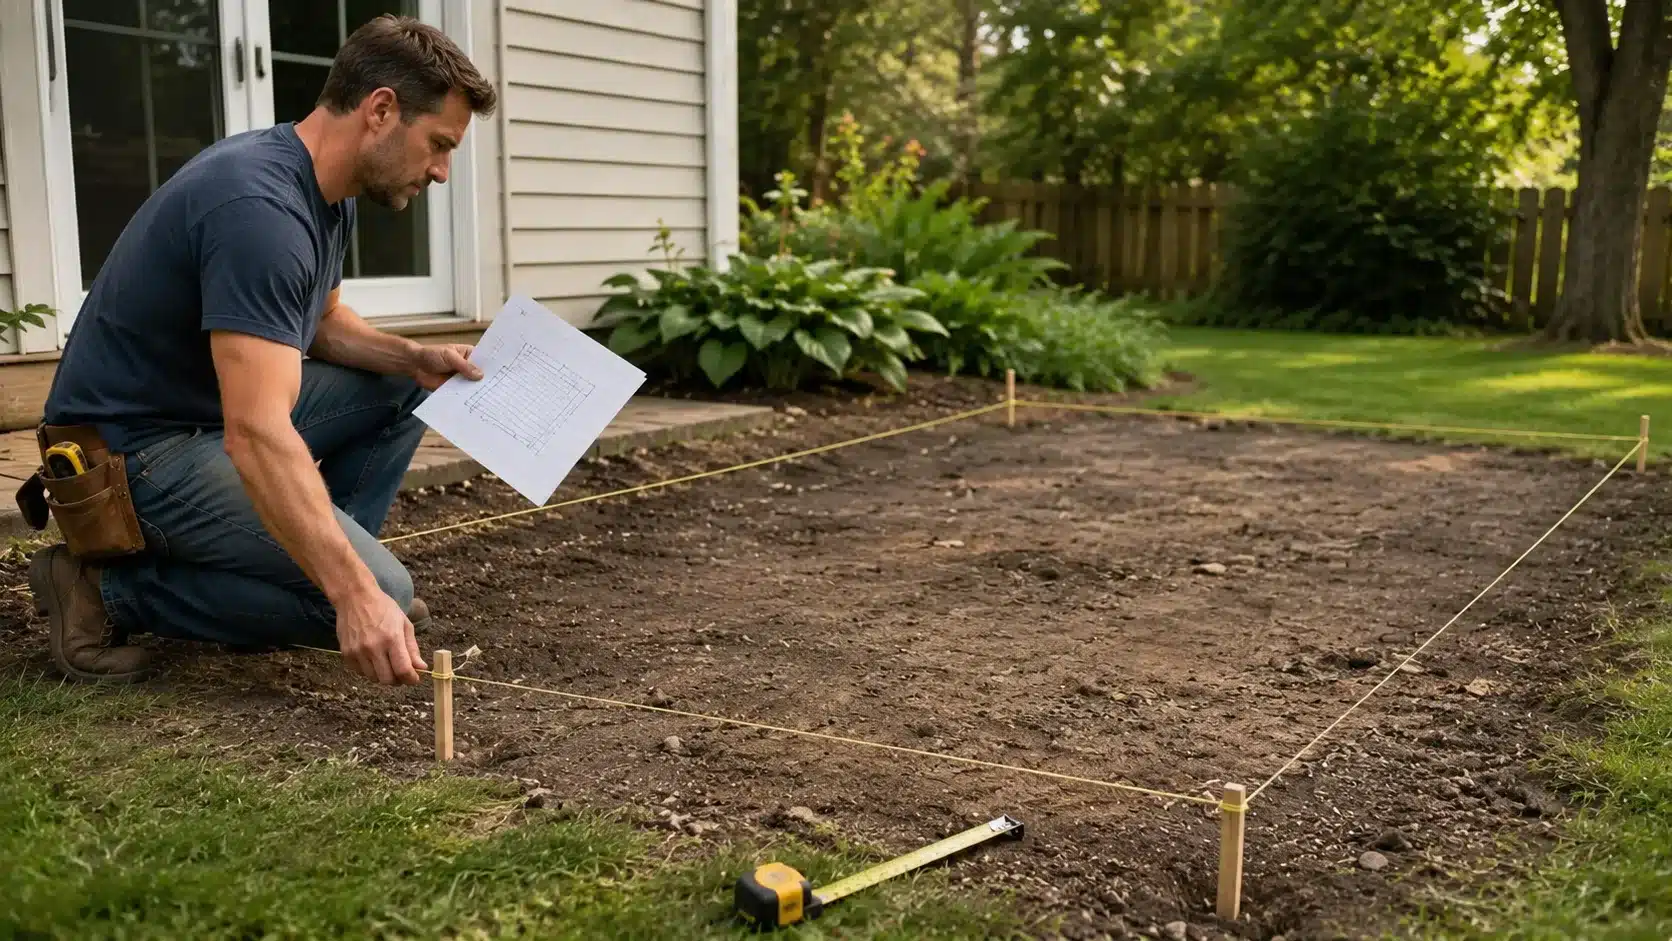
Start with a simple drawing of your deck, even if it’s just on graph paper. Mark the corners of your planned deck with stakes and string, then check your measurements diagonally to confirm the layout is actually square.
- A trick that professional builders rely on is the 3-4-5 triangle method.
- Measure 90cm along one side and 120cm along the adjoining side, then adjust the corner until the diagonal between those two points measures exactly 150cm.
- That confirms a true 90-degree angle without needing a framing square.
Step 2: Prepare the Ground and Install Footings
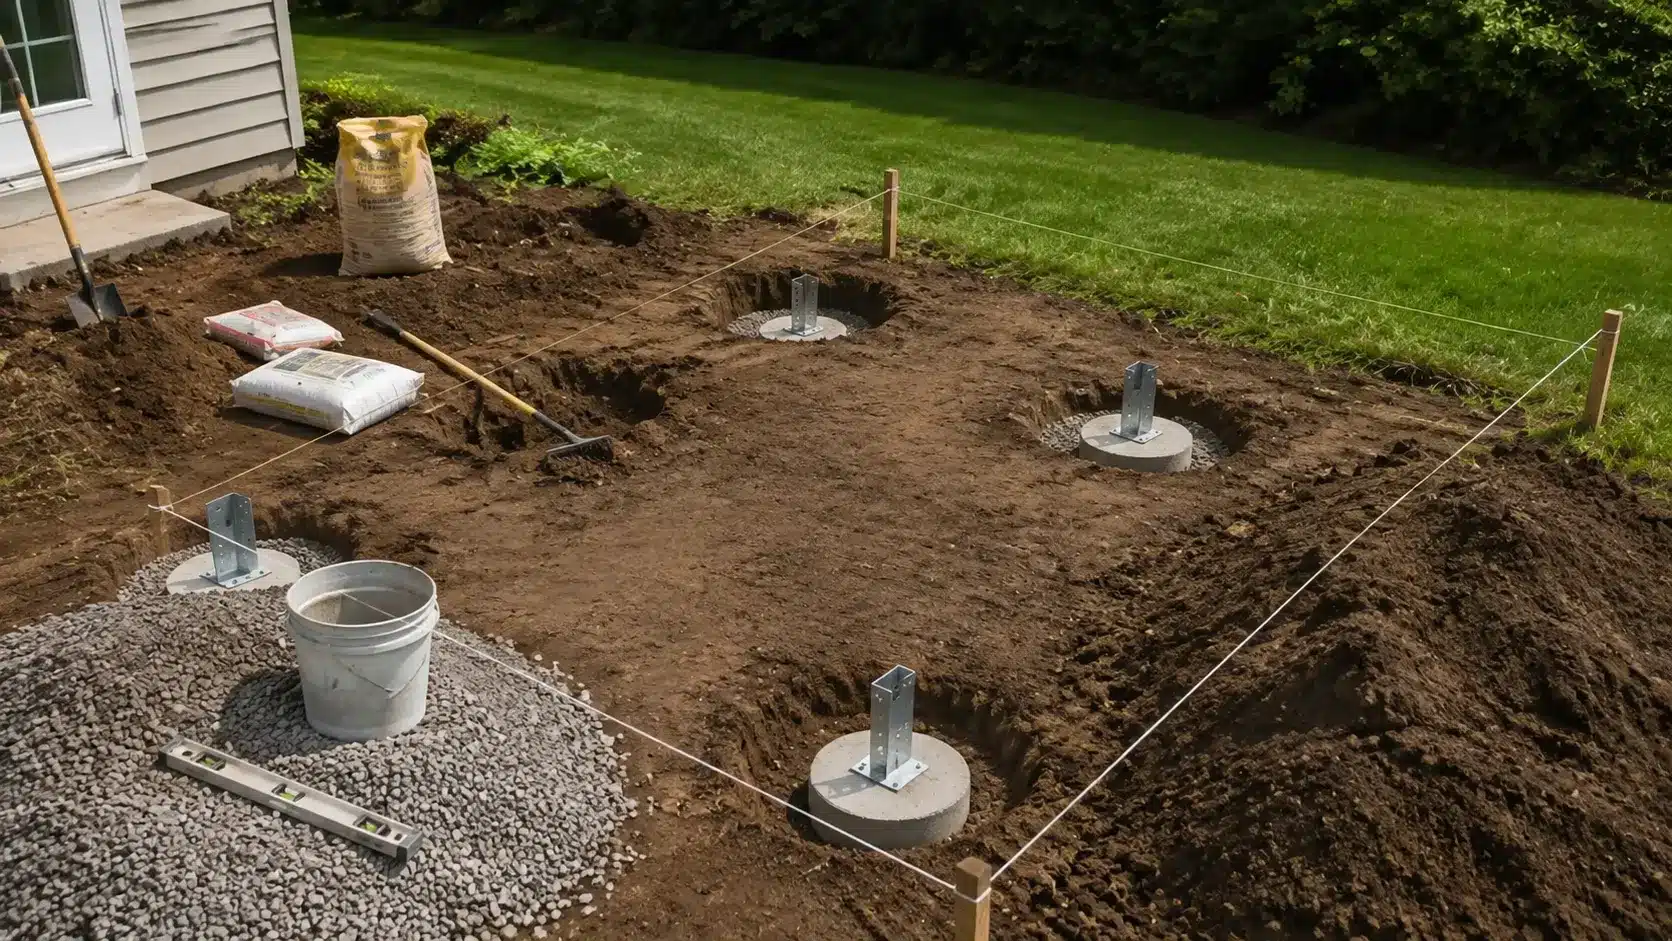
Clear away grass, roots, and debris from the area, then level it out. From there:
- Dig post holes to the depth set out in your local building regulations, typically at least 450–600mm, adjusting for your ground conditions.
- Add a layer of gravel at the bottom of each hole for drainage.
- Set concrete footings and let them cure for at least 48 hours before building on top of them.
Skipping proper footing depth is one of the biggest causes of deck movement over time.
Even in the UK’s milder winters, footings that are too shallow can shift slightly with seasonal ground movement, which throws your whole frame out of level over time.
Step 3: Install the Ledger Board (For Attached Decks)
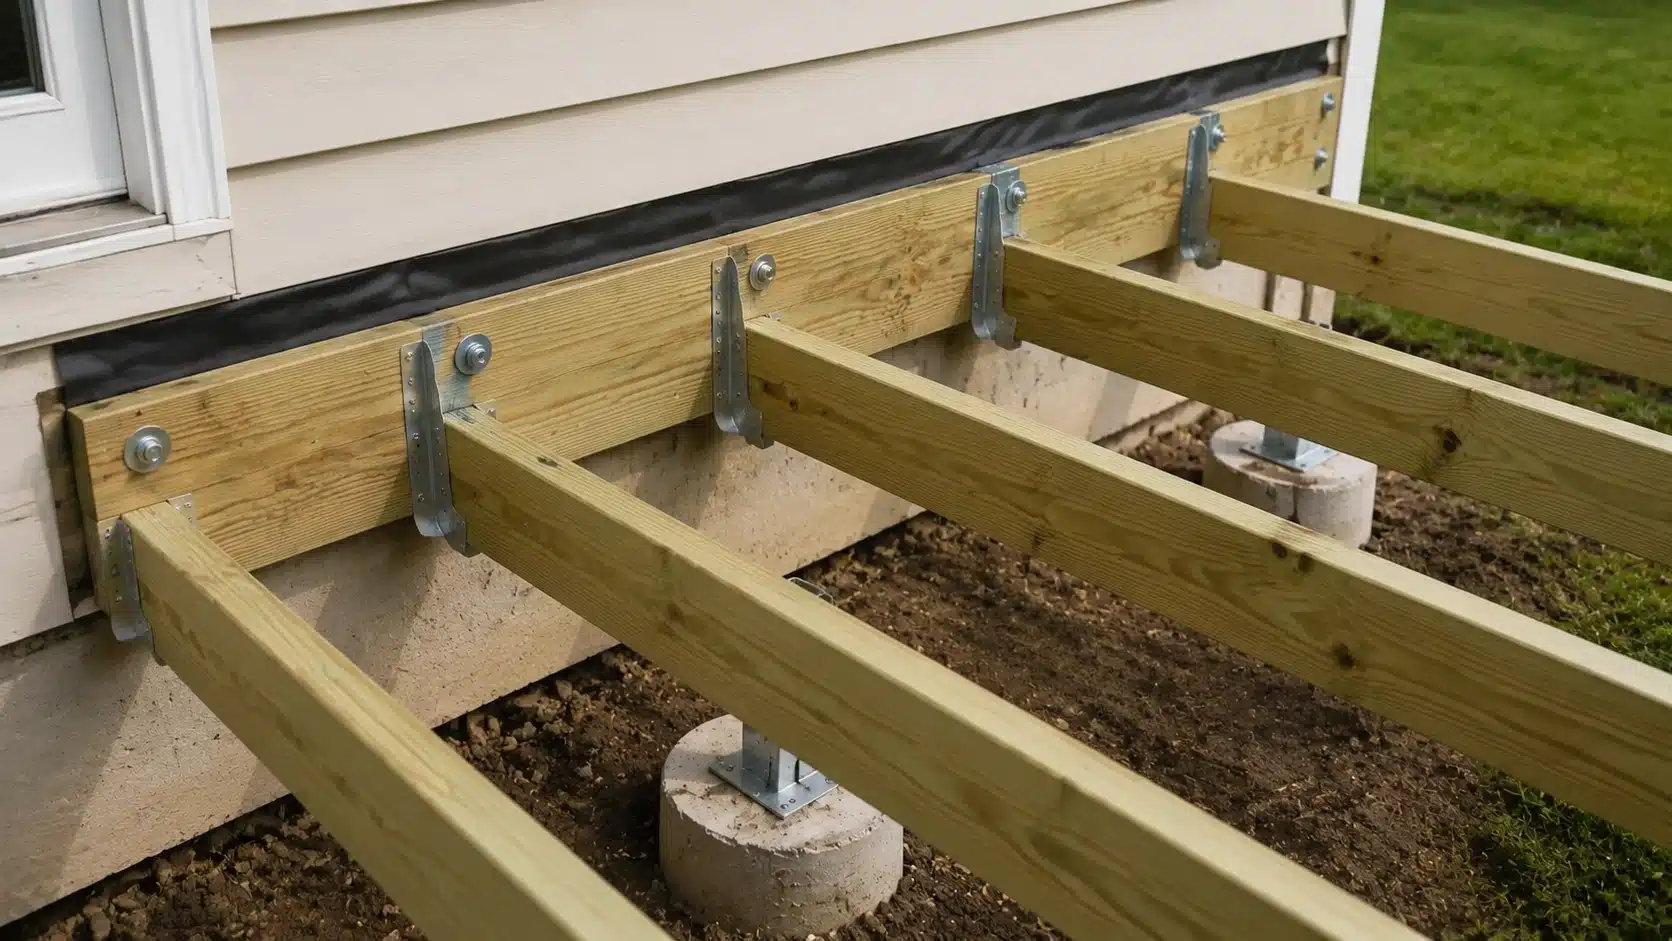
If your deck attaches to the house, what’s called a ledger board in most guides is usually called a wall plate here, the timber that bolts to your home’s structure and holds one end of the joists. Getting this wrong causes expensive failures.
- Use flashing to direct water away from the point where the ledge/wall plate meets your house.
- Bolt the ledger securely into the rim joist or framing behind your siding, not just into the siding material itself.
- Keep it at least 150mm below the damp-proof course, and don’t block any air bricks along the wall.
- Avoid caulking the top edge of the flashing, since that traps moisture instead of letting it drain.
Step 4: Build the Deck Frame
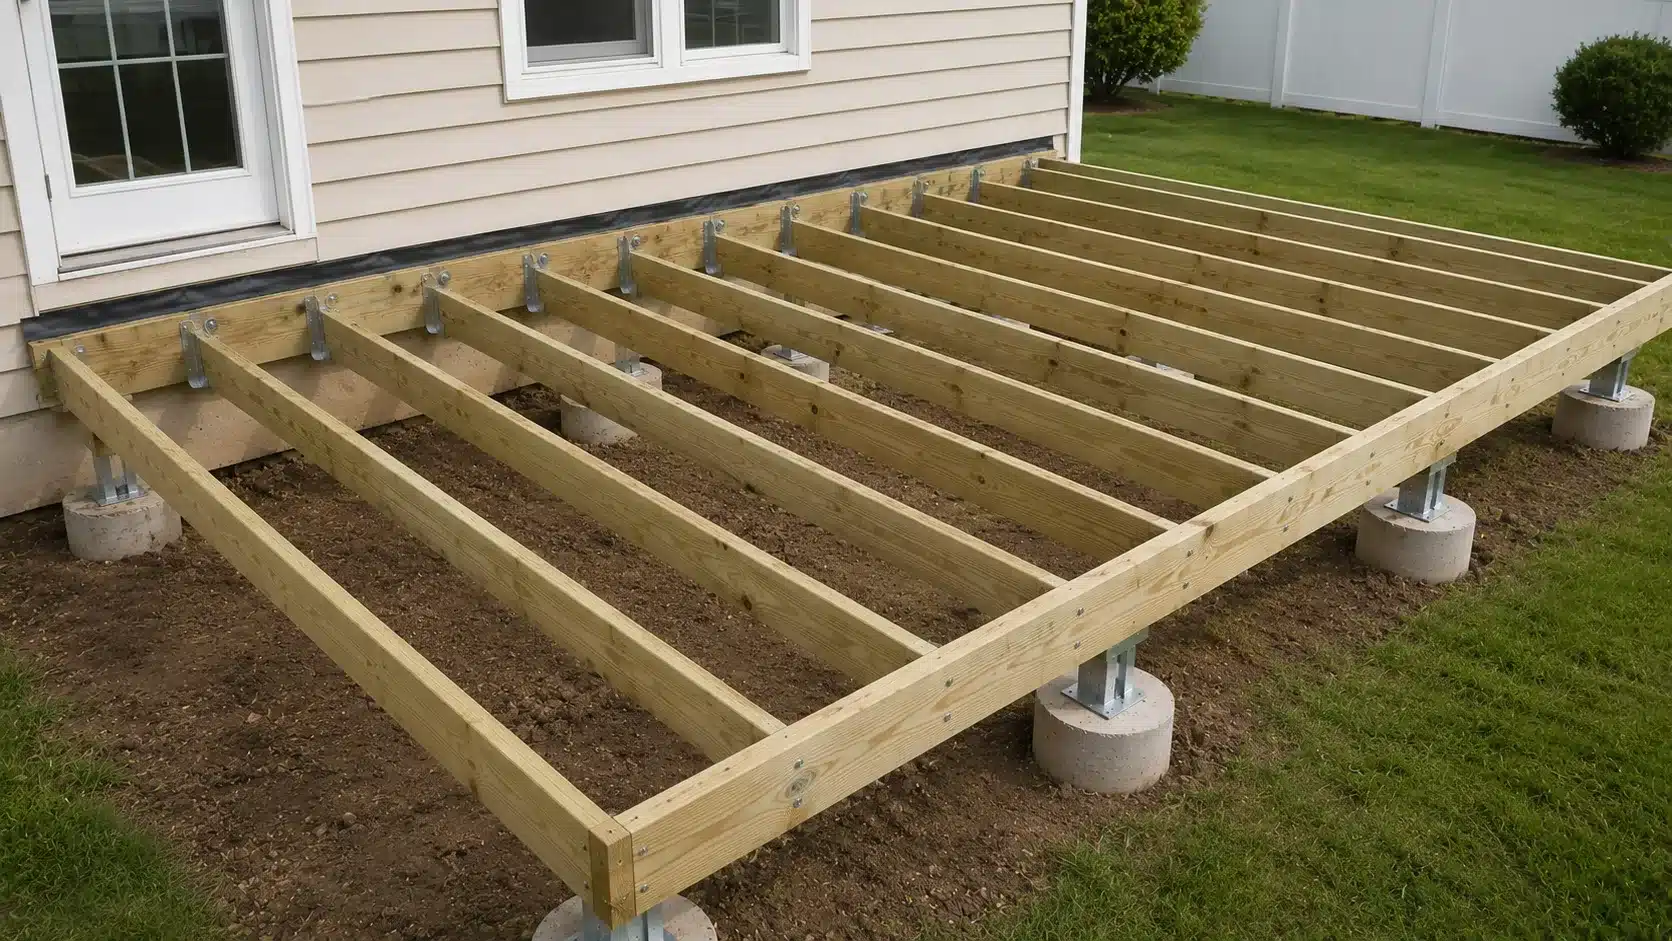
With footings and the ledger board/ wall plate in place, you can start assembling the frame:
- Install beams across the footings
- Attach joists between the ledger/wall plate and the beam using joist hangers
- Check level and square constantly as you go, not just at the end
Joist spacing matters more than many first-timers realize.Most garden decks use joists spaced around 400mm apart, measured centre to centre.
Composite decking manufacturers often cap spacing at 400mm for straight layouts and tighten it to 300mm for diagonal board patterns.
Tighter spacing generally means a firmer, less bouncy deck, so it’s worth checking your specific decking manufacturer’s installation instructions rather than assuming.
Step 5: Install Decking Boards
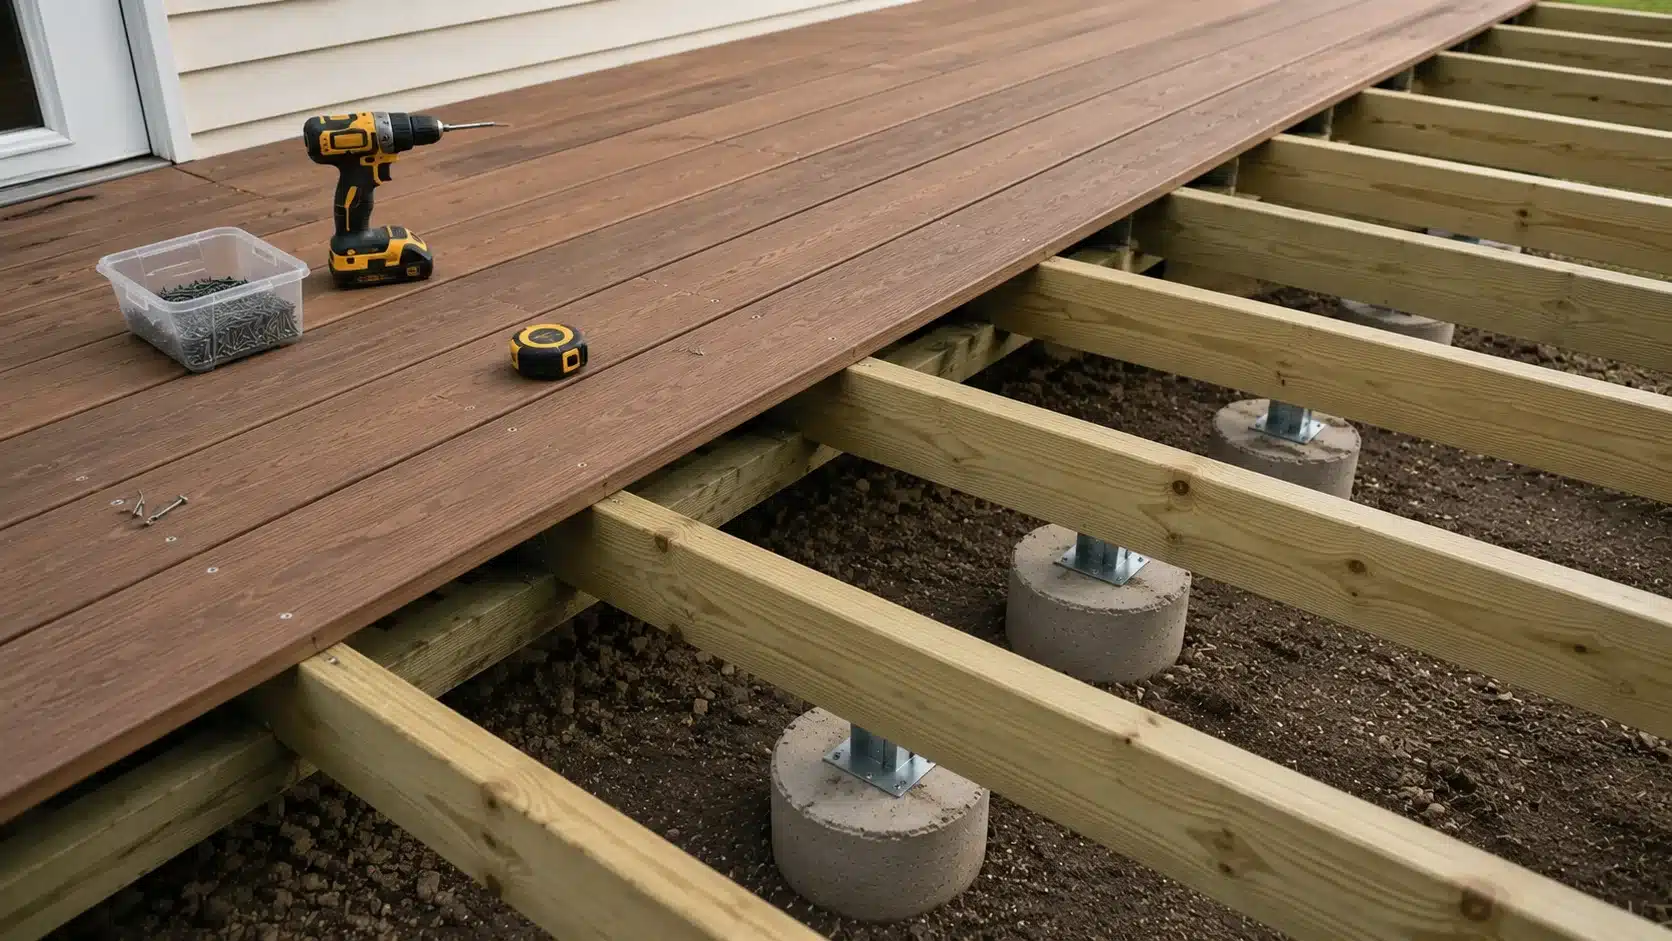
Pick a clear starting edge, usually along the house or a prominent visible line, and work outward from there.
- Leave consistent gaps between boards for water drainage and material expansion.
- Stagger fasteners evenly so the deck doesn’t develop a rippled look.
- Straighten warped boards as you go by clamping or bracing them before fastening.
- Cut around posts or other obstacles carefully rather than forcing a board into place.
Wood decking needs small expansion gaps because the material expands and contracts with humidity.
Composite boards have manufacturer-specific spacing requirements, so check the installation sheet for your particular product line before you start screwing boards down.
Step 6: Build Deck Stairs and Railings
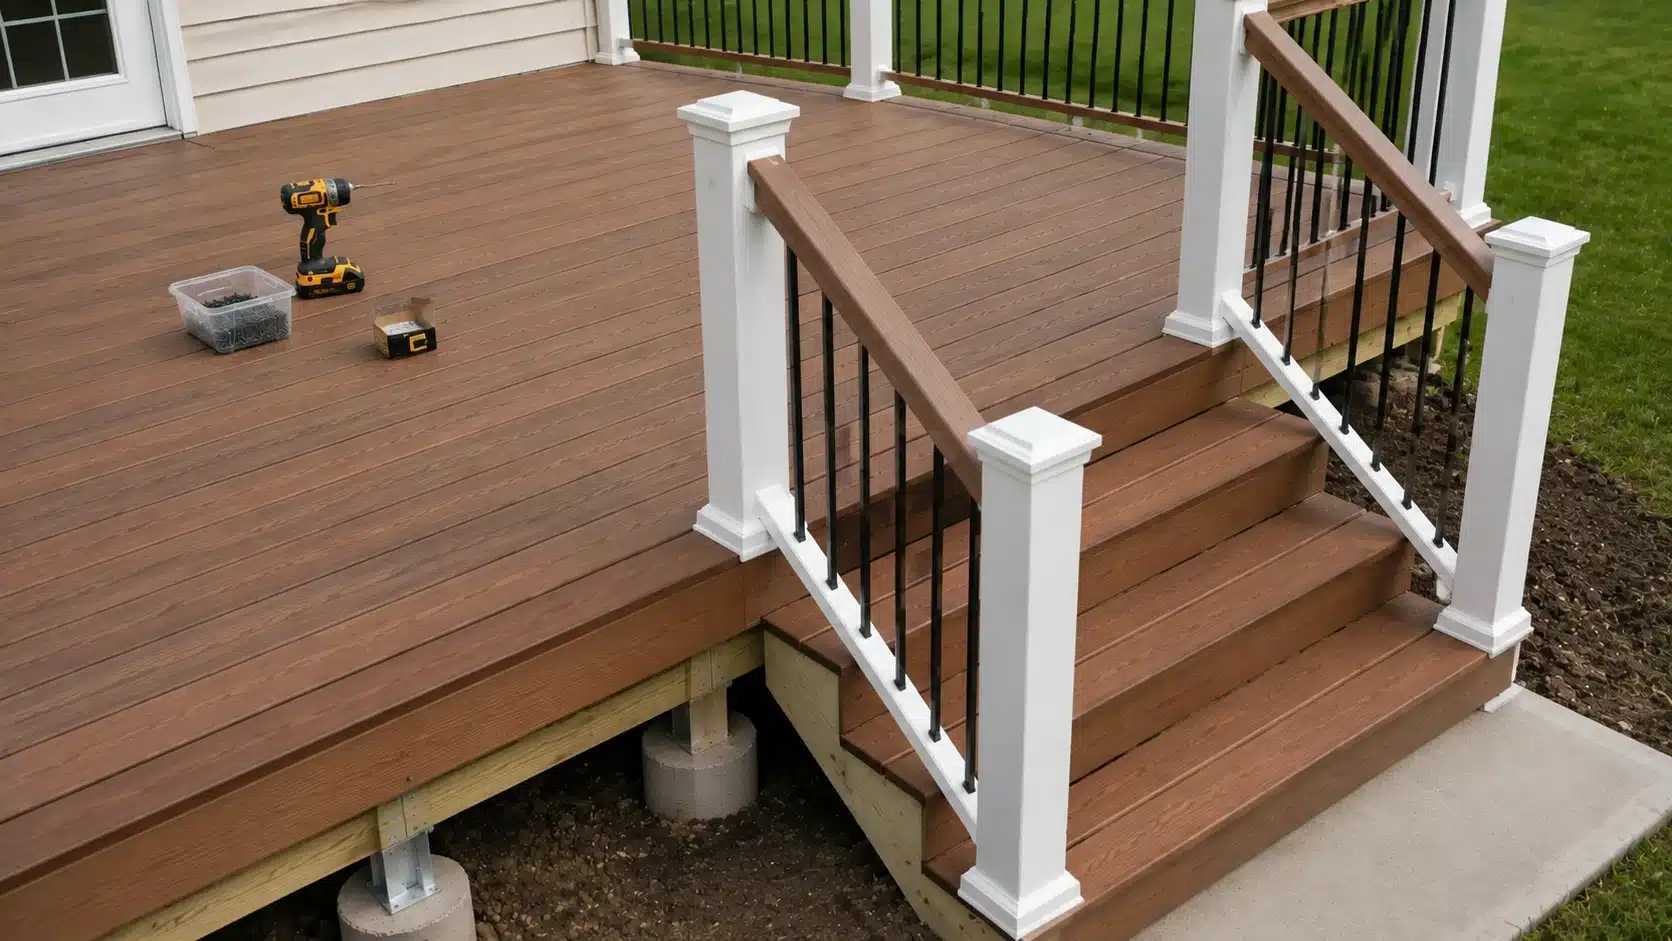
Measure your stair rise and run carefully so each step feels consistent underfoot. Uneven steps are a common tripping hazard on DIY decks.
- Install stringers that support the full width of your stairs.
- Add handrails once stringers and treads are secure.
- Check your local building regulations for balustrade height and spacing, since balustrades typically become mandatory once a deck is raised more than 600mm above ground.
Step 7: Finish and Protect Your Deck
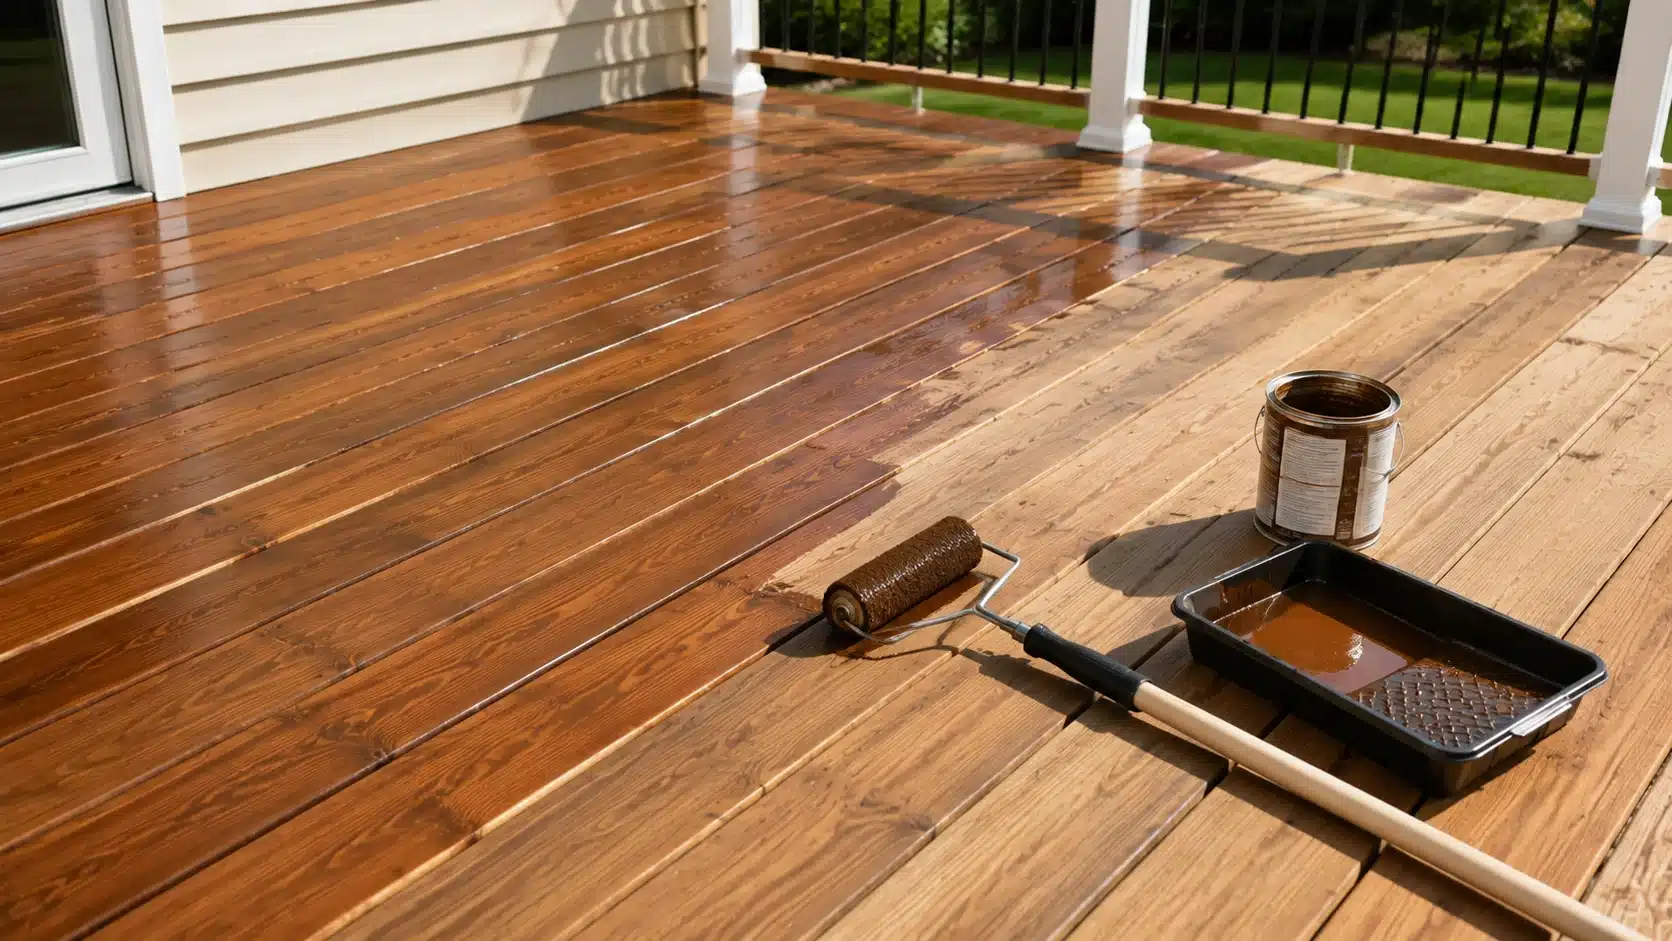
Once the structure is built, sand down any rough edges or splinters.
Apply stain, oil, or decking treatment appropriate for your material, and make sure any freshly cut ends are sealed as well, since exposed end grain absorbs moisture fastest.
Give the finish proper drying time before you put furniture back on the deck.
How Long Does It Take to Build Decking?
Timelines vary a lot by project, but here’s a rough breakdown of what each stage typically takes for a standard-sized deck.
- Planning: 1–2 weeks
- Foundation work: 1–3 days
- Framing: Several days
- Board installation: 1–3 days
- Finishing: 1–2 days
Your actual timeline depends on deck size, weather delays, your own experience level, and how long planning approval, if you need it, takes.
Wood vs Composite Decking: Which One To Choose?
Wood decking is milled from natural timber, usually pressure-treated pine or a hardwood species, and gives you that classic grain look but needs regular staining or sealing to hold up outdoors.
Composite decking is manufactured from a blend of wood fibers and recycled plastic, which makes it more resistant to rot, fading, and moisture with far less upkeep.
| Feature | Wood Decking | Composite Decking |
|---|---|---|
| Cost | Lower upfront | Higher upfront |
| Maintenance | Requires staining | Low maintenance |
| Appearance | Natural look | Consistent finish |
| Lifespan | Shorter | Longer |
If you’re working with a tight budget and don’t mind yearly upkeep, pressure-treated wood is the more forgiving option.
How to Maintain Your Deck After Building It
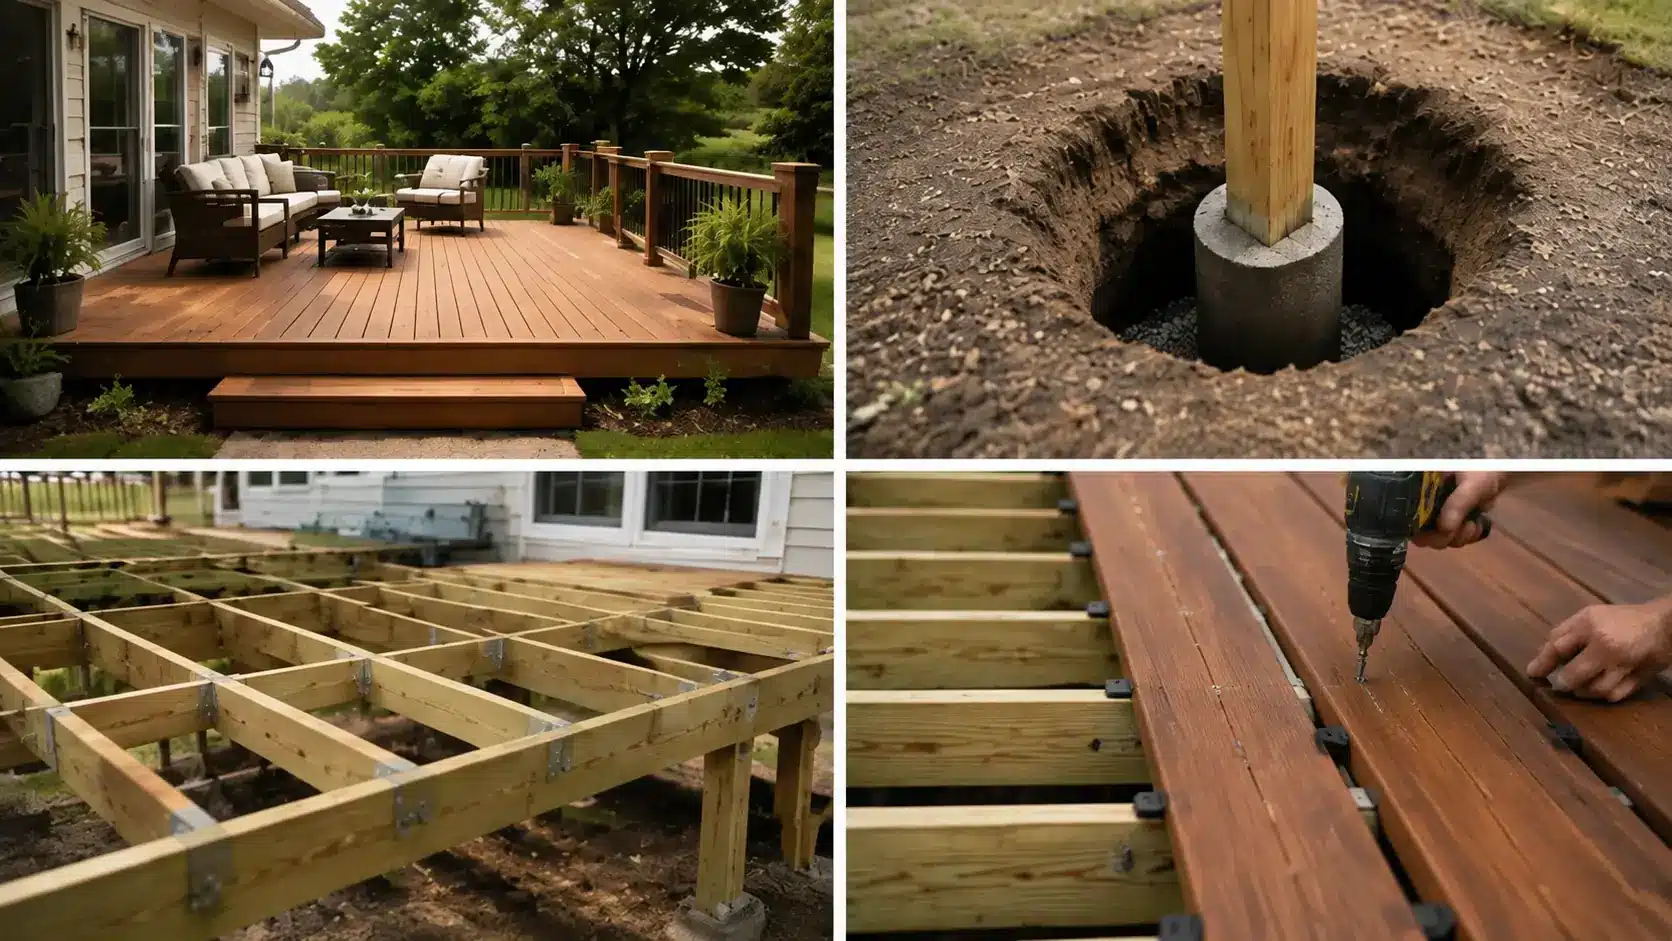
Building the deck is only half the job. A little routine upkeep is what keeps it safe and good-looking for years, rather than needing repairs after just one or two seasons.
Once it’s built, a regular cleaning routine does most of the heavy lifting.
Annual maintenance checklist:
- Clear away leaves and debris regularly
- Inspect screws and fasteners for corrosion or loosening
- Check joists and boards for early signs of rot
- Reseal wood decking on a regular schedule
- Inspect railings for wobble or looseness
Signs your deck needs repair:
- Soft or spongy boards underfoot
- A railing that wobbles when leaned on
- Visible cracks in wood components
- Rusted or corroded fasteners
Catching these signs early usually means a small fix instead of a costly rebuild down the line.
Deck Safety Checklist Before First Use
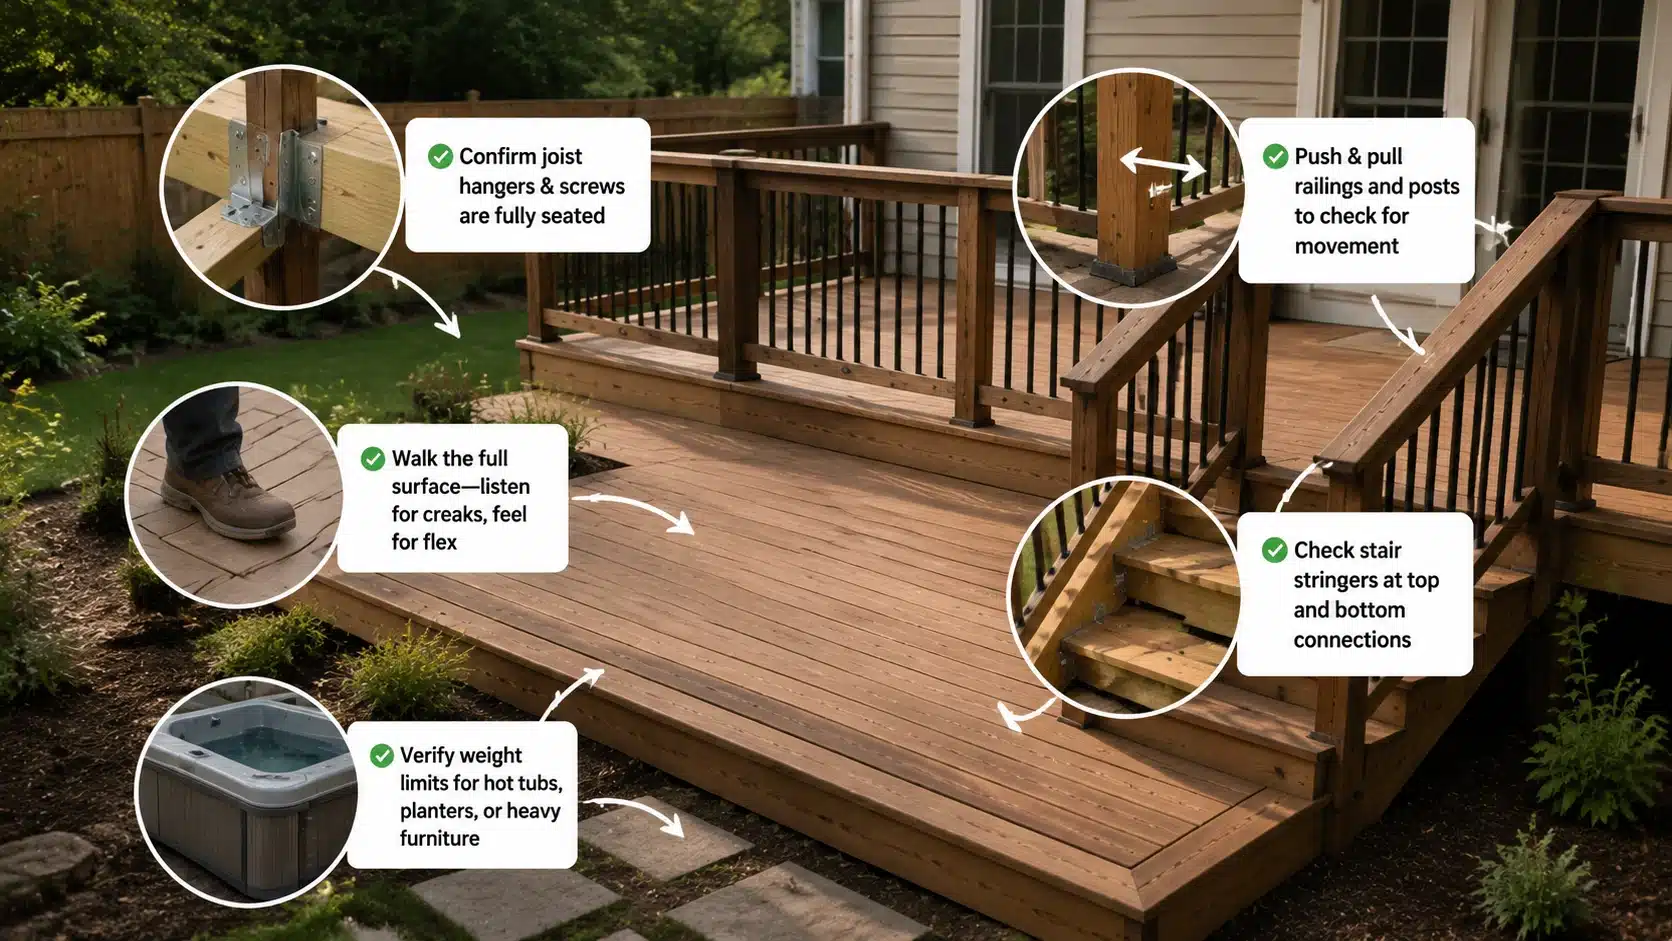
Before you host a barbecue or let the kids run across your new deck, it’s worth walking through a quick safety check. A deck can look finished and still have weak points that only show up once it’s under real weight and daily use.
- Confirm every joist hanger and structural screw is fully seated, not just started
- Push and pull on railings and posts to check for movement at the base
- Walk the full surface and listen for creaking or feel for flex between joists
- Check that stair stringers are secure at both the top and bottom connection points
- Verify weight limits if you plan to add a hot tub, large planters, or heavy furniture
If anything feels loose or uneven, it’s worth fixing before the deck sees regular use rather than after. Small structural issues are far easier to correct early than once boards, railings, and hardware have settled into place.
That covers the full build-and-upkeep process. Here are quick answers to the questions people most often ask before starting their own deck.
Final Thoughts
Building your own deck saves money and gives you a space you actually helped create with your own hands.
It also gives you a real understanding of how your outdoor space is put together, which comes in handy the next time something needs a repair.
Slow down on planning, measure twice, and don’t rush the footings or framing.
These early stages feel tedious, but they’re what separate a deck that lasts decades from one that needs rework within a year.
Once you know how to build decking properly, from planning through to the final board, you’ll end up with something that holds up for years instead of needing constant patching
Frequently Asked Questions
Can I Lay Decking Directly on Soil?
No, the frame shouldn’t touch bare soil directly, since trapped moisture causes joists to rot; proper ground prep and gravel come first.
What Is the Cheapest Way to Deck a Garden?
Interlocking deck tiles, upcycled pallets, or a simple ground-level timber deck on concrete blocks are the most budget-friendly options.
Should Deck Boards Be Spaced or Tight Together?
Dried, acclimated boards need a small gap for drainage, but freshly treated boards should sit tight since they’ll shrink as they dry out.
Can You Build a Deck Yourself With No Experience?
Yes, if you follow instructions and check your work at each stage. Start with a simple ground-level design rather than a raised deck with stairs.