
Most gardeners who try to grow pumpkins for the first time run into the same problems.
The vines spread everywhere. The flowers fall off. And by October, there is nothing to show for it.
After years of working with home gardeners, I can tell you that these failures almost always come down to a few fixable mistakes.
This post covers every step of growing pumpkins well, from choosing the right variety to storing your harvest for months.
What You Need Before You Start Growing Pumpkins
The two things that matter most are space and time.
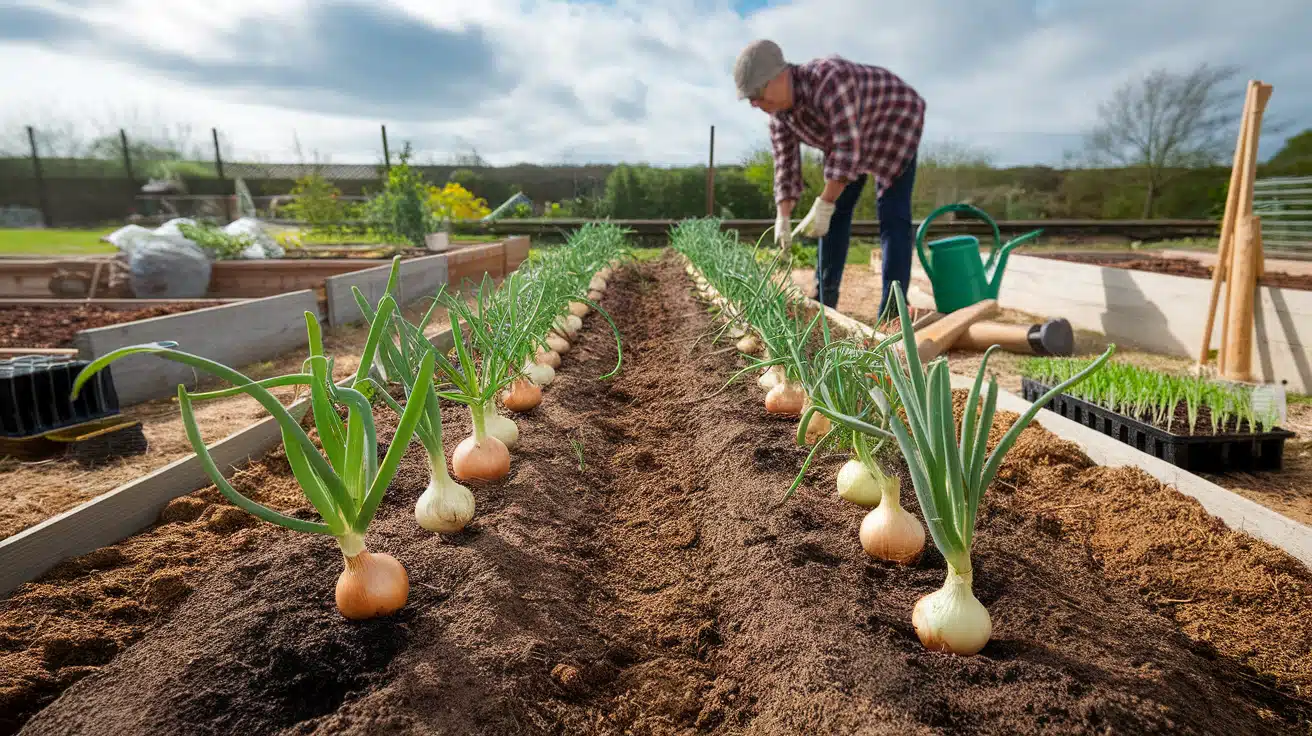
Pumpkins need room. Miniature types need around 15 to 36 square feet per plant. Standard varieties need 50 to 100 square feet.
Giant types can need up to 1,000 square feet. If your garden is small, go with a miniature or bush variety.
Pumpkins also need a long growing season. Most varieties take 75 to 100 frost-free days from planting to harvest.
If you live in a cooler climate, you need to plan your planting date carefully so the fruits mature before the first frost.
Other basics to have ready before planting:
- A spot with 6 to 8 hours of full sun daily
- Well-drained soil with a pH of 6.0 to 6.8
- Aged compost or organic matter to work into the soil
- A complete fertilizer
- A soaker hose or drip irrigation setup
- Straw or shredded leaves for mulching
Best Pumpkin Varieties to Grow and How to Pick One
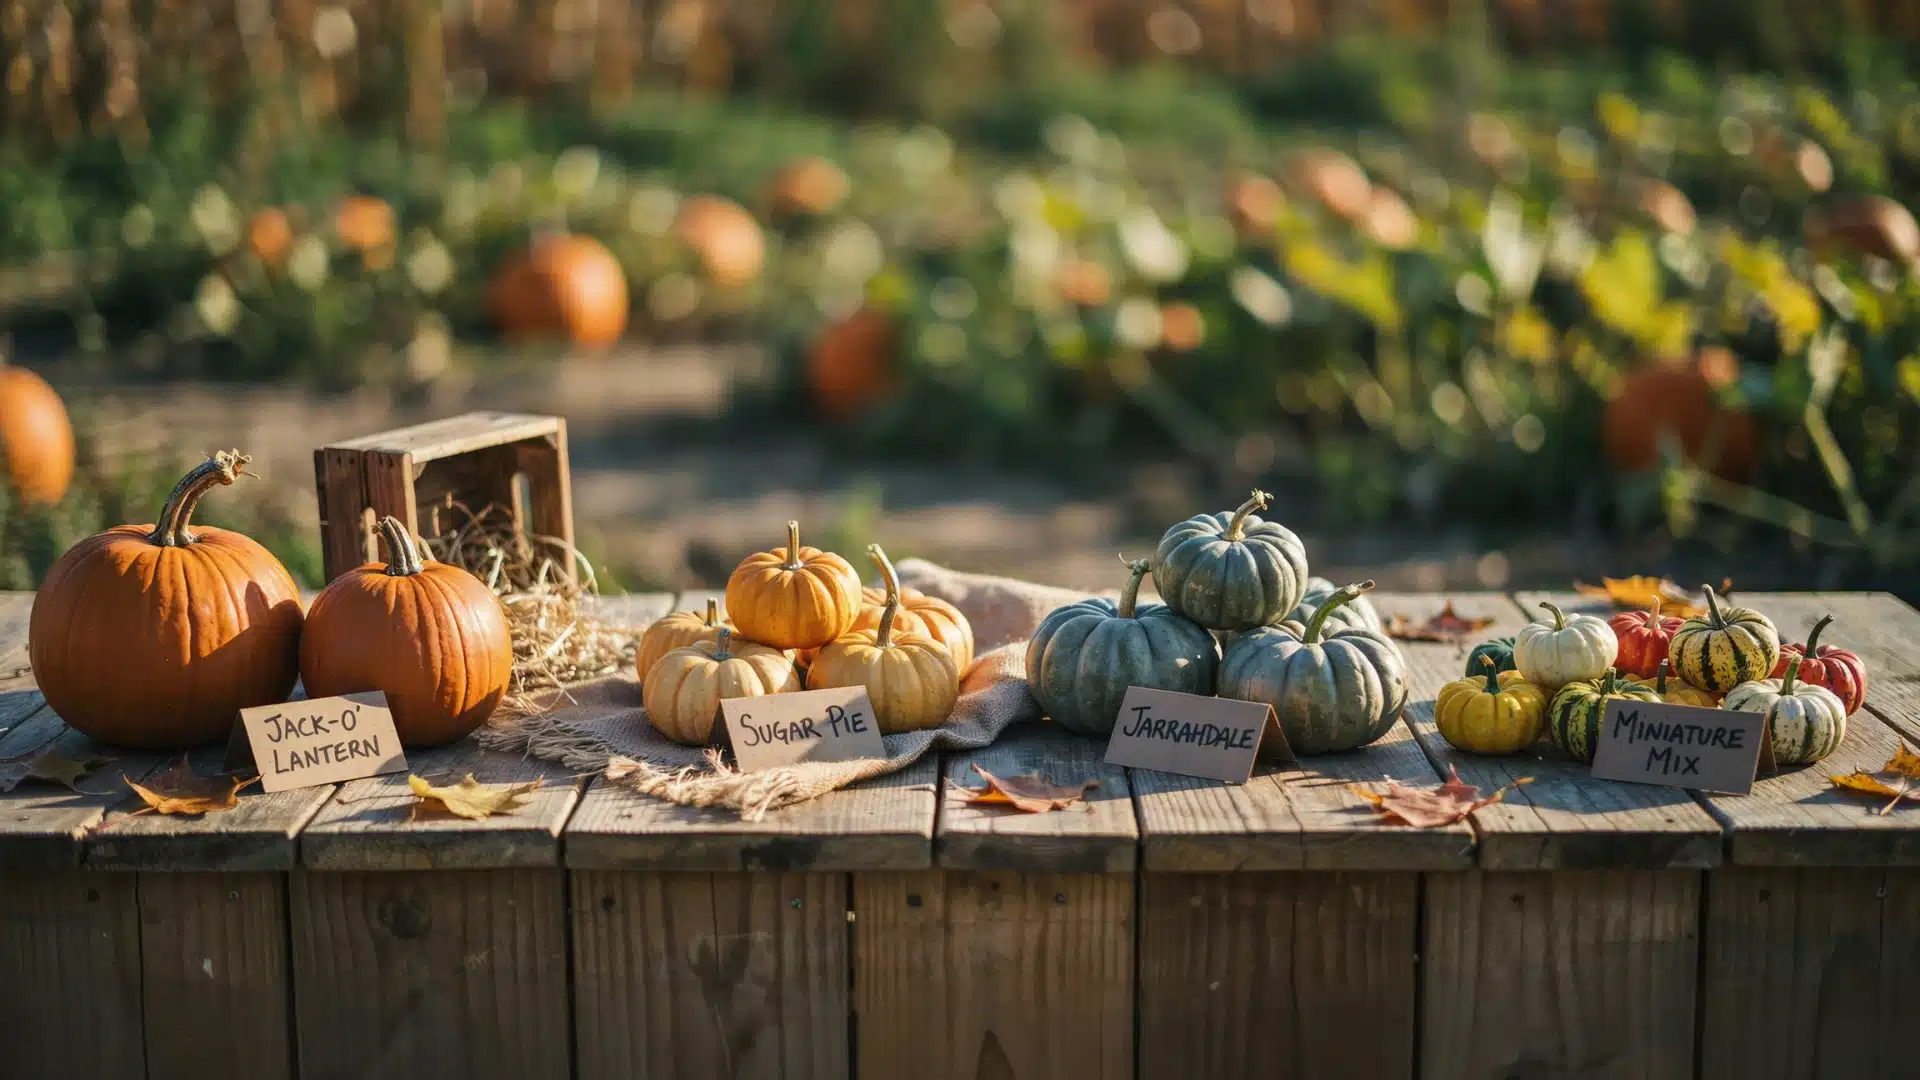
Choosing the right variety sets everything else up. Different types have different space needs, maturity timelines, and uses.
1. For carving: Howden, Jack-o’-Lantern, and Connecticut Field are popular choices. They have thick walls, sturdy stems, and the classic orange color.
2. For cooking and baking: Sugar pie pumpkins weigh around 6 to 7 pounds. They are sweeter and much easier to handle in the kitchen.
3. For something different: Lumina produces a ghostly white skin. Jarrahdale has blue-gray skin and stores very well after harvest.
4. For small gardens: Miniature varieties take far less space and still produce multiple fruits per plant.
Tip: Always check the “days to maturity” on the seed packet. Then count backward from your area’s average first frost date. That number tells you the latest date you can plant and still get a full harvest.
If a variety takes 100 days and your first frost arrives in mid-October, you need to be in the ground by early July at the latest.
When to Plant Pumpkin Seeds
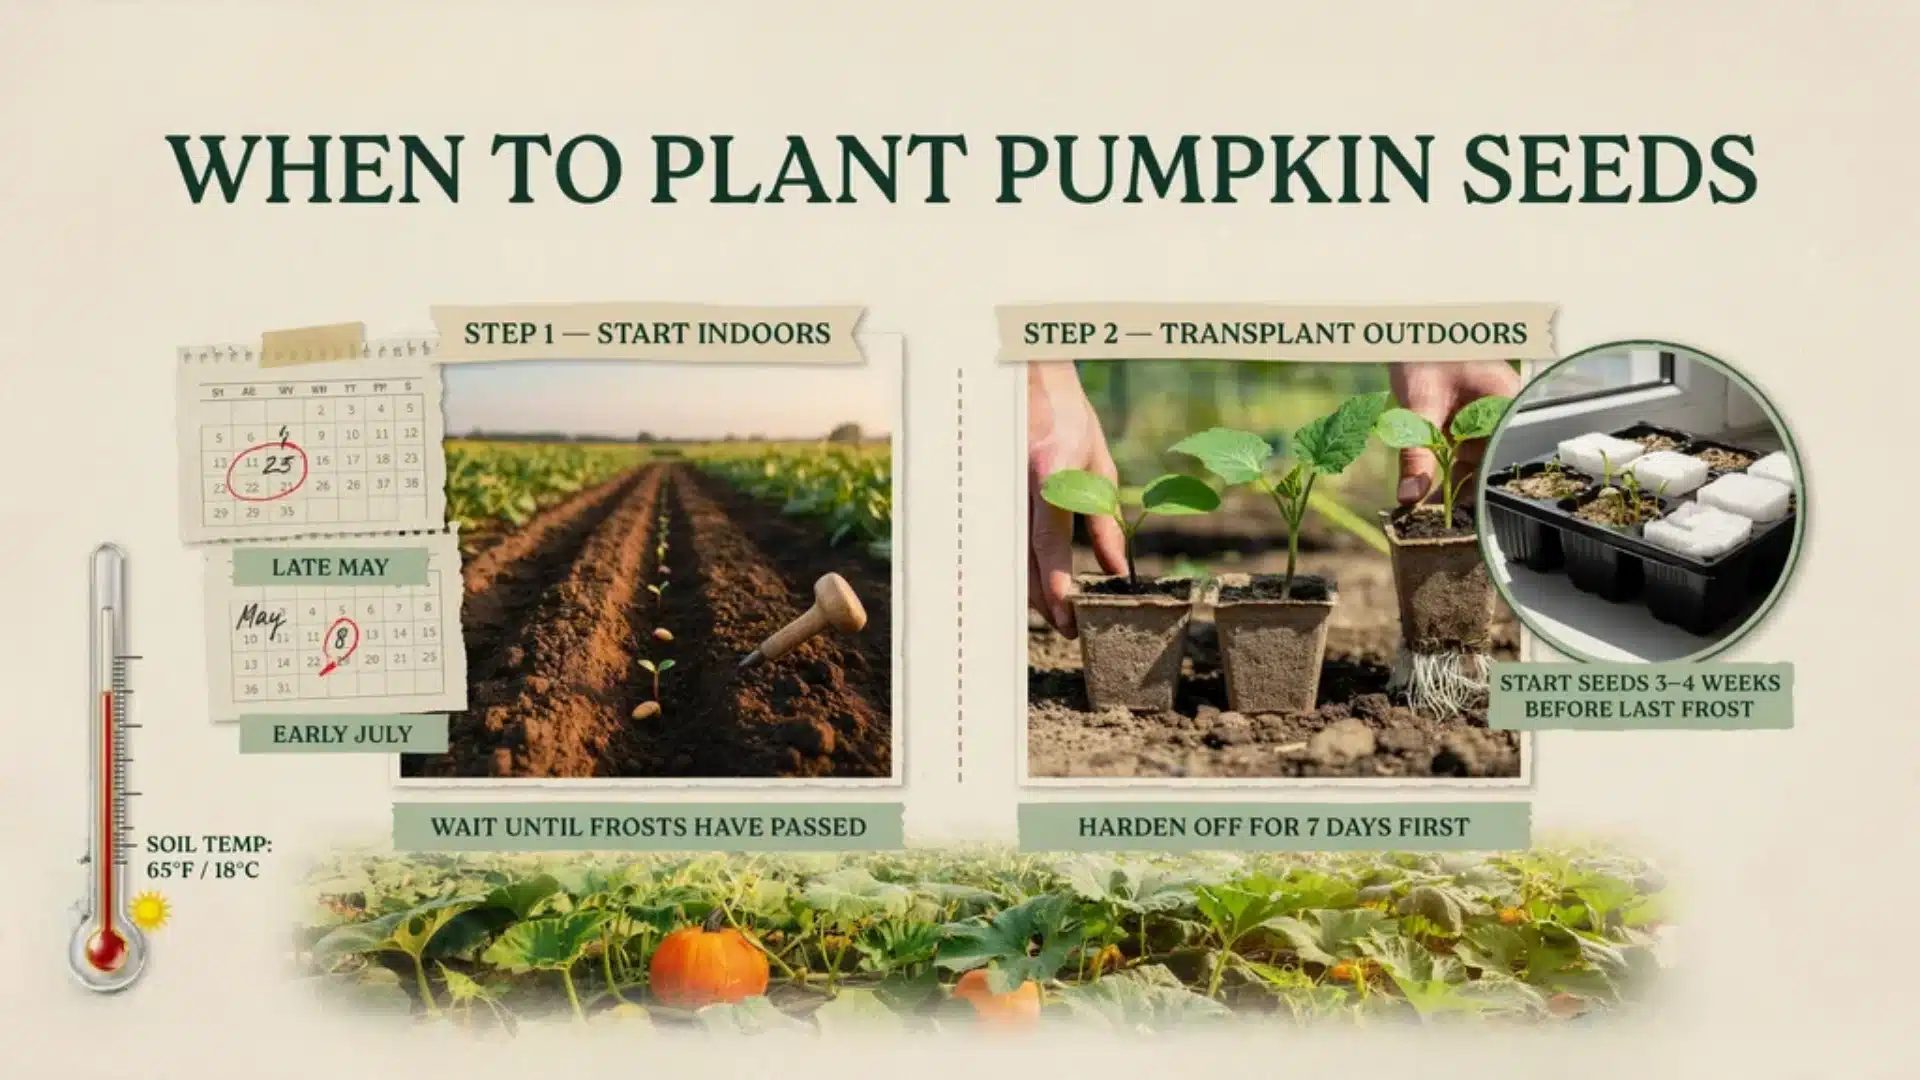
Timing is one of the most common places where things go wrong when growing pumpkins.
The general rule is to plant after the last frost, once the soil has warmed to at least 65°F. Cold soil slows germination and stresses young plants.
- Northern regions: Plant by late May
- Southern regions: Plant as late as early July
If you want to start seeds indoors, begin 2 to 4 weeks before your last frost date. Use soil blocks or small pots, and transplant seedlings when they are about 4 inches tall and the soil outside is warm enough.
To find your exact planting window: take your target harvest date, count back the number of days listed on your seed packet, and that is your last safe planting date.
This count-back method prevents the common mistake of planting too late and ending up with unripe pumpkins when frost hits.
How to Plant Pumpkin Seeds the Right Way

Start with good soil preparation. Work several inches of aged compost and a complete fertilizer into each planting area before sowing. Pumpkins are heavy feeders, and the soil needs to be ready from day one.
Direct sowing steps:
Step 1: Form mounds about 3 feet wide, spaced 4 feet apart for standard varieties
Step 2: Sow 4 to 6 seeds per mound, 1 to 2 inches deep
Step 3: After germination, thin to the 2 strongest plants per mound
Step 4: Water the mounds well after planting
For transplants: Move seedlings into the garden when they reach about 4 inches. Space transplants 2 feet apart if using black plastic mulch, which helps warm the soil and supports earlier maturity.
If you are planting before the frost-free period in your area, cover plants with row covers to protect them from cold snaps. Remove the covers once daytime temperatures are consistently above 50°F.
Watering, Feeding, and Mulching Your Pumpkin Plants
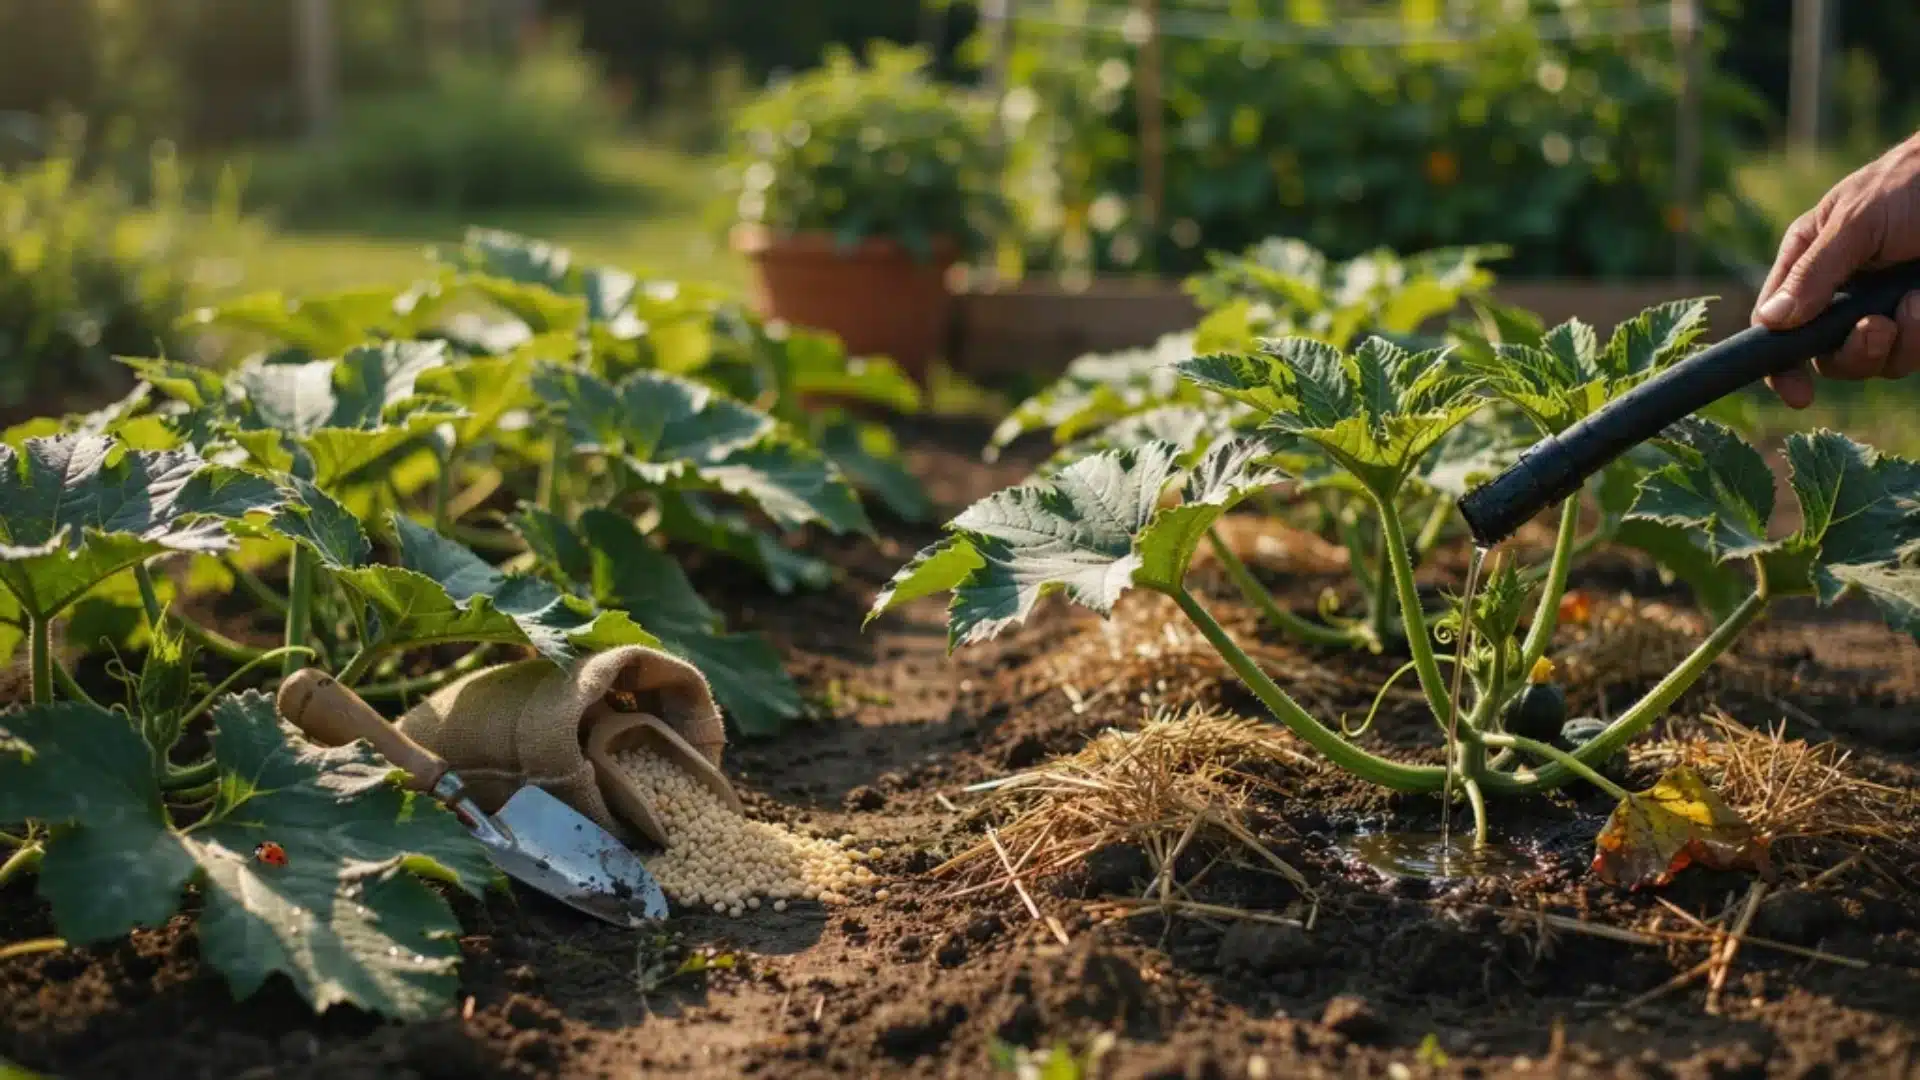
Pumpkins are thirsty and hungry plants. Getting water and fertilizer right makes a significant difference in fruit size and quantity.
Watering:
- Aim for 1 to 2 inches of water per week
- Water deeply and infrequently, not in shallow daily sprinkles
- Use a soaker hose or drip irrigation to keep water off the leaves
- Always water in the morning
- Wet leaves, especially in hot and humid weather, invite fungal disease
Feeding:
- Use a balanced fertilizer early in the season to support vine growth.
- Once flowers appear, switch to a fertilizer lower in nitrogen and higher in phosphorus.
- Too much nitrogen at this stage pushes leaf and vine growth at the expense of fruit. If you are unsure what your soil needs, watch for signs of nitrogen deficiency in your plants before adjusting.
- After vines develop runners, side-dress the plants with additional nitrogen. If your soil is naturally low in nutrients, working in a potash fertilizer at this stage supports stronger fruit development.
Mulching:
Apply a 2 to 3-inch layer of straw, shredded leaves, or organic mulch around plants after the soil has warmed to 75°F.
Mulch retains moisture, suppresses weeds, and prevents soil from splashing onto leaves during rain. Keep mulch a few inches away from the main stem to prevent rot.
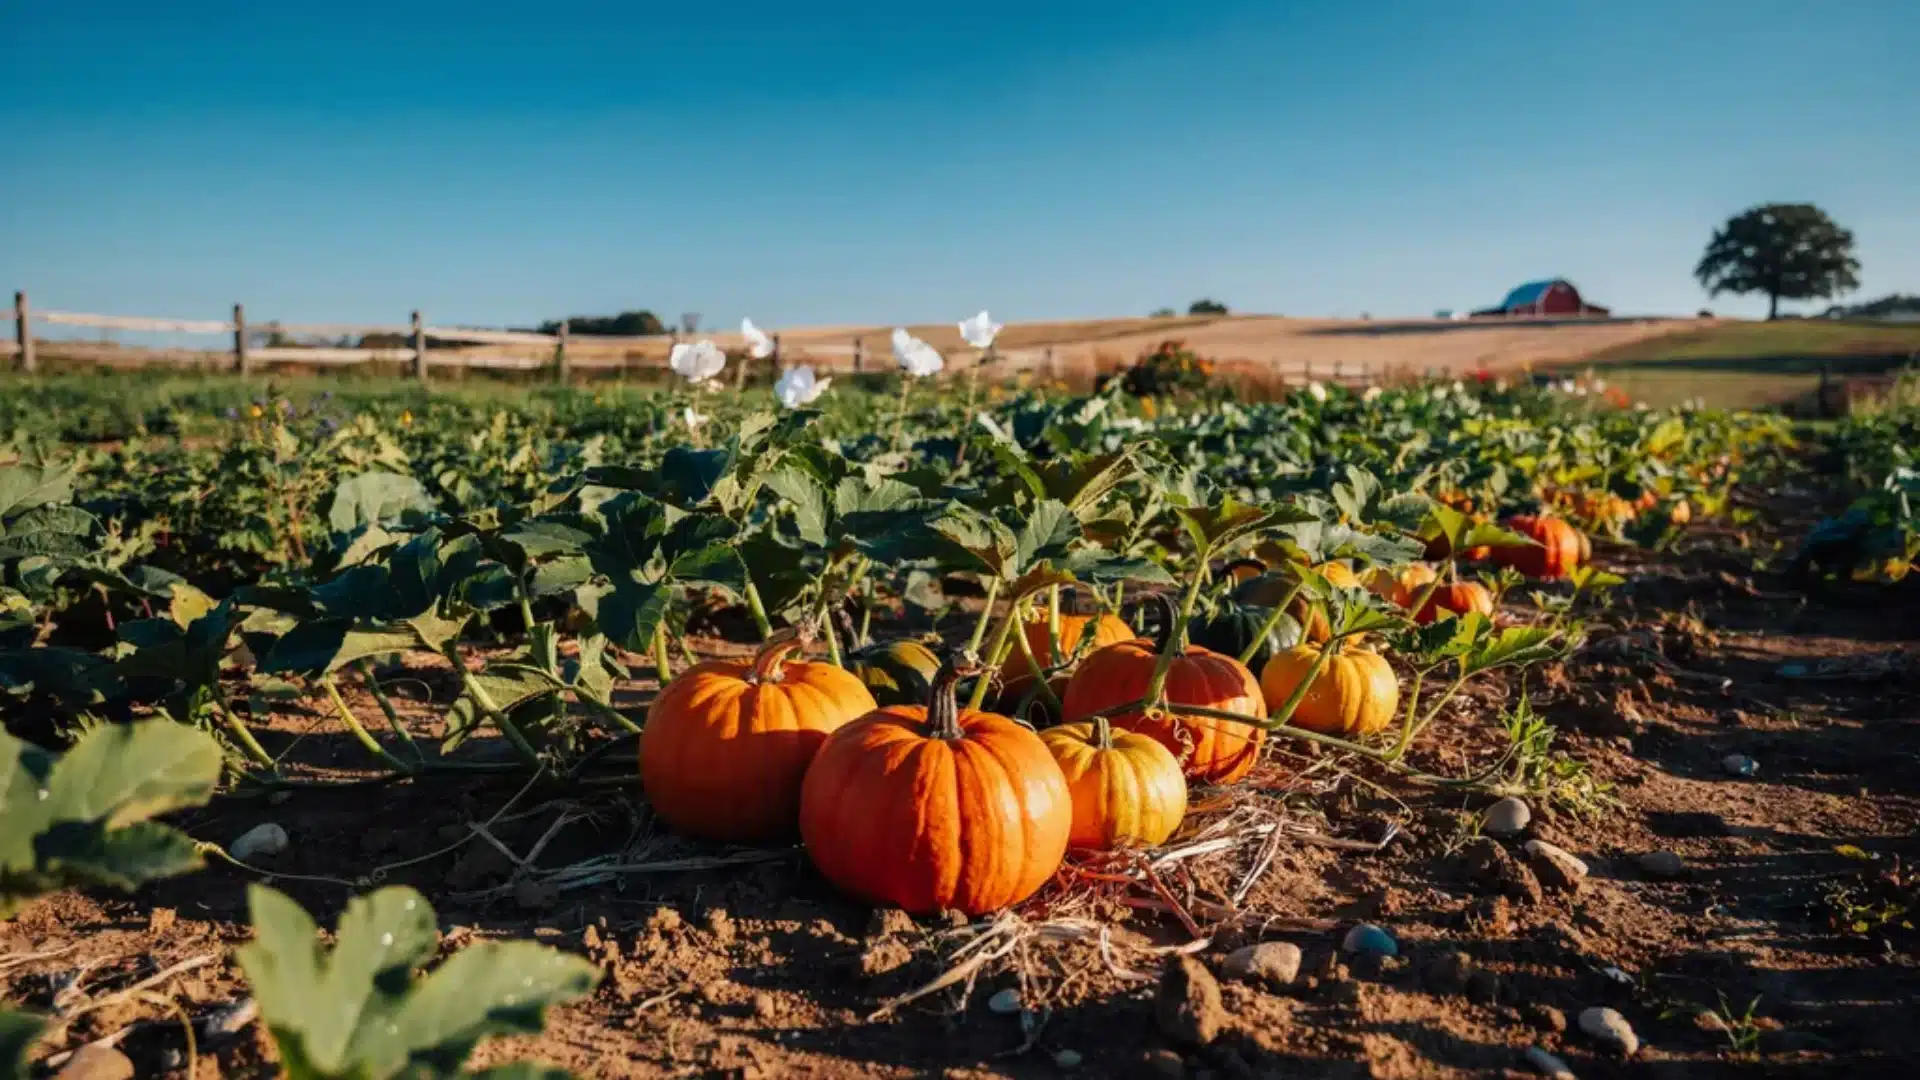
How to Know When Your Pumpkins Are Ready to Harvest
One fact that surprises many gardeners is that pumpkins do not continue to ripen after they are picked. If you harvest too early, the fruit will not improve off the vine. This makes knowing when to pick especially important.
Signs a pumpkin is ready:
- The skin has turned a deep, solid color all the way around
- The stem has dried and hardened
- The fruit sounds hollow when you thump it
- Pressing a fingernail into the skin dents it, but does not break through
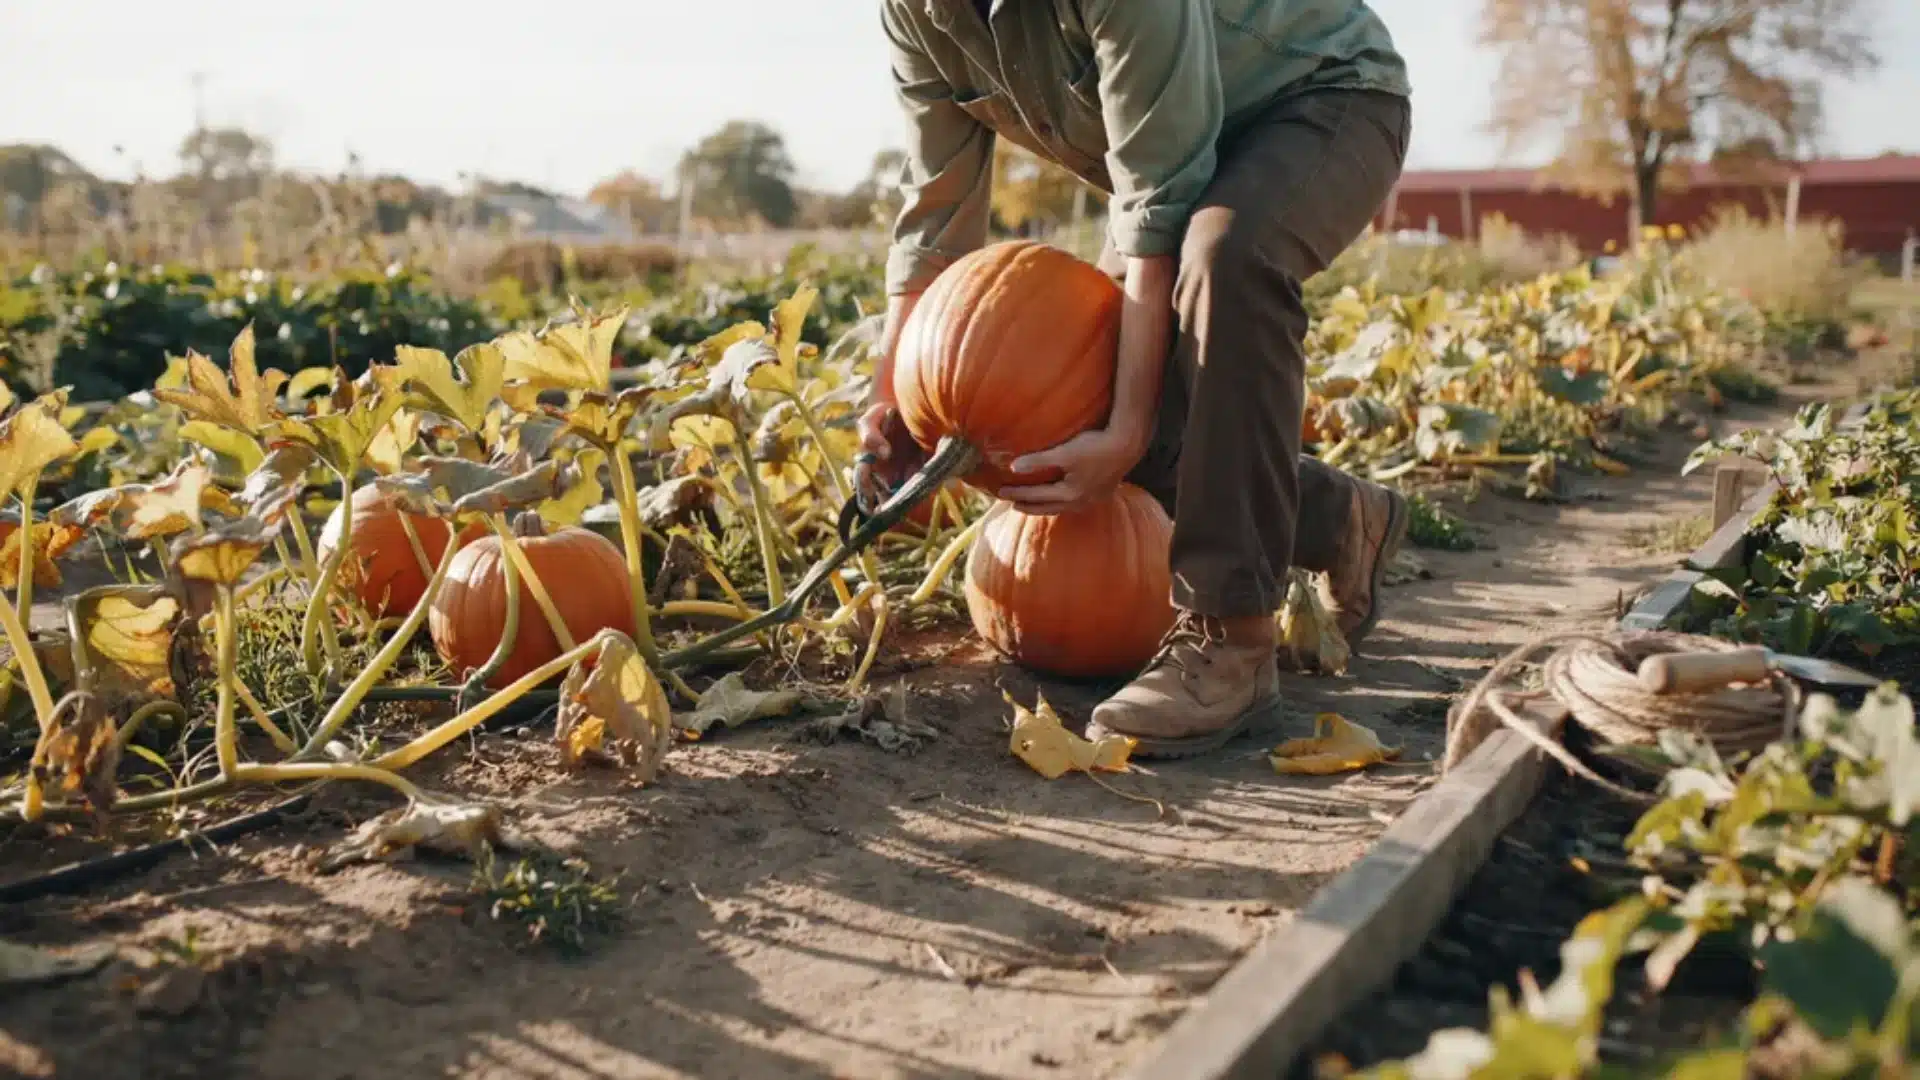
Harvest on a dry day, after the plants have started to die back. Use a sharp knife or pruning shears to cut the stem, leaving 3 to 4 inches attached to the fruit. A longer stem helps the pumpkin last longer in storage.
Never carry a pumpkin by its stem. Always support the base of the fruit with both hands. A dropped pumpkin will not store well.
Harvest all pumpkins before the first hard frost. Cold damage shortens storage life significantly.
Common Pests and Diseases That Attack Pumpkins
Catching problems early is the single most useful thing you can do. By the time plants look severely damaged, recovery is much harder.
Pests to watch for:
- Squash bugs: Gray or brown, about 5/8 inch long. They suck sap from leaves, causing them to wilt and die, and hand-pick adults and eggs from the undersides of leaves.
- Cucumber beetles: Striped or spotted adults feed on leaves and vines. They can also spread bacterial wilt. Apply insecticides at first appearance.
- Squash vine borers: Larvae bore into stems, causing plants to wilt suddenly. Row covers in early growth help prevent them.
- Aphids: Small soft-bodied insects on the underside of leaves. Treat with insecticidal soap or a strong stream of water.
Diseases to know:
- Powdery mildew: White fungal patches starting on older leaves. Plant resistant varieties and improve airflow between plants.
- Mosaic virus: Spread by aphids. Shows as mottled yellow leaves and stunted growth. Remove infected plants immediately.
- Bacterial wilt: Causes leaves to wilt on one or more vines. Spread by cucumber beetles. Control beetles early to prevent them.
Prevention habits that work:
- Rotate crops each year. Never plant pumpkins in the same spot two years in a row.
- Remove weeds and plant debris that harbor pests.
- Inspect plants at least twice a week during the growing season.
How to Cure and Store Pumpkins So They Last for Months
Curing is the step most beginners skip. It is also one of the most important ones.
After harvest, place pumpkins in a sunny spot outdoors or a warm indoor location. The ideal curing conditions are 80 to 85°F with moderate to high humidity.
Cure for 7 to 14 days. This process hardens the skin so the fruit lasts months instead of a few weeks.
For long-term storage:
- Move cured pumpkins to a cool, dry, dark location
- The ideal storage temperature is 50 to 55°F
- Arrange them in a single layer so they do not touch each other
- Place them on cardboard, wood, or straw, never directly on concrete or wood furniture
- Properly cured and stored pumpkins last 2 to 3 months
Check stored pumpkins regularly. Any soft spots or weeping from the bottom are signs of rot starting. Use those fruits immediately.
Common Mistakes That Ruin a Pumpkin Crop
After years of troubleshooting pumpkin problems with home gardeners, these are the mistakes that come up again and again.
1. Planting too late to reach the days-to-maturity before frost: Count back from your first frost date using the seed packet timeline so you always plant on time.
2. Watering daily in small amounts instead of deeply and infrequently: Shallow watering keeps roots near the surface and makes plants weaker and more prone to stress.
3. Using high-nitrogen fertilizer after flowers appear: Once flowering starts, nitrogen pushes vine growth and reduces the energy the plant puts into fruit.
4. Skipping mulch and letting the soil dry out between waterings: A 2 to 3-inch layer of straw or shredded leaves holds moisture in and keeps soil temperature steady.
5. Ignoring early signs of pests before populations build up: By the time damage looks severe, the plant is already weakened and much harder to recover.
6. Missing the pollination window when flowers are open: Female flowers stay open for only one day, so check your plants every morning during the flowering stage.
7. Planting pumpkins in the same spot every year: Repeating the same location builds up soil-borne disease and pest pressure season after season.
8. Picking pumpkins before the skin is hard and the stem is dry: Pumpkins do not ripen off the vine, so an early harvest means the fruit stays immature no matter how long you wait.
9. Carrying harvested pumpkins by the stem: A cracked or broken stem shortens storage life significantly, so always support the fruit from the base.
10. Storing pumpkins without curing them first: Skipping the 7- to 14-day curing process means the skin stays soft and the fruit rots within weeks.
Conclusion
Learning how to grow pumpkins well comes down to giving plants the right conditions at every stage: warm soil, correct spacing, deep watering, timely fertilizer changes, and careful harvesting.
The extra steps, like hand-pollinating and curing before storage, are what separate a good harvest from a great one. Start with one or two varieties that match your space and your frost dates.
Pay attention to your plants each week, and you will have a patch worth talking about.
Which pumpkin variety are you planning to grow this year? Share it in the comments below.
Frequently Asked Questions
How Many Pumpkins Do You Get Off One Plant?
A single pumpkin plant produces anywhere from 1 to 12 pumpkins, depending primarily on the variety and how much energy you allow the plant to put into fruit growth.
Do Coffee Grounds Help Pumpkins Grow?
Yes, coffee grounds help pumpkins grow by providing a mild nitrogen boost, improving soil drainage, and acting as a natural deterrent for slugs and snails.
What Not to Plant Next to Pumpkins?
Avoid planting potatoes, root vegetables (such as carrots and beets), and other cucurbits (such as cucumbers, melons, and squash) near pumpkins.