
You finally got the wallpaper off. The walls look bare. Job done, right? Not quite.
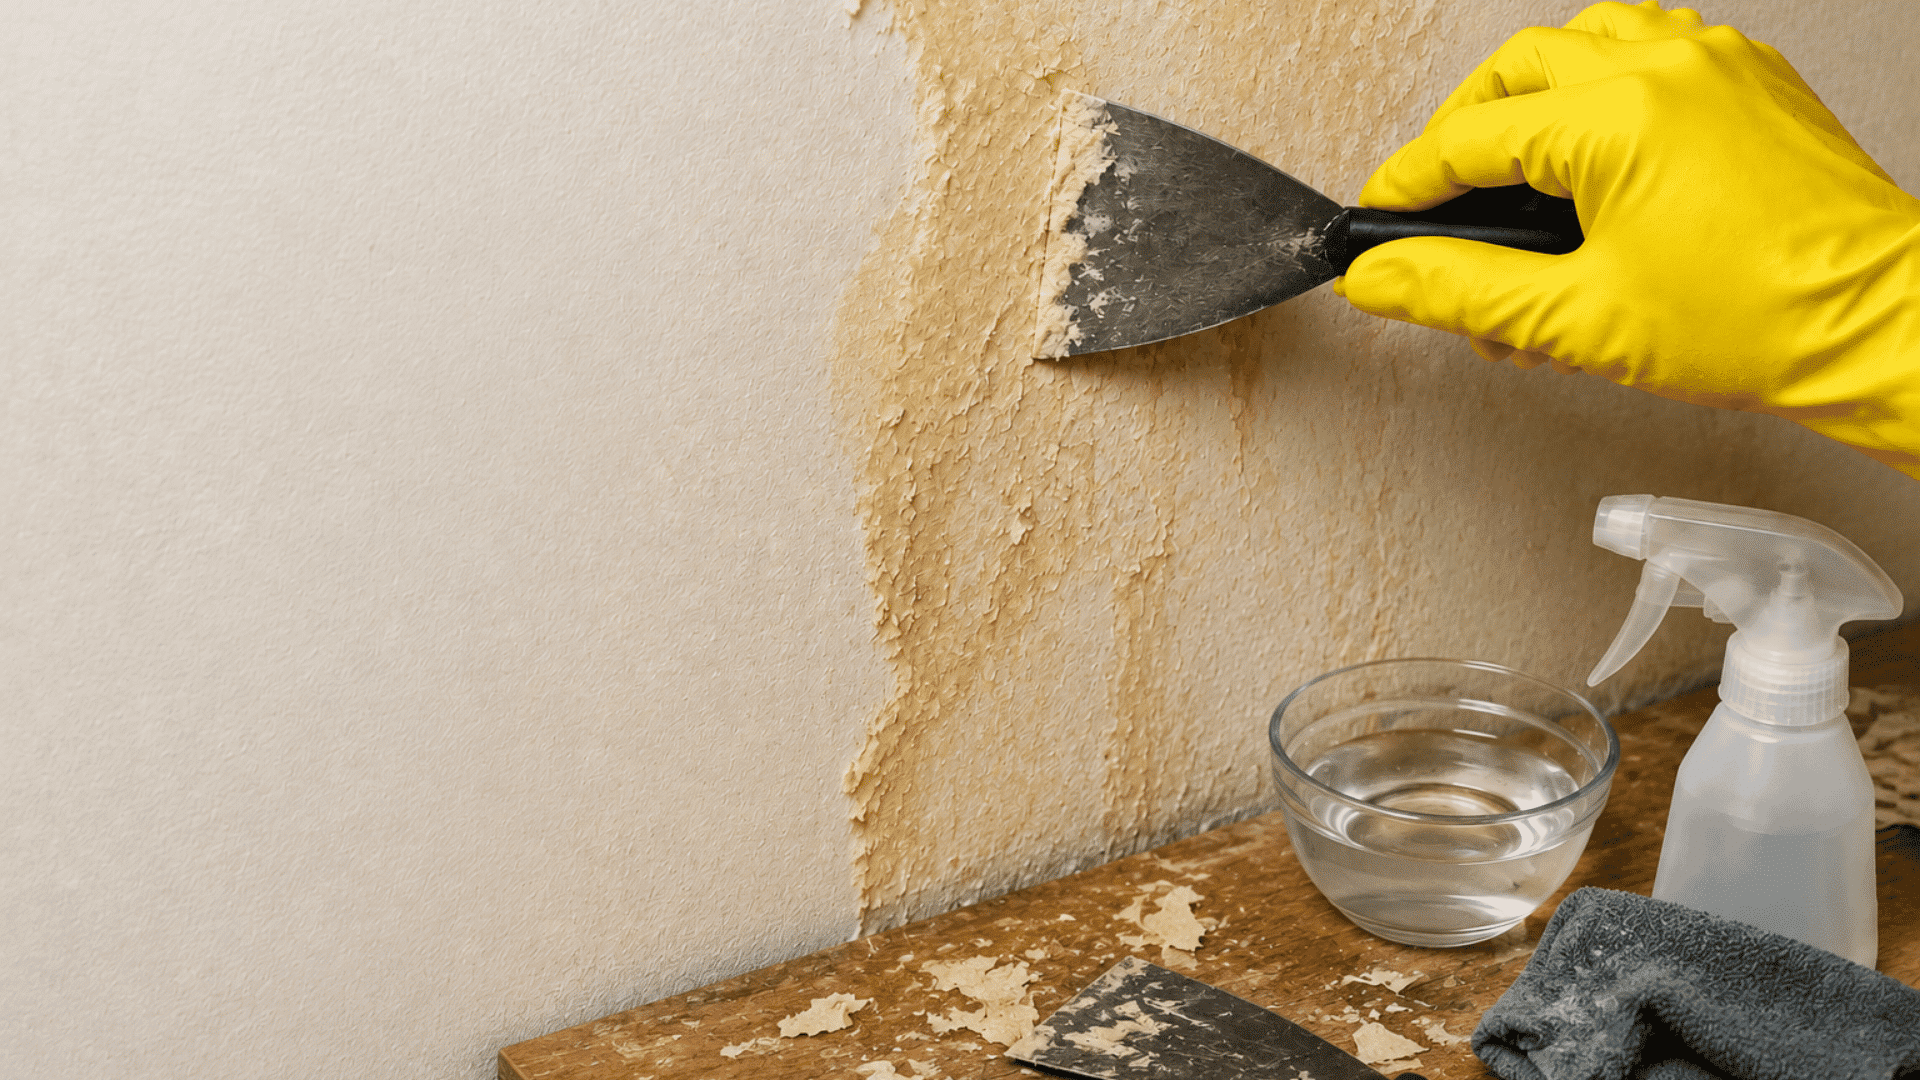
Run your hand across the wall. Feel that sticky layer? That is wallpaper glue. Skip this step, and your paint will bubble, peel, and look uneven within weeks.
I’ve stripped wallpaper in more rooms than I can count, and here’s how I remove wallpaper glue the right way, every time. No chemicals, no expensive products
Just hot water, a dense sponge, and a method I trust.
Read on to learn what tools you need. Find out how to spot leftover glue before you paint. Then learn what to do once the walls are clean and dry.
What Do You Need to Remove Wallpaper Glue?
You need four things, and you likely already own all of them: hot water, a sponge, a bucket, and old towels. Keep it very simple.
Here is exactly what to gather before you start cleaning.
- Hot water from your tap, turned to the hottest setting.
- A dense, thick sponge that holds lots of water well.
- A large bucket to hold the hot water as you work.
- Old clothes or towels to catch drips and protect the floor.
That’s it: just four items, no chemical sprays, no fabric softener, no expensive wallpaper remover, only water and a sponge.
| Why You Don’t Need Chemical Removers: They’re popular but largely unnecessary. In my experience, hot water reactivates wallpaper glue on its own. Chemicals can also damage the paper facing on drywall. Save your money and skip them. |
How to Remove Wallpaper Glue Step by Step
Rushing this step can ruin the job. Using the wrong sponge or dirty water can cause problems, so follow these steps in order. These are the same steps my crew and I use on every job.
Step 1: Fill Your Bucket with Hot Water
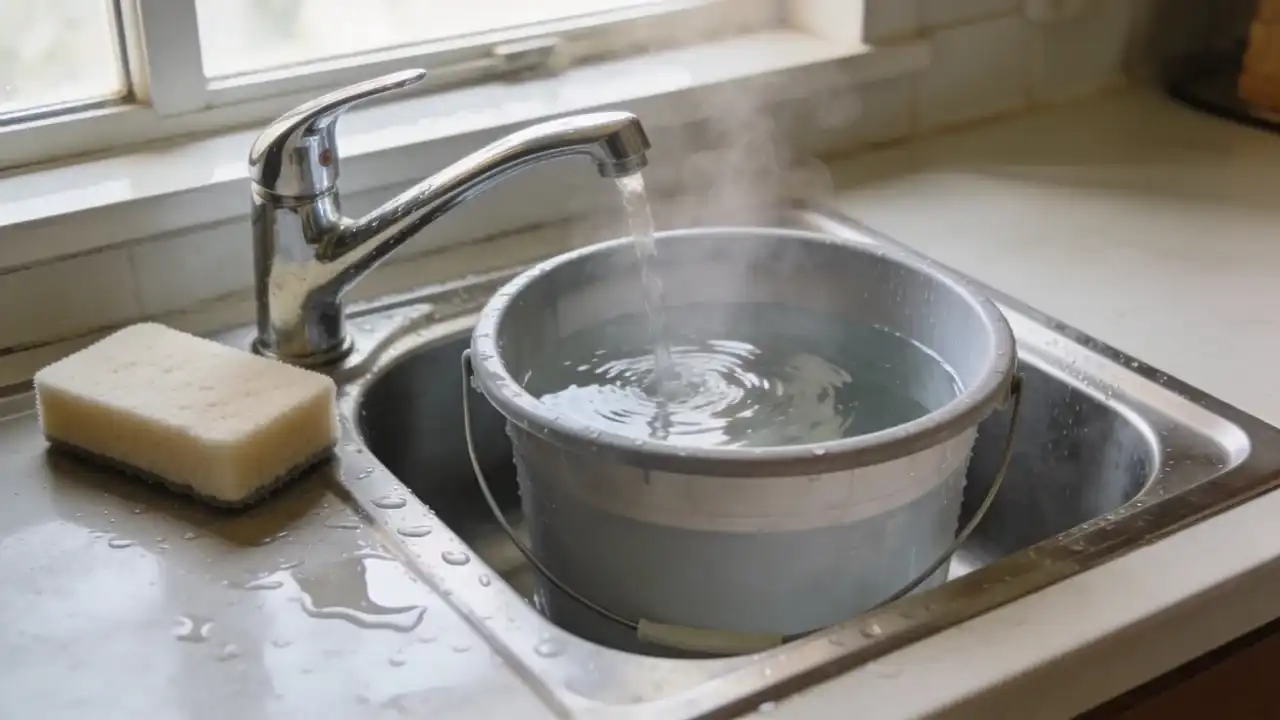
Begin with the perfect water temperature. From what I’ve seen, it’s honestly the most crucial part of the entire process. Warm water helps reactivate the glue, which makes wiping it off much simpler.
- Turn your tap to the hottest setting
- Do not boil water on the stove
- Tap water at its hottest is hot enough
- Fill a large bucket, so you have plenty to work with
Step 2: Apply Water to the Wall with a Dense Sponge
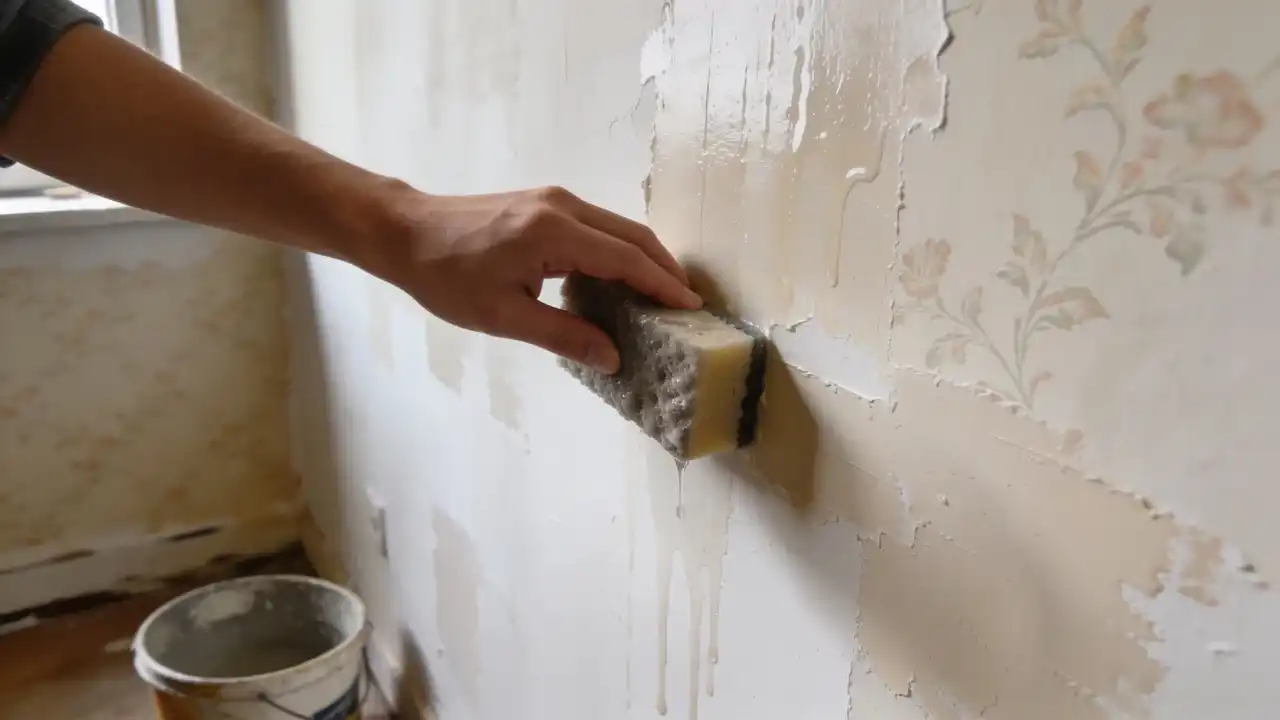
A thin sponge dries out fast and may scratch the wall. Use a thick, dense sponge that holds a lot of water. Always start at the top of the wall.
- Dip the sponge in hot water and let it soak for a moment
- Press the sponge against the wall without scrubbing too hard
- Work in horizontal back-and-forth strokes from top to bottom
- Let the water sit on the glue for a few seconds before wiping
- Flip the sponge over when one side gets too loaded with glue
Step 3: Watch the Bucket as Your Progress Indicator
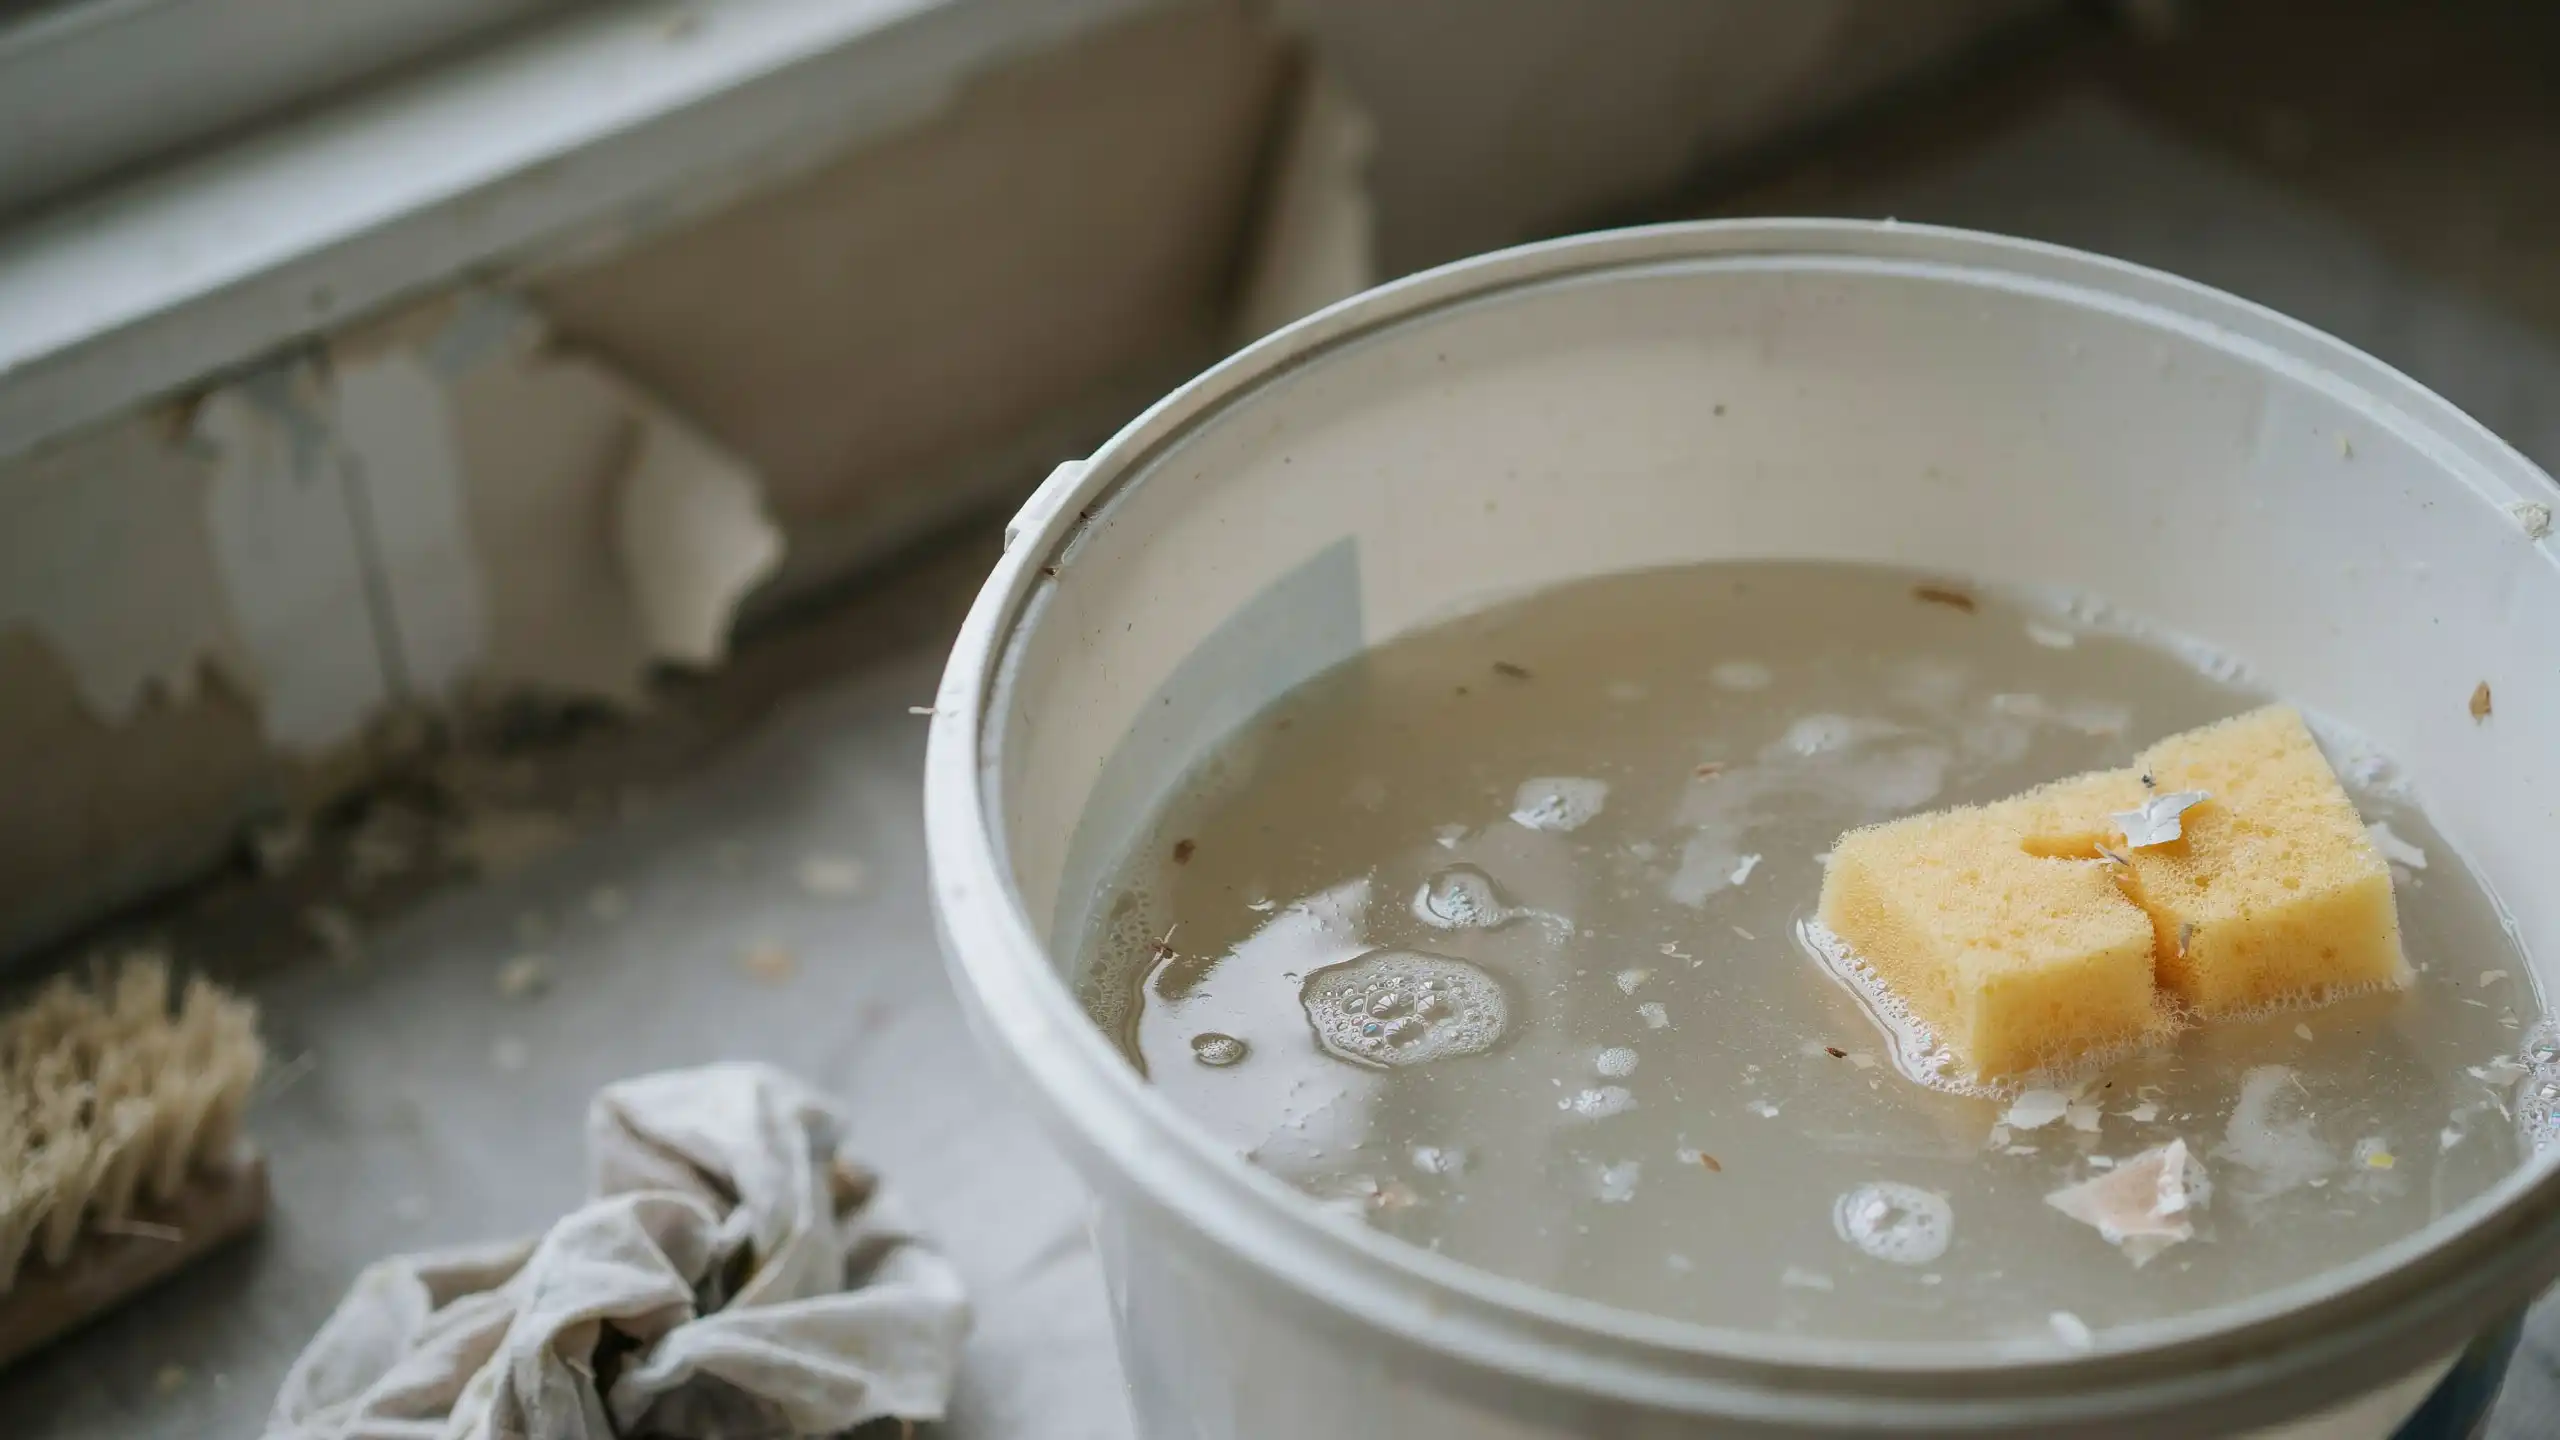
Don’t overlook the water bucket. It shows how well the glue removal is working, so watch for one key sign that tells you when you’re making progress.
- Clear water at the start means no glue is lifting yet
- Cloudy water means glue is coming off the wall
- The cloudier the water, the more glue you are removing
- Change the bucket water when it turns very murky
- Dirty water re-deposits glue back onto the wall
Step 4: Work the Entire Room
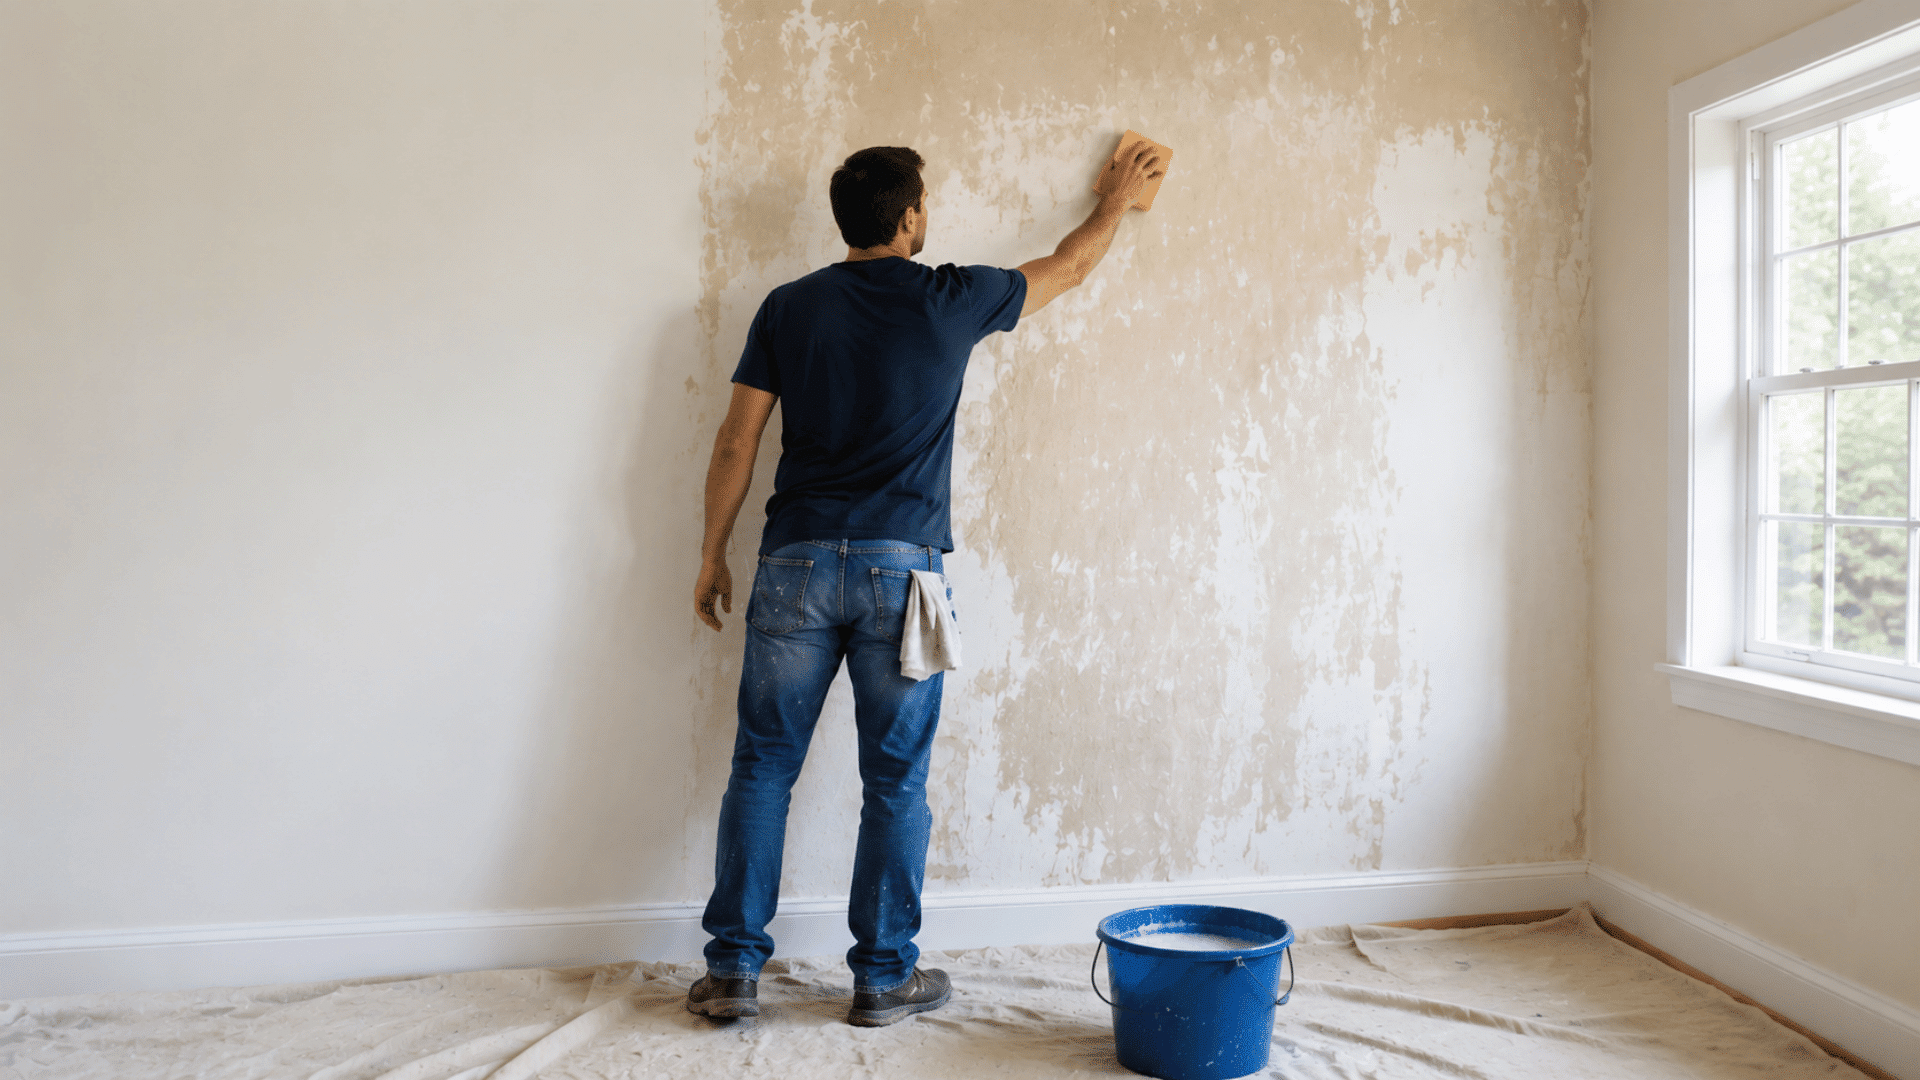
Do not stop after one wall. The glue is on every single surface the wallpaper touched. Work wall by wall and section by section until the whole room is done.
- A standard 12 x 13 ft room takes roughly one hour to clean
- Wring the sponge out regularly to stop the wall from getting too wet
- Overlap your strokes slightly to avoid missing any spots
- Move left to right, top to bottom, one wall at a time
- Change the bucket water every time it looks cloudy
How to Tell if All the Wallpaper Glue is Gone or Not?
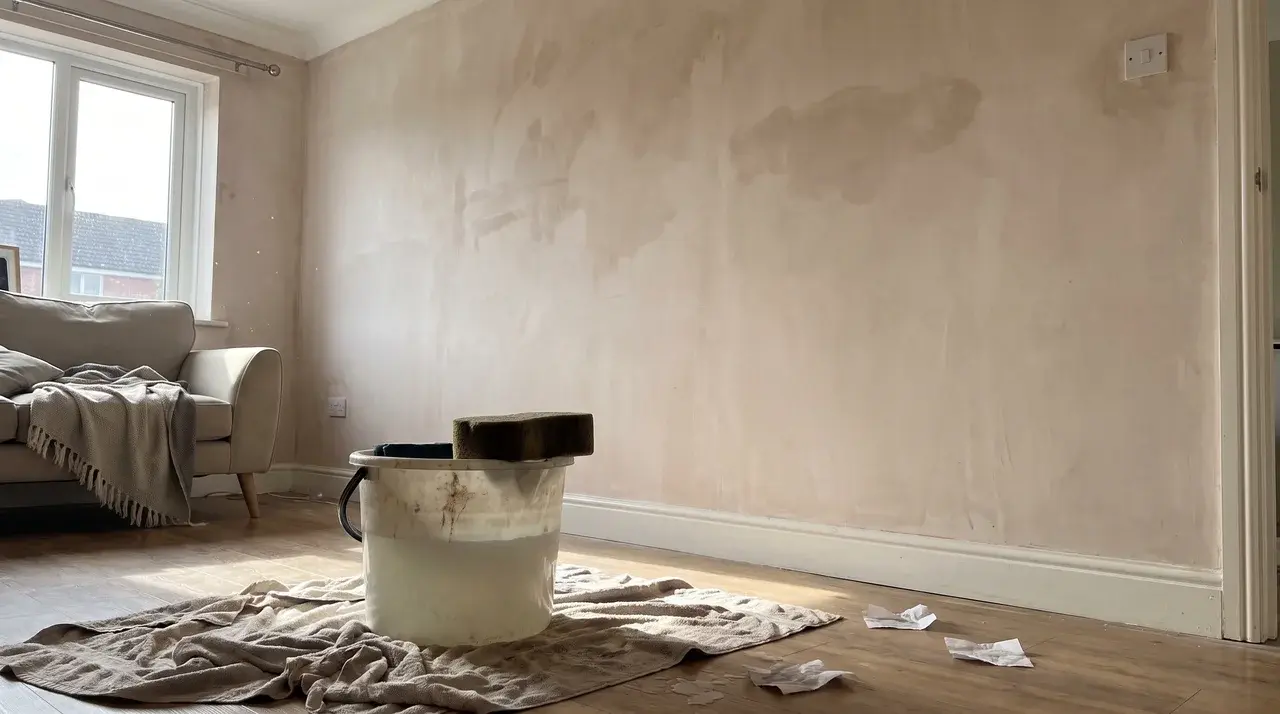
Check the wall carefully after drying. These signs help you spot any remaining wallpaper glue before painting.
| Sign | What It Means |
|---|---|
| Shiny patches | Glue residue remains |
| Blotchy areas | Uneven glue removal |
| Different texture | Glue may still be present |
| Sticky surface | Wall needs more cleaning |
| Patchy spots | Reapply hot water and sponge |
What to Do After You Remove the Wallpaper Glue
Cleaning the wallpaper glue is just one part of the full process. Once the walls are clean and dry, there are a few more steps before you can start to paint. Skip them, and the paint will not last long.
Follow these steps after the glue is fully removed:
- Let the wall dry for at least 24 hours before doing anything else.
- Inspect the wall in bright light for any damage to the drywall or plaster.
- Patch any torn areas or gouges with a skim coat or wall filler. If the damage runs deeper than a skim coat can fix, you may need to cut and replace a section of plasterboard.
- Sand lightly once the filler has dried to achieve a flat, smooth surface.
- Apply a coat of primer before you paint. This step is not optional after wallpaper removal. Bare or repaired walls absorb paint unevenly. Once it’s primed, I follow the same approach I use whenever I’m painting a room, for an even, lasting finish.
Common Mistakes to Avoid While Removing Glue
Most mistakes happen before you even pick up the sponge. Know these in advance, and you will save time, protect your walls, and get a clean result.
- Using cold water: Cold water does not reactivate wallpaper glue. Always use the hottest water from your tap.
- Not changing the bucket: Dirty water re-adheres the glue to the wall. Change it the moment it turns cloudy.
- Using a thin sponge: It dries out fast and slows the whole job down. Use a thick, dense sponge that holds water well.
- Painting before the wall dries: Wet walls hide glue you cannot see. Let the wall dry completely before you inspect it.
- Using chemicals on drywall: Chemical removers can soak into drywall and damage the paper facing. Stick to plain hot water only.
Wrapping It Up
Paint doesn’t stick to glue. Never has. That’s the whole lesson here.
Run your palm over the drywall one more time. If it’s flat, cool, and doesn’t shine weird under a lamp, you’re good.
If one spot still feels tacky, that’s not you being paranoid; that’s the wall telling you to grab the sponge again.
I’d rather lose twenty minutes to that than watch primer bubble up a week later, which is exactly what happens when you skip it.
Got a wall that was fighting you? Tell me what you did to deal with it in the comments.
Frequently Asked Questions
Does Dawn Remove Wallpaper Glue?
Dawn dish soap can help loosen wallpaper glue when mixed with hot water. It isn’t always needed, but it can help with stubborn residue.
Is Vinegar or Fabric Softener Better to Remove Wallpaper?
Neither is necessary. Hot water alone effectively lifts wallpaper glue. Vinegar and fabric softener do not speed up the process on most wall surfaces.
How to Use Vinegar to Remove Wallpaper Glue?
Mix equal parts white vinegar and hot water. Apply to the wall with a dense sponge. Let it sit for a few minutes, then wipe it clean.
Does Wallpaper Glue Damage Walls?
Wallpaper glue does not damage walls on its own. Too much water during removal can soften drywall. Use a damp sponge, not a soaked one.